17717052334_1044bd2216_b.jpg

900 Bluebell the 900e Amigo

Introduction

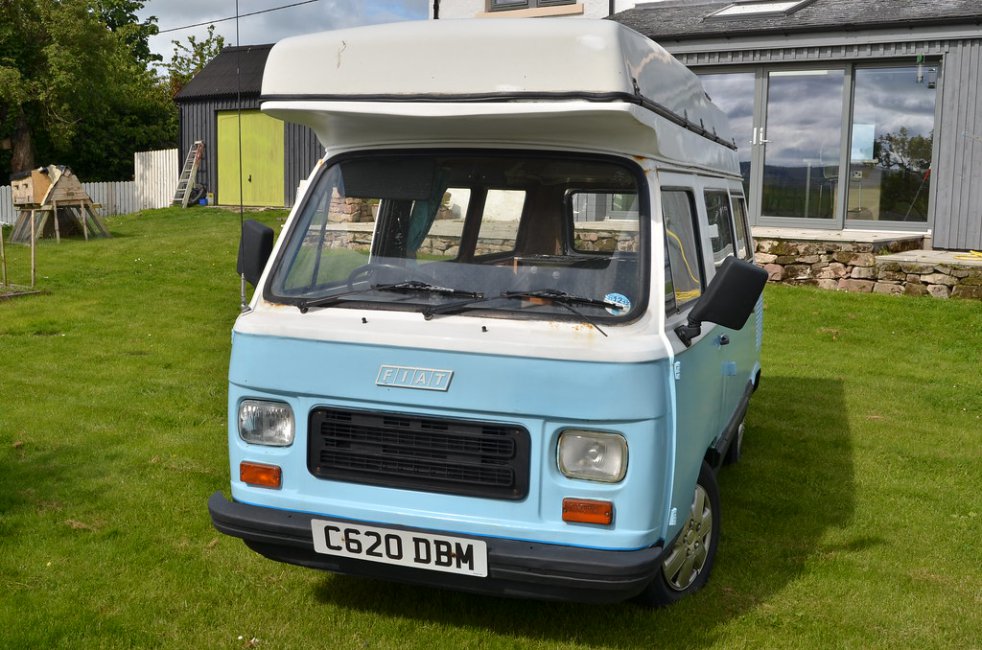
We have just taken on the ownership of this camper from Kelly and Karl and hope to have it on the road within the next six months.
17717052334_1044bd2216_b.jpgDSC_6177 by Peter Thompson, on Flickr
Not only is it a really lovely vehicle, it was also a pleasure to buy it from such a genuine and really nice couple. There was a huge amount of interest in the sale and I am really appreciative that I was favoured to be the buyer ; so many thanks Karl.:)
18335728502_1005bcd374_b.jpgDSC_6176 by Peter Thompson, on Flickr
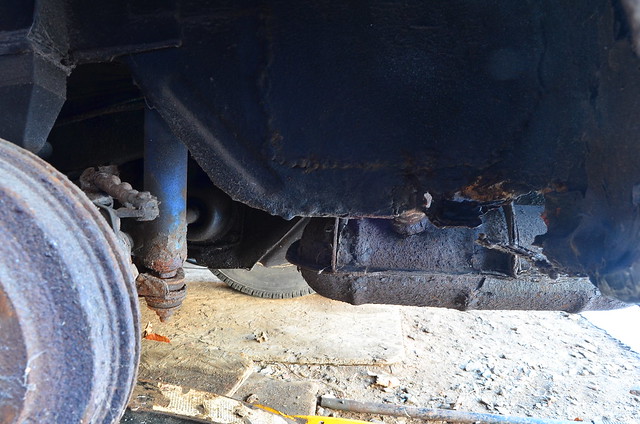
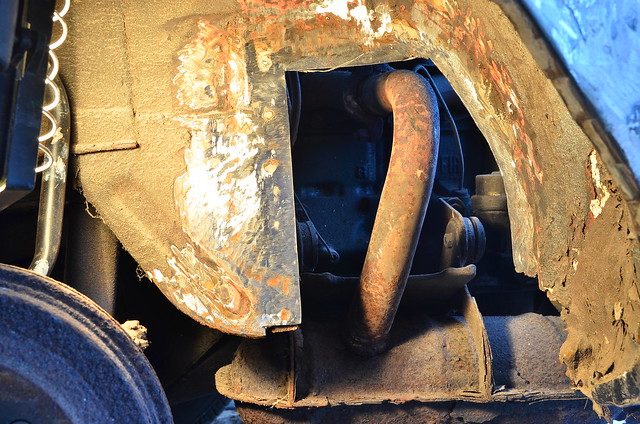
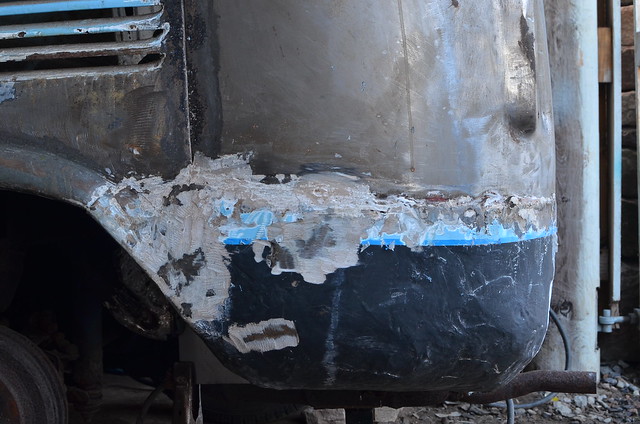
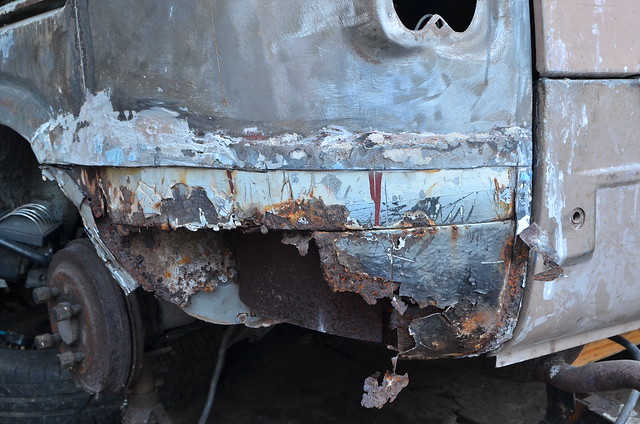
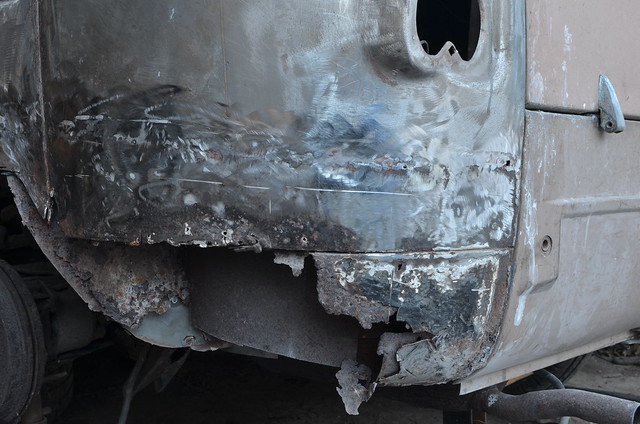
There is a certain amount of essential welding to do underneath, which will add to the welding that has been done in the past. It is currently pretty solid underneath but not as pretty as it could be. I hope to tidy as I go and then work around the bodywork. This has signs of a lot of filler and there is rust poking through in places, but it looks like we will be able to get using it soon.
There are a number of mechanical issue but nothing too onerous and it starts and runs really well.
So a rolling restoration to usable standards.
I just need to get the roof open now!
Watch this space as I document my progress.
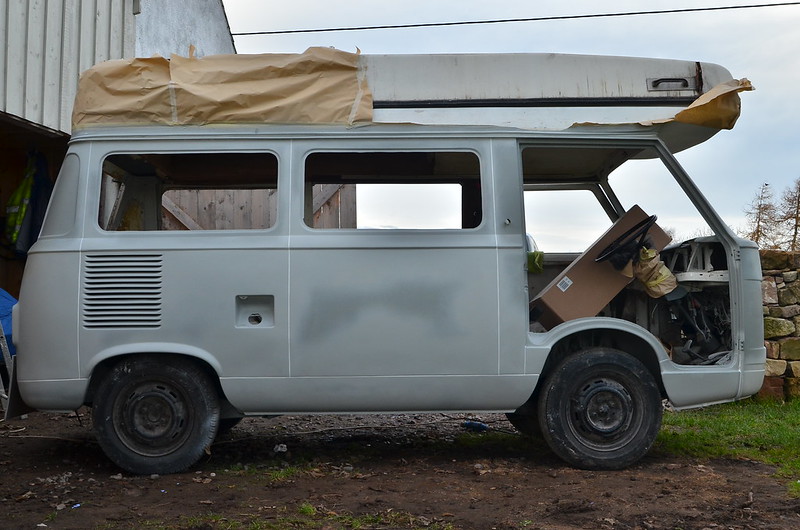
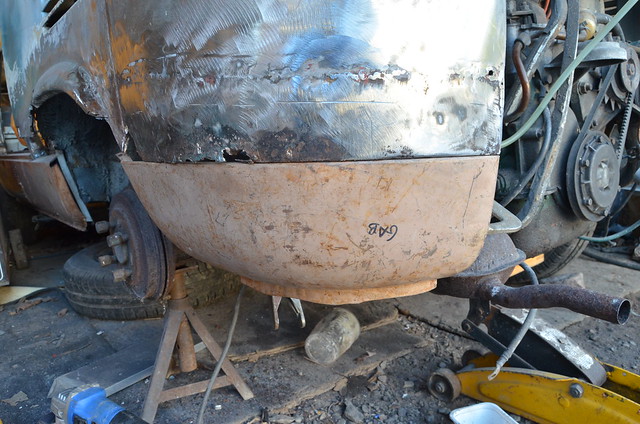
Why have you got a brown paper bag on top? Is that your Chinese takeaway?

Looking good in all seriousness! Which is difficult for me, as you have probably realised by now!:D
 
Now't much to report; just an update for Christmas.
The van isn't abandoned or forgotten, merely I have been very busy with other things. In the last couple of months I have managed to complete the filling work on the driver's side and just this morning I filled most of the panel seams using PU sealant.
In fact, I had been so meticulous in forcing epoxy primer into the seams that most of them were very shallow and hardly needed sealing. Where the fibreglass roof attaches to the steel is adifferent matter and really needs the sealant.

LIS_9986 by Peter Thompson, on Flickr

I used a gloved finger to smoooth the sealant and then wiped it diagonally with a paper towel soaked in thinners; treating it just like you would when grouting tiles. It's overpaintable and will get plenty of time to cure before I paint with topcoats.
I had better get my finger out with the shortest day approaching. I promised myself to do the rest of the bodywork welding before the Spring.
 
Looking good Peter.

I totally get the point about life getting in the way of the restoration. I've managed very little on Connie over the last year :( Hopefully 2018 will see better progress... or at this rate I'll need to start restoring the van again before I've managed to get Connie back on the road.
 
Hopefully 2018 will see better progress... or at this rate I'll need to start restoring the van again

I have had to derust the rear tailgate and the side-door an additional two times already, having failed to get the primer on in time.:bang:
I am planning a frantic week of welding in early January which should get the body structure sorted. But that stll leaves some chassis welding and a huge amount of de-rusting priming etc.
Deadlines are useful, so my aim is to get the bodywork sprayed in cellulose by the end of the summer. :idea:
 
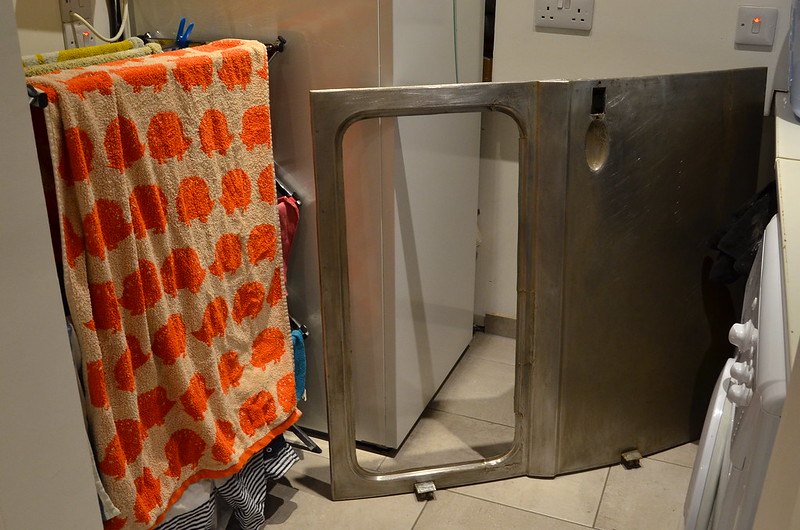
The restoration creaks on. Yesterday, after yet another light sanding which took an hour and a half, I brought the side door inside to the utility-room from the cold garage. The air outside is crisp and dry at the moment but as soon as it thaws, the whole world gets covered in a damp film of condensation. This time I won't be caught out and my doors can keep warm until the world outside gets to at least 10 degrees and when I can prime them.
I was surprised not to get shouted at for this but Sheila pleased me in recognising good welding when she sees it by assuming that I had bought a new door. :) (Which I have of course, but that's another story).

LIS_0384 by Peter Thompson, on Flickr
 
Last edited:
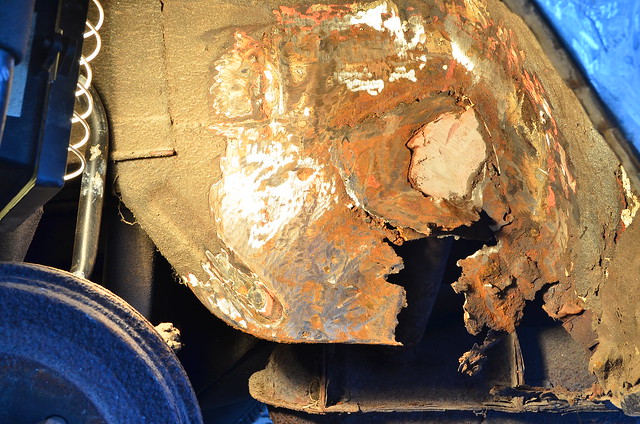
Time to get stuck into the nearside rear corner; the messiest repair that's left on the van.

LIS_1372 by Peter Thompson, on Flickr

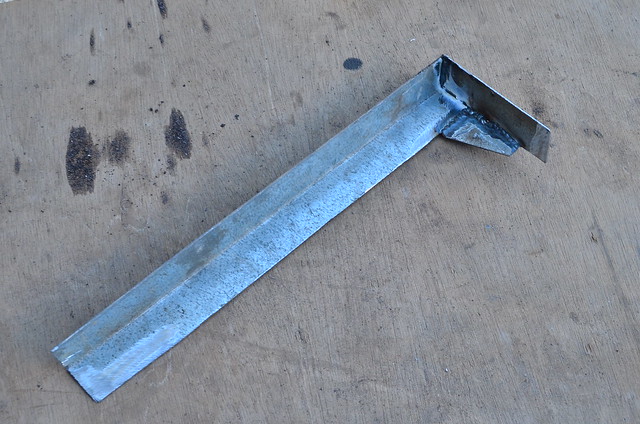
Before I could start chopping bits out I needed to put back some stability in the form of an angled bracing piece I had made, which connects the rear panel mounting point to the inner wheel-arch.

LIS_1387 by Peter Thompson, on Flickr

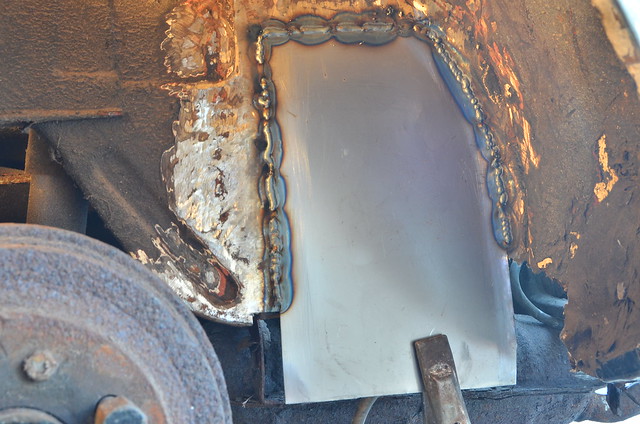
But before that I had to put some metal into the arch where it would be welded in.

There was an ugly patch to remove first. Most of the ancient patch-welds had hardly penetrated and grinding at it revealed a smaller repair which contained a filled section in the centre.

LIS_1374 by Peter Thompson, on Flickr

After a bit of tidying up it was obvious where my new repair piece had to go. On the LH side it meets at the point here the engine bulkhead is spot-welded behind and all around I made it about 5mm bigger as this makes awkward welding much easier and I don't object to lap-welds in such hidden places.

LIS_1375 by Peter Thompson, on Flickr

LIS_1380 by Peter Thompson, on Flickr

LIS_1384 by Peter Thompson, on Flickr

Then the brace could be welded in.

LIS_1388 by Peter Thompson, on Flickr

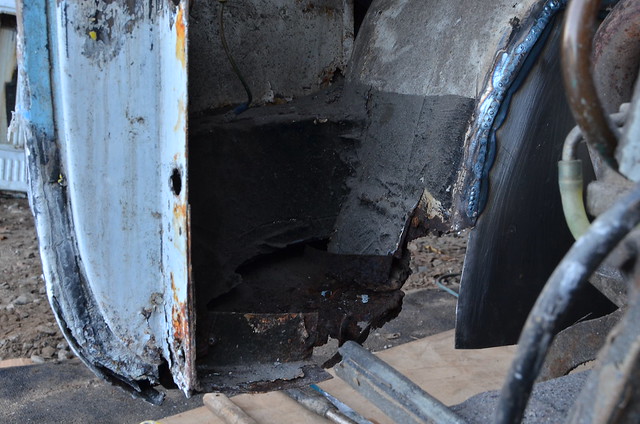
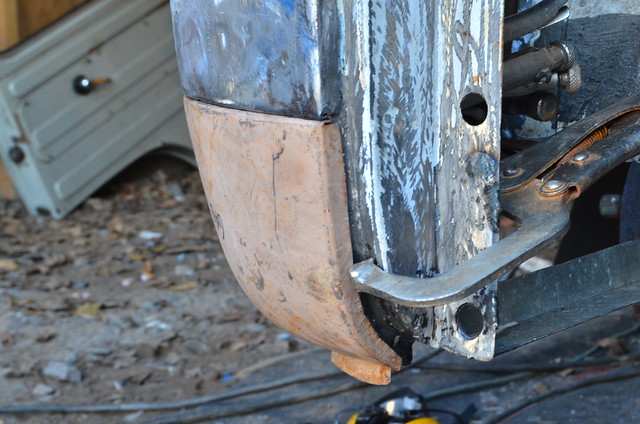
The external part of the lower quarter is obviously horrendous with layers of welded plates and filler.

LIS_1391 by Peter Thompson, on Flickr

I took it slowly and peeled away the layers to reveal the remains of the original panels and their joining point.

LIS_1393 by Peter Thompson, on Flickr

This is handy because it takes away the guesswork that was employed on the other side about the exact positioning of the new panels.
After a lot of cutting and grinding I have this horrible mess which actually fills me with optimism for the next stage.:D

LIS_1395 by Peter Thompson, on Flickr
 
Very nice work. Crikey you’re brave it must be freezing up there? Any white stuff to lie in?

Thanks for the compliment.(y) It's actually quite straightforward to do this now I have the hang of it; just that it takes ages.:bang: This is the first vehicle I've done where someone has been welding before my attempts (several people I guess!), and it makes for an interesting puzzle to unravel,
As I've said before, for some reason I do my best work under harsh conditions. It's quite snowy here and very cold, but wrapped-up well, only my legs really felt it.

With a bit of luck I'll make more progress tomorrow.
 
I had an hour to spare and cleaned the area up and chopped out some obviously useless areas of the inner wheelarch. I also made a small repair to the support that the pink-primered sill panel wraps around. this allows me to test the panel for fit. The next thing will be to put a bit of new steel into the rear of the outer wheelarch lip and then tack this panel in. That will give me most of the datums I need to get on with the complex repairs behind it.

LIS_1396 by Peter Thompson, on Flickr

LIS_1401 by Peter Thompson, on Flickr
 
Impressive dedication

I BADLY want this thing back in one piece.:)

I had planned to put on a bit of primer today, so had de-greased the tailgate and side-door ready for that. But it is still a bit too damp and cold so it was Plan-B instead

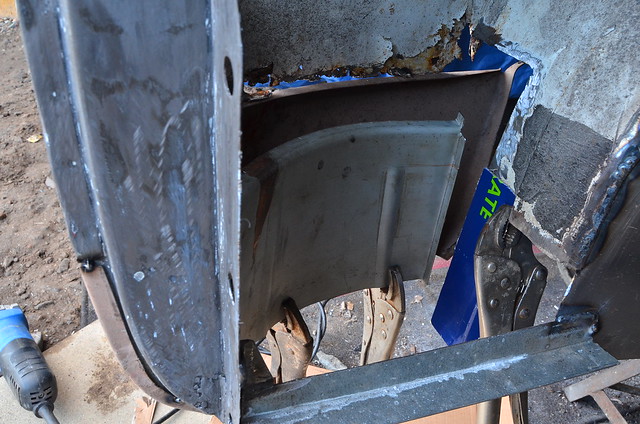
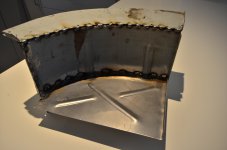
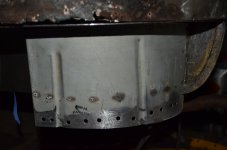
Disregarding some much more pressing things that I should be doing I made all the inner panels needed to repair the back end. This started with the simple job of bending a rectangle to follow the curve of the corner sill. I put some vertical grooves in it to add strength as original.

LIS_1419 by Peter Thompson, on Flickr

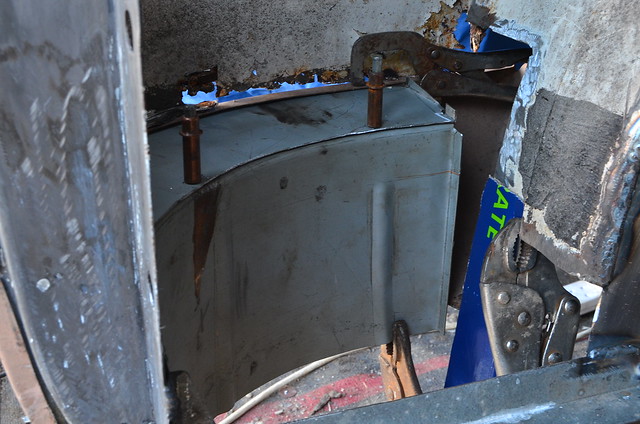
Then I cut a simple curved piece which tops this out to make a box-section.

LIS_1421 by Peter Thompson, on Flickr

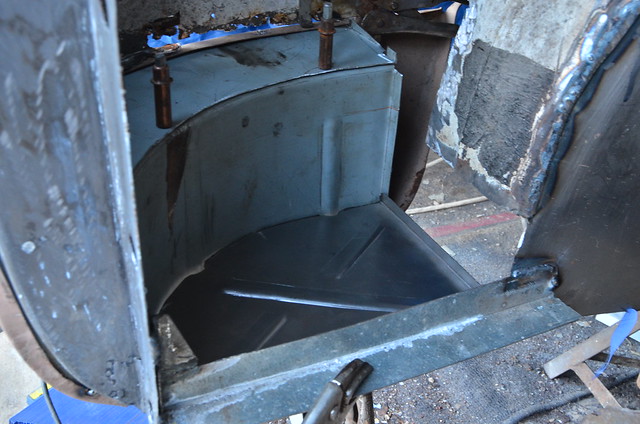
Finally I made the bottom closing-plate, again with strengthening-grooves. I will have to make a separate curved flange to join this to the vertical plate.

LIS_1423 by Peter Thompson, on Flickr

It all needs cleaning-up for welding and a few plug-weld holes have to be drilled. But once this is in it will have rigidity so that I can start on the outer panel.
 
Last edited:
I had an hour to spare so welded up the pieces in-situ. Having made reference points using Cleco rivets, I then removed this assembly and prepared it for welding back to the body-shell.
Then I broke the temporary welds and removed the new rear quarter-sill so that I can sand and epoxy-prime the inner parts before welding it back permanently.
 

Attachments

  • LIS_2328.JPG
    LIS_2328.JPG
    4.3 MB · Views: 65
  • LIS_2335.JPG
    LIS_2335.JPG
    4 MB · Views: 61
  • LIS_2336.JPG
    LIS_2336.JPG
    4.5 MB · Views: 67
You are becoming a lean mean fabricating machine. You needed to leave another 1/2 " of metal on those panels of which you could have bent at 90 deg and used your shrinker to make the flange to join them together. That would be really neat. Great work as usual [emoji3]
 
My apologies, just zoomed in and noticed you had made flanges. Well done!


:D What it is is that I've got lazy and can't see the point of drilling holes for puddle-welds in every circumstance; especially as in the case of this van I am so far from ever being able to make these areas look like factory-made. So when I saw an easy seam-weld that would be just as strong I went for it despite having the flange.
Pretty soon I need to turn my attention to recreating the outer wheel-arch for which I have found it impossible to get a repair panel. On the Classic Car SOS (I'll keep controversial comments to myself ;) ) last week they rebuilt a Sunbeam Alpine wheel-arch outer using an amazing number of clipped down, pre-shaped repair sections welded end to end in situ; I might try that approach.
 
Last edited:
I know what you mean.
However the spot/plug welds in the flange are just a little bit stronger as they help prevent the panels ripping apart like you get with a seam weld. The heat from the seam weld causes the metal either side of the weld to soften. So if the accident was bad enough the metal could rip down the side of the weld.
That's the theory anyway.
But lets face it, what ever you do is going to be stronger than before.
Like the 500 they were not the must robust vehicle.


Nothing a bit of seam sealer wont hide. (y)
another 5 years and you could have it on the road :ROFLMAO::ROFLMAO:
 
I take your point about strength, although it is hardly relevant to the blob of metal which is the Fiat 900e :D. So I have put in a few plug-welds to support the splashes of seam-welding.:D

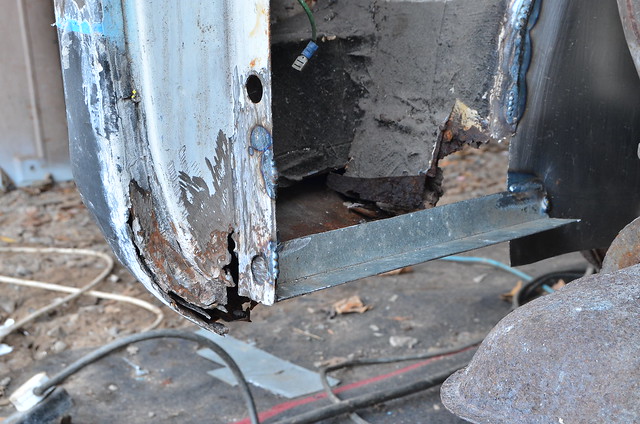
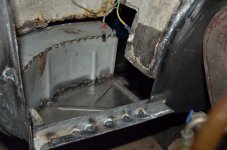
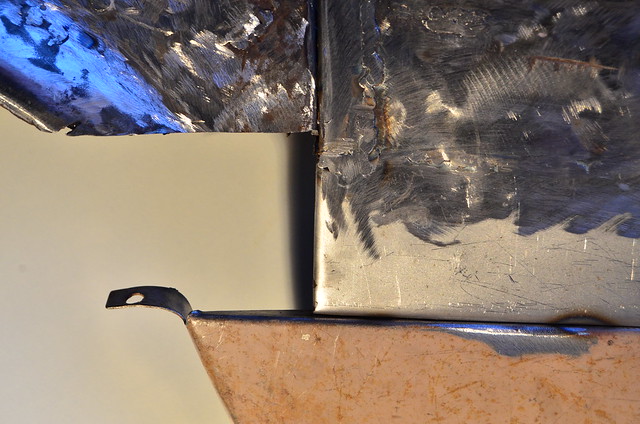
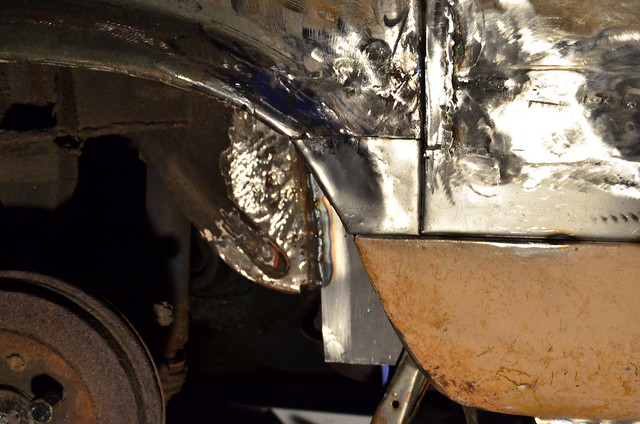
Welding in the rear corner was 90% preparation and 10% welding. I did use plug-welds accessible from the back and inside the wing, which makes for a neat job. The lower flange of the panel will need trimming to make it look tidy.

LIS_2355 by Peter Thompson, on Flickr

LIS_2356 by Peter Thompson, on Flickr

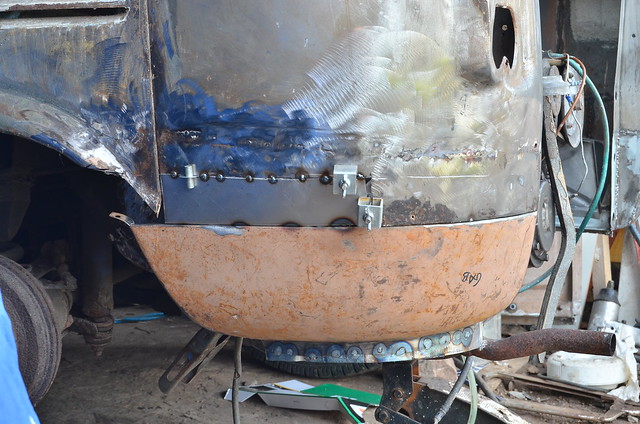
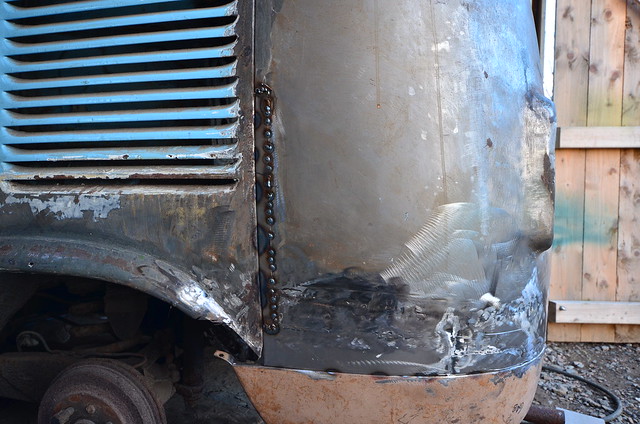
I've started on the repairs to the rear-wing now that I have the correct contour to work to. It's slow-going and quite fiddly. I found on the other side that this is a panel with very subtle, shallow, compound curves in all directions. So this is going to be a jigsaw repair operation.:D
 
I've been plodding away at that rear quarter and can finally say that all the suspect areas of "metal" are gone and replaced with new. I have welded in some tiny patches as well as strip that the one in the image which is now completed. There is still re-inforcing stay to make for the back of the join between the two panels. But now I can move on to the outer wheel-arch.

LIS_2582 by Peter Thompson, on Flickr
 
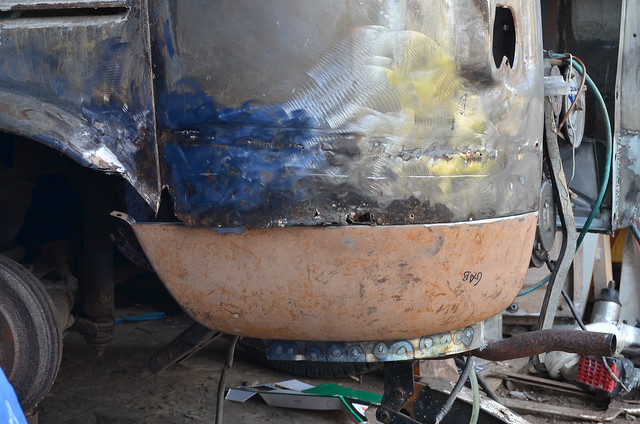
I'm plodding on at the rate of an hour a day. That whole hour was needed today in order to make one tiny piece of wheel-arch. There are very few repair panels available for this and the ones I have seen for sale include the whole area, including the louvred section and the window surround; consequently they are very expensive. So I am prepared to put in a lot of effort to patch up the remnants of original which remain.
Everyone who has restored one of these vans has valiantly tried to use repair panels intended for different makes of car, but the profile is unusual and it is never satisfactory.
As you can see, I'm no panel-beater but once this section is welded on and bashed around a bit more it will then be blended with a skim of filler.
there is a more daunting section ahead so more head-banging to follow.:bang:

LIS_2586 by Peter Thompson, on Flickr

LIS_2591 by Peter Thompson, on Flickr
 
Back
Top