Yes, ours is the same, I can drive a car into the garage but I can’t get out of it. I have to take my lunch with me. Or be a contortionist.Well done that man! I know exactly what you mean about the rain as I mostly work on my driveway. I do have a garage but, although it's long enough to get the car in and still have room at the top end for my workbench and a load of other stuff, it's too narrow to be useful. Rusty/seized nuts bolts and other fixings are pretty annoying and can eat away at your enthusiasm but then when it starts raining it just gets miserable.
I'm looking forward to your ecstatic report when the job is done!


You are using an out of date browser. It may not display this or other websites correctly.
You should upgrade or use an alternative browser.
You should upgrade or use an alternative browser.
Technical Front suspension refresh
- Thread starter d4zzl3r
- Start date
Currently reading:
Technical Front suspension refresh
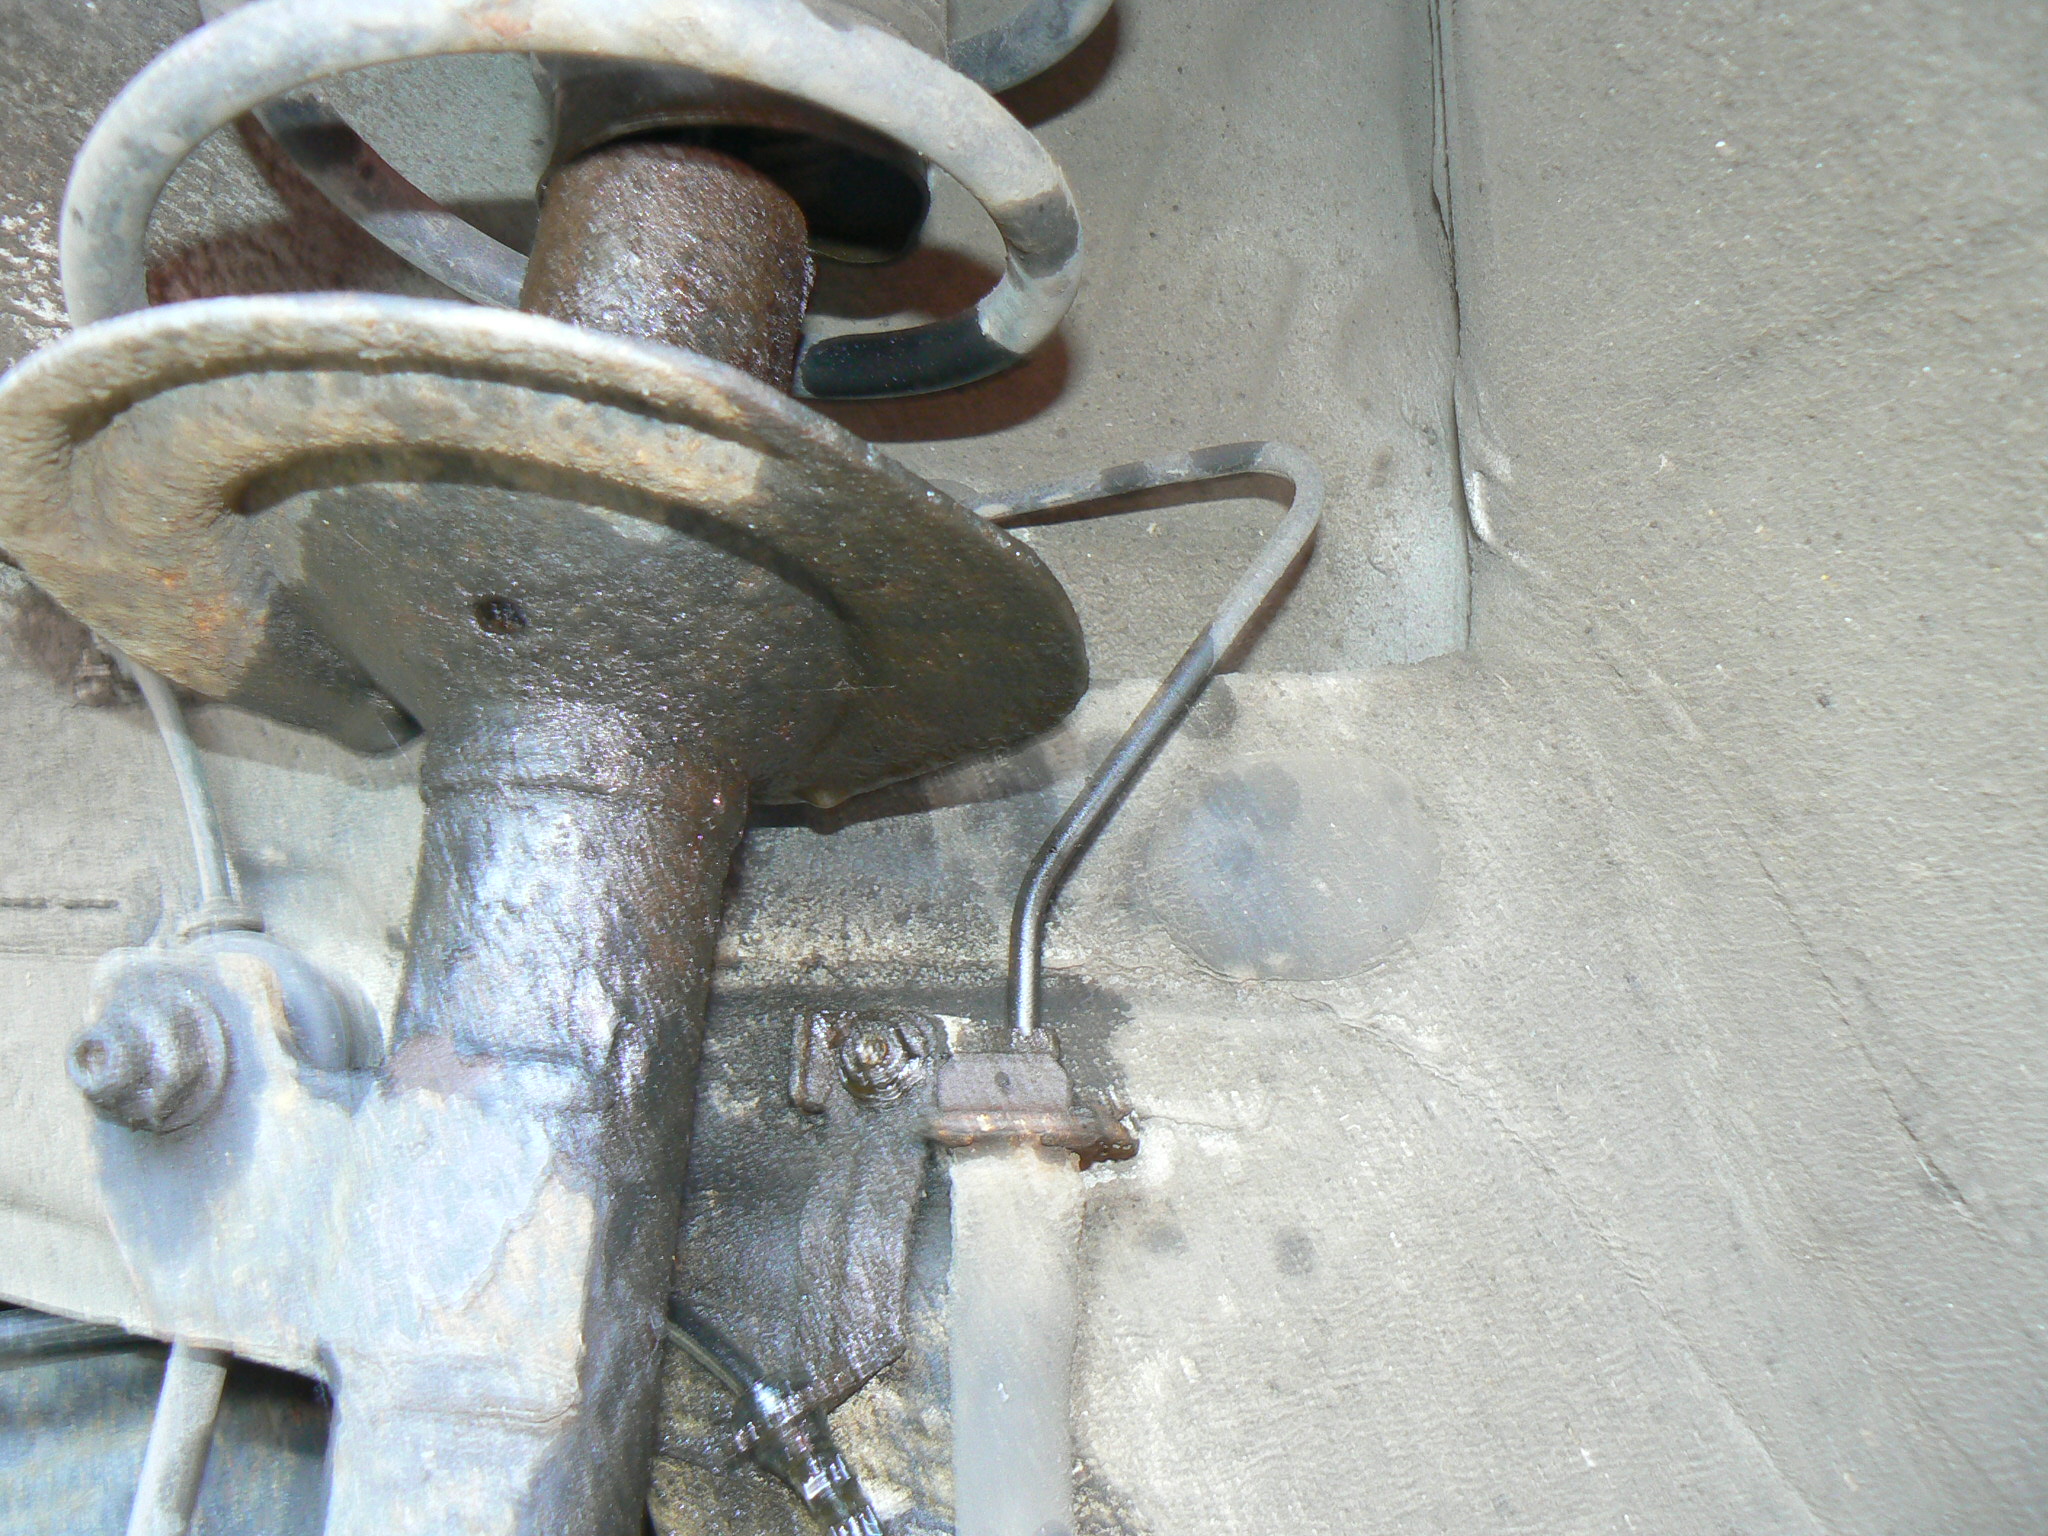
With regard to "refreshing" the front suspension. If you observe other 169 model Pandas while you are out and about you may notice that many tend to sit down at the front - some by only a little, others by quite a lot. Our Becky was one of the ones where this "feature" was quite noticeable and it had always annoyed me. When she blew out a front shocker a couple of years ago - spectacularly, there was oil all over the place - I renewed both front shocks, springs, top mounts, and other parts. She now sits nice and level and it's a source of constant pleasure and satisfaction whenever I look at her!

For those who didn't see it at the time here's a couple of links to stuff I posted at the time I was doing the work. Just in case it's of interest/help:
 www.fiatforum.com
and
www.fiatforum.com
and
www.fiatforum.com
Edit. I meant to say, by the way, that my opinion is that these cars sit down at the front like this because of a combination of tired springs and top mounts. The springs tend to compress a little as they age - I've seen this in many makes and models due to the weight of the engine tending to fatigue the front springs more than the rears - and the rubber of the top mounts just tends to crack and "relax" with age and can pull away from the metal elements in the bushing for the damper rod/top bearing. You can usually see this if you compare the damper rods where they stand out of the top mounts under the bonnet. They have a large washer and it's easy to see when one sticks up more than the other - which often happens as they age. By the way, if you haven't already, smear some grease on the threads which will slow corrosion and make it easier to unscrew the nuts if you ever need to replace the shocks
For those who didn't see it at the time here's a couple of links to stuff I posted at the time I was doing the work. Just in case it's of interest/help:
Becky's leaky strut | FIAT Panda (Mk3)
A bit more than a week ago I posted somewhere on here about Becky's spectacular strut blow out. I'll try to load some pics now. Thanks Ben that seems to be working good now. So about a week ago I had an in depth look at it all and came to the conclusion I might as well do both sides...
Becky's leaky strut | FIAT Panda (Mk3)
I've been following this thread with interest, as I knew my top mounts were getting old. (I've had a box of new ones on the shelf for a few years now!) So yesterday morning I lifted the bonnet to check the levels, and whilst there, glanced into the chamber below the screen, check the fish are...
Edit. I meant to say, by the way, that my opinion is that these cars sit down at the front like this because of a combination of tired springs and top mounts. The springs tend to compress a little as they age - I've seen this in many makes and models due to the weight of the engine tending to fatigue the front springs more than the rears - and the rubber of the top mounts just tends to crack and "relax" with age and can pull away from the metal elements in the bushing for the damper rod/top bearing. You can usually see this if you compare the damper rods where they stand out of the top mounts under the bonnet. They have a large washer and it's easy to see when one sticks up more than the other - which often happens as they age. By the way, if you haven't already, smear some grease on the threads which will slow corrosion and make it easier to unscrew the nuts if you ever need to replace the shocks
Last edited:
I was going to just put it all back together...
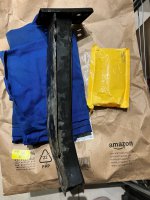
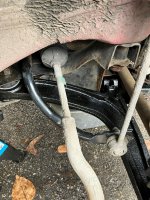
What would you do with this chassis rail thing?
1. Nothing, just refit
2. Paint
3. Sand down / wire-brush then paint
4. Sand down / wire-brush / apply anti-rust stuff then paint
What is there available out there to stop rust please?
What would you do with this chassis rail thing?
1. Nothing, just refit
2. Paint
3. Sand down / wire-brush then paint
4. Sand down / wire-brush / apply anti-rust stuff then paint
What is there available out there to stop rust please?
Attachments

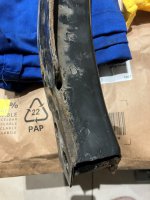
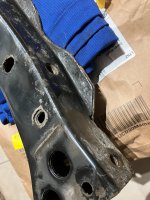
If you have the time definitely worth a sand down some rust treatment and a few coats of spray paint
I done it, at last. Rides like a Rolls Royce...well i've never been in a RR but i imagine it rides as close to one as a F500 can get. No more clanking and banging. Well worth the effort and theres a sense of satisfaction when you do the job yourself, i know its done right and i've saved £300 green-backs. I've going to start another post about the rear springs, watch this space and in the meantime look at these pictures.
Attachments

Well done, congratulations. Isn't it just the greatest of feelings when you manage something like this?I done it, at last. Rides like a Rolls Royce...well i've never been in a RR but i imagine it rides as close to one as a F500 can get. No more clanking and banging. Well worth the effort and theres a sense of satisfaction when you do the job yourself, i know its done right and i've saved £300 green-backs. I've going to start another post about the rear springs, watch this space and in the meantime look at these pictures.
Worth considering that the toe setting may now not be correct but it's probably going to be very close as manufacturing tolerances now a days mean that good quality replacement parts are made to specific dimensions. Replacing a track rod end is much more likely to result in the toe being wrong. Only way you're going to know for sure is to get it checked on a wheel alignment machine. Many of the tyre fitting shops will have one - worth considering that they also exist to make money though - if you know what I mean?
It is possible to do your own toe settings to an acceptably accurate standard and there are many videos on you tube covering different ways of doing it. Many years ago I made my own gauge which I wrote about on the forum some time ago, here's a link to it: https://www.fiatforum.com/threads/jocks-tracking-gauge.460442/ which you might find interesting.
If you decide not to get it checked - and if all that was "wrong" was the wishbone bushes and someone has not recently tried to adjust the toe with the worn bushes ( because this will result in the toe being wrong) - Then keep an eye on the front tyres for feathering (lipping) of the treads and excess wear on either both inner shoulders (too much toe out if both are wearing this way) or both outer shoulders (too much toe in). If both tyres are wearing nice and evenly across the face of the tread and no signs of lipping of the tread grooves can be seen, then the toe is probably set pretty accurately. It can take a couple of thousand miles for a reliable wear pattern to be established.
Once again, well done. Hope the above hasn't dulled the pleasure!
OOPs sorry folks. I've just been rereading that post about the home made gauge and the fifth picture is wrong! If you look at the end of that post you'll see the correct picture at the end under the Attachments heading and in fact my very next post brings your attention to this. Sorry, I wasn't so good with handling this sort of thing back then.
Thank you, I hadn’t considered it but I will now.Well done, congratulations. Isn't it just the greatest of feelings when you manage something like this?
Worth considering that the toe setting may now not be correct but it's probably going to be very close as manufacturing tolerances now a days mean that good quality replacement parts are made to specific dimensions. Replacing a track rod end is much more likely to result in the toe being wrong. Only way you're going to know for sure is to get it checked on a wheel alignment machine. Many of the tyre fitting shops will have one - worth considering that they also exist to make money though - if you know what I mean?
It is possible to do your own toe settings to an acceptably accurate standard and there are many videos on you tube covering different ways of doing it. Many years ago I made my own gauge which I wrote about on the forum some time ago, here's a link to it: https://www.fiatforum.com/threads/jocks-tracking-gauge.460442/ which you might find interesting.
If you decide not to get it checked - and if all that was "wrong" was the wishbone bushes and someone has not recently tried to adjust the toe with the worn bushes ( because this will result in the toe being wrong) - Then keep an eye on the front tyres for feathering (lipping) of the treads and excess wear on either both inner shoulders (too much toe out if both are wearing this way) or both outer shoulders (too much toe in). If both tyres are wearing nice and evenly across the face of the tread and no signs of lipping of the tread grooves can be seen, then the toe is probably set pretty accurately. It can take a couple of thousand miles for a reliable wear pattern to be established.
Once again, well done. Hope the above hasn't dulled the pleasure!
- Joined
- Sep 14, 2009
- Messages
- 19,492
- Points
- 3,294
Anything painted black will get rusty. I run it over with angle grinder cup brush (they don't shed wire like the wheel type). Then use thinners to shift most of the paint. Two coats of rust converter (with gentle wire brushing between coats) seal any rusty pits. Prime and paint with a decent PU black paint. It takes a while to dry but doesn't chip like many stuff on the market.
Overkill? Maybe, but if the back axles were half as well finished by the factory there would be no market for replacements.
Overkill? Maybe, but if the back axles were half as well finished by the factory there would be no market for replacements.
I like this stuff Dave: https://www.frost.co.uk/frost-chassis-black-paint/ been using it for years with very good results. It's a hard enamel so resists abrasion well but doesn't seem to chip to readily like Hammerite and others I've tried.Anything painted black will get rusty. I run it over with angle grinder cup brush (they don't shed wire like the wheel type). Then use thinners to shift most of the paint. Two coats of rust converter (with gentle wire brushing between coats) seal any rusty pits. Prime and paint with a decent PU black paint. It takes a while to dry but doesn't chip like many stuff on the market.
Overkill? Maybe, but if the back axles were half as well finished by the factory there would be no market for replacements.
The Panda Nut
Nutty about Pandas Infected by Panda virus and OPD
Possibly also anti roll bar rubbers. Check steering ball joints I did them too as cost is minimal. Bump rubbers and gaiters. BUY Fiat bump stops as some others dont fit properly. Sorry if this repeats above advice.