

No need to remove water bottle, no need to remove drive shaft well at least for our 2009 car
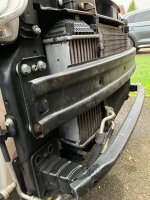
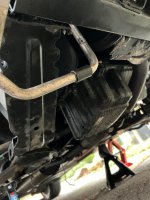
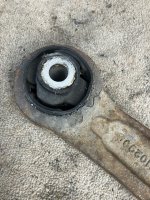
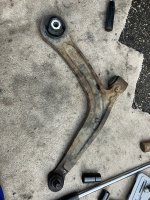
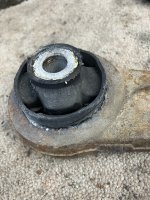
You're right the bumper removal if never off can take hours yep I snapped out the wing to bumper fixing, it holds fine with out it though, I replaced all the small screws with stainless, cable tie(drill holes) the access covers in the wing guards( front bulbs) unless they are a really tight fit remember you need to GENTLY pry apart the outer wishbone ball joint to stub axle taper can be a challenge to separate it.
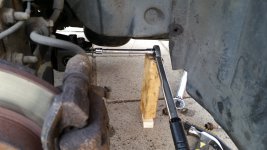
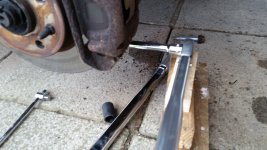
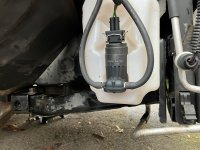
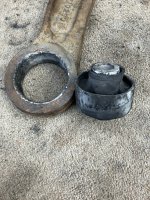
You'll need a wrecking bar to undo the wishbone bolts.
A helper is a great help even just for moral support handing tools etc?
My guide was for the shock replacement
You're right the bumper removal if never off can take hours yep I snapped out the wing to bumper fixing, it holds fine with out it though, I replaced all the small screws with stainless, cable tie(drill holes) the access covers in the wing guards( front bulbs) unless they are a really tight fit remember you need to GENTLY pry apart the outer wishbone ball joint to stub axle taper can be a challenge to separate it.
You'll need a wrecking bar to undo the wishbone bolts.
A helper is a great help even just for moral support handing tools etc?
My guide was for the shock replacement

")