Replacement of faulty (for example leaking) clutch slave cylinder is fairly easy.
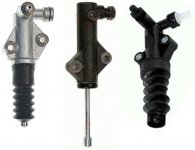
There are many manufacturers, many styles of hydraulic actuators. Doesn't matter much which one you buy, just pay attention to the bolt hole pattern and hydraulic connection (quick connector in this case).
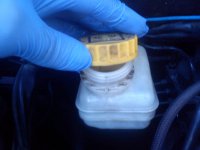
Top up the brake fluid and leave the lid open.
Undo two bolts (13 mm hex), with suitable socket extension.
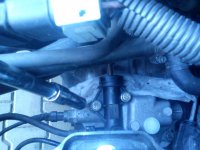
Slowly compress the piston. Internal spring is fairly strong and tip of the push rod is sharp, use some rag to protect your hand.
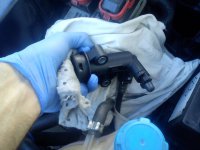
Open (don't remove it completely) the spring retainer clip.
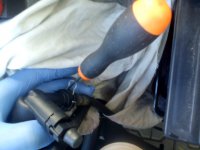
Pull out the hydraulic hose and block the fluid with your finger. Throw away old clutch slave and take new one (compress the piston too). Secure the hose with clip and put down the cylinder, close to the gearbox. Then slowly release the piston. Observe the brake fluid level, top up if necessary. Install the cylinder (bolts). Note there is some play in the mounting holes. Wiggle a bit left/right and find a center spot, then tighten the bolts.
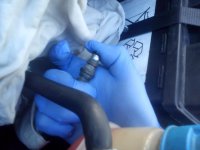
Done, slave actuator installed. Now air bleeding. Valve is not a bolt, you don't crank it with spanners etc. It makes only half turn.
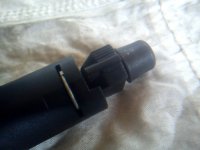
There is nothing inside, no gaskets/seals. Just two holes aligning (Open) or not (Close).
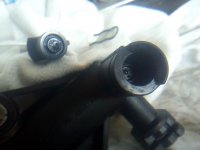
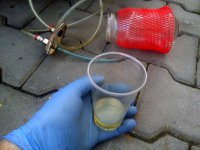
DIY bleeding kit is helpful. Use clear plastic hoses/tubing. Like pneumatic ones. Diameter (outer) 6 mm will do.
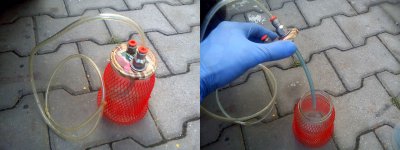
Open the bleeder valve and wait few seconds. Let the gravity start the process.
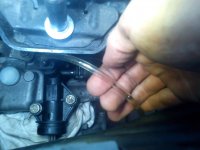
Press the clutch slowly by hand. Leave it on the floor level.
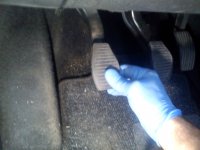
Close the valve. Then slowly pull the clutch pedal up.
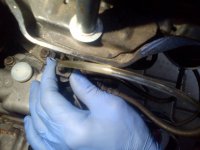
Repeat the process 2-3 times and it should be OK, last bubble and job is done. You will feel increasing hydraulic resistance (clutch pedal assembly has a bit play, few milimeters max., besides that it should be fairly stiff when bled).
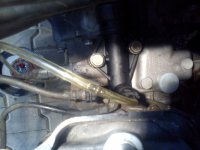
Efficient bleeding procedure will waste surprisingly small amount of fluid.
Clutch slave cylinder stroke is about 20 mm. No boot installed during filming (animated GIF, click it if not playing).
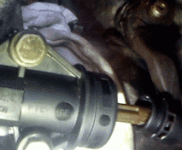
Clutch operation, using cheap USB inspection camera (animated GIF again).

If you are lucky, that's all (brand new slave, air bled, no leaks). If not - see Page 2.
There are many manufacturers, many styles of hydraulic actuators. Doesn't matter much which one you buy, just pay attention to the bolt hole pattern and hydraulic connection (quick connector in this case).

Top up the brake fluid and leave the lid open.

Undo two bolts (13 mm hex), with suitable socket extension.

Slowly compress the piston. Internal spring is fairly strong and tip of the push rod is sharp, use some rag to protect your hand.

Open (don't remove it completely) the spring retainer clip.

Pull out the hydraulic hose and block the fluid with your finger. Throw away old clutch slave and take new one (compress the piston too). Secure the hose with clip and put down the cylinder, close to the gearbox. Then slowly release the piston. Observe the brake fluid level, top up if necessary. Install the cylinder (bolts). Note there is some play in the mounting holes. Wiggle a bit left/right and find a center spot, then tighten the bolts.

Done, slave actuator installed. Now air bleeding. Valve is not a bolt, you don't crank it with spanners etc. It makes only half turn.

There is nothing inside, no gaskets/seals. Just two holes aligning (Open) or not (Close).

DIY bleeding kit is helpful. Use clear plastic hoses/tubing. Like pneumatic ones. Diameter (outer) 6 mm will do.

Open the bleeder valve and wait few seconds. Let the gravity start the process.

Press the clutch slowly by hand. Leave it on the floor level.

Close the valve. Then slowly pull the clutch pedal up.

Repeat the process 2-3 times and it should be OK, last bubble and job is done. You will feel increasing hydraulic resistance (clutch pedal assembly has a bit play, few milimeters max., besides that it should be fairly stiff when bled).

Efficient bleeding procedure will waste surprisingly small amount of fluid.

Clutch slave cylinder stroke is about 20 mm. No boot installed during filming (animated GIF, click it if not playing).

Clutch operation, using cheap USB inspection camera (animated GIF again).

If you are lucky, that's all (brand new slave, air bled, no leaks). If not - see Page 2.
New cylinder leaks. Installing tips.
My brand new cylinder started to leak after one week or so...
There is a lot of play in the mounting holes. Animated GIF (click if static). So which position is a "correct" one?
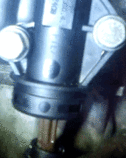
Let's start with manual from Master/Slave cylinders manufacturer.
View attachment FTE_-_Hydraulic_clutch_actuation_basics.pdf
Pump (Master) has 2 degrees allowance (how much you can tilt/cock the piston).
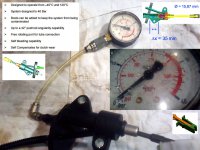
So Master has internal ball joint to let the pushrod tilt. Animation GIF (click).
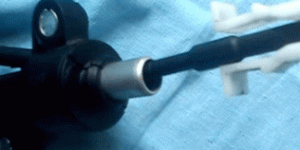
So it will not disturb the seals during the stroke (click to play GIF).
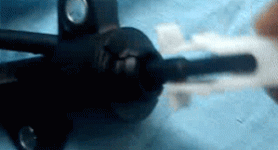
Slave actuator has plus/minus 2 degrees too. But internals are different, no joints, so seal is cocking. Bench test, master+slave. Stroke is the same on the bench and installed in the car, so nothing is restricting it.
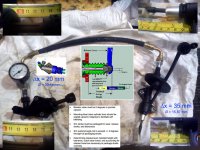
By the way, you can make up to 20 bar by pushing the pump rod freehand. GIF (click if static).
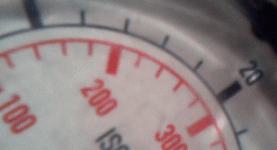
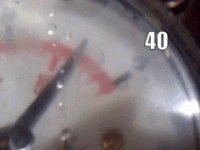
There is no limiting in the system, you can exceed the nominal pressure (40 bar). Animation.
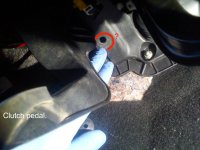
Question for you. Is there a part missing (some rubber pad, "stop") in my car? Under the clutch pedal, there's a hole. Check yours.
So, the leak is probably caused by excessive tilting of the clutch slave rod (and seal). Which depends on installing position, angle. There is wiggle room (bolts). But another source of tilt can be clutch release bearing fork, the bushings (worn out). So check them too. Bearing and fork (and those plastic bushings) are the most sensitive parts of the clutch system in this model.
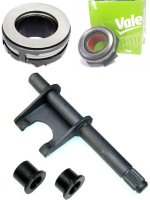
Slave leaks can be also caused by wrong type of bearing installed (height, so disturbing/limiting the stroke), so new cylinders will keep blowing the seals. Another thing is a bent fork (or wrong one).
Anyway, check Page 3 for modification.
Clutch Slave cylinder modification to stop leaks.
This is clearly bad design. Master has a joint to allow rod cocking. Slave has none, so those "2 degrees allowance" may be too much (and it is in my car - or, maybe there is something else wrong, I don't know).
But. In power hydraulics world this is unacceptable at all, to tilt the piston and seals!
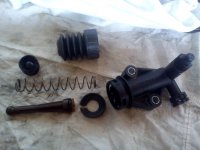
How can it seal when you cock it? Who designed this?
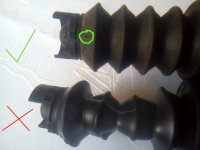
By the way, the boot should have a vent, check this when you buy a new cylinder...
Now. Modifications. Idea 1 - not tested. Just add an o-ring (brake fluid compatible).
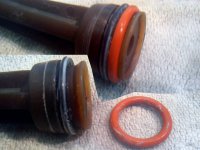
Idea 2 - not tested. Stack the original seals (if you have 2 slaves).
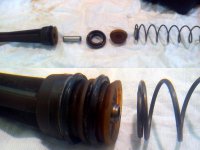
Idea 3 - not tested. Extra piston. Diameter is the same as brake cylinders = 20,6 (or 20,64 mm). But they take too much stroke. And metal can be too hard on the plastic body, bore.
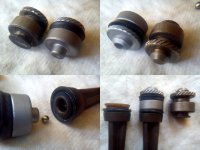
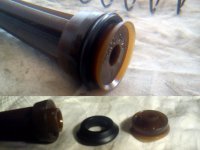
Idea 4 - done, testing (for almost a year now), works great. Custom made piston, plastic (PA - polyamide), plus seal from brake system (drum brake cylinders, from Punto 1). Of course, it takes a stroke space, but there is still plenty of it available for future wear compensation (but it must be checked periodically).
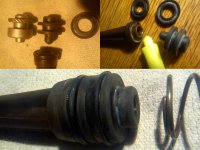
Diameters are maximum. If anyone will ever make this mod, do it a bit smaller (all diameters smaller by 0,05-0,10 mm). It works great, but feels a bit on the tight side. Important thing is, it should push on the center of the original push rod, not crushing the seal.
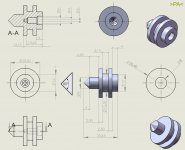
Animated GIF (click).
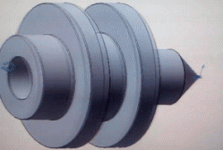
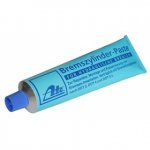
There is a grease compatible with brake fluids. Use this during assembly.
