Introduction
I have finally begun the process to start the restoration on my wife's cinquecento "Sophia"
Original Introduction Thread
She is a 1966 F with a 650 motor that has a synchro gearbox, electronic ignition and a dynamo.
When I purchased the car from Bring A Trailer it looked to be in much better condition than when she showed up at our home in December. I knew that I was going to have to do some work to get her to where we wanted to be with the car, but I didn't expect to need to "fix" so much. I'm not necessarily mad about this, as I will be able to learn more about the car as I go through it.
The car was originally blue, but was repainted to green at some point. We plan to bring her back to blue, but not for a few years. I'm certainly in over my head on this, but that's part of the fun!
When I started to look her over, I noticed that the exhaust was severely cracked, the seller stated it was "new"

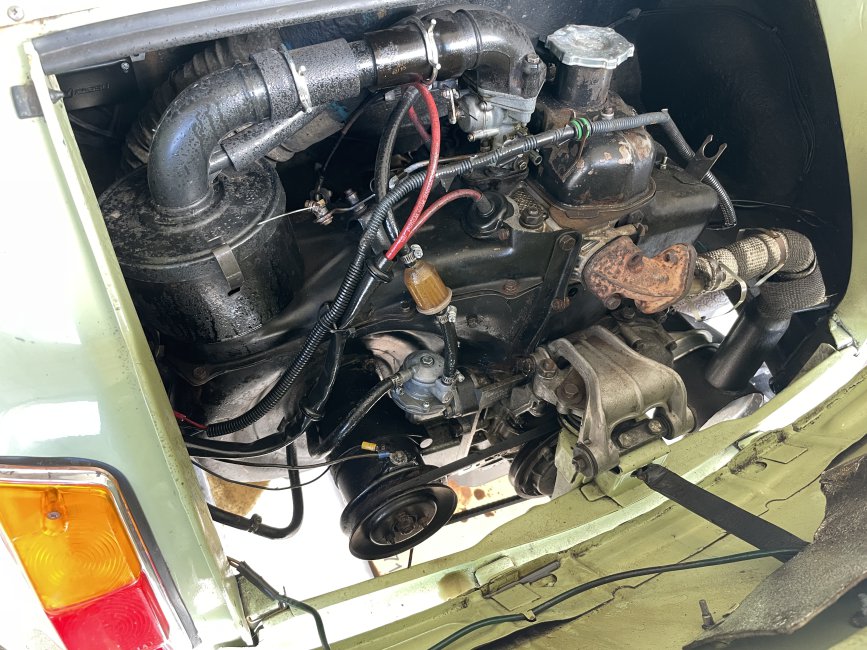
Here's how the engine looked after the first test drive. You'll note that the engine is covered in oil, as it turns out, the car has a major oil leak that sprayed over the whole engine from the belt and pullies. I thought we had a fire with all the smoke!

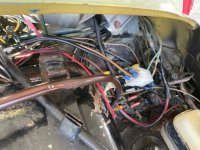
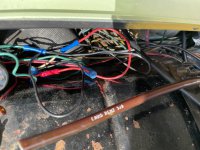
The wiring is also quite a mess, with lots of splices and things not working as they should. I ordered a new loom and will be rewiring the whole car.


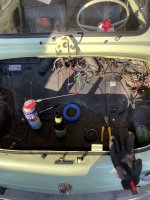
Gas tank out to begin the wiring removal process. I think I'll repaint it with the colors of the Italian flag

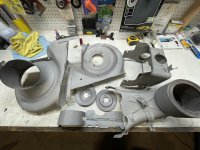
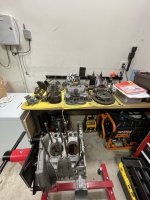
And now the process of removing the bits from the engine in preparation to pull it out to fix the oil leak, paint shrouds, swap oil pan and rebuild carburetor. I'll be replacing the bonnet, starter and accelerator cables as well.
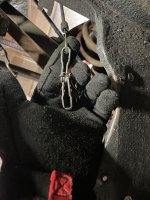
Interesting "fix" for a shorter starter cable...

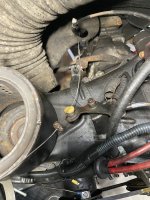
The accelerator cable just runs without a housing for the full length of the car

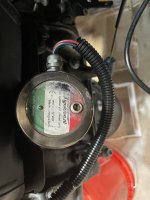
Electronic Ignition. If anyone can give pointers on how this needs to be wired into the loom, it would be greatly appreciated.

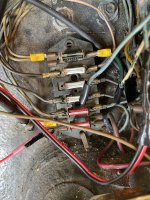
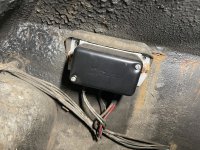
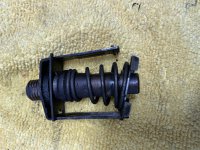
Can anyone tell me what this is? Voltage Regulator?

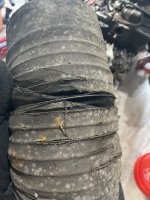
Air intake hose needs to be replaced...having a hard time finding this part, any leads?

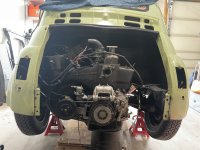
And here's how she sits for now

The dynamo does not appear to be working, so I will need to rebuild it. I have a spare so I may send it off for refurbishment.
Original Introduction Thread
She is a 1966 F with a 650 motor that has a synchro gearbox, electronic ignition and a dynamo.
When I purchased the car from Bring A Trailer it looked to be in much better condition than when she showed up at our home in December. I knew that I was going to have to do some work to get her to where we wanted to be with the car, but I didn't expect to need to "fix" so much. I'm not necessarily mad about this, as I will be able to learn more about the car as I go through it.
The car was originally blue, but was repainted to green at some point. We plan to bring her back to blue, but not for a few years. I'm certainly in over my head on this, but that's part of the fun!
When I started to look her over, I noticed that the exhaust was severely cracked, the seller stated it was "new"
Here's how the engine looked after the first test drive. You'll note that the engine is covered in oil, as it turns out, the car has a major oil leak that sprayed over the whole engine from the belt and pullies. I thought we had a fire with all the smoke!
The wiring is also quite a mess, with lots of splices and things not working as they should. I ordered a new loom and will be rewiring the whole car.
Gas tank out to begin the wiring removal process. I think I'll repaint it with the colors of the Italian flag
And now the process of removing the bits from the engine in preparation to pull it out to fix the oil leak, paint shrouds, swap oil pan and rebuild carburetor. I'll be replacing the bonnet, starter and accelerator cables as well.
Interesting "fix" for a shorter starter cable...
The accelerator cable just runs without a housing for the full length of the car
Electronic Ignition. If anyone can give pointers on how this needs to be wired into the loom, it would be greatly appreciated.
Can anyone tell me what this is? Voltage Regulator?
Air intake hose needs to be replaced...having a hard time finding this part, any leads?
And here's how she sits for now
The dynamo does not appear to be working, so I will need to rebuild it. I have a spare so I may send it off for refurbishment.


