Introduction
OK - I hate the term 'surf van' - but this is kind of what this van is going to end up as.
But rather than JUST being that, it's also my daily drive and needs to do all the other stuff that vans are good at - like tip runs!
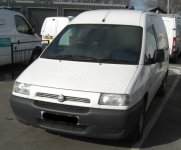
Anyway - it's a 2002, ex council van with 43k on the clocks - a few light scrapes, but overall in great nick :
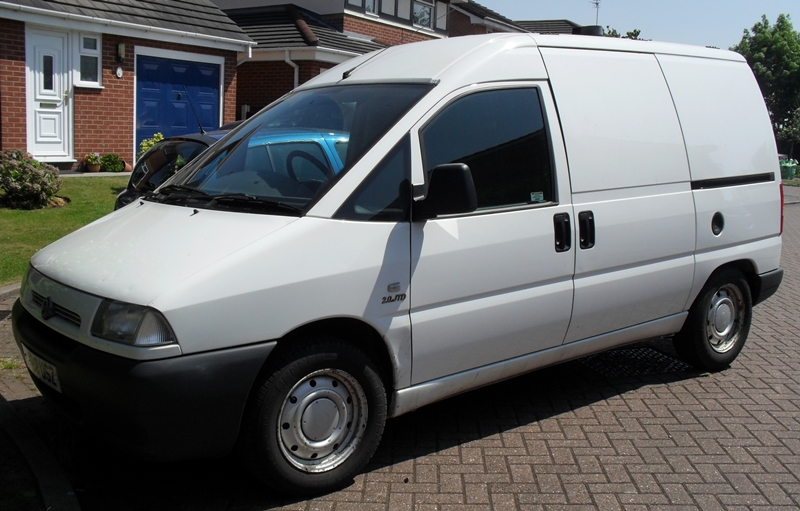
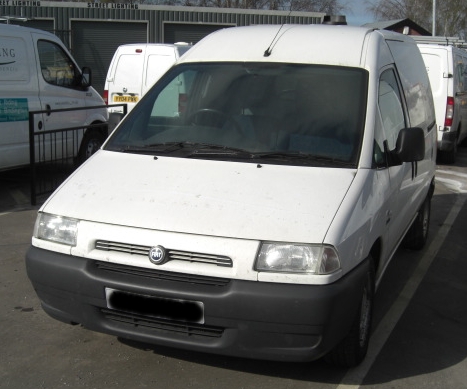
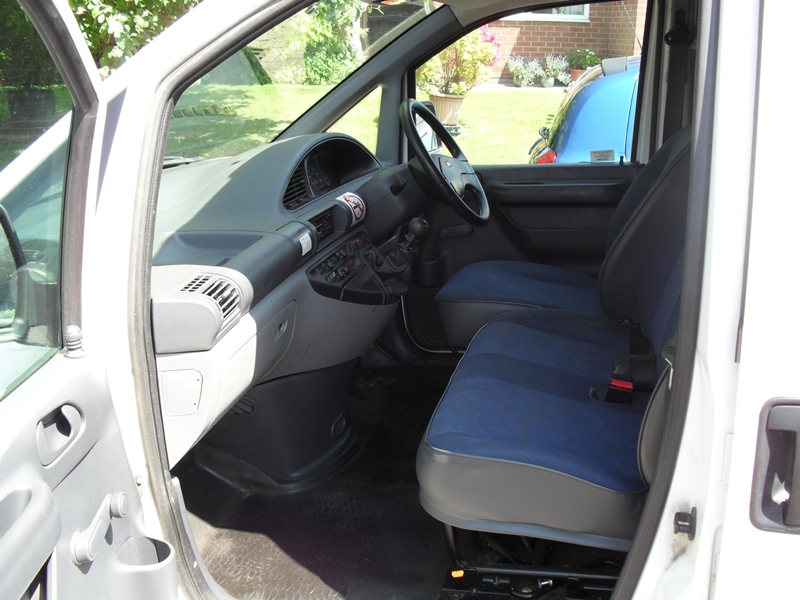
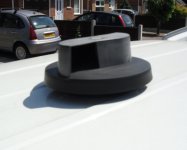
Whirly roof thingy is an added bonus to keep the air circulating - especially when I sleep in the van! :
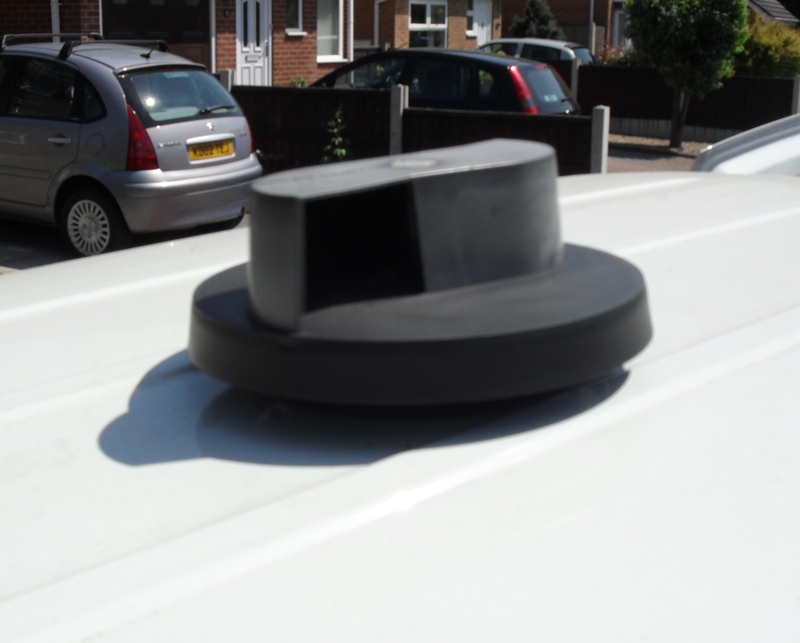
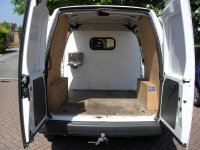
The back originally looked like this :
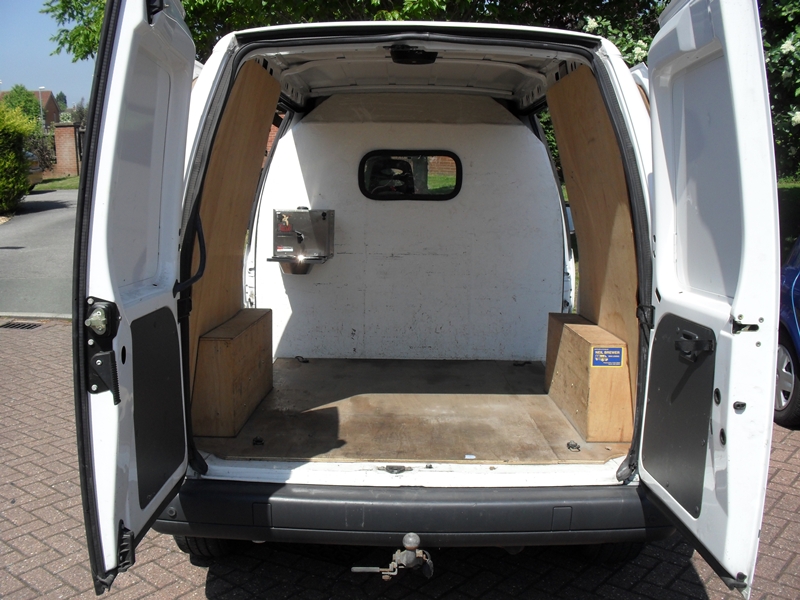
The ply lining kit was first to go :
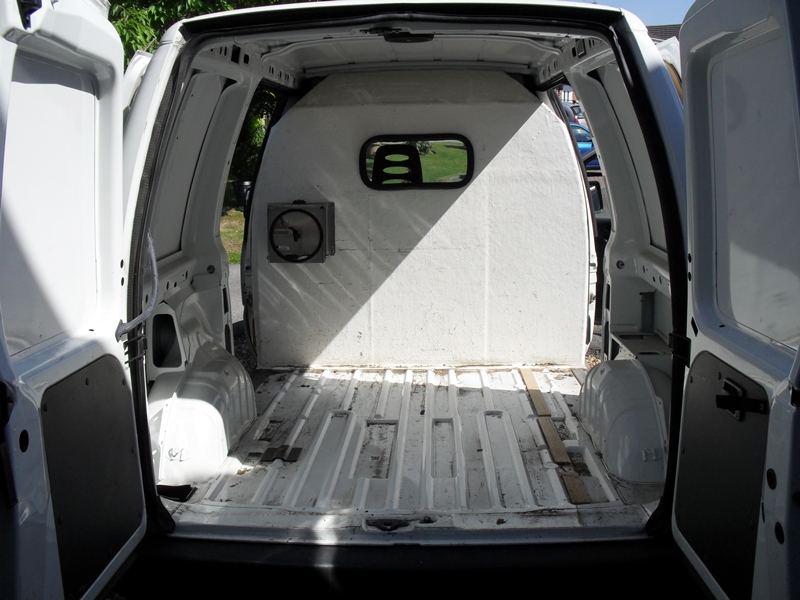
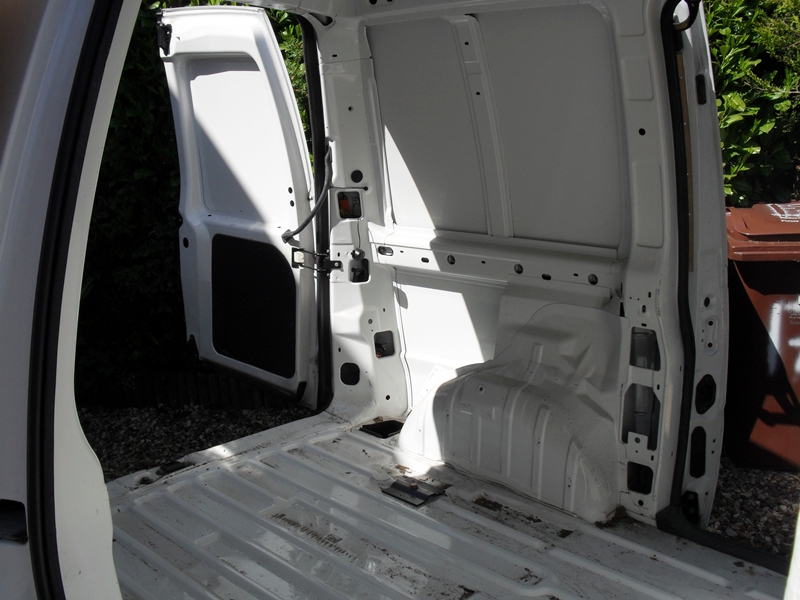
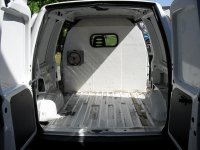
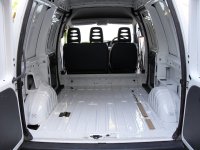
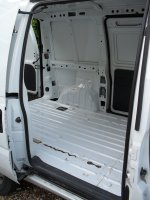
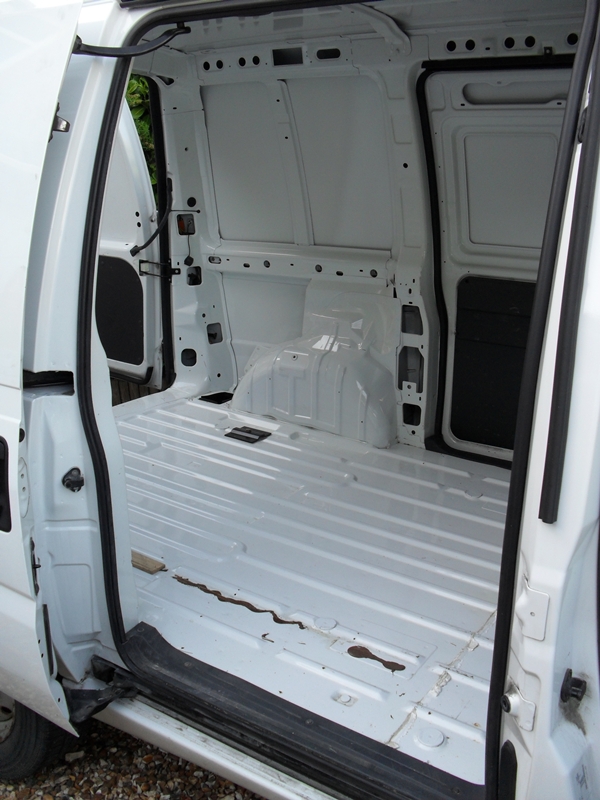
Closely followed by the bulkhead - and then a quick clean :
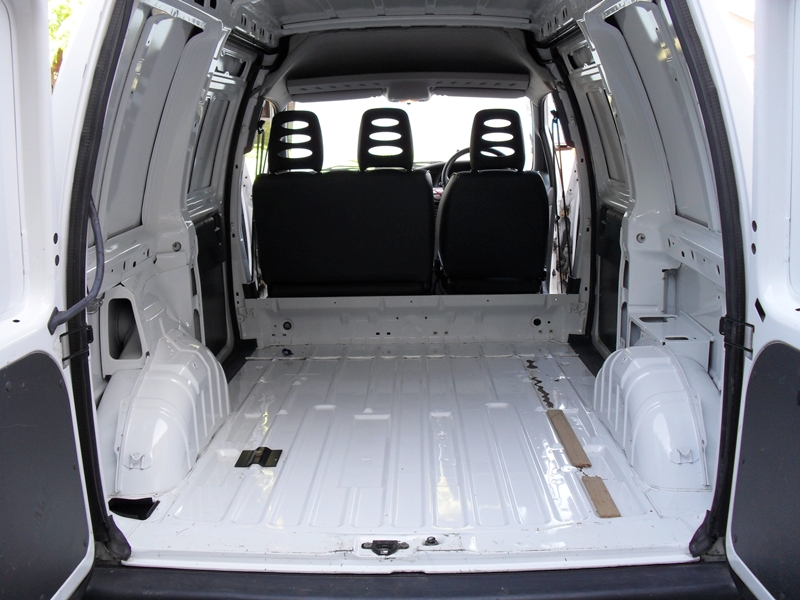
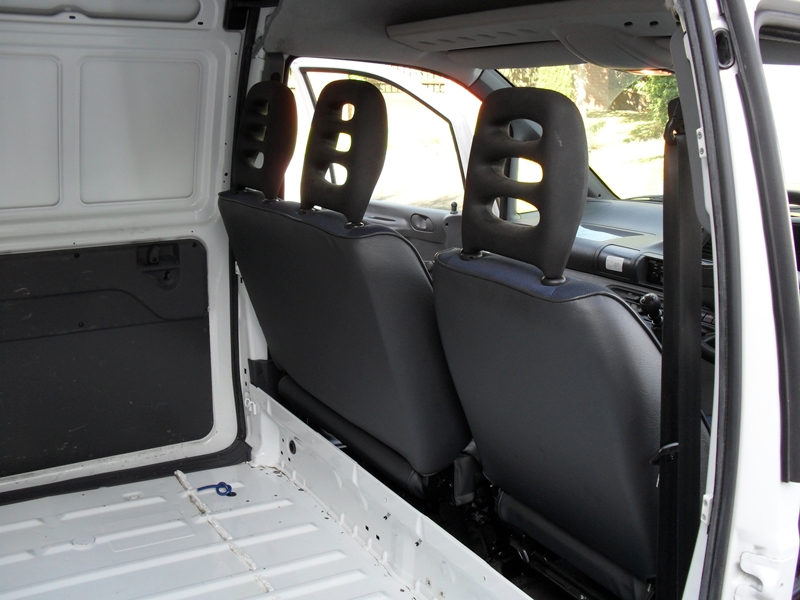
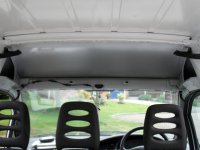
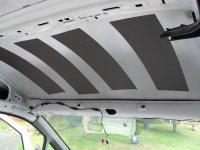
Next to go (for now) was the cab headlining :
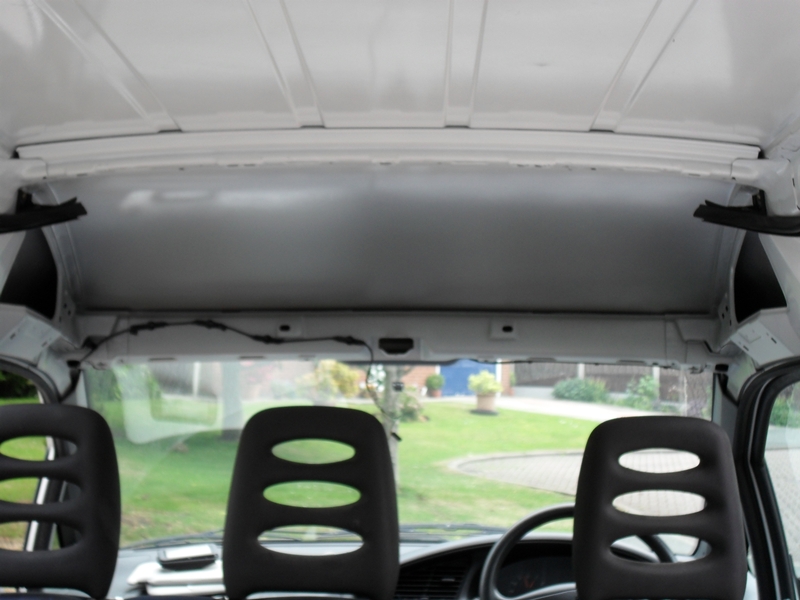
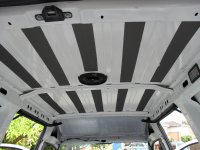
"Flashband" added to reduce panel vibration (cheap alternative - but effective) - can't beleive there's NO sound deadening at all in these vans! :
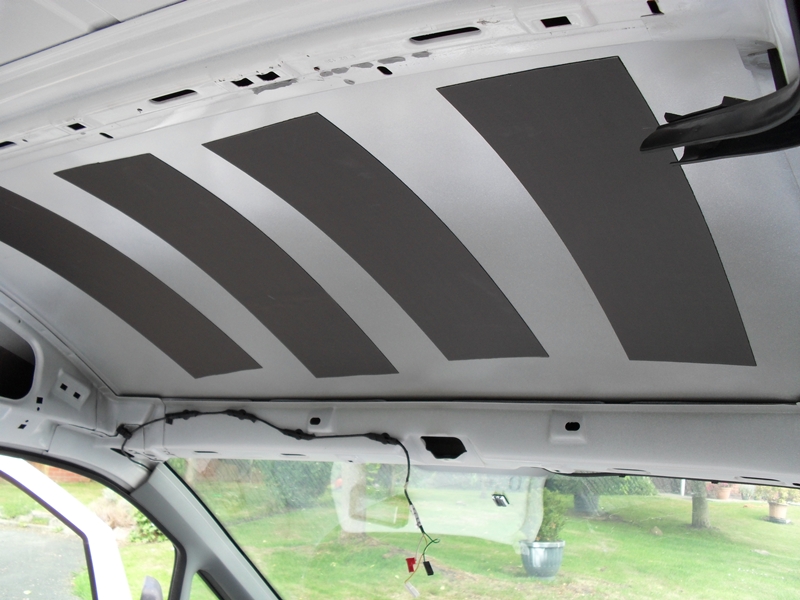
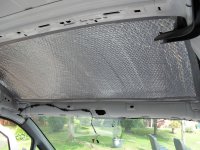
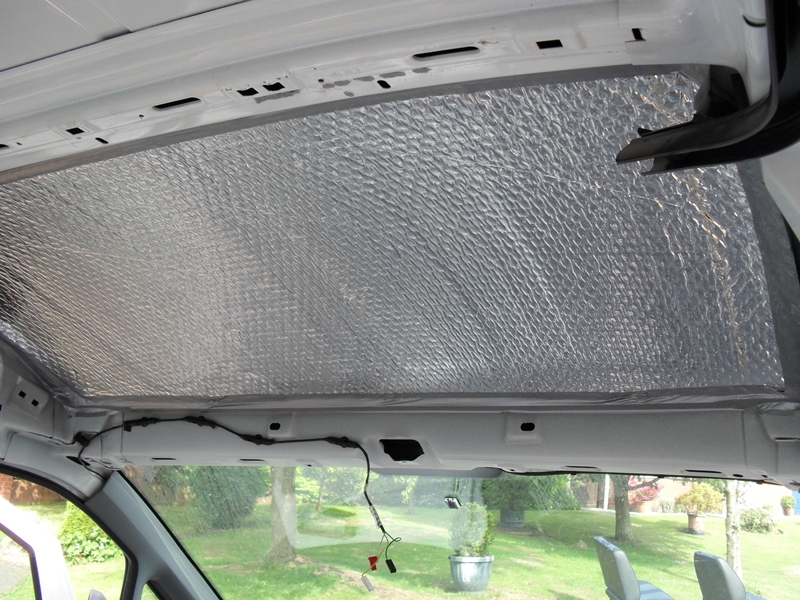
Foil backed bubble wrap is my first insulation layer - reflects the heat both ways to keep the van cooler in summer and warmer in winter - tried and trusted!
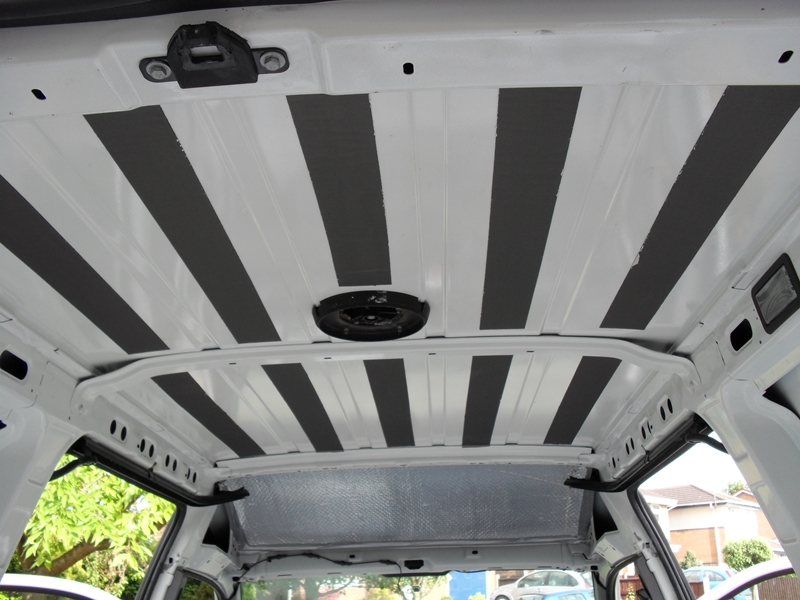
Whilst I'm waiting on a full-length rear headlining, I've just added the "Flashband' :
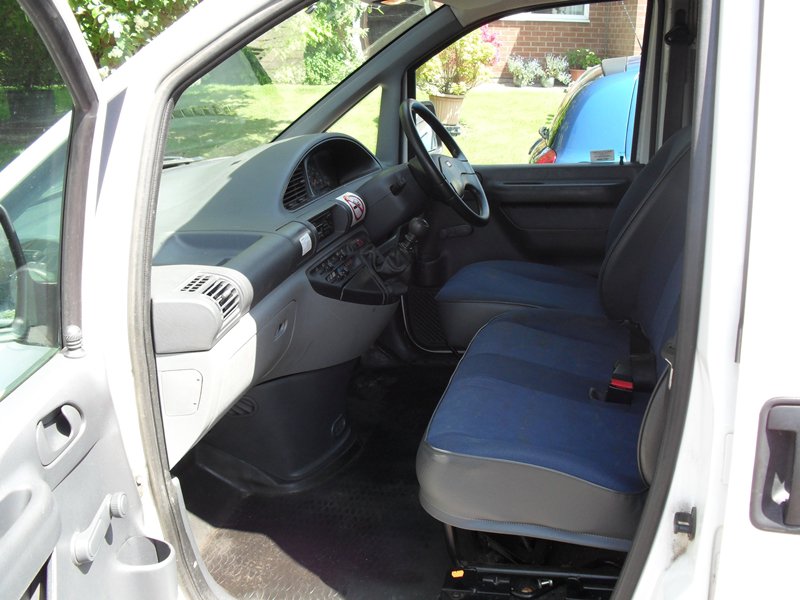
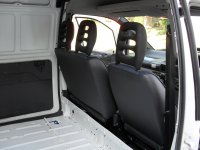
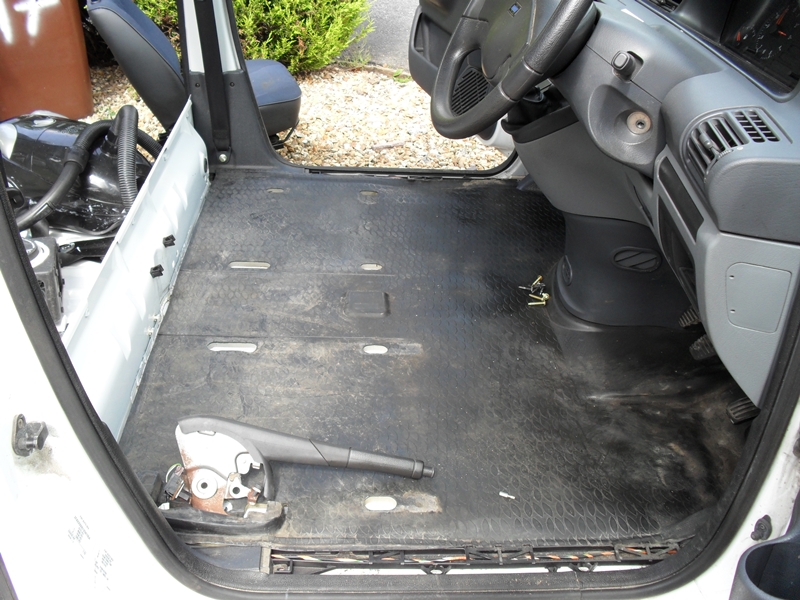
Next to come out were the front seats (with one bolt taking longer than the rest combined, in true DIY style) :
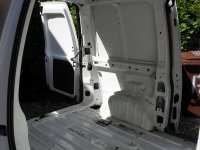
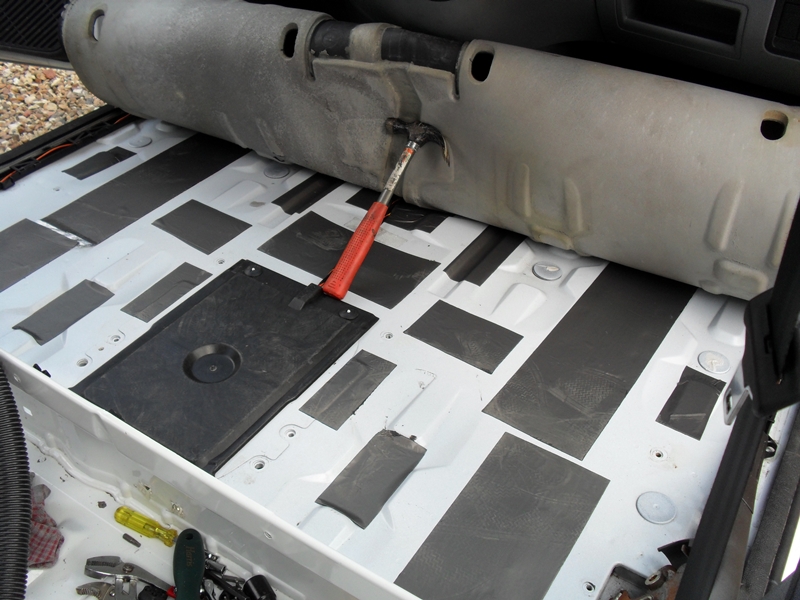
With the floor up, more "Flashband" applied :
And finally given a good clean :
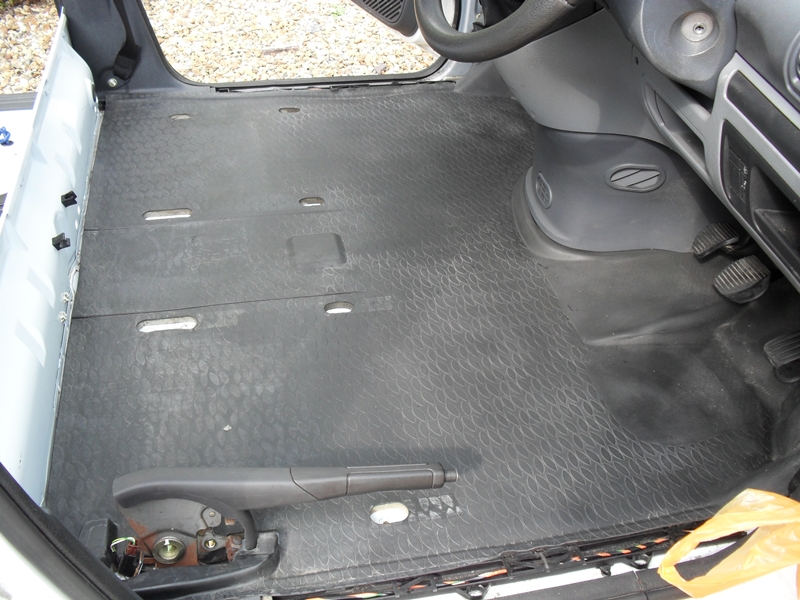
That's about all for now. I'm waiting on some rear plastics out of a combi, plus the rear headlining.
Once the van is fully "Flashbanded" and insulated, I'll start with the cosmetics.
The headlining (front and back) will be getting a complete re-trim in something bright.
The plastics will either be getting just a good clean, painted or re-trimmed, depending on how good they are.
The remaining metalwork will be getting fully carpeted.
A ply floor will be going back in, covered in black Altro flooring and I'll be making a rear-facing seat / storage box that converts into a bed.
I'll add to this thread as I get things done........ :slayer:
But rather than JUST being that, it's also my daily drive and needs to do all the other stuff that vans are good at - like tip runs!
Anyway - it's a 2002, ex council van with 43k on the clocks - a few light scrapes, but overall in great nick :

Whirly roof thingy is an added bonus to keep the air circulating - especially when I sleep in the van! :
The back originally looked like this :
The ply lining kit was first to go :
Closely followed by the bulkhead - and then a quick clean :
Next to go (for now) was the cab headlining :
"Flashband" added to reduce panel vibration (cheap alternative - but effective) - can't beleive there's NO sound deadening at all in these vans! :
Foil backed bubble wrap is my first insulation layer - reflects the heat both ways to keep the van cooler in summer and warmer in winter - tried and trusted!
Whilst I'm waiting on a full-length rear headlining, I've just added the "Flashband' :
Next to come out were the front seats (with one bolt taking longer than the rest combined, in true DIY style) :
With the floor up, more "Flashband" applied :
And finally given a good clean :
That's about all for now. I'm waiting on some rear plastics out of a combi, plus the rear headlining.
Once the van is fully "Flashbanded" and insulated, I'll start with the cosmetics.
The headlining (front and back) will be getting a complete re-trim in something bright.
The plastics will either be getting just a good clean, painted or re-trimmed, depending on how good they are.
The remaining metalwork will be getting fully carpeted.
A ply floor will be going back in, covered in black Altro flooring and I'll be making a rear-facing seat / storage box that converts into a bed.
I'll add to this thread as I get things done........ :slayer:


