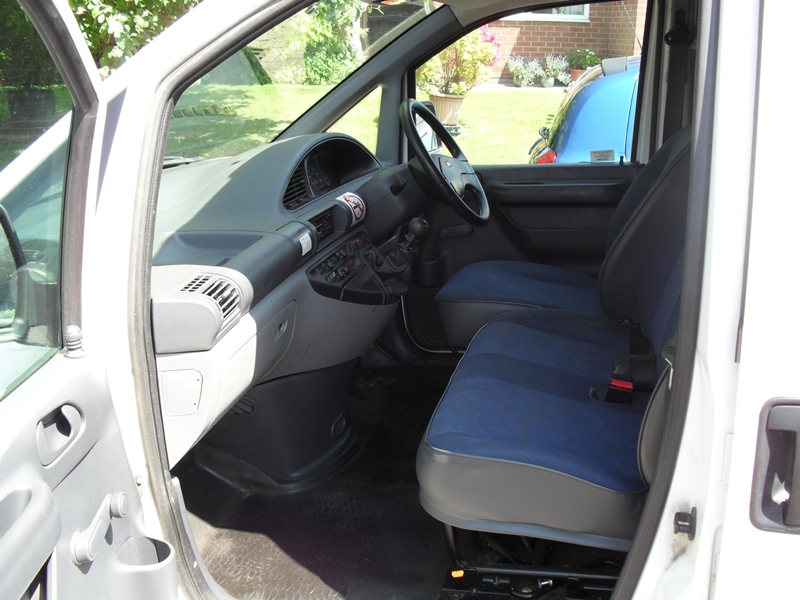
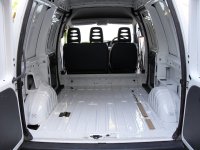
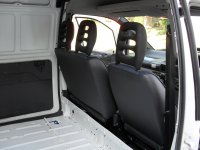
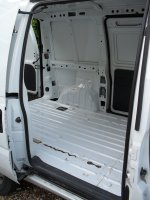
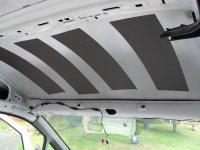
cab1.JPG

Scudo Scudo 'it's not just a van' build diary.

Introduction

OK - I hate the term 'surf van' - but this is kind of what this van is going to end up as.

But rather than JUST being that, it's also my daily drive and needs to do all the other stuff that vans are good at - like tip runs!

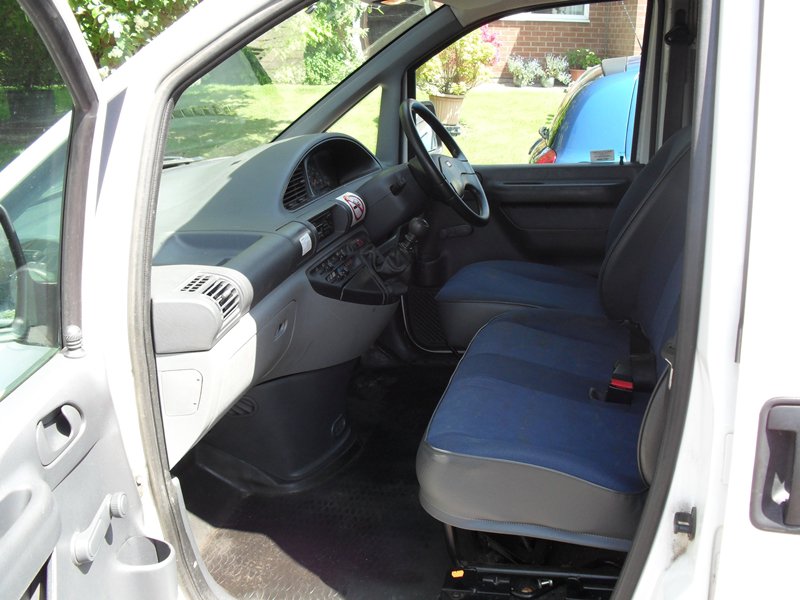
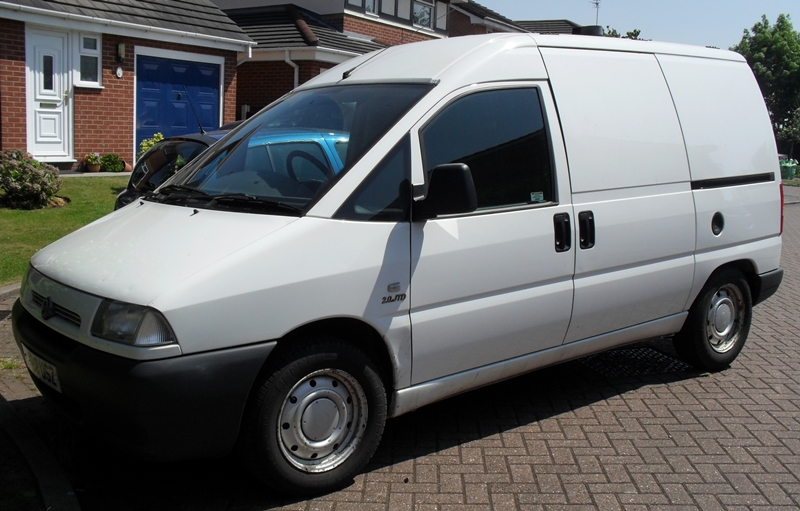
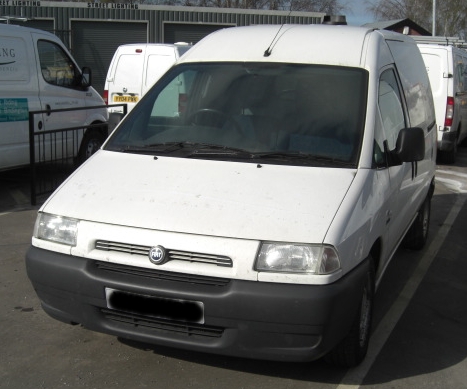
Anyway - it's a 2002, ex council van with 43k on the clocks - a few light scrapes, but overall in great nick :
exterior1.JPG


exterior2.jpg


cab1.JPG


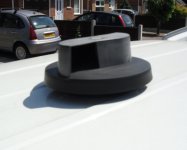
Whirly roof thingy is an added bonus to keep the air circulating - especially when I sleep in the van! :
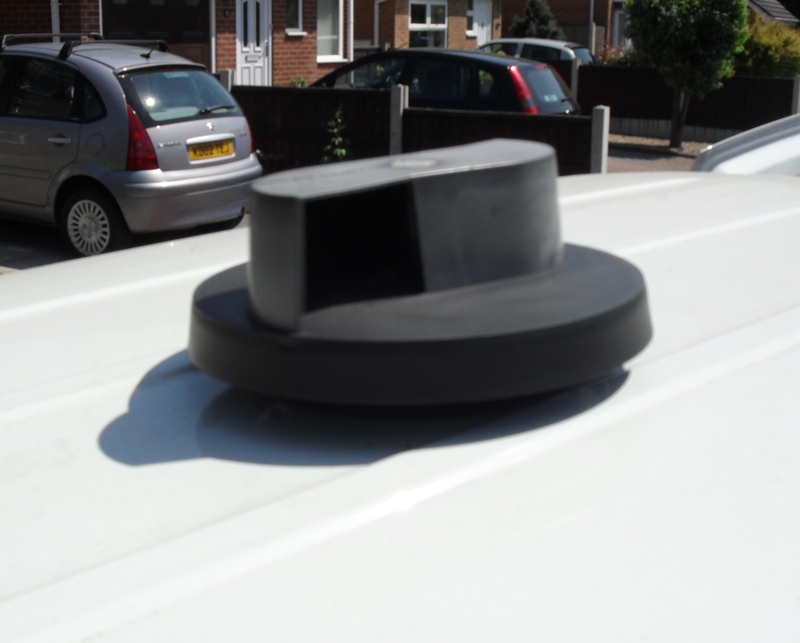
exterior3.JPG


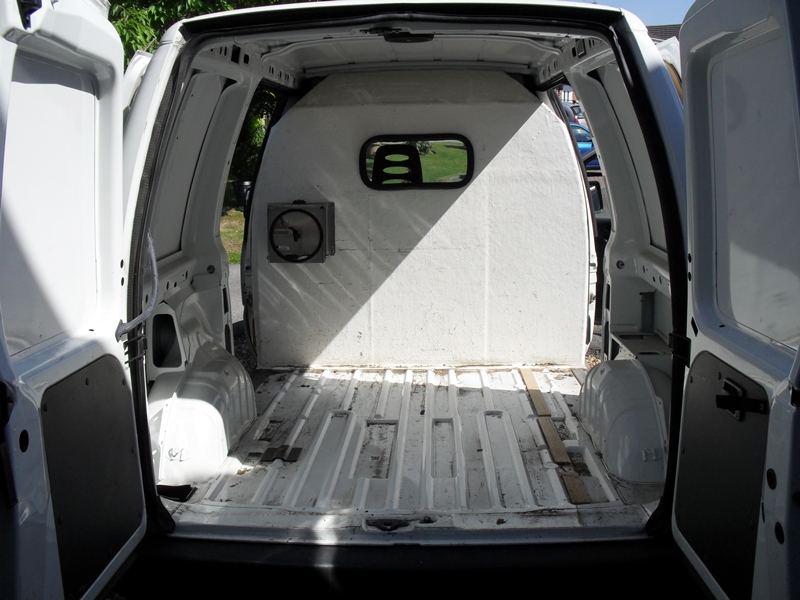
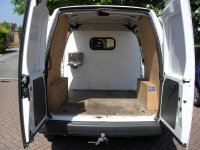
The back originally looked like this :
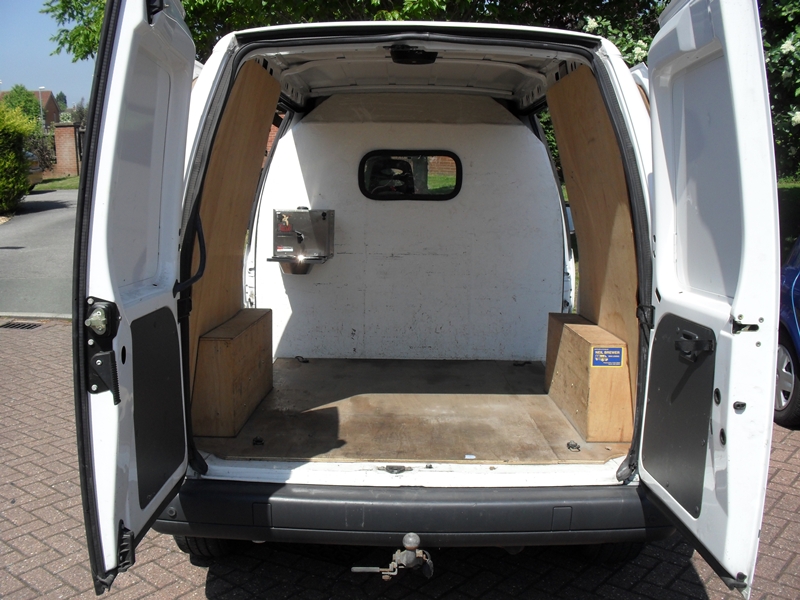
rear110.JPG


The ply lining kit was first to go :
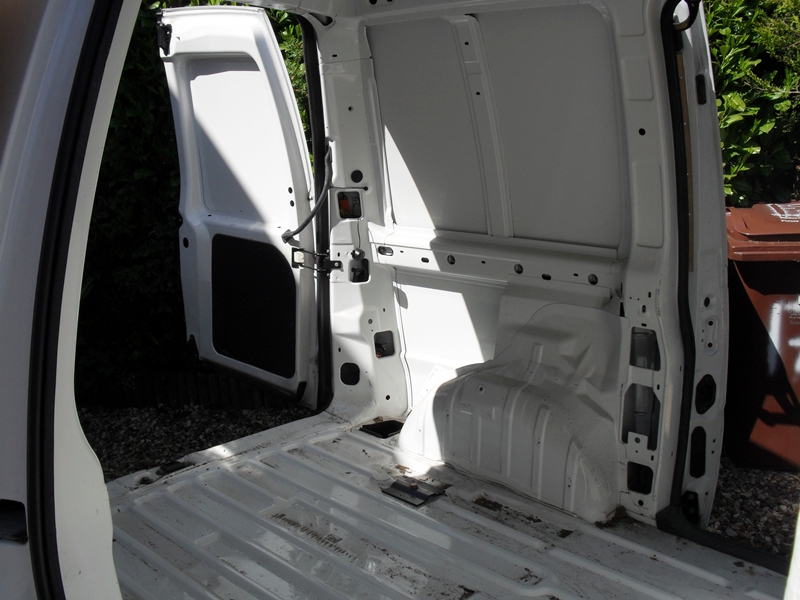
rear22.JPG


rear31.JPG


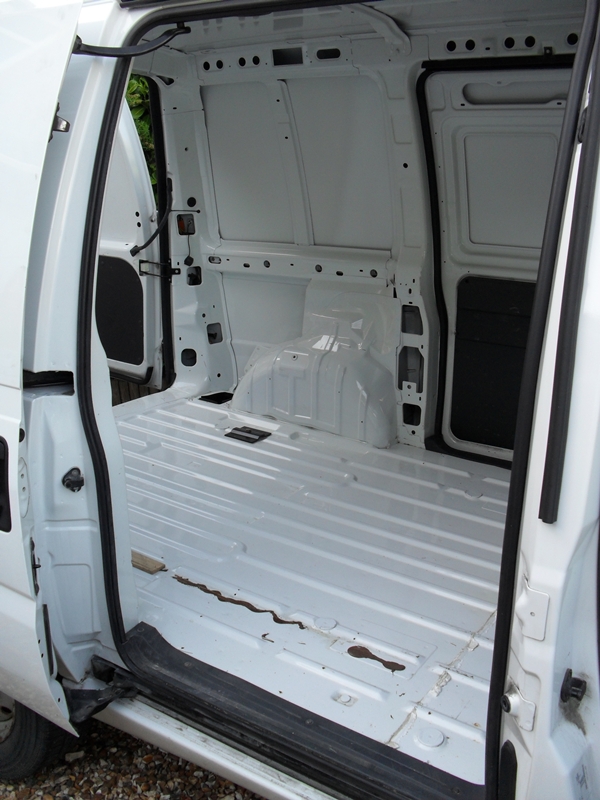
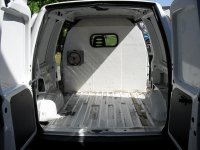
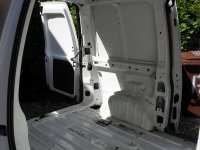
Closely followed by the bulkhead - and then a quick clean :
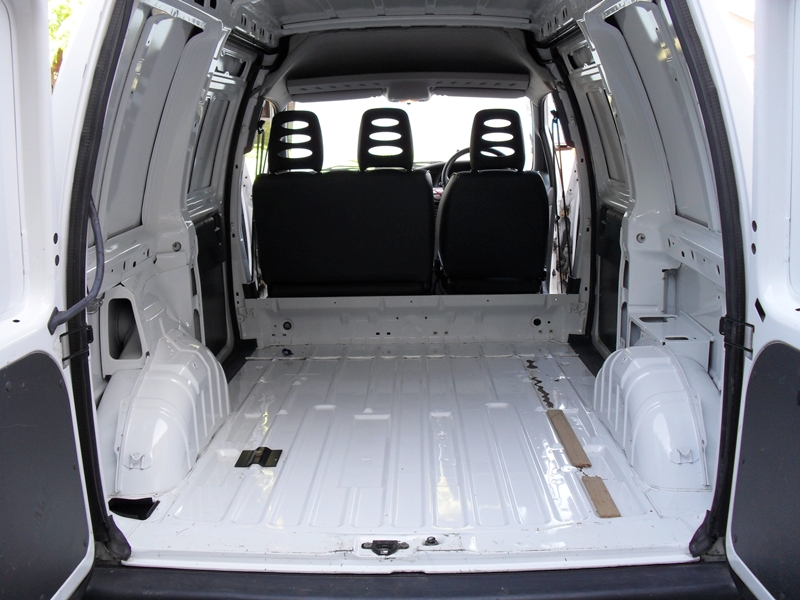
rear41.JPG


rear61.JPG


rear51.JPG


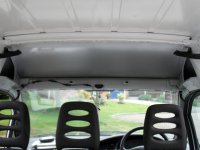
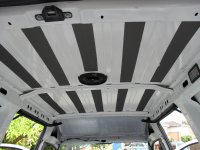
Next to go (for now) was the cab headlining :
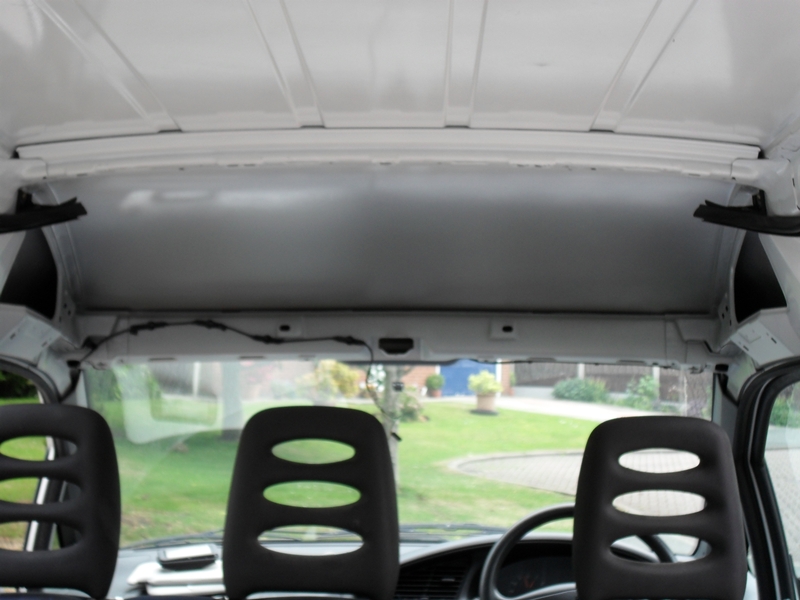
roof1.JPG


"Flashband" added to reduce panel vibration (cheap alternative - but effective) - can't beleive there's NO sound deadening at all in these vans! :
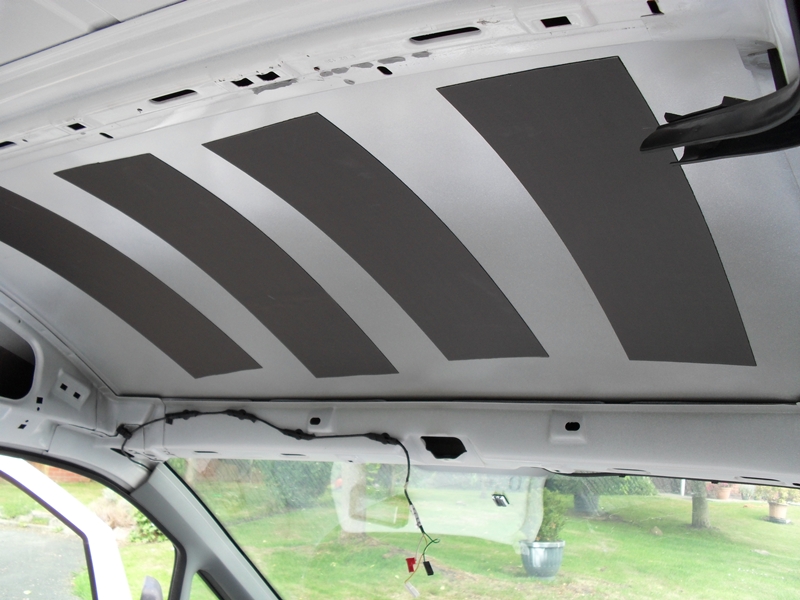
roof21.JPG


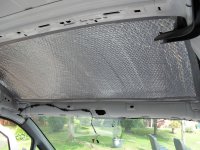
Foil backed bubble wrap is my first insulation layer - reflects the heat both ways to keep the van cooler in summer and warmer in winter - tried and trusted!
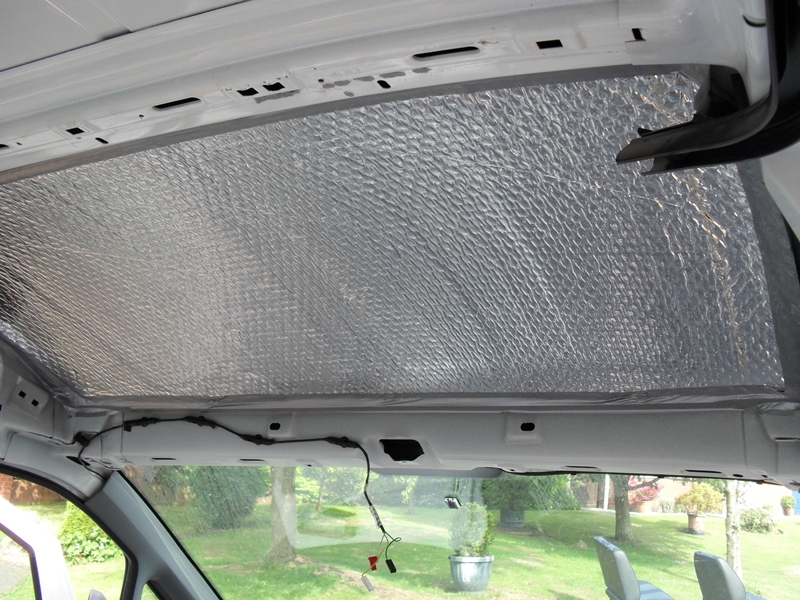
roof3.JPG


Whilst I'm waiting on a full-length rear headlining, I've just added the "Flashband' :
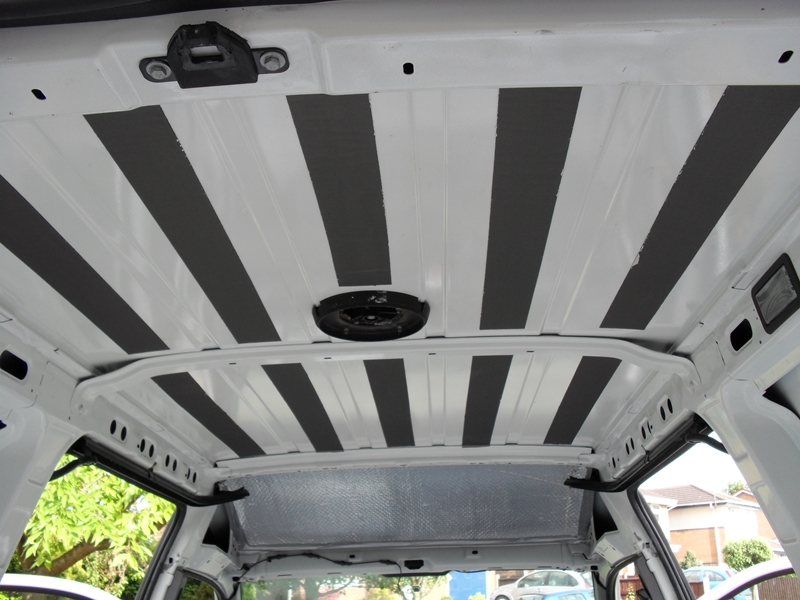
roof4.JPG


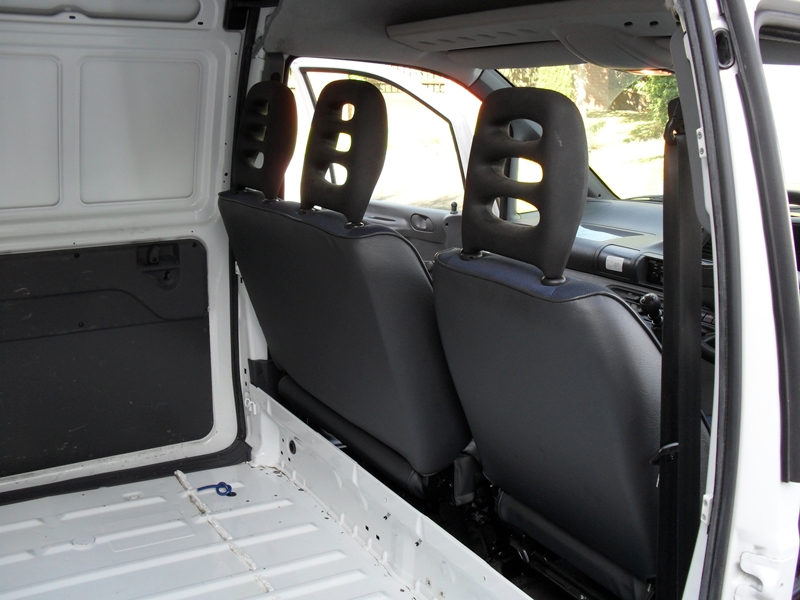
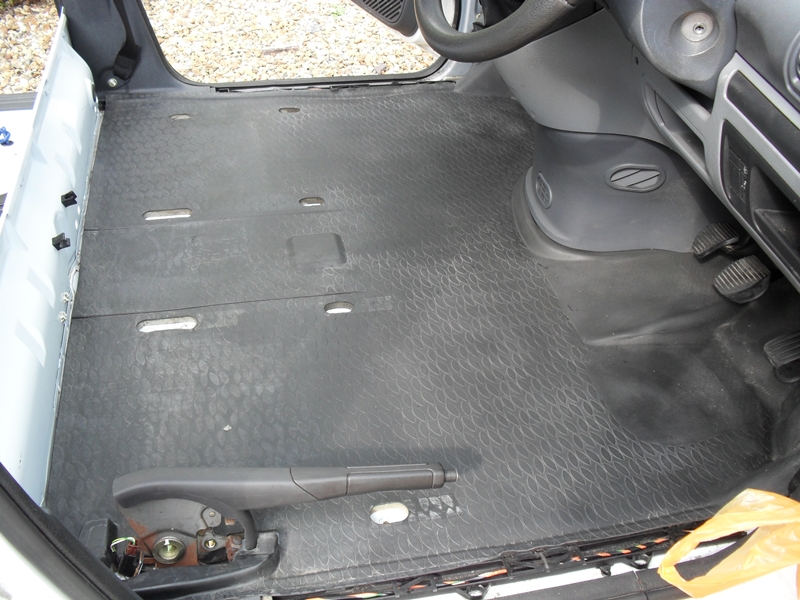
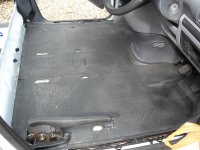
Next to come out were the front seats (with one bolt taking longer than the rest combined, in true DIY style) :
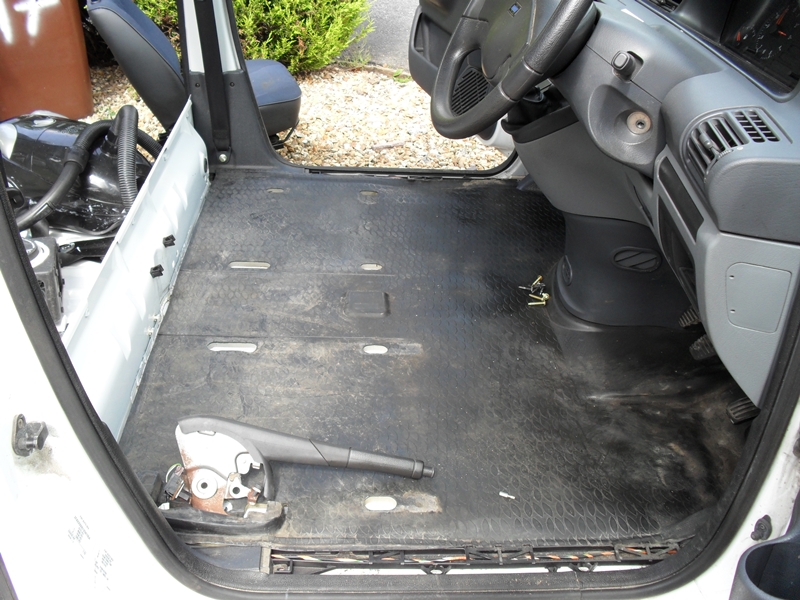
cabfloor1.JPG


With the floor up, more "Flashband" applied :
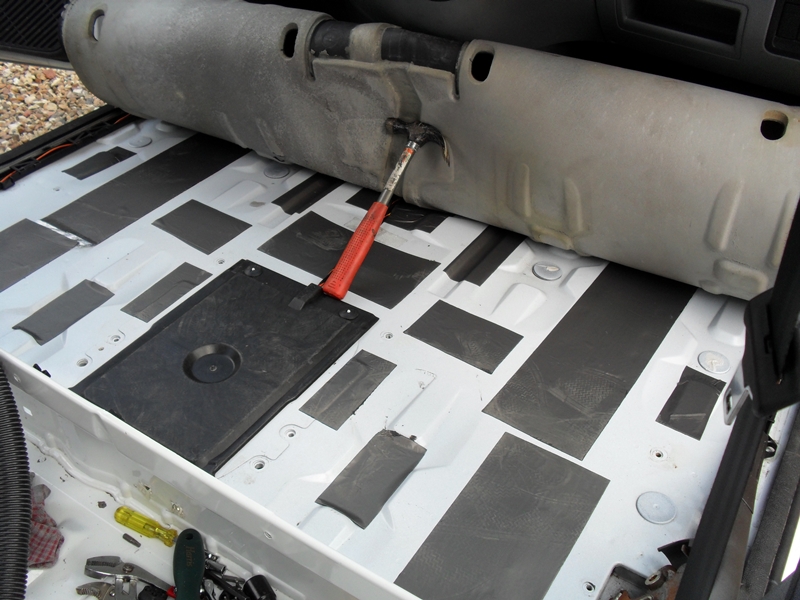
cabfloor2.JPG


And finally given a good clean :

cabfloor3.JPG


That's about all for now. I'm waiting on some rear plastics out of a combi, plus the rear headlining.

Once the van is fully "Flashbanded" and insulated, I'll start with the cosmetics.

The headlining (front and back) will be getting a complete re-trim in something bright.

The plastics will either be getting just a good clean, painted or re-trimmed, depending on how good they are.

The remaining metalwork will be getting fully carpeted.

A ply floor will be going back in, covered in black Altro flooring and I'll be making a rear-facing seat / storage box that converts into a bed.

I'll add to this thread as I get things done........ :slayer:
  • Like
Reactions: Onthemove
Re: Scudo 'it's not just a van' build diary

Love this project!! whats left to do with the interior?

Shed loads! I've got the flooring, side panels and all the carpetting yet to sort out - hopefully manage to do a lot of it once these exams are finished. I'm also looking at possibly making some sort of small unit and table and then making the surfboard storage a bit more permanent than just a bungee tied across the doors......

I've also got my new head unit and sub/amp to put in......

I've also just stumbled across these on E Bay :

http://cgi.ebay.co.uk/ws/eBayISAPI.dll?ViewItem&item=400061875701&ssPageName=STRK:MEWAX:IT

http://cgi.ebay.co.uk/ws/eBayISAPI.dll?ViewItem&item=220513554596&ssPageName=STRK:MEWAX:IT

Now, both are 'tuning boxes' which always tended to make me shy away, as they tend to just be mapped to throw loads of fuel at the engine to get their extra 'power', but both seem to be a bit different and get very good feedback from the buyers on E Bay.

The first one seems possibly a bit too generic, but the second one sounds promising.

Anyone had any dealings with either of them and can give me some 'real world' feedback?

As for the build thread - thanks for the kind words guys :)
 
This post contains affiliate links which may earn a commission at no additional cost to you.
Re: Scudo 'it's not just a van' build diary

OK, another sunny day where studying just didn't cut it. :rolleyes:

So I decided to carry on with my 'ICE' install.

Now, I like my music (everything from Green Day to Les Mis) but don't really know much about ICE (and don't really care THAT much), so this is never going to be anything special.

But I have to say, the sound quality thus far is superb - and that's before I've amped up the front speakers and got the sub working....

I've picked what I think are half decent bits and have (for a change) taken a bit of care putting them in)

Anyway - words are boring - here's some pics. (y)

First up was to run the Mahooosive power lead to the battery!

ice11.JPG


Then sort out the fuse - as close to the battery end as possible, according to the stuff I've read on various websites.....

ice21.JPG


All fused up.

ice31.JPG


'OEM' feed from the engine bay to the back.

ice4.JPG


Out through a hole that was already in the floor for the water heater that used to live there. Note - I'd already run the speaker wires and remote wire at the this point, but they made for cack pictures!

ice5.JPG


Add some sealant in the hole and the earth wire suitably earthed, and that's that bit done.

ice6.JPG


Bit of a junk piccy, but this is the Bluetooth microphone in place, with the wiring run down the A pillar

ice7.JPG


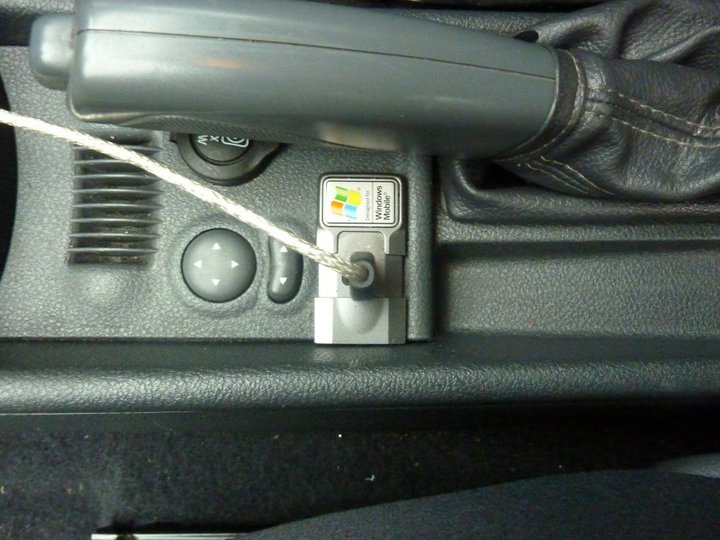
Another 'bodge it' for now - the USB cable poking out of a spare bit of dash trim - I'll make this flush fit when I get a minute....

ice8.JPG


The sub came with a handy 'turn that racket down' gizmo - which I found a home for in another spare bit of dashboard.

ice9.JPG


And here's the rather natty Clarion headunit - USB, Bluetooth, all manner of gadgets - this pic makes the dash look minging - I'll have to clean it once I've finished.....

ice10.JPG


As I say, sound quality is nice - loads of stuff to fine tune the noise with on the headunit, not all of which I have the patience for. But if all else fails, cranking the volume up tends to do the trick!

(y)
 
Re: Scudo 'it's not just a van' build diary

Looks good.

It might be worth buying one of these USB ports from a fiat dealer and wiring it in. This pic is from The_Sultans Bravo and the port is from a Fiat 500, it also has a sliding cover.

 
Last edited:
Re: Scudo 'it's not just a van' build diary

Brilliant thread subscribed :D
 
Just found the part number I was given for that Fiat 500 USB port 735451308 aprox £14

Thanks for that! But I've actually gone and got a panel mount port from Maplins - £4! :)

Been away surfing for a few days and now back doing uni cack, but hoping to crack on with this over the next couple of weeks or so and finally get the carpetting done, the wheels on and the flooring all sorted out - that is barring the wife finding me more jobs to do after I've decorated the kitchen! (n)

I was going to say, before you replied - £14 O_O get a generic one and hide it in the glovebox!

Best of luck with your studies, I'm not back for a couple of weeks yet.
 
OK, quick update - nothing that special, but hey.

The flooring is now partly complete - I used plain old carpet underlay direct onto the floor and then 6mm ply on top of that.

I'll be finishing off with laminate flooring, which is another 6mm thick, so a nice compromise between floor strength and keeping the weight down.

fllor1.JPG


The closeup shows how the floor will fit snugly under the rear plastics to stop sand and stuff getting in there too much....

floor2.JPG


A bit of photoshopping of the wheels - hopefully get them fitted for real this week!

wheelsphotoshopped.JPG


Now the rear door cards partly done. I've used 1/8 inch scrim foam on the original hardboard panels (same stuff as I used on the headlining) - gives it a nice padded feel.

doorcards1.JPG


The carpet (bought from Megavanmats - BRILLIANT stuff - Google them if you need any interior stuff!) was then cut to size and both pieces were given a coat of adhesive. I'll stress again - USE HIGH TEMP AUTOMOTIVE GLUE FROM A PROPER TRIMMING SUPPLIER - not the cheap cack from the local carpet shop or wharever - do it once and do it right!) :slayer:

doorcards2.JPG


Here's the two rear cards in place (the tops are yet to be finished)

doorcards3.JPG


And the two side loading doors (again - not yet finished, as I've now decided to trim the moulded plastic bits too)

doorcards4.JPG


In case anyone's wondering, here's what I've used to secure the hardboard panels, roof lining and rear plastic arch covers on with.

The smaller bolt is an M6 x 20 cap head bolt - replaces those rubbish push rivet things.

The larger bolt is an M8 x 25 jobbie - replaces those push fit clips that don't hold very well. Both bolts thread nice and securely into the oval holes in the panels, so nothing needs changing - and 30 of each bolt came to £8! Far cheaper than the crappy originals that they've replaced! (y)

doorcards5.JPG


I'd already said about sorting out the USB from the head unit. A trip to Maplins came up with this - £4 for the socket and about the same for the lead to connect it to the head unit. Needs tidying up, but looks OK for now.

usb1.JPG


usb2.JPG


And I also got round to wiring up the sub whilst I was at it. It's only a temp fix for now - not decided how it's finally going to live in the back as yet - as I'm going to have to fettle my seat/bed to accomodate it!

For anyone that's interested, it's a 10" active sub, powered by the 650w amp - the beauty is, the amp has a spare couple of channels to run the components off too! Not exactly state of the art, but it sounds fine to me!

sub11.JPG


:slayer::slayer::slayer:
 
Cant wait to see the floor finished, the door cards look fantstic. Good job replacing the trim buttons. (y)

Im glad you said the USB needs tidying. As it is it looks a bit naff on the curved surface.

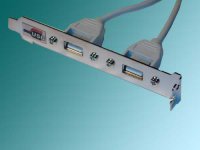
These are good you can just cut a small rectangle out. If you like I could post one for free.
pci_usb.jpg
 
OK - this is a REALLY picture heavy update! :eek::eek:

I've decided to throw a few general 'trimming tips' into this too - just in case it is of use to someone in the future!

First thing you need when trimming anything is a few basic tools.

From the left - decent high temp, automotive aerosol glue, a 'Doody tool' (seriously - that's what it's called - but it's just a ground off screwdriver with a bent shank - used for pushing material into tight corners), a 'sleeker' - which is just a diamond shaped piece of wood (or plastic in this case) with chamfered edges. Used to smooth out material and push it into broad corners for a good glue/material contact. A pair of shears (don't have to be anything special - but need to be sharp).

Trim1.JPG


For this example, I'm going to trim a pair of plastic moulded door card pieces - but the principles can be used on anything.

First - if you're trimming a plastic piece, make sure it's degreased and clean! Use washing up liquid and a scrubbing brush.

Trim2.JPG


Then give it a good 'key' with abrasive - making sure you get into the concave areas really well, as they're the 'high stress' points that will want to pull away from your material. (Note - top piece is abraded just in the high stress areas - bottom piece is abraded all over - just so you can see where I mean.)

Trim3.JPG


Don't forget to roughen up the back edges too!

Trim4.JPG


Once you've prepped the plastics, it's time to cut the material (in this case carpet) to size. Make sure you allow for the curved edges and any hollows in the piece you want to cover.

Trim5.JPG


Next job is to give both the material and the plastic (substrate is the posh term for the bit we're covering) a coat of adhesive. Note it's sprayed on and looks like a 'spider's web' - ie not too heavy! This is even more important when using thinner material, so it doesn't soak through!

Don't worry TOO much about the edges - we'll come to that in a minute!

Trim6.JPG


Trim7.JPG


Now - time to put the two together! Choose the least complicated / curved side and (leaving enough overlap) gently place the edge into postition.

Trim8.JPG


Turn the substrate over and gently pull the material over the top (most decent contact adhesives are pressure sensitive - so go REALLY gently until you're sure you've got the material positioned correctly!)

Trim9.JPG


Work the material into any concave areas first. The deeper the hollow, the more you'll have to 'feed' the material into it - which means you need to allow plenty of 'spare' when you size it all up to avoid not having enough material to cover the edges!

Trim10.JPG


Once you've got most of the front area done, turn the substrate over and give the edges of the material and back faces of the substrate a coat of adhesive.

Trim11.JPG


Trim the material to size, leaving a small amount to fold over onto the back edge. For the corners, work the material over the back edge in a couple of sections as per the pic - the excess can then be trimmed off with your shears for a neat finish!

Trim12.JPG


With a bit of luck - it should end up like this :

Trim13.JPG


Trim14.JPG


And when you've mastered the easy stuff, then you can do the trickier stuff like this!

Trim15.JPG


As these are BIG pieces, it's important that you get your material the right way up. Carpet material has a 'knap' which you can feel by running your hand over the surface - once your sure which way is 'up', mark the back face of the carpet!

Trim16.JPG


Using all your trimming skills, place the carpet into postion

Trim17.JPG


After a couple of hours of sweat, you end up with this :

Trim18.JPG


I can assure you, this was a hard piece to trim. It could be broken down into sections to make it easier, but fair play to Megavanmats carpet, the stretch was enough to allow me to pretty much do it in one piece!

And finally - the little infill bit (which was a doddle in comparison!)

Trim19.JPG
 
Last edited by a moderator:
my eyes have gone all funny after reading that and now i cant consintrate lol..............................what was i going to say.....................someone help me out....................oh thats it looking good mate keep up the eye bending work lol
 
I know - no idea what's going on and I tried to edit the double posting and it made no difference - and now I can't even edit the damn thing!

Anyone care to help?

We're not allowed to edit posts after X amount of hours or minutes to prevent the fabric of the universe folding in on itself.

If you PM a mod about it, however, they should be able to sort it.
 
Back
Top