Lego 007.JPG

Tipo (Classic) New Tipo (old model!)

Introduction

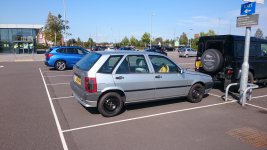
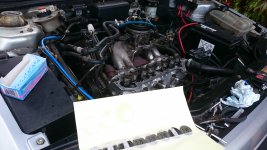
Following the demise of the red Tipo (see previous rust thread) I obtained a new one and this is work to date. This one had a fairly long MOT failure list including excessive corrosion on both front suspension mounts, 1 rear seat belt mounting point and an advisory on the other. However the 'Liberty' special edition with air-con in SX trim was tempting and the previous owner had fitted new springs and had some tidy welding done previously. So what needs doing...
Lego 007.JPG

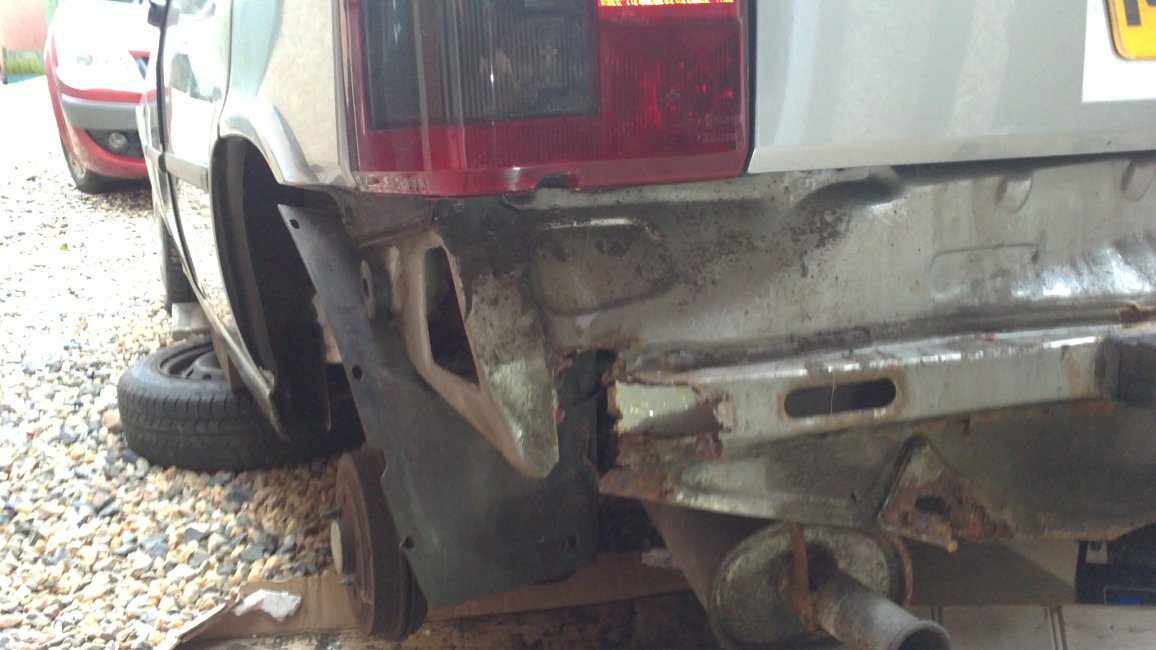
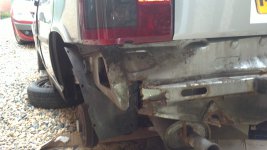
The rear valance is heading the same way as the red Tipo and cutting off and using the remade valance from the red one may be the way forward later on.
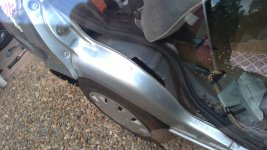
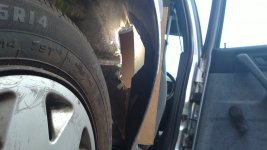
Lego 002.JPG

Lego 003.JPG

The inner arches are not too far gone but there was more rust at the top and the back to tackle later.
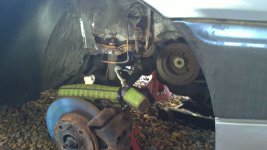
Lego 027.JPG

The holes behind the front struts will be the worst to fix, just above the sub-frame mounting bolts. Both my Mk11s suffer this.
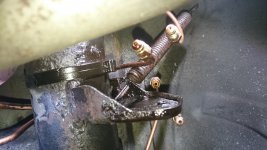
It failed on brake pipes, brake load valve oh and the indicator side repeaters. It was the right call, this lot looked nasty at 25 years old :eek:

View attachment 211915

View attachment 211916

Predictably this led to a mad rush the day before the last permissible retest day to get this lot in...

Looks familiar! You might let me know how you get on setting up the valve. It will most likely be the weekend before I get back to having a look at setting up mine and having another bleed out of the brake system. Weather not good here at the moment.
 
It didn't fail too badly indeed. You must be reasonably pleased!

I had all the pipes in place by about midnight, all terminating at the load valve.

DSC_0683.JPG

DSC_0684.JPG

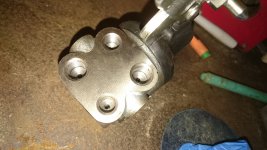
At this juncture I went to get the load valve and saw with horror on removing the rubber stops that one circuit has bigger fittings. I'd cut the pipes off the old one and never noticed. So two pipes had to come back out and the fittings recovered from the old valve. At 3am I was still under the car with the fuel tank resting on my head. Fortunately empty. To set the valve I put the wheels on the ground. I then placed my partner with a 20kg bag of floor levelling compound in the boot with 5kg on the hook (at a more civilised hour). My method is approximate and possibly you would be better selecting a large child with a games console (to keep them occupied) if your tank is full. Under bleeding a couple of the load valve connections needed further tightening then I smothered the whole assembly with Dynax. With some persuasion new repeater bulbs solved the lighting issue and I headed back to the MOT station.
 
Last edited:
I had all the pipes in place by about midnight, all terminating at the load valve.

View attachment 211924

View attachment 211925

At this juncture I went to get the load valve and saw with horror on removing the rubber stops that one circuit has bigger fittings. I'd cut the pipes off the old one and never noticed. So two pipes had to come back out. At 3am I was still under the car with the fuel tank resting on my head. Fortunately empty. To set the valve put the wheels on the ground or a ramp. I placed my partner with a 20kg bag of floor levelling compound in the boot with 5kg on the hook (at a more civilised hour). Possibly a large child with a games console if your tank is full. Under bleeding a couple of the load valve connections needed further tightening. With some persuasion new repeater bulbs solved the lighting issue and I headed back to the MOT station.

How did you get 5kg on the hook? Thanks.
 
3 am! You must be exhausted! Well done. Yes I nearly got caught out with the two larger fittings on the load proportioning valve but luckily my old fittings/nuts were salvageable so I could reuse them.
 
Its not a nice job as you say really the fuel tank and exhaust silencer need to be removed for comfortable working conditions. If you have a ramp/lift then the job would be so much easier. At least you are over the line now.
 
Its not a nice job as you say really the fuel tank and exhaust silencer need to be removed for comfortable working conditions. If you have a ramp/lift then the job would be so much easier. At least you are over the line now.

Thanks :) Yes it's grim isn't it - what with the bolts being on top of the load valve too. So when the call came through- all stars must have miraculously aligned at that exact moment and it passed, :slayer:

The idling is still a mess so in-line with BlueJohns request I'm looking again at the shims.

PS I used a weighing scale with a hook and pulled down on the hook to the requisite weight. This is turn was a conversion from NM given in Porter, so I can only assume it's right. If can get it running correctly I'll take it to an empty car park and see how it brakes, but the MOT pass on retest suggest its working ok.
 
Last edited:
Shock :eek: Possibly for the first time since acquisition 4 years ago this car was a car. Faced with an early train to get to somewhere over the sea, and with the Stilo off the road, I unleashed it for the 20 miles or so to Crewe. I'd had another go at the gaps, its improved a little but is still not running right, but with the revs up it went along quite nicely. There is a tiny hesitation at times and the engine light comes on occasionally, as it it did before the rebuild so this is something to investigate. Temp gauge was a little over halfway on arrival, where I found yet more air ready to bleed out. If anything it has improved very slightly with a proper run.

DSC_0790.JPG

DSC_0791.JPG
 
You definitely need to get the valve clearances

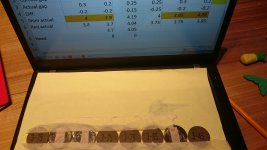
Before the run out I had go at resetting these, seemingly getting within 0.05 after re-measuring. Also took the opportunity to helicoil the broken cam-carrier thread. To my consternation the new thread chewed up the first test bolt, but not after that. No mention of that on the instructions :shakehead:

DSC_0747 (1).JPG

DSC_0736.JPG

DSC_0749.JPG
 
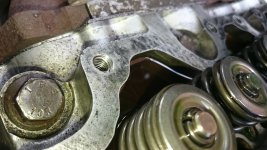
By way of an update for anyone still following this, the project took a rapid turn for the worse not long afterwards. Cresting a hill, there was a 'ping' and the engine stalled. After freewheeling downhill to get closer to home, restarting the car resulted in a cloud of blue smoke and a no turning engine :eek: After an embarrassing tow back to base by the Scenic, I had a grim afternoon taking the head back off, fearing the worse, and it couldn't really get much worse. But I'd already taken no. 4 plug out to find a chunk missing, so it was confirmation of what I already knew.

DSC_0808[1].JPG

DSC_0810[1].JPG
 
Total mess and very disappointing. I took the head back to the restorer and no resolution was offered, although the head was beyond repair really. They advanced a theory that the valve stem had snapped due to fatigue due to previous water ingress and overheating, as the break was clean/straight which was unusual and not a mechanical break. No idea whether this holds any water (y) but surely it would have been sensible in that case to replace the stems when the recondition was done? Looking back I think the stem broke early on and was hanging hence every time it came up requiring a a thicker shim !

Some battles aren't worth pursuing and I suppose there is a possibility of some sort of error back here and the state of the engine pre-resto, so it was down to sourcing new parts but it's disconcerting at this stage to be dependant on more parts that may be unobtainable and/or unaffordable :rolleyes:
 
Last edited:
I whipped off the sump all 30 bolts or so, removed the metal shards from No. 4 Piston and hoovered out the intakes. No.4 piston took the direct hit but No.1. was also a little damaged by debris coming through the manifold. Very luckily (it's all relative :-( ) the bores were undamaged so in went two new pistons and on went a new head. They were never in the extensive budget for this car, fortunately a long way short of the eper price back in the day. Plus all the stress and my labour...

IMG-20201006-WA0011[1].jpeg

DSC_0857[1].JPG
 
Last edited:
After resetting the gaps, once again it was time to start the car....and it sounded very smooth at last. Good thing, as it would have been in big trouble otherwise... :)

Almost right but not quite, as the squealing bearing somewhere on the belt drive mentioned before was still there and the idle was fluctuating somewhat.

Having checked with a vacuum gauge every vacuum port leading off the manifold, with no sign of any leaks, I decided to swap out my own gasket made from Flexoid under the SPI, for the Fiat OEM gasket, still obtainable from Fiat.

DSC_0900[1].JPG

The idle improved, the economy gauge on the dash settled and the engine management light, which has come on intermittently since I got the car, was gone. This suggests that the old in-situ gasket on the car, if slightly deteriorated, can cause issues and a homemade one doesn't really work.

Swapping the timing belt tensioner for an OEM unit has reduced the bearing noise significantly, not that the old one was bad, so this is a mystery and will further investigate in better weather.
 
Last edited:
After all this, the vehicle has been in regular use with some long runs where previous rules allowed and it's been surprisingly useable and economical. The 1.6 looks a little feeble on paper but it gives the impression of being a willing engine that likes to rev and the ride is smoother than I remember from the TD with Avon 165s rather than Michelin Sport 185s. :)
 
Back
Top