DSC09035.JPG

500 (Classic) Dexter the 1962 Fiat 500D

Introduction

Welcome to my blog for my 1962 Fiat 500D.

I had already started a blog although I wasn't able to change the title and thought it would be best to start a new one with a more descriptive title for others to search and hopefully aid them in their own restoration.

I have split it into 2 sections. This part will be the main vehicle.
The other part will be the engine of which you can find here:
https://www.fiatforum.com/500-classic/444739-fiat-500d-engine-1962-a.html

I took ownership of this 500 in April 2014. This was just after I bought my first restoration project, a 1971 Fiat 500L.
https://www.fiatforum.com/500-classic/345169-franko-1971-500l.html
Sadly I was too far into the L to stop and so the D had to be tucked away until I had the time to start it.
I eventually decided to call him Dexter.

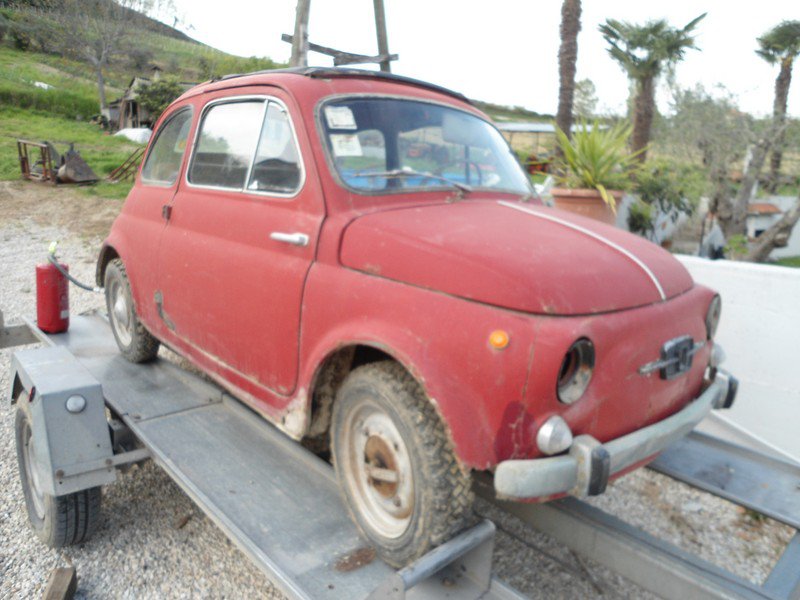
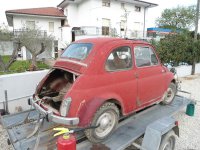
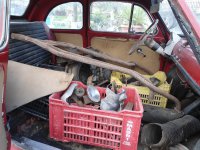
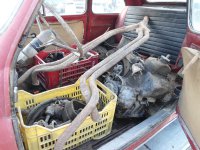
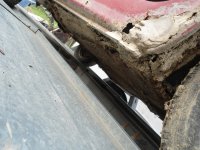
Here' some photos of the vehicle when it was first offered to me. It was at the time on the back of a trailer in southern Italy.
I confirmed I was interested in it, but really wanted to see it before being fully committed. Although I did have a certain forum member that was like the devil on my shoulder saying "Buy it"
devil.gif
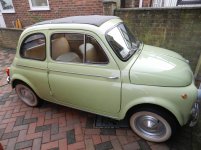
I think the green and beige is a great combo.
I secretly always wanted it to be red but the wife thought it would be nice in green.
I think she thought she would have this one.

Good choice of colour. What colour is the interior going to be now? What colour was it originally, it’s seems such a longtime ago I can’t remember?:D
 
After a long weekend of discussions with the wife...
Dexter was going to go green with beige interior.


I had a few spray out cards done but I just couldn't bring myself to have a green car.


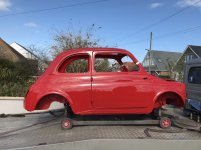
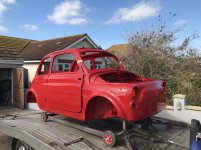
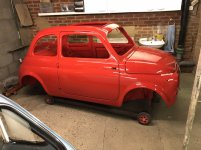
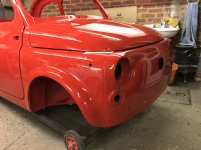
So eventually I the decision was made to go 115 Rosso Medium red.
So he is going back to his original colour
thumb.gif


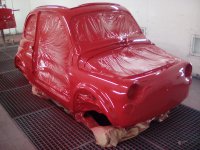
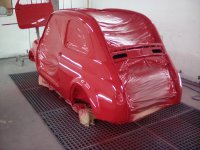
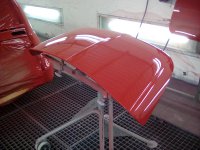
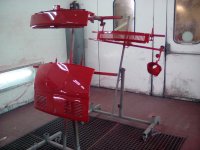
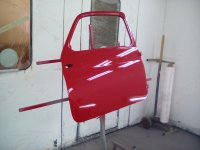
Photos back from the paint shop today.

Wow!!
What a lovely colour red........
Soooooo glad we both won’t have green cars
 
Good choice of colour. What colour is the interior going to be now? What colour was it originally, it’s seems such a longtime ago I can’t remember?:D
Well it had a beige rear upright cloth seat, beige door panels, and then a red & grey seat and one without a cover.
Im going for the same as Franko.
Beige with the off white tops and beige door trims.
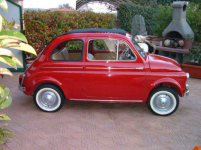
Something like this.
Although I have a beige roof, I will have to see how that looks.
 

Attachments

  • restauro-Fiat-500-d-670x502-670x502.jpg
    restauro-Fiat-500-d-670x502-670x502.jpg
    66 KB · Views: 65
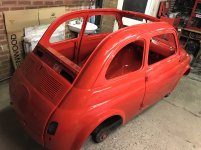
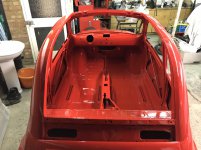
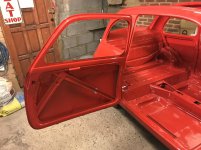
All painted and will be coming home Monday.


Im really happy with the repairs.
The bodyshop manage asked if I wanted a job....
 

Attachments

  • UNREG 1003P (20).jpg
    UNREG 1003P (20).jpg
    730.7 KB · Views: 61
  • UNREG 1003P (22).jpg
    UNREG 1003P (22).jpg
    684.7 KB · Views: 59
  • UNREG 1003P (23).jpg
    UNREG 1003P (23).jpg
    668.2 KB · Views: 57
  • UNREG 1003P (25).jpg
    UNREG 1003P (25).jpg
    583.4 KB · Views: 64
  • UNREG 1003P (18).jpg
    UNREG 1003P (18).jpg
    459.9 KB · Views: 54
Stuck at home, cant go out! what shall I do?
Duh! 500 time:D


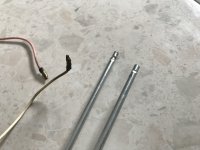
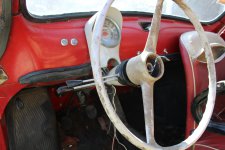
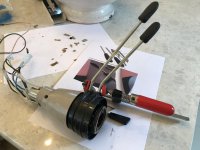
Before I go ordering a load of parts I thought I would try and repair my steering column switch gear.


Someone had previously carried out some poor repairs to the stalks which had broken.
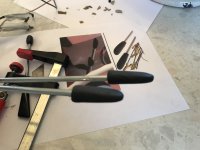
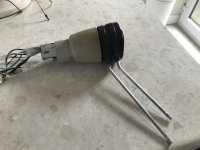
I took the switch gear apart. There are 2 rivets in the grey cowling that need to be drilled out then the cowling comes off, followed by the 4 pieces of the switch gear and 2 sprung loaded bearings. That killed about 20 minutes just find the little buggers after they popped out.
The indicator stalk had been replaced with a different style one and the casing was cracked all the way through. I removed the old one and cleaned the joint.
The light switch stalk had another one joined to the old one. I warmed the plastic up with a hot air gun and it pulled out.
Drilled both pieces with a 5mm drill to clear the holes.
Then it occurred to me I needed some chrome 5mm rod. I searched e-bay but could only find some in China. Everywhere locally is shut so I thought I would park this for a while.
I was doing something else in the garage, opened a drawer I hadn't been in for a while and there before me was a piece of 5mm chrome rod just long enough for 2 stalks.
thumb.gif

This was cut, bent and the ends had some nicks ground out to allow glue etc to take hold.
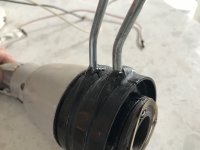
They were then stuck in the holes with araldite glue which also glued the crack. After about 16hrs these were nicely set.
When I was restoring Franko I bought some black milliput which Tony told me about. I never got to use it until now.
Great stuff, mould it together, make what ever you want and let it cure.
Hey presto, two stalk ends.
Just need to do some final finishing on the ends and around the switch gear and then spray them black.
Then I need to get some colour made for the steering wheel, dash cowling and switch gear cowling. I tried the grey-beige plastikote but it is actually beige.
The hardest part about all this is actually trying to put it all back together.
You need about 5 hands and a lot of patience mainly due to the sprung loaded bearings. But hey, its not like I can go out or anything.
 

Attachments

  • IMG_9168.JPG
    IMG_9168.JPG
    2 MB · Views: 56
  • IMG_9166.JPG
    IMG_9166.JPG
    2.3 MB · Views: 52
  • IMG_9164.JPG
    IMG_9164.JPG
    2.1 MB · Views: 48
  • IMG_9165.JPG
    IMG_9165.JPG
    1.9 MB · Views: 51
  • IMG_1326.JPG
    IMG_1326.JPG
    5 MB · Views: 52
  • IMG_9169.JPG
    IMG_9169.JPG
    2.4 MB · Views: 55
Looking for some help please?
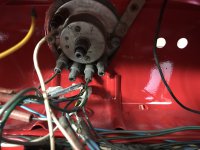
When I got my D the dash had been removed and the wire all disconnected.
I am trying to piece together the wiring.
Im 99% there and hopefully new connectors turning up tomorrow.


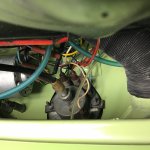
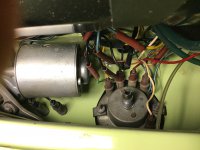
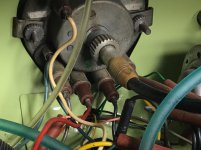
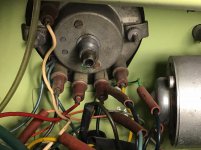
Does anyone have any close up pictures of the back of the speedo?
I need to see where all the wires go.


I seem to be missing the double black wire which goes to the earth of the speedo. Also I cant see where the blue wires connect to.
 

Attachments

  • IMG_9198.JPG
    IMG_9198.JPG
    2.8 MB · Views: 54
Any good?

My apologies for them being upside down, don’t know why, but I’m sure a man of your abilities can get them the right way up:D(y) Eventually sorted out!
 

Attachments

  • 76A6F14B-9744-46A3-BAFA-95E87CA213C2.jpeg
    76A6F14B-9744-46A3-BAFA-95E87CA213C2.jpeg
    1.3 MB · Views: 47
  • 0C83DD76-3CF0-4BE4-B40D-09FC4B1F208F.jpeg
    0C83DD76-3CF0-4BE4-B40D-09FC4B1F208F.jpeg
    1.7 MB · Views: 58
Last edited:
Enlarged.
Hope these help.
 

Attachments

  • 7B8FF6C5-72D1-47FB-A8A8-245AF0A2E2DB.jpg
    7B8FF6C5-72D1-47FB-A8A8-245AF0A2E2DB.jpg
    226.3 KB · Views: 37
  • 336FE513-1474-4B32-B05C-398B1364F88F.jpg
    336FE513-1474-4B32-B05C-398B1364F88F.jpg
    266.4 KB · Views: 38
Thanks Ian.
It looks like I have got it correct then.
The wiring diagram showed a twin black being plugged into the speedo. But yours appears to have a twin blue.
I have a twin blue but no twin black, so that's fine.
Also the diagram showed a blue joined to the grey which comes from the oil sender but yours doesn't seem to have that either.
So fingers crossed I have them all connected properly now.

All my lights work as they should and the wiring looks to be the original so you should be safe to copy(y)

If you need anything else just shout, it is about time I gave the car some attention now I can’t go out to play with our motorhome.
 
Today I got my polishing wheels arrive in the post.
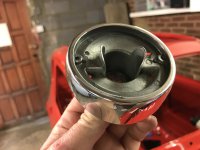
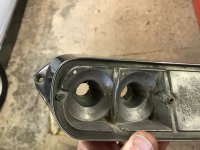
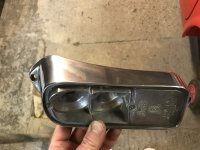
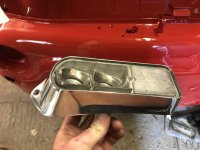
So the front indicators and rear light bases got a good clean, sand and then wet and dry and then finally a good buff up.
The front indicator fixing studs were broken, so these have been ground off and then drilled and tapped and I will lock tight some new screws in place.
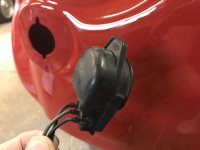
I have the original front head lamp connectors and one rubber boot.
Does anyone by any chance have a spare D headlamp rubber boot?


The rear lights are all in tact apart from needing some new gaskets and change the lenses.
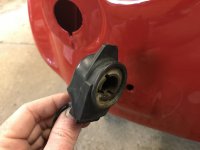
Although when I took the electrical connectors off there is one of the earthing contacts missing. Does anyone have one of these?


My rear lights are different. Before i polished them one of them looked distinctly different colour than the other. But now they look pretty close.
One is a Stars and the other is a Bellu.
Clearly see the difference in quality. The Bellu one is also missing the reflectors behind the bulbs.
I may have to spray them all bright silver/chrome as the other one is quite dull.
Still at about £150 a go I think I will make do for now.
 

Attachments

  • IMG_9206.JPG
    IMG_9206.JPG
    1.9 MB · Views: 50
  • IMG_9216.JPG
    IMG_9216.JPG
    2.3 MB · Views: 47
  • IMG_9214.JPG
    IMG_9214.JPG
    2.8 MB · Views: 47
  • IMG_9212.JPG
    IMG_9212.JPG
    2.5 MB · Views: 45
  • IMG_9208.JPG
    IMG_9208.JPG
    2.5 MB · Views: 49
  • IMG_9207.JPG
    IMG_9207.JPG
    1.9 MB · Views: 43
  • IMG_9218.JPG
    IMG_9218.JPG
    2 MB · Views: 45
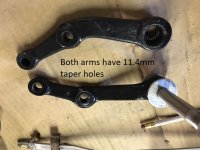
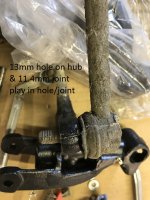
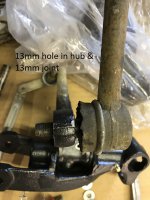
I have run into a bit of a problem.
I was about to order a whole load of parts when I thought I should check the difference between the N/D steering rods and the later ones.
They are the same length however the tapers are different.
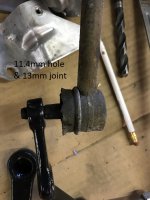
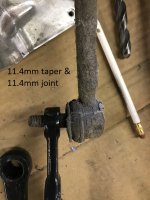
The later ones have tapers on the joints from 10mm to 13mm.
The early ones have tapers from 10mm to 11.4mm.


What have I got?
My arms on the steering box and idler arm are 11.4mm original D.
My hubs have been changed at sometime I think because they have the later 13mm holes.


So my options:
1. change my hubs to early ones - might be hard to find and I have refurbished my ones.
2. change the arms on the steering box and idler - does anyone know if they are the same joint on the steering box?
Does anyone have any spare later ones?
3. Can I use the early D arms but just fit the later outer joints?


Any suggestions please?
 

Attachments

  • IMG_9221.JPG
    IMG_9221.JPG
    284.9 KB · Views: 53
  • IMG_9223.JPG
    IMG_9223.JPG
    224.9 KB · Views: 50
  • IMG_9224.JPG
    IMG_9224.JPG
    250.9 KB · Views: 41
  • IMG_9225.JPG
    IMG_9225.JPG
    268.9 KB · Views: 45
  • IMG_9226.JPG
    IMG_9226.JPG
    255.4 KB · Views: 43
Back
Top