DSC09035.JPG

500 (Classic) Dexter the 1962 Fiat 500D

Introduction

Welcome to my blog for my 1962 Fiat 500D.

I had already started a blog although I wasn't able to change the title and thought it would be best to start a new one with a more descriptive title for others to search and hopefully aid them in their own restoration.

I have split it into 2 sections. This part will be the main vehicle.
The other part will be the engine of which you can find here:
https://www.fiatforum.com/500-classic/444739-fiat-500d-engine-1962-a.html

I took ownership of this 500 in April 2014. This was just after I bought my first restoration project, a 1971 Fiat 500L.
https://www.fiatforum.com/500-classic/345169-franko-1971-500l.html
Sadly I was too far into the L to stop and so the D had to be tucked away until I had the time to start it.
I eventually decided to call him Dexter.

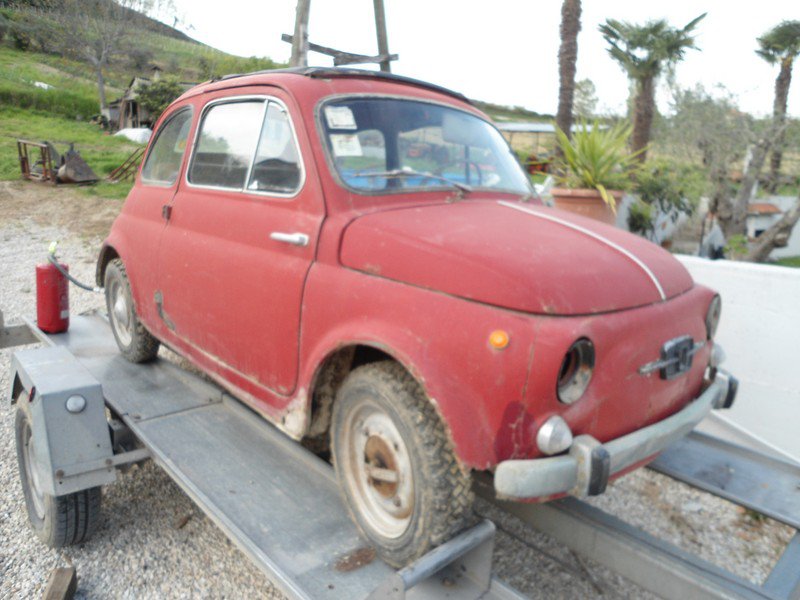
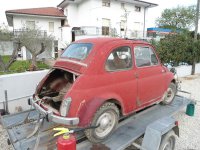
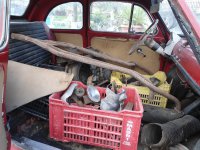
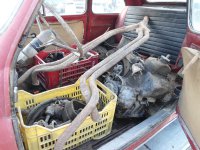
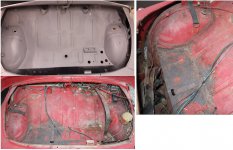
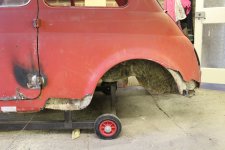
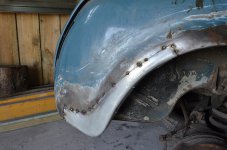
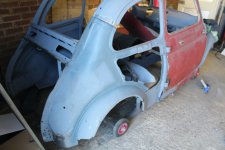
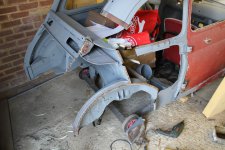
Here' some photos of the vehicle when it was first offered to me. It was at the time on the back of a trailer in southern Italy.
I confirmed I was interested in it, but really wanted to see it before being fully committed. Although I did have a certain forum member that was like the devil on my shoulder saying "Buy it"
devil.gif
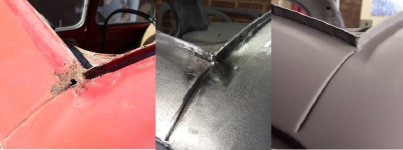
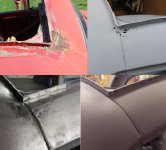
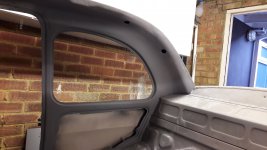
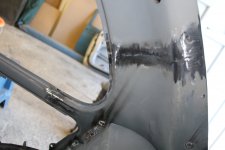
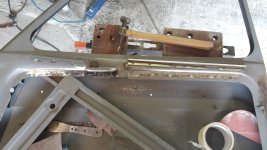
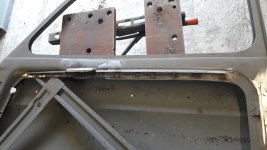
2 more areas all finished.
These joints took quite a bit of work to get right.


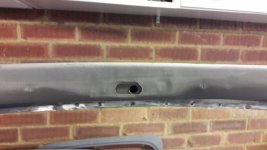
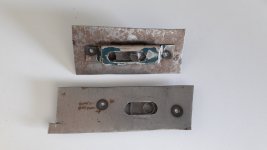
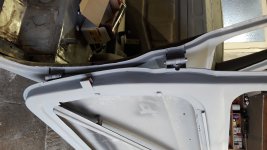
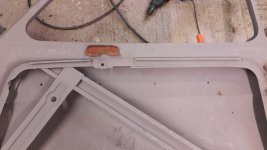
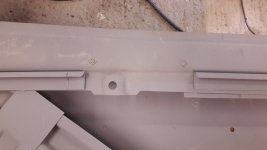
Also preparation for fitting the full sun roof I have made 2 new sliding captive nuts that will be welded into the rear inner roof section.
 

Attachments

  • NSF Roof.JPG
    NSF Roof.JPG
    58.2 KB · Views: 63
  • OSF Roof.JPG
    OSF Roof.JPG
    82.7 KB · Views: 74
  • 20190714_084143.jpg
    20190714_084143.jpg
    2.4 MB · Views: 80
  • 20190714_180438.jpg
    20190714_180438.jpg
    2.9 MB · Views: 65
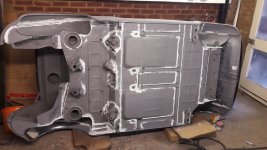
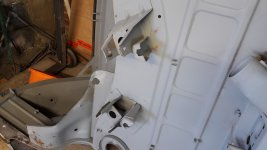
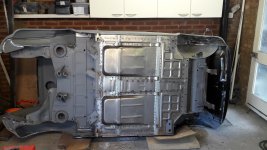
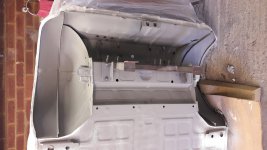
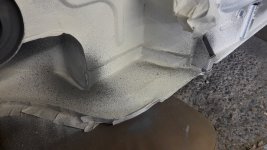
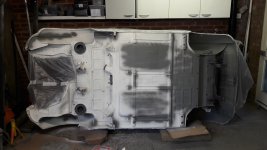
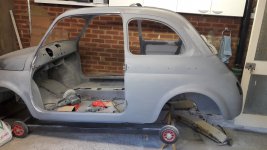
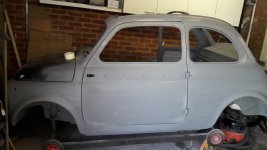
Dexter is off his frame and on his side.
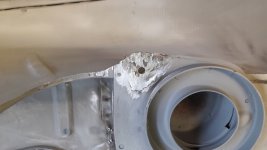
A few welds needed finishing off on the underside, including a small patch by the right rear suspension buffer that was showing signs of corrosion.
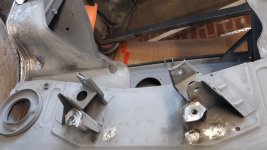
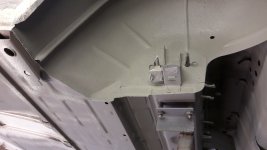
Also the 2 nuts that the gearbox support is bolted to were missing.
So I welded some nuts to some large thick washers and then cleaned up the area and ground the washers to fit in the hole then welded them in. This now provides two nice new captive nuts and a little more surface area for the support to mate to.
Finally a good clean up, coat of etch primer and then seal all the joints.
I left it to dry overnight and then uses 3 cans of spray on underbody coating.
Unfortunately they ran out of white so I had to get one in grey (I already had the white ones)
Next step back on the frame and then finish the coating on the inner arches for the places I couldn't reach.
 

Attachments

  • 20190727_170150.jpg
    20190727_170150.jpg
    2.9 MB · Views: 69
  • 20190727_152640.jpg
    20190727_152640.jpg
    2.4 MB · Views: 70
  • 20190727_152634.jpg
    20190727_152634.jpg
    2.6 MB · Views: 75
  • 20190720_161801.jpg
    20190720_161801.jpg
    2.4 MB · Views: 61
  • 20190720_161754.jpg
    20190720_161754.jpg
    3 MB · Views: 80
  • 20190728_121950.jpg
    20190728_121950.jpg
    2.6 MB · Views: 78
  • 20190728_121932.jpg
    20190728_121932.jpg
    3.2 MB · Views: 68
  • 20190728_121903.jpg
    20190728_121903.jpg
    4.1 MB · Views: 62
  • 20190728_121847.jpg
    20190728_121847.jpg
    2.9 MB · Views: 67
Thanks for posting those detailed pics. They give a first time restorer like me an idea what can be achieved . I am now off out to the garage to cut out those crap patches i have sort of welded in and start over !
 
I have been on holiday for a couple of weeks so only just got back in the garage at the weekend.
Engine lid has been prepped. Had a few small dents to repair and also tidied up the grilles. Not much to see so no photo added.
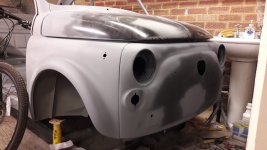
Front panel & repaired areas of the bonnet have been prepped.
Inner front compartment has had a few filler repairs carried out and prepped.
Looks a whole lot better than when I got the car.
The list is getting smaller :)
 

Attachments

  • Bulkhead.JPG
    Bulkhead.JPG
    106.5 KB · Views: 65
  • 20190902_195135.jpg
    20190902_195135.jpg
    2.6 MB · Views: 65
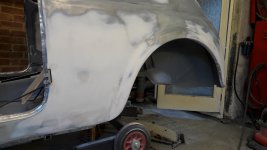
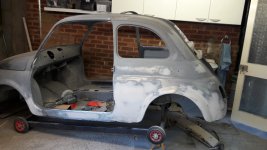
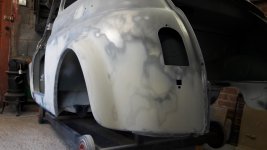
Finally finished the left rear 1/4 panel.
I spent all day applying filler, rubbing down filler and finished with a coat of etch primer.:)
Part of me thinks it would have been quicker to fit the new one I have hanging on the wall.
I just hope this doesn't come back to haunt me later.
I know there is no rust there but I like to avoid filler where possible.
It looks like its a lot of filler but most of it is probably less than 1mm thick.
 

Attachments

  • 20190908_183144.jpg
    20190908_183144.jpg
    2.5 MB · Views: 54
  • 20190908_183134.jpg
    20190908_183134.jpg
    2.6 MB · Views: 51
  • 20181202_152616.jpg
    20181202_152616.jpg
    2.4 MB · Views: 49
  • 20181118_190356.jpg
    20181118_190356.jpg
    2.7 MB · Views: 49
  • IMG_2085.JPG
    IMG_2085.JPG
    2.1 MB · Views: 60
  • 20190908_183200.jpg
    20190908_183200.jpg
    2.1 MB · Views: 60
  • 20190908_184908.jpg
    20190908_184908.jpg
    2.4 MB · Views: 63
  • 20190908_184835.jpg
    20190908_184835.jpg
    2.6 MB · Views: 53
I just hope this doesn't come back to haunt me later.

It won't; most of my car was done by letting sections in. It keeps the contours of the body in better shape rather than wholesale new panels....it can be subtle but if you know the cars well I think it's visible.

After five years, because of my recklessness, I've had to do a fair bit of paintwork repair and only one small area of deterioration was due to problems from the welded joint...I think I may have trapped a few drops of water before painting. The real problems were at the factory joints or where I had remade the flange to flange joints such as at the front wings.

Your work is obviously better than mine (mine would be better if I did it now :D). But I caulked PU sealant when I could get behind the weld-lines and my first layer of filler was always the metal-based stuff. I really can't see where my joins were even though it's had five years to settle or bubble through; ( I am good with filler though :D)
 

Attachments

  • _JAN8940.JPG
    _JAN8940.JPG
    3.8 MB · Views: 37
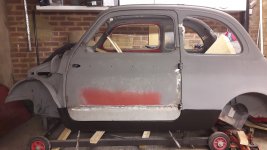
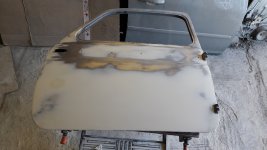
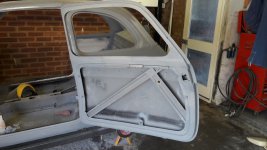
The left hand door is now finally ready for painting.
It's taken a lot of work to get it this far.


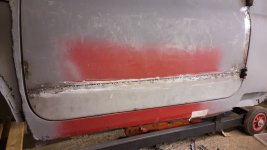
The door skin was removed, all the rust cut out and sandblasted.
Lower door frame and outer skin section welded in.
The rear door frame had to be made from scratch.
I was really pleased with the filler. I applied one reasonable coat to the welded areas and then knocked it back with 40 grit to get it to the right shape and then one more final coat.
This was then sanded back with 80 grit and then finished with 120 grit.


Still got the other one to do but that wasn't quite so bad and I didn't remove the skin so a little less work to do.
 

Attachments

  • 20190922_131109.jpg
    20190922_131109.jpg
    2.6 MB · Views: 44
  • 20190921_141636.jpg
    20190921_141636.jpg
    3.4 MB · Views: 51
  • 20181111_134032.jpg
    20181111_134032.jpg
    2.5 MB · Views: 46
  • 20181014_162709.jpg
    20181014_162709.jpg
    3.4 MB · Views: 50
  • IMG_1346.JPG
    IMG_1346.JPG
    6.2 MB · Views: 59
  • 20190922_131032.jpg
    20190922_131032.jpg
    2.6 MB · Views: 47
  • 20190922_131836.jpg
    20190922_131836.jpg
    2.4 MB · Views: 51
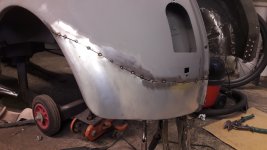
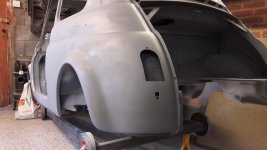
Also I finally finished the repairs to the right rear 1/4 panel.
After extensive surgery due to previous accident damage the inner 1/4 panel had to be removed to be straightened.
This had been welded back in and then the outer 1/4 panel was then fitted.
So all that was required was a final clean up with the welds and a thin skim of filler to hide the joints.
 

Attachments

  • 20190921_183049.jpg
    20190921_183049.jpg
    2.9 MB · Views: 63
  • IMG_3654.JPG
    IMG_3654.JPG
    1.5 MB · Views: 53
  • IMG_3651.JPG
    IMG_3651.JPG
    1.6 MB · Views: 62
  • IMG_3614.JPG
    IMG_3614.JPG
    2.1 MB · Views: 56
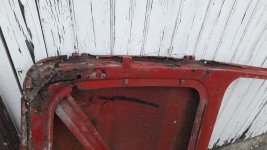
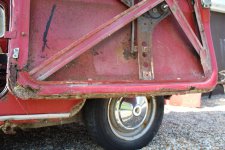
The right door I believe was from a N model. There are a couple of differences to the later D models.
  1. The bottom edge didn't have a channel for the door trim to sit in.
  2. The widow mechanism is slightly longer.
  3. The N had two captive nuts for the grab handle to be screwed to. The D had a metal pressed grab handle welded. Lucky enough someone who changed the door before kept the original grab handle and screwed it on (Badly)
So today I removed the original top channel that the door trim fits in and then welded the grab handle in the correct place and welded up the captive nuts.
Also I removed the channel off my old L doors and cut it up to the correct lengths and welded them in place.
Now for the filler work.:)
 

Attachments

  • 20190929_093619.jpg
    20190929_093619.jpg
    2 MB · Views: 51
  • 20190929_093625.jpg
    20190929_093625.jpg
    1.8 MB · Views: 48
  • 20190929_110232.jpg
    20190929_110232.jpg
    2.8 MB · Views: 48
  • 20190929_111411.jpg
    20190929_111411.jpg
    2.5 MB · Views: 49
The right door I believe was from a N model. There are a couple of differences to the later D models............

The main difference is the 1/4 window catch..
there should be an indent where the hinge bracket is welded to the door.

It could be an early Prototypi D door (probably took them a while to get teh D right)...
The first few D's were based on the N shell..
Remember there were several iterations of the D (excluding the US versions)

(D) the series October 1960 November 1961
D II series November 1961 July 1962
D III series July 1962 February 1963
D IV series February 1963 January 1964
D V series January 1964 September 1964
D I series September 1964 March 1965
 
Back
Top