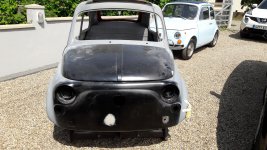
DSC09035.JPG

500 (Classic) Dexter the 1962 Fiat 500D

Introduction

Welcome to my blog for my 1962 Fiat 500D.

I had already started a blog although I wasn't able to change the title and thought it would be best to start a new one with a more descriptive title for others to search and hopefully aid them in their own restoration.

I have split it into 2 sections. This part will be the main vehicle.
The other part will be the engine of which you can find here:
https://www.fiatforum.com/500-classic/444739-fiat-500d-engine-1962-a.html

I took ownership of this 500 in April 2014. This was just after I bought my first restoration project, a 1971 Fiat 500L.
https://www.fiatforum.com/500-classic/345169-franko-1971-500l.html
Sadly I was too far into the L to stop and so the D had to be tucked away until I had the time to start it.
I eventually decided to call him Dexter.

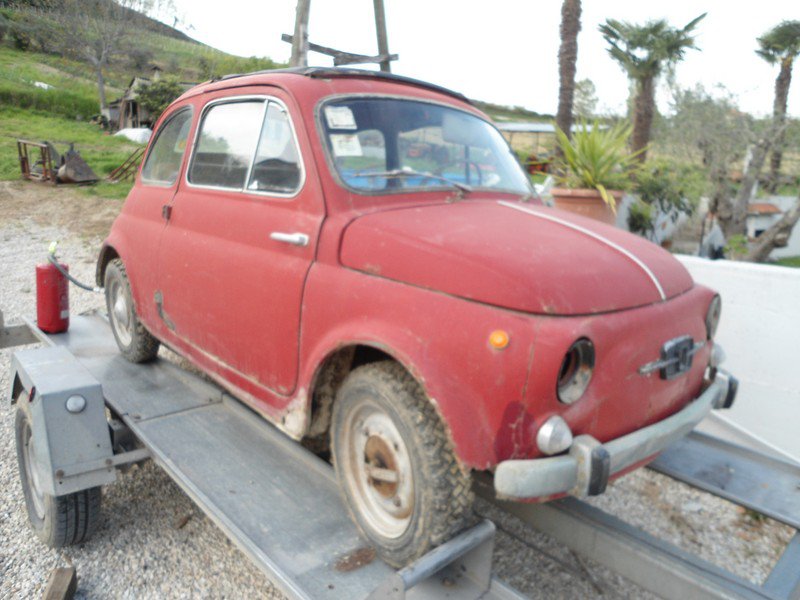
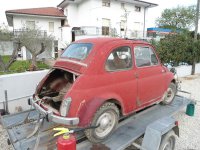
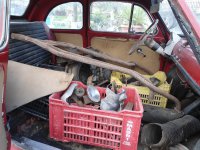
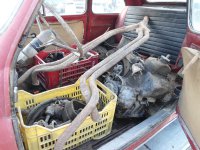
Here' some photos of the vehicle when it was first offered to me. It was at the time on the back of a trailer in southern Italy.
I confirmed I was interested in it, but really wanted to see it before being fully committed. Although I did have a certain forum member that was like the devil on my shoulder saying "Buy it"
devil.gif
.........No N's here...too much money, too much hype.:D
And apart from the chassis number the later ones are not really much different to the D. And the early N's have too many parts which are not available or are ridiculous prices.So happy to have the D. And as I said, no more after this one!:)
not that much difference between N & Ds the engine is the biggest, and the three bolt couplings and the very early seats the rest is mainly cosmetic....

And you know what Dickens wrote in Pickwick Papers..... "Never say Never"
 
And the wheels and the brake plates and drums and the rear arms and the wheel bearings and the interior mirror and and and just about everything really Peter as you told me from the start most parts are harder to find than parts for a 1959 mini . Did you sell your N’s :)
 
I think maybe that the N gang should start their own thread to establish what the differences are between a N and the other models. You can list all your inferior parts that have failed and why Fiat decided to upgrade them. You can also complete speed tests to see how slow they go with their under powered engines.
Actually you can talk about whatever you want.
Just don't do it on my thread please - this is for the D model
thumb.gif

OMG someone’s tired :)
All joking apart your are spot on .everybody restoring an N should compare notes (y)
 
I tried the old bonnet on to see if it was any better. No!
This appears to have been replaced at some time.
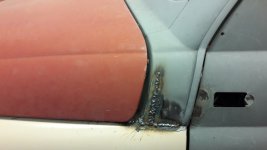
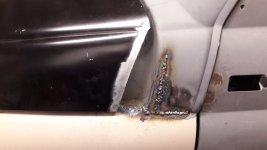
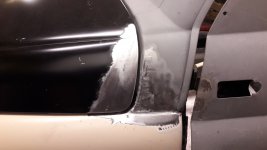
So the only answer was to cut the new bonnet with the grinder. I then cut the ends off my old blue bonnet which the contours fitted perfectly.
Welded these in place and now the gaps look really good.:D
 

Attachments

  • 20190301_101545.jpg
    20190301_101545.jpg
    2.3 MB · Views: 53
  • 20190301_121437.jpg
    20190301_121437.jpg
    2.3 MB · Views: 49
  • 20190301_175200.jpg
    20190301_175200.jpg
    2.5 MB · Views: 51
  • 20190301_101600.jpg
    20190301_101600.jpg
    2.2 MB · Views: 55
  • 20190301_110804.jpg
    20190301_110804.jpg
    2.2 MB · Views: 57
  • 20190301_175130.jpg
    20190301_175130.jpg
    2.3 MB · Views: 52
I have been rather busy with work and life in general so not a great deal of time on the D recently.
Franko went to his first car show of the year 2 weeks ago.


I have rebuilt the passenger door, photos to follow.
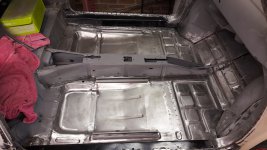
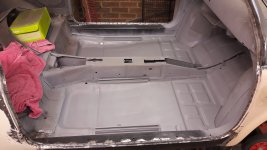
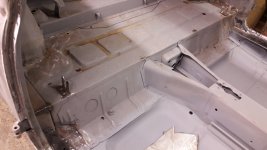
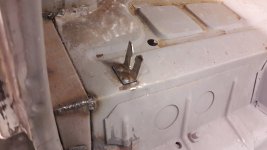
Floor finally complete including seat runners welded in place and the tunnel back in its position.
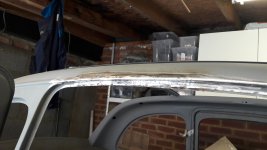
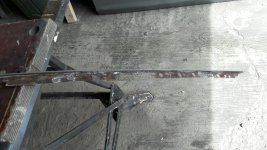
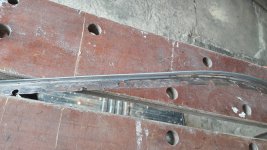
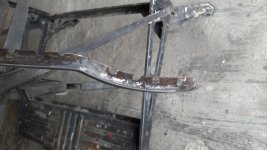
Also had to remove the roof gutter strip as it was heavily corroded.
Good job I removed it as there was corrosion on the roof edge. This has now been cut out and a new piece welded in.
The gutter was really tricky and I ended up replacing a section at a time. The main gutter edge was ok, it was mainly the return which is welded to the roof that is corroded.
Hopefully a few more photos to come this week.
 

Attachments

  • 20190604_160409[1].jpg
    20190604_160409[1].jpg
    3 MB · Views: 61
  • 20190604_171112.jpg
    20190604_171112.jpg
    3.1 MB · Views: 69
  • 20190604_174144.jpg
    20190604_174144.jpg
    2.8 MB · Views: 65
  • 20190527_111055.jpg
    20190527_111055.jpg
    2.3 MB · Views: 60
  • 20190527_111020.jpg
    20190527_111020.jpg
    4.3 MB · Views: 60
  • 20190527_111040.jpg
    20190527_111040.jpg
    5 MB · Views: 67
  • 20190527_111035.jpg
    20190527_111035.jpg
    2.4 MB · Views: 56
Floors and guttering.....my favourite...:bang:

You say "not a great amount of time on the D", but what you've achieved there must have been quite time-consuming if my experience is anything to go by. :D

How tricky was it to fit the gigantic floor section? Did it need a lot of re-shaping to make it fit? I would be hoping that you could achieve and approximate fit and then trim it in situ.
 
The floor was quite straight forward really.
The only part I had to modify was the section that meets the inner front wheel arches. They must be different on the 126 model. But this was just a matter of dressing the edge back by about 5mm.
Apart from that it went in well.
Although there is a lot of fiddling about with the seat runners and supporting rails.
I even had to squash a mig welder nozzle so that I could mig weld the runners to the floor as the nozzle wouldn't fit inside the runners.
These runners were a lot better quality than the ones I fitted on the L though.
 
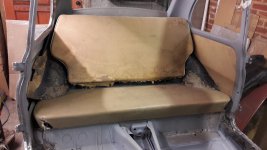
The D model had a foam base rear seat cushion.
Sadly my one was missing.
So I decided to fit a spring base out of a later model as they seem to fit ok.
The only difference is that there are 2 brackets missing that hold the base in place. So I made some new ones and removed the 4 little tangs that originally held the fabric to the floor.
I have the original arch covers and one of the side trims so put everything in place to check it all fits. There is a gap between the back rest and base - mainly because the additional piece of material is missing from my seat which goes down behind the base.
So that's all my seat fixings now sorted.
 

Attachments

  • 20190605_200640.jpg
    20190605_200640.jpg
    2.4 MB · Views: 65
  • 20190605_200644.jpg
    20190605_200644.jpg
    2.5 MB · Views: 58
  • 20190605_194318.jpg
    20190605_194318.jpg
    2.6 MB · Views: 72
Last edited:
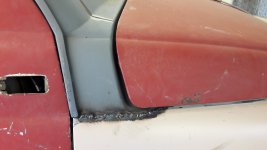
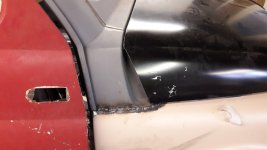
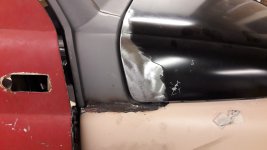
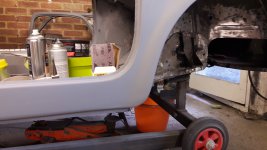
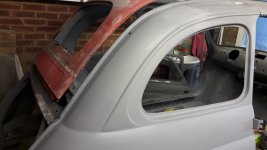
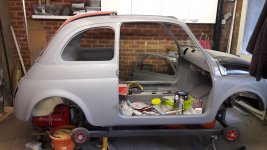
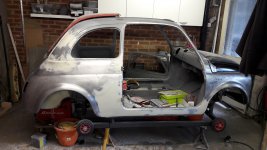
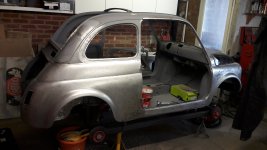
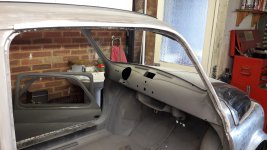
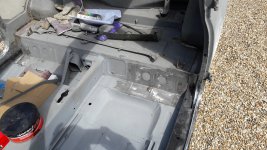
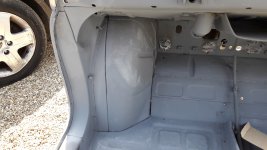
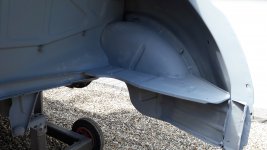
A day of filler, sanding, filler, sanding and at last some etch primer.
Overall I am really satisfied with the end result.
All the joints are invisible and the roof gutter rail came out pretty good.
 

Attachments

  • 20190608_184153.jpg
    20190608_184153.jpg
    2.6 MB · Views: 67
  • 20190608_184139.jpg
    20190608_184139.jpg
    2.4 MB · Views: 71
  • 20190608_184130.jpg
    20190608_184130.jpg
    2.7 MB · Views: 67
  • 20190608_182405.jpg
    20190608_182405.jpg
    2.8 MB · Views: 68
  • 20190606_140852.jpg
    20190606_140852.jpg
    2.6 MB · Views: 65
  • 20190608_182424.jpg
    20190608_182424.jpg
    2.9 MB · Views: 66
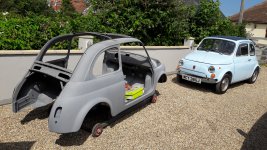
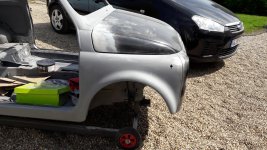
Finally got him out of the garage

Decent weather you’ll be finished in a few weeks! That dark blue sunroof cover looks really smart on Franko! Glad you didn’t go chequered! Oh no that was someone else who is heavily into modding??????
 
Finally got him out of the garage
I always loved getting the bodywork out into the light.....great to see clearly what I had been doing inside the cavern and then to be able to properly see what I was doing if I could get a bit more welding done before attending to the needs of grandchildren.:)

Great to see your progress on this penultimate restoration. ;)
 
Back
Top