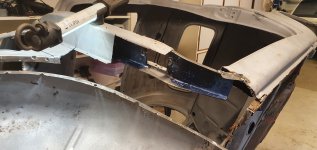
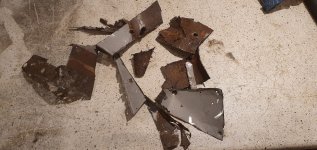
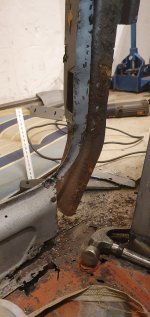
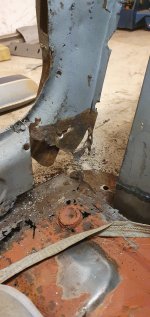
20200209_181323.jpg

500 (Classic) Raukstern's 500F -65 rebuild

Introduction

Hi guys,
My first post except for introducing myself in the newbe thread :)

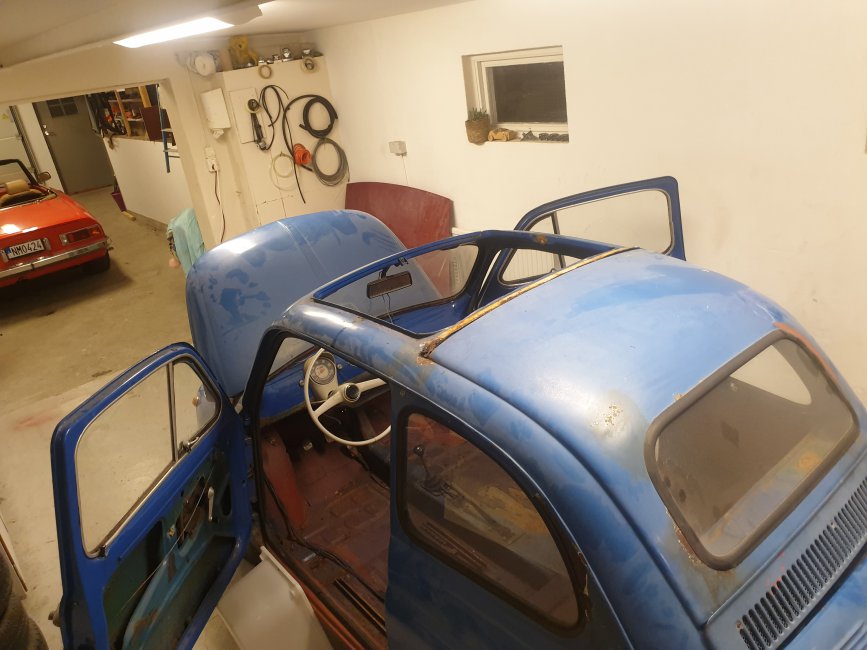
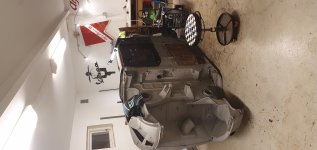
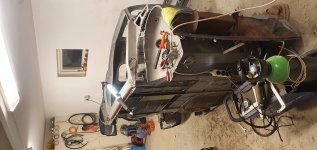
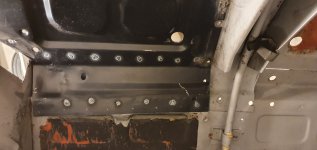
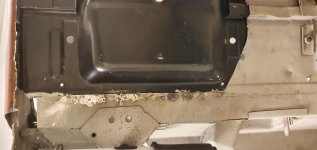
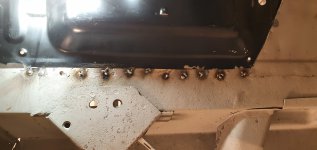
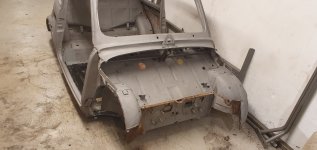
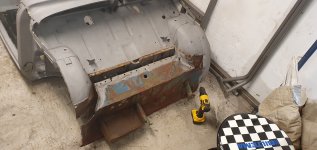
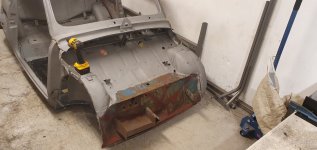
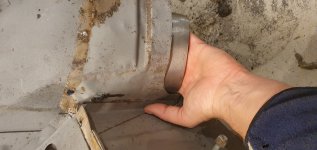
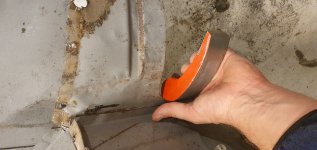
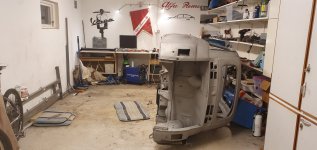
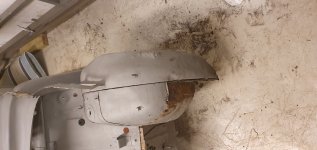
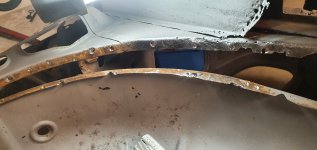
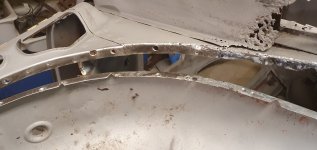
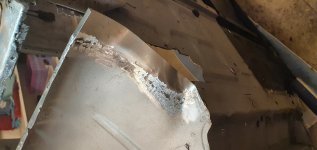
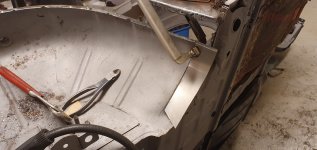
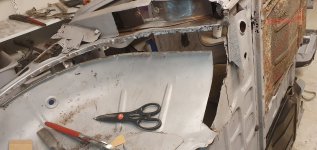
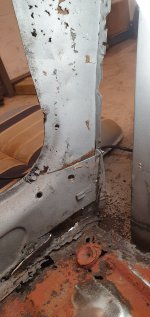
My 500F (my first 500) is in need ofa major restoration/rebuild. I´ve started small, removing doors and interior and cut out the right hand side floor board so far. The rust is far gone :( Some holes, but what is worse is that all the all surrounding sheet metal has serious surface corrosion. So mutch that I fear it´s to thin to be weldable. (Is that a word?) :rolleyes:


I have borrowed a jigg/cradle (or what it might be called in english) to suspend the car in, so that I can rotate it and don´t have to cut and weld om my back.

Now to my first question:
Where do I attatch the mountings in the front?
In the back I´ve seen pic´s online how to mount it. Has anyone here done this and have some pointers?

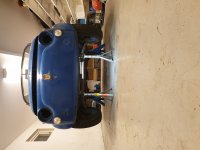
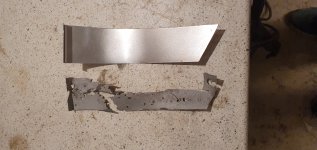
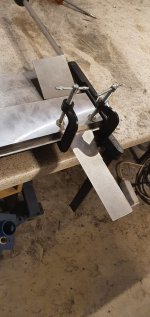
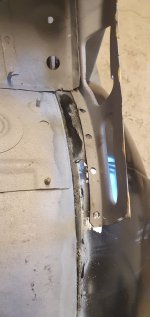
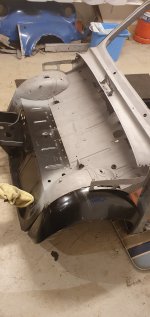
A few pics to lively up the post. (y) (for some reason some pics gets turned, cant figure out why)
  • Like
Reactions: ClassicFiat500
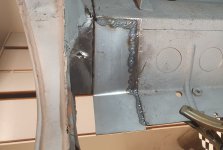
First piece in place last night, finally on my way for real (y)

I havn´t restored a car, doing body work, for about 15 years know, so be kind on the quality of the welds. It will get better in time as I get the settings on the MIG tuned... I hope :D

.
 

Attachments

  • 20211020_204400.jpg
    20211020_204400.jpg
    2.1 MB · Views: 76
  • 20211020_204501.jpg
    20211020_204501.jpg
    1.3 MB · Views: 74
And I have a question, as usual.

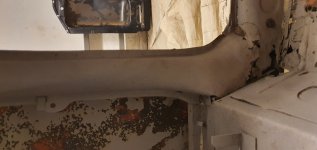
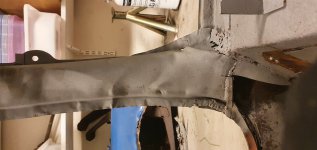
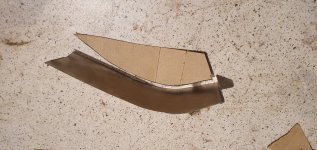
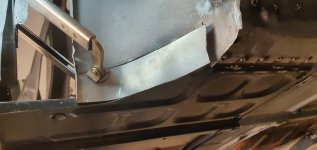
Is there anywhere to get ahold of the lower, inner part of the B pillar? One of mine is badly corroded and the other has been hit.
.
 

Attachments

  • 20211019_182617.jpg
    20211019_182617.jpg
    1.9 MB · Views: 63
  • 20211019_182655.jpg
    20211019_182655.jpg
    1.9 MB · Views: 69
And I have a question, as usual.

Is there anywhere to get ahold of the lower, inner part of the B pillar? One of mine is badly corroded and the other has been hit.

.

I think I've seen them in the past as NOS items from:https://ilsorpassoricambi.com/

But he's very expensive for anything and most of what he has is very rare. You can get the same part for the front pillars and maybe the one from the opposite side would have shapes that could be made to fit.

Judged by the metalwork you've already done I think you could shape some metal to fit. :)

Thanks for the kind words, this part was very staight, angular and simple. :) Curved surfaces are another can of worms.

I´ll check out Il Sorpasso, worth a shot, thanks!
 
So, the first floor pan in place. Had to get it into place before I get going with the sills. I think the sills they are next, but there is so much to to, I´m not sure on the next step :D

.
 

Attachments

  • 20211027_194023.jpg
    20211027_194023.jpg
    1.9 MB · Views: 57
  • 20211027_194008.jpg
    20211027_194008.jpg
    1.8 MB · Views: 57
  • 20211027_211612.jpg
    20211027_211612.jpg
    1.8 MB · Views: 58
  • 20211027_211506.jpg
    20211027_211506.jpg
    1.8 MB · Views: 58
  • 20211027_193455.jpg
    20211027_193455.jpg
    1.9 MB · Views: 65
Moving forward in my swiss cheese car... There ia A LOT of fabrications I have ahead of me. I´m thinking I want to do it all ritght and pretty ;) but I realize I might not have the right skill set for that. Better to just do it and get it done? It vill never be original again anyway...

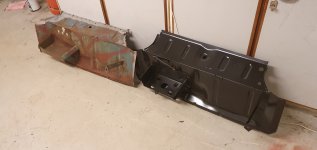
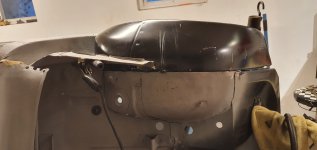
Yesterday I removed the old trunk dish to prepare for the replacement I have bought. For everry panel I remove I find 3 more things that need fixing :bang:

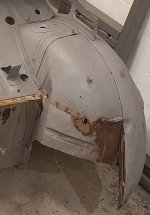
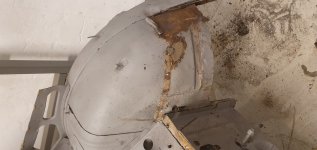
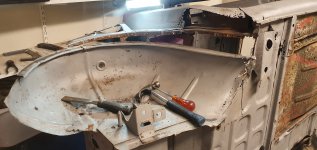
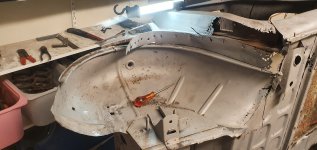
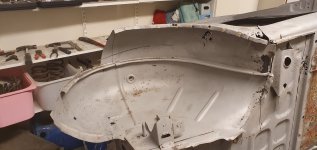
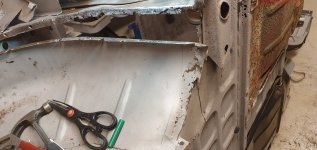
Looks lite it has been lightly hit in the front some time ago, since many panels are dented. Some of it I´ll try to massage out with the hammer, as the inner wheel well as shown below...

Well well, we´ll see how far I´ll get :D
 

Attachments

  • 20211109_202619 (3).jpg
    20211109_202619 (3).jpg
    159.8 KB · Views: 64
  • 20211109_202417.jpg
    20211109_202417.jpg
    1.8 MB · Views: 68
  • 20211109_202619.jpg
    20211109_202619.jpg
    2.1 MB · Views: 67
  • 20211109_202242.jpg
    20211109_202242.jpg
    2.1 MB · Views: 65
  • 20211109_190059.jpg
    20211109_190059.jpg
    2.3 MB · Views: 67
  • 20211109_203917.jpg
    20211109_203917.jpg
    2.1 MB · Views: 71
  • 20211109_203922.jpg
    20211109_203922.jpg
    2.2 MB · Views: 62
  • 20211109_204618.jpg
    20211109_204618.jpg
    2 MB · Views: 67
I've just read through from the start, you're doing a great job resurrecting this one! It's showing me a lot of the jobs I have ahead of me with mine, haha.

The fabrication you're doing looks perfectly good to me, don't knock yourself down. There's much more to be appreciated in something you've done yourself, even if it's not as perfect as someone who's a 30 year professional might do. It's also fair to say that a lot of the shiny professional metal work you see on the Internet doesn't look quite so special in real life, the camera is very good at lying!
 
Continuing with the front end. Ordered more metal today... again :)

Last night it was time to tip the car over on the other side and get crackin´with the front left wheel house. The outer part I´ve allready got a new one at home, so its time for the old one to go.

Removing it was quite undramatic. And now I have to reveal that two of my favourit tools for metal work, is hammer and chisel :D

After removal, some cleaning of the earlier hidden surfaces and off to bed. :sleep:

To be continued...

.
 

Attachments

  • 20211116_191720.jpg
    20211116_191720.jpg
    1.9 MB · Views: 61
  • 20211116_191532.jpg
    20211116_191532.jpg
    1.9 MB · Views: 62
  • 20211116_183508.jpg
    20211116_183508.jpg
    2.1 MB · Views: 61
  • 20211116_185313.jpg
    20211116_185313.jpg
    2 MB · Views: 61
  • 20211116_182842.jpg
    20211116_182842.jpg
    1.9 MB · Views: 61
  • 20211116_205514.jpg
    20211116_205514.jpg
    2 MB · Views: 58
  • 20211116_213235.jpg
    20211116_213235.jpg
    2.3 MB · Views: 64
  • 20211116_211324.jpg
    20211116_211324.jpg
    2.1 MB · Views: 68
It's time consuming when you've got to careful peel back the original construction isn't it, it always feels a bit demoralising to me, especially when sometimes it feels like you could have hacked it out with a grinder in 5 minutes.

Worth it though when you drop the new panel in and it looks factory correct. :)
 
Plodding along... as The Hobbler recommended :)

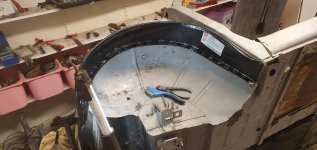
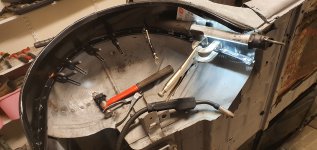
In stead of buying new inner front wheel housings, I decided to repair the ones I have.
It takes a bit of amateur fabrications of sheet metal. But it will do for me (y)

Allmost got both sides done, just some finishing touches left om the right side.

.
 

Attachments

  • 20211122_192546.jpg
    20211122_192546.jpg
    2.2 MB · Views: 59
  • 20211122_174916.jpg
    20211122_174916.jpg
    2.4 MB · Views: 53
  • 20211121_192749.jpg
    20211121_192749.jpg
    2.8 MB · Views: 53
  • 20211121_192742.jpg
    20211121_192742.jpg
    2.4 MB · Views: 55
  • 20211121_190307.jpg
    20211121_190307.jpg
    2.4 MB · Views: 54
  • 20211122_205504.jpg
    20211122_205504.jpg
    2.7 MB · Views: 55
  • 20211122_211112.jpg
    20211122_211112.jpg
    2.2 MB · Views: 54
  • 20211122_220707.jpg
    20211122_220707.jpg
    2.3 MB · Views: 56
Plodding along... as The Hobbler recommended :)

In stead of buying new inner front wheel housings, I decided to repair the ones I have.
It takes a bit of amateur fabrications of sheet metal. But it will do for me (y)

Allmost got both sides done, just some finishing touches left om the right side.

.

That's great work and (I think) the right way to do it; especially when dealing with the underside and parts which could have implications for the alignment of outer panels and of steering and suspension parts.(y)
 
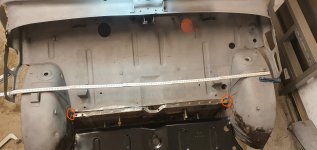
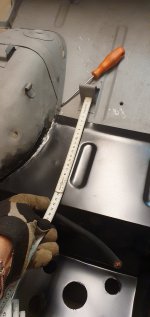
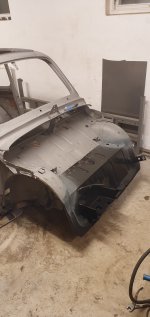
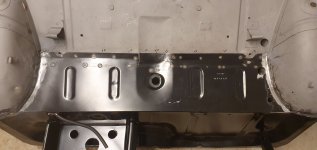
I need help from you lovely people that have i 500 close by. I need messurements, so I can correcly position the new boot floor. The car has been hit lightly in the front in an earlier life, so I dont really trust the wheelhousings.
Also replacement part are often not reeally accurate, since the machines that makes them are from the 50-60´s. (so it says when I order them)

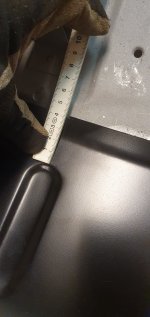
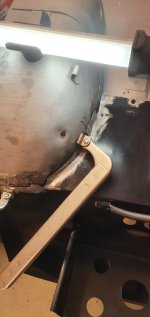
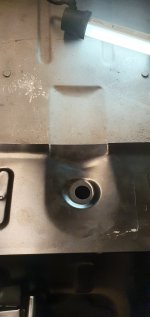
The messurements I need are the ones shown in the pictures below:

1. From the bracket holding the tank to the edge of the floor above the battery.
2. Between the indentations on the "floor"
3. Between the outer side of the inner wheelhousings and between the whwwlhousing along the "floor" och the trunk/boot.

If I could get it in millimeters it would be lovely. Otherwise I´ll find some way to translate it.

This is all ti help me get the boot floor positioned right.

Thanks /Seb
 

Attachments

  • 20211123_200739_LI.jpg
    20211123_200739_LI.jpg
    4 MB · Views: 44
  • 20211123_194855.jpg
    20211123_194855.jpg
    1.3 MB · Views: 52
  • 20211123_194742.jpg
    20211123_194742.jpg
    1.4 MB · Views: 50
So...
With a little help from my friends (you lot) I could get on with the front end rebuild during the week end. :D
Thanks to The Hobbler and Bounding Bambino for the help! :love:

With some measurments to go on, I could with some kind of restored confidence start rebuilding, instead of removing :)
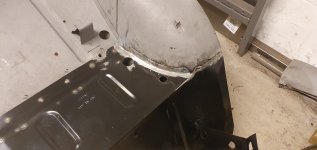
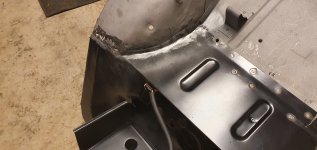
As I mentioned earlier, the reproduction panels can be a bit off, and my front end is not to rely on, formwise. As seen in the first pics, the fit is not spot on. Some 10mm gap when the panel was in the correct place.

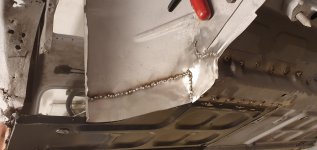
But with some modification, based on the measurements I received, I could start getting the trunk panel mounted. Doing all the welding I can from the back side, so that the surfaces you see will be kept clean.

25% done yesterday, will continue tonight.


20211128_133839.jpg
20211128_133847.jpg
20211128_133854.jpg
20211128_163333.jpg
20211128_180238.jpg
20211128_180250.jpg
20211128_180948.jpg
20211128_183953.jpg
 

Attachments

  • 20211128_192935.jpg
    20211128_192935.jpg
    1.1 MB · Views: 45
  • 20211128_180258.jpg
    20211128_180258.jpg
    1.2 MB · Views: 41
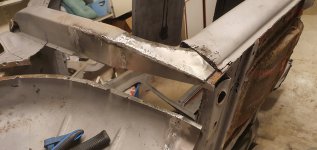
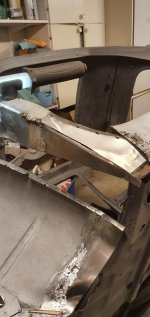
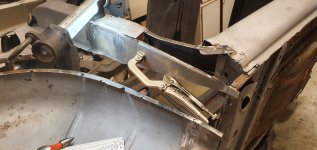
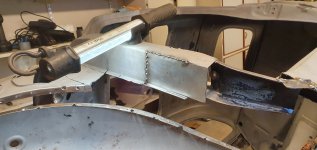
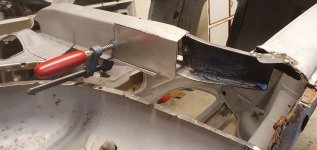
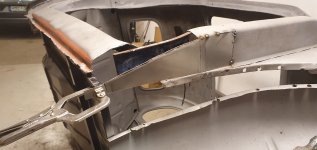
Started rebuilding the left side A-pillar, wich was totally rusted away... togeather with the sill ...and the floor pan. :rolleyes:

Skratched my head for a good while, before I finally realized that I will not fugure out how to best do this... and just got stuck in! 💪

The outside is done (wich will be hidden behind the fender, thank god) The inside is left to be done. The replacement part I bought for this has really bad fit, but I´ll be able to make something out of it anyway.. I hope. 😃
 

Attachments

  • 20211212_183043.jpg
    20211212_183043.jpg
    2 MB · Views: 56
  • 20211212_175043.jpg
    20211212_175043.jpg
    1.1 MB · Views: 61
  • 20211212_161207.jpg
    20211212_161207.jpg
    2 MB · Views: 58
  • 20211212_132541.jpg
    20211212_132541.jpg
    2 MB · Views: 53
  • 20211212_131148.jpg
    20211212_131148.jpg
    2.1 MB · Views: 62
  • 20211212_123530.jpg
    20211212_123530.jpg
    1.8 MB · Views: 60
  • 20211209_183915.jpg
    20211209_183915.jpg
    3.4 MB · Views: 62
  • 20211209_180733.jpg
    20211209_180733.jpg
    1.2 MB · Views: 55
  • 20211209_174107.jpg
    20211209_174107.jpg
    1.3 MB · Views: 54
  • 20211208_210202.jpg
    20211208_210202.jpg
    1.7 MB · Views: 65
Some day off over the hollidays resulted i far less work that I had calculated with. Got the mancold from hell (not Covid, but its mean cousin) that kept me in bed (on the couch) most of the hollidays.

Bot I got the left side inner wheel arch in place and got started on the right side A-pillar repairs at least 😇
 

Attachments

  • 20220105_125548.jpg
    20220105_125548.jpg
    1.1 MB · Views: 54
  • 20220104_122033.jpg
    20220104_122033.jpg
    1.3 MB · Views: 57
  • 20220103_153039.jpg
    20220103_153039.jpg
    957.2 KB · Views: 58
  • 20220103_150732.jpg
    20220103_150732.jpg
    1.8 MB · Views: 58
  • 20220103_150716.jpg
    20220103_150716.jpg
    2.3 MB · Views: 52
  • 20220102_162052.jpg
    20220102_162052.jpg
    2 MB · Views: 52
  • 20220105_140732.jpg
    20220105_140732.jpg
    2 MB · Views: 50
The front end work is what im tackling next. And personally im excited, but also loathing it. Its -24c this morning, and my little pepperoni is tucked away, i definitely ant working in that weather.

Great too see all your detailed photos and what to expect once the outer skins are removed.
Those deep reach vise-grip clamps are a godsend eh? It was a bit of an investment myself getting a few and building up a collection, but they definitely make life easier when trying to pinch hard to reach panels together.

One thing i am contemplating of doing, again bouncing ideals here, is removing the inner fender seam that faces downwards towards the tire. I realize this seam is not an issue for stock ride height cars, but im tempted to weld the fender in like normal. Get everything fitted (outer body panels, etc), then weld the top half of the seam inside the trunk space. And then remove the seam in the wheel well to provide extra bump clearance for lowered cars.
 
Back
Top