
Introduction
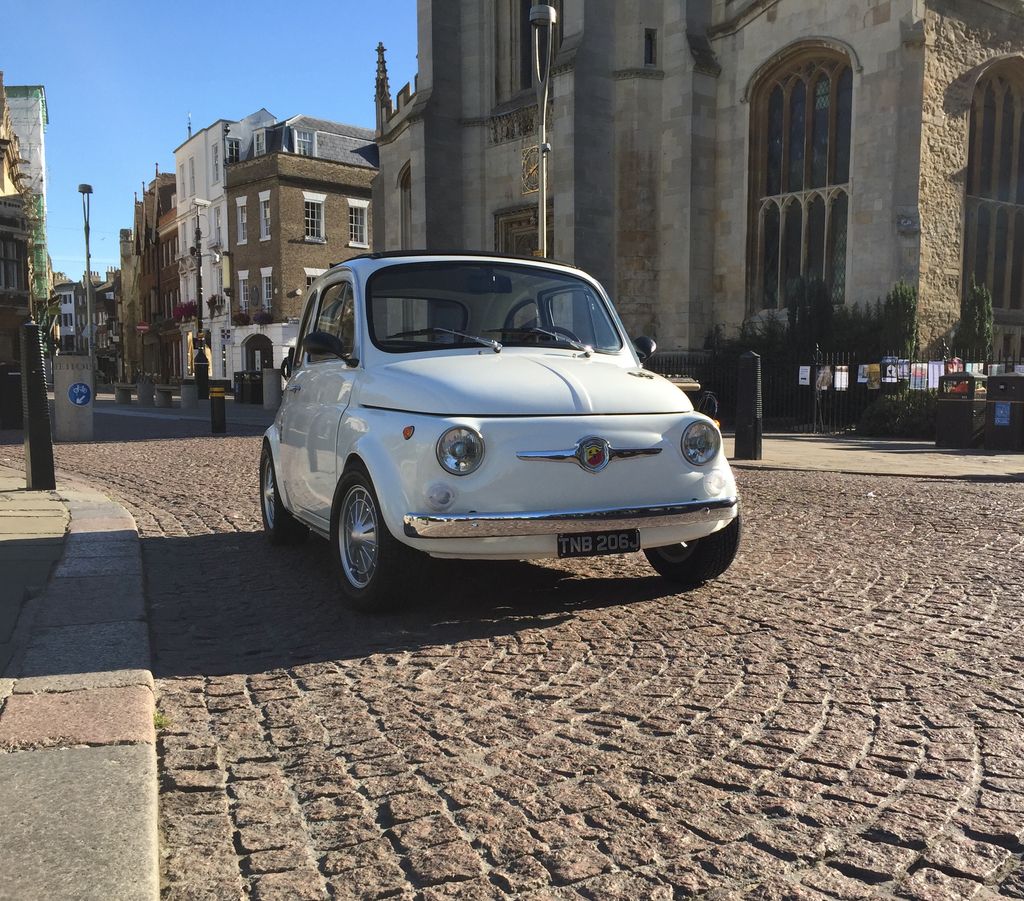
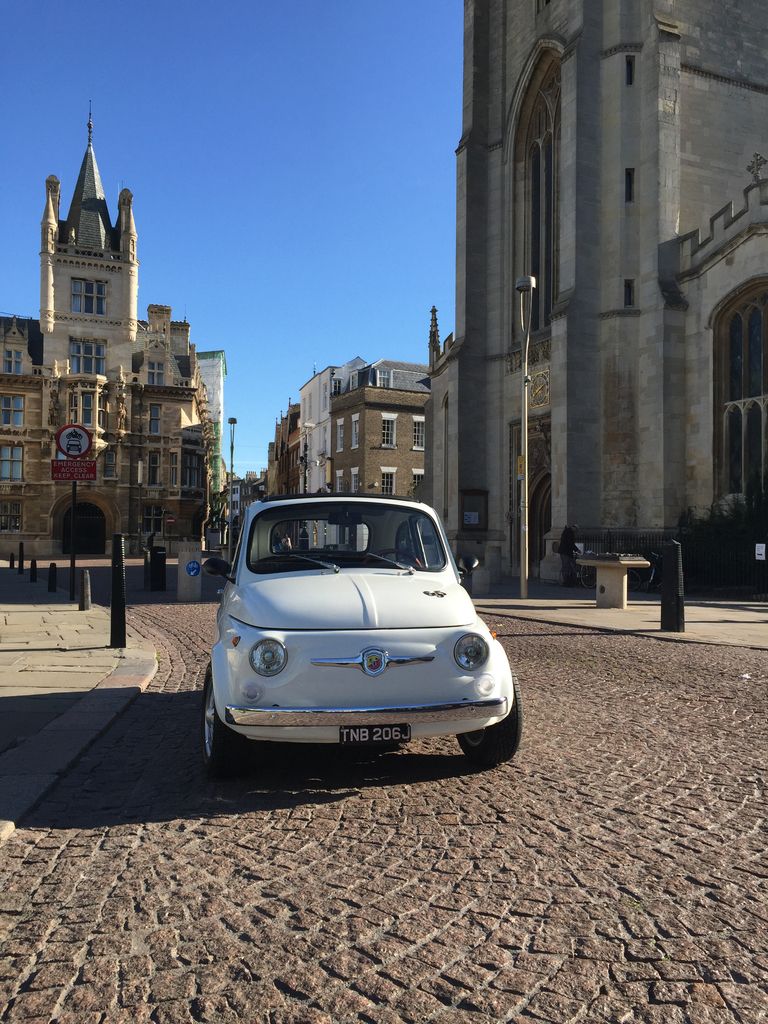
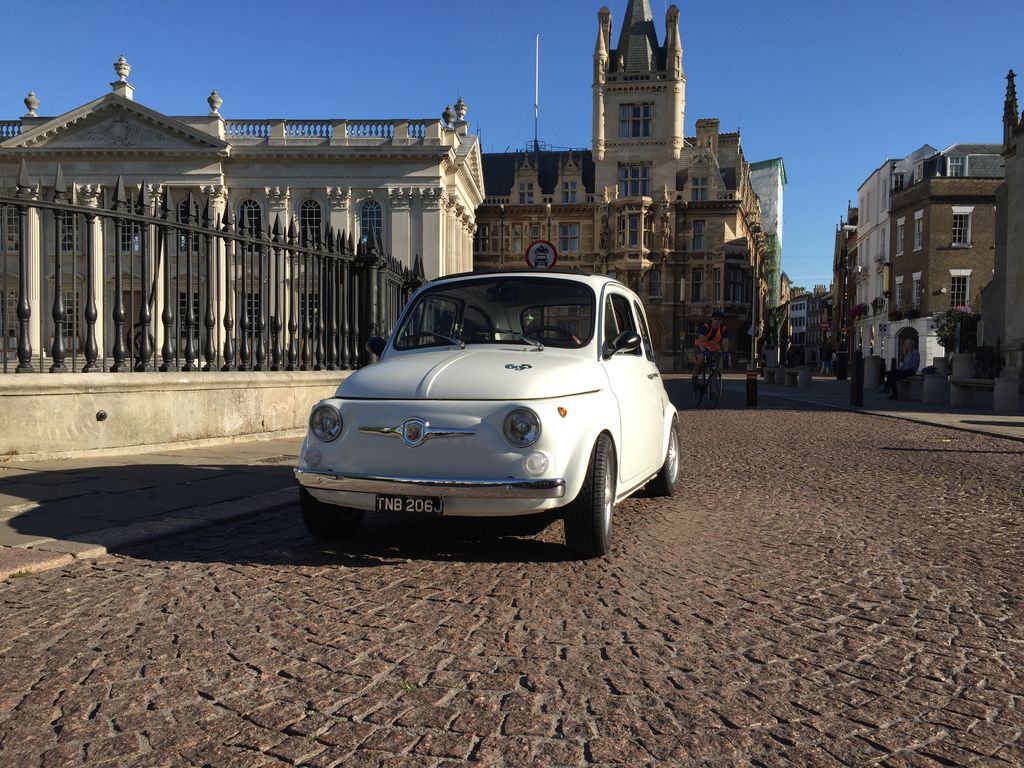
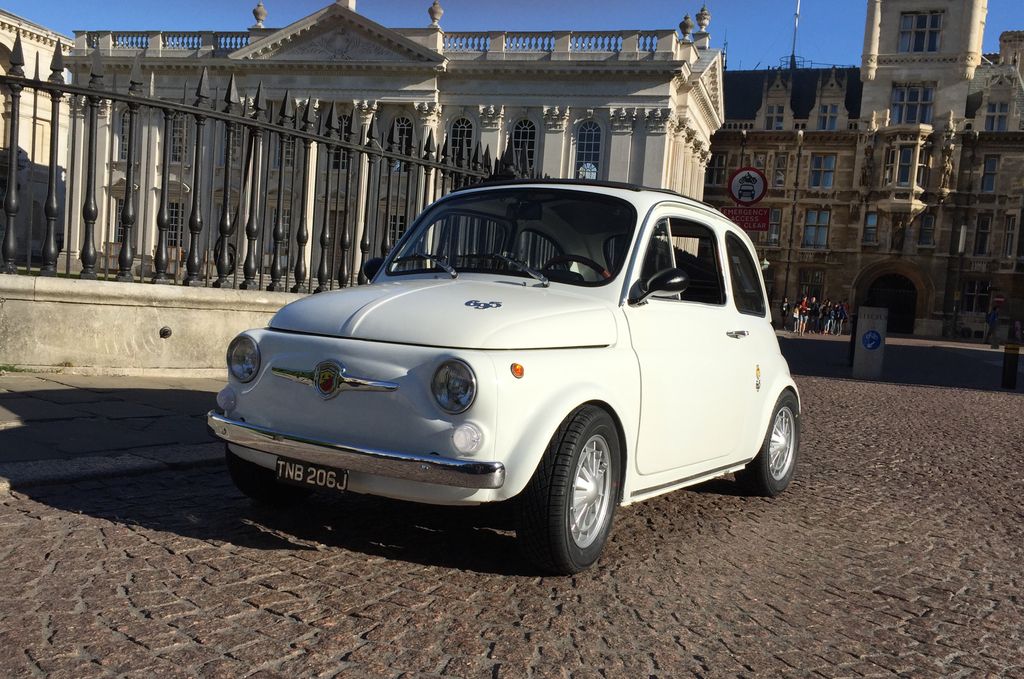
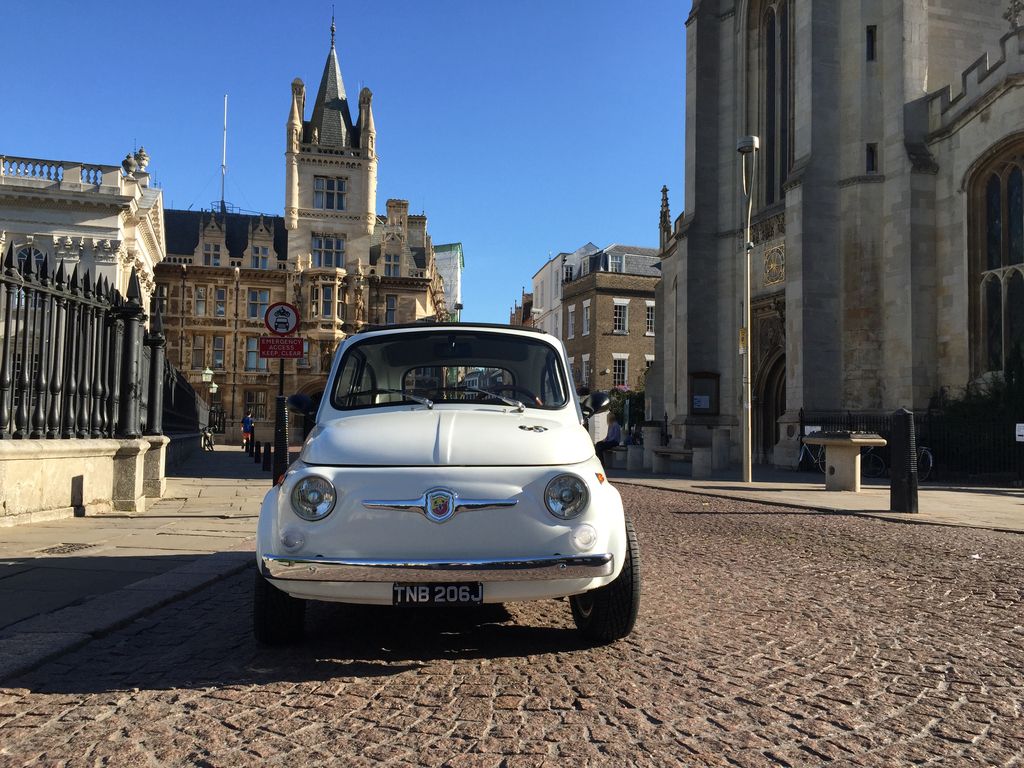
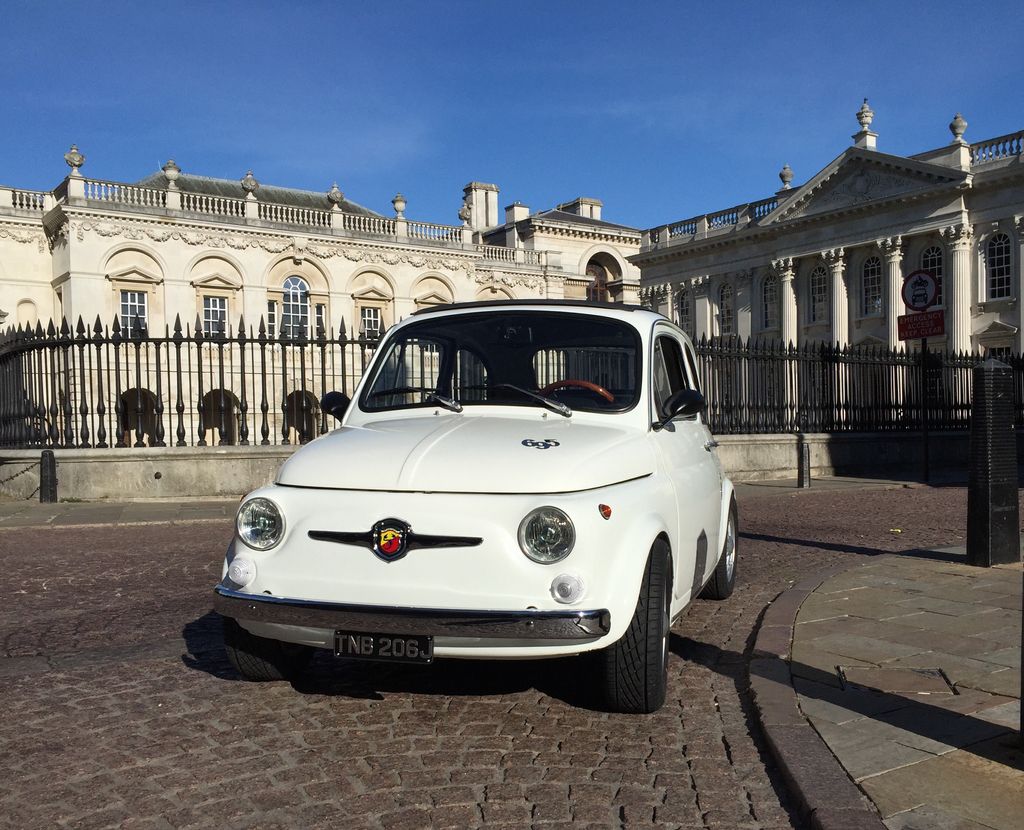
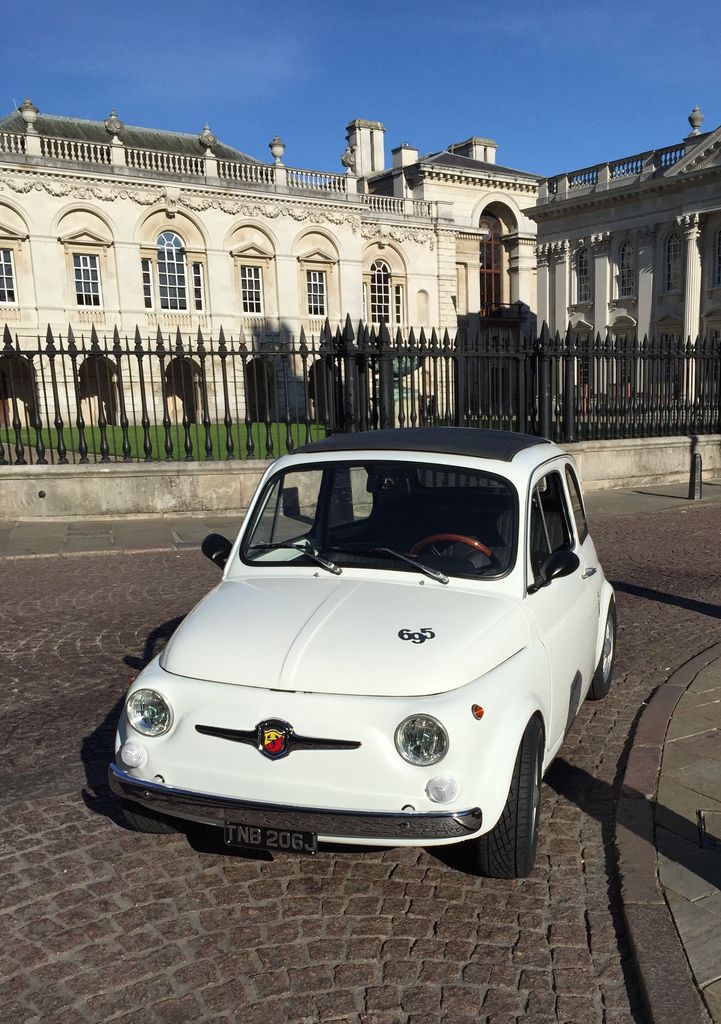
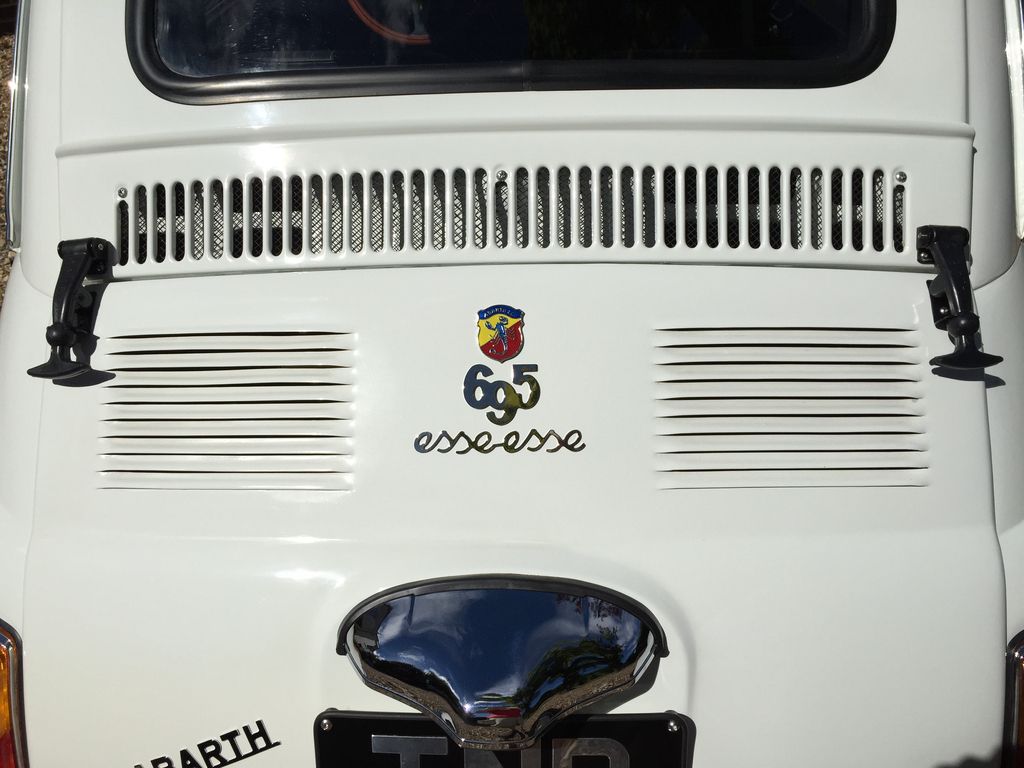
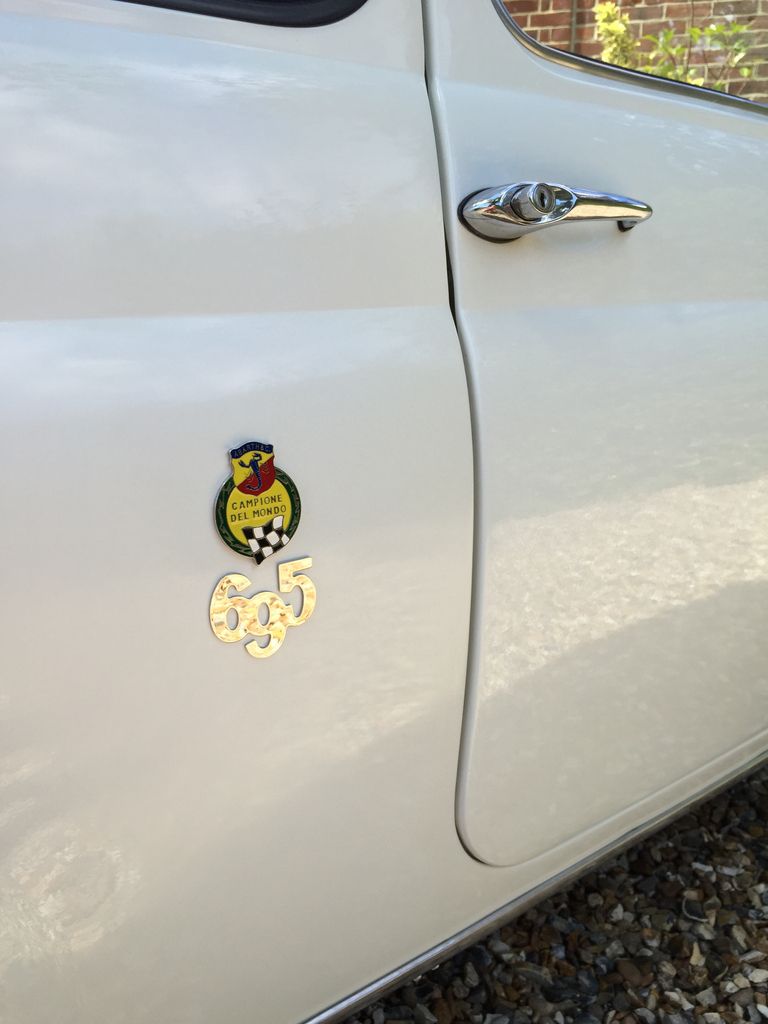
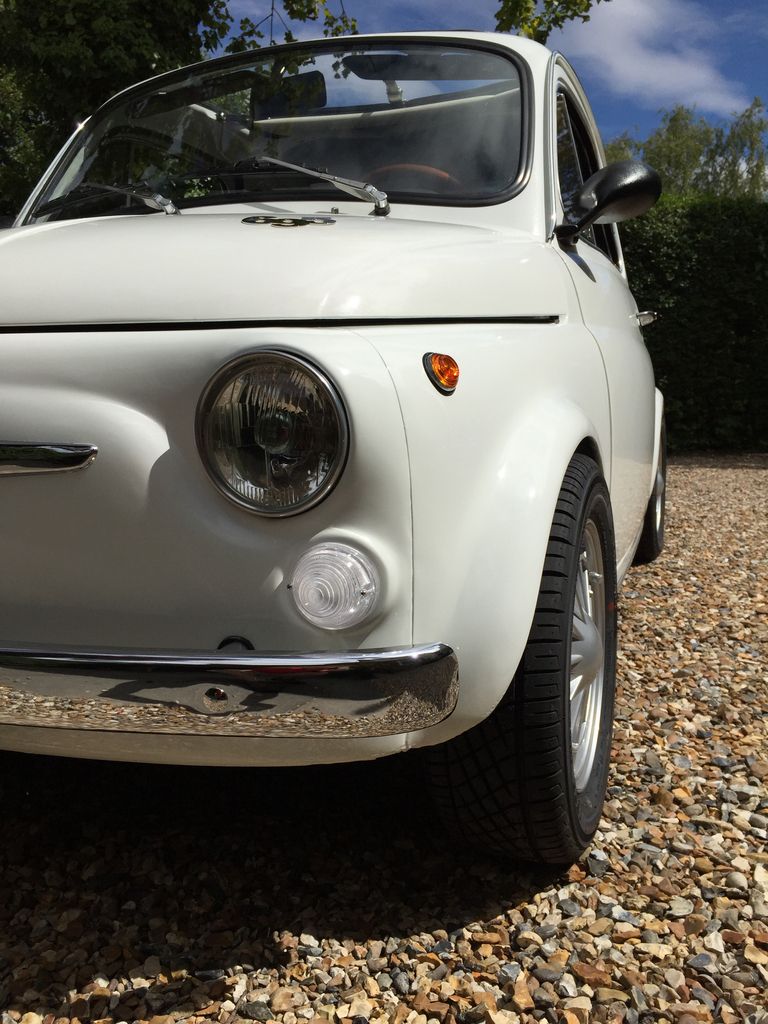
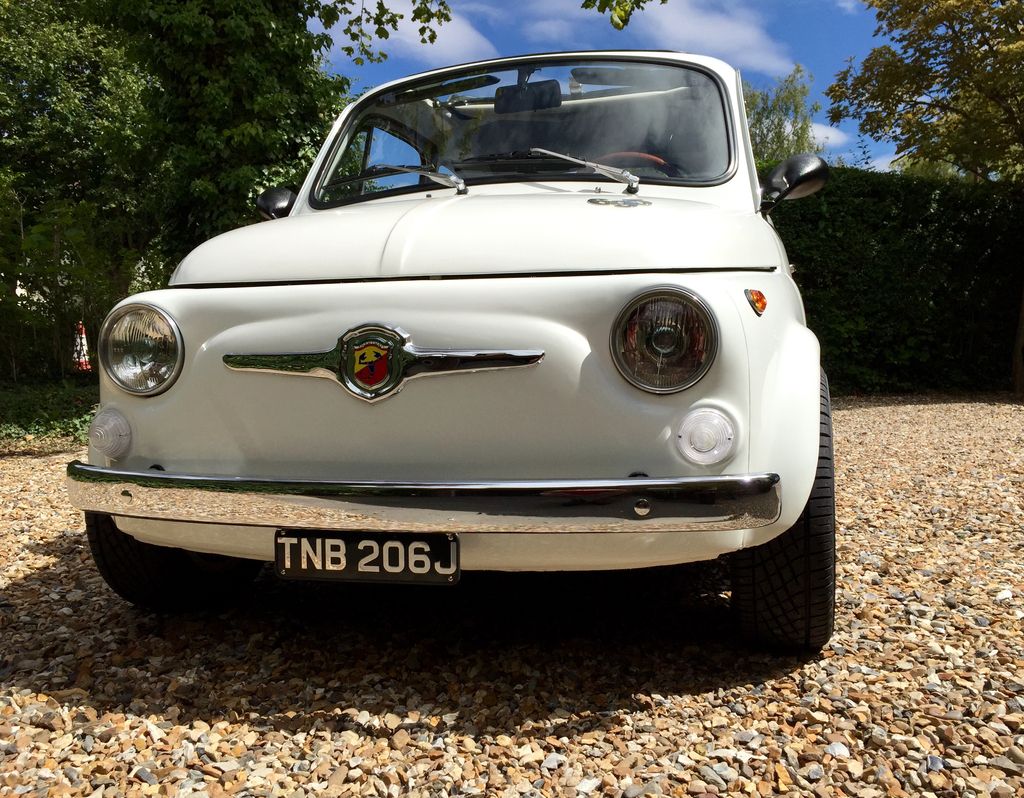
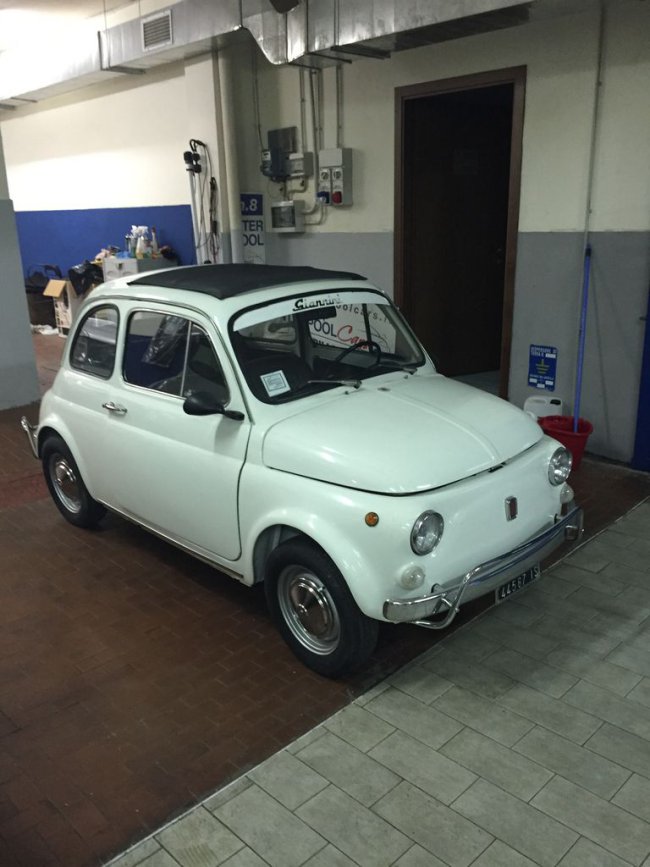
Here is the start of my Fiat 500 rebuild thread. I bought the 500 in Italy in April and it arrived on May 2nd. It's a 1971 Fiat 500L...

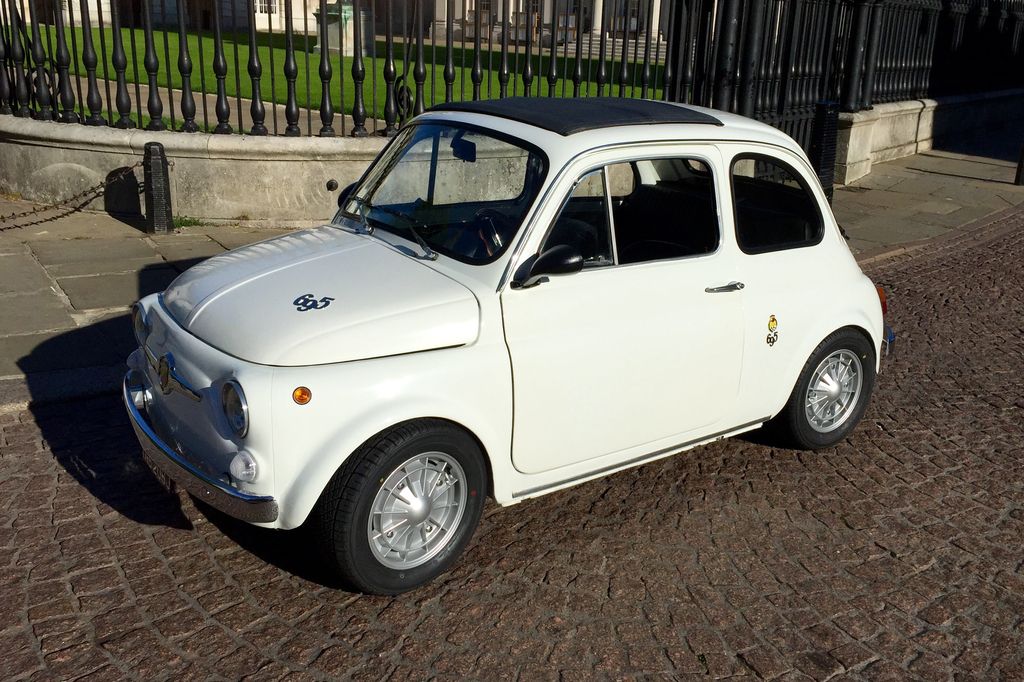
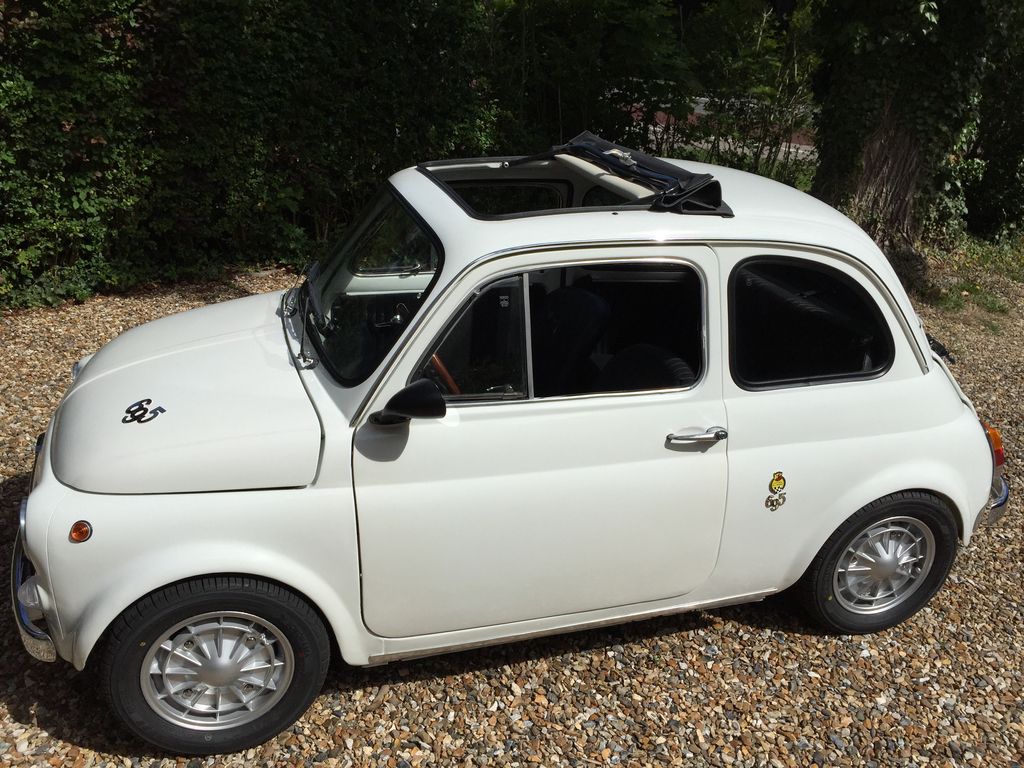
Within 5 minutes of it being on the driveway, the Giannini sunshade sticker was no more")
The plan was to get it through an MOT ASAP, registration sent off and then I could drive whilst rebuilding it. Like most people on here, I'm doing this on evenings and weekends, so it's handy to be able have a roadworthy vehicle when you need to test something out.
Unfortunately, that didn't work as one of the first things I did was to jack it up and check out the front kingpins. There was tons of movement and a number of the bushes were perished, so I took the decision to redo all of the suspension for the MOT. This was on the plan anyway, along with fitting front discs brakes too, so I decided to do everything at the same time as it made sense, even if it would take longer.
So the stripping started. Mostly no problem, but the LHS front spring bush had fused to the bolt. Easily fixed with 1mm cutting disc. Not so easy was the fused bush and bolt on the LHS rear swing arm inside pivot point. I could only cut through half of the bolt with the cutting disc, so the hacksaws were used for rest. I enjoyed that!
The good news was I could start putting things back on...

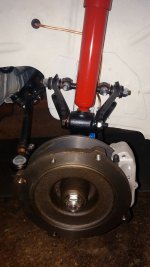
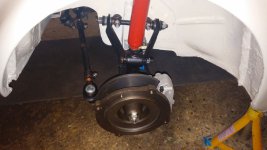
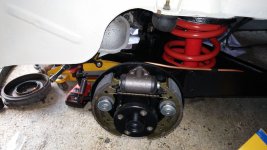
New kingpins with two grease nipples.

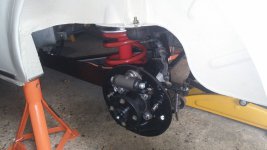
New front discs that allow you to still use the original PCD of 4x190. The first brake line I tried to undo stripped the corners, so I ordered a new brake line kit along with a new master cylinder.

All of the track rod end rubbers were perished and most of them had too much movement, so I decide to replace all of them. The steering box was leaking, so this was stripped and rebuilt with new gaskets and seals.
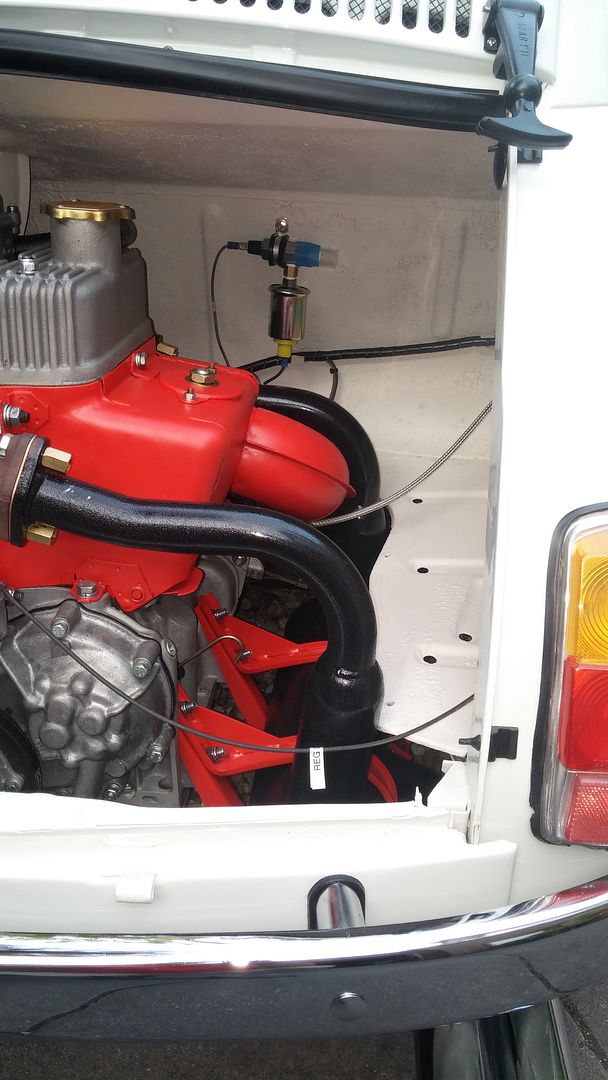
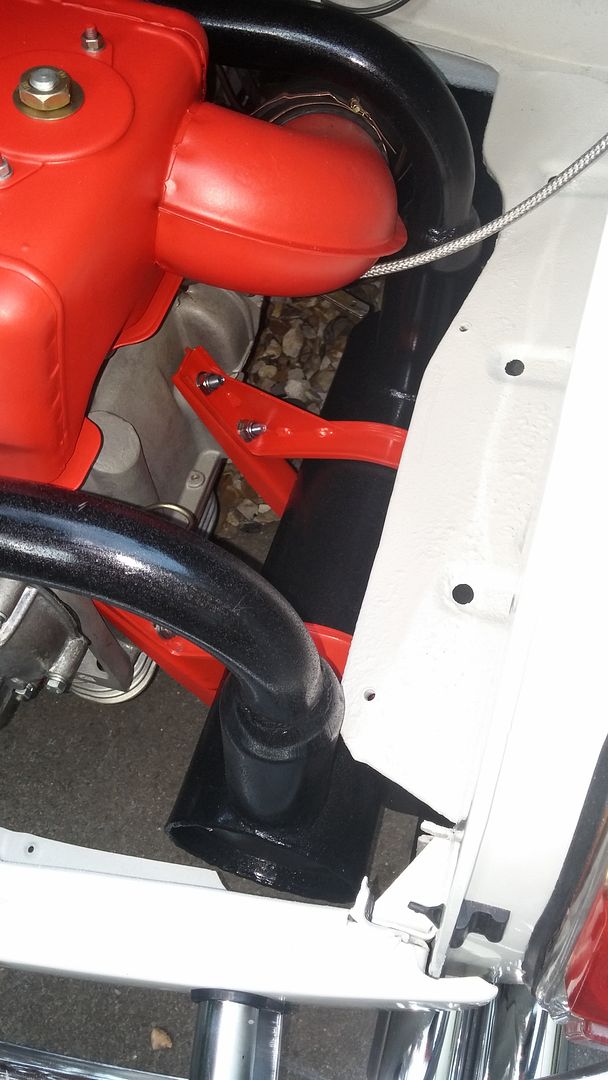
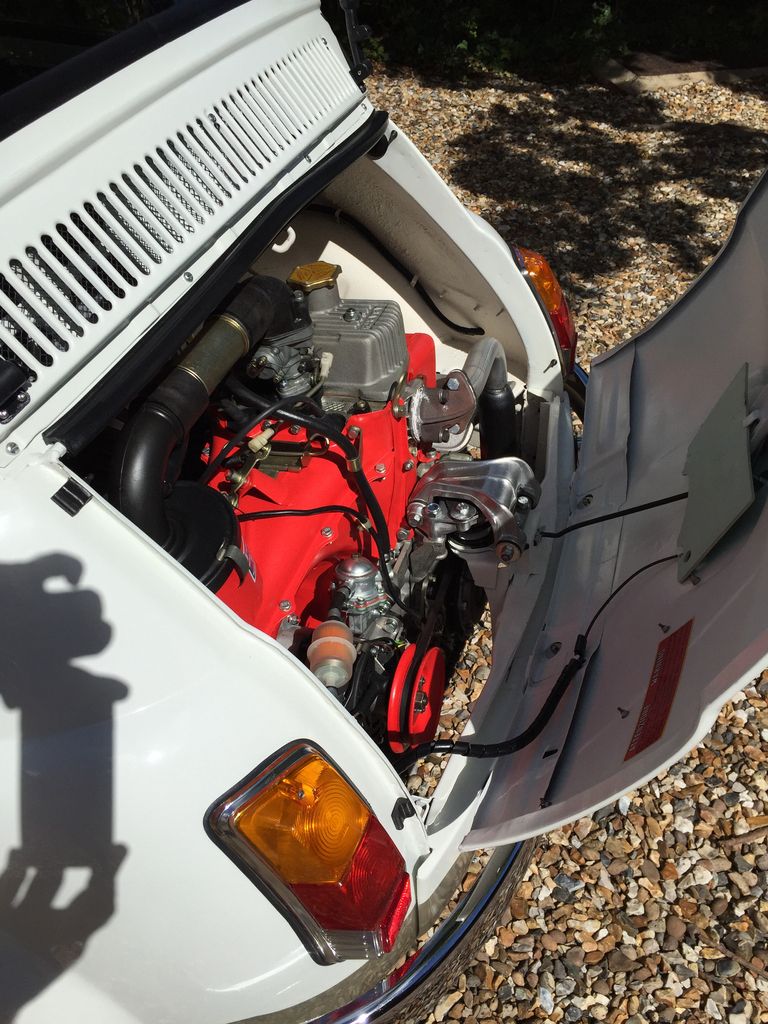
Naturally, I changed the brake pipe, fixed the horn, and tidied up the wiring while I was there. Seeing as I was doing all of this, it seemed like a good idea to tidy up under the hood too. The 500 needed a new battery, and previously the old one was simply wedged in against the front panel with a block of polystyrene so this was sorted aswell. Although, I can't believe how long it took me to just secure battery...


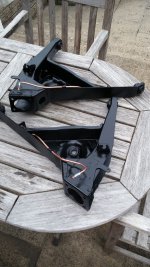
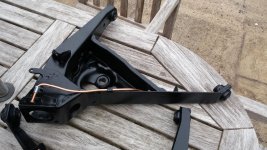
The rear took longer a lot longer than the front, mainly due to cleaning, stripping and painting the swing arms, hubs etc...


All was going back together well, and I found the best way to get the swing arms back in with all of the spacers in the correct place was to do the inside pivot point first...

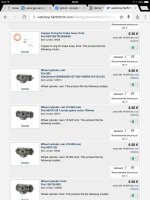
Just one issue, in my rush to order all of the parts I ordered the wrong rear brake cylinders. I ordered the first one listed here...

It turns out that I misread the product description, and due to formatting it actually reads Fiat 500 Giardiniera/...
not
Fiat 500
Giardiniera/....
So I have a rear cylinder that fits the backing plate, but is too wide and so the pistons stop the pads coming in enough for you to fit the drum...

Doh!! So I need to order some new cylinders of the correct size, so that I can finish up and get it MOT'd before I can finish rest of rebuild.
It seems like it's taking an age, but I suppose it's not too bad for a month in.
cheers, Steve
Within 5 minutes of it being on the driveway, the Giannini sunshade sticker was no more
The plan was to get it through an MOT ASAP, registration sent off and then I could drive whilst rebuilding it. Like most people on here, I'm doing this on evenings and weekends, so it's handy to be able have a roadworthy vehicle when you need to test something out.
Unfortunately, that didn't work as one of the first things I did was to jack it up and check out the front kingpins. There was tons of movement
and a number of the bushes were perished, so I took the decision to redo all of the suspension for the MOT. This was on the plan anyway, along with fitting front discs brakes too, so I decided to do everything at the same time as it made sense, even if it would take longer.So the stripping started. Mostly no problem, but the LHS front spring bush had fused to the bolt. Easily fixed with 1mm cutting disc
. Not so easy was the fused bush and bolt on the LHS rear swing arm inside pivot point. I could only cut through half of the bolt with the cutting disc, so the hacksaws were used for rest. I enjoyed that! The good news was I could start putting things back on...
New kingpins with two grease nipples.
New front discs that allow you to still use the original PCD of 4x190. The first brake line I tried to undo stripped the corners, so I ordered a new brake line kit along with a new master cylinder.
All of the track rod end rubbers were perished and most of them had too much movement, so I decide to replace all of them. The steering box was leaking, so this was stripped and rebuilt with new gaskets and seals.
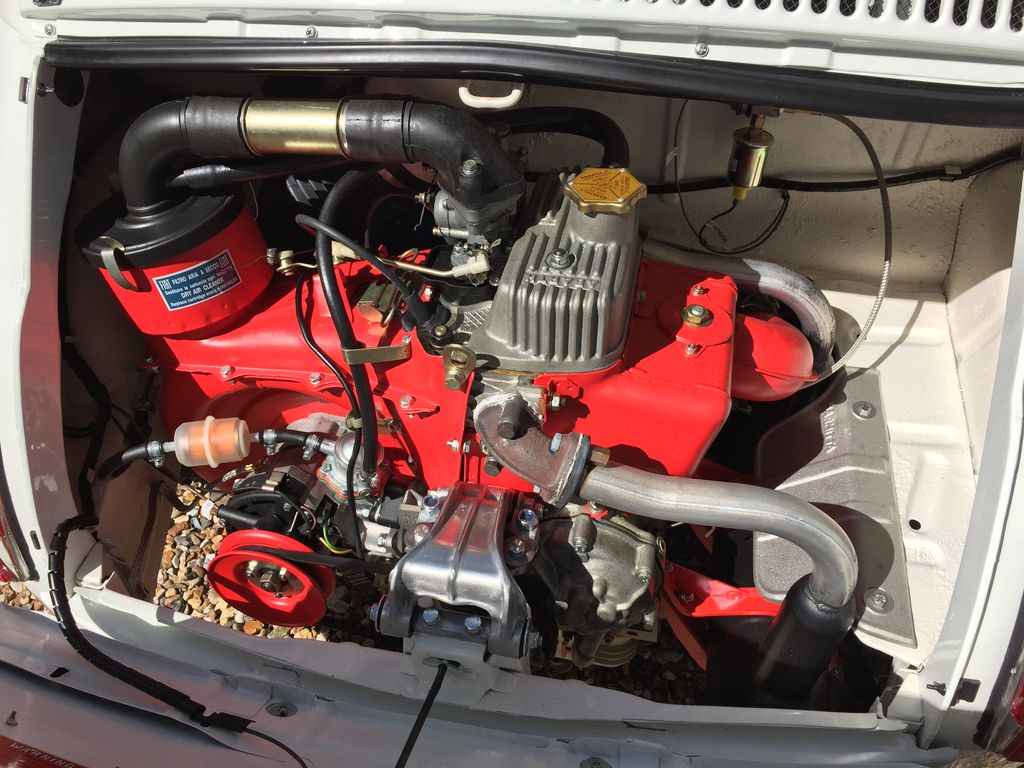
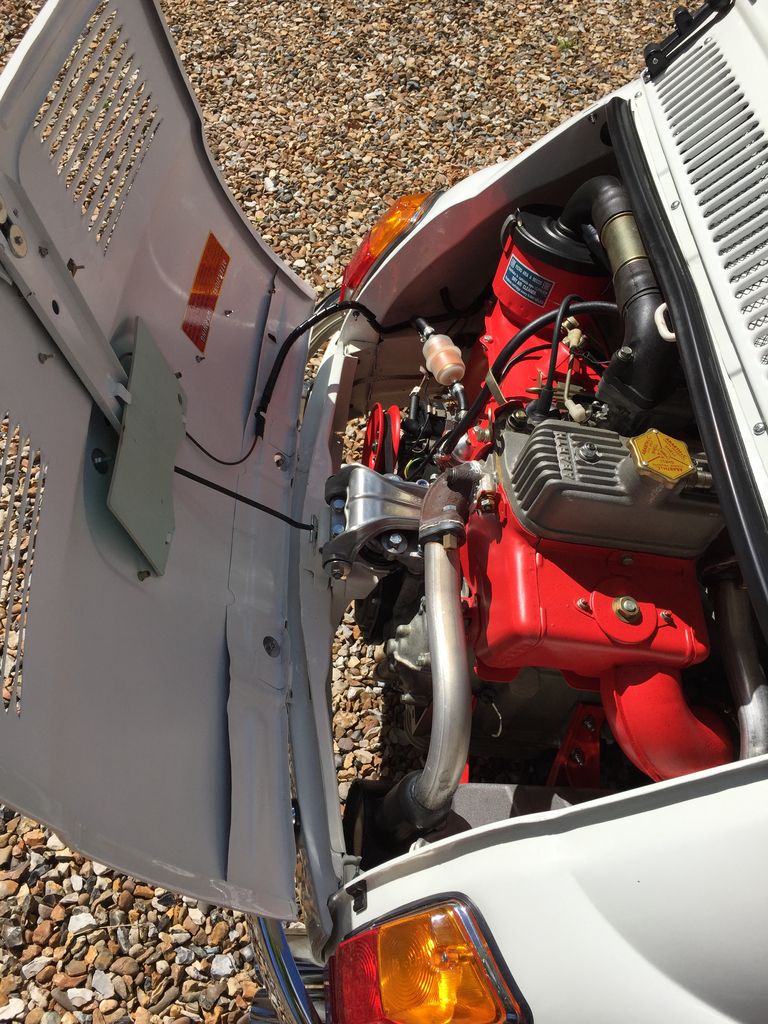
Naturally, I changed the brake pipe, fixed the horn, and tidied up the wiring while I was there. Seeing as I was doing all of this, it seemed like a good idea to tidy up under the hood too. The 500 needed a new battery, and previously the old one was simply wedged in against the front panel with a block of polystyrene
so this was sorted aswell. Although, I can't believe how long it took me to just secure battery...The rear took longer a lot longer than the front, mainly due to cleaning, stripping and painting the swing arms, hubs etc...
All was going back together well, and I found the best way to get the swing arms back in with all of the spacers in the correct place was to do the inside pivot point first...
Just one issue, in my rush to order all of the parts I ordered the wrong rear brake cylinders. I ordered the first one listed here...
It turns out that I misread the product description, and due to formatting it actually reads Fiat 500 Giardiniera/...
not
Fiat 500
Giardiniera/....
So I have a rear cylinder that fits the backing plate, but is too wide and so the pistons stop the pads coming in enough for you to fit the drum...
Doh!! So I need to order some new cylinders of the correct size, so that I can finish up and get it MOT'd before I can finish rest of rebuild.
It seems like it's taking an age, but I suppose it's not too bad for a month in.
cheers, Steve