20200209_181323.jpg

500 (Classic) Raukstern's 500F -65 rebuild

Introduction

Hi guys,
My first post except for introducing myself in the newbe thread :)

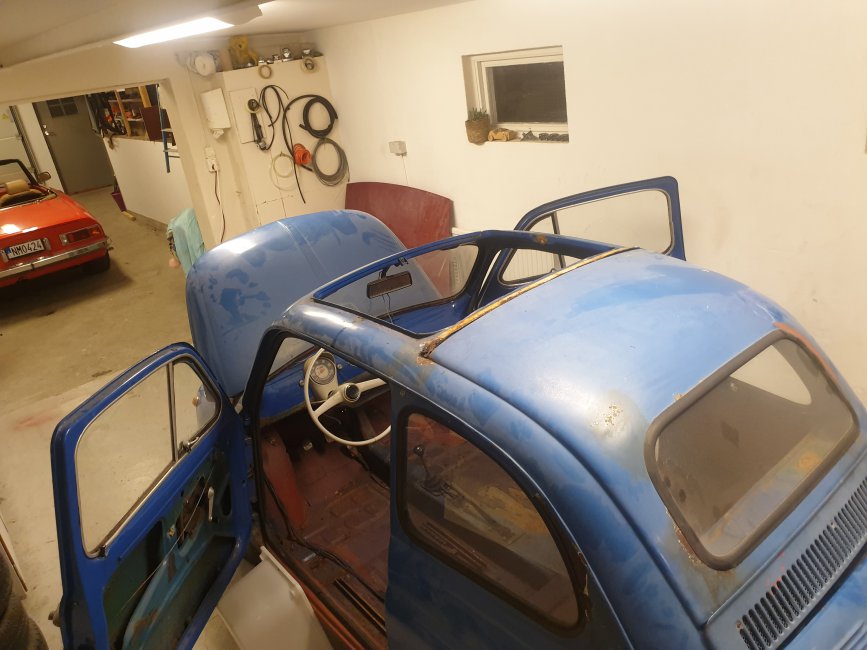
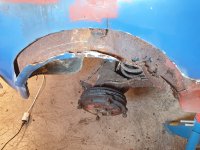
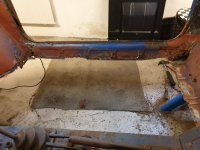
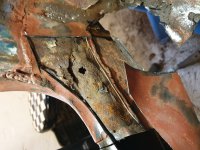
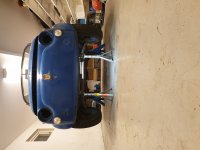
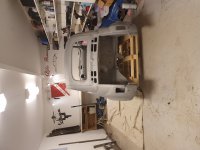
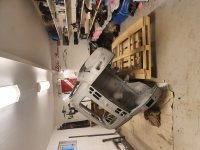
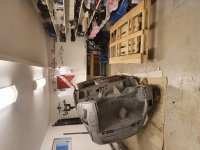
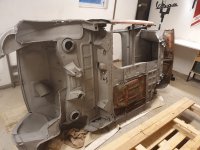
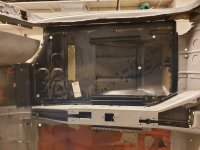
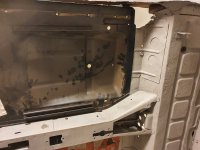
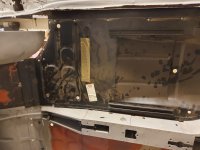
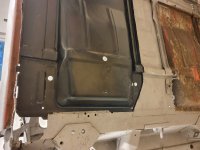
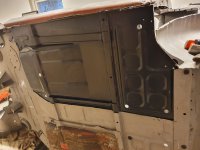
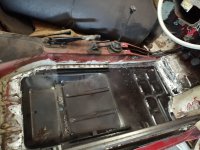
My 500F (my first 500) is in need ofa major restoration/rebuild. I´ve started small, removing doors and interior and cut out the right hand side floor board so far. The rust is far gone :( Some holes, but what is worse is that all the all surrounding sheet metal has serious surface corrosion. So mutch that I fear it´s to thin to be weldable. (Is that a word?) :rolleyes:


I have borrowed a jigg/cradle (or what it might be called in english) to suspend the car in, so that I can rotate it and don´t have to cut and weld om my back.

Now to my first question:
Where do I attatch the mountings in the front?
In the back I´ve seen pic´s online how to mount it. Has anyone here done this and have some pointers?

A few pics to lively up the post. (y) (for some reason some pics gets turned, cant figure out why)
  • Like
Reactions: ClassicFiat500
One of the advantages of restoring a small italian car that´s stipped down, is that you turn it over to enable wort underneith without help in about 3½ minutes :)

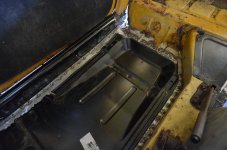
Time to get the new floor pan into place.


.
 

Attachments

  • 20210907_190711.jpg
    20210907_190711.jpg
    2.9 MB · Views: 74
  • 20210907_191002.jpg
    20210907_191002.jpg
    2.8 MB · Views: 76
  • 20210907_191133.jpg
    20210907_191133.jpg
    2.9 MB · Views: 74
  • 20210907_191153.jpg
    20210907_191153.jpg
    3.1 MB · Views: 90
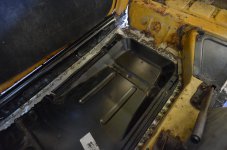
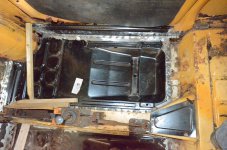
On my way with the floor pan.

Has anyone done this replacement and have some experience?
I wonder if the pan is ment to be incerted from inside entirely or if any part is ment to be attached from undernetith.
Looking att the design och the original floor, it looks line the rear part och the pan is welded from beneith, but the front from inside.

There are offcourse more than one way to do this, just qurious if any has some knowlage :)


.
 

Attachments

  • 20210908_191206.jpg
    20210908_191206.jpg
    3 MB · Views: 106
  • 20210908_191212.jpg
    20210908_191212.jpg
    3.1 MB · Views: 65
  • 20210908_191217.jpg
    20210908_191217.jpg
    3.3 MB · Views: 68
  • 20210908_191242.jpg
    20210908_191242.jpg
    2.8 MB · Views: 93
  • 20210908_191256.jpg
    20210908_191256.jpg
    2.9 MB · Views: 69
Last edited:
On my way with the floor pan.

Has anyone done this replacement and have some experience?
I wonder if the pan is ment to be incerted from inside entirely or if any part is ment to be attached from undernetith.
Looking att the design och the original floor, it looks line the rear part och the pan is welded from beneith, but the front from inside.

There are offcourse more than one way to do this, just qurious if any has some knowlage :)


.

In my most recent effort it looks like I put most of the new floor under the existing flanges. But the front part is over the footboard metal.
 

Attachments

  • MAL_6055.JPG
    MAL_6055.JPG
    5.3 MB · Views: 83
  • MAL_6050.JPG
    MAL_6050.JPG
    6.9 MB · Views: 81
In my most recent effort it looks like I put most of the new floor under the existing flanges. But the front part is over the footboard metal.
Thanks for responding ?
Do you remember why you chose to do it that way? Was for the way it looks underneith, more like original look, or something els?
Seems to be the easiest to just drop it in from above.
Is it an all original restoration?

/Seb
 
Thanks for responding ?
Do you remember why you chose to do it that way? Was for the way it looks underneith, more like original look, or something els?
Seems to be the easiest to just drop it in from above.
Is it an all original restoration?

/Seb

Hi Seb. The floor was originally welded in underneath the thick reinforcement brackets at the rear and under the rear cross member of the floor.

It was originally placed on top of the front footboard. It was originally under the sills.

I think it was originally a one-piece floor which would include under the central spine. The floor would have been under the thicker metal of the tunnel. So I fitted it all like that. When welded in it is perfectly strong and stable.

Take your time and get every last scrap of rust, grease and underseal away from the weld area; even tiny specks or amounts of grease will make it a poor job. Your welder also needs to be a bit higher setting than normal.

Good luck.

The body is blasted, so there is not much grease and rust letf. But I hear you, will make sure.
Is it a spot welder you have used, or have you drilled and used a MIG? That´s what I have at hand anyway :)

Did you replace the last piece of the original floor from underneith the spine aswell? Better to weld the new floor directly to the spine, without old sheet metal inbetween I reckon.
I´m thinking it would be smart to do while down there...
On the car I've finished, the floor under the tunnel was good, so I left it and welded to it.
I don't have a spot welder and most of the welds would be hard to access. So I used puddle welds by drilling holes and welding through; this works out really strong.
Most of the welding can be done from above with the car sitting as normal. When you weld to the outer sills this way, it makes a neater job if you weld from the back of the flange of the floor.
 
Last edited:
On the car I've finished, the floor under the tunnel was good, so I left it and welded to it.
I don't have a spot welder and most of the welds would be hard to access. So I used puddle welds by drilling holes and welding through; this works out really strong.
Most of the welding can be done from above with the car sitting as normal. When you weld to the outer sills this way, it makes a neater job if you weld from the back of the flange of the floor.

Sorry about the continous streem of questions :eek:
Whan you drill, do you drill through both or just the top one?
I´ve been experimenting with both options, but not sure what´s the "right way" to do it.

/Seb
 
Sorry about the continous streem of questions :eek:
Whan you drill, do you drill through both or just the top one?
I´ve been experimenting with both options, but not sure what´s the "right way" to do it.

/Seb

Seb, you can get proper spot-weld drills which leave the bottom layer of two welded sheets intact. For what you're doing, that isn't important. On most of it, just roughly cut the floors out leaving the welded edges, then grind the areas of spot-weld. Where the floor contacts those thicker plates at the back you can just use an 8mm drill and go right through the welds..you need the holes for later plug-welds.

At the central tunnel you need to think what you're doing. I cut the floor along the line of the flange as you need to keep the area under the tunnel still attached. I drilled a series of holes later for the welding.
 
Sorry about the continous streem of questions :eek:
Whan you drill, do you drill through both or just the top one?
I´ve been experimenting with both options, but not sure what´s the "right way" to do it.

/Seb

If your a tool junkie like myself and always looking for an excuse for more tools, check out the "Spitznagel Spot Weld Drill", i picked one up a few weeks ago to do the 500 body work, and its exactly the tool needed to do what we will all eventually have to do on these cars.
They can be used with the support back pc for doing seam or flange drilling, or it is removable to do drilling in harder areas.


There are also clones out there that do the same job.
 
Last edited:
Seb,
I just noticed this image from the excellent Motobambino on Facebook. He's placed the floor above the tunnel flange. In my photo I placed it below...so both ways can work. :)
 

Attachments

  • Motobambino floor.jpg
    Motobambino floor.jpg
    222.4 KB · Views: 75
  • MAL_6055.JPG
    MAL_6055.JPG
    5.3 MB · Views: 94
Seb,
I just noticed this image from the excellent Motobambino on Facebook. He's placed the floor above the tunnel flange. In my photo I placed it below...so both ways can work. :)

Excelent, thanks for sharing (y)

I´m expecting delivery of panels for most of the front end and inner & outer sills next week.
I think I´ll wait for the sills before starting to fit the floor. It allt goes togeather. Then I´ll see in the floor pan ends up over or under the flange :)

/Seb
 
What do you do to protect the surfaces between to overlapping sheets, when you spot weld them togeather?

I didn't do anything, but most people say they use "weld-thru" primer. I found it affected the quality of my welds...maybe it works better with proper spot-welders.

In any case, the heat of mig-welding burns away a lot of what you've just sprayed on.
 
When I’ve replaced panels I pour a diluted primer down from the top and when you finish the top coat either side at least it has some protection.

....and then seal along all the joints using overpaintable, PU sealant.

If you used oil it will eventually drain away and evaporate and it will prevent any paint or sealant from adhering to the metalwork.
 
....and then seal along all the joints using overpaintable, PU sealant.

If you used oil it will eventually drain away and evaporate and it will prevent any paint or sealant from adhering to the metalwork.

Actually no I haven’t based on the fact they you can potentially seal in moisture doing that………never use oil tho unless it was a wax oil variant afterwards….
 
Actually no I haven’t based on the fact they you can potentially seal in moisture doing that………never use oil tho unless it was a wax oil variant afterwards….

That might work ok on welded flanges which are never going to be subjected to water. But when you get into welding floor panels and anything within wheelarches I think it wise to use a sealant. There is no danger of trapping moisture on a newly welded joint....the heat of welding will see to that.
 
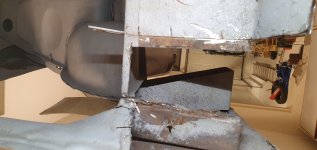
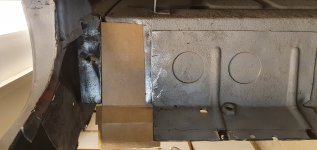
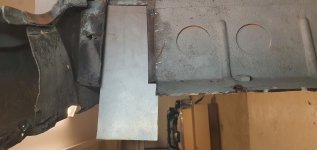
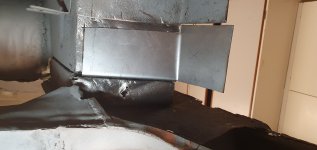
So guys, I´ve finally got some time over to get started on the repairs.

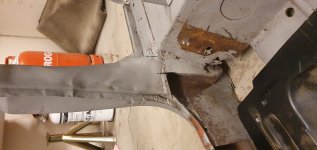
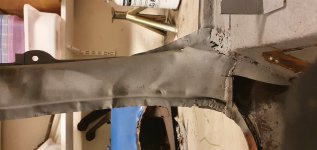
To be able to weld in the new floor, I first have to repair this badly corroded corner, that on top of that, had been poorly rapaired before aswell.

After cutting away the bad parts and cleaning it, i fabricated the first piece och this restoration :) :slayer:

Didn´t quit get to the weld it in place last night, but tomorrow... :p

Feels good to be on my way (y)
 

Attachments

  • 20211019_181604.jpg
    20211019_181604.jpg
    2.2 MB · Views: 74
  • 20211019_182655.jpg
    20211019_182655.jpg
    1.9 MB · Views: 65
  • 20211019_190151.jpg
    20211019_190151.jpg
    2.1 MB · Views: 84
  • 20211019_203735.jpg
    20211019_203735.jpg
    2.3 MB · Views: 83
  • 20211019_215509.jpg
    20211019_215509.jpg
    2.3 MB · Views: 82
  • 20211019_220904.jpg
    20211019_220904.jpg
    2.4 MB · Views: 65
Back
Top