


Introduction
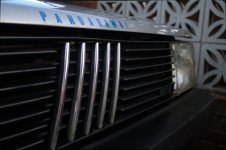
let me introduce to you, the free panda 4x4 which was first spotted >>Here<<.
First off however, here is the plan:
i will (some how) make the panda look "Post Apocalyptic" yet keep it in a road legal state (so no spikes, sharp rusty edges sadly). We have all seen mad max right? all wanted to replicate a mad max style car?
well let me be the first to attempt this with a fiat panda 4x4.
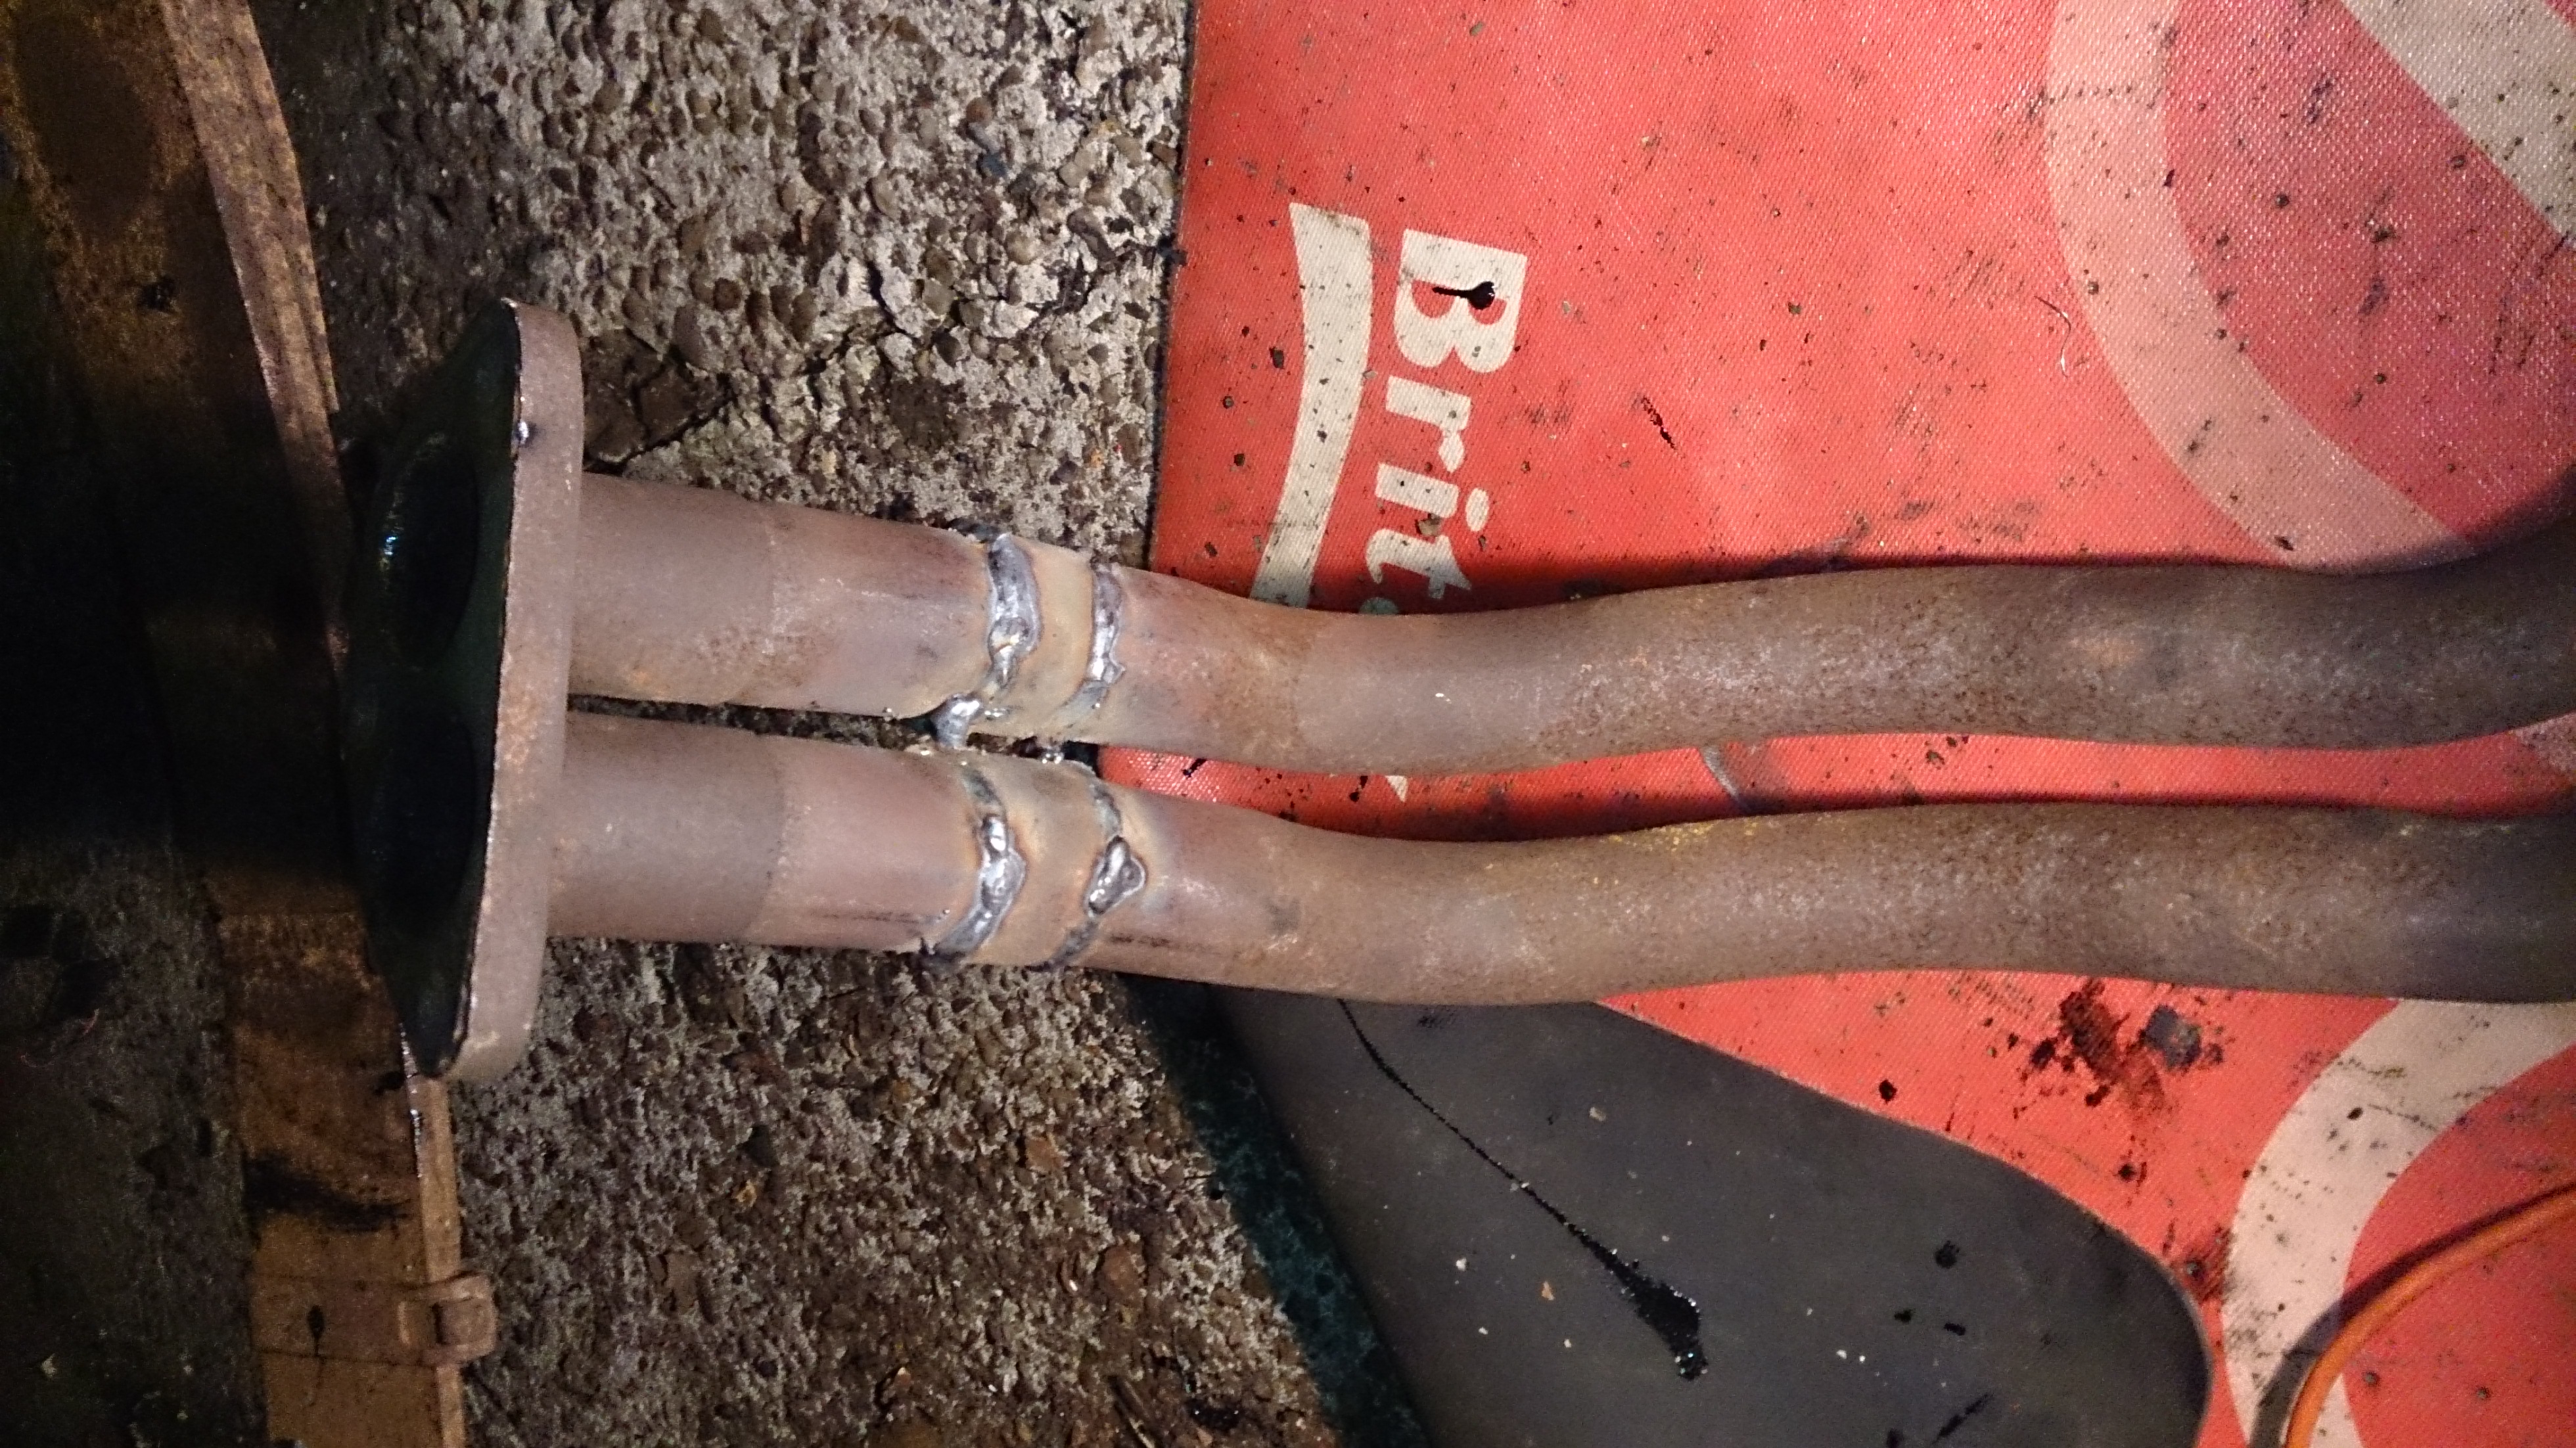
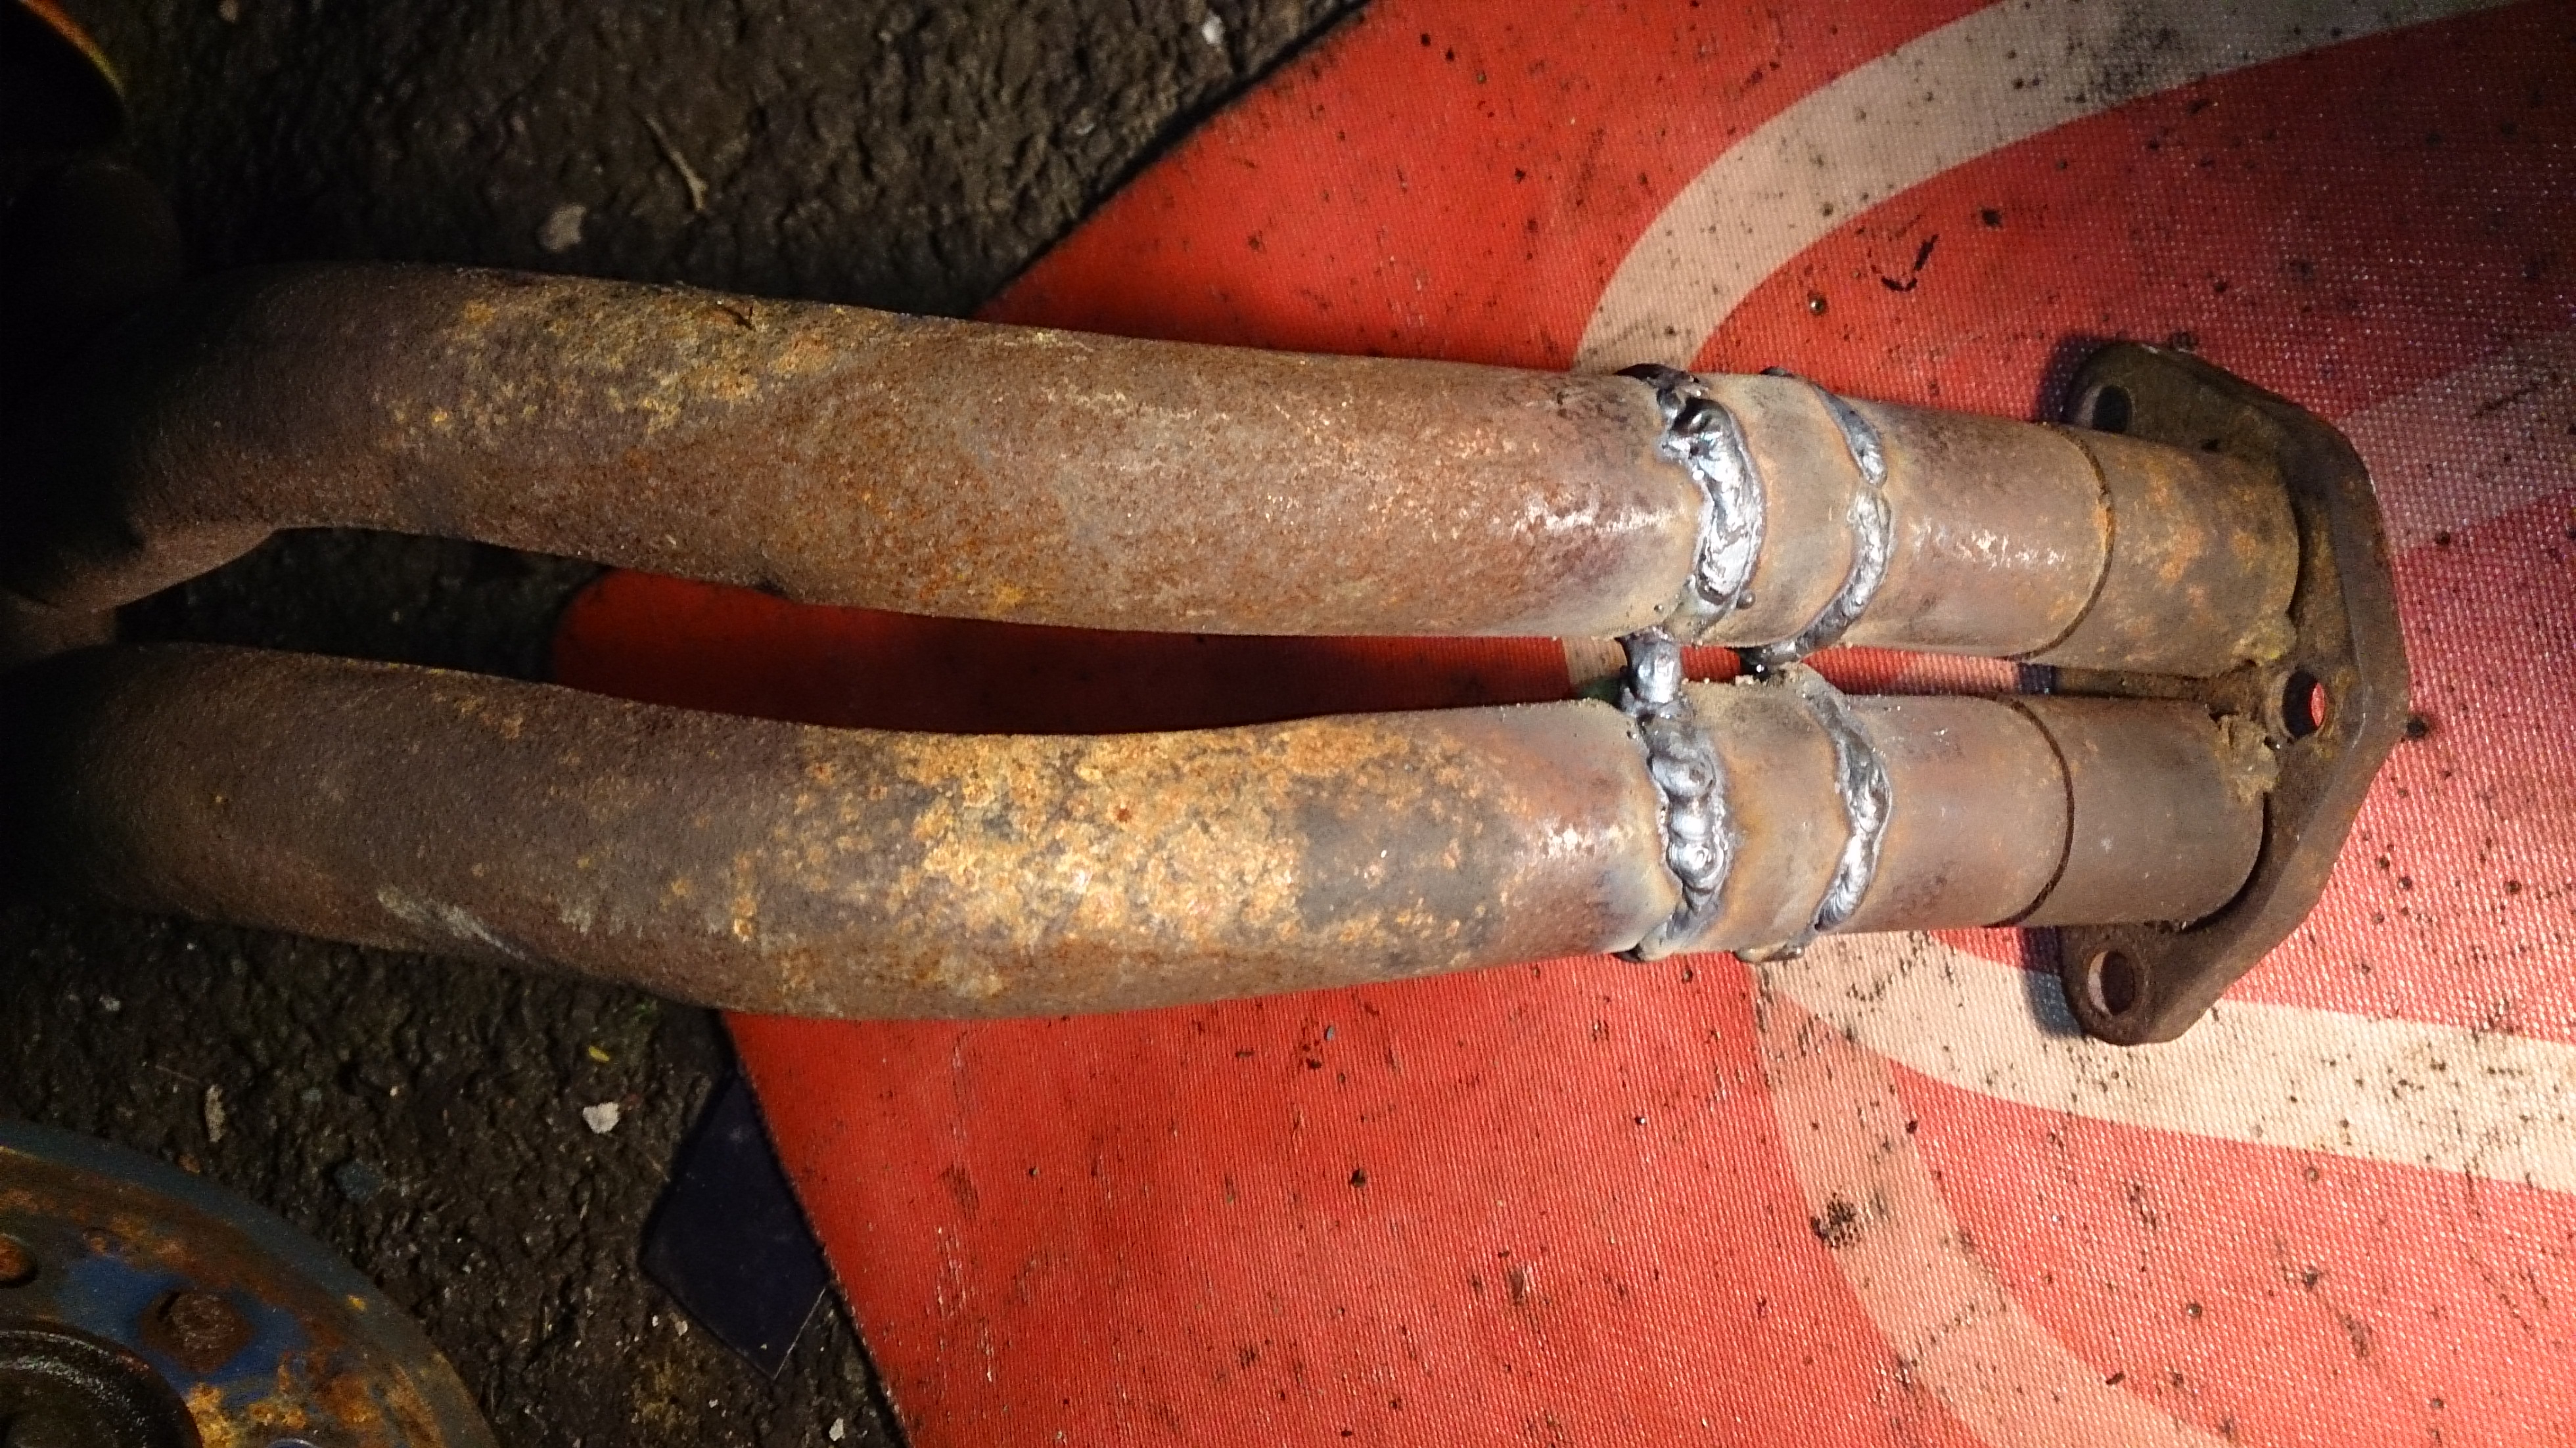
if anyone here has seen the TV program "Defiance", you surely have seen the epic Doge Charger that looks post apocalyptic. i will be trying to aim for the same theme. with such things as an external roll cadge, external metal mesh / grills covering the windows, custom bull bar, reinforced rear bumper made from tubular metal, custom twin output exhaust, and many many more.
this project is going to be undertaken as cheaply as possible (excluding parts necessary for a safe road going vehicle). reusing as many things as i can find (in scrap yards, freebees), true to a real post apocalyptic constructed vehicle. i will also be taking the "rough is best look" (please note, i say Rough not Rat!) the panda its self of course will undergo all the rust prevention Talon went under when i got him.
anyway, i will leave you a few seconds to build up a mental picture of how a panda 4x4 could look in a post apocalyptic landscape while browsing some of these Pictures.......
ok.. that should do.
First off. i need to get the panda all well and good.
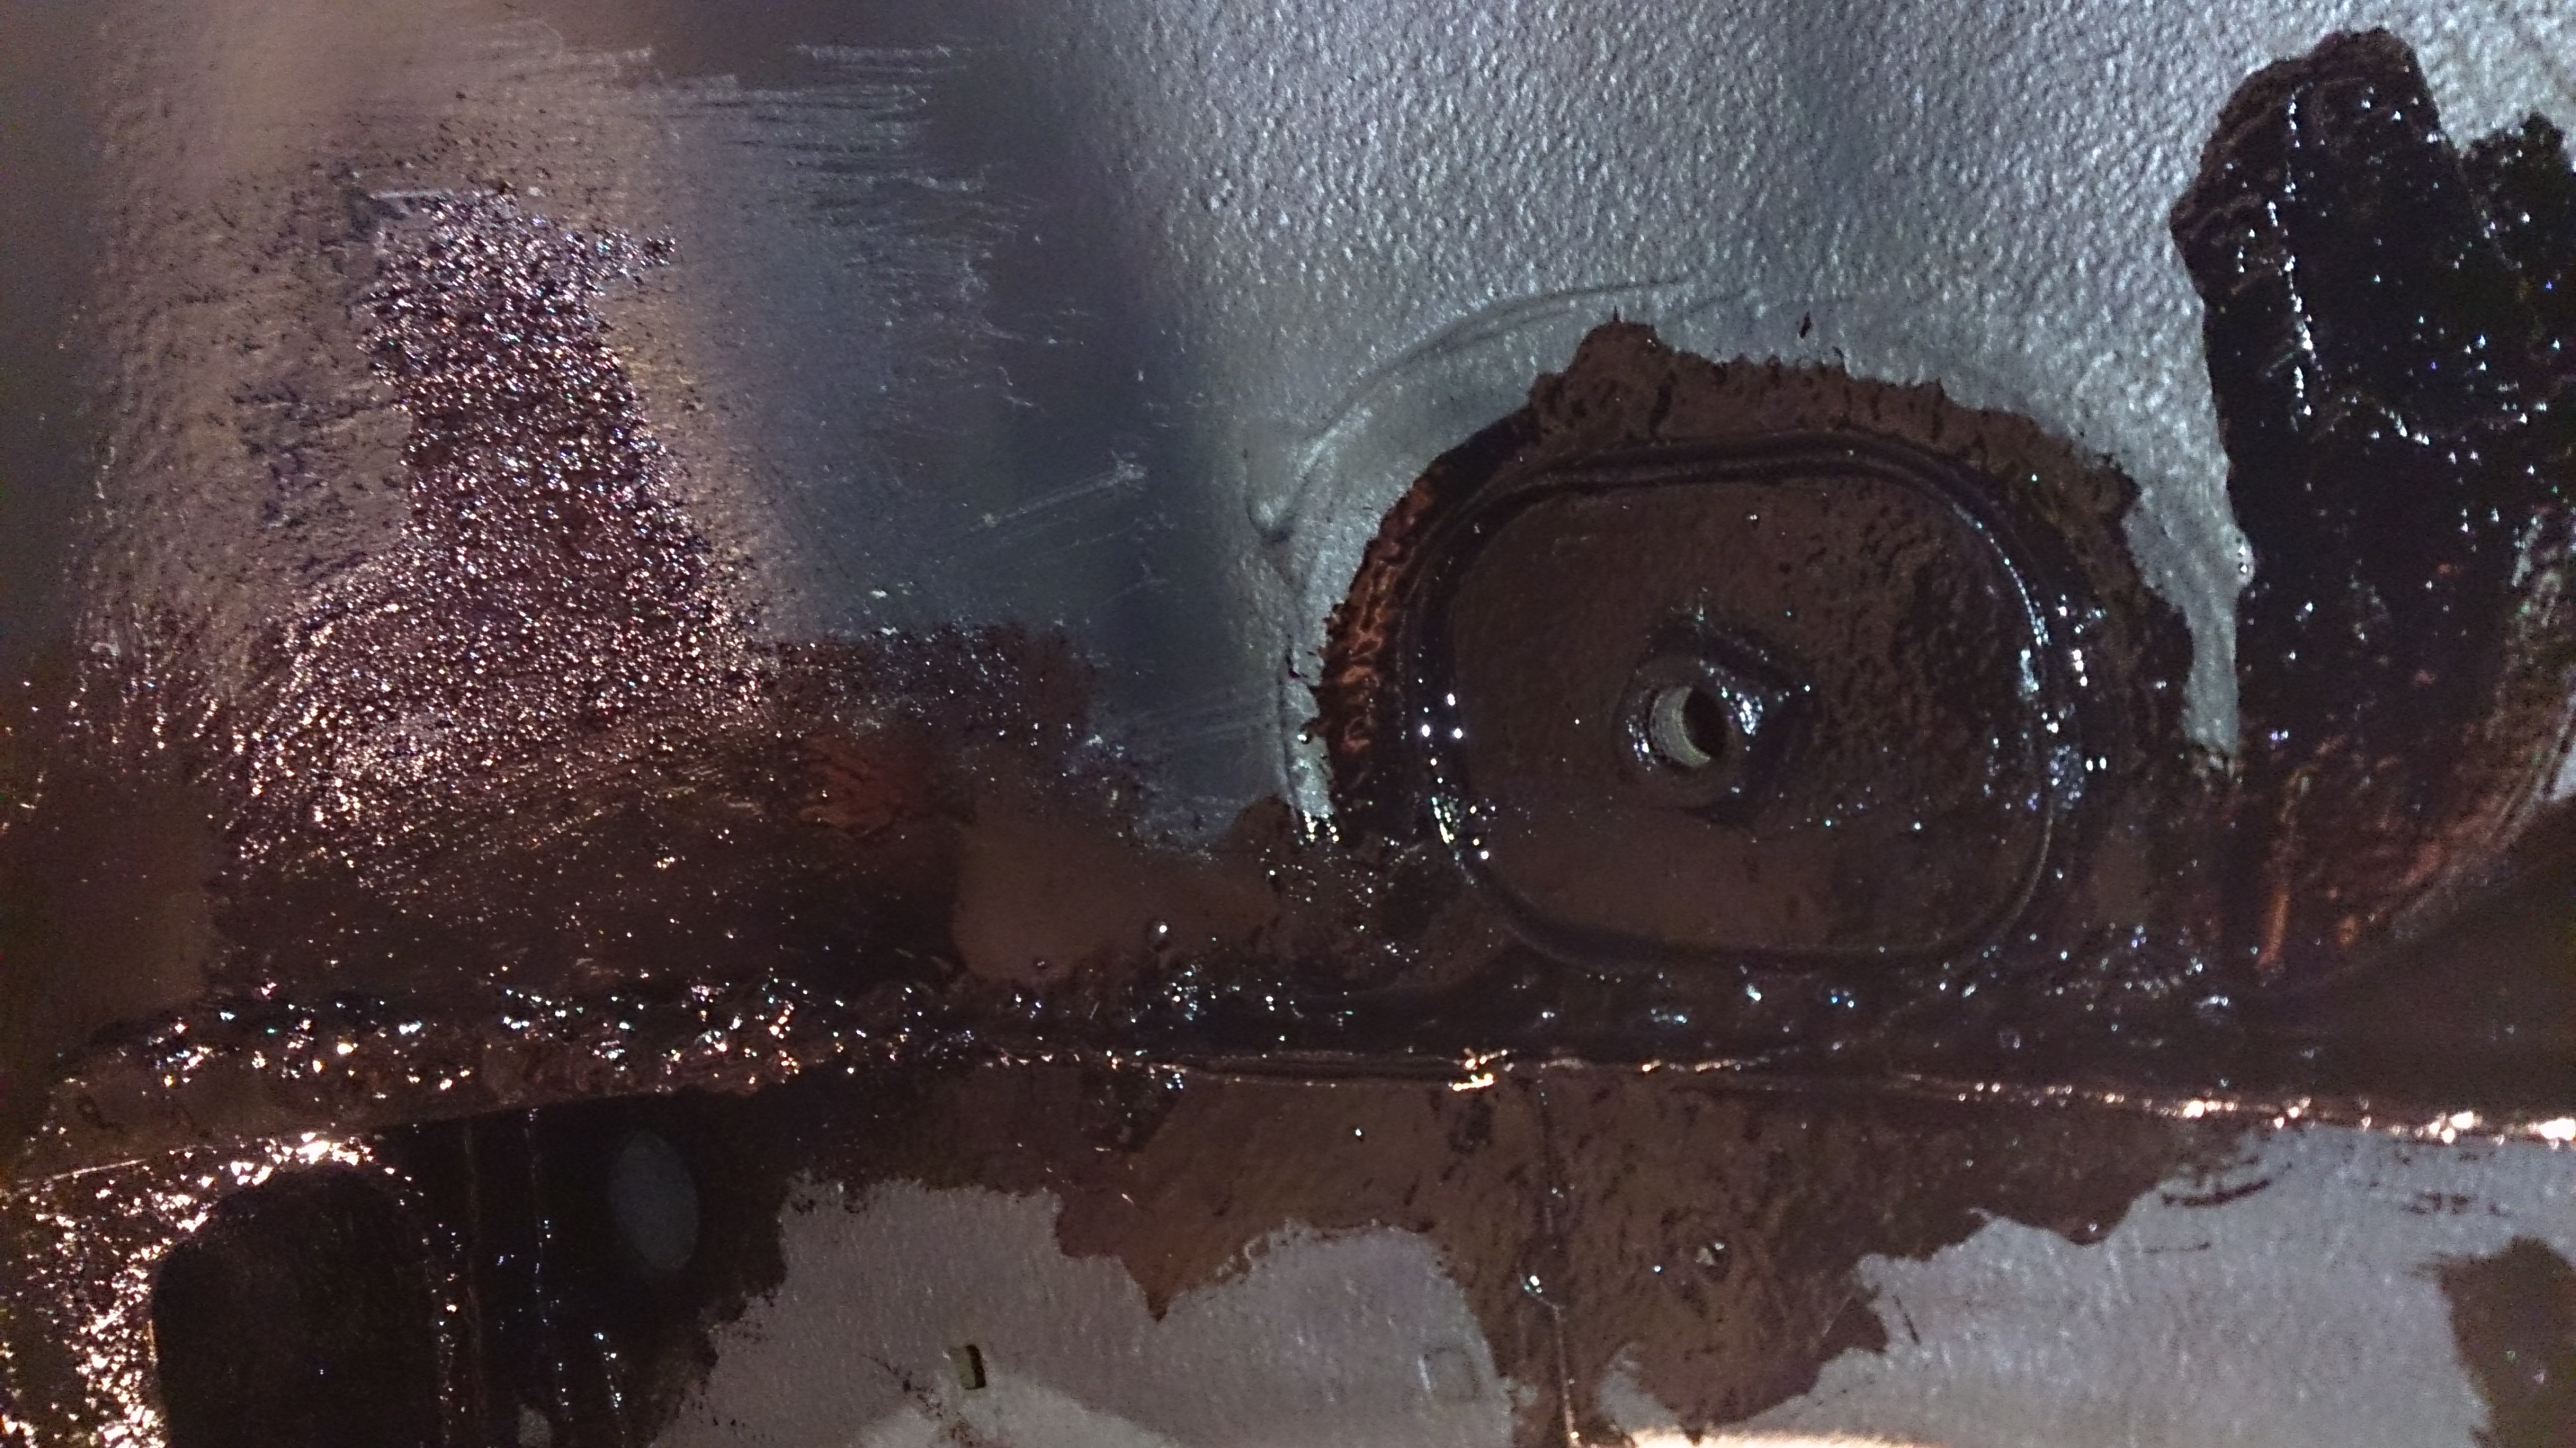
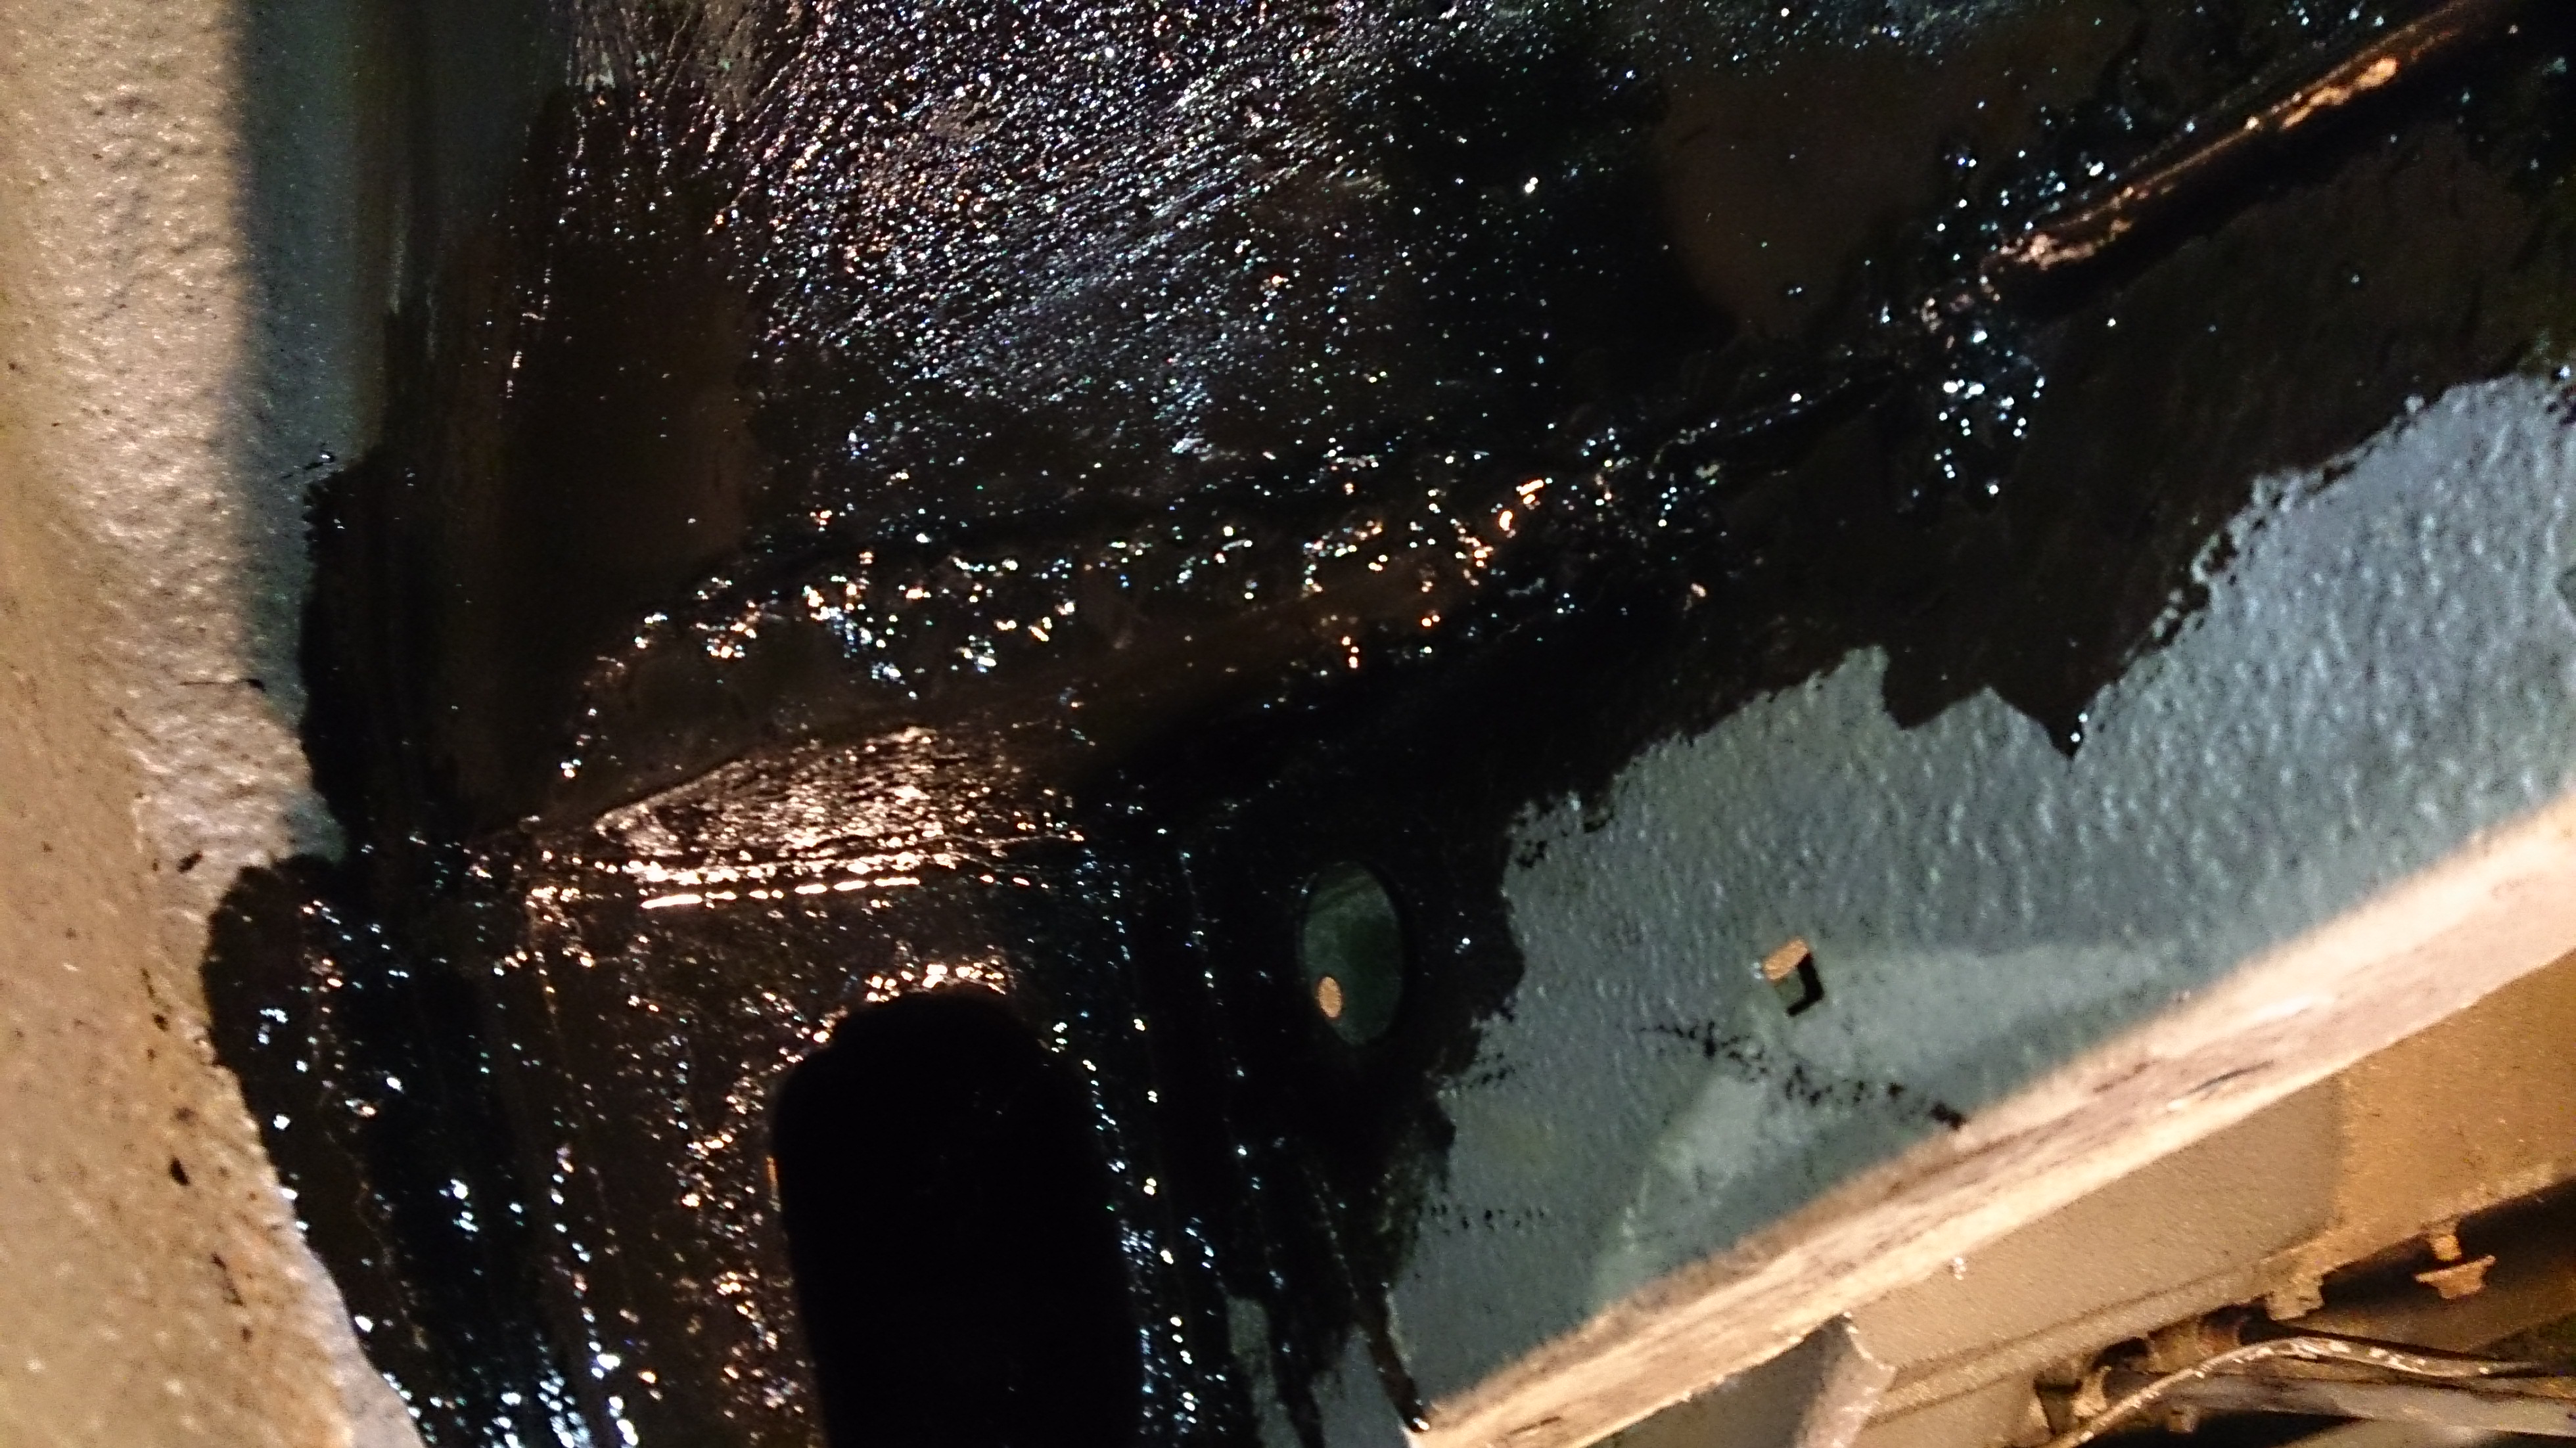
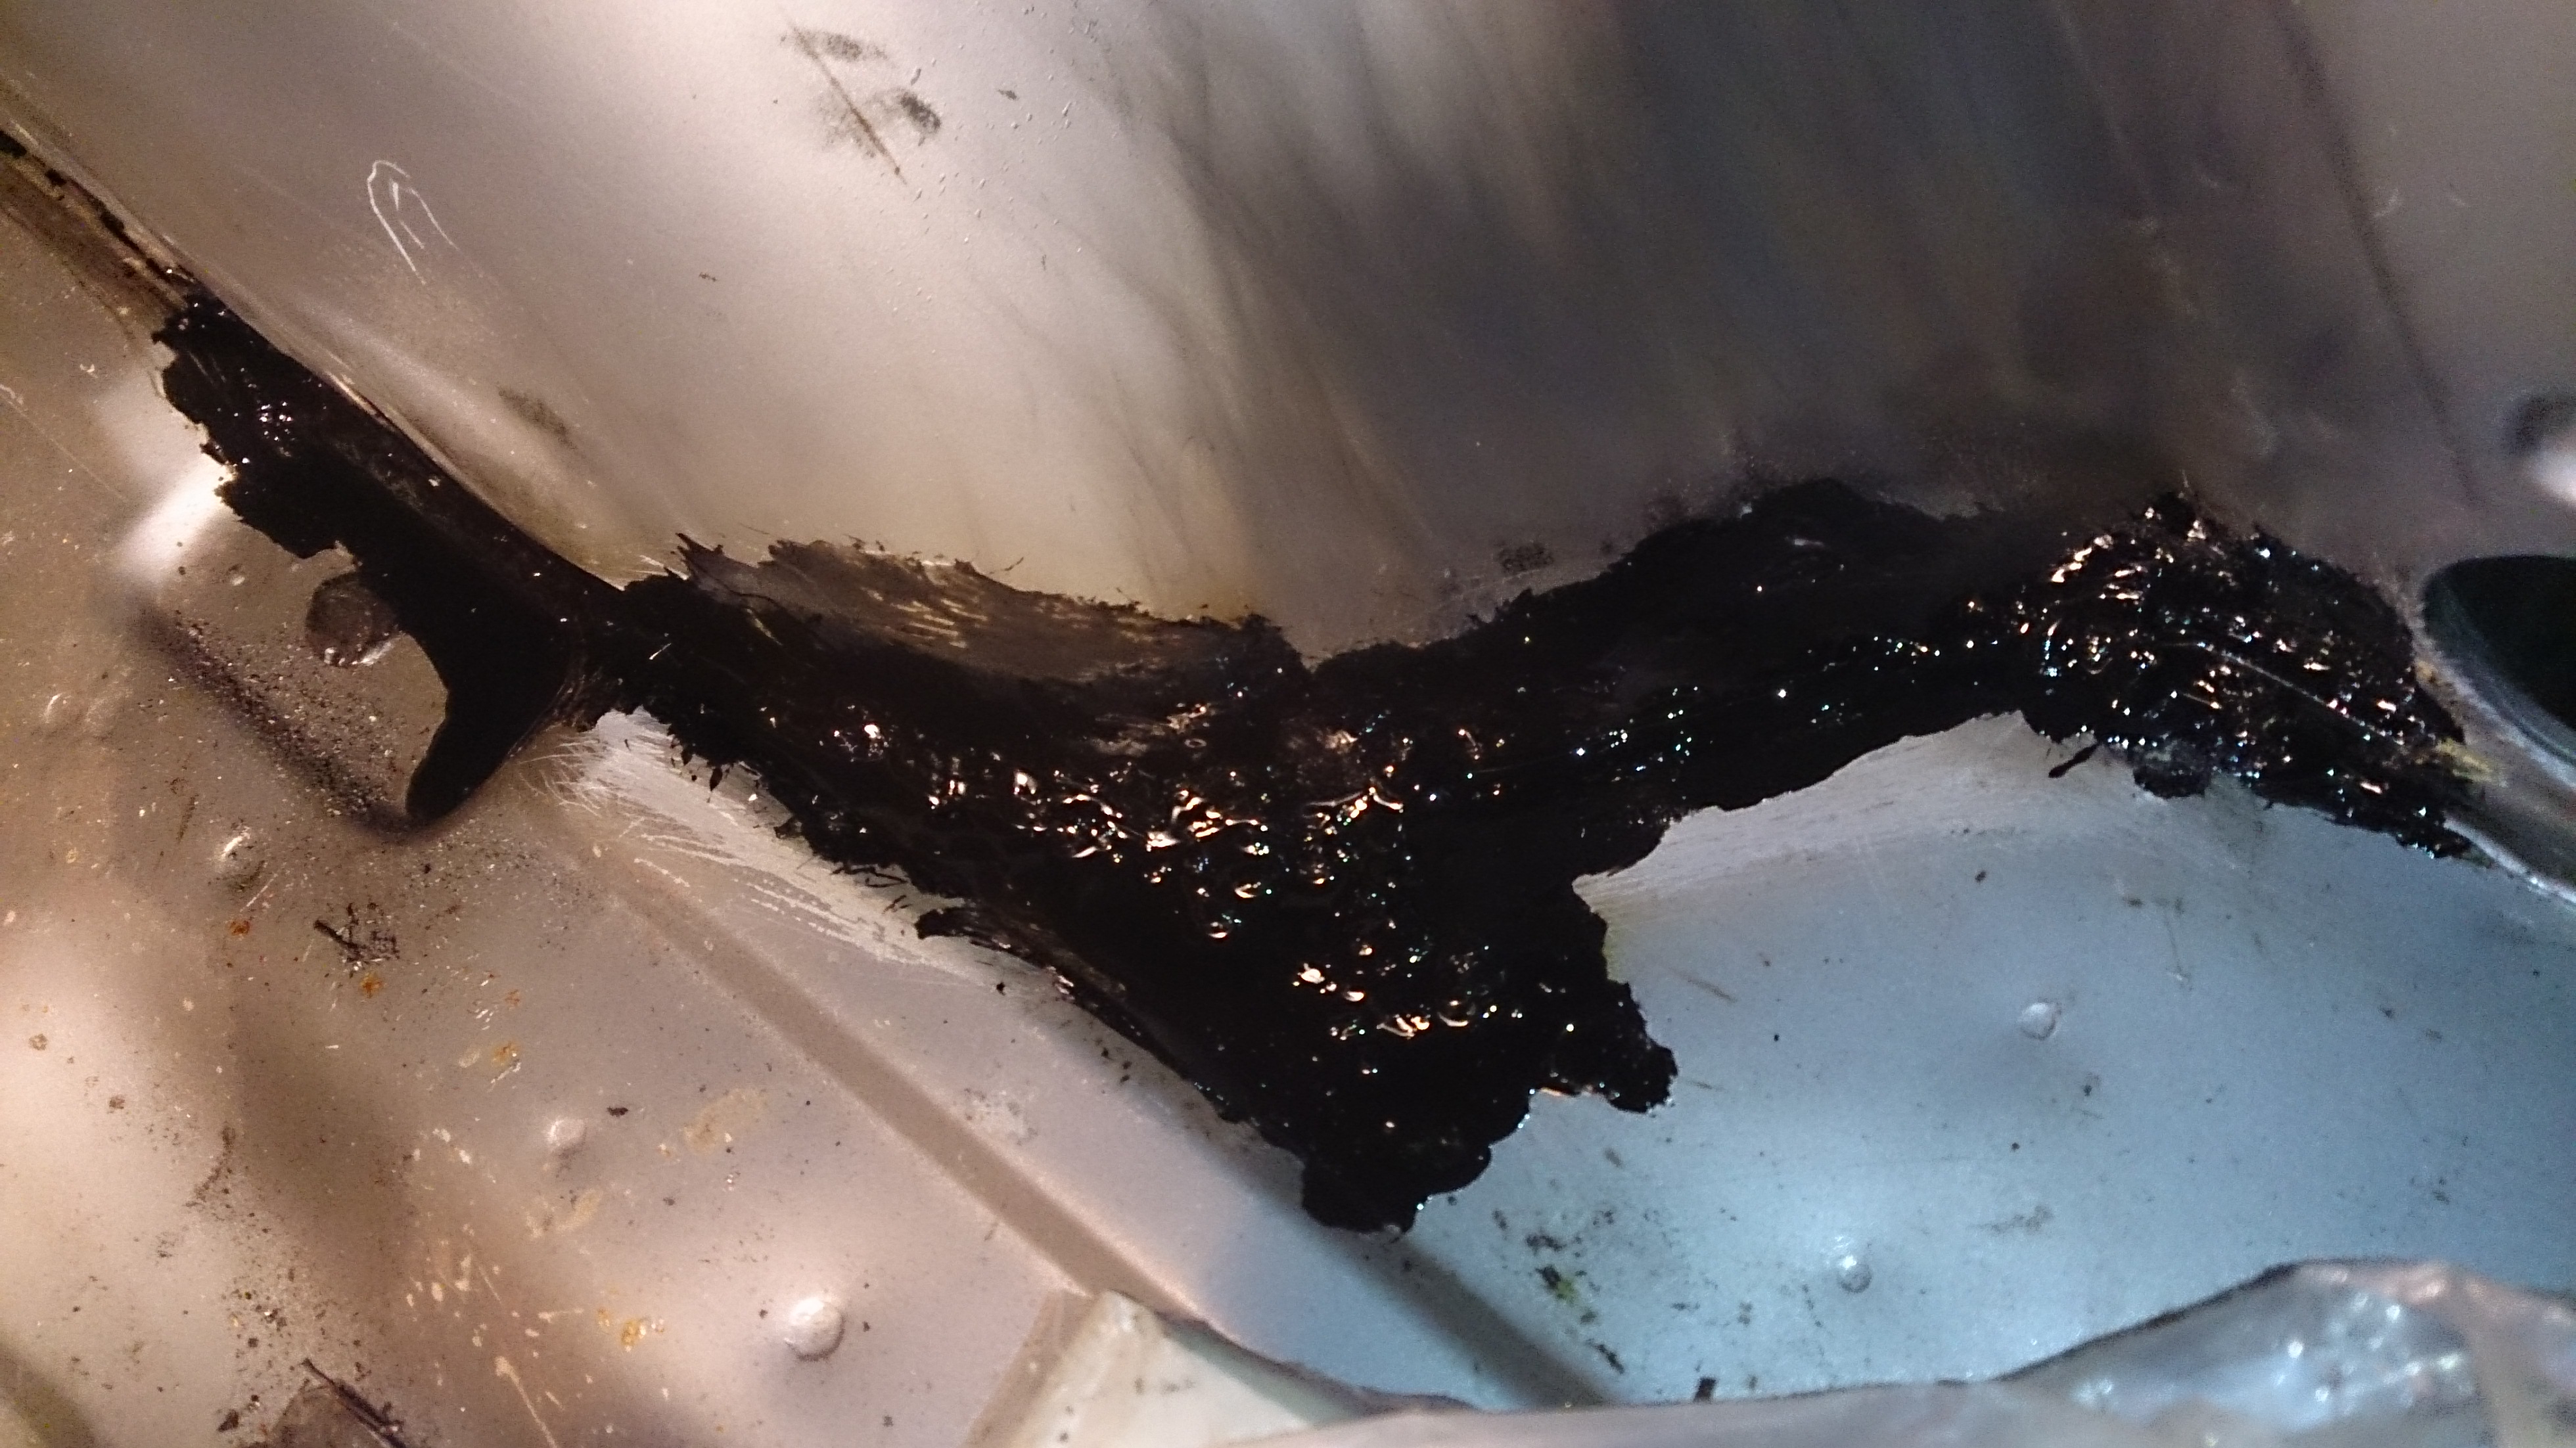
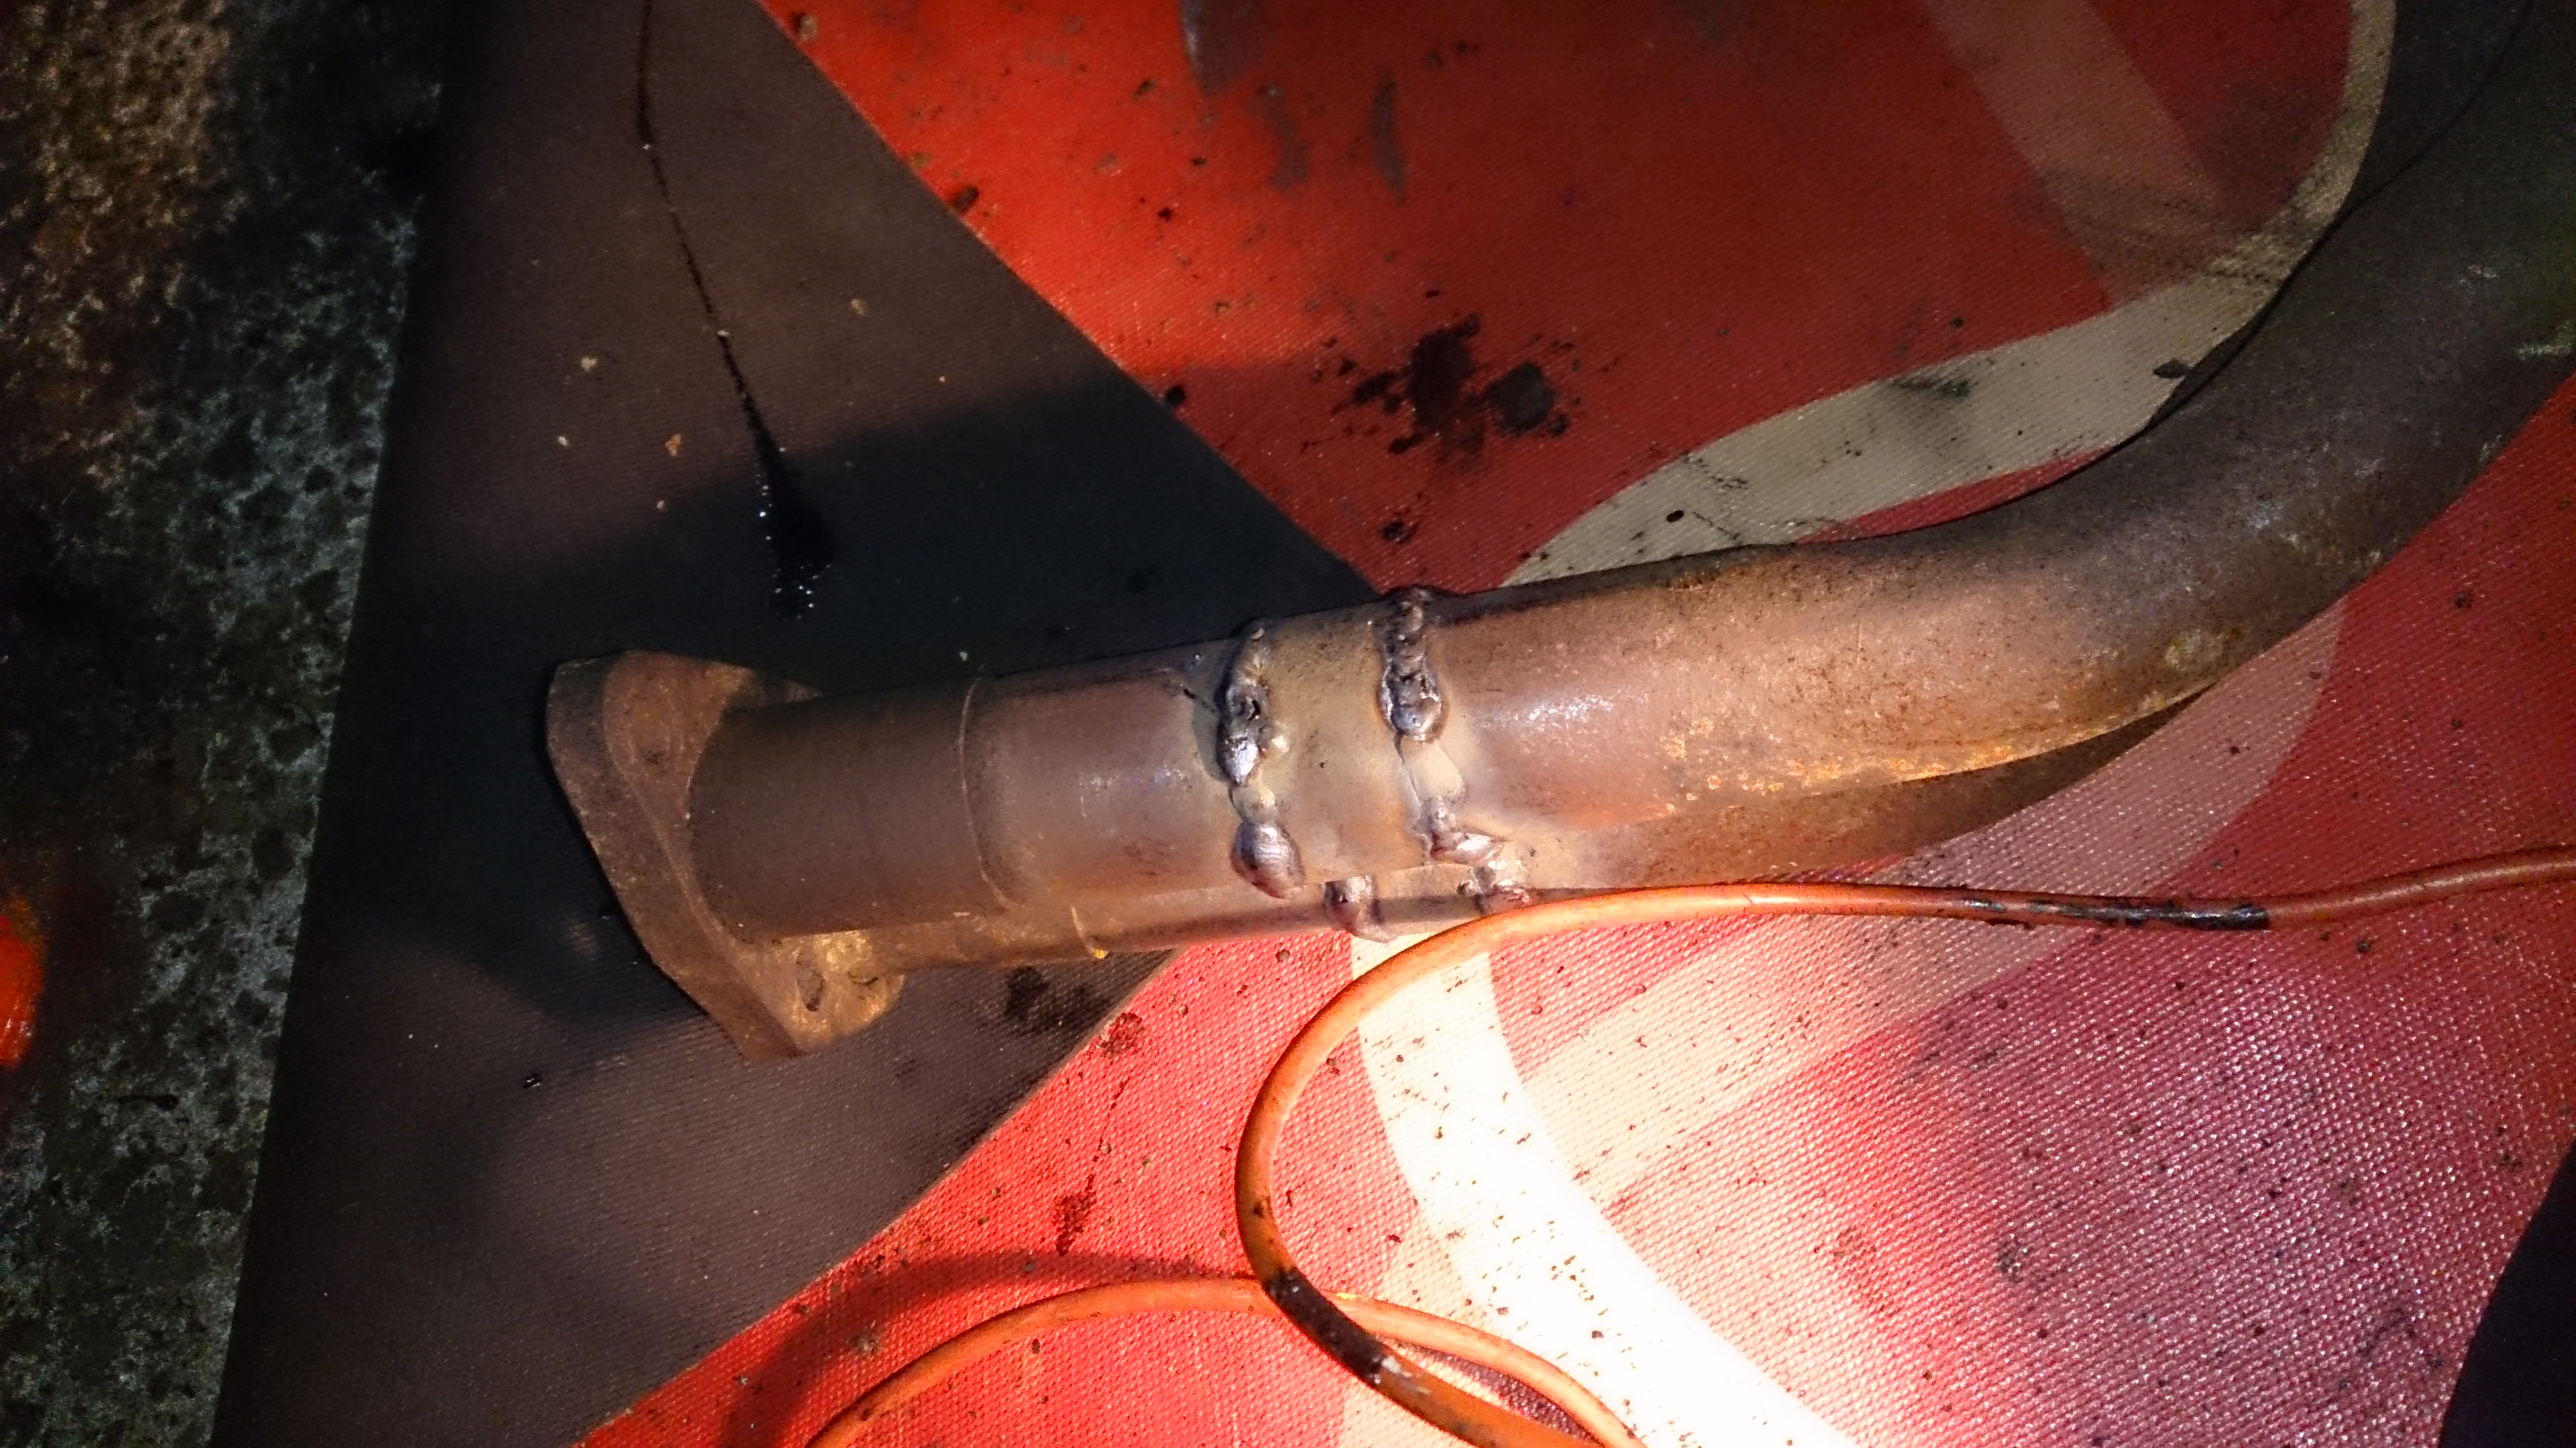
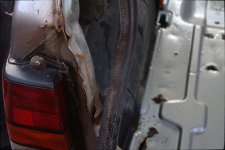
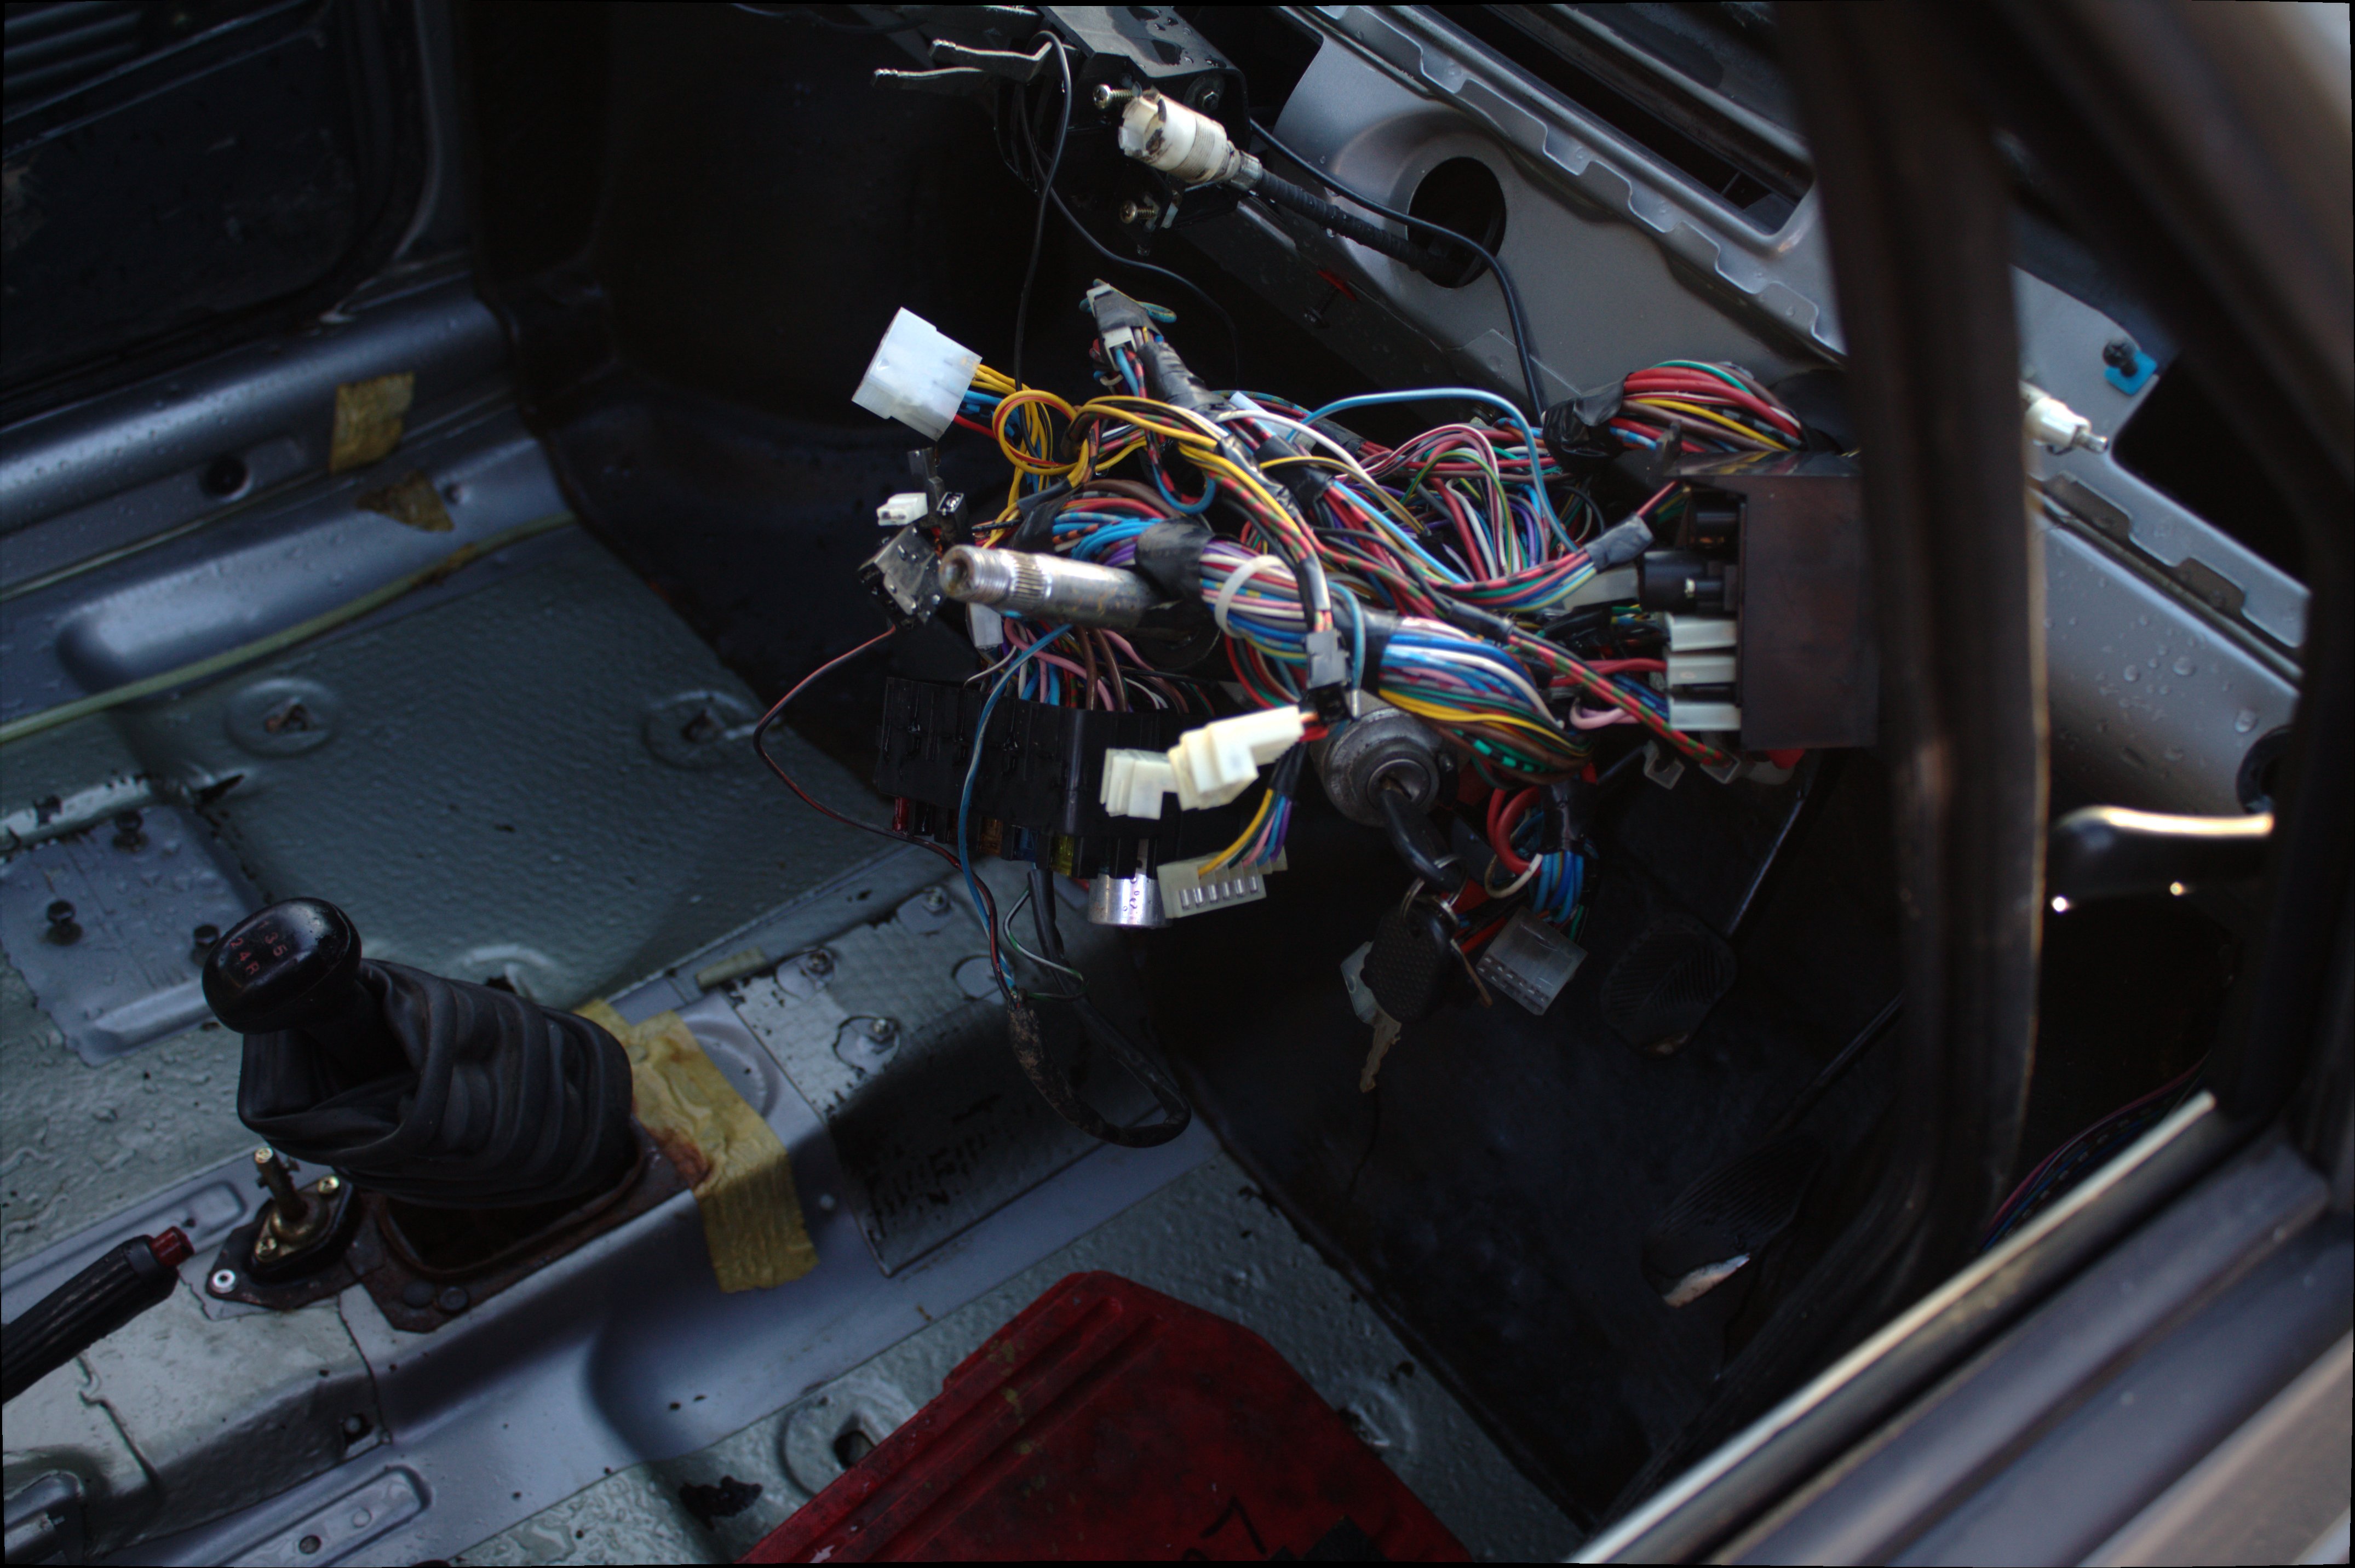
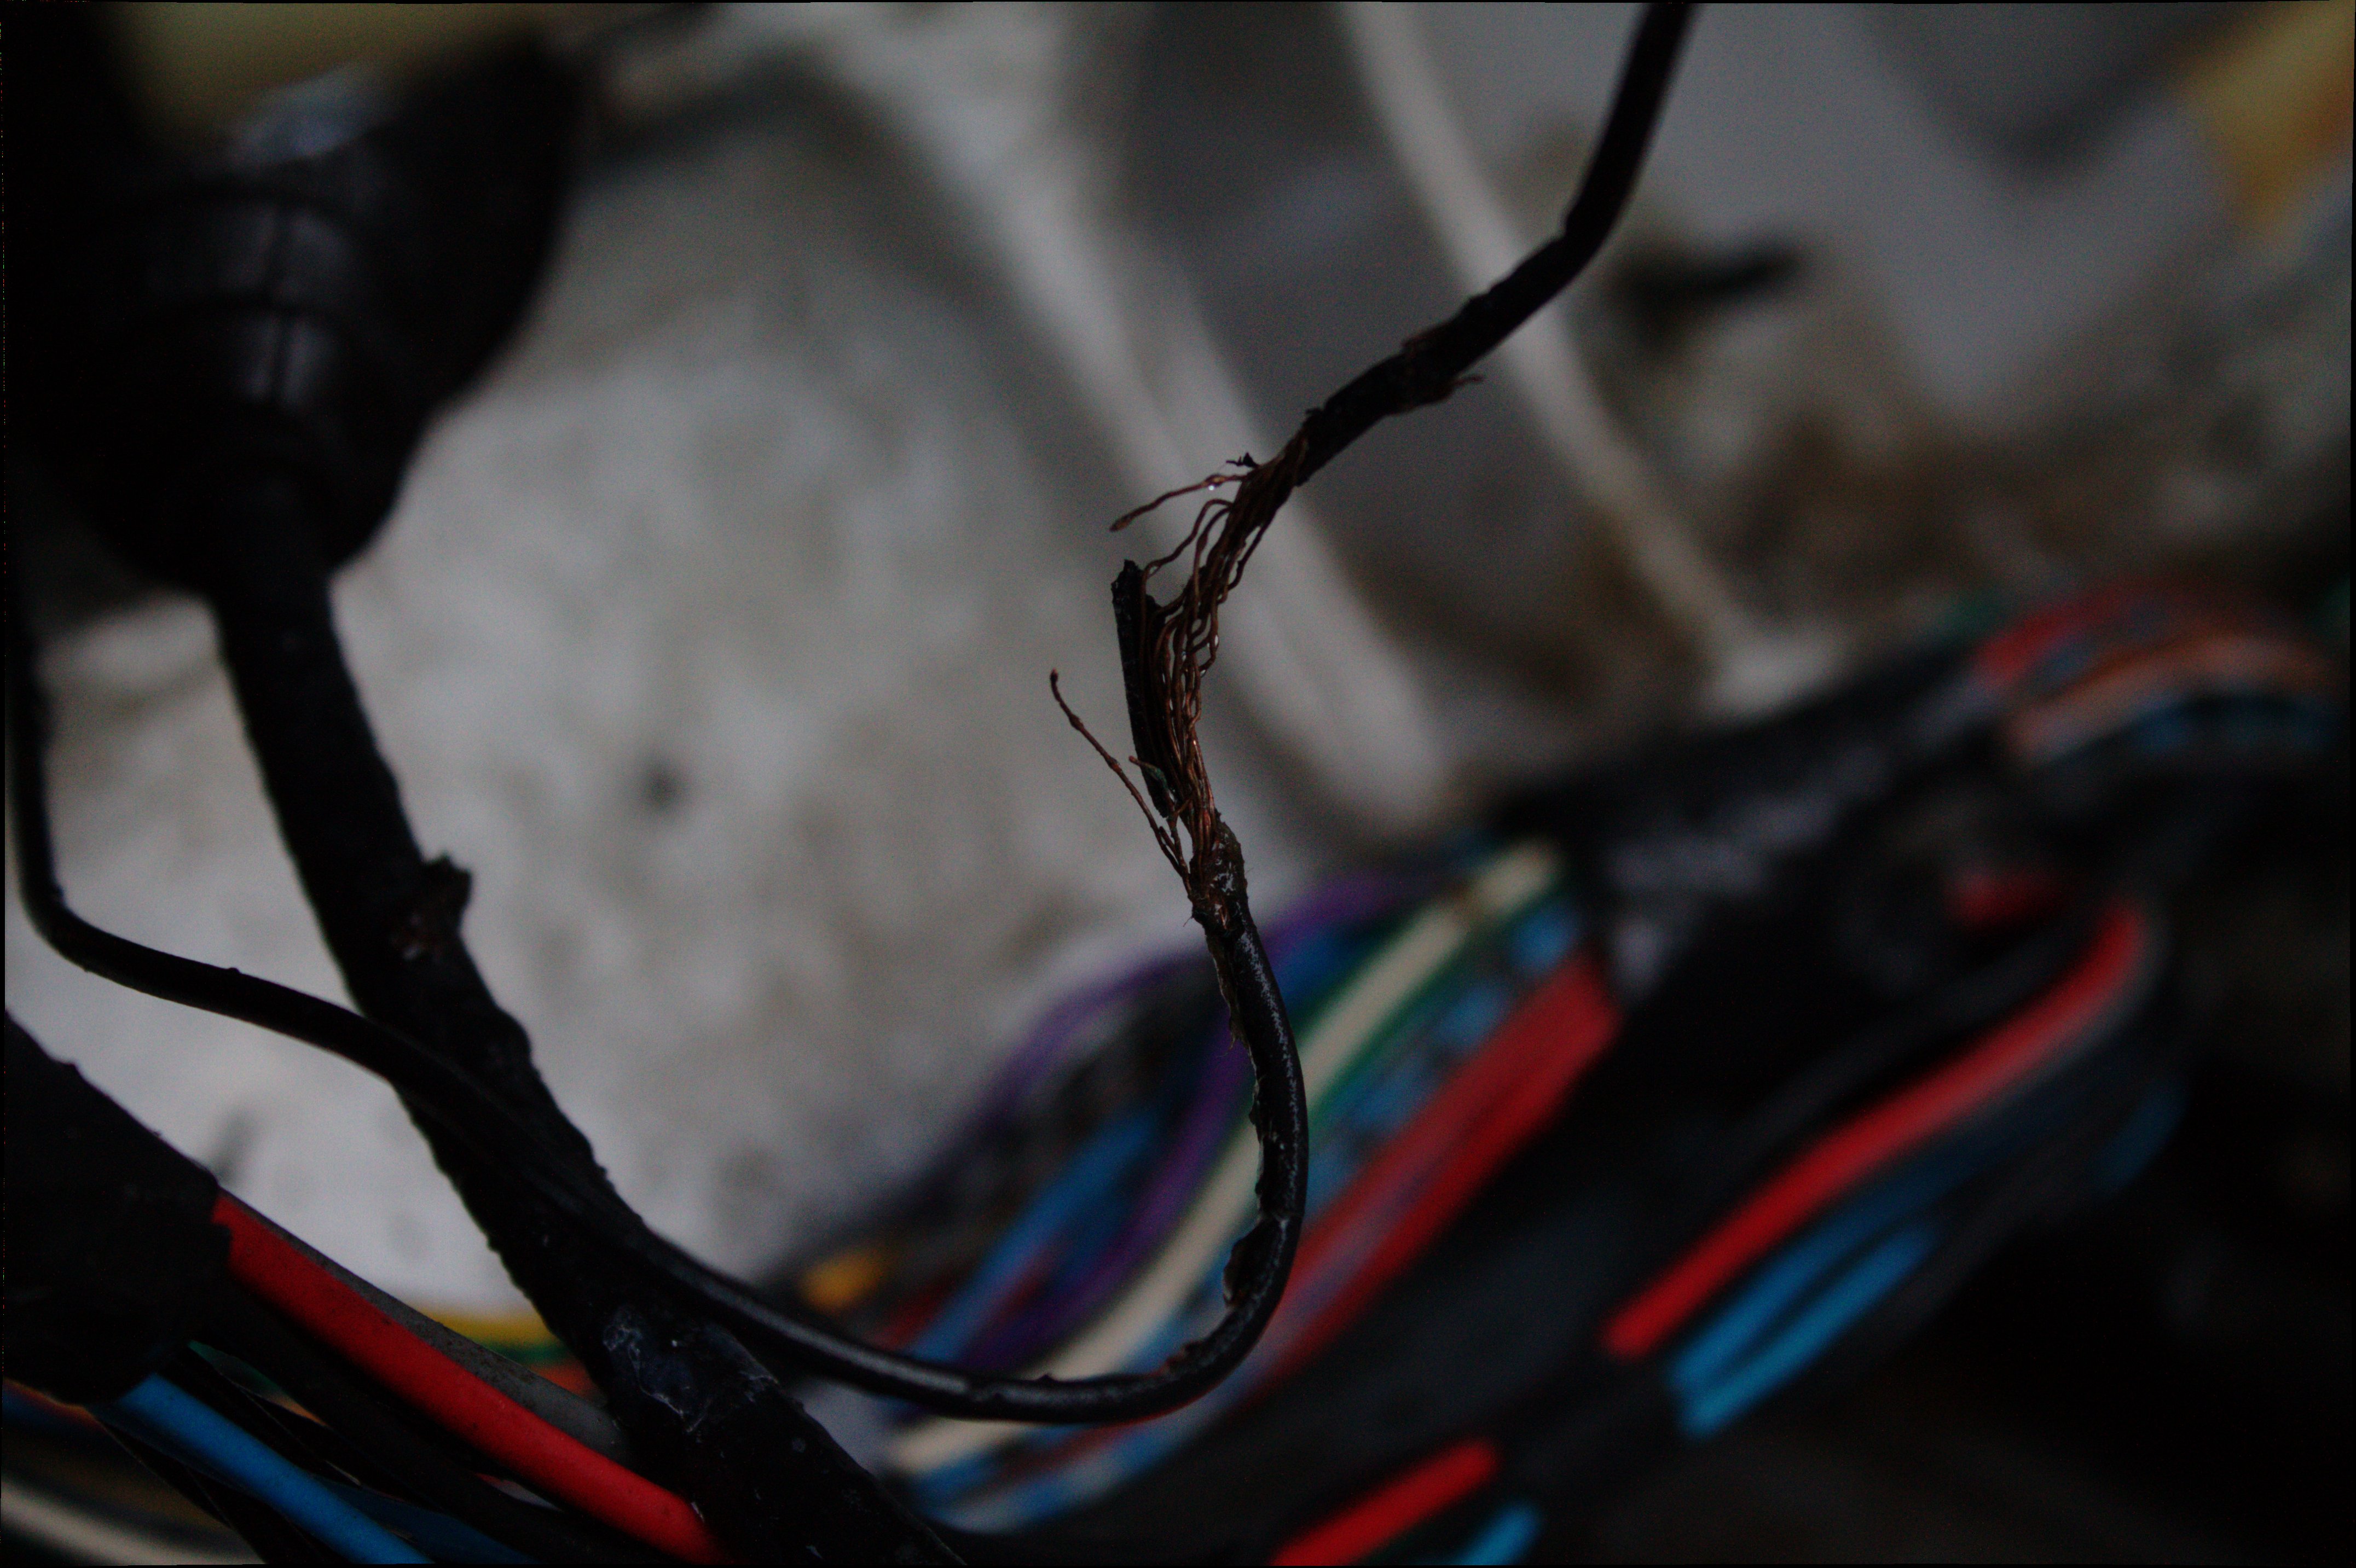
a few things are broken... the exhaust, the front suspension on the passenger side, both rear dampeners are rusted out, the doors are shot but i will try to fix them, the gear stick is really loose and all the roller bearings have dropped out, the wiring is a mess (mice attack!), there are no brakes.. and i mean no brakes, and lets not forget the underside rust.
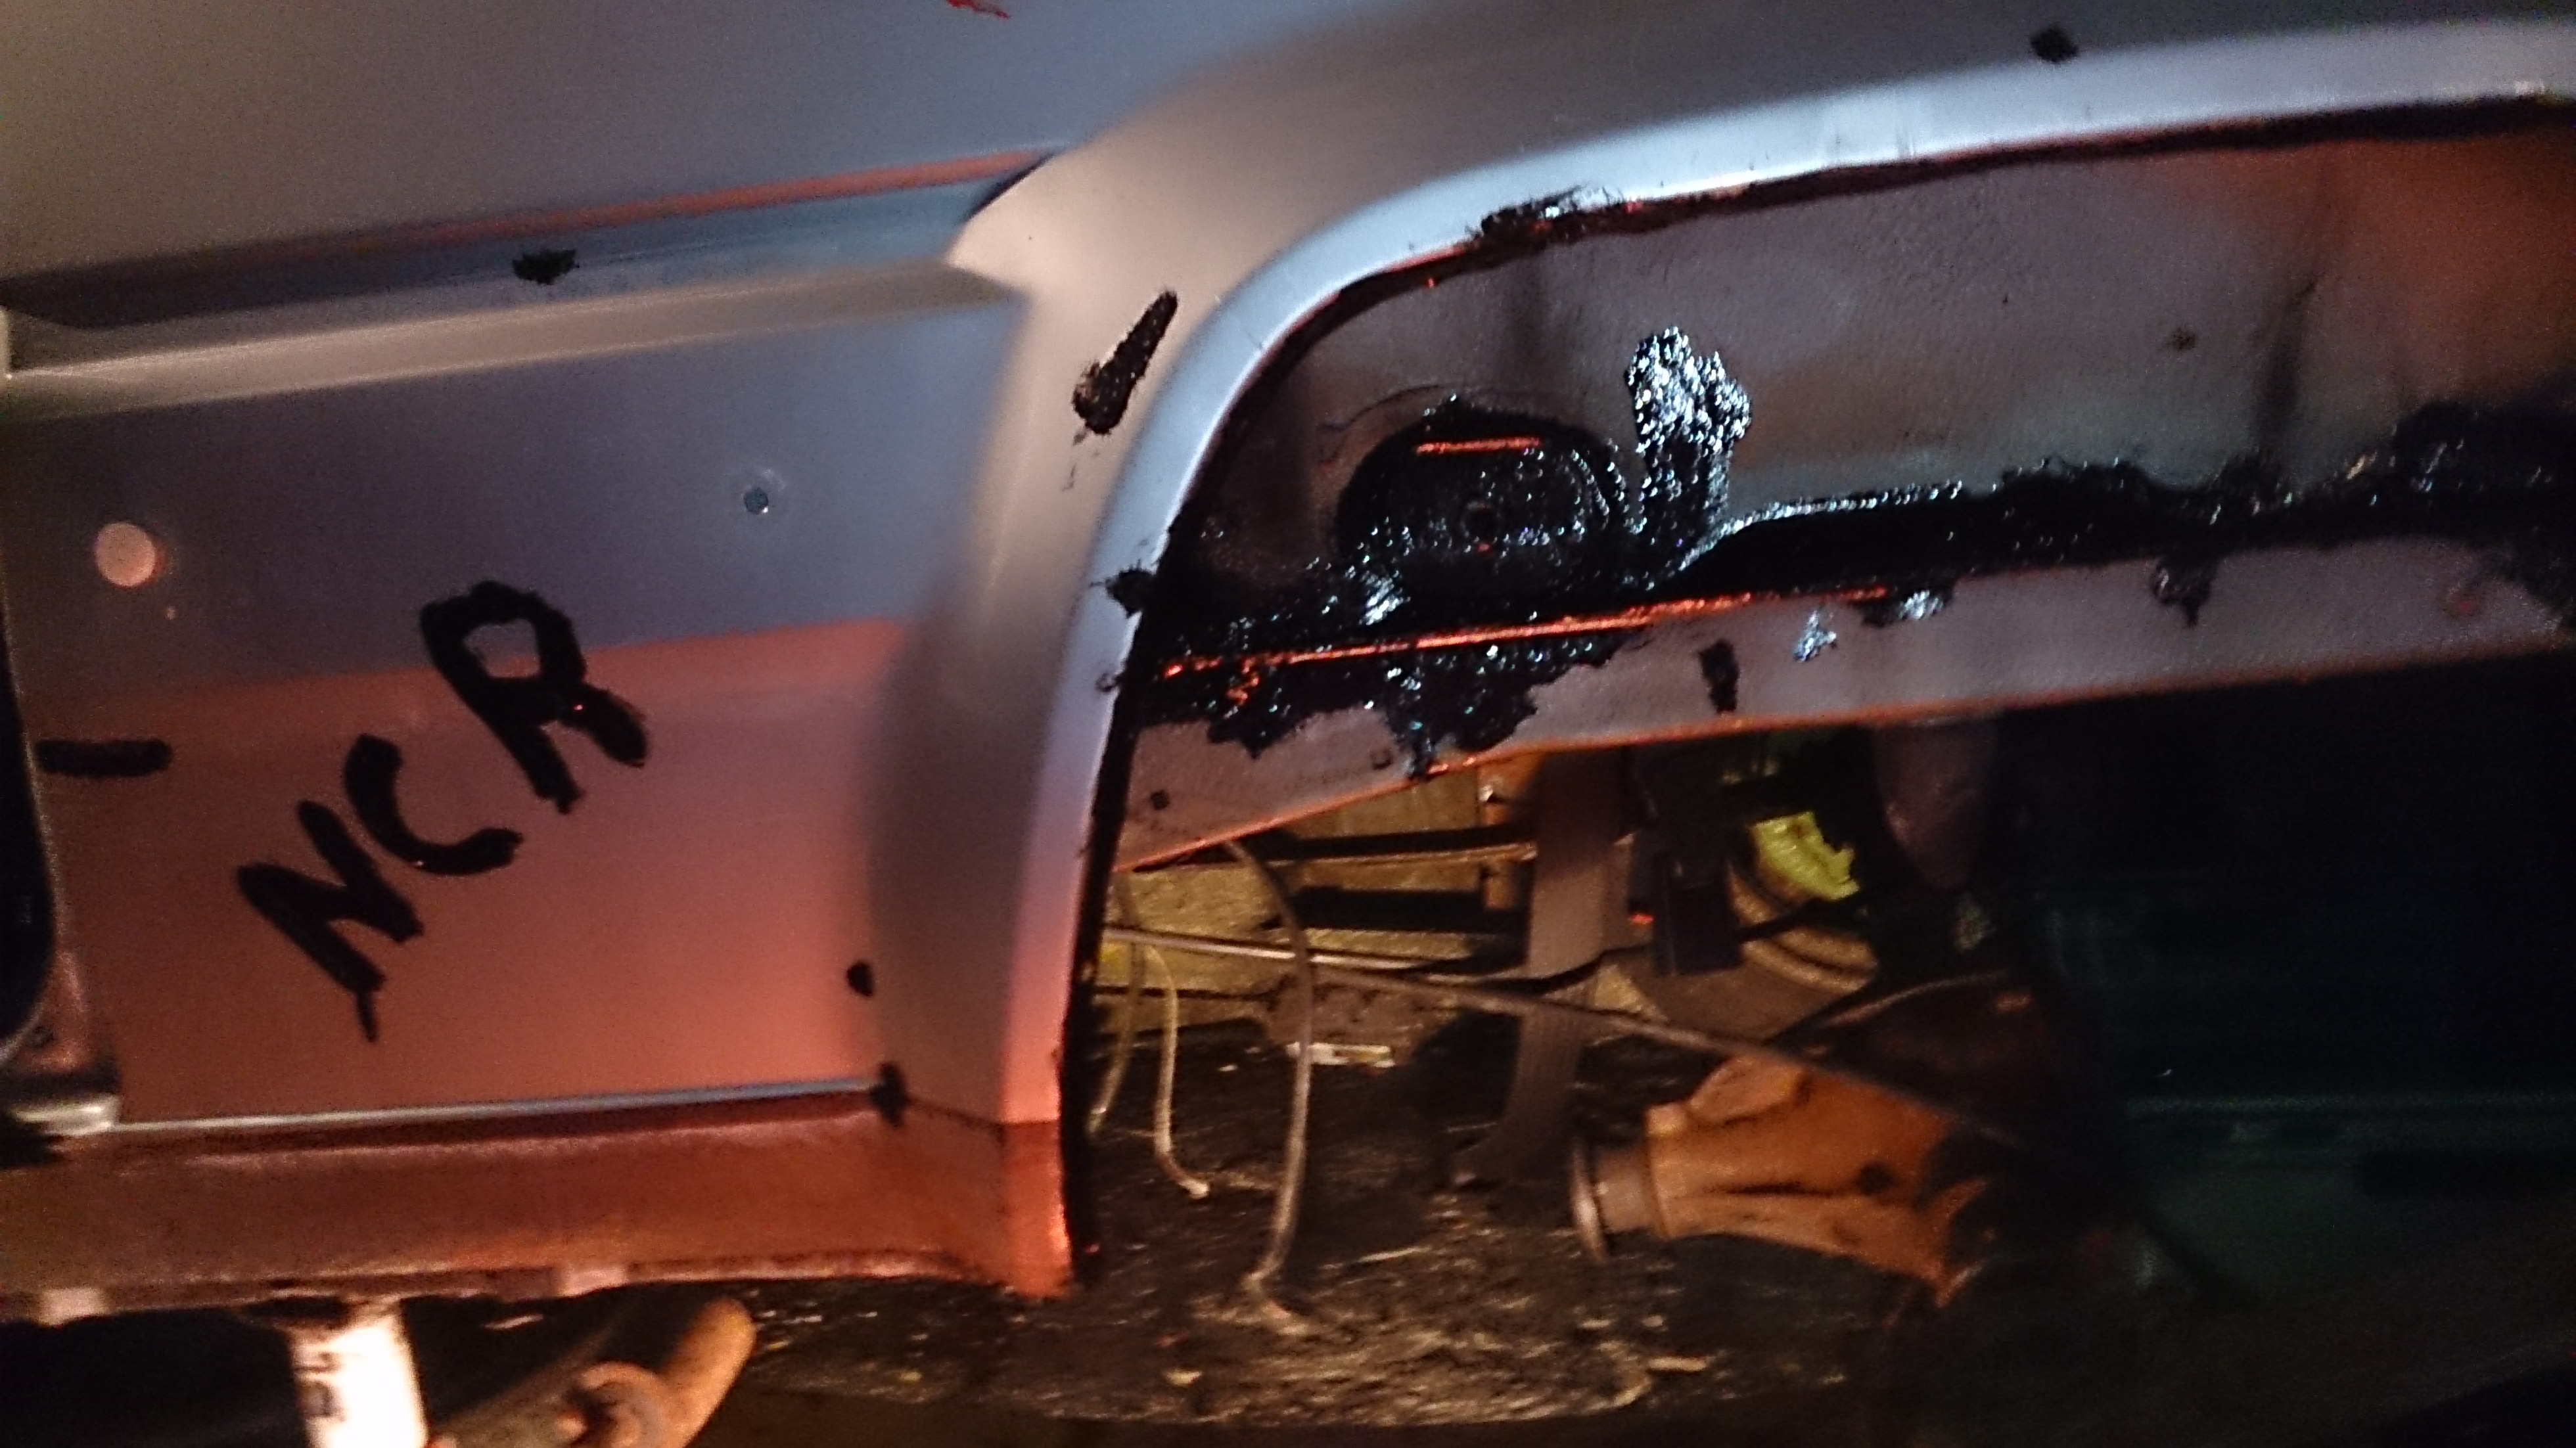
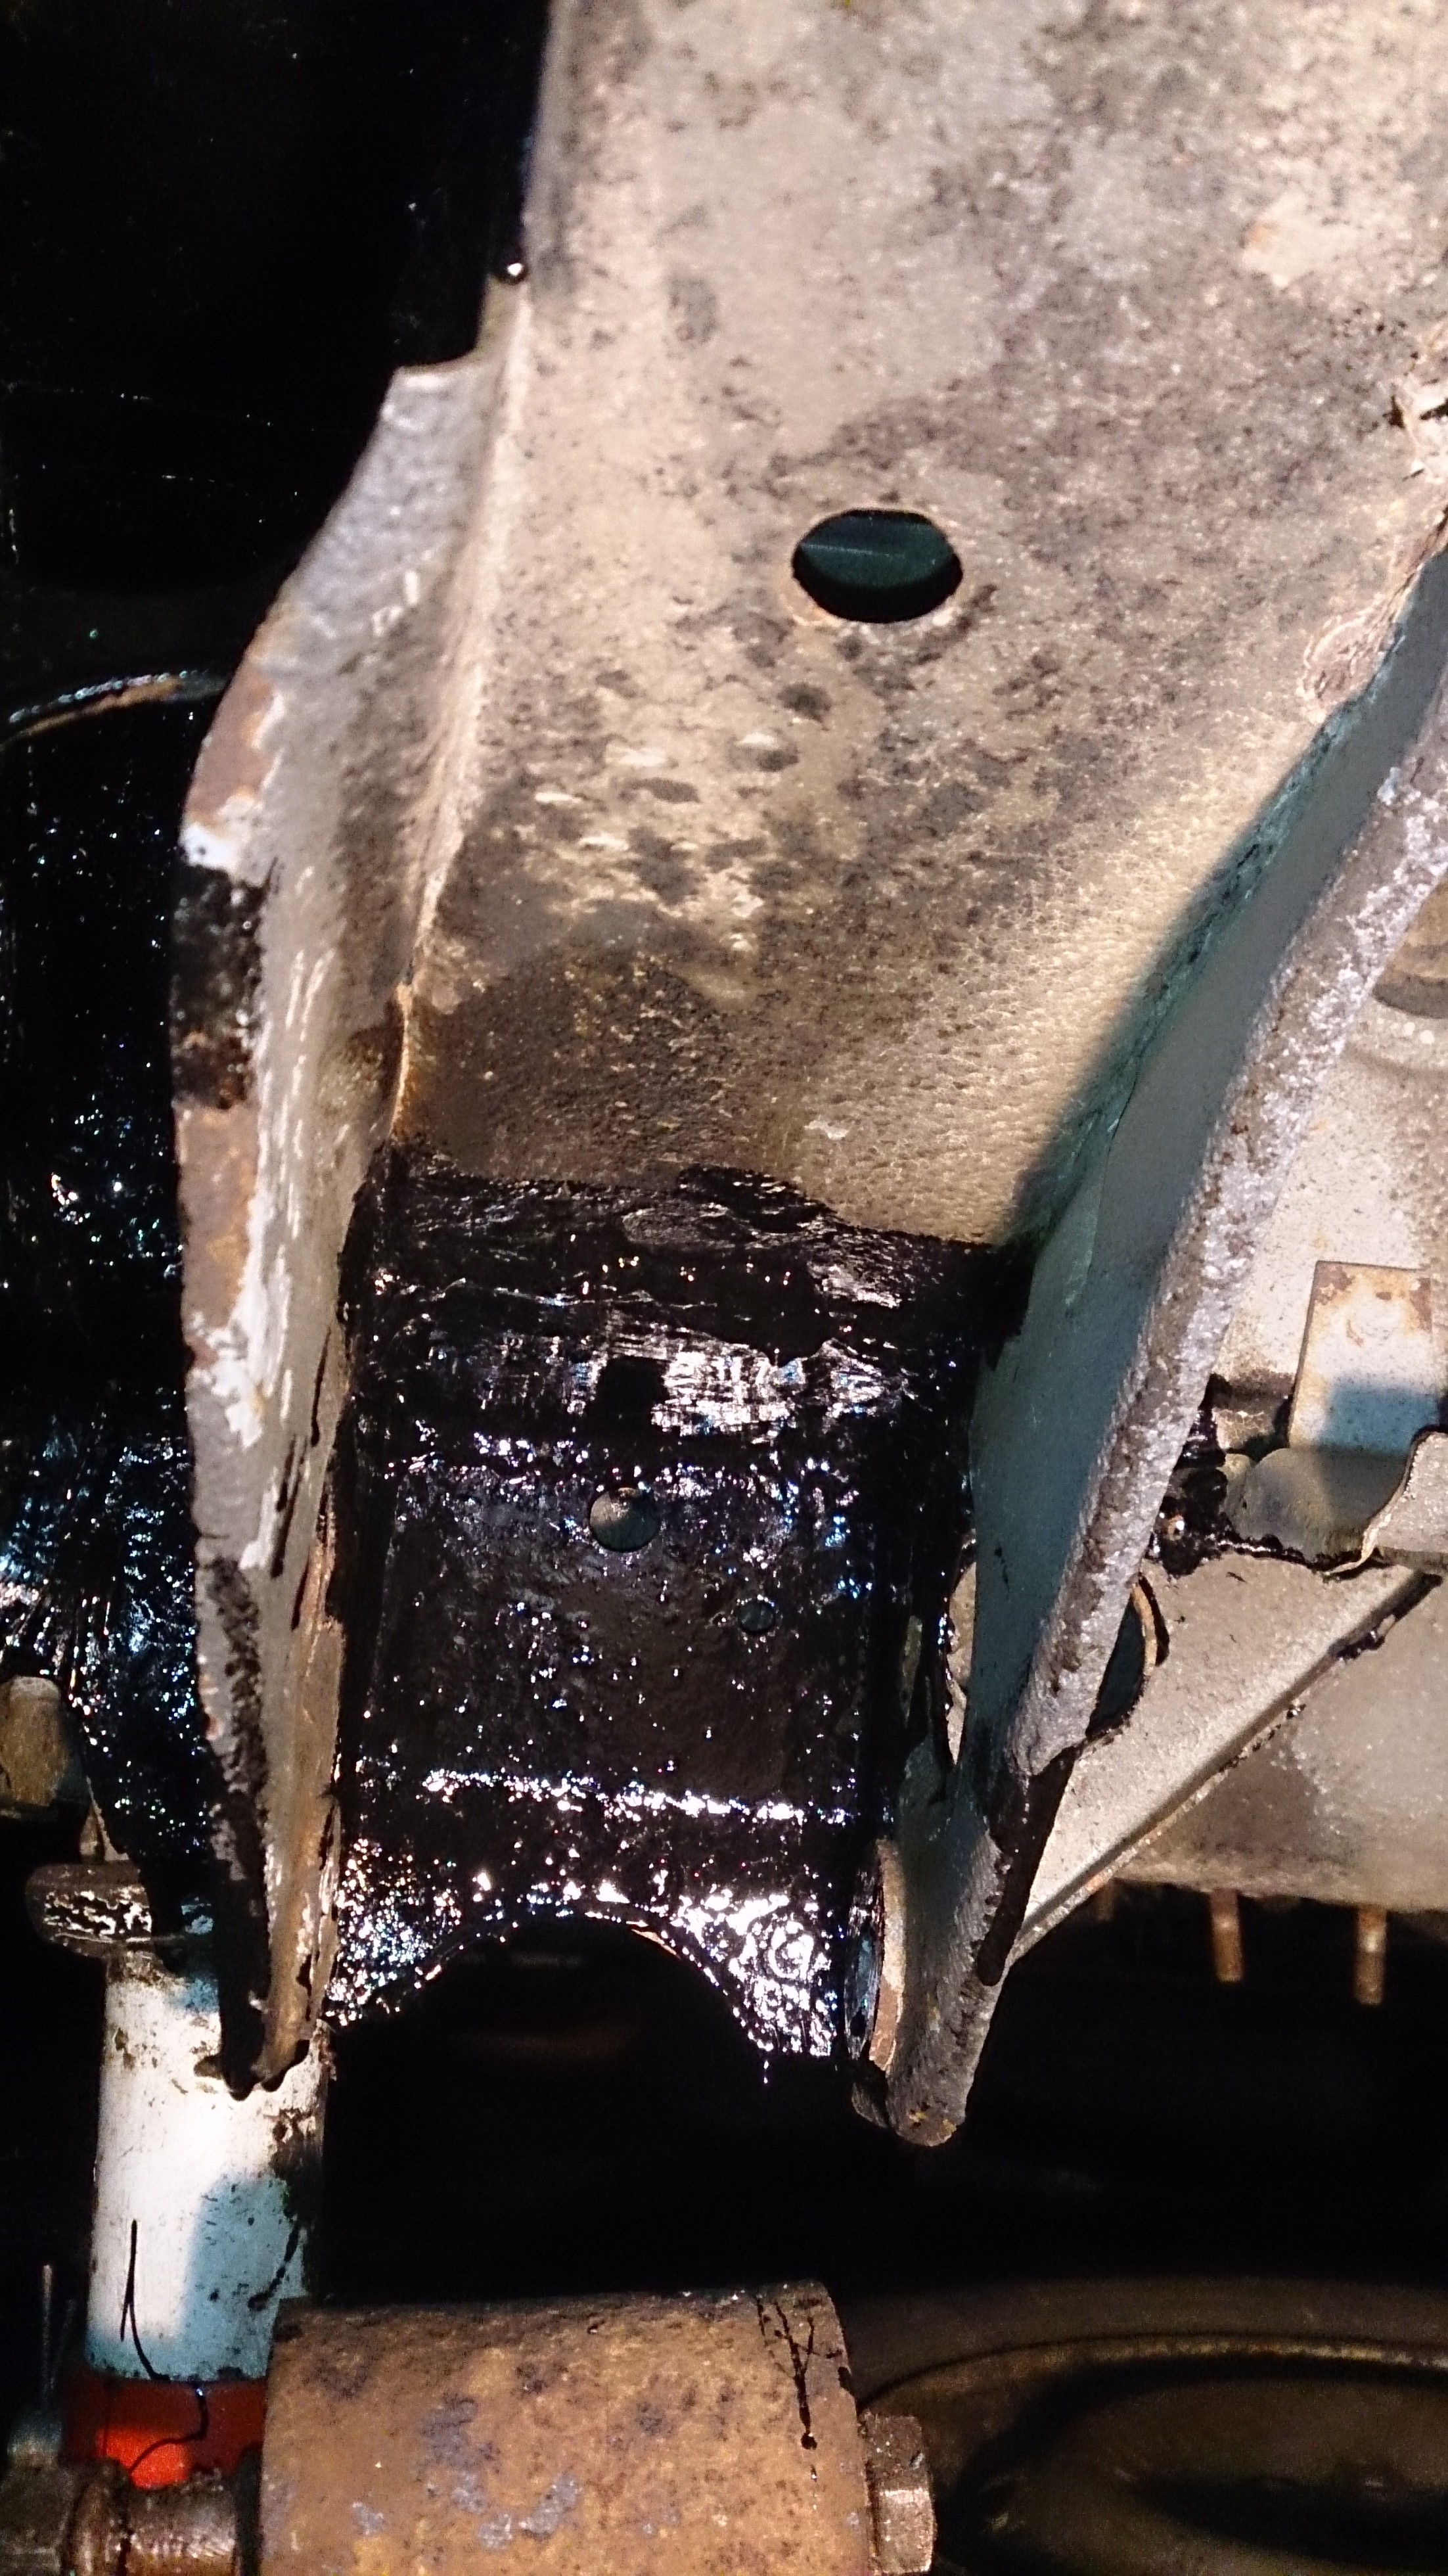
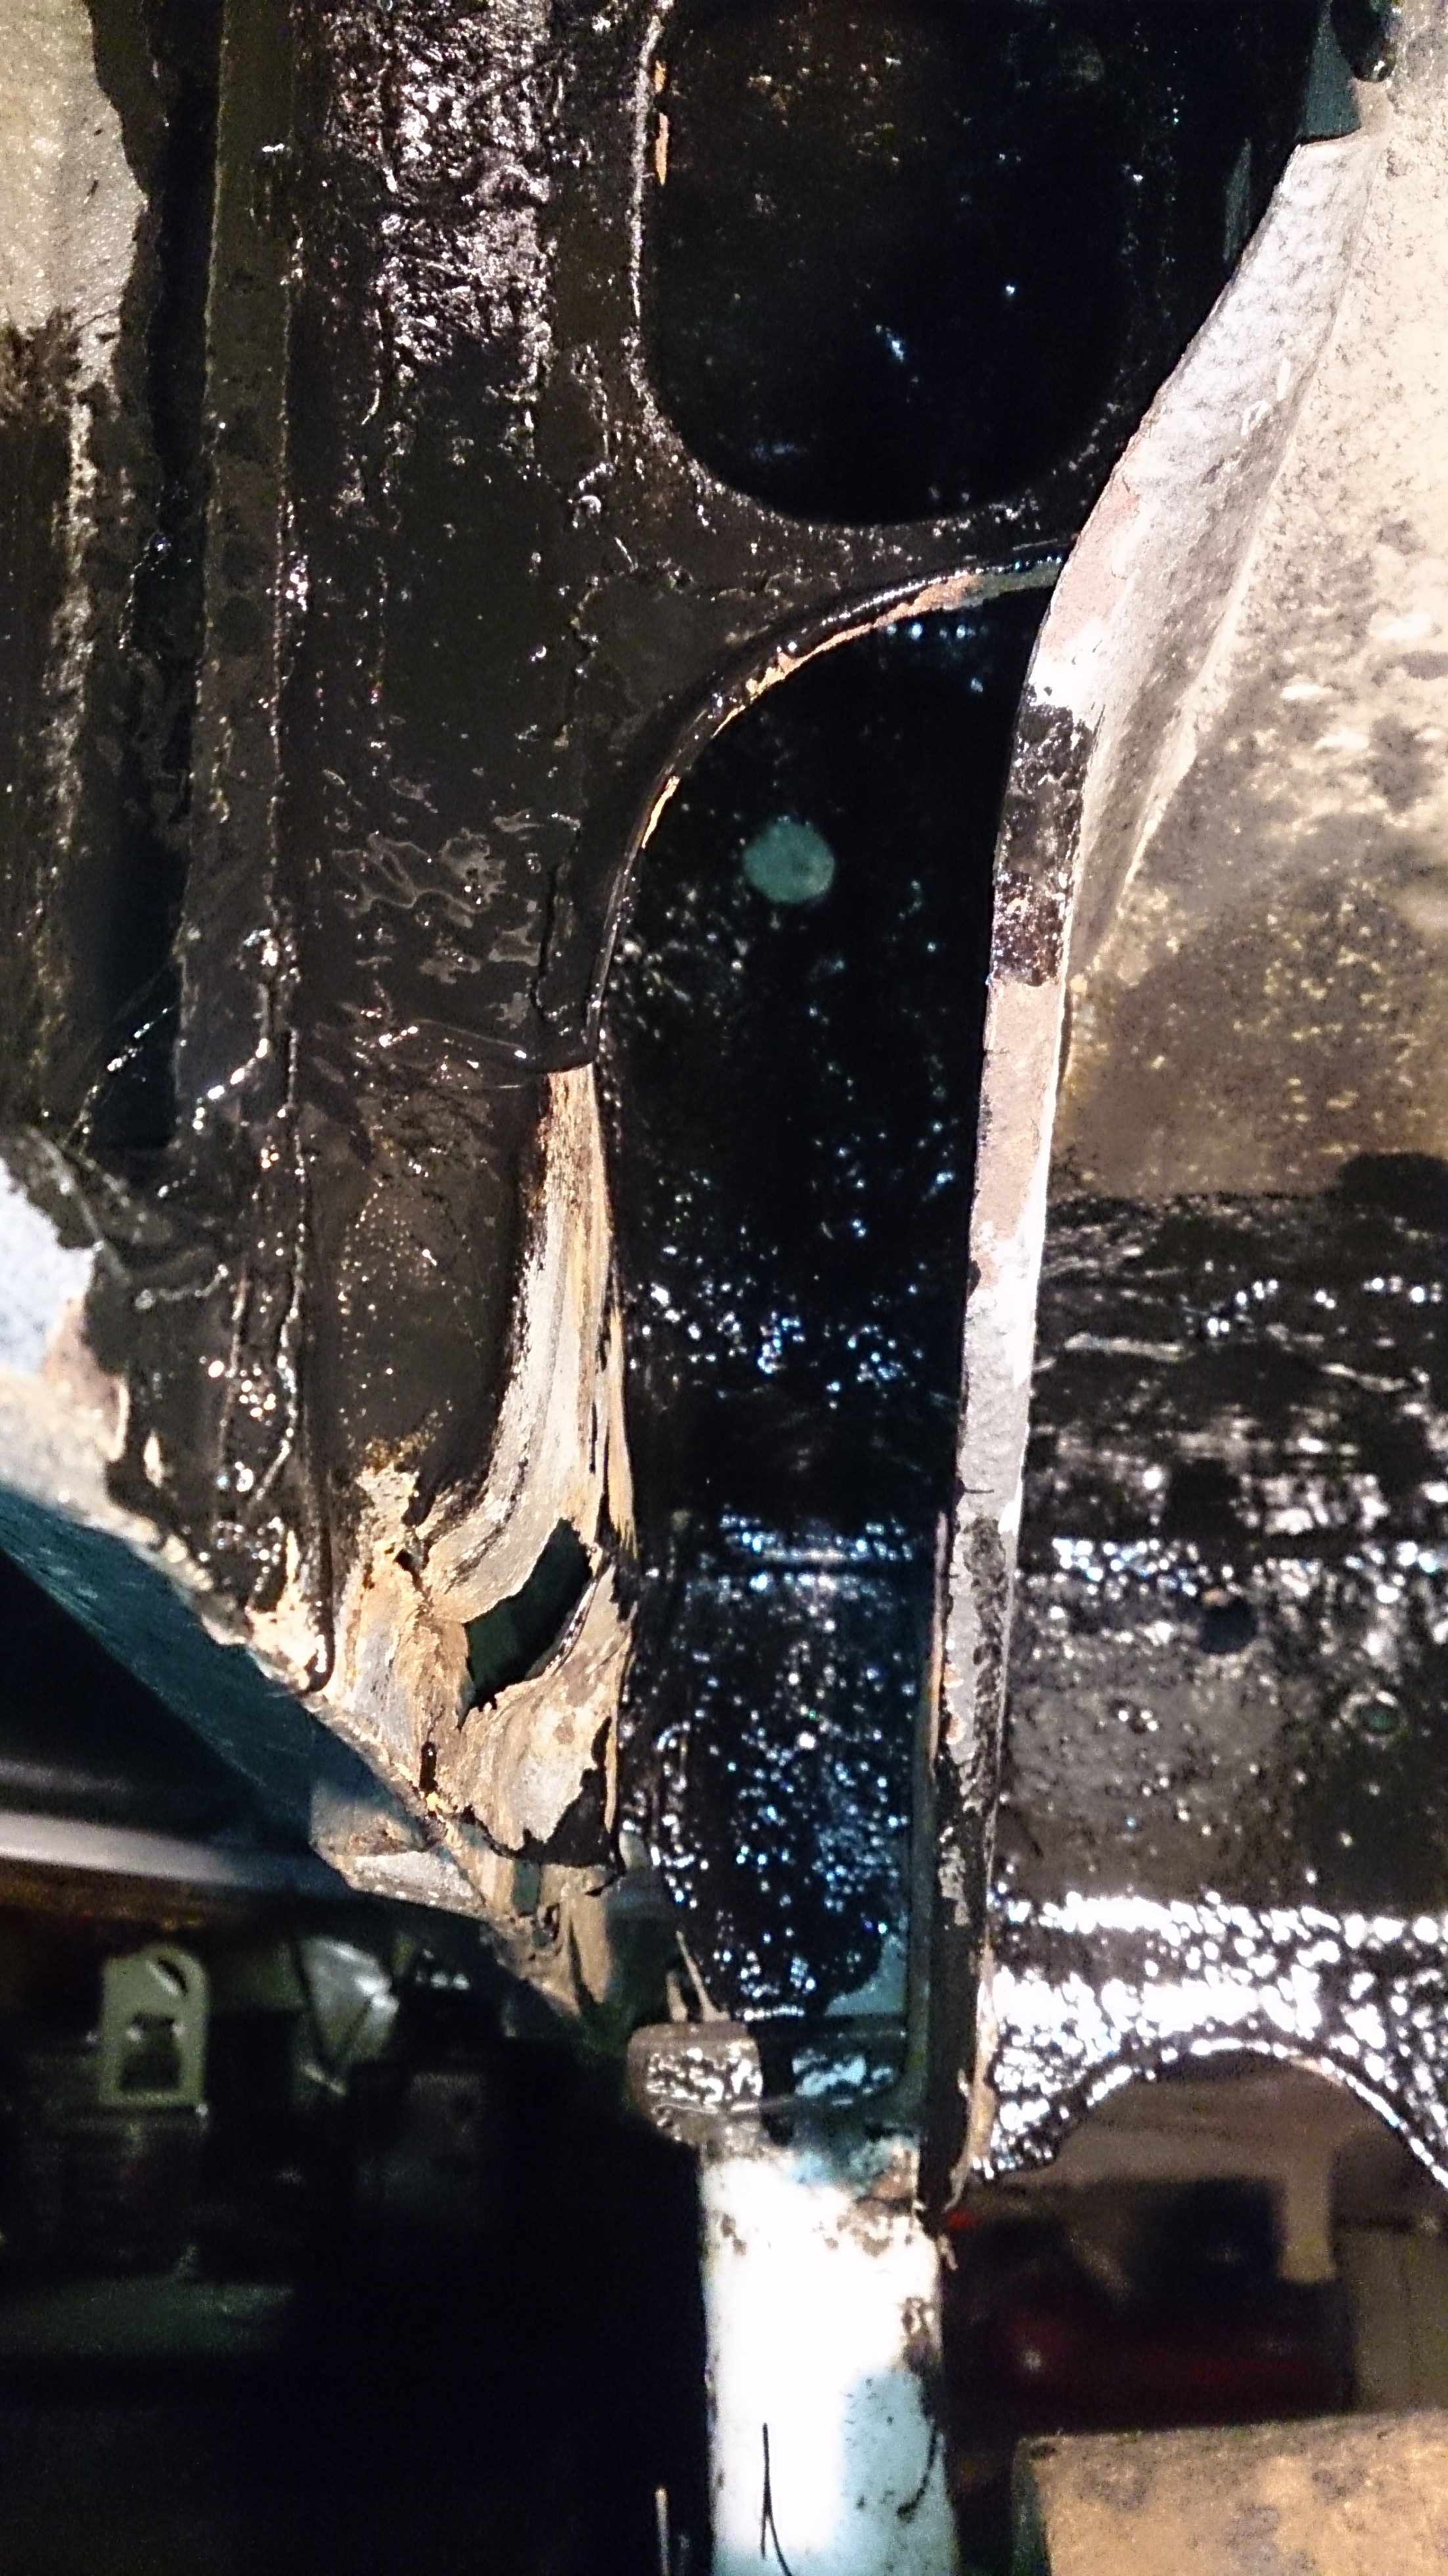
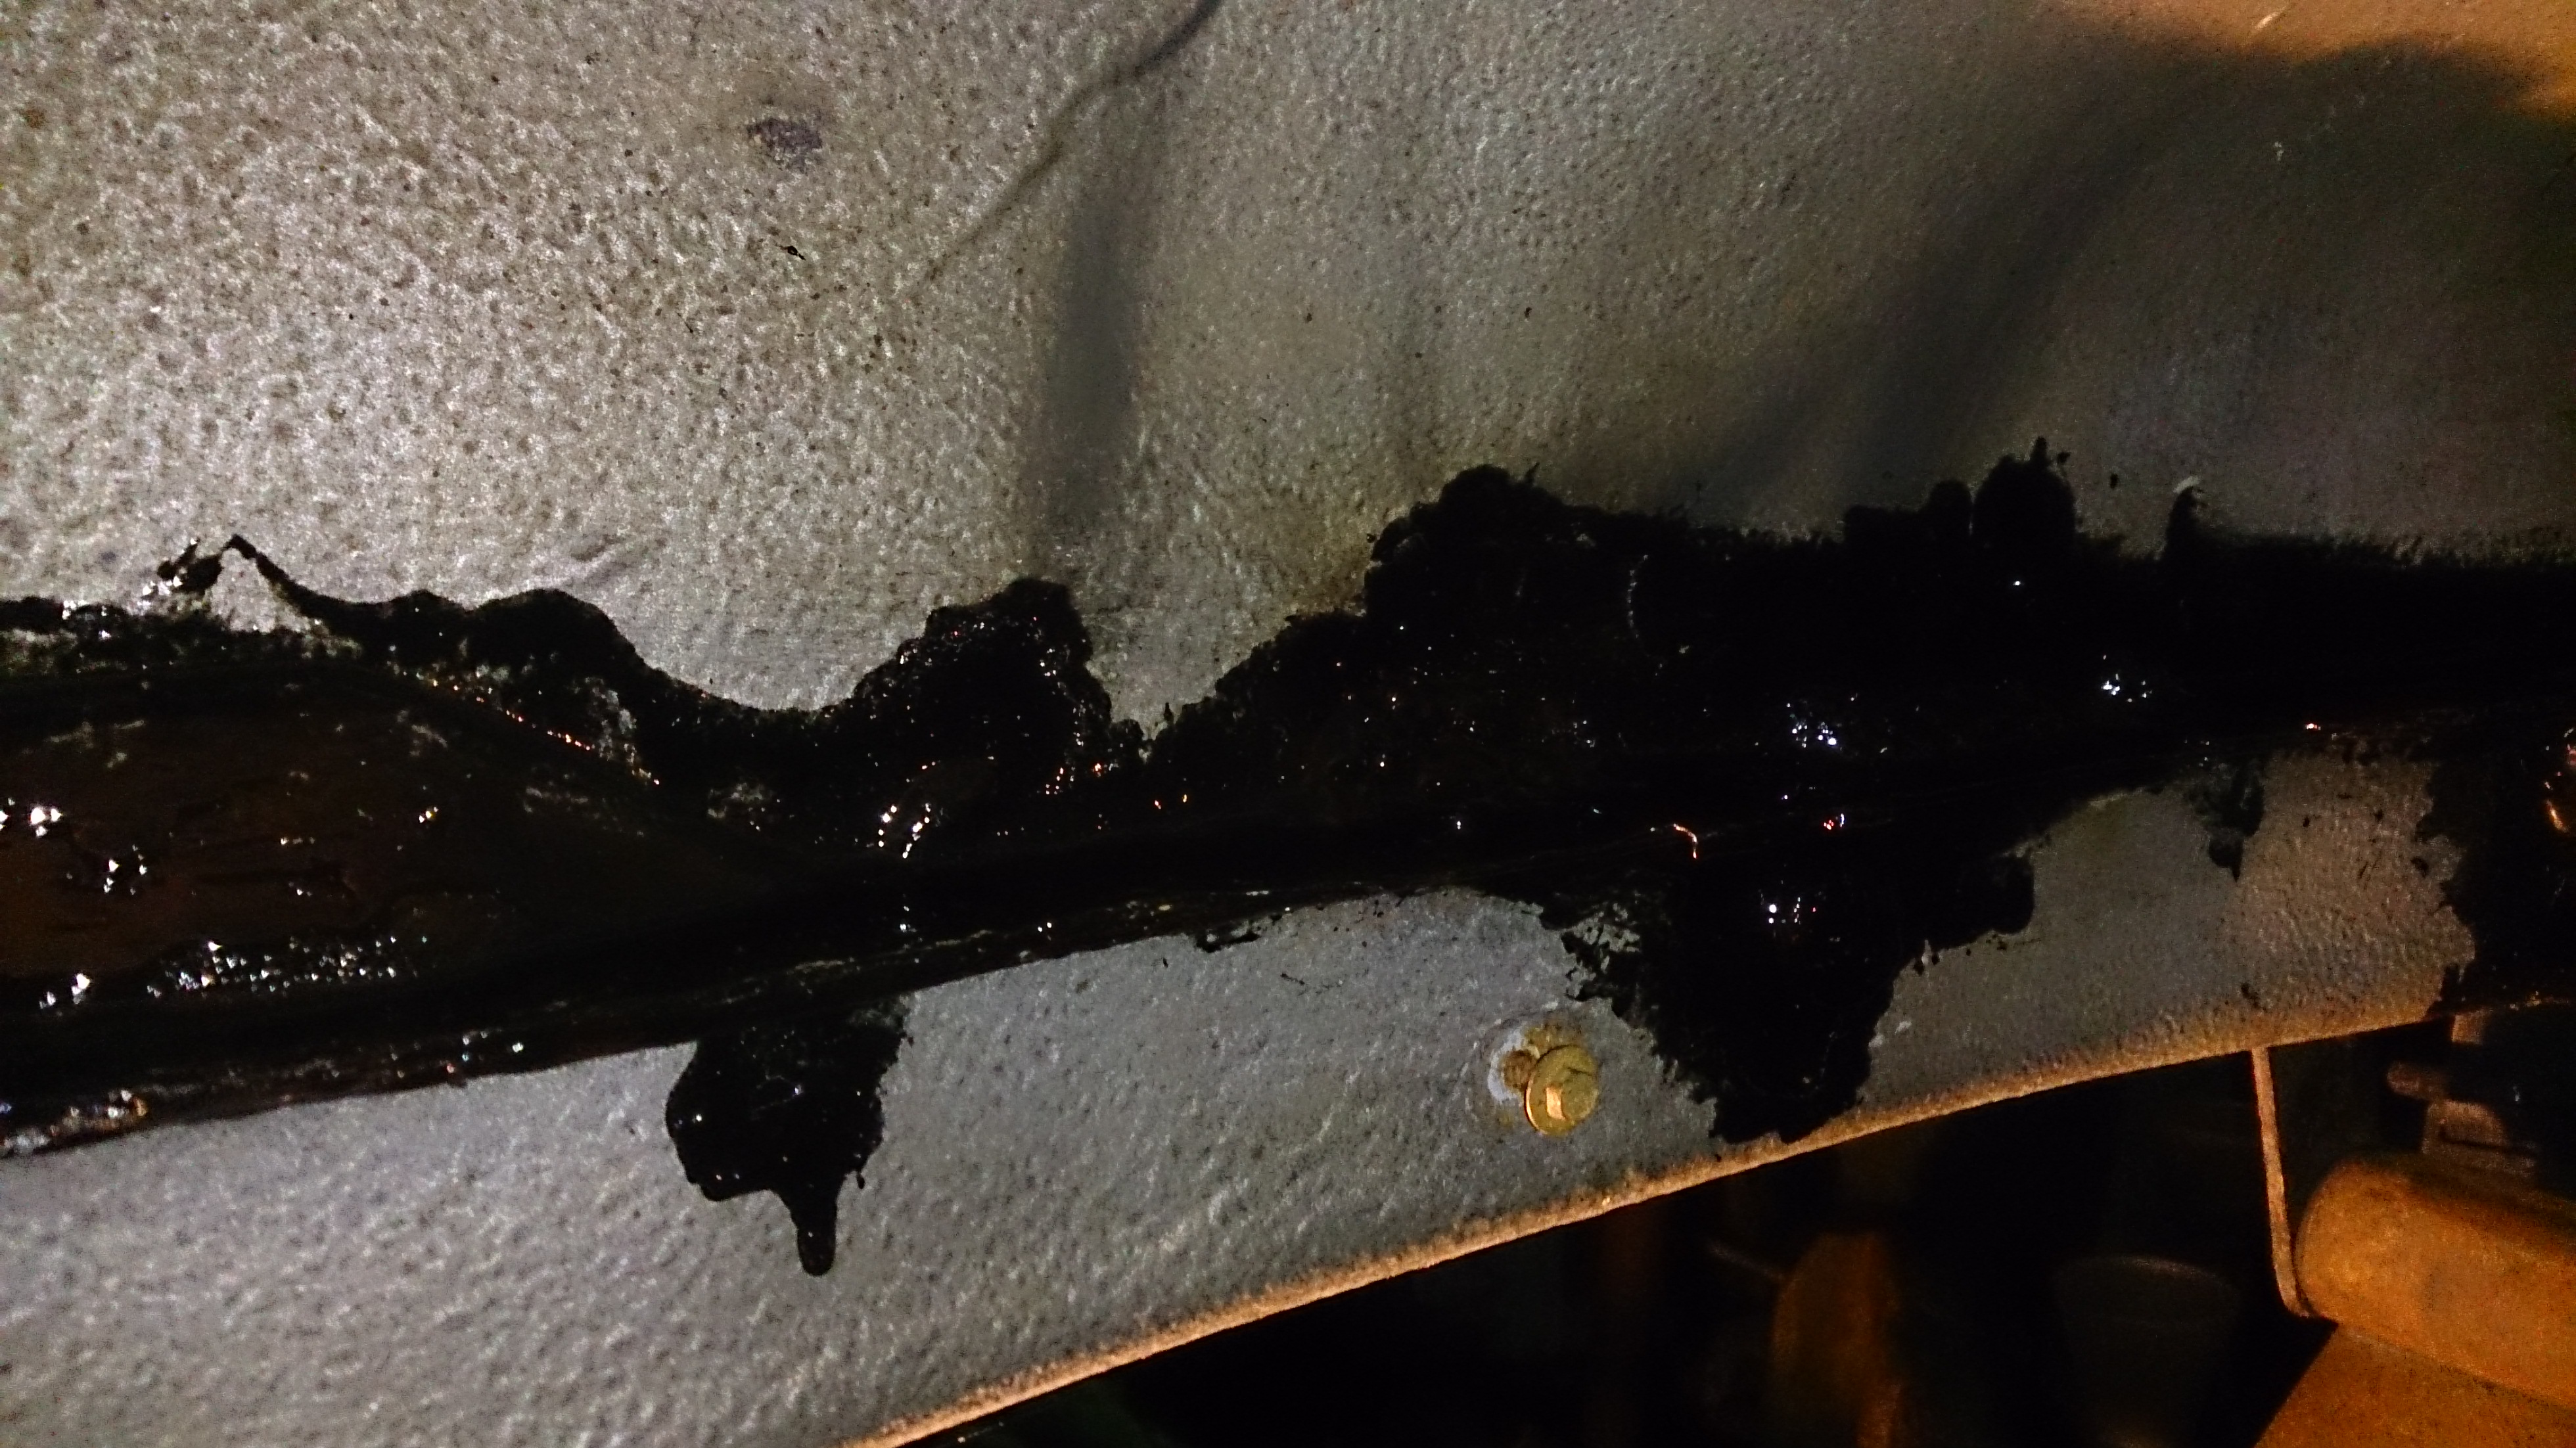
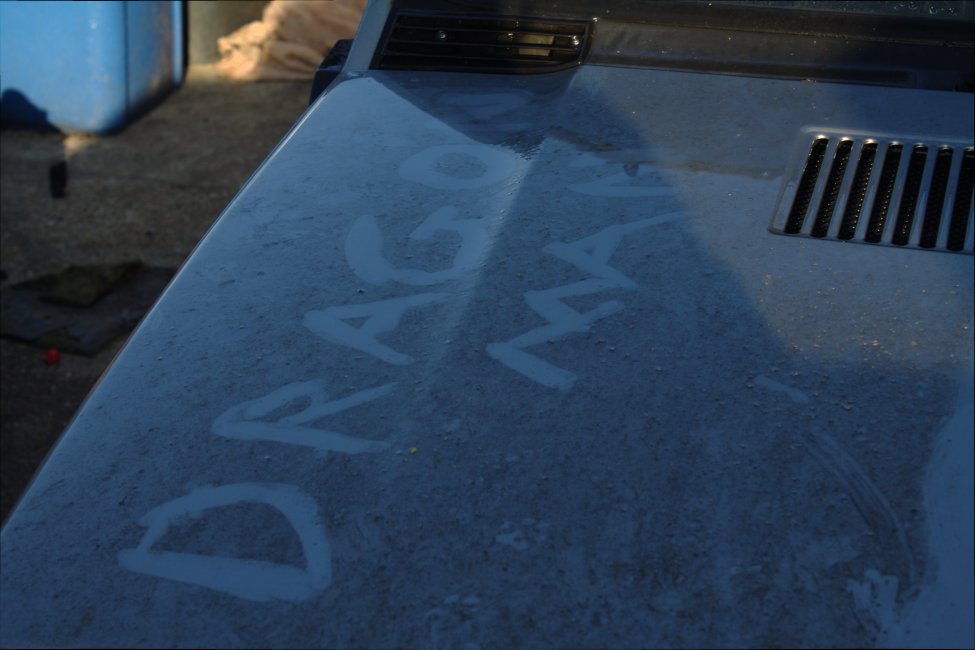
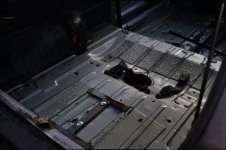
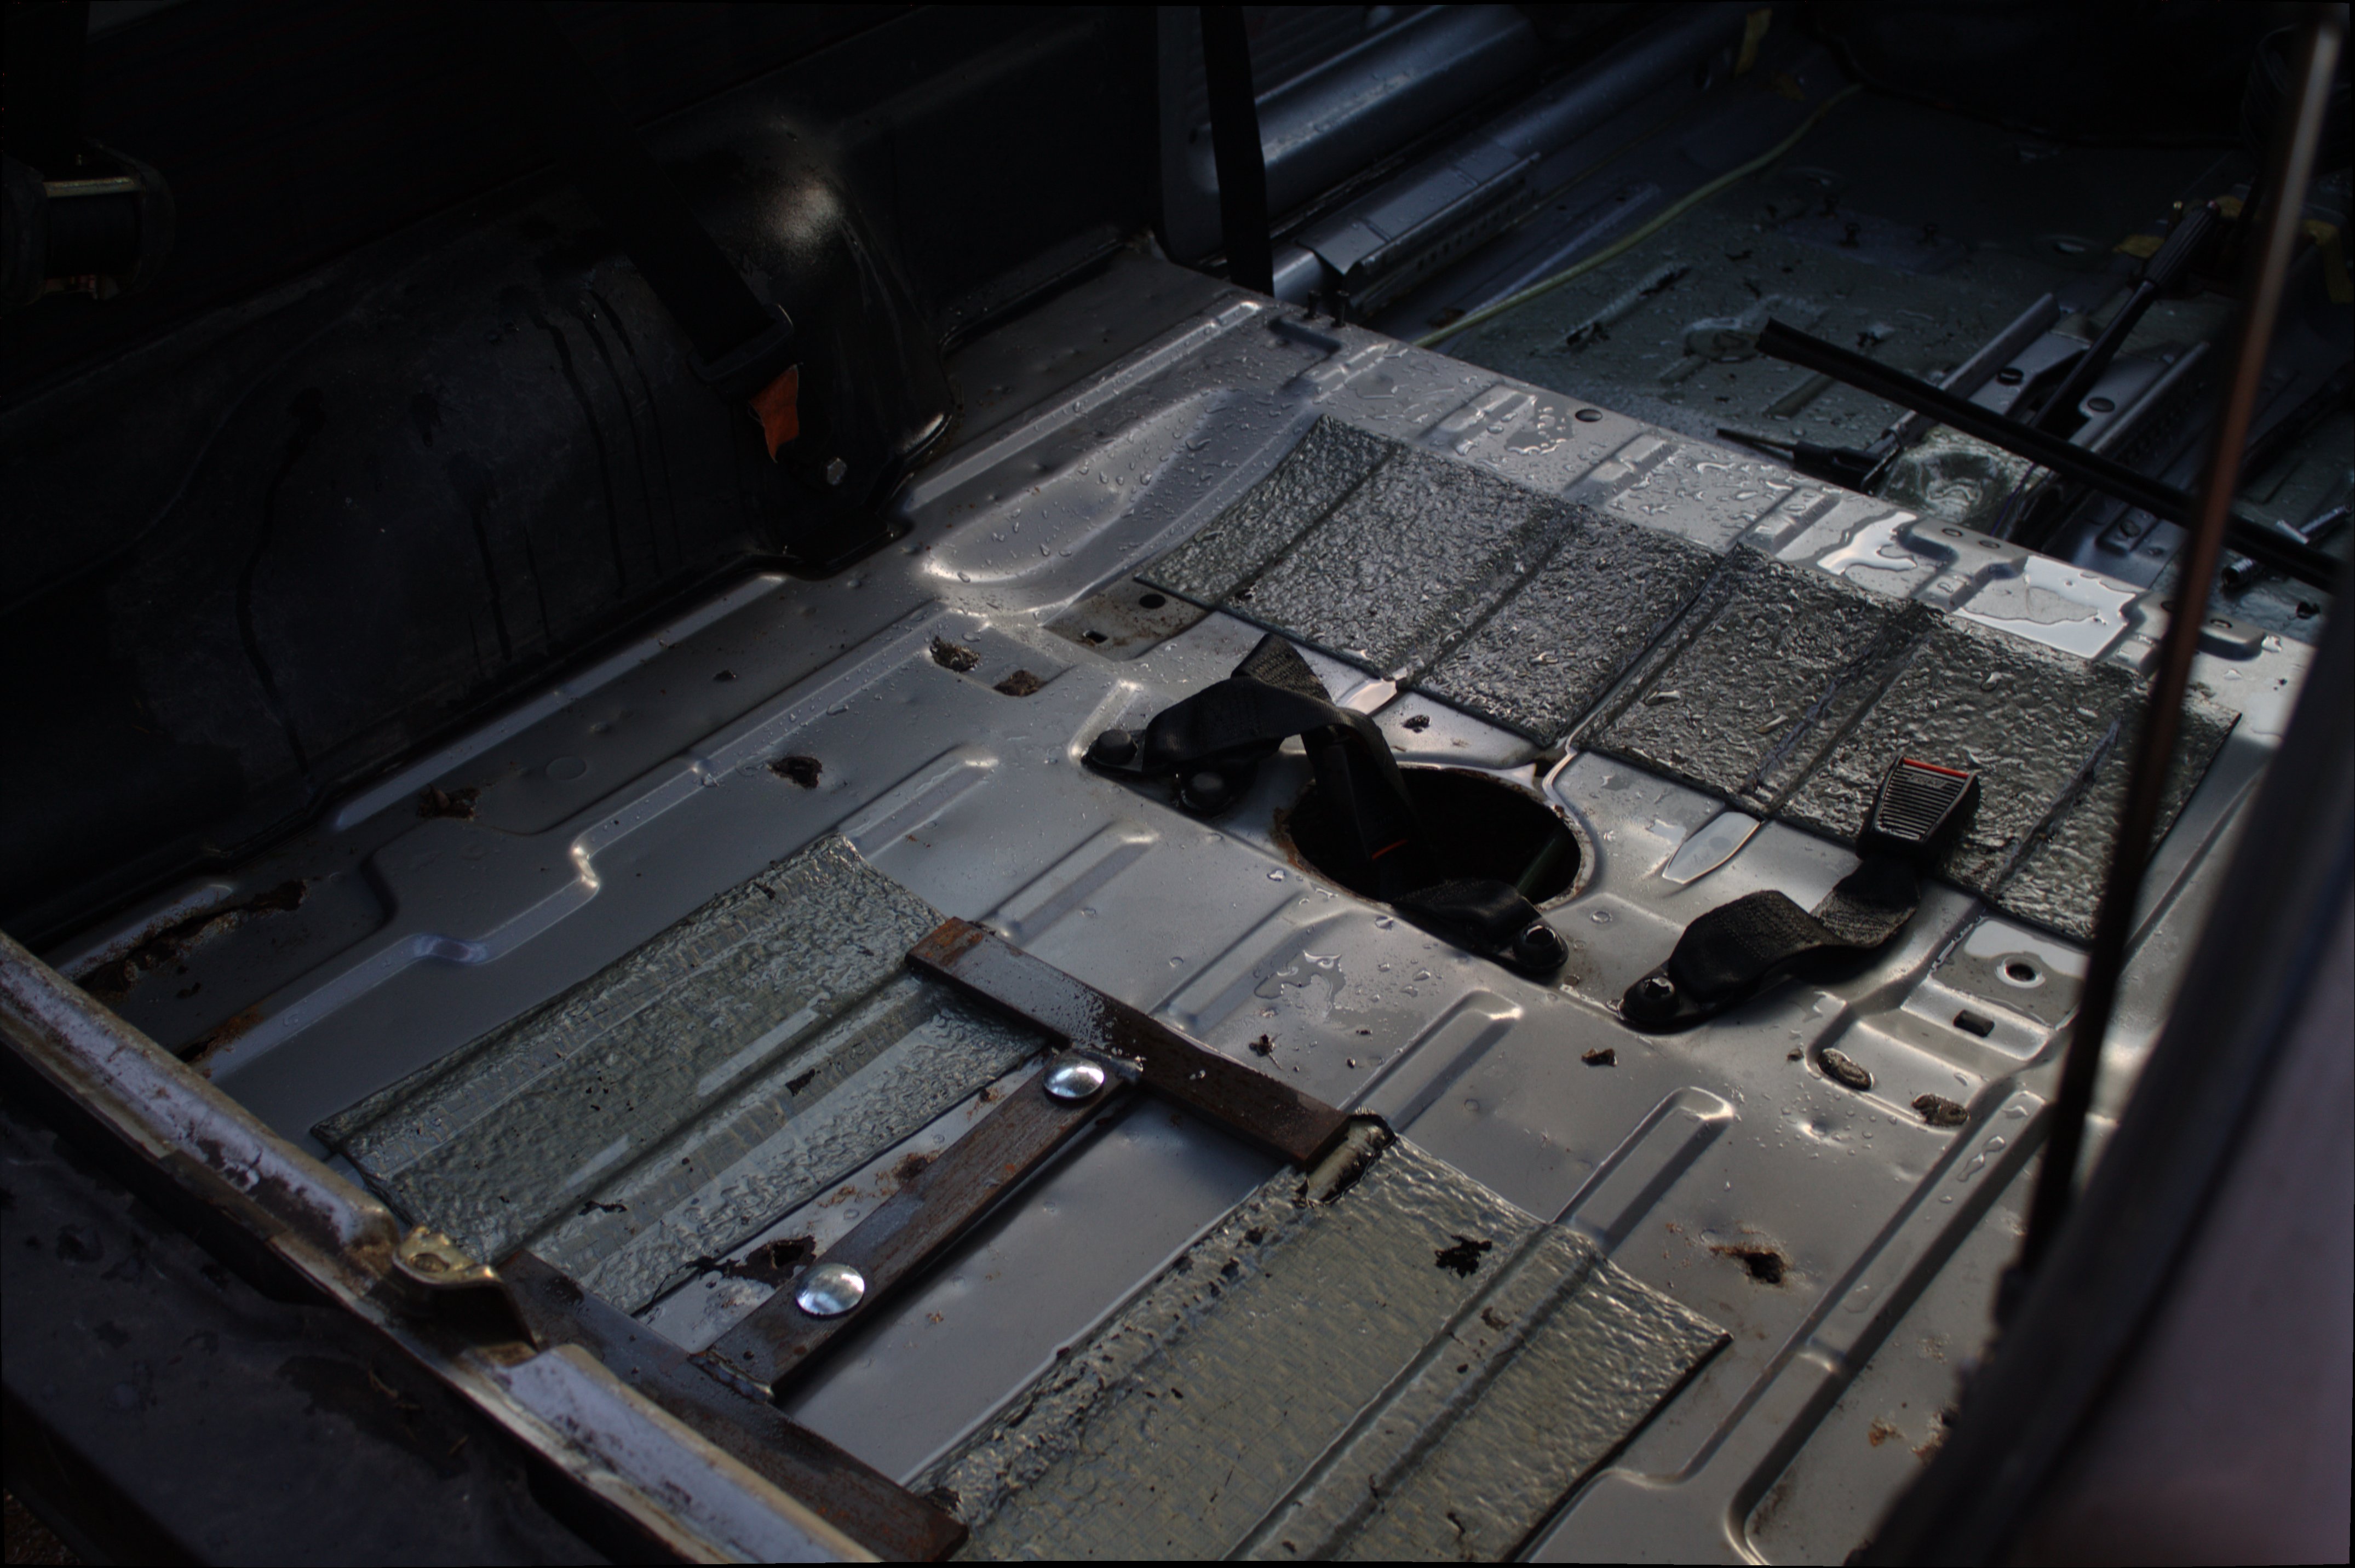
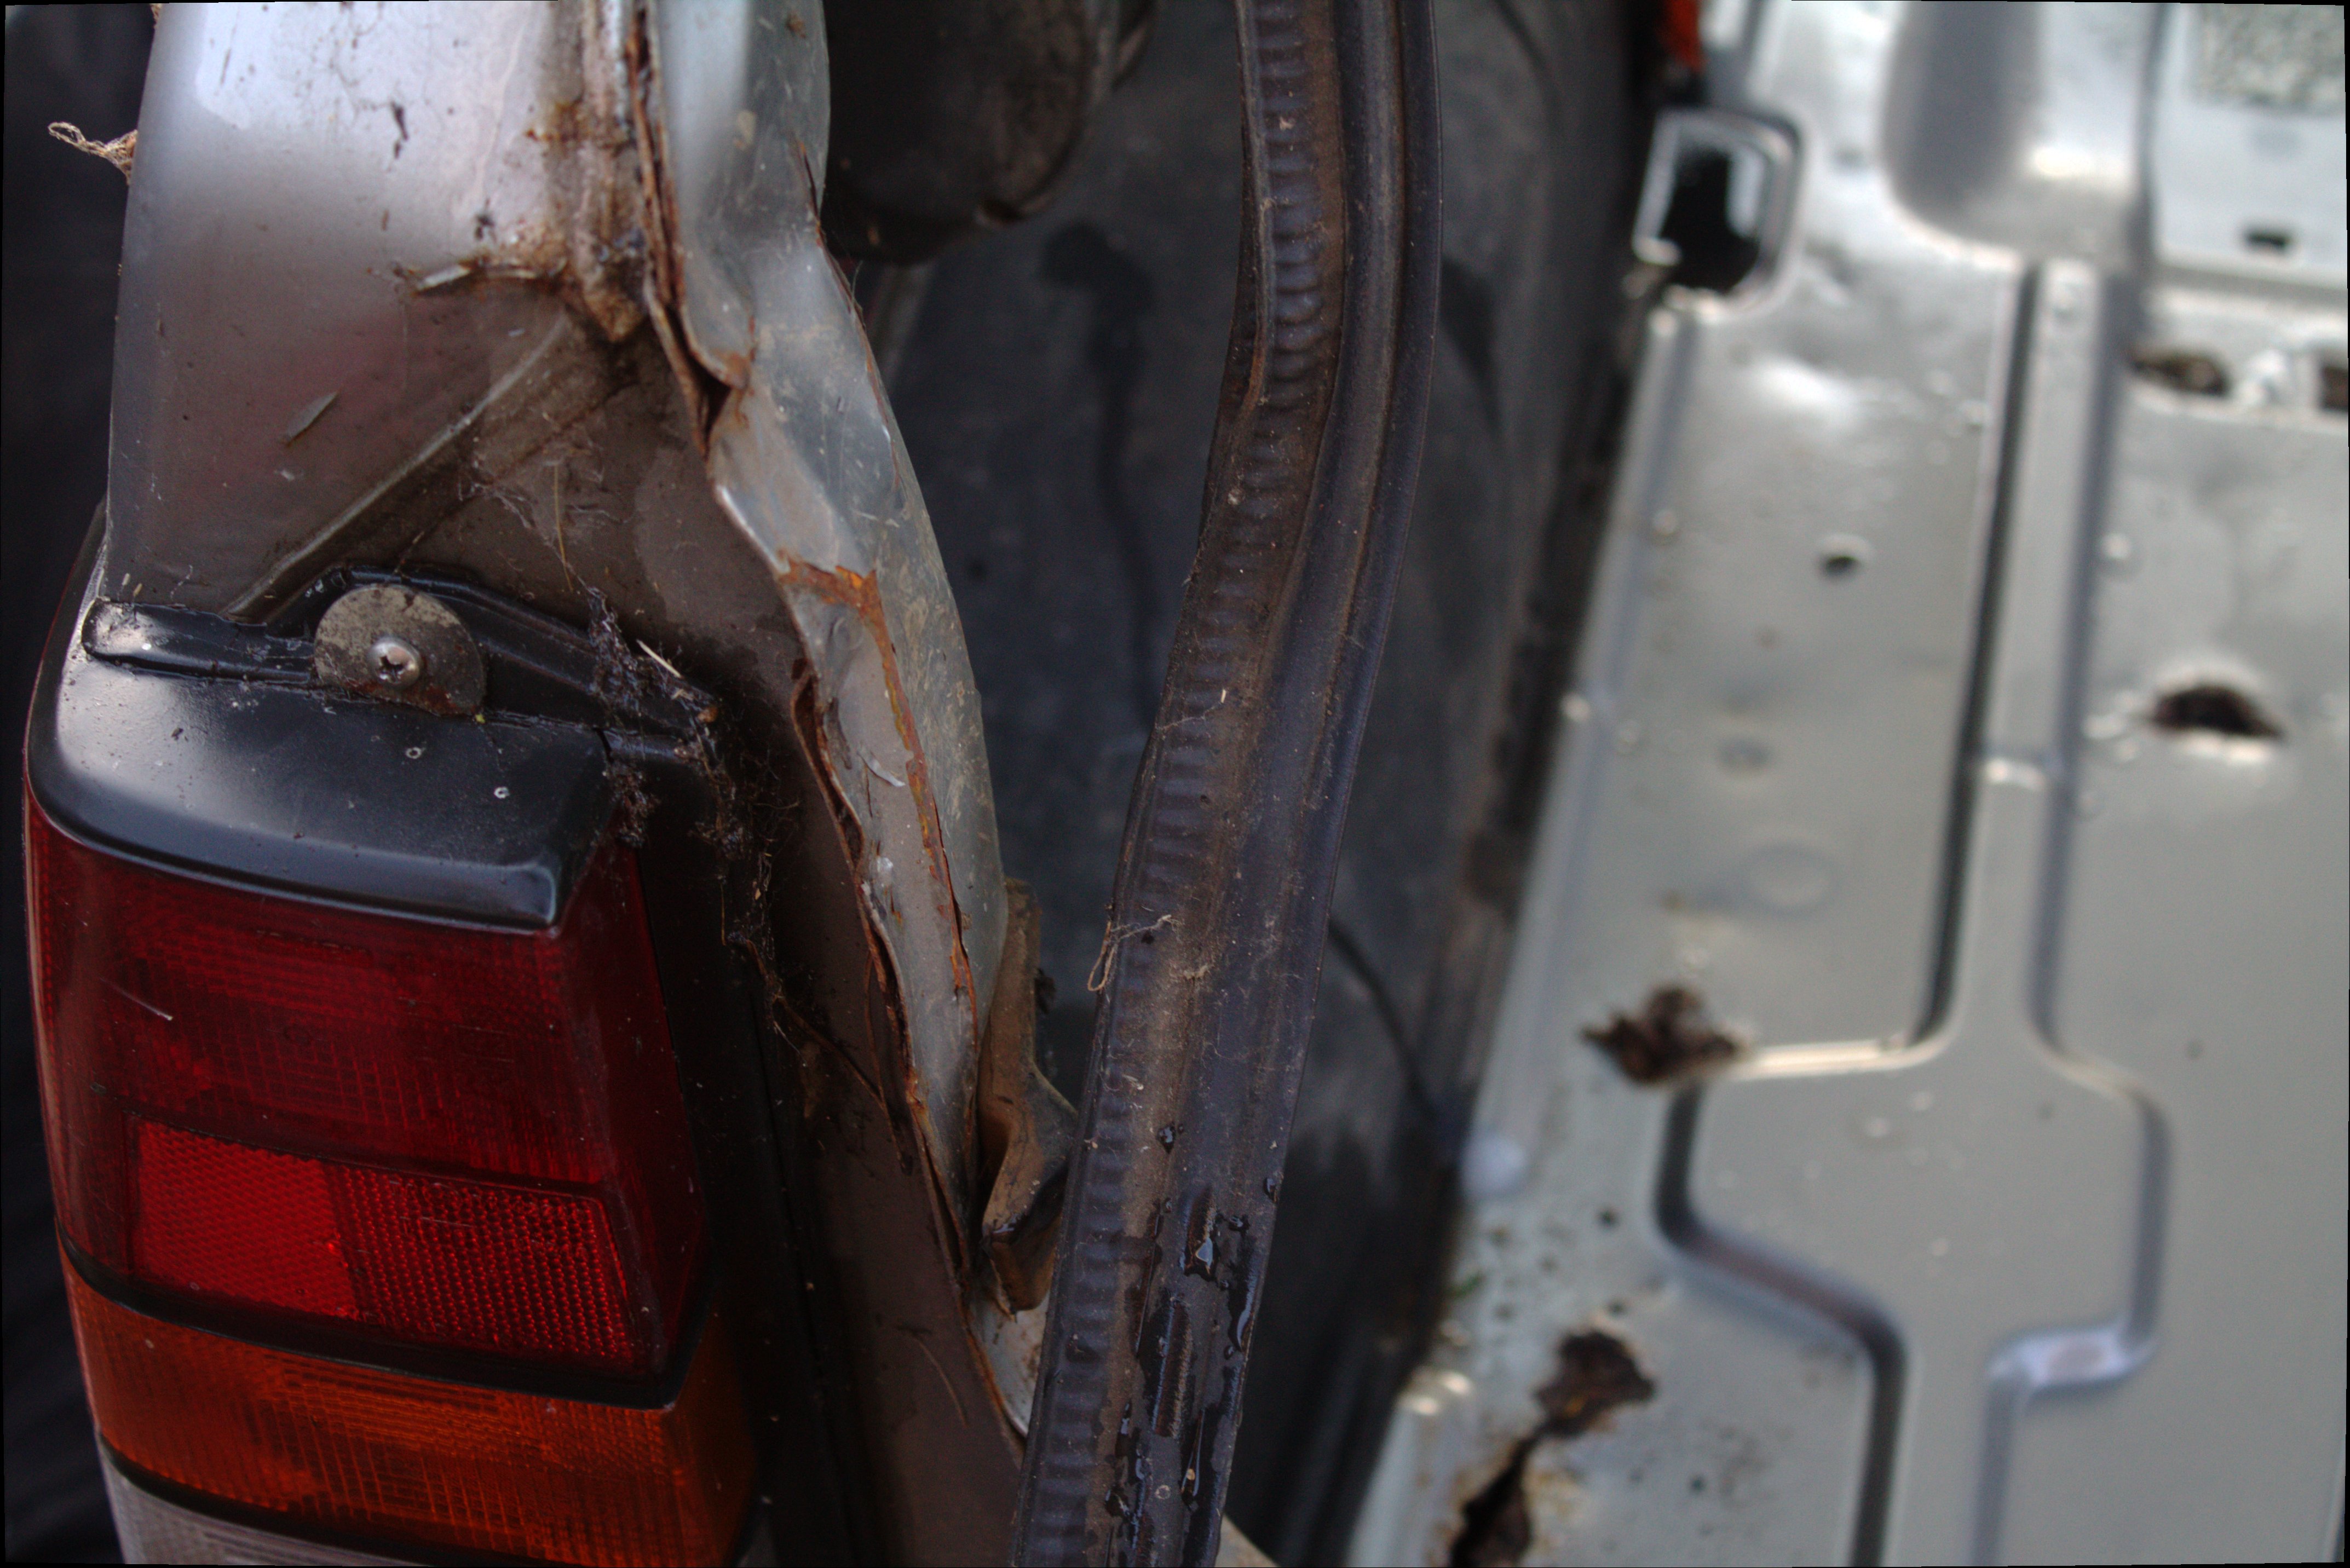
so today i started by stripping out everything inside the car to get a good look at the floor pan and clean it all out (Dragon Man style!) i found the usual rust: the boot floor is a mess, but easy fixable, a seam has gone just behind the drivers seat anything forward of that seems to be OK, and the back of the sills are just gone so i will need to rebuild that.
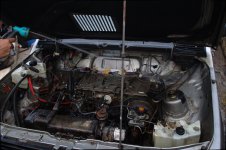
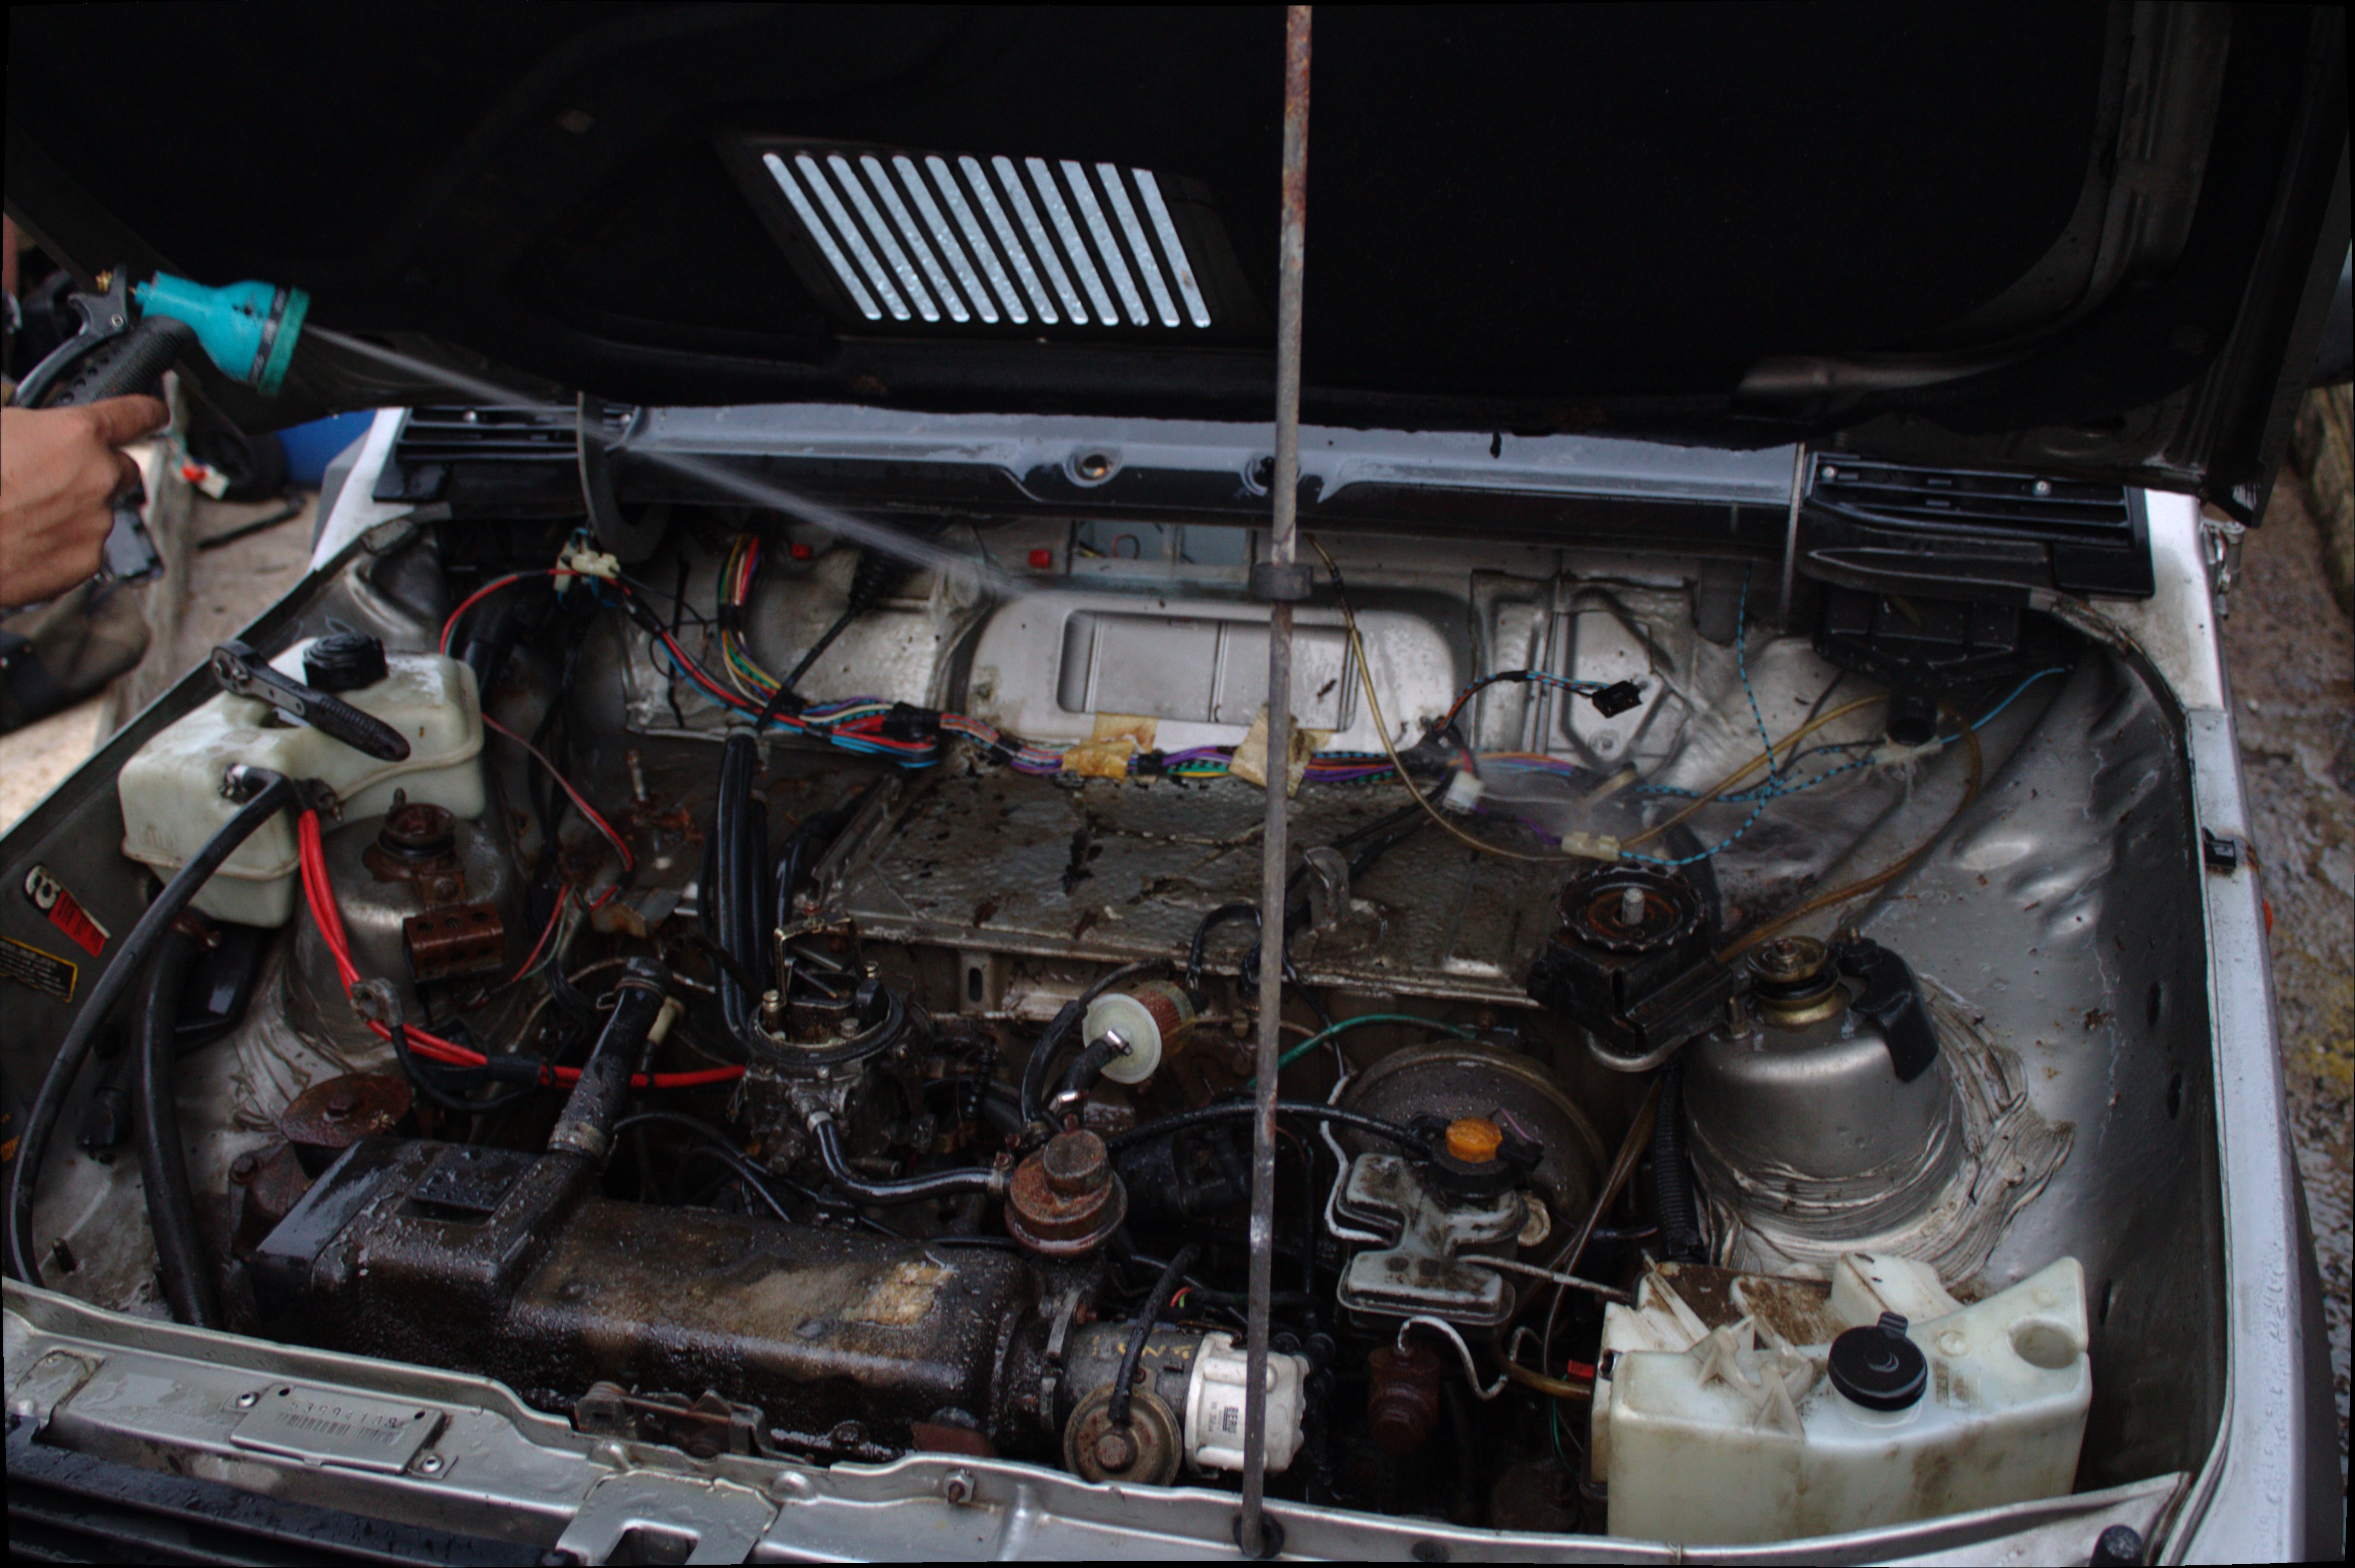
the engine runs.. the vac advance line has split so its a bit rough on tickover but it seems good. the fuel tank seems good.. all the 4x4 stuff seems good.
i have go a few pictures took free by a professional photographer! (or should i say someone with an epic camera )
)
Here are a few picture, but please check out >This Album<


like i say, check out the photo album.
i will be keeping >Online video logs< of this, so keep a look out on Youtube too.
here are some videos, both are long but the second one is longer!
Project Fallout a panda 4x4 turned post apocalyiptic - YouTube
Project Fallout Panda 4x4 What to do Post Apocaliptic looking Panda! - YouTube
keep watching guys.. the jet wash will be coming out later today!
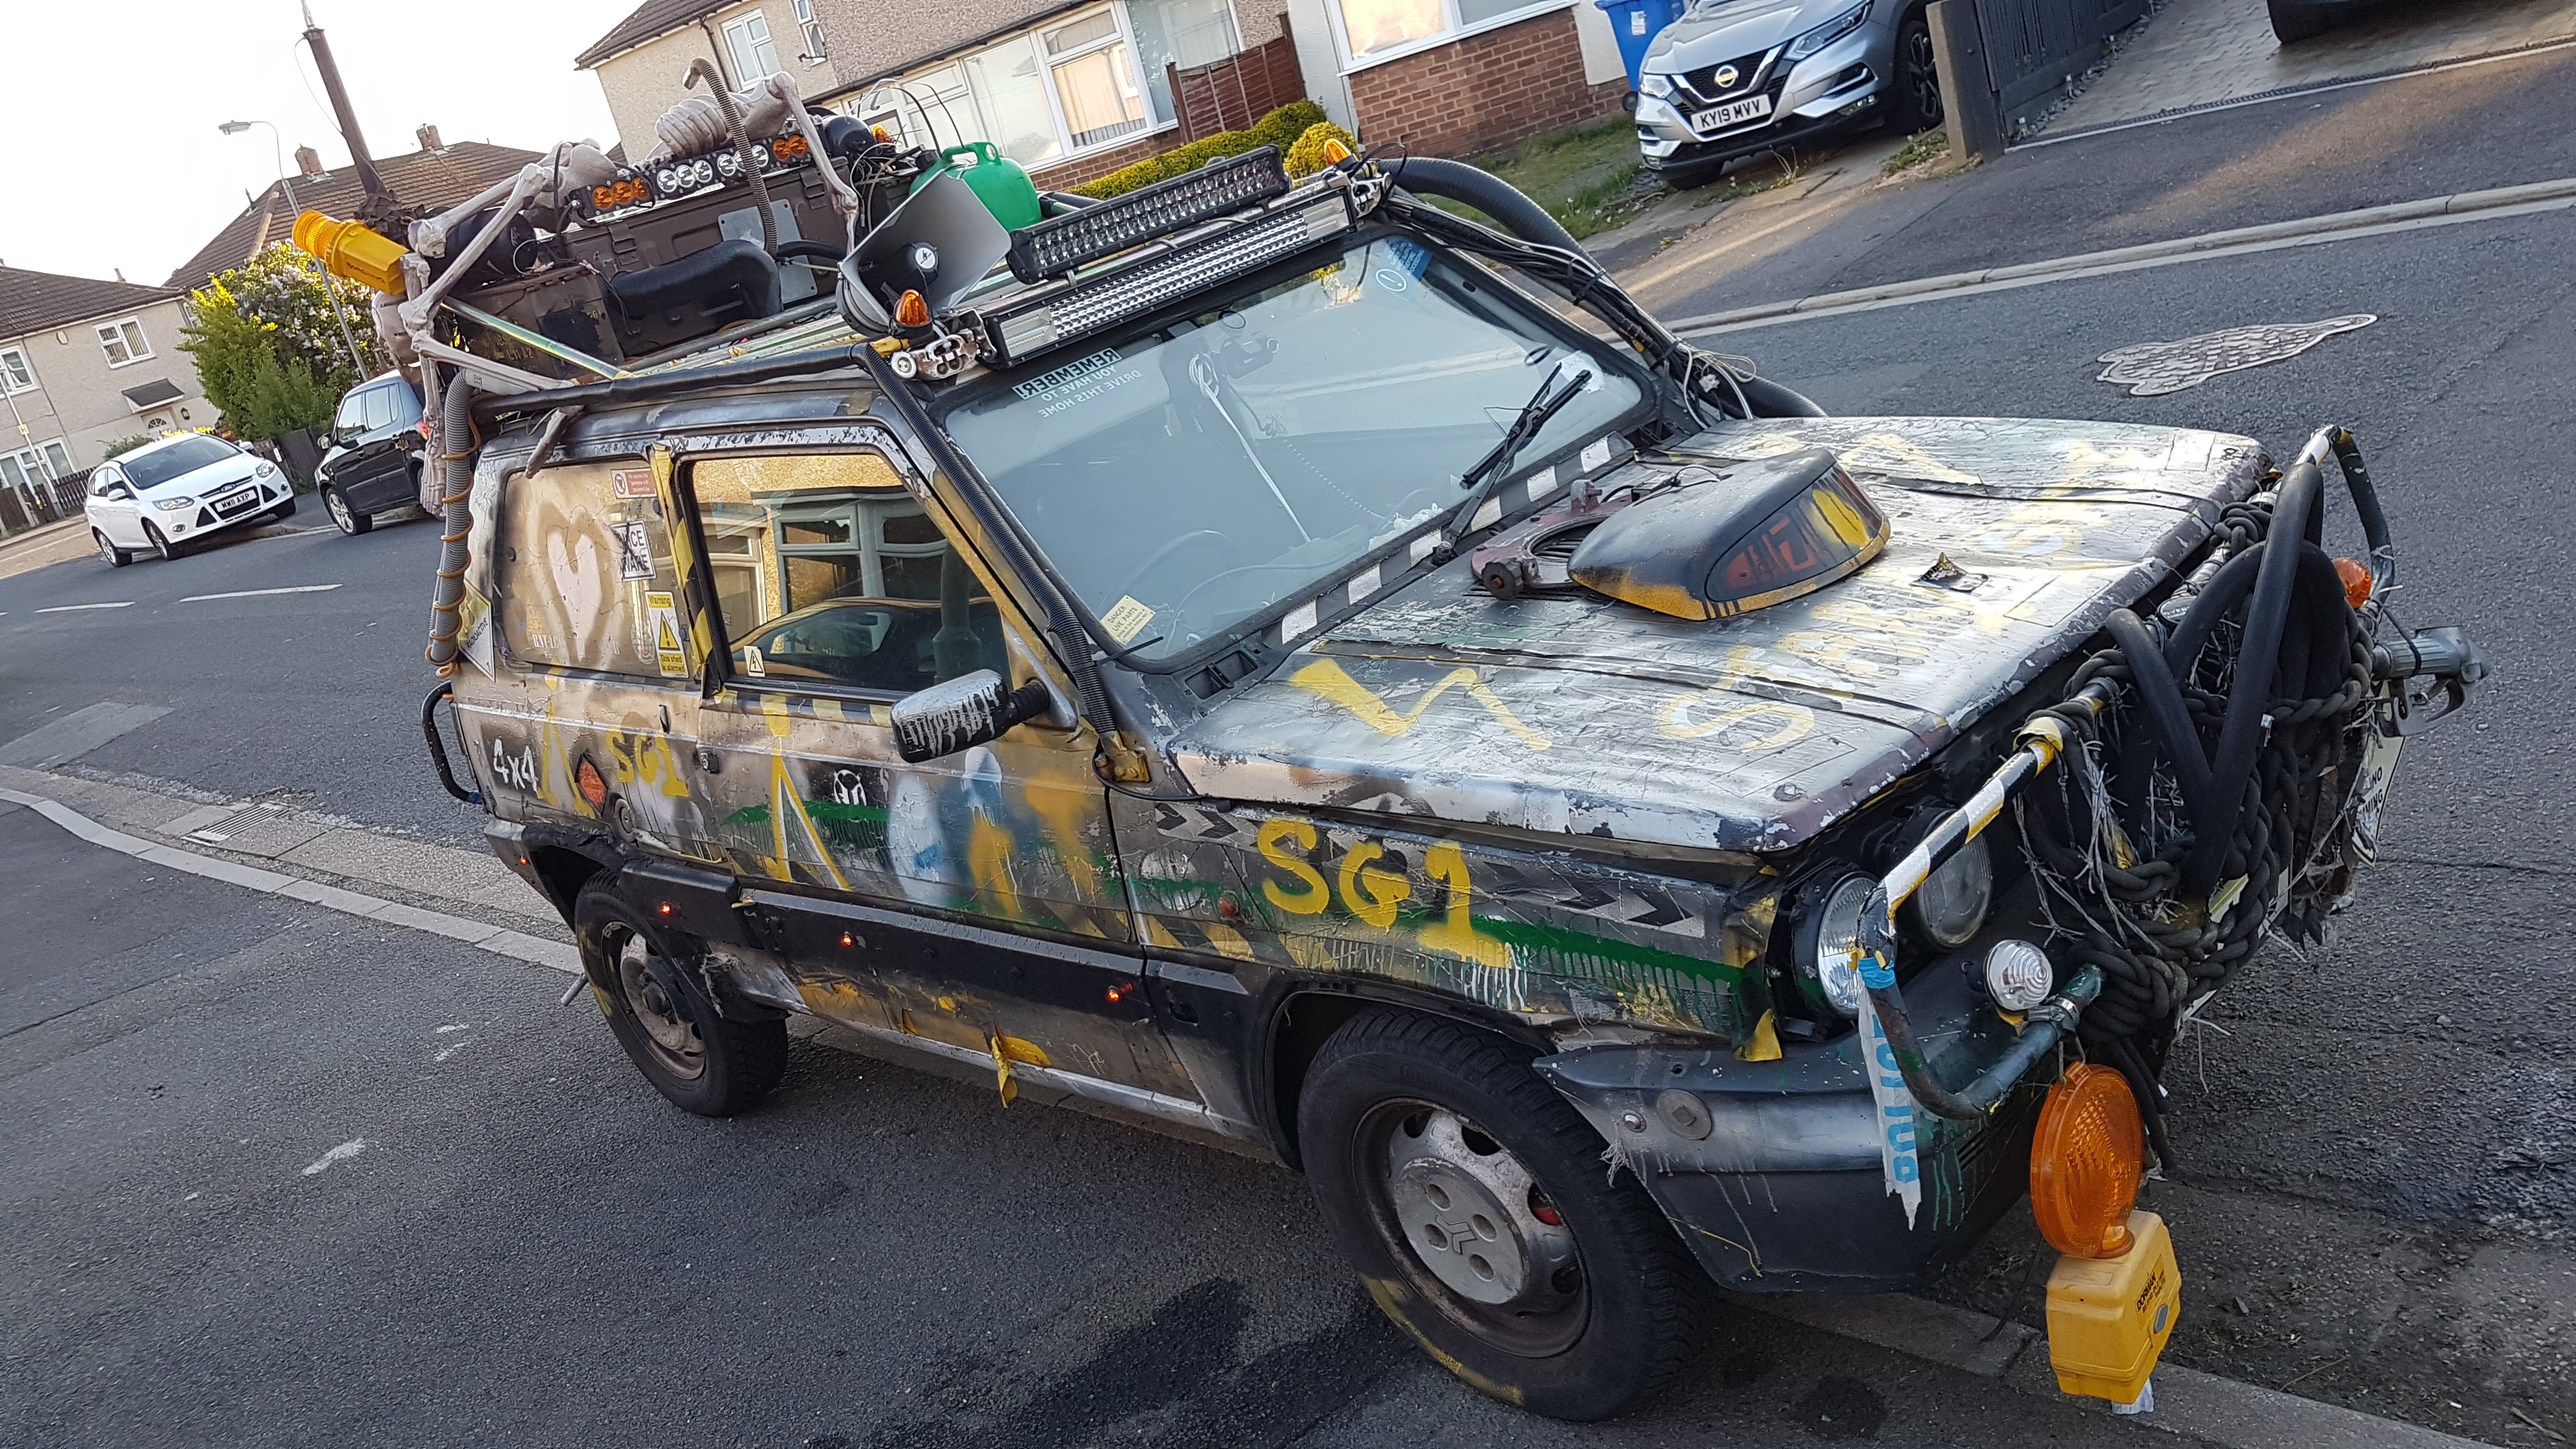
Edit:
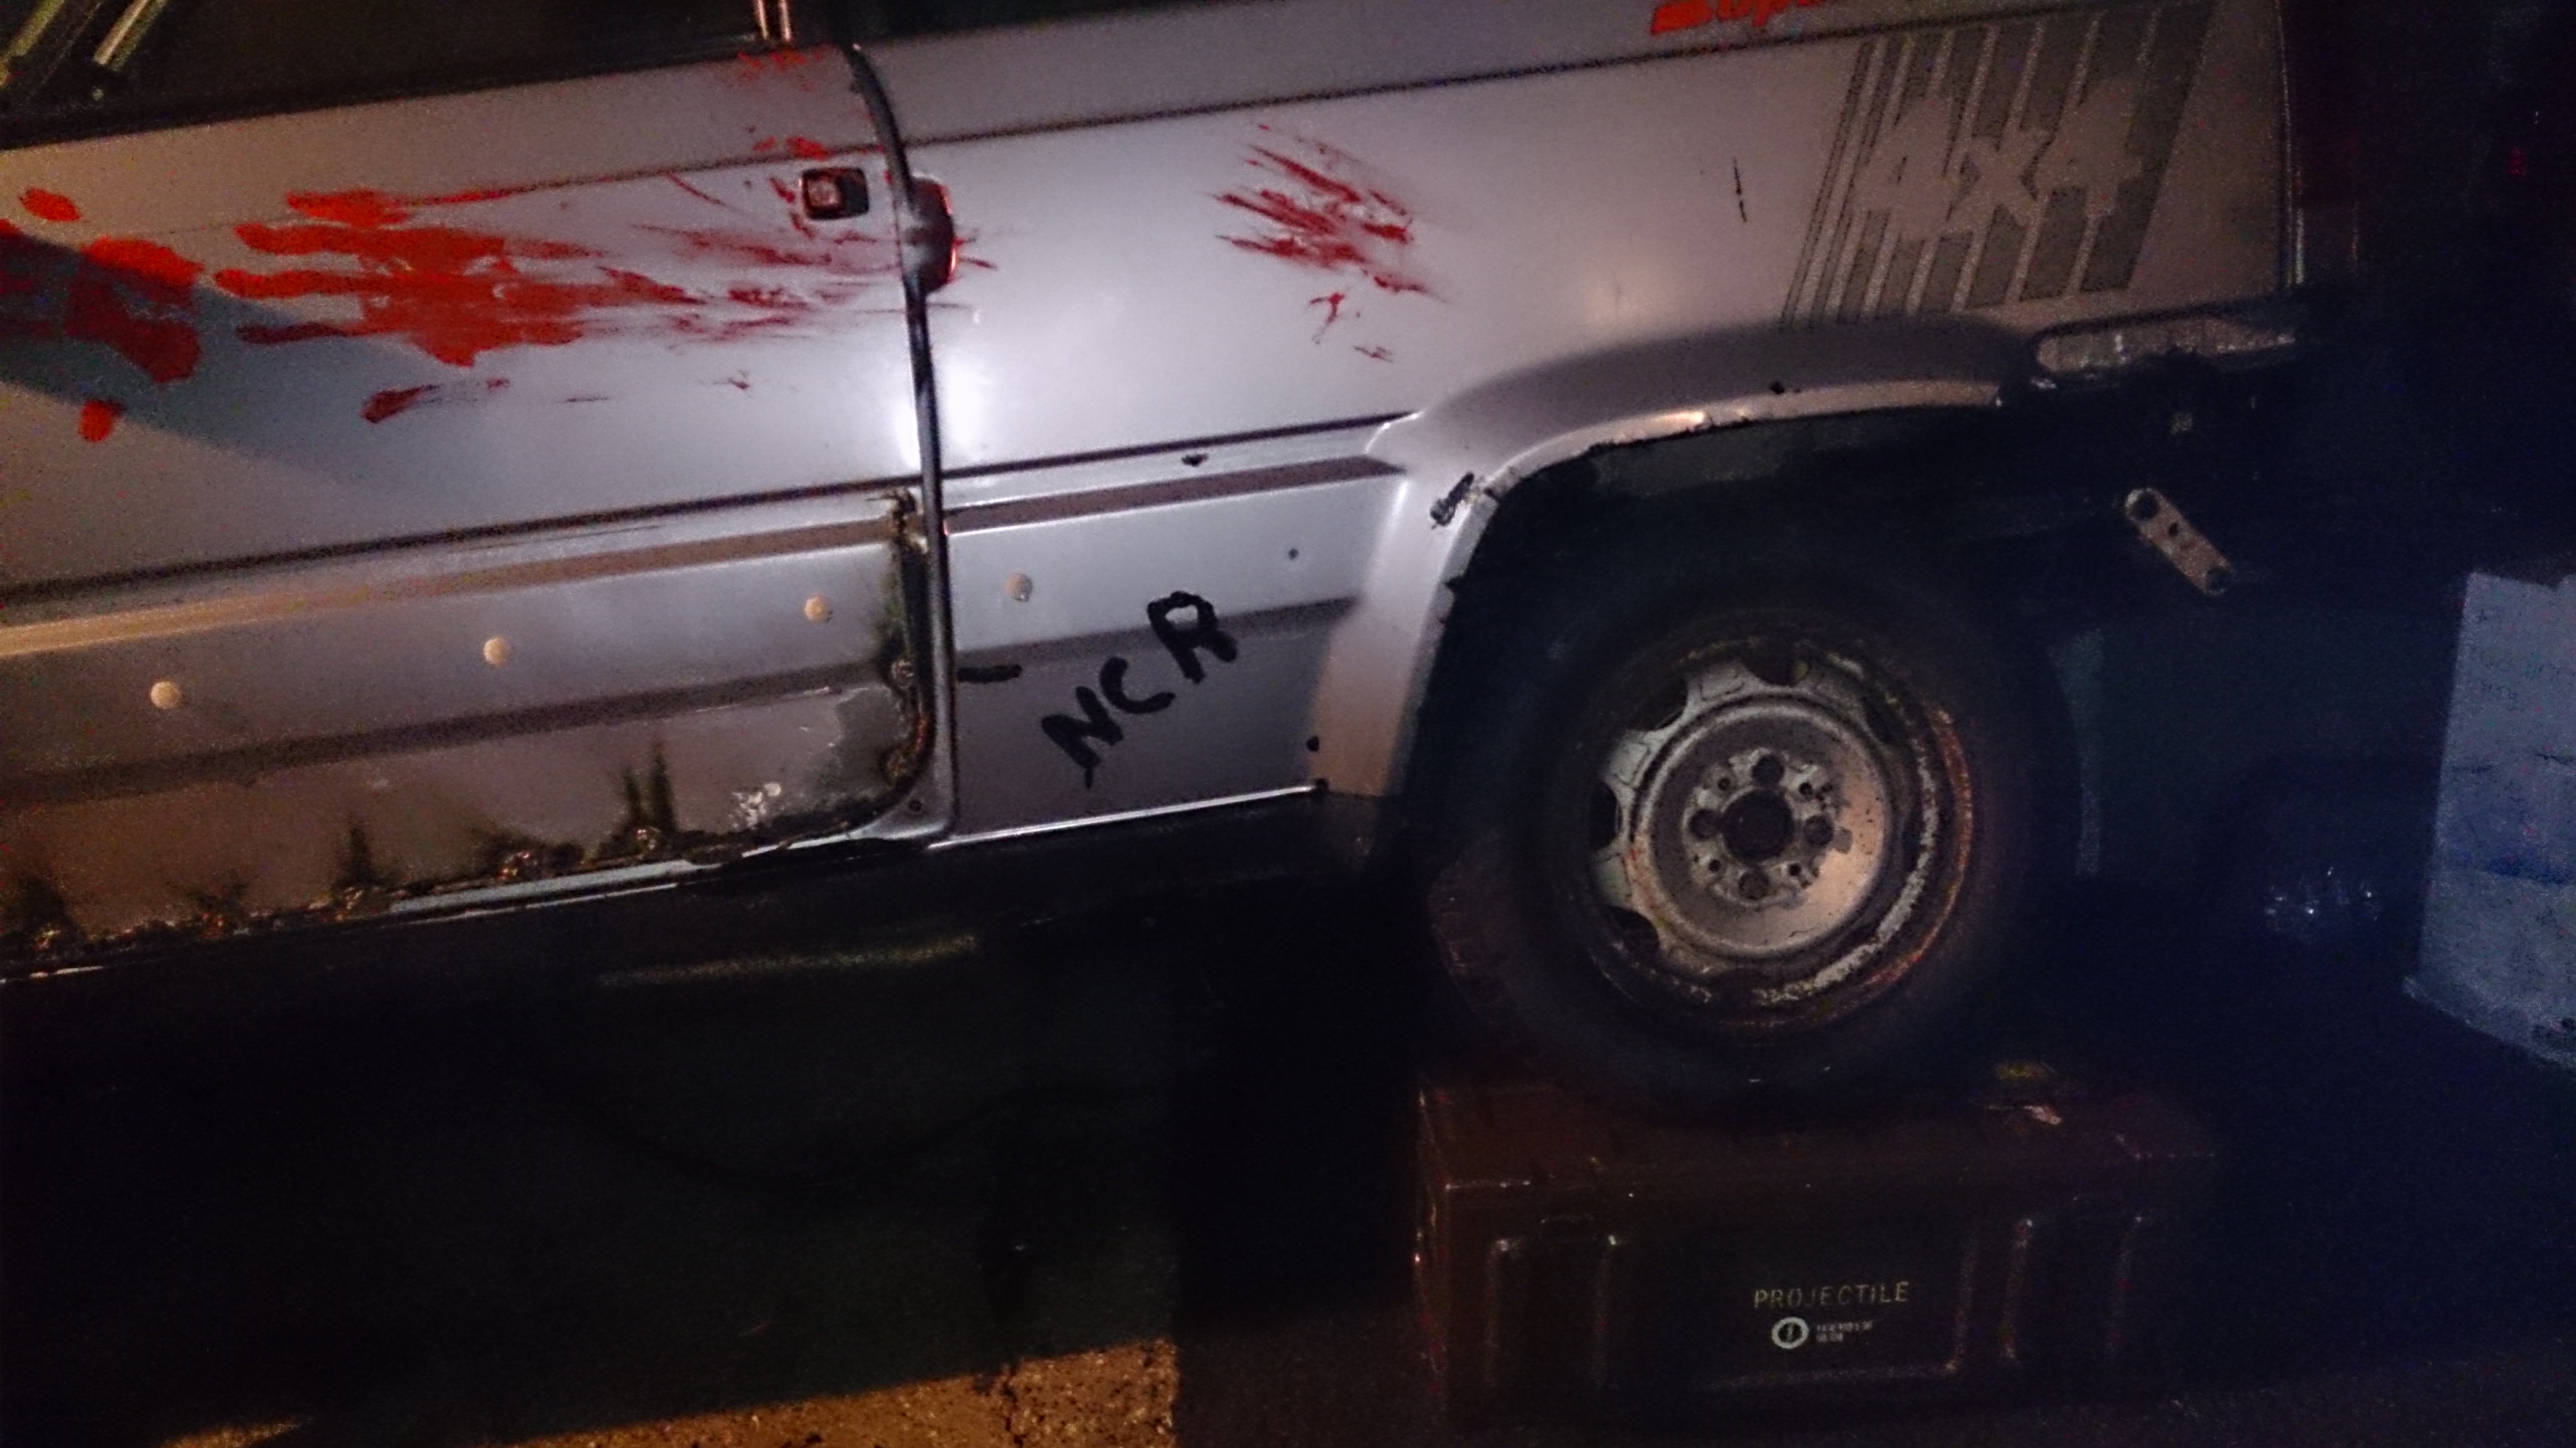
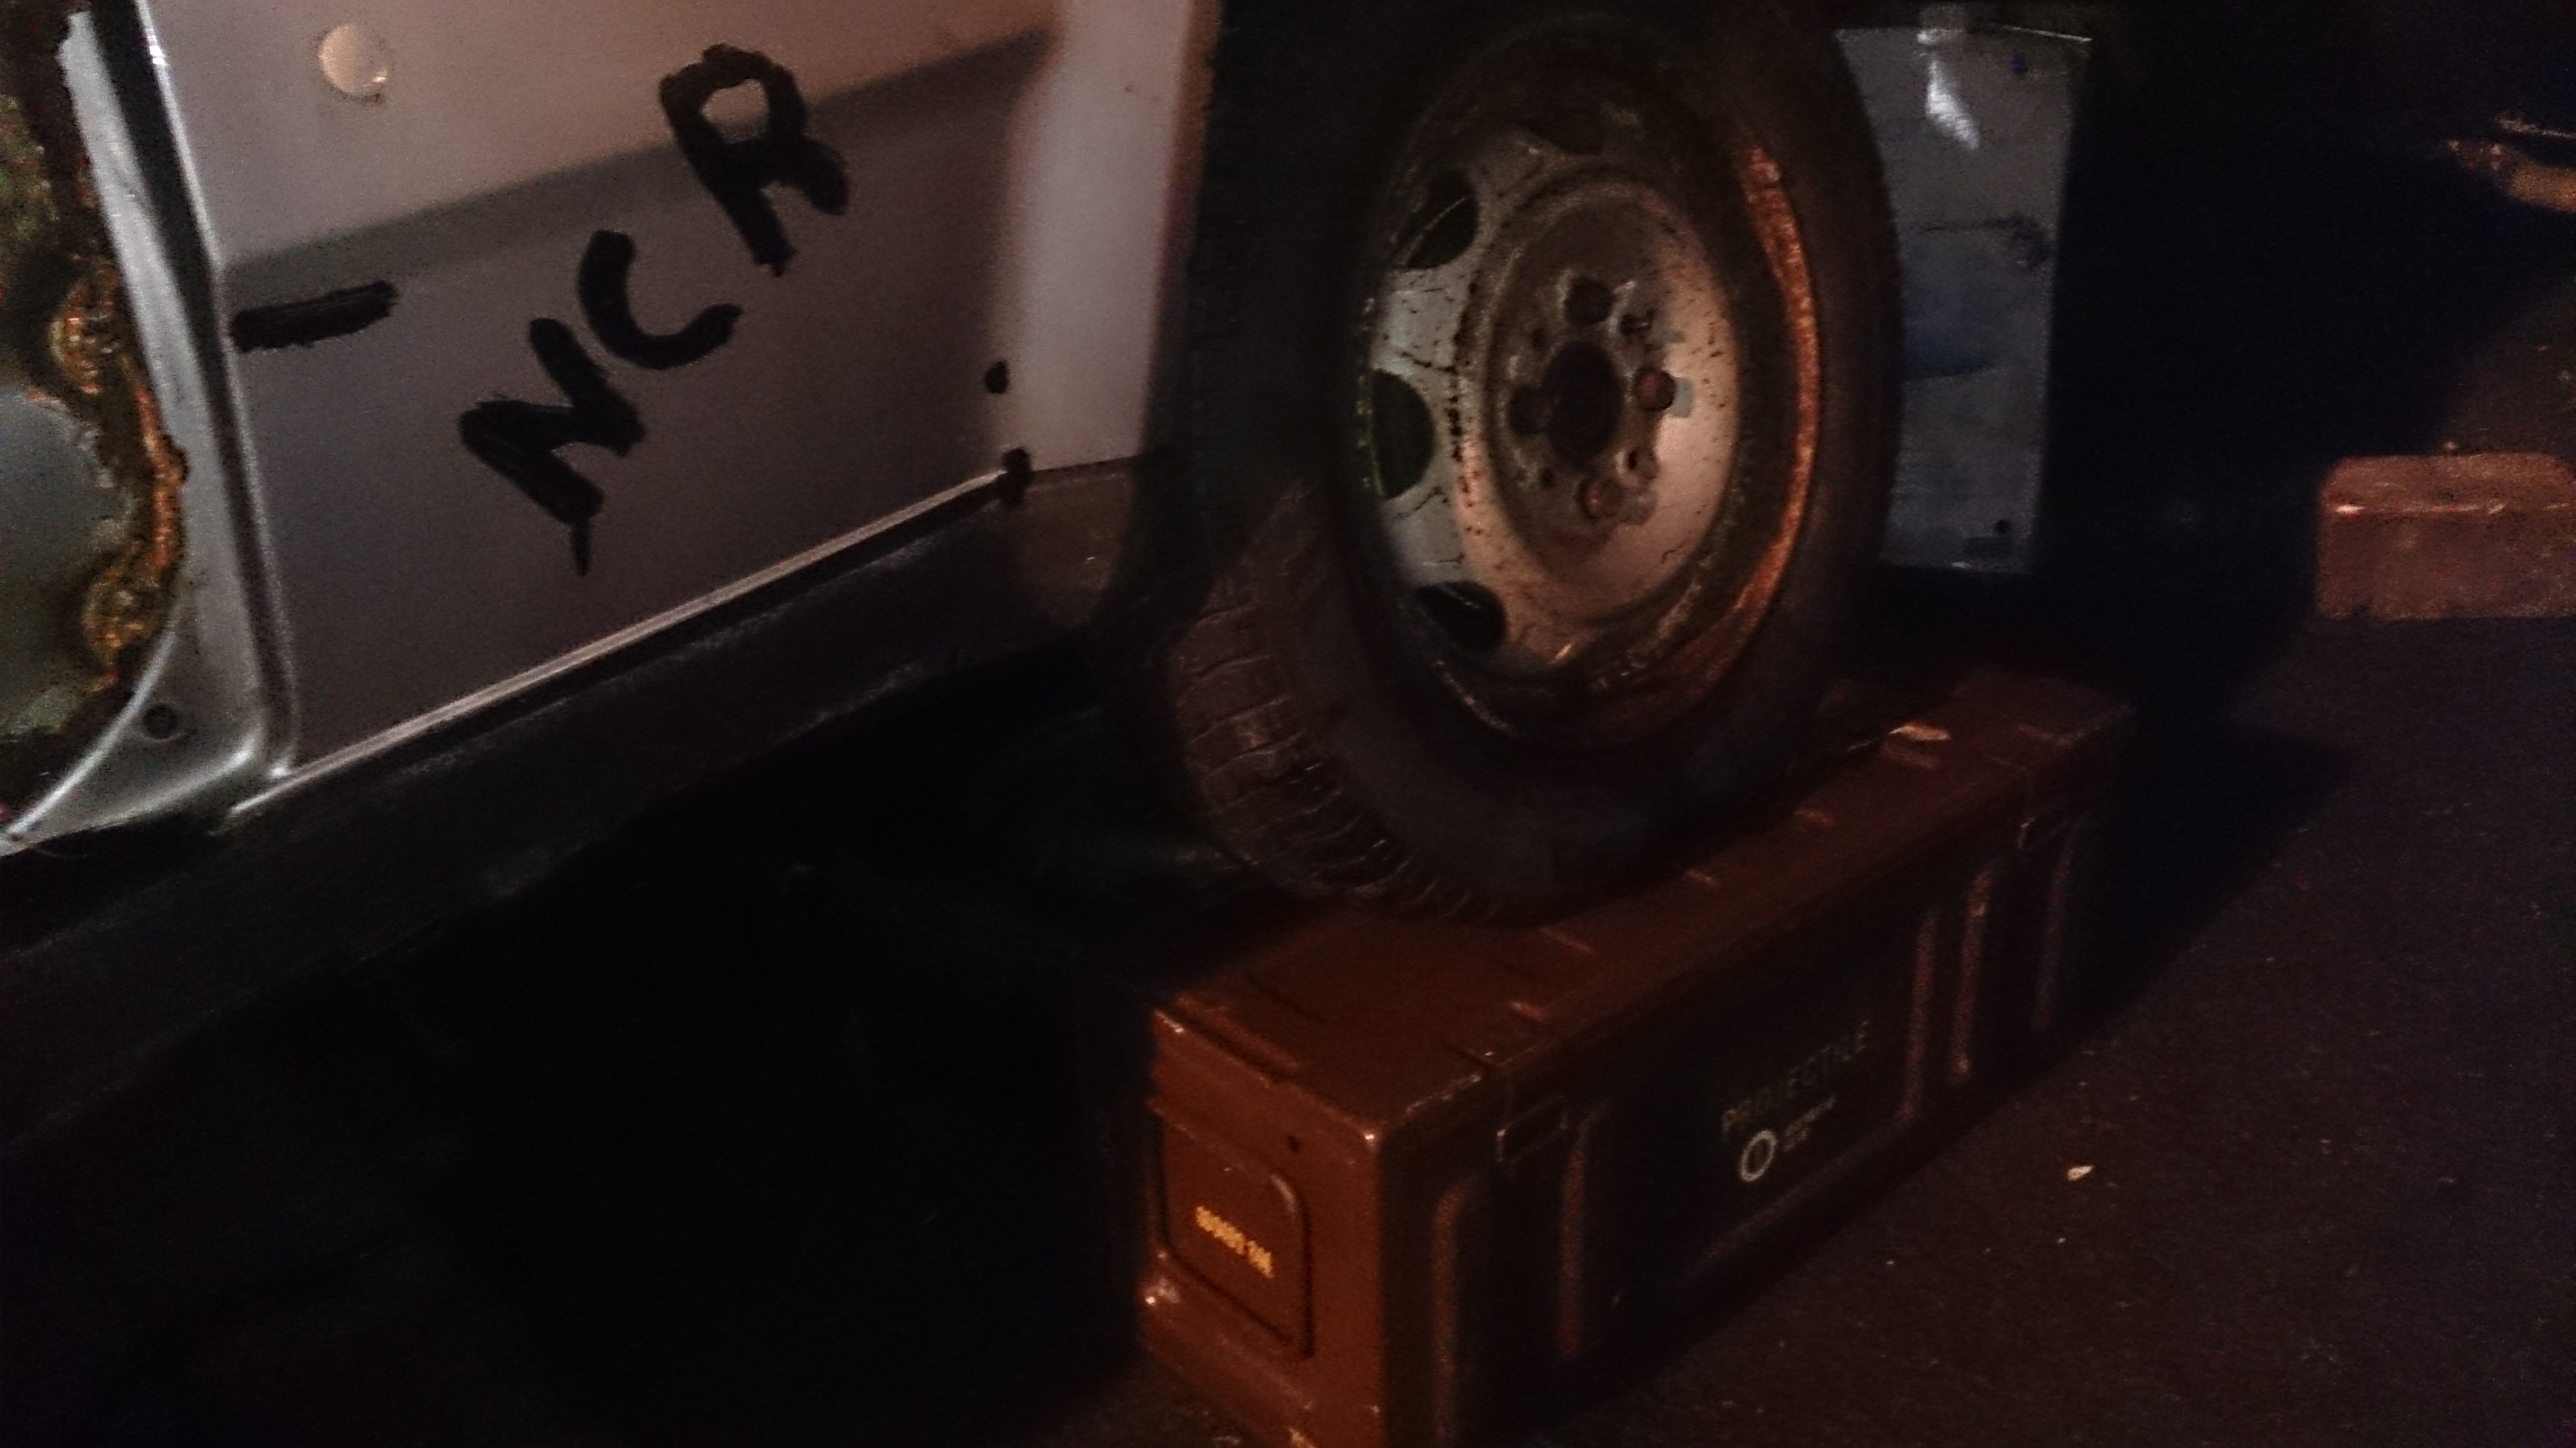
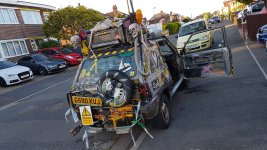
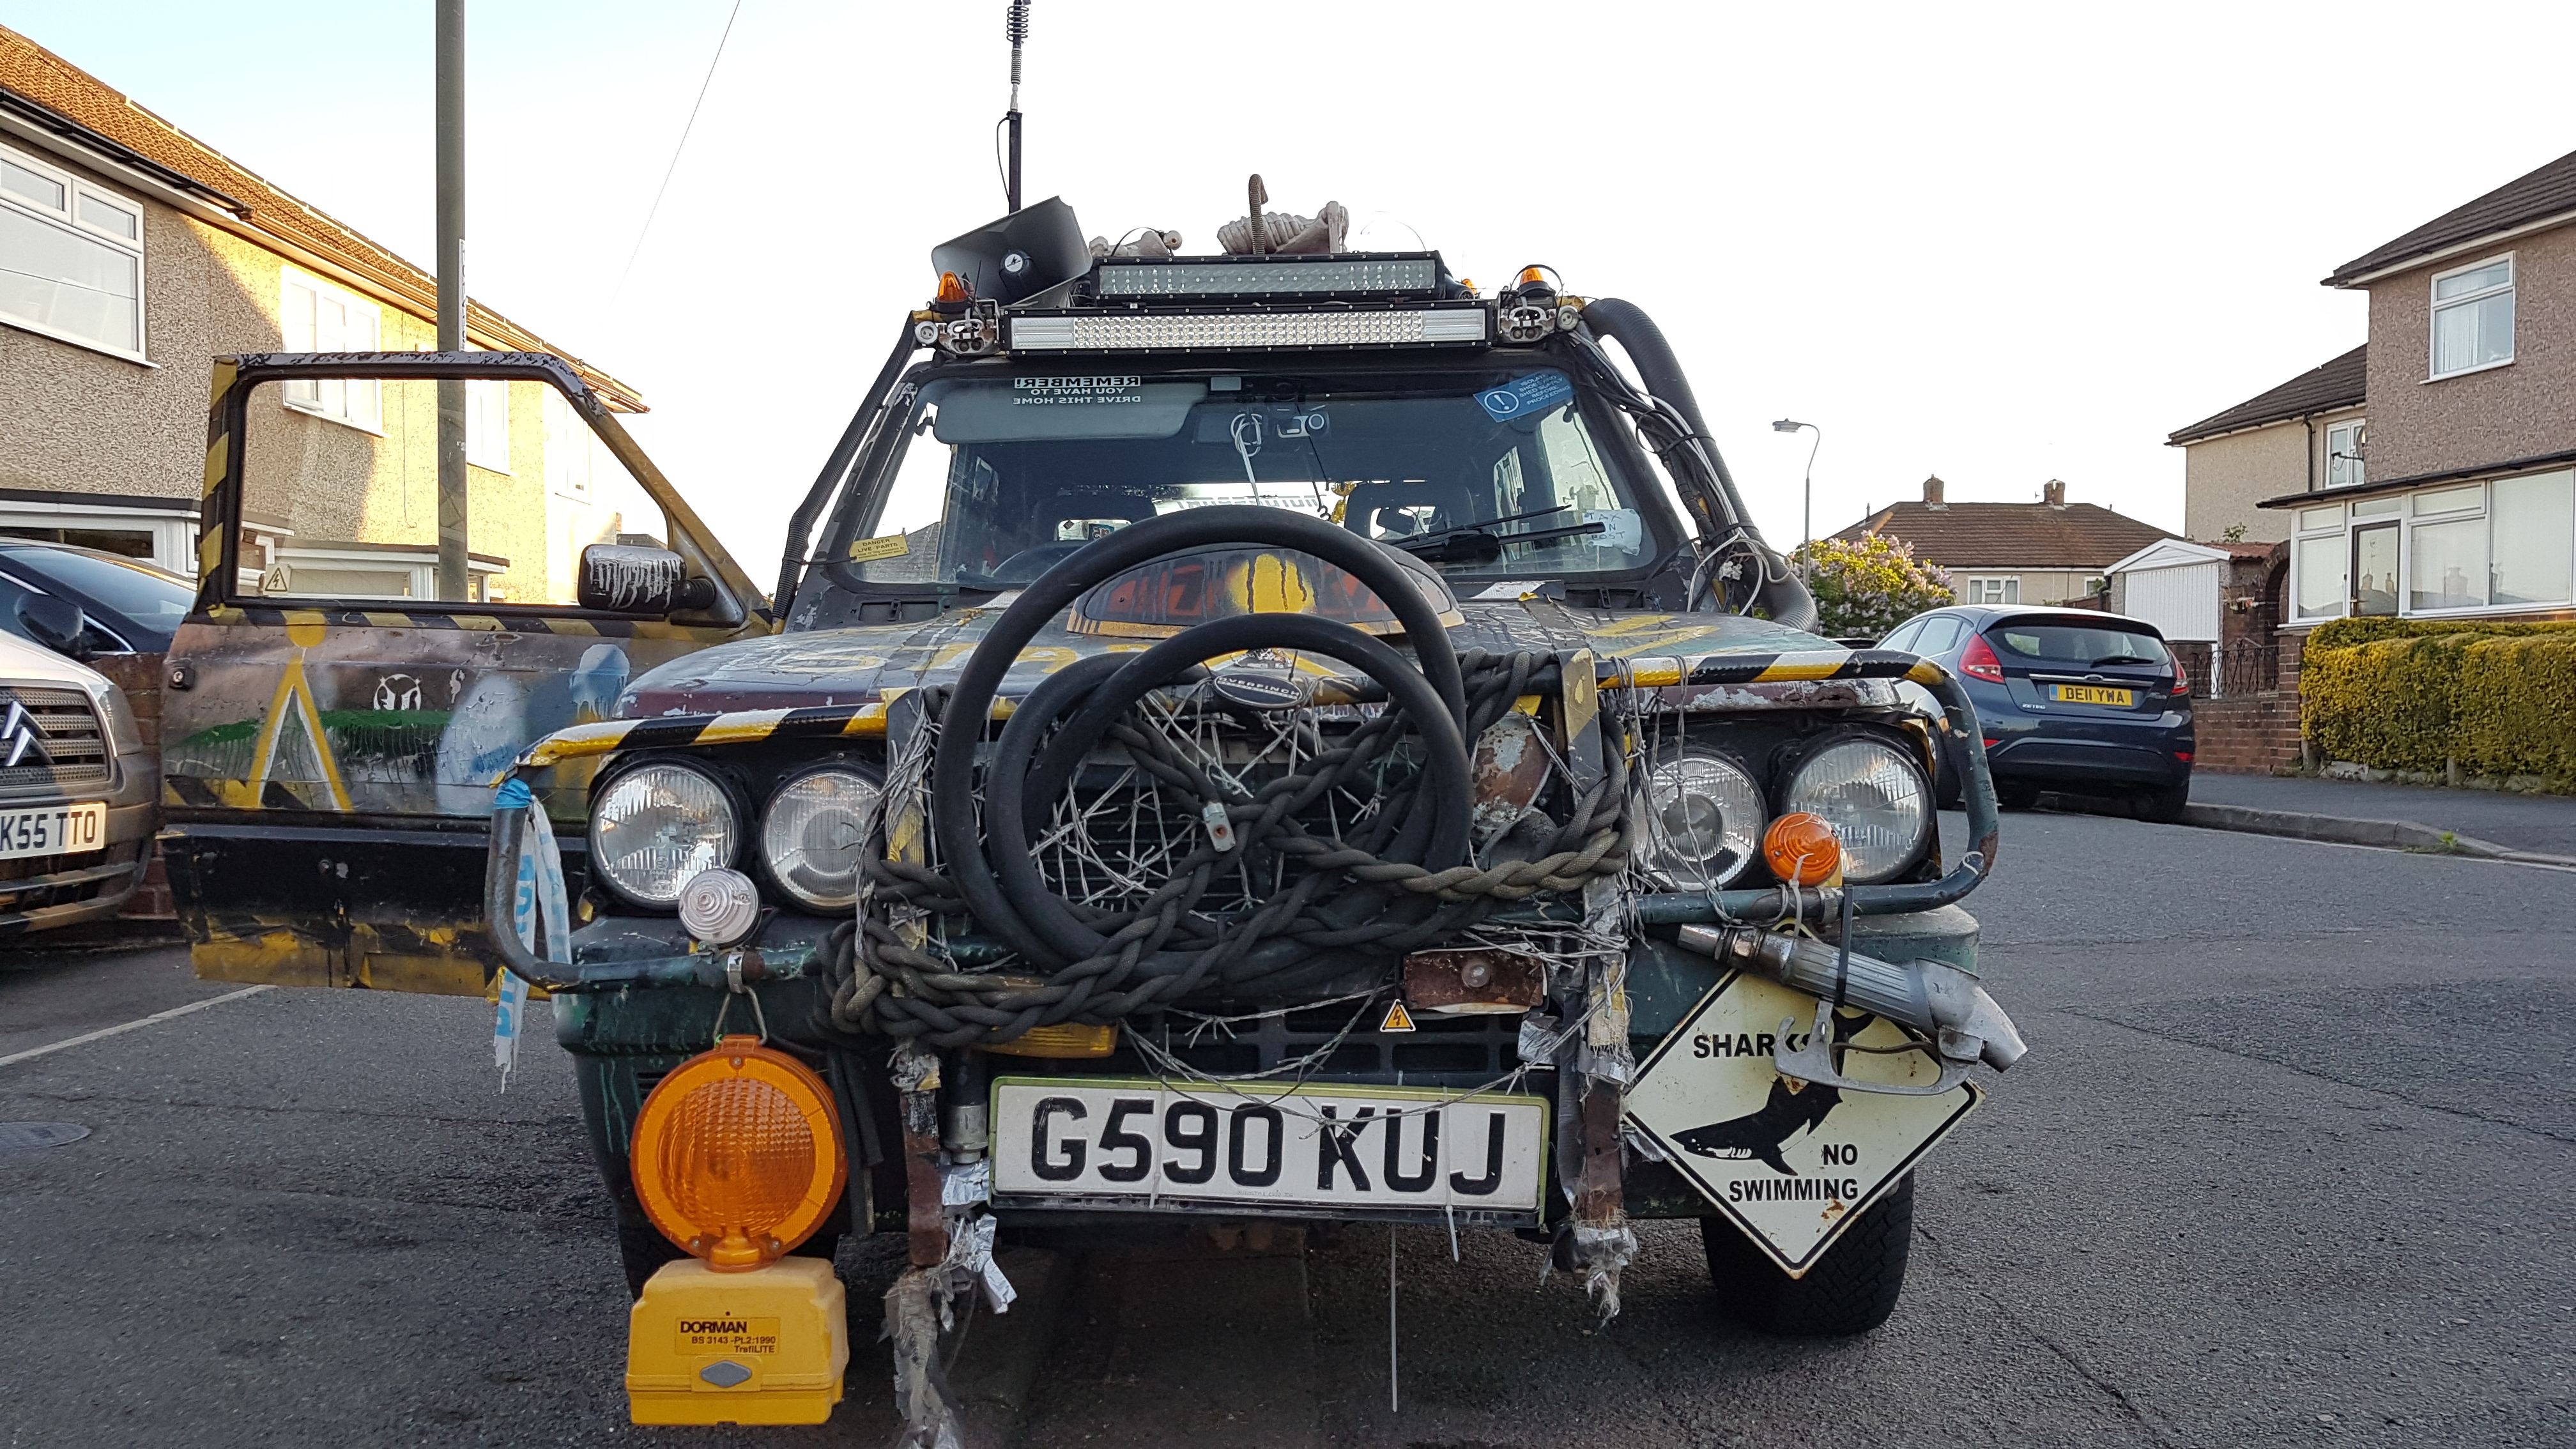
This is how it looks now: :slayer::slayer::slayer:

First off however, here is the plan:
i will (some how) make the panda look "Post Apocalyptic" yet keep it in a road legal state (so no spikes, sharp rusty edges sadly). We have all seen mad max right? all wanted to replicate a mad max style car?
well let me be the first to attempt this with a fiat panda 4x4.
if anyone here has seen the TV program "Defiance", you surely have seen the epic Doge Charger that looks post apocalyptic. i will be trying to aim for the same theme. with such things as an external roll cadge, external metal mesh / grills covering the windows, custom bull bar, reinforced rear bumper made from tubular metal, custom twin output exhaust, and many many more.
this project is going to be undertaken as cheaply as possible (excluding parts necessary for a safe road going vehicle). reusing as many things as i can find (in scrap yards, freebees), true to a real post apocalyptic constructed vehicle. i will also be taking the "rough is best look" (please note, i say Rough not Rat!) the panda its self of course will undergo all the rust prevention Talon went under when i got him.
anyway, i will leave you a few seconds to build up a mental picture of how a panda 4x4 could look in a post apocalyptic landscape while browsing some of these Pictures.......
ok.. that should do.
First off. i need to get the panda all well and good.
a few things are broken... the exhaust, the front suspension on the passenger side, both rear dampeners are rusted out, the doors are shot but i will try to fix them, the gear stick is really loose and all the roller bearings have dropped out, the wiring is a mess (mice attack!), there are no brakes.. and i mean no brakes, and lets not forget the underside rust.
so today i started by stripping out everything inside the car to get a good look at the floor pan and clean it all out (Dragon Man style!) i found the usual rust: the boot floor is a mess, but easy fixable, a seam has gone just behind the drivers seat anything forward of that seems to be OK, and the back of the sills are just gone so i will need to rebuild that.
the engine runs.. the vac advance line has split so its a bit rough on tickover but it seems good. the fuel tank seems good.. all the 4x4 stuff seems good.
i have go a few pictures took free by a professional photographer! (or should i say someone with an epic camera
)Here are a few picture, but please check out >This Album<
like i say, check out the photo album.
i will be keeping >Online video logs< of this, so keep a look out on Youtube too.
here are some videos, both are long but the second one is longer!
Project Fallout a panda 4x4 turned post apocalyiptic - YouTube
Project Fallout Panda 4x4 What to do Post Apocaliptic looking Panda! - YouTube
keep watching guys.. the jet wash will be coming out later today!
Edit:
This is how it looks now:
:slayer::slayer::slayer: