OP
OP


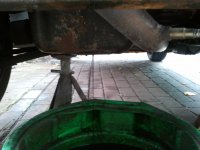
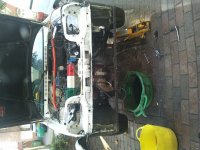
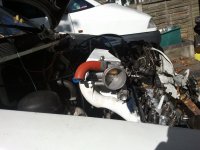
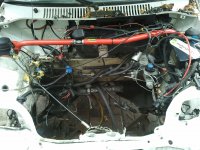
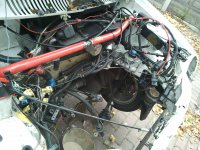
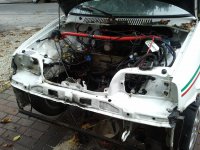
good news. engine and box are out.
the clutch has been killed by a slightly leaky input seal.
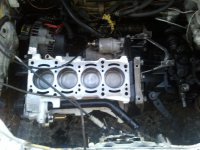
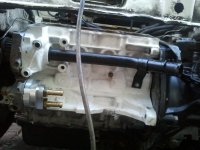
best news of all!! after I removed the manifold from the 8v I put the manifold against the head... and .... it fits! very tight tho. there is loads of room before the collector but the wastegate flange is very close.
but does the 16v lump not sit out a bit more forward?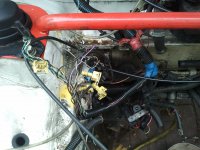

 .
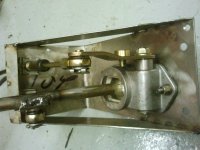
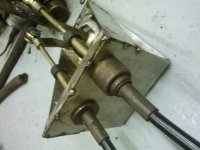
.It's just a copy of the ridiculously priced german one.