Lego 007.JPG

Tipo (Classic) New Tipo (old model!)

Introduction

Following the demise of the red Tipo (see previous rust thread) I obtained a new one and this is work to date. This one had a fairly long MOT failure list including excessive corrosion on both front suspension mounts, 1 rear seat belt mounting point and an advisory on the other. However the 'Liberty' special edition with air-con in SX trim was tempting and the previous owner had fitted new springs and had some tidy welding done previously. So what needs doing...
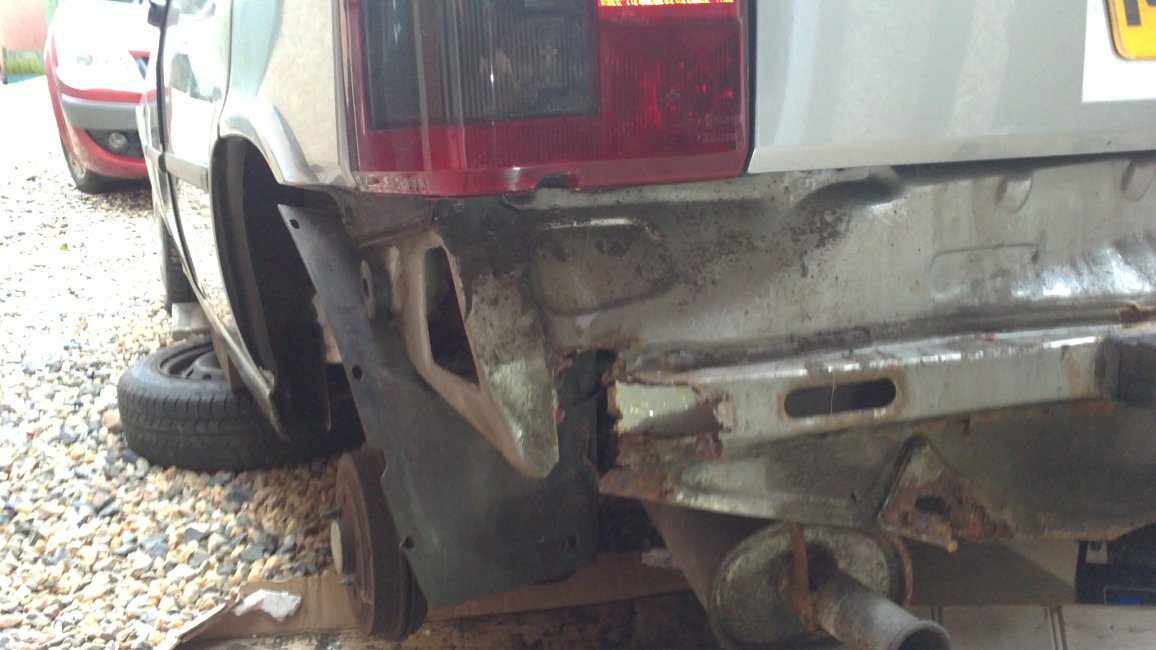
Lego 007.JPG

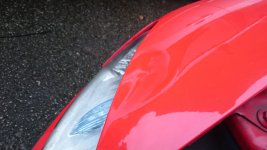
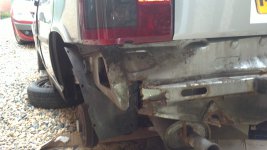
The rear valance is heading the same way as the red Tipo and cutting off and using the remade valance from the red one may be the way forward later on.
Lego 002.JPG

Lego 003.JPG

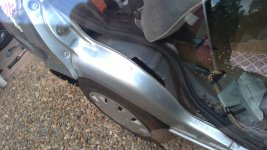
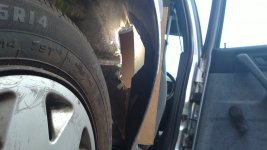
The inner arches are not too far gone but there was more rust at the top and the back to tackle later.
Lego 027.JPG

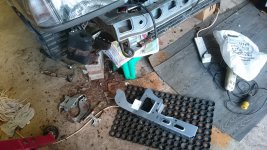
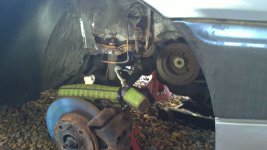
The holes behind the front struts will be the worst to fix, just above the sub-frame mounting bolts. Both my Mk11s suffer this.
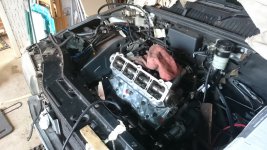
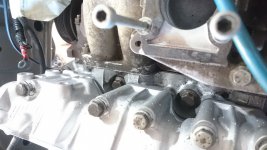
Hmm... looking again at the engine perhaps it is saveable if you don't want to invest too much or expect too much...

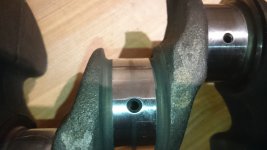
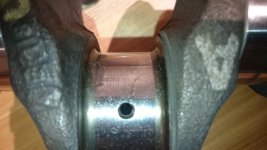
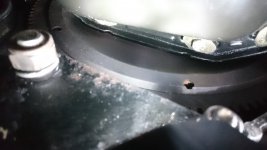
I though the crank journals looked scored but perhaps that is the shadow from the studs ?

If you can get away without a regrind (just a polish) then maybe these would sort out the knocking..

https://www.ebay.co.uk/itm/FIAT-TIP...:Brava&hash=item466c2d0d20:g:jJwAAOSwk5FU1MlX

If you can weld the leak in the block then perhaps you'll be OK, but definitely replace the core plugs (theer is a little one in the oil gallery behind the lower crank pulley that failed on my Tipo 1.4.

I suppose coolent neglect did most of the damage, causing the leak in the block that needs welding and messing up the oil in the engine. Plus the heater matrix problems etc.

Good luck !
 
This post contains affiliate links which may earn a commission at no additional cost to you.
Sadly I think that engine is firked... seems like classic abuse overheating lack of oil etc.

I think you're looking at a transplant realistically... I’d took for a scrapper mk1 Punto 90 1.6 with MPI.... same engine but efficient fuelling, should’nt be too hard for you to wire in if you’be got all the bits.

Yes it's in a state and as you say the cause must have stemmed from coolant neglect. You can still buy the whole unit - MPI version - in South America brand new! Here they are thin on the ground though. What else would I need with it, how would I wire it in to change it from the current SPI?

20092019805.JPG

20092019807.JPG

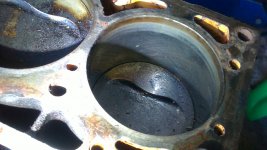
Hopefully I partly have a get out of jail free card, a Fiat Palio crankshaft. It wasn't free of course but I saw it on Ebay from a German seller a couple of years ago. I think it is the same unit. It came with the matching bearings cable-tied on and 60k miles. Because the bores on mine dont look that bad, e.g. I can still see the honing, I'm hoping the new crank can be dropped in after the block has had a good clean up.
 
Last edited:
You've done well with that spare crank & shells - did you buy it for this car expecting a knackered bottom end ?

I would imagine it's a straight fit since the ads for the shell kits list a huge range of cars / vans with that crank.. just check yours is a 1.6 with the same throw.

You should be able to make a decently refurbed engine, even the old crank may be OKish if the shells have sacrificed themselves..

My M-reg Tipo 1.4 was all set to get an MOT after some sill / floorpan welding but unfortuanetely I broke my collarbone 3 weeks ago ! :(
 
Yes I had assumed the crank was gonner. As you say this crank seems to be in all sorts of cars and at around £100 with bearings, seemed better value than other listings with more prestigious cars!
 
My M-reg Tipo 1.4 was all set to get an MOT after some sill / floorpan welding but unfortuanetely I broke my collarbone 3 weeks ago ! :(

I was wondering if your Tipo was running. There can't be many Tipos on the road with the optional safety pack! Sounds like you could have done with that airbag 3 weeks ago...did you come off a bike?
 
Yes my Tipo is almost all set for another (probably final) year on the road, I was due to fit some spare saved bits like seats bootlock door mirror etc. for the MOT but clipped a kerb riding my pushbike home from the pub one night and dumped myself onto my left shoulder. Three and a half weeks into the self-repair process and it seems to be going OK.

I'll take some photos and update my cars thread when I can. Incidentally how is the sunroof / air deflector mechanism on yours ? I have had problems with bits rusting up there and blocking the drain channels down the A pillars... sunroof then floods through headlining / light cluster, carpets get soaked, and florrs start to rust ! (n)
 
I'll take some photos and update my cars thread when I can. Incidentally how is the sunroof / air deflector mechanism on yours ? I have had problems with bits rusting up there and blocking the drain channels down the A pillars... sunroof then floods through headlining / light cluster, carpets get soaked, and florrs start to rust ! (n)

Yes, please do! I don't think I have had any problems with this one or the red one back in the day. As you say the plastic pipes run down and come out at the sides and are rather long. How can they be cleared out, if at all?

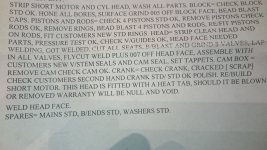
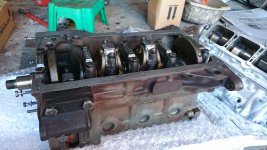
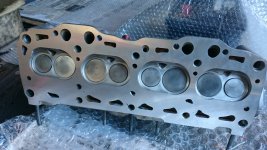
Meantime I've taken my engine parts to a specialist near here. The crank is scrap - it was cracked, new crank ok but Palio bearings are different so new set needed. Bores are ok though had water marks. Head has passed pressure test and will be sent for welding.
 
I'm impressed you're doing a proper job on the engine... excellent ! (y)

To clear the sunroof drains you have to take off the sunroof and doorframe covers and drop the headlining, also the A-pillar covers which have breakable clips. Then you detach the metal tubes on the sunroof frame from the flexi hoses on the downtubes, and blast air or water (from a hose with a nozzle) down to clear them. You can try poking with stiff wire, you can probably get to the bottom corner of the screen. I think the drain tubes then just go round the corner and out onto the scuttle.

I've had to do mine twice but the second time it cleared easier, probably less crud to shift.
 
I thought I would update this thread with progress, I seem to have more time these days :)

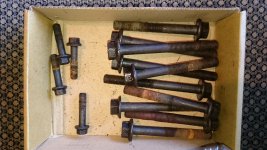
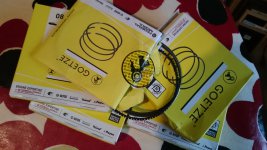
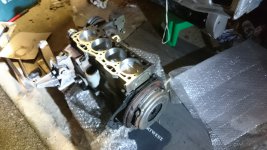
I plumped for Dunright Engine Reconditioning in Warrington not far from here, they were unphased by taking the all the bits in the state they were in, having a look and telling me what should be done. They asked for new piston rings, std size, and I had included the Palio crankshaft I had acquired in case it was needed. Left with a few bolts and with the engine out of the way, I decided to start replacing the wishbones and the rustiest bumper strut, not realising the grief these two operations would cause later!


20092019806.JPG

DSC_0017.JPG

IMG-20191006-WA0000.jpg

DSC_0035.JPG
 

Attachments

  • DSC_0010.JPG
    DSC_0010.JPG
    2.9 MB · Views: 51
Last edited:
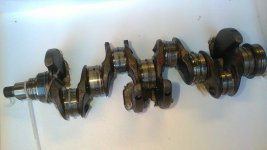
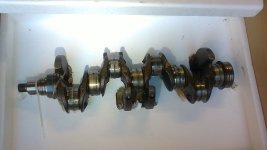
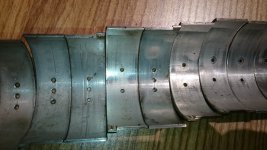
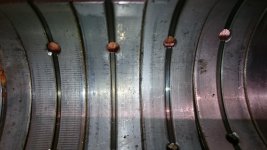
They advised the existing crank (below) was scrap due to cracks, but that on the Palio crank I supplied the bearings that came with it were different to the Tipo's. I imagine the Palio had the later MPI set up with more power and revised oilways so decided we'd fit a new original pattern set.

DSC_0274.JPG

DSC_0276.JPG

DSC_0269.JPG

DSC_0271.JPG
 
Last edited:
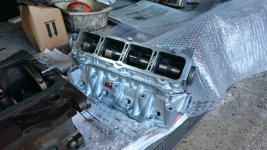
Dunright took the time to talk me through what they had done and tips for reassembly and start up. I was impressed and would thoroughly recommend them. What I got back looked rather different to what I delivered them and it was now down to me to mess this up :eek:

DSC_0077.JPG

DSC_0078.JPG

DSC_0079.JPG
 
Last edited:
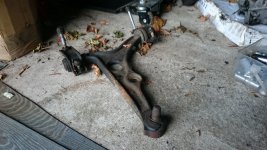
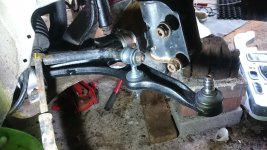
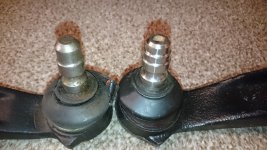
The wishbones were a nightmare. I bought a Brava arm (same casting as the Tipo) and fitted it. However when I bought a Tipo-labelled one for the other side, I noticed the knuckles were different. The Tipo one was a slightly smaller knuckle so I took this to be correct, took the Brava arm off, which had threaded a subframe bolt, and put a pair of Tipo-labelled ones on.

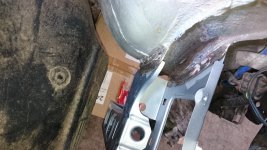
I spot welded the bumper strut on thinking the inside face should be vertical to the body, but when fitting the bumper it became apparent strut needs to point inwards otherwise the bumper can't sit flush. So off it came again and was relocated.

DSC_0030.JPG

DSC_0280.JPG

DSC_0084.JPG
 
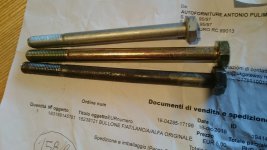
The offside engine mount was in a state so I replaced it but the critical mounting bolt that runs through the middle of the assembly didn't take well to being removed and couldn't be reused. It was easy to source the equivalent bolt for the nearside, but this turned out to be a bit short. I suspected it had a different part code for a reason! The only seller of the long M10 fine thread bolt, which I couldn't source from bolt stockists in the UK with the correct thread and strength, turned out to be a chap called Antonio in Italy who lists on Ebay UK, but this was not listed on his UK site! He kindly agreed to post to the UK, problem solved :hug:

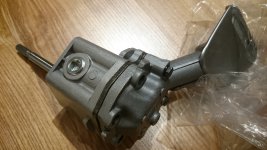
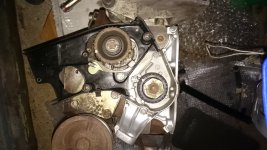
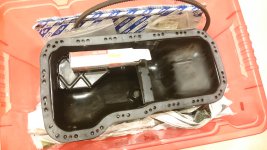
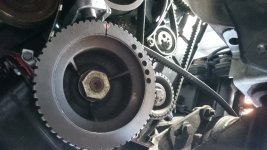
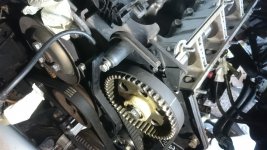
Probably my most expensive purchase for the silver Tipo from Fiat was a new oil pump, due to the state of the engine I thought I best ditch the old one just in case. It was then a case of building up the engine fittings, refitting the crankshaft seals and sprockets and cleaning up the sump.

DSC_0106.JPG

DSC_0135.JPG

DSC_0104.JPG

IMG-20191226-WA0003.jpeg

DSC_0143.JPG
 
Last edited:
As I congratulated myself on securing the engine block back in the car without incident, the engine hoist, whilst on one leg, tipped over, vaulted down the drive and smacked the Stilo in the face. If you had told me that could happen I wouldn't have believed you :eek: Next, the neighbours' 15mm socket broke off when I was tightening a head bolt. When you are sequencing the head bolt tightening, interruptions are unwelcome. It's many years since I changed the Tipo turbo diesel's engine but a petrol does seem more of a faff.

IMG-20200104-WA0000.jpg

DSC_0173.JPG

DSC_0185.JPG

DSC_0186.JPG
 
Last edited:
The head comes in two pieces and the cam carrier cannot be attached until afterwards as this prevents the bolts at the back being tightened. The cam shims therefore have to be taken out and set to one side in order. Finally two of the sump bolts are superbly placed inside the dished flywheel face.:bang: They are a devil to reach and when eventually started, rather than falling out, getting a spanner in there is difficult with only a degree of tightening room available.

DSC_0161.JPG

DSC_0167.JPG
 
Last edited:
Back
Top