@doug20021 See if this helps: see the photos too… (I know you’ve done some of this, but whole process shown to help future readers.)
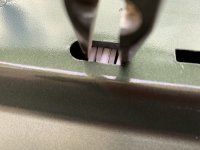
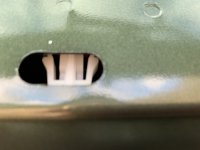
Using plastic trim removal/pry tools (available at Halfords etc), prise away the black cover inside the open tailgate. It's held by three strong clips. This comes away to reveal four very small holes, though which the retaining clips to the lamp can be seen. There is not a hole to access the washer jet.
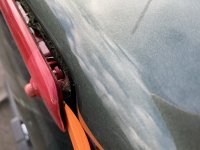
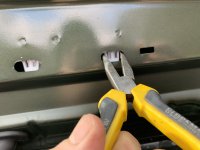
The brake light is held by four white clips, the sides of which squeeeze together to release the ‘barbs’ that hold them in place, and then pass through holes in the car. Use long nose pliers to squeeze them as close as possible to the 'barb' while at the same time pushing them ‘into’ the tailgate - they'll only move in a fraction of a mm. Start at one end and do each in turn.
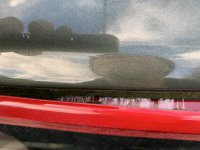
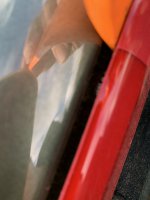
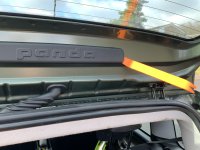
From the outside, also start at one end (suggest the washer jet end), and ease the light away from car using a plastic pry tool. Note there is a layer of adhesive on the sponge gasket but this will tease away as you steadily work the tool along - this is best done when warm.
You may be able to push the washer jet back out with just this end of the light partly out of the car? It can be seen in one of the photos.
To refit the light, strike it hard with the side of a clenched fist starting at the left end and working across. This compresses the gasket and lets the clips spring back out. Don’t hit the washer jet!!
To replace black trim, this also needs a sharp thump with side of clenched fist to locate the spring clips fully.
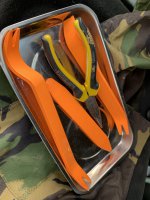
The last photo shows the tools needed. The pry tools are made of nylon. This means they are strong, but not hard so less likely to break the parts being removed and also they flex when being used as a lever which helps moderate the force.