Introduction
This may be the shortest rebuild thread here. It is going to be a race to the end of the project or to the end of the funds. I am sure there are those of you who know what I mean.
I have owned the car for about 24 years, I did a quick rebuild/tidy when I purchased it. Used it as my daily drive for about 14 years and then took it off the road about 10 years ago. (There is more to this story but this will have to suffice for now.)
In the last month I have done a parts strip and have almost finished the paint strip so that I can ship the body off to my panelbeater. If I don’t do what I can do myself then the car will sit for another ten years.
Regards
Joe R
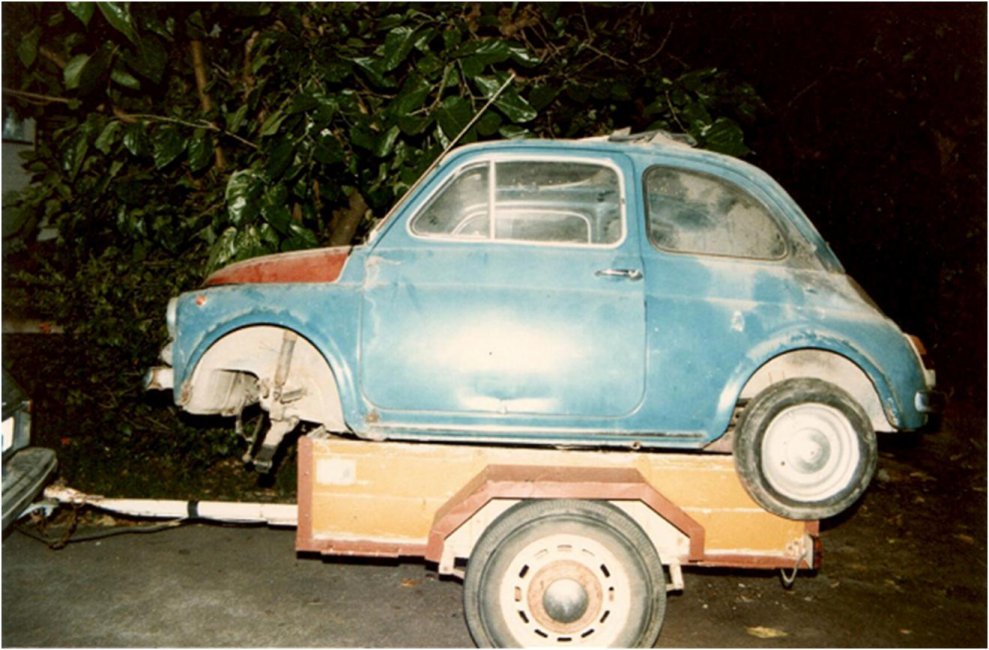
24 years ago (Free delivery!)

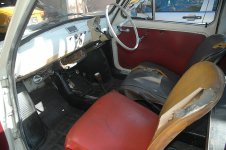
About 15 years ago

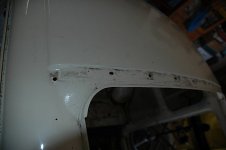
1 Month ago

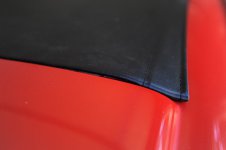
Today

Now for a quick quiz. Found this on the roof. I think I know the letters and numbers and I have a theory on what it all means. Chocolate frog for the correct answer. (Judged by forum consensus and the prize has to be collected in person.)

I have owned the car for about 24 years, I did a quick rebuild/tidy when I purchased it. Used it as my daily drive for about 14 years and then took it off the road about 10 years ago. (There is more to this story but this will have to suffice for now.)
In the last month I have done a parts strip and have almost finished the paint strip so that I can ship the body off to my panelbeater. If I don’t do what I can do myself then the car will sit for another ten years.
Regards
Joe R
24 years ago (Free delivery!)
About 15 years ago
1 Month ago
Today
Now for a quick quiz. Found this on the roof. I think I know the letters and numbers and I have a theory on what it all means. Chocolate frog for the correct answer. (Judged by forum consensus and the prize has to be collected in person.)