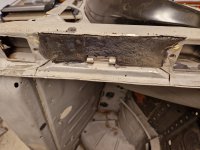
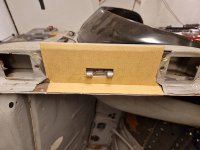
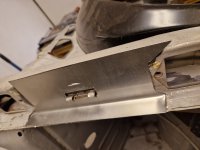
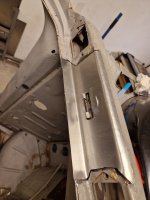
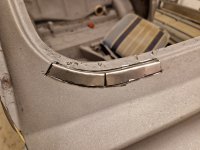
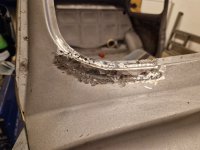
20200209_181323.jpg

500 (Classic) Raukstern's 500F -65 rebuild

Introduction

Hi guys,
My first post except for introducing myself in the newbe thread :)

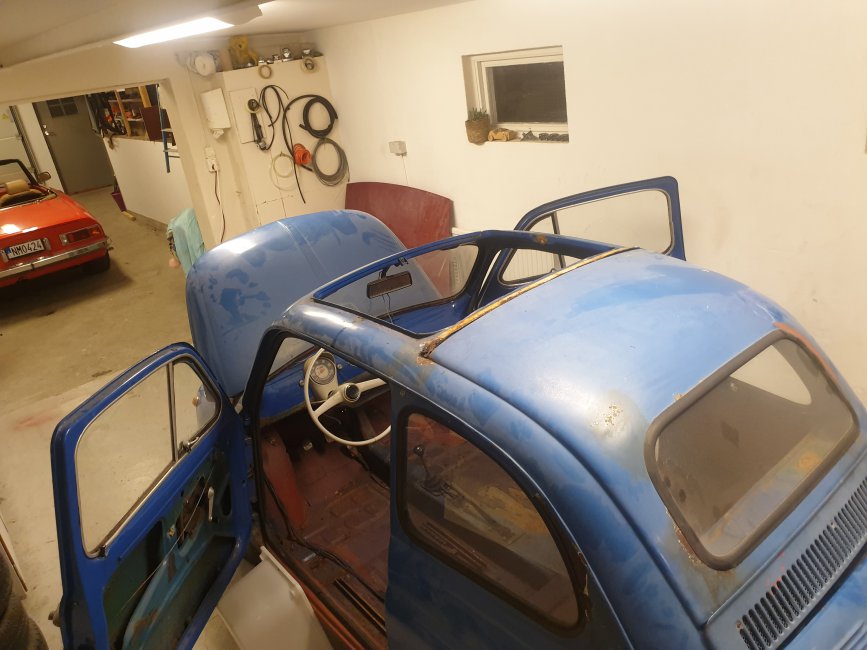
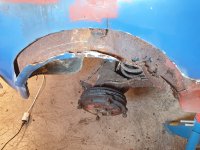
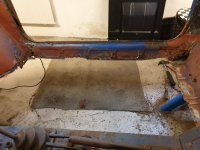
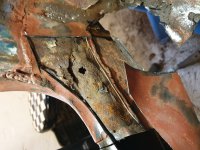
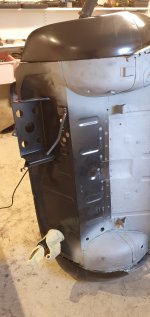
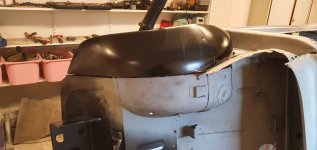
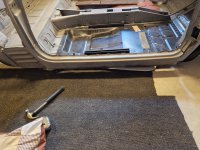
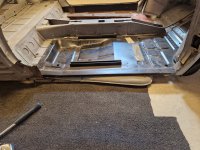
My 500F (my first 500) is in need ofa major restoration/rebuild. I´ve started small, removing doors and interior and cut out the right hand side floor board so far. The rust is far gone :( Some holes, but what is worse is that all the all surrounding sheet metal has serious surface corrosion. So mutch that I fear it´s to thin to be weldable. (Is that a word?) :rolleyes:


I have borrowed a jigg/cradle (or what it might be called in english) to suspend the car in, so that I can rotate it and don´t have to cut and weld om my back.

Now to my first question:
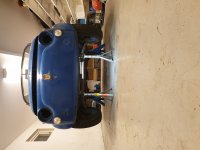
Where do I attatch the mountings in the front?
In the back I´ve seen pic´s online how to mount it. Has anyone here done this and have some pointers?

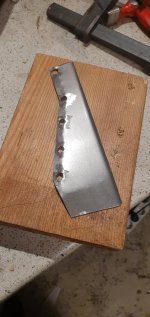
A few pics to lively up the post. (y) (for some reason some pics gets turned, cant figure out why)
  • Like
Reactions: ClassicFiat500
Chipping away nicely at this Raukstern 🙂 It might be glamorous rebuilding the internal structure but it makes such a big difference to how the car drives when it’s done right.

Doesn’t look like it’ll be long till your putting the big outer panels back on the front of the car, then it’ll really feel like you’re getting somewhere!

Like Bounding Bambino, I’m appreciating all the pictures, helps me understand the tasks I have ahead also.
 
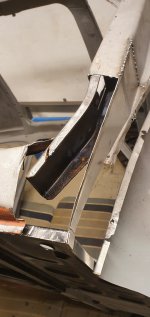
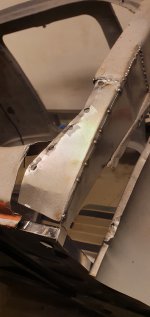
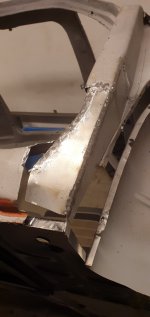
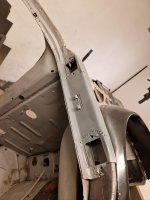
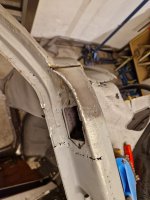
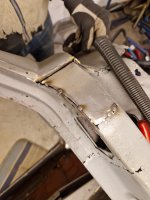
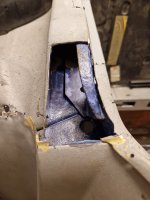
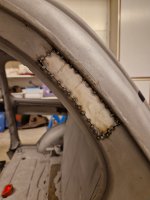
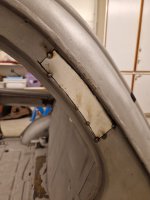
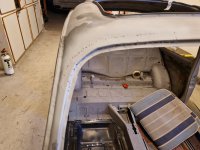
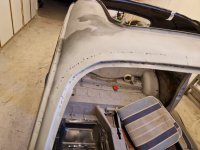
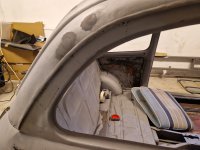
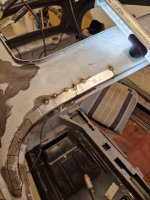
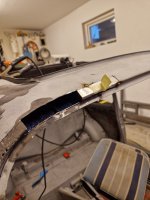
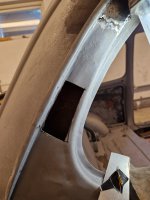
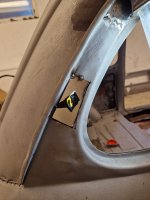
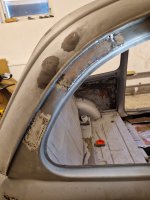
Got a few hours in the garage last night and continued the repairs of the right side A-pillar. Not much to show, but it´s all I got.
Thankfully this will not show behind the front fender when done, so not much effort is put into the cosmetics of it ;)
 

Attachments

  • 20220117_185909.jpg
    20220117_185909.jpg
    1.2 MB · Views: 72
  • 20220117_185925.jpg
    20220117_185925.jpg
    959.6 KB · Views: 67
  • 20220117_190759.jpg
    20220117_190759.jpg
    996.6 KB · Views: 76
  • 20220117_193713.jpg
    20220117_193713.jpg
    878.8 KB · Views: 69
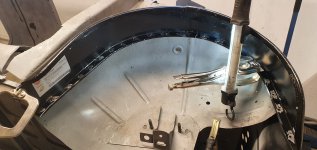
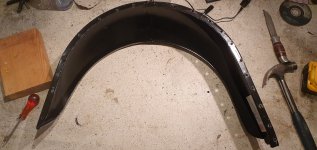
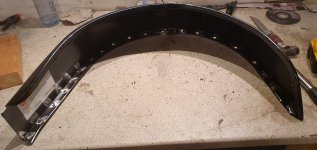
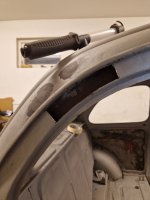
Next inner wheel arc in place. As allways drilling for spot welding.

Hopefully time for the things thas shows soon; front & fenders. But probably the other half of the floor and the sills first.
 

Attachments

  • 20220123_132305.jpg
    20220123_132305.jpg
    1 MB · Views: 63
  • 20220123_132259.jpg
    20220123_132259.jpg
    1.8 MB · Views: 64
  • 20220123_132151.jpg
    20220123_132151.jpg
    1.7 MB · Views: 57
  • 20220118_192047.jpg
    20220118_192047.jpg
    2.9 MB · Views: 55
  • 20220118_192035.jpg
    20220118_192035.jpg
    2.8 MB · Views: 54
Hello guys, I´m back :)

Long time no posting. Life got in between... to mutch at work, wedding, honeymoon, quiting my job, starting my own firm... and there a whole year schwooshed by :)

But now I´m slowly getting back into it and hopefully I have time to spend in the garage this winter.

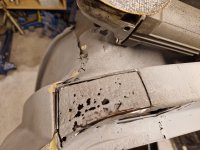
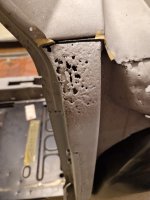
There is so much to do, so I´m just doing stuff, big and small. Concentrating on right front side at the moment. A-pillar and door sill. The metall is like Swiss cheese in many places, so I´ve started replacing some of it, there it is totally rotten.
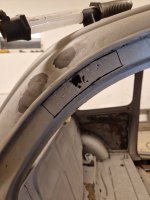
Some pics for ya´
 

Attachments

  • 20221016_114912.jpg
    20221016_114912.jpg
    4.2 MB · Views: 52
  • 20221016_115014.jpg
    20221016_115014.jpg
    4.1 MB · Views: 55
  • 20221031_182141.jpg
    20221031_182141.jpg
    3.4 MB · Views: 59
  • 20221031_190904.jpg
    20221031_190904.jpg
    3.2 MB · Views: 51
  • 20221031_200915.jpg
    20221031_200915.jpg
    3.2 MB · Views: 49
  • 20221107_190301.jpg
    20221107_190301.jpg
    1.7 MB · Views: 57
  • 20221107_211904.jpg
    20221107_211904.jpg
    1.6 MB · Views: 52
Congratulations on your marriage. 🙂

Good to see some progress back on the Fiat, keep chipping away and I’m sure the metal work will be done by the time the weather starts to warm 🙂
 
Lookin good.

Those double walled door hinge sills i think are frequently overlooked on alot of restorations. I remember when i got to them during my resto, and humming and hawing if i wanted to open them up. I am so glad i did, to have added extra structure, and fresh metal, as well as neutralizing any of the unreachable surface rust hiding away i think was a smart choice. It added a few more days to the overall resto, but worth it in the end. A clean pillar with minimal body work and filler is one less thing to deal with.
 
Next microscopical step forward...
Right now I´m just doing the small easy jobs becuasue I´m afraid to get dug in with the big ones. :eek:

I want to get going with the front, and the fenders. But to do that I have to fit the inner and outer right hand side sills to the new floor, go get the allignments correct. And to get the sills in place, I have to get a new right rear fender, inner arch and the plate in front of them to allign them to the sill.... and on it goes.
I´m like a dear in head lights... just keep staring at it. :oops:

I guess the first step is to order the missing parts... 💰:unsure:
 

Attachments

  • 20221110_211659.jpg
    20221110_211659.jpg
    1.6 MB · Views: 53
  • 20221110_203115.jpg
    20221110_203115.jpg
    1.6 MB · Views: 53
  • 20221110_183929.jpg
    20221110_183929.jpg
    1.7 MB · Views: 54
  • 20221110_182926.jpg
    20221110_182926.jpg
    3.1 MB · Views: 58
  • 20221110_180914.jpg
    20221110_180914.jpg
    1.6 MB · Views: 55
Baby steps...

In waiting for the bigger operations, I keep plodding along with the small jobs. Inspiration has been low, and spare time aswell.
But I hope the inspiration will come, now that I got going again.

A few pics från sunday´s efforts... the metal is so thin in places, it´s allmost inpossible to weld it.
 

Attachments

  • 20230129_175202.jpg
    20230129_175202.jpg
    1.6 MB · Views: 45
  • 20230129_174308.jpg
    20230129_174308.jpg
    1.6 MB · Views: 43
  • 20230129_165717.jpg
    20230129_165717.jpg
    1.6 MB · Views: 51
  • 20230129_155637.jpg
    20230129_155637.jpg
    1.6 MB · Views: 41
  • 20230129_150648.jpg
    20230129_150648.jpg
    1.9 MB · Views: 43
  • 20230129_135620.jpg
    20230129_135620.jpg
    3.1 MB · Views: 52
Awkward little sections there! Looks like you've got some neat repairs though (y)

When you say about the metal being almost too thin to weld too, that's something I've come across many times. Usually it means I should have been braver and cut back more of the original metalwork to get to good solid steel rather than just trying to cut a small section out around the visible hole. Clearly looking at those pictures cutting out larger sections was either not possible or would have lead into a world of problems with complex curves, so I think you made the best compromise there!
Thanks for your comment!

In my case, the thin metal sometimes is a result of the sand blasting, I think. He went bersek in some places and it shows.
But when its possible. cutting out bigger areas helps. Curving surfaces makes it hard sometimes as you say.

/Seb
 
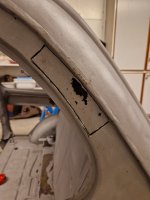
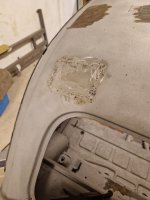
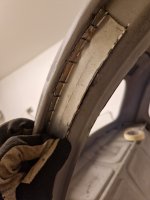
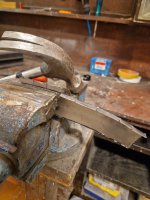
Next "not-so-easy" spot attacked. A bit more complicated than the pervious side, as the rust/thin metal had spreead to the underside of the lip.
In lacking of the proper tools, a hammer and some metal shop memories provided some kind of solution :D
 

Attachments

  • 20230130_185409.jpg
    20230130_185409.jpg
    1.5 MB · Views: 42
  • 20230130_185201.jpg
    20230130_185201.jpg
    1.6 MB · Views: 41
  • 20230130_183832.jpg
    20230130_183832.jpg
    1.5 MB · Views: 43
  • 20230130_182701.jpg
    20230130_182701.jpg
    1.7 MB · Views: 44
Next "not-so-easy" spot attacked. A bit more complicated than the pervious side, as the rust/thin metal had spreead to the underside of the lip.
In lacking of the proper tools, a hammer and some metal shop memories provided some kind of solution :D

That's a tricky area as I well know. I had the entire drip gutter to replace on one side. Great work.
 
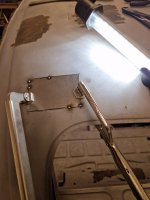
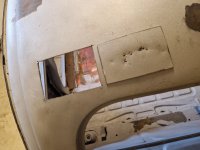
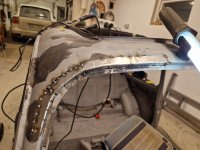
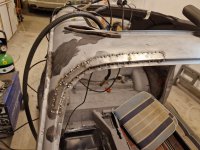
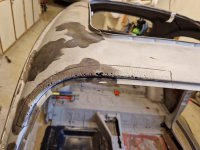
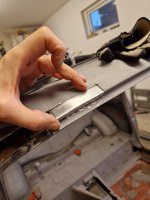
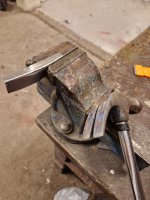
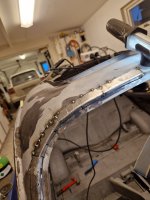
Still waiting for the ordered parts, I continue with the small jobs. (area wise) But it doesn´t feel like small jobbs doing it though 😜
The curvature around the windscreen was tricky to figure out to handle. Lacking all the proper tools, I do what I can with a hammer, anvil and some vice grips :D The fine stuff I will have to do with filler later.
 

Attachments

  • 20230205_161012.jpg
    20230205_161012.jpg
    1.7 MB · Views: 45
  • 20230205_173018.jpg
    20230205_173018.jpg
    3.4 MB · Views: 43
  • 20230205_174344.jpg
    20230205_174344.jpg
    3.3 MB · Views: 49
  • 20230206_080323.jpg
    20230206_080323.jpg
    3 MB · Views: 46
  • 20230206_080326.jpg
    20230206_080326.jpg
    2.8 MB · Views: 42
  • 20230206_080334.jpg
    20230206_080334.jpg
    2.9 MB · Views: 44
  • 20230205_153143.jpg
    20230205_153143.jpg
    1.7 MB · Views: 46
  • 20230205_152117.jpg
    20230205_152117.jpg
    278 KB · Views: 44
  • 20230205_133143.jpg
    20230205_133143.jpg
    383.5 KB · Views: 39
  • 20230205_133413.jpg
    20230205_133413.jpg
    388.6 KB · Views: 44
  • 20230205_140745.jpg
    20230205_140745.jpg
    336.1 KB · Views: 46
  • 20230205_141754.jpg
    20230205_141754.jpg
    329.3 KB · Views: 50
  • 20230205_144103.jpg
    20230205_144103.jpg
    269.9 KB · Views: 46
  • 20230205_145127.jpg
    20230205_145127.jpg
    340 KB · Views: 40
Still waiting for the ordered parts, I continue with the small jobs. (area wise) But it doesn´t feel like small jobbs doing it though 😜
The curvature around the windscreen was tricky to figure out to handle. Lacking all the proper tools, I do what I can with a hammer, anvil and some vice grips :D The fine stuff I will have to do with filler later.
That looks good. I bought a few special tools towards the end of restoration. A shrinker-stretcher was quite useful for things like that and I sold it afterwards and got most of my money back.
Then when I started the capervan I had to buy another.
 
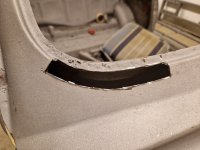
Next problem area... lower wind screen corner. Curves are nice, but not in metal work 😜
For the rear window I´ve ordered the bottom repair panel :D
 

Attachments

  • 20230213_191856.jpg
    20230213_191856.jpg
    3.7 MB · Views: 41
  • 20230213_192229.jpg
    20230213_192229.jpg
    3.8 MB · Views: 38
  • 20230214_071959.jpg
    20230214_071959.jpg
    3.3 MB · Views: 39
Back
Top