Keep Stripping!
In order to remove the seat back, you first need to relase this part at the bottom of the backrest, it's actually curled over itself and then tucked in.
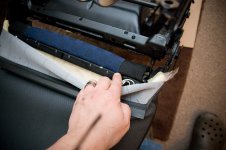
With pressure applied in the right direction it can be released WITHOUT significantly bending the metal out of the way.
REMEMBER! how it was held in place, as you will be putting it back!
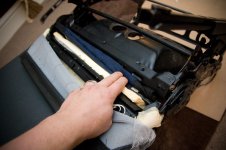
Then with that done you can release the cords that go through the seat back and provide tension to the front of the seat cover
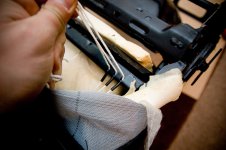
With these released on both sides, it's a good idea to familiarise yourself with where they go.
These Sei sporting seats are the simplest I've done, on a Sei SX and I presume later model Cinq the cords are threaded through a seam on the front of the seat before returning to the back.
On the Older Cinq's (standard seats at least) there are all kinds of cords clipped everywhere, you need to take your time and make sure you know where they come from otherwise you will ruin your seats!!
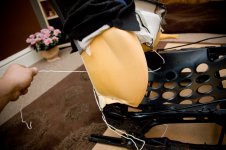
Before we can slide the seat material off, you need to tease it from around the handle surround we loosened earlier
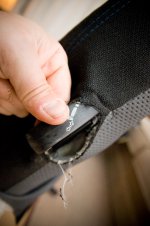
Don't go mad, gently pull the cover upwards about so far.
On Sei's and I presume later Cinq's you will see this elastic band stretched across the rear springs, remove it.
On older Cinq's the tension here was maintained via a cord with a plastic clip, which then inevitably made a small hole in the front of the seat where it rubbed over time.
Fiat clearly realised this and improved the design!
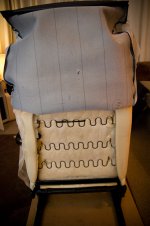
Towards the top of the rear of the seat there is a metal bar with nylon ends that needs to be removed.
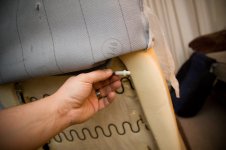
And then there are clips that hold the headrest in place, undo them and draw the headrest away.
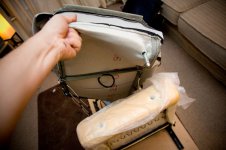
Now turning our attention back to the seat base we want to remove the material from the foam.
Now you will see your first 'HOG RING'
These are used by upholsterers to join the material to the foam.
You will need to snip. pry or twist the hog rings apart to release them. This is awkward, but great care MUST be taken not to rip the edges of the foam, as this will release the bars inside and your seat cover won't have any tension left in it when you re'assemble.
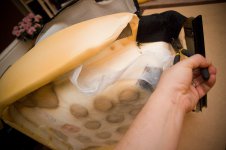
Here's a close up of a Hog Ring.
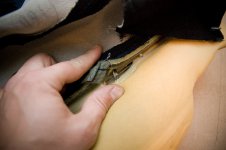
It holds a bar running through a sleeve in the cover to a bar running through the foam itself.
Fiat made them stronger in later cars too! I used to be able to clip them off with sharp plyers, but had to use a bit of prying on this seat.
Don't worry about keeping them intact, we will replace with cable-ties!
Here's the seat base cover removed.
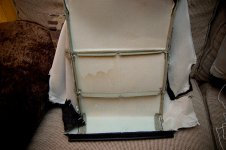
Next we need to release the ends of the bars to remove from the cover
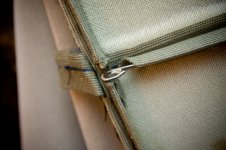
Pry apart and keep a note on which bars go where and which way up, it can make a difference to how well your seat fits back together!
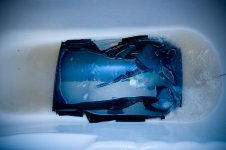
Now once the bars are removed from their sleeve go and throw in the bath with some washing powder, whilst you remove the bars from the seat back cover.
You'll note that this seat wasn't that dirty but look at the colour of the water!
I have had it go really poo brown before with a particularly dirty set of seats that came up like new!
I have heard of people machine washing them, but I thought the potential for the plastic clips to snag the seat material was too great.

