Bernievarian
Prominent member
- Joined
- Jan 15, 2017
- Messages
- 2,993
- Points
- 654
1. The tensioner is not tensioned.
2. Those DIY timing marks will only line up once for many rotations of the engine - assuming they were used to time the engine last time.
Hi Everson,
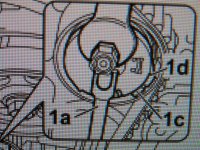
1. TRUE, markd MUST be aligned to get the proper spring load and tensionning force.
2. FALSE: the marks will align every second rotation as there is a 1:2 ratio between crankshaft and camshaft pulleys.
In your video, it seems that the CAMshaft is just 1/2 turn away of matching the marks, make another full turn of the CRANKshaft and the marks will fit, or maybe show one or a few tooth shift (due to the sloppy belt).
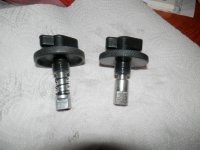
- bring engine as close to marks as possible
- install CAMtool, MUST be fully in (flushing), might need to slightly rotate the engine
- loose tensioner (it is already), loose CAMshaft pulley bolt and remove belt
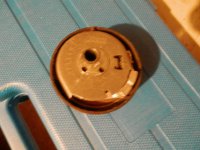
- hand rotate the CRANKshaft so you can install its locking tool (piston rods at same level)
- install new belt, tighten the tensioner, tighten the CAMshaft pulley bolt, remove locking tools, hand rotate the engine for 2 turns, re-install
BOTH locking tools: they MUST fit perfectly, if not adjust the engine position so the CAMshaft tool fits 100%, then loosen its pulley bolt and
adjust the engine so the CRANKshaft tool fits 100%, tighten CAMshaft bolt, remove tools and redo the 2 turns check.
This is the ONLY way you'd be certain of your engine timing ...
BRs, Bernie
If someone here helped You fix -or better, understand- your issue, hit the thanks icon @ bottom right corner, it's free and makes us feel helpy ;-)
Last edited: