Introduction
So I have a thread on the X1/9 board but bludvl pointed me this way and said I should start a progress thread over here.
Since there was a fair amount to read, I'll just condense it into one post.
So I bought my X1/9 as my first car, probably not the smartest decision ever since I have almost no idea about engines but dad is a home mechanic expert of sorts and owns a Citroen CX, so he knows his way around old, quirky cars.
Part of the reason I bought it was so that I could learn, so I guess I'm succeeding in that department so far.
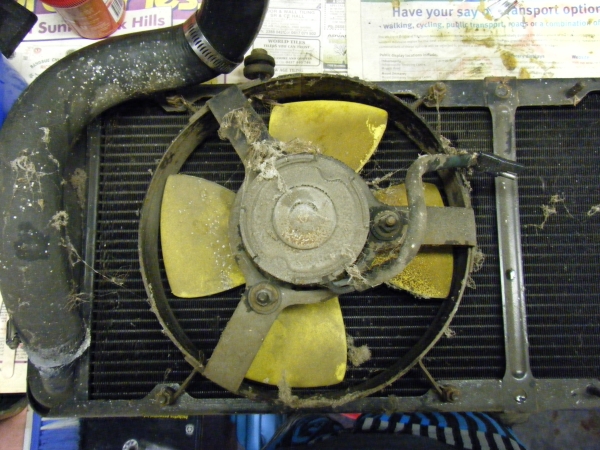
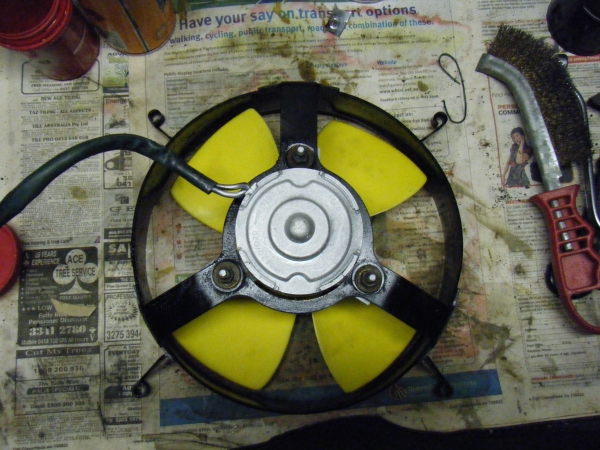
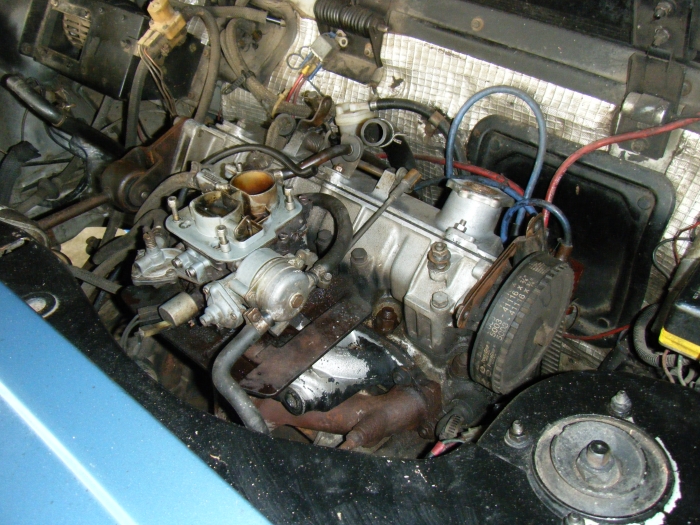
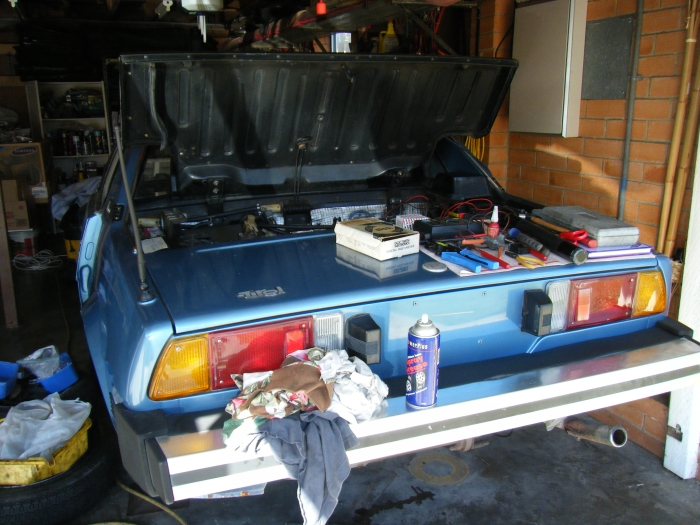
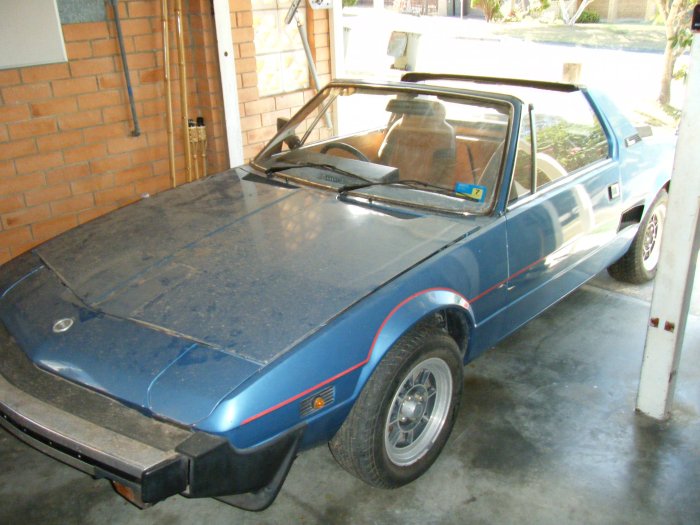
Anyway, it had been sitting for 3 years when I bought it but it was in decent condition none-the-less. Except for the 3 years of dirt and other crap that collected on it:

There was more dirt than that photo can describe I'm still cleaning bits of it a month later that never got attention originally.
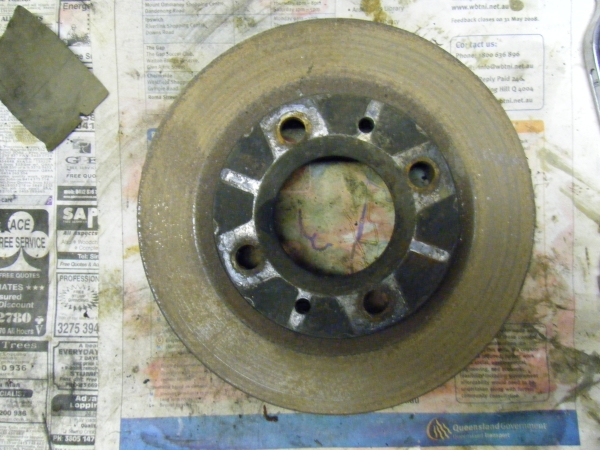
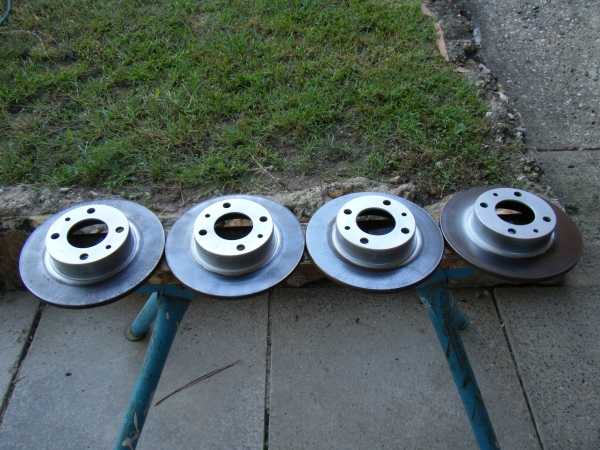
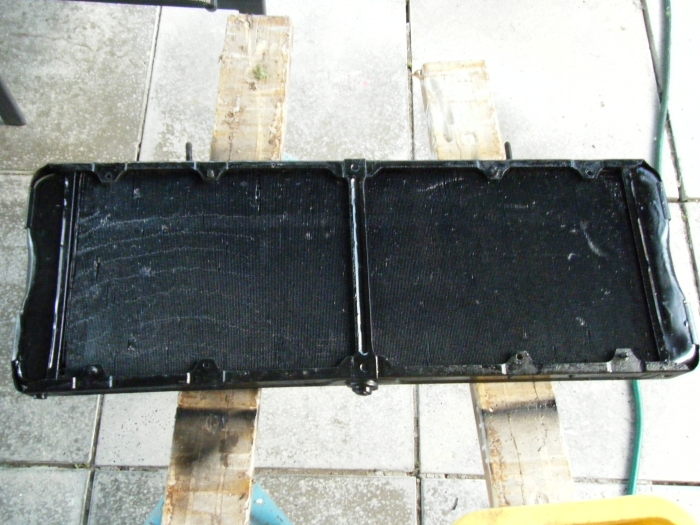
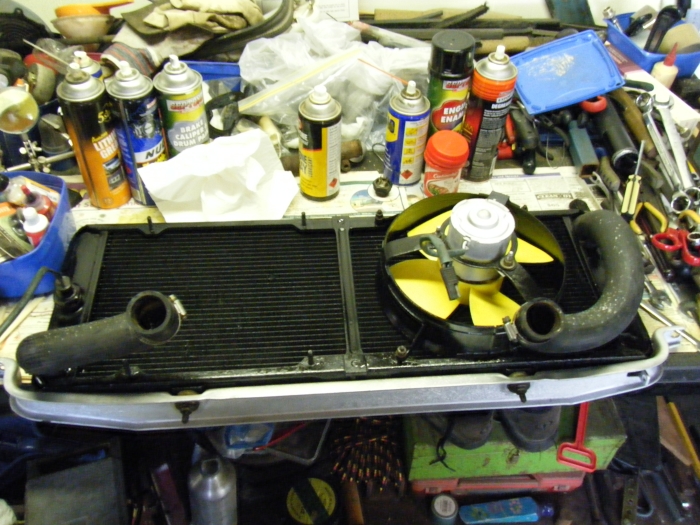
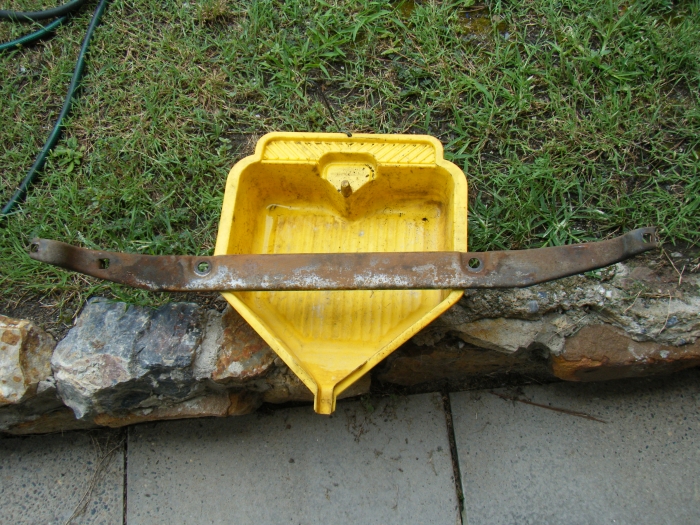
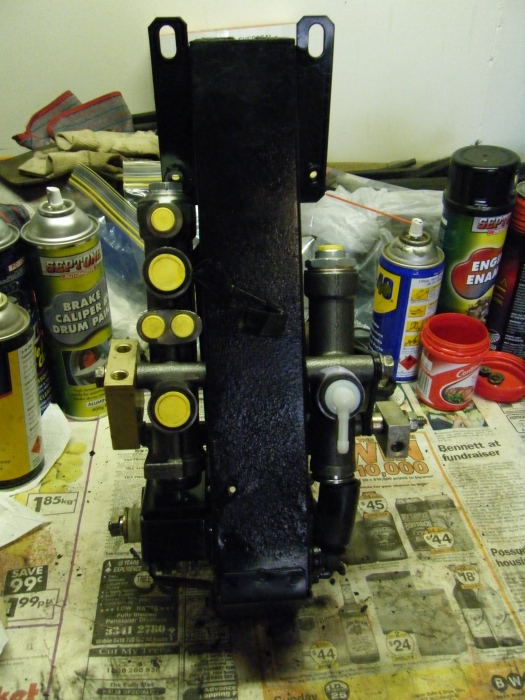
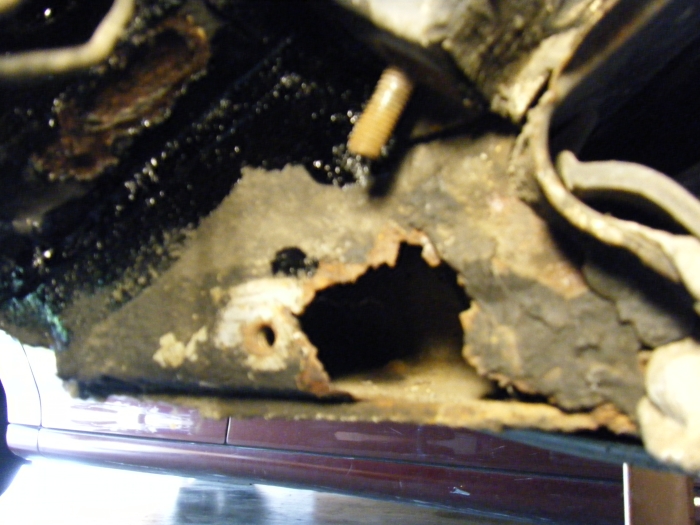
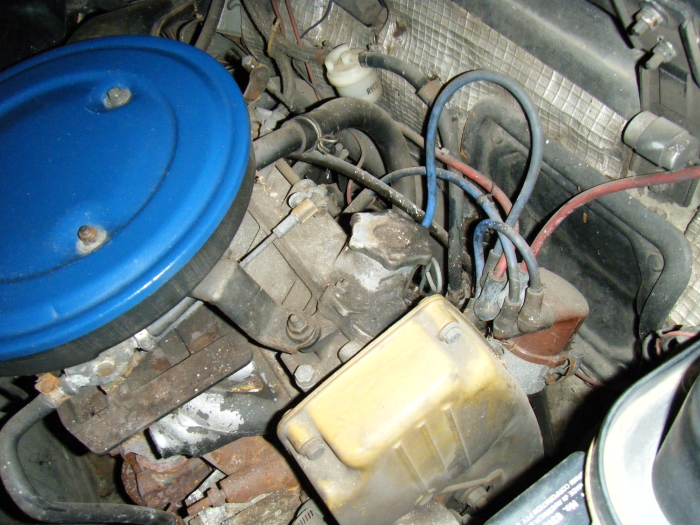
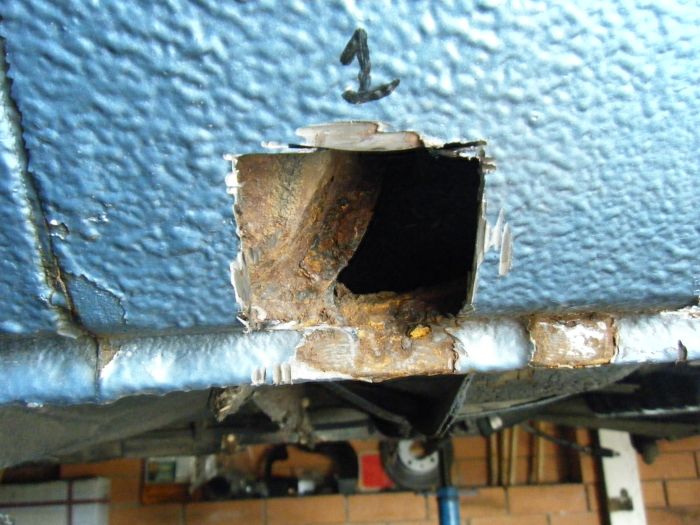
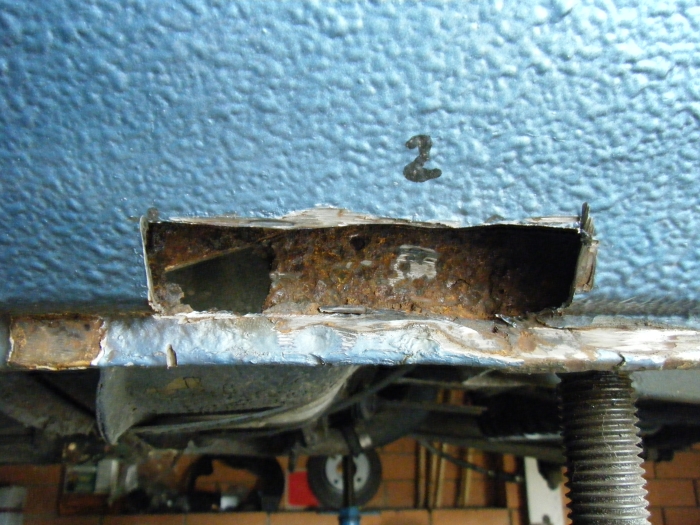
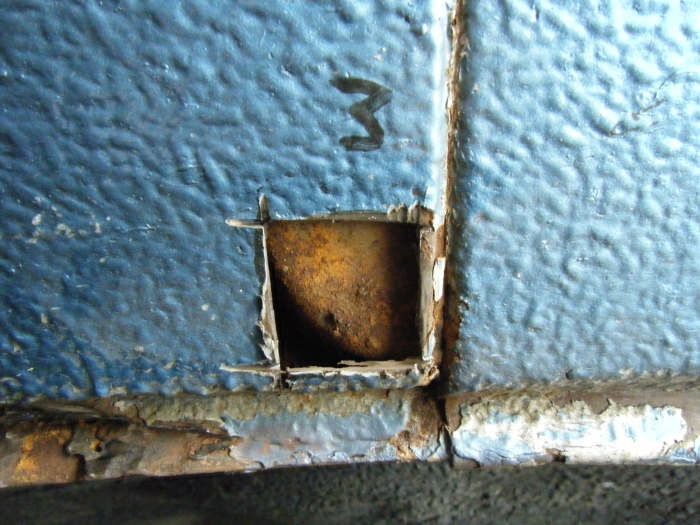
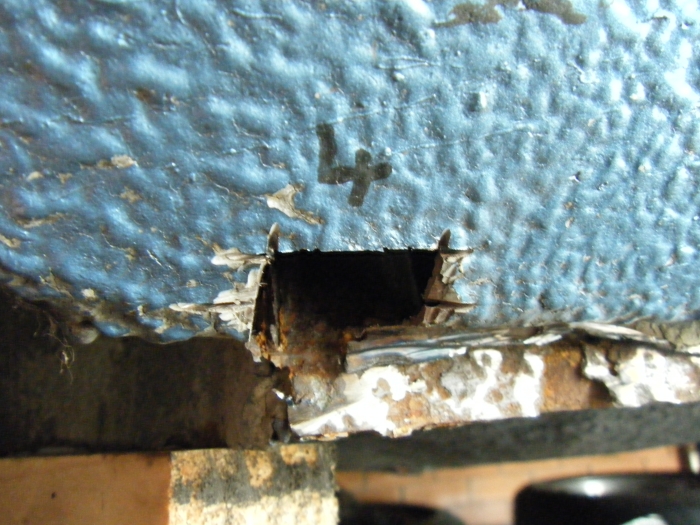
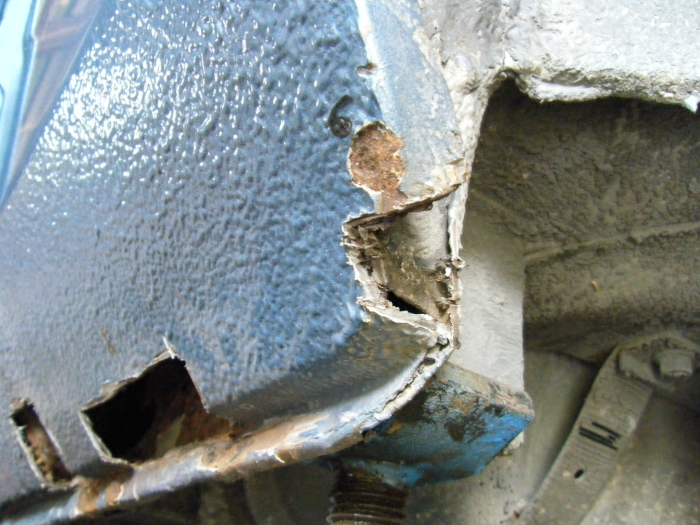
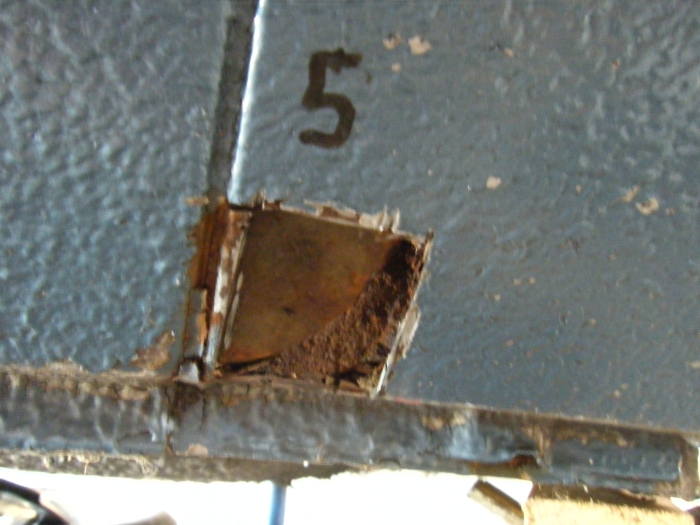
So there was a bunch of things wrong with it, the usual rust was there but only in small quantities. The brakes didn't/don't work, still working on that one but they're coming along nicely. Naturally the engine didn't start, but it turned over freely. Lately though I uncovered the fact that the coolant tank was empty and the engine oil was furked, so it's probably a good thing we couldn't get it started when I bought it.
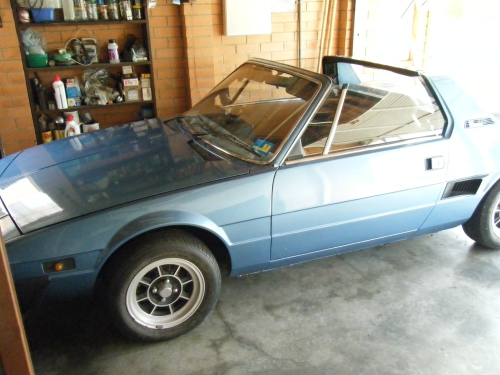
So it had an ugly red pinstripe on it, something straight out of the 80's:
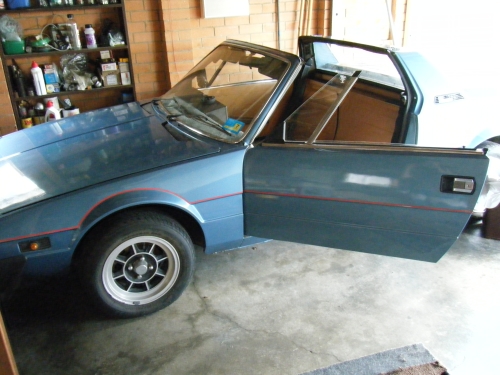
Which I removed, took a couple of hours but its definitely worth it:
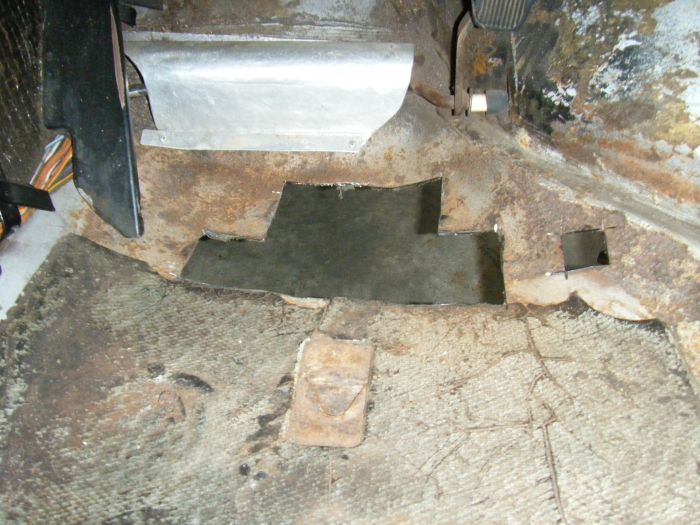
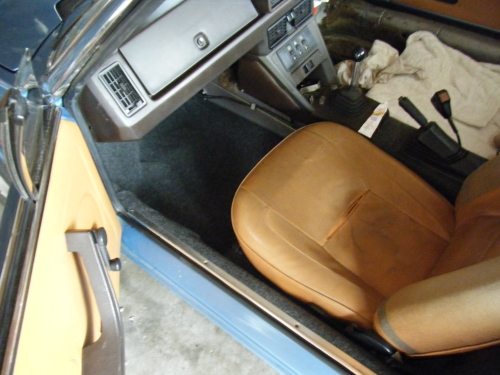
The carpet on the drivers side had been removed in anticipation of a recarpeting but he uncovered rust so I'll take a stab and say that's where the interior make over stopped. The passenger side carpet was terribly shabby so I replaced that after recovering from new years:
Before:
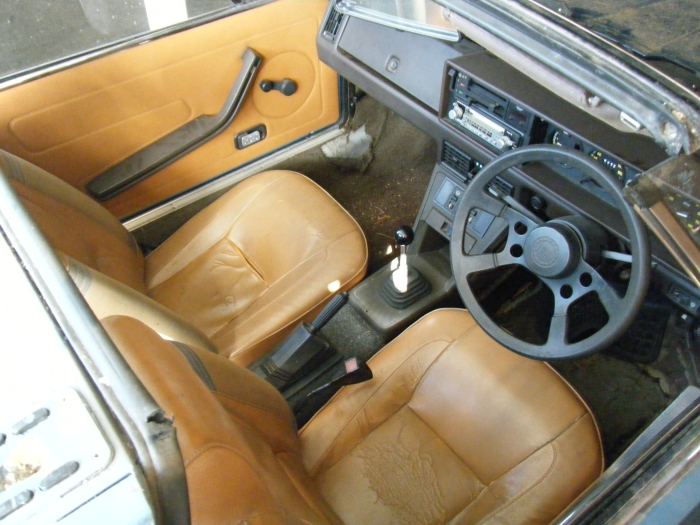
After:
It's not the best job, but it's only temporary until redoing the interior moves up on my list. You can buy molded carpets on ebay for them so I'll probably do that when the time comes.
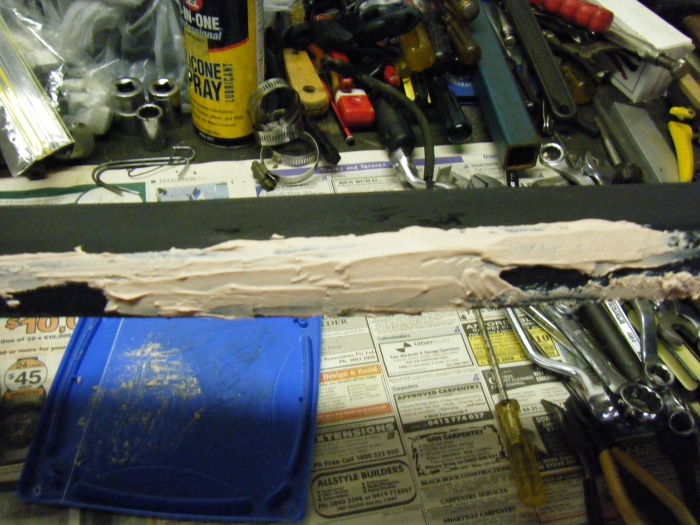
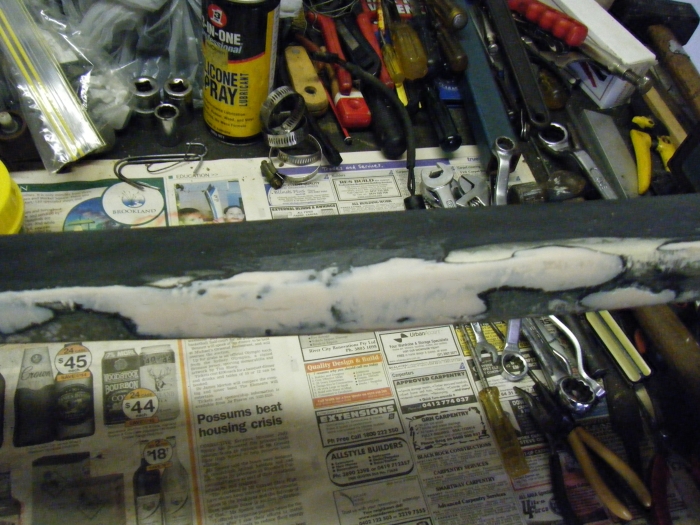
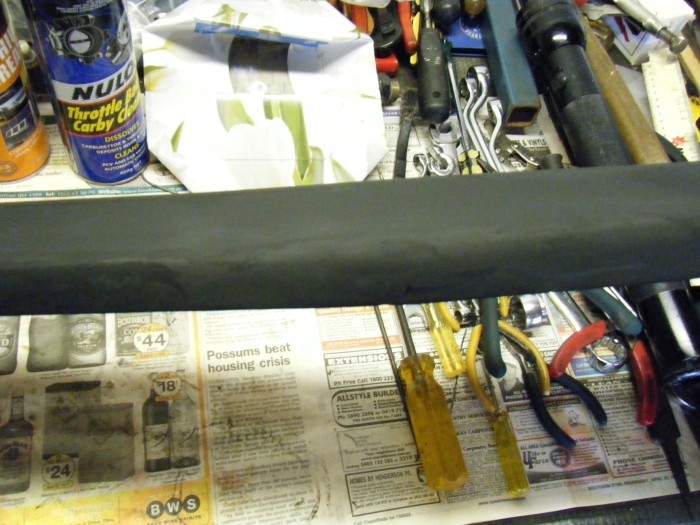
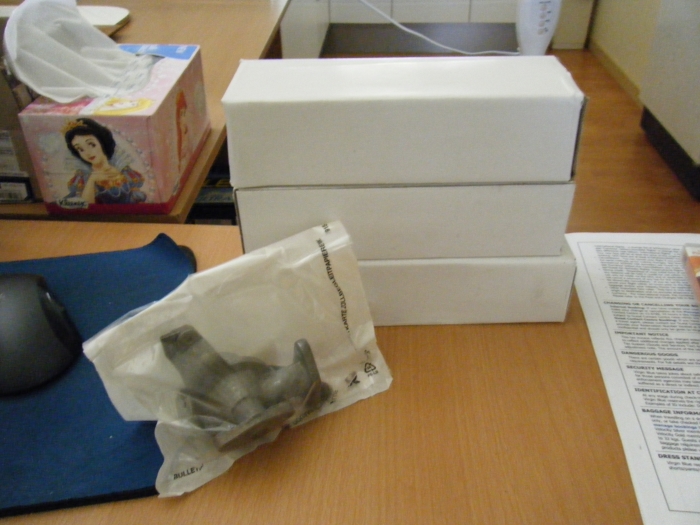
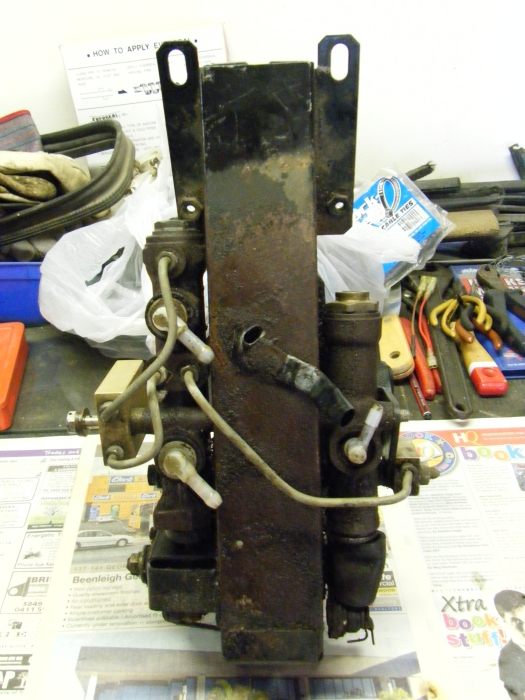
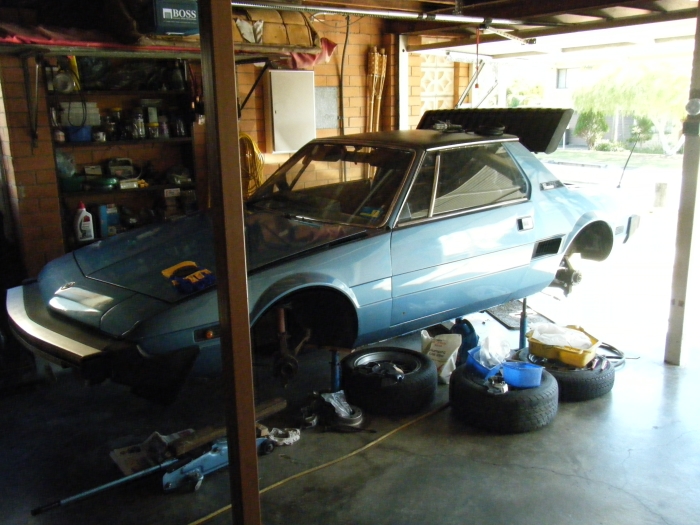
Currently the car is on axle stands, doing the brakes. Pistons are proving to be problematic since we couldn't pump them out with the brake pedal, but the rest is cleaning up nicely, after this weekend we should have the parts needed (master cylinders, pistons maybe and some seal kits) to reassemble, on order so the brakes aren't far from done - a few weeks. Then we can finally replace the fluids and have a go at getting the engine running.
You are now up to speed
Running total (AUD): $2994
car: 2700
battery: 109
headlights: 155
other: 30
Since there was a fair amount to read, I'll just condense it into one post.
So I bought my X1/9 as my first car, probably not the smartest decision ever since I have almost no idea about engines but dad is a home mechanic expert of sorts and owns a Citroen CX, so he knows his way around old, quirky cars.
Part of the reason I bought it was so that I could learn, so I guess I'm succeeding in that department so far.
Anyway, it had been sitting for 3 years when I bought it but it was in decent condition none-the-less. Except for the 3 years of dirt and other crap that collected on it:
There was more dirt than that photo can describe I'm still cleaning bits of it a month later that never got attention originally.
So there was a bunch of things wrong with it, the usual rust was there but only in small quantities. The brakes didn't/don't work, still working on that one but they're coming along nicely. Naturally the engine didn't start, but it turned over freely. Lately though I uncovered the fact that the coolant tank was empty and the engine oil was furked, so it's probably a good thing we couldn't get it started when I bought it.
So it had an ugly red pinstripe on it, something straight out of the 80's:
Which I removed, took a couple of hours but its definitely worth it:
The carpet on the drivers side had been removed in anticipation of a recarpeting but he uncovered rust so I'll take a stab and say that's where the interior make over stopped. The passenger side carpet was terribly shabby so I replaced that after recovering from new years:
Before:
After:
It's not the best job, but it's only temporary until redoing the interior moves up on my list. You can buy molded carpets on ebay for them so I'll probably do that when the time comes.
Currently the car is on axle stands, doing the brakes. Pistons are proving to be problematic since we couldn't pump them out with the brake pedal, but the rest is cleaning up nicely, after this weekend we should have the parts needed (master cylinders, pistons maybe and some seal kits) to reassemble, on order so the brakes aren't far from done - a few weeks. Then we can finally replace the fluids and have a go at getting the engine running.
You are now up to speed
Running total (AUD): $2994
car: 2700
battery: 109
headlights: 155
other: 30