IMG_01991.jpg

Panda (Classic) Project Fallout

Introduction

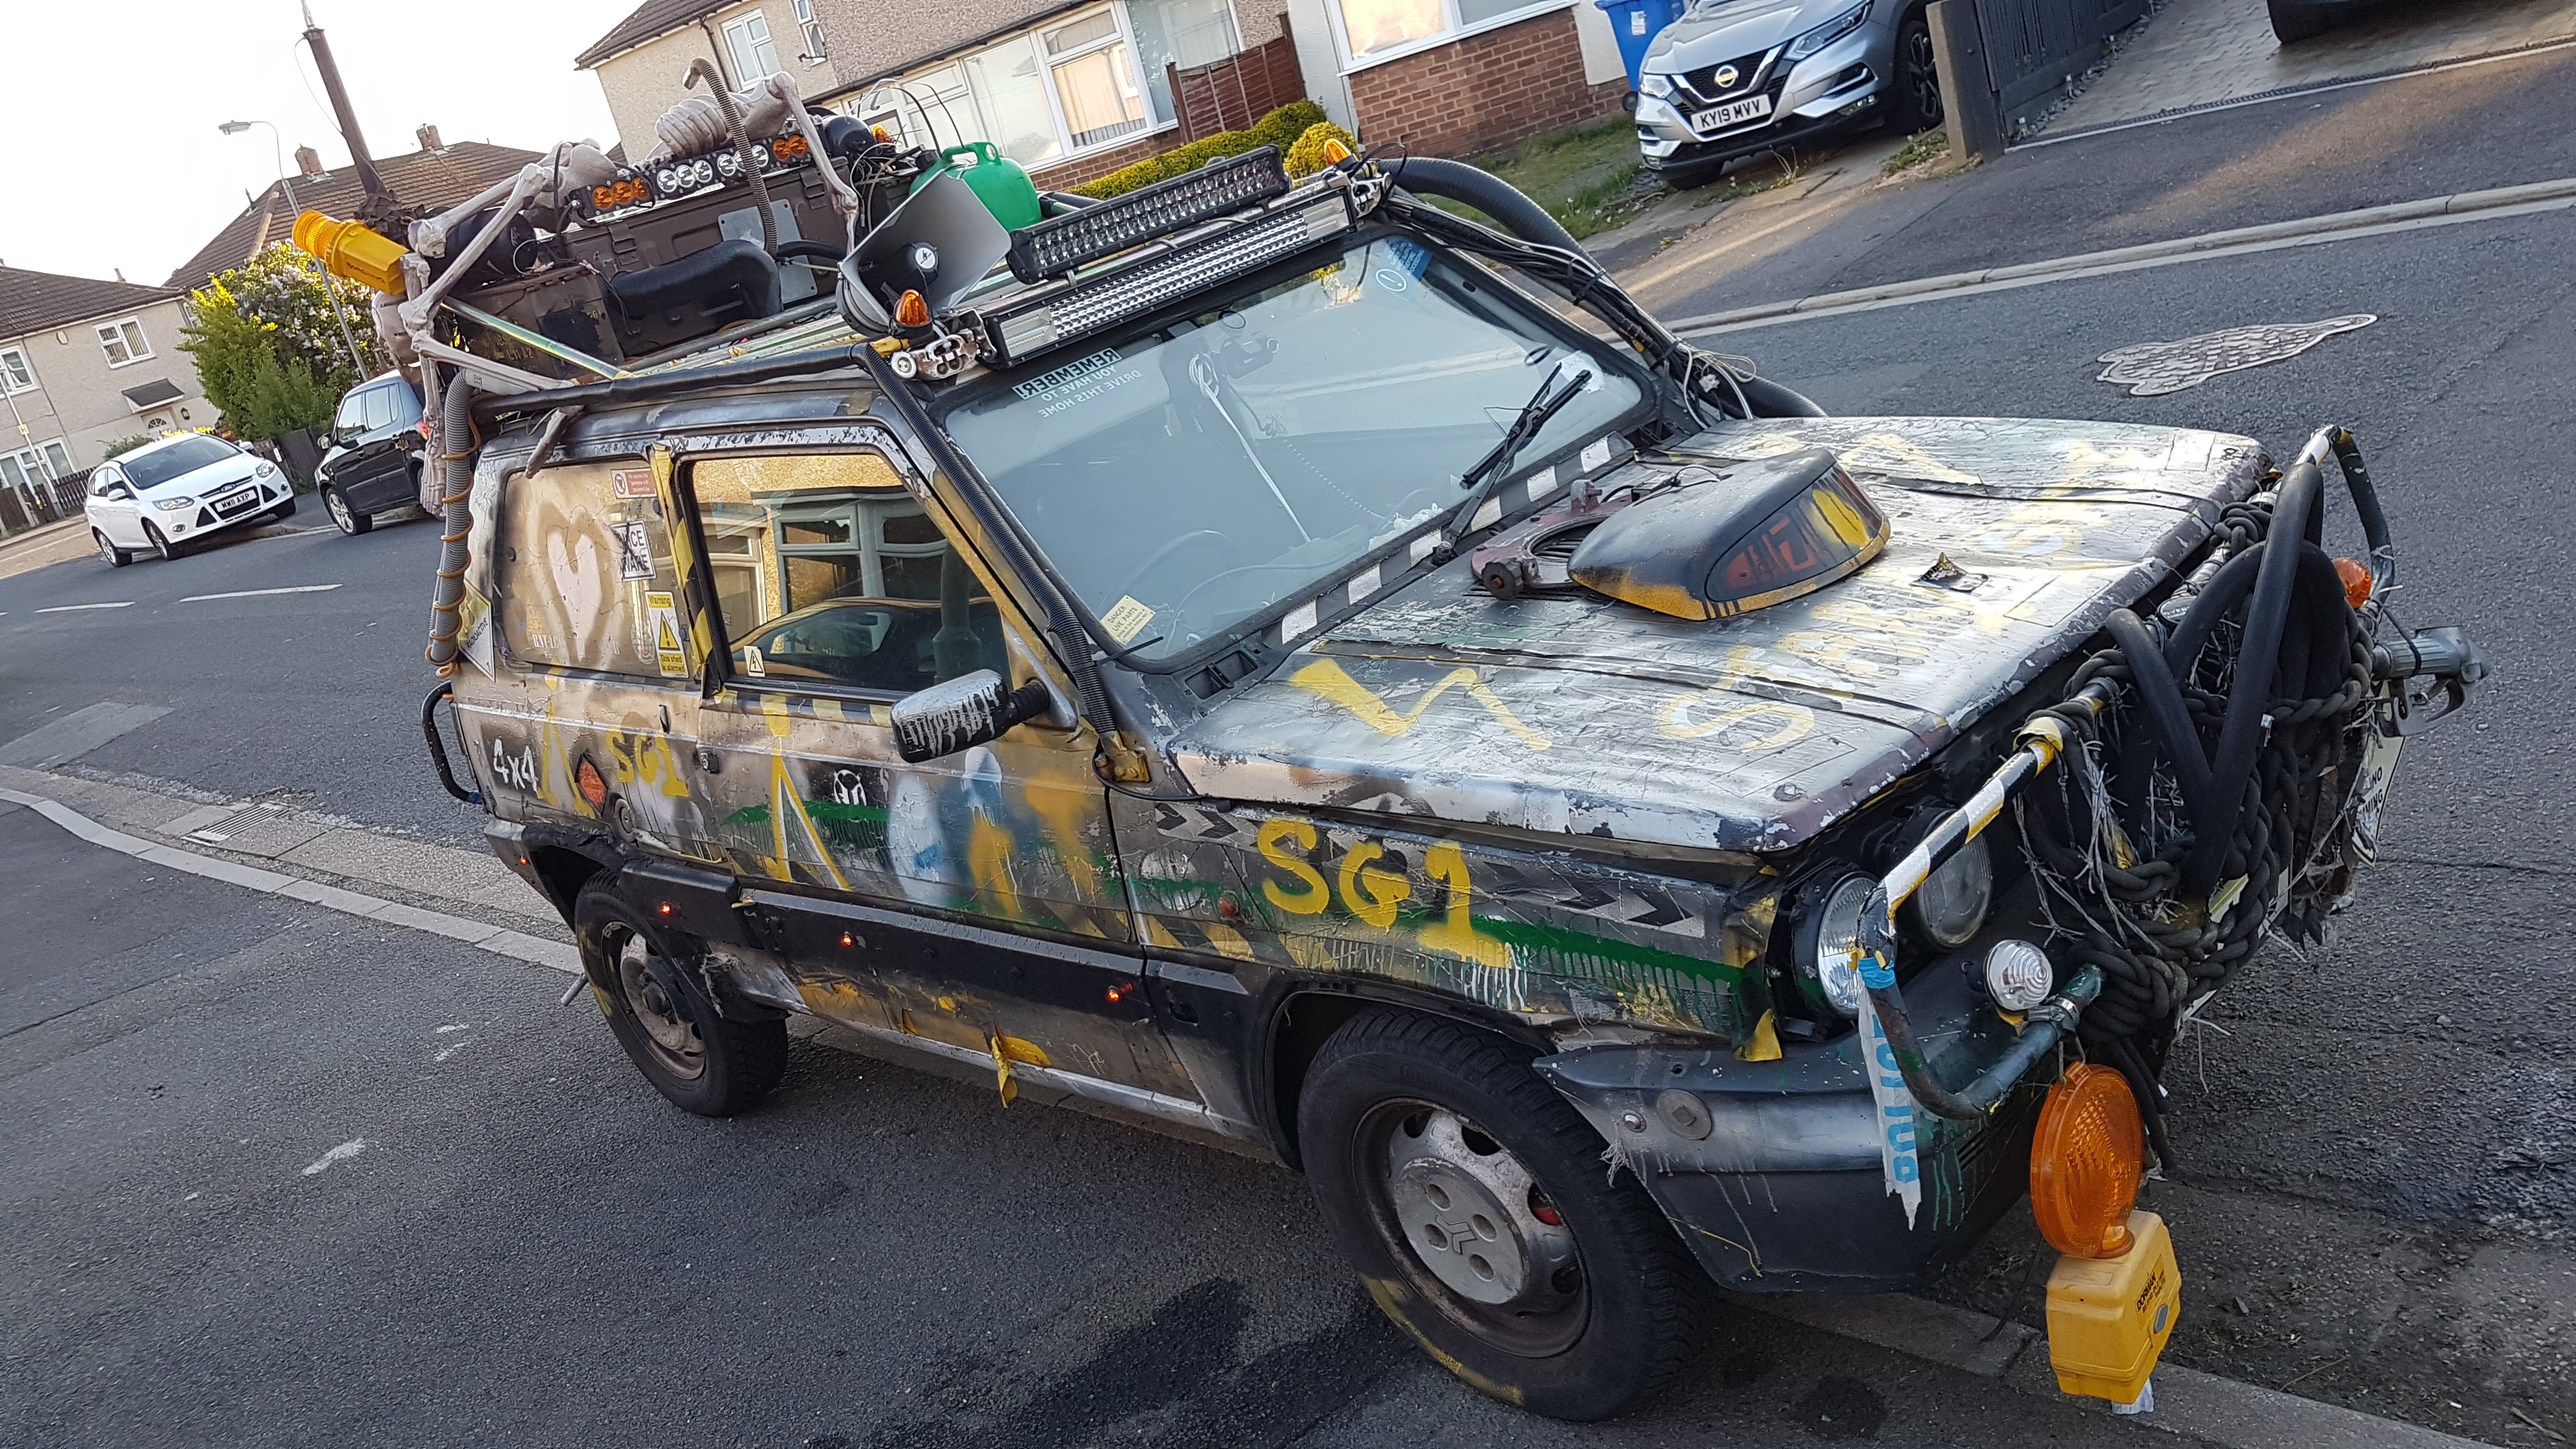
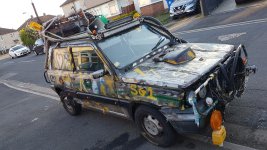
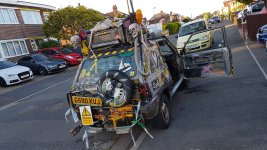
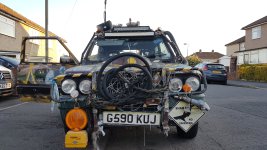
let me introduce to you, the free panda 4x4 which was first spotted >>Here<<.
First off however, here is the plan:

i will (some how) make the panda look "Post Apocalyptic" yet keep it in a road legal state (so no spikes, sharp rusty edges sadly). We have all seen mad max right? all wanted to replicate a mad max style car?
well let me be the first to attempt this with a fiat panda 4x4.

if anyone here has seen the TV program "Defiance", you surely have seen the epic Doge Charger that looks post apocalyptic. i will be trying to aim for the same theme. with such things as an external roll cadge, external metal mesh / grills covering the windows, custom bull bar, reinforced rear bumper made from tubular metal, custom twin output exhaust, and many many more.

this project is going to be undertaken as cheaply as possible (excluding parts necessary for a safe road going vehicle). reusing as many things as i can find (in scrap yards, freebees), true to a real post apocalyptic constructed vehicle. i will also be taking the "rough is best look" (please note, i say Rough not Rat!) the panda its self of course will undergo all the rust prevention Talon went under when i got him.

anyway, i will leave you a few seconds to build up a mental picture of how a panda 4x4 could look in a post apocalyptic landscape while browsing some of these Pictures.......


ok.. that should do.

First off. i need to get the panda all well and good.
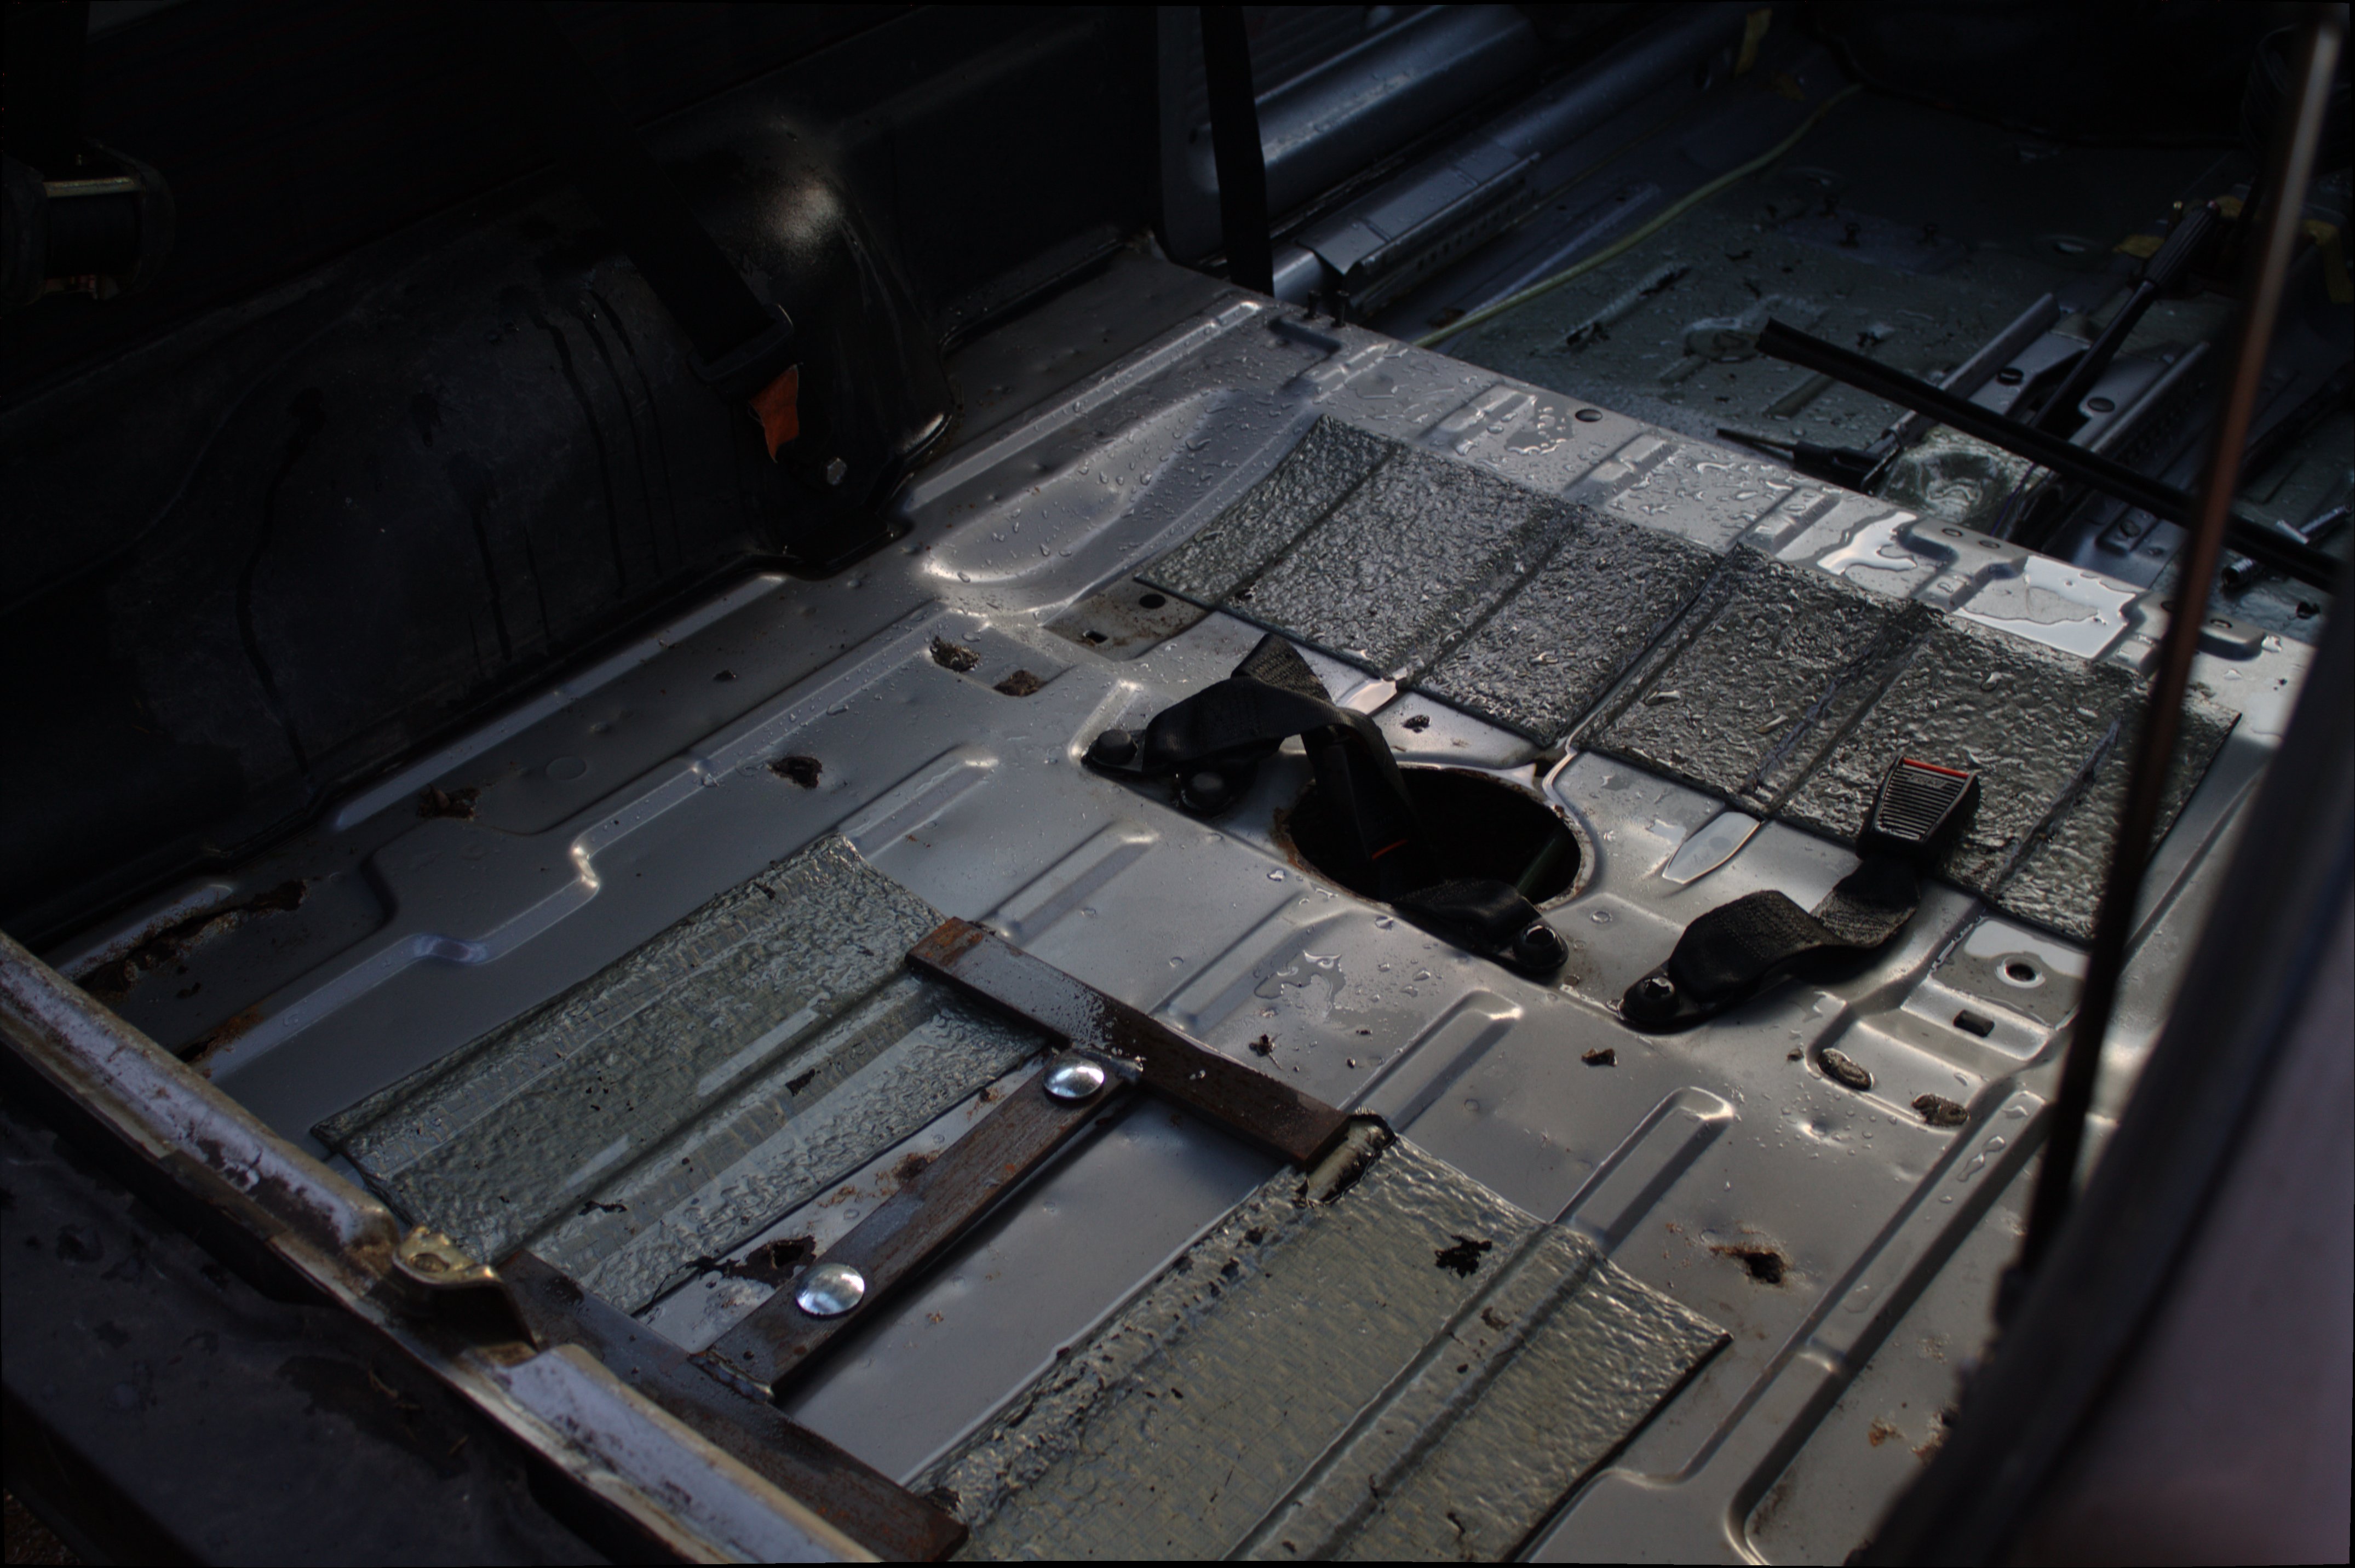
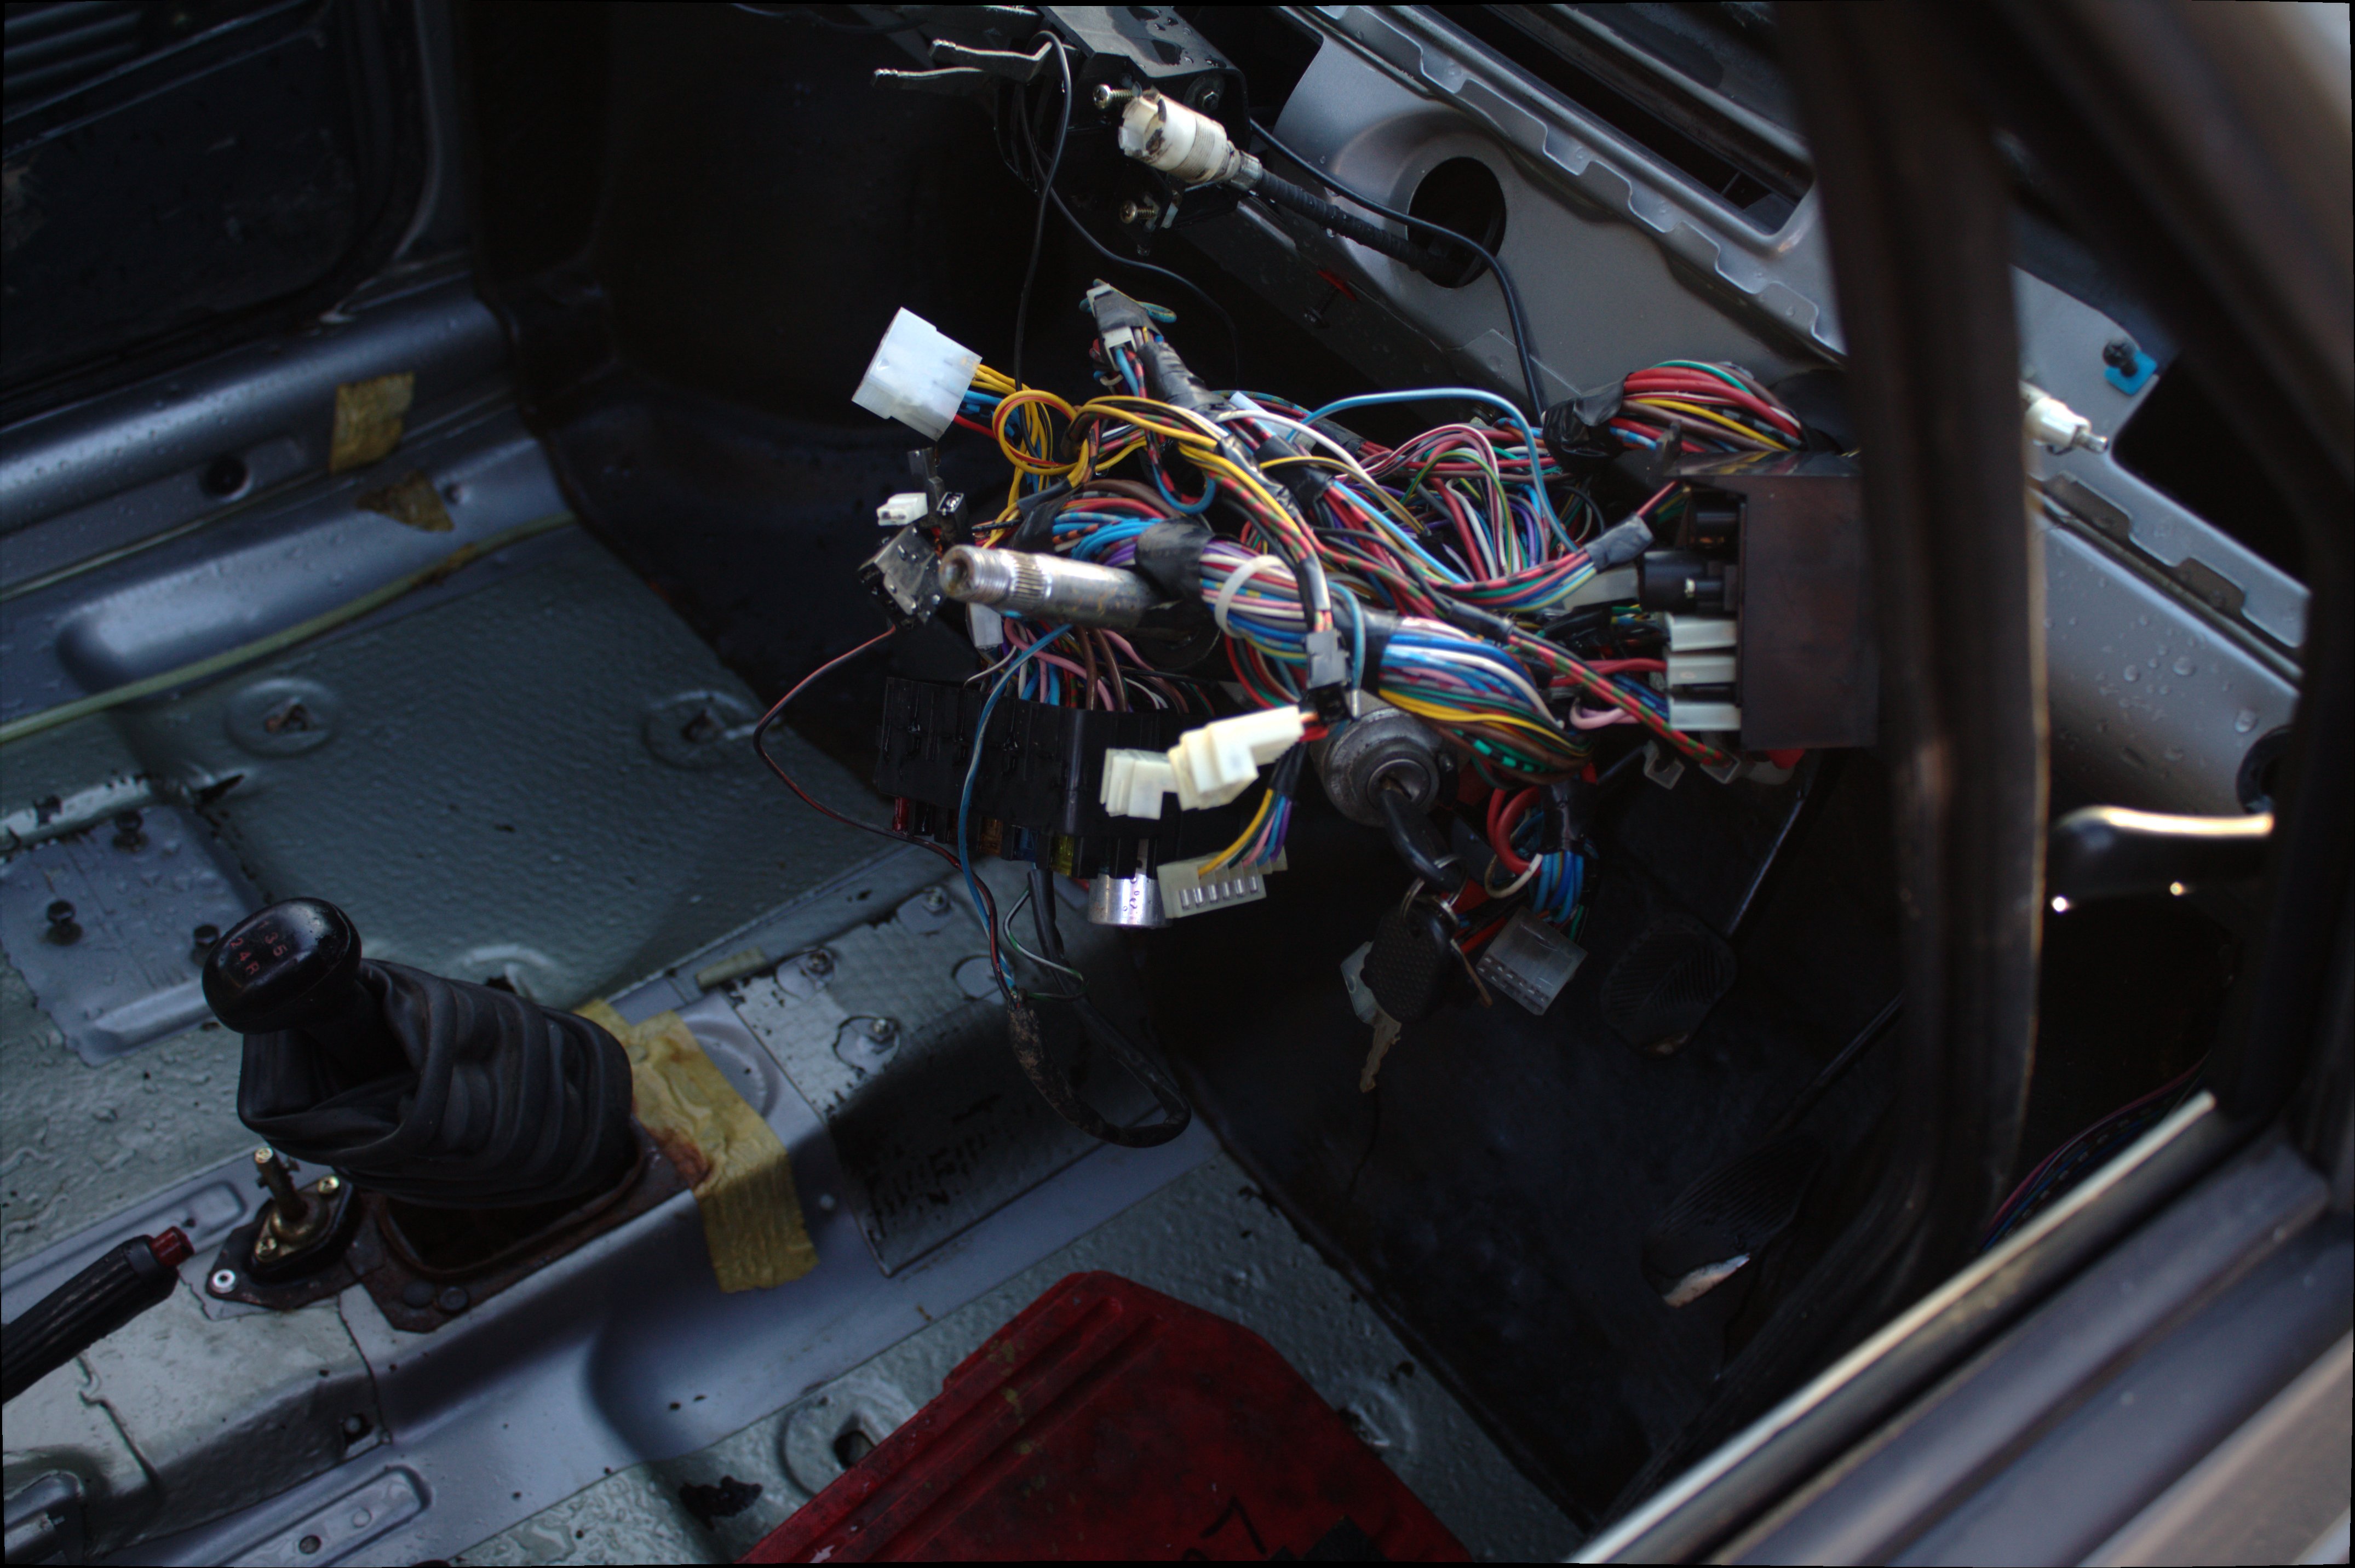
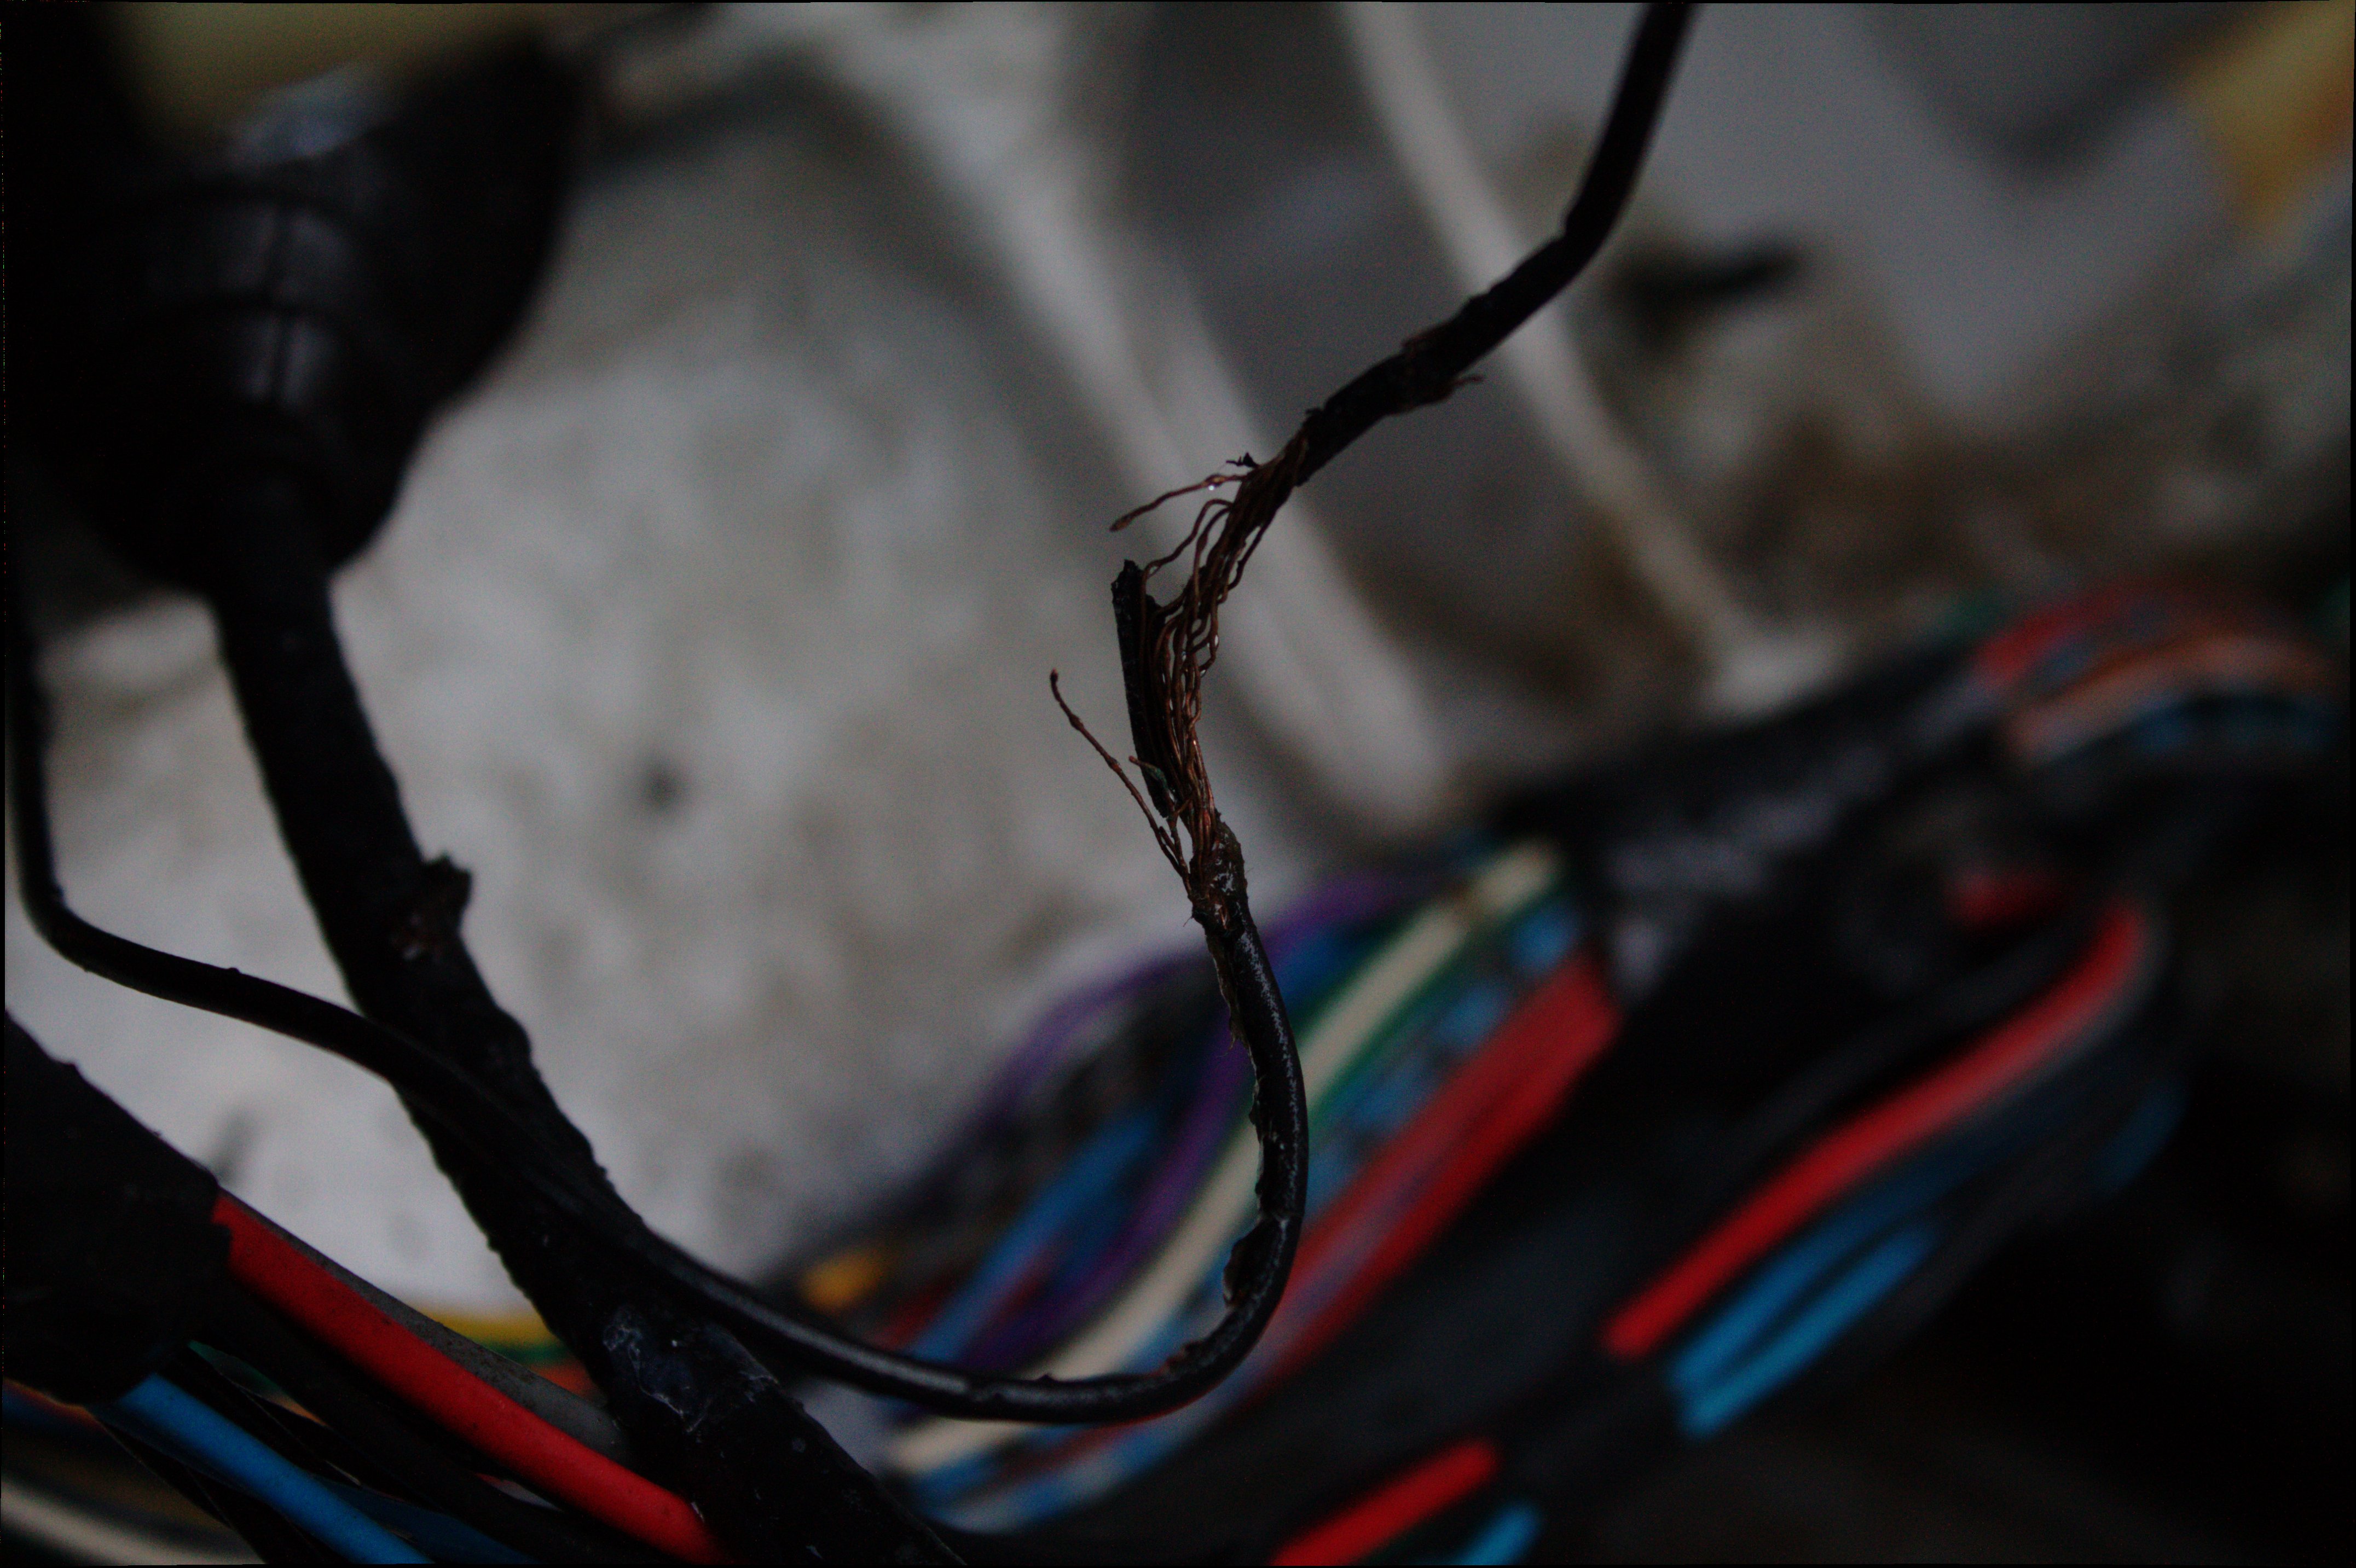
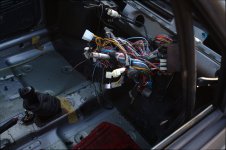
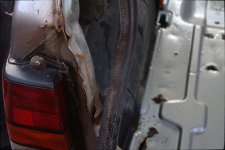
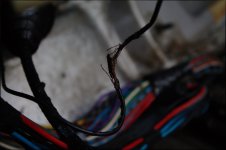
a few things are broken... the exhaust, the front suspension on the passenger side, both rear dampeners are rusted out, the doors are shot but i will try to fix them, the gear stick is really loose and all the roller bearings have dropped out, the wiring is a mess (mice attack!), there are no brakes.. and i mean no brakes, and lets not forget the underside rust.

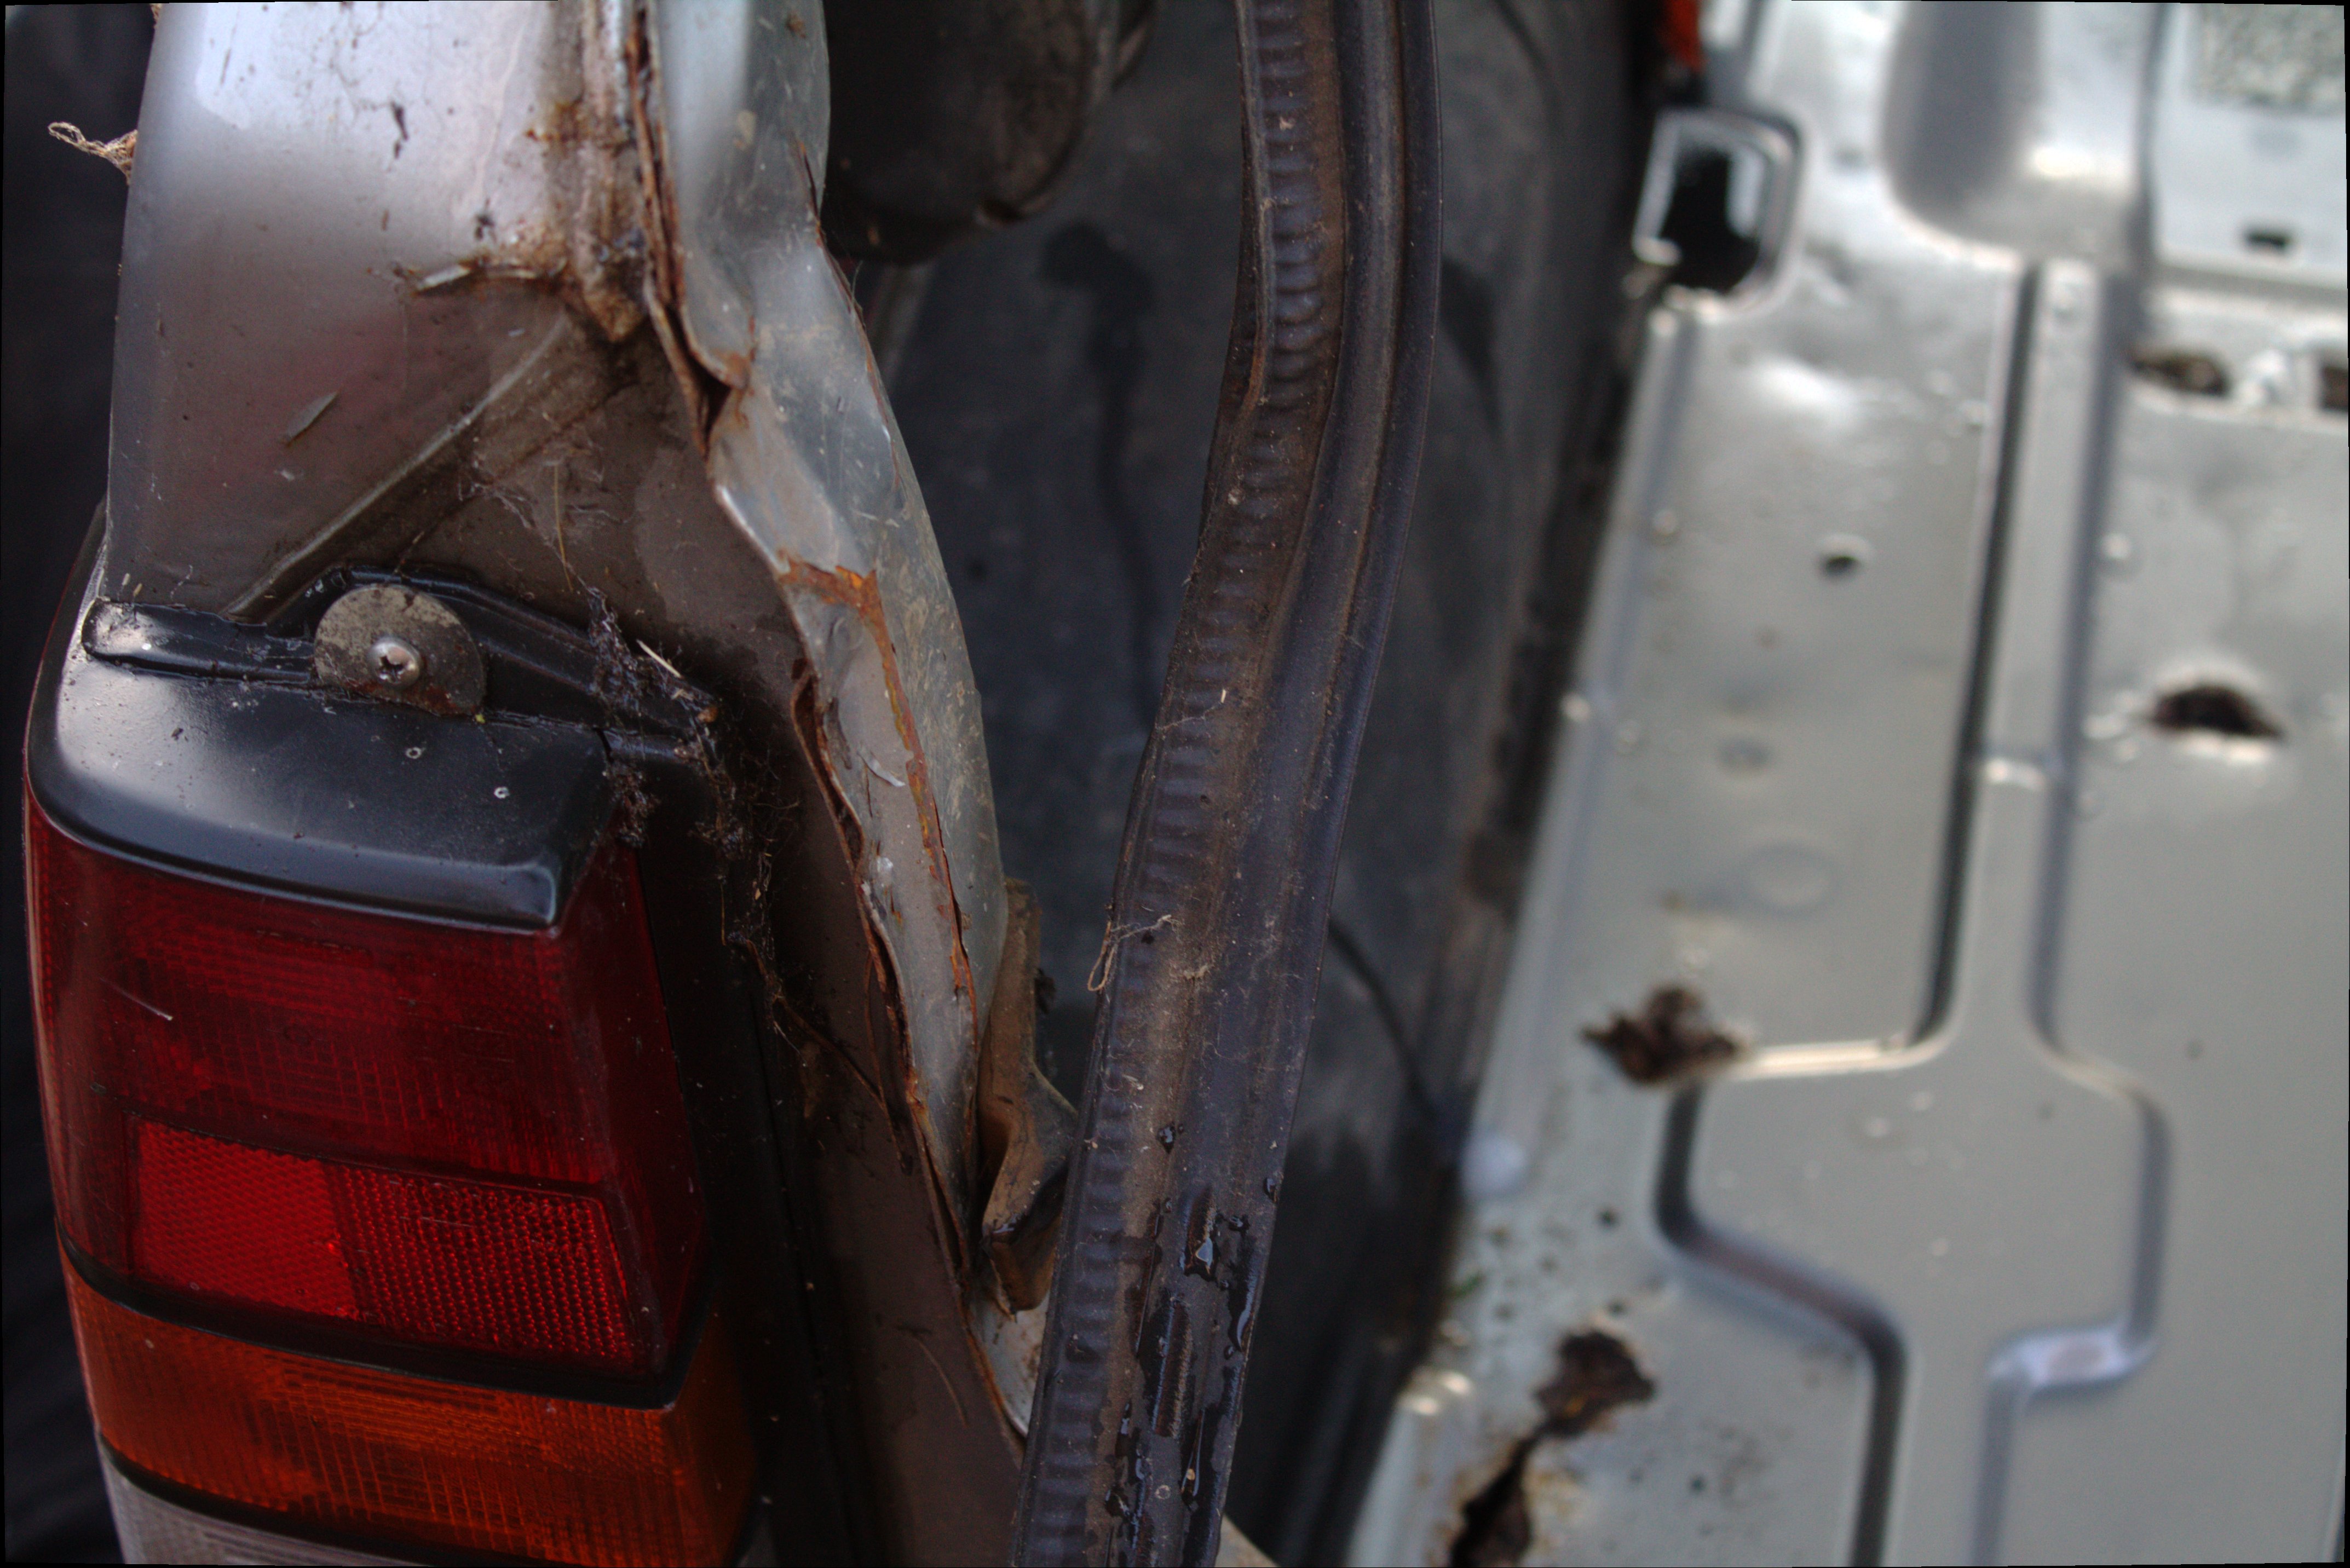
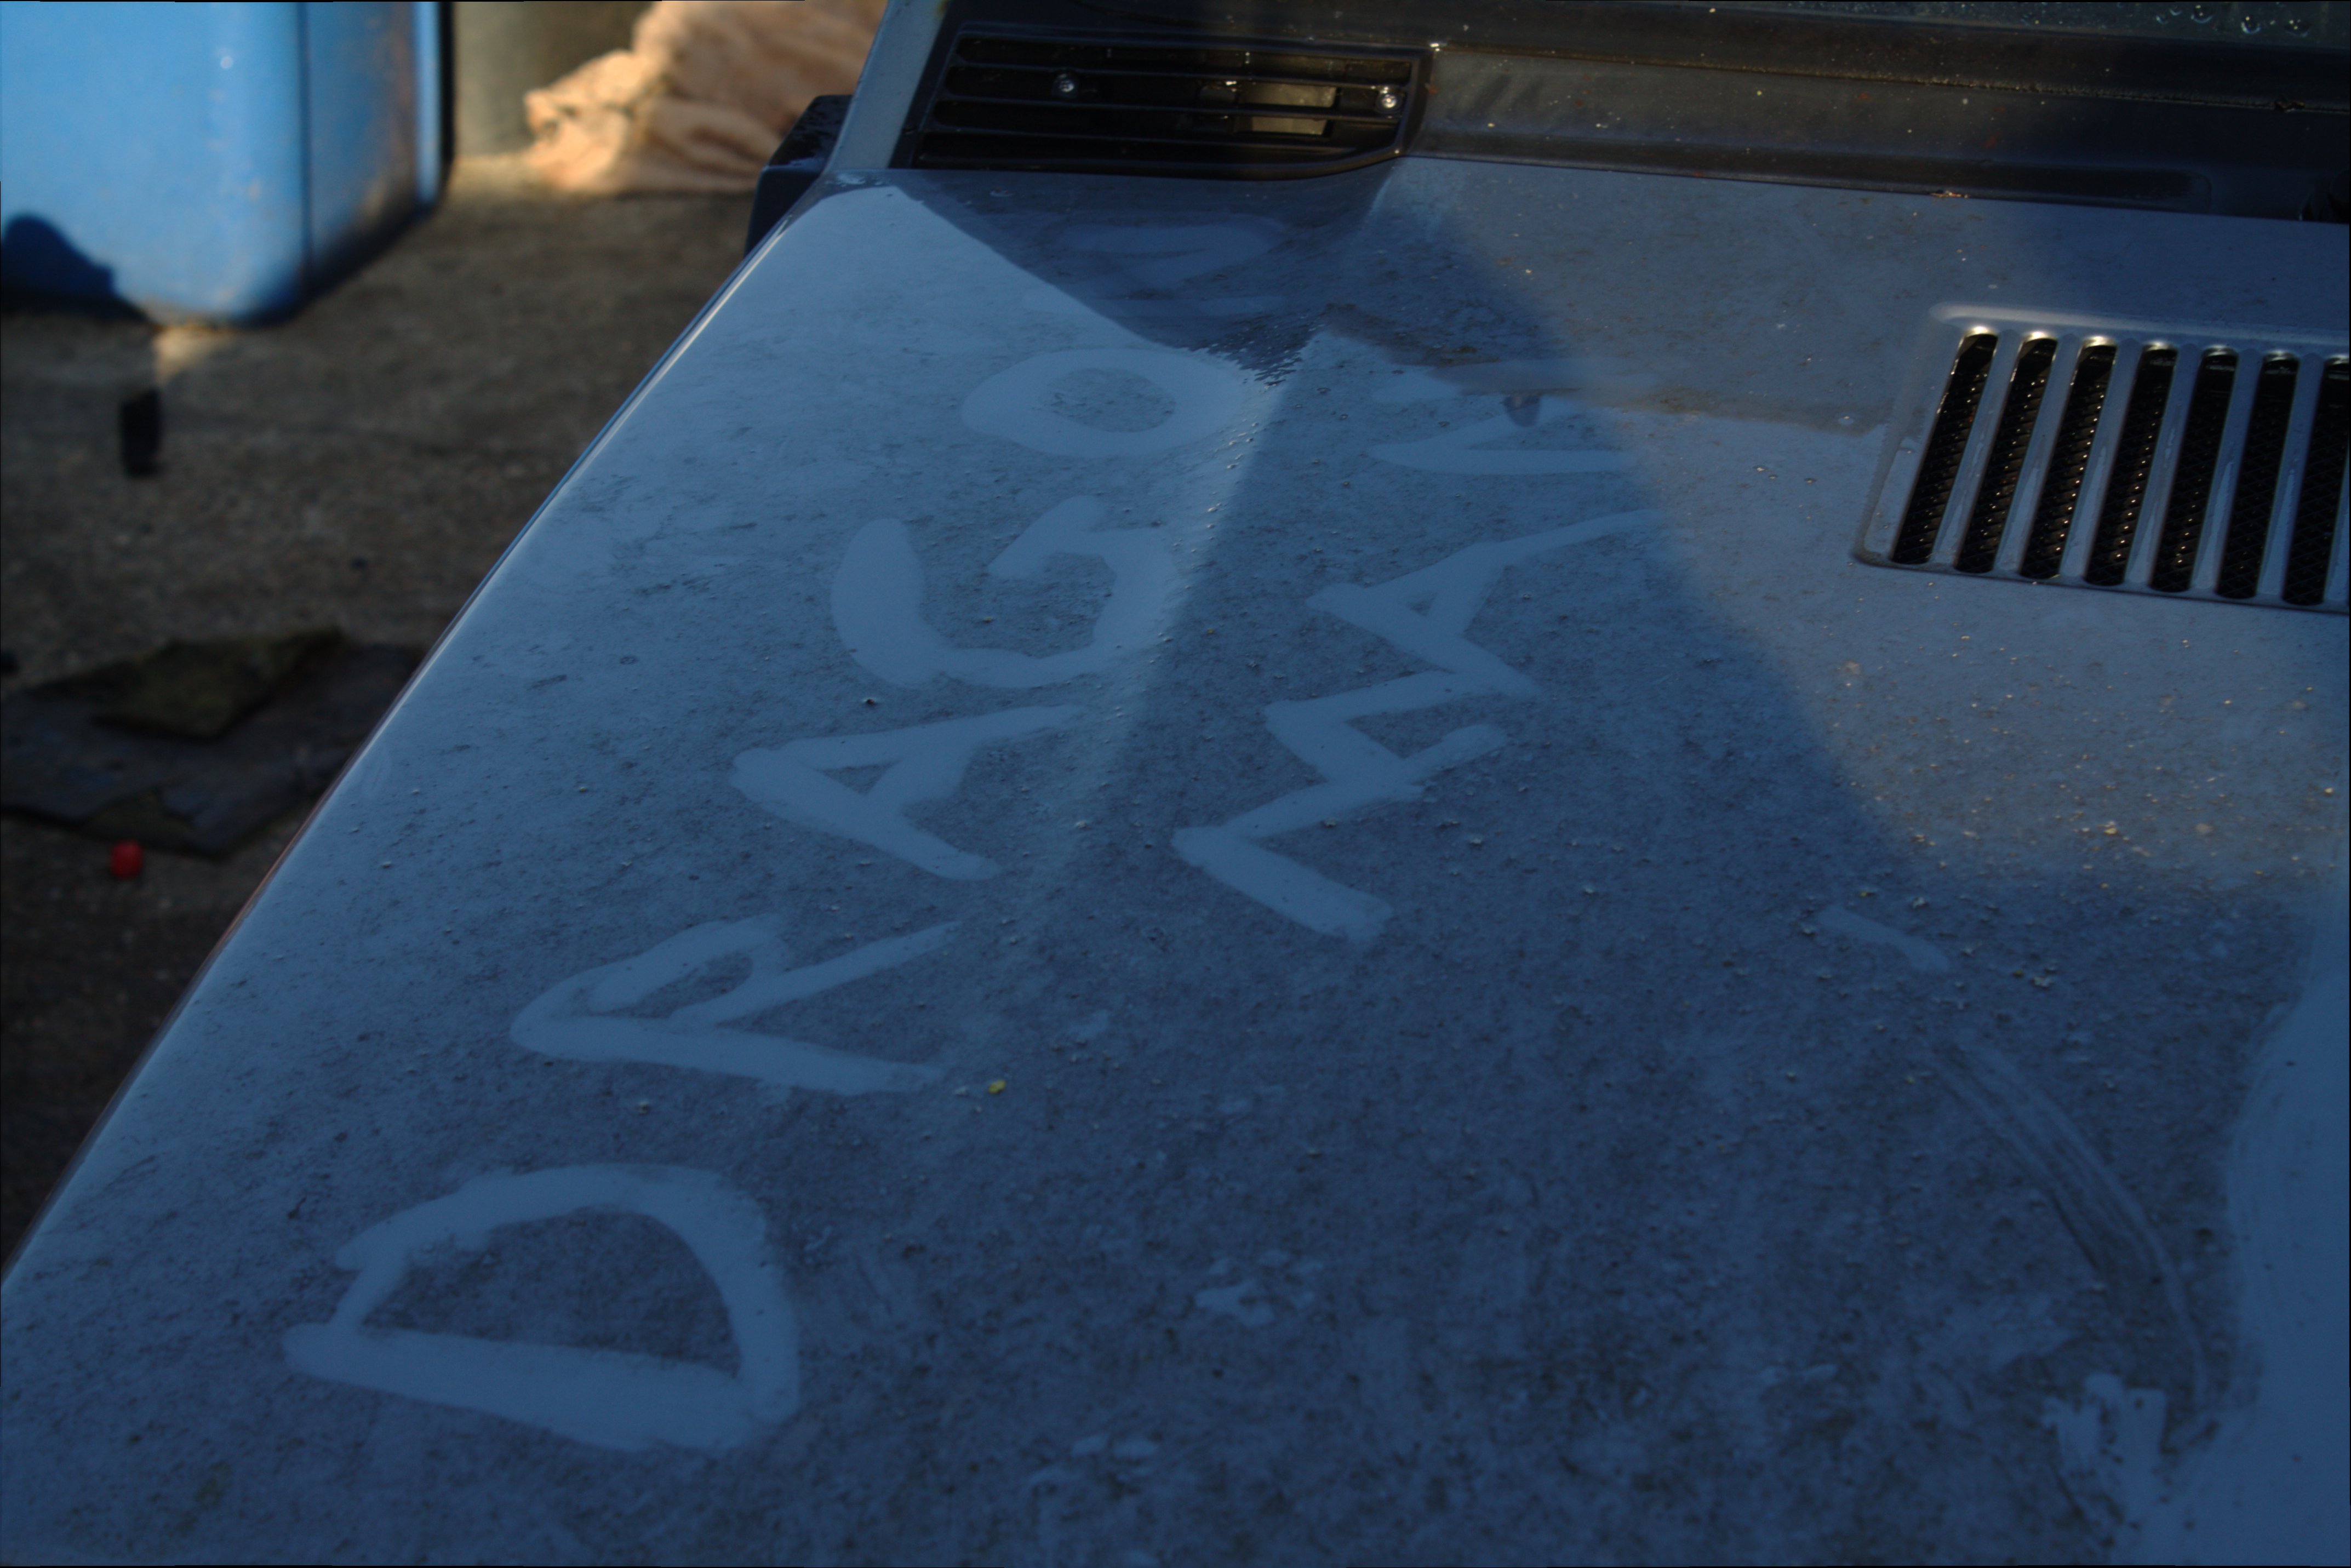
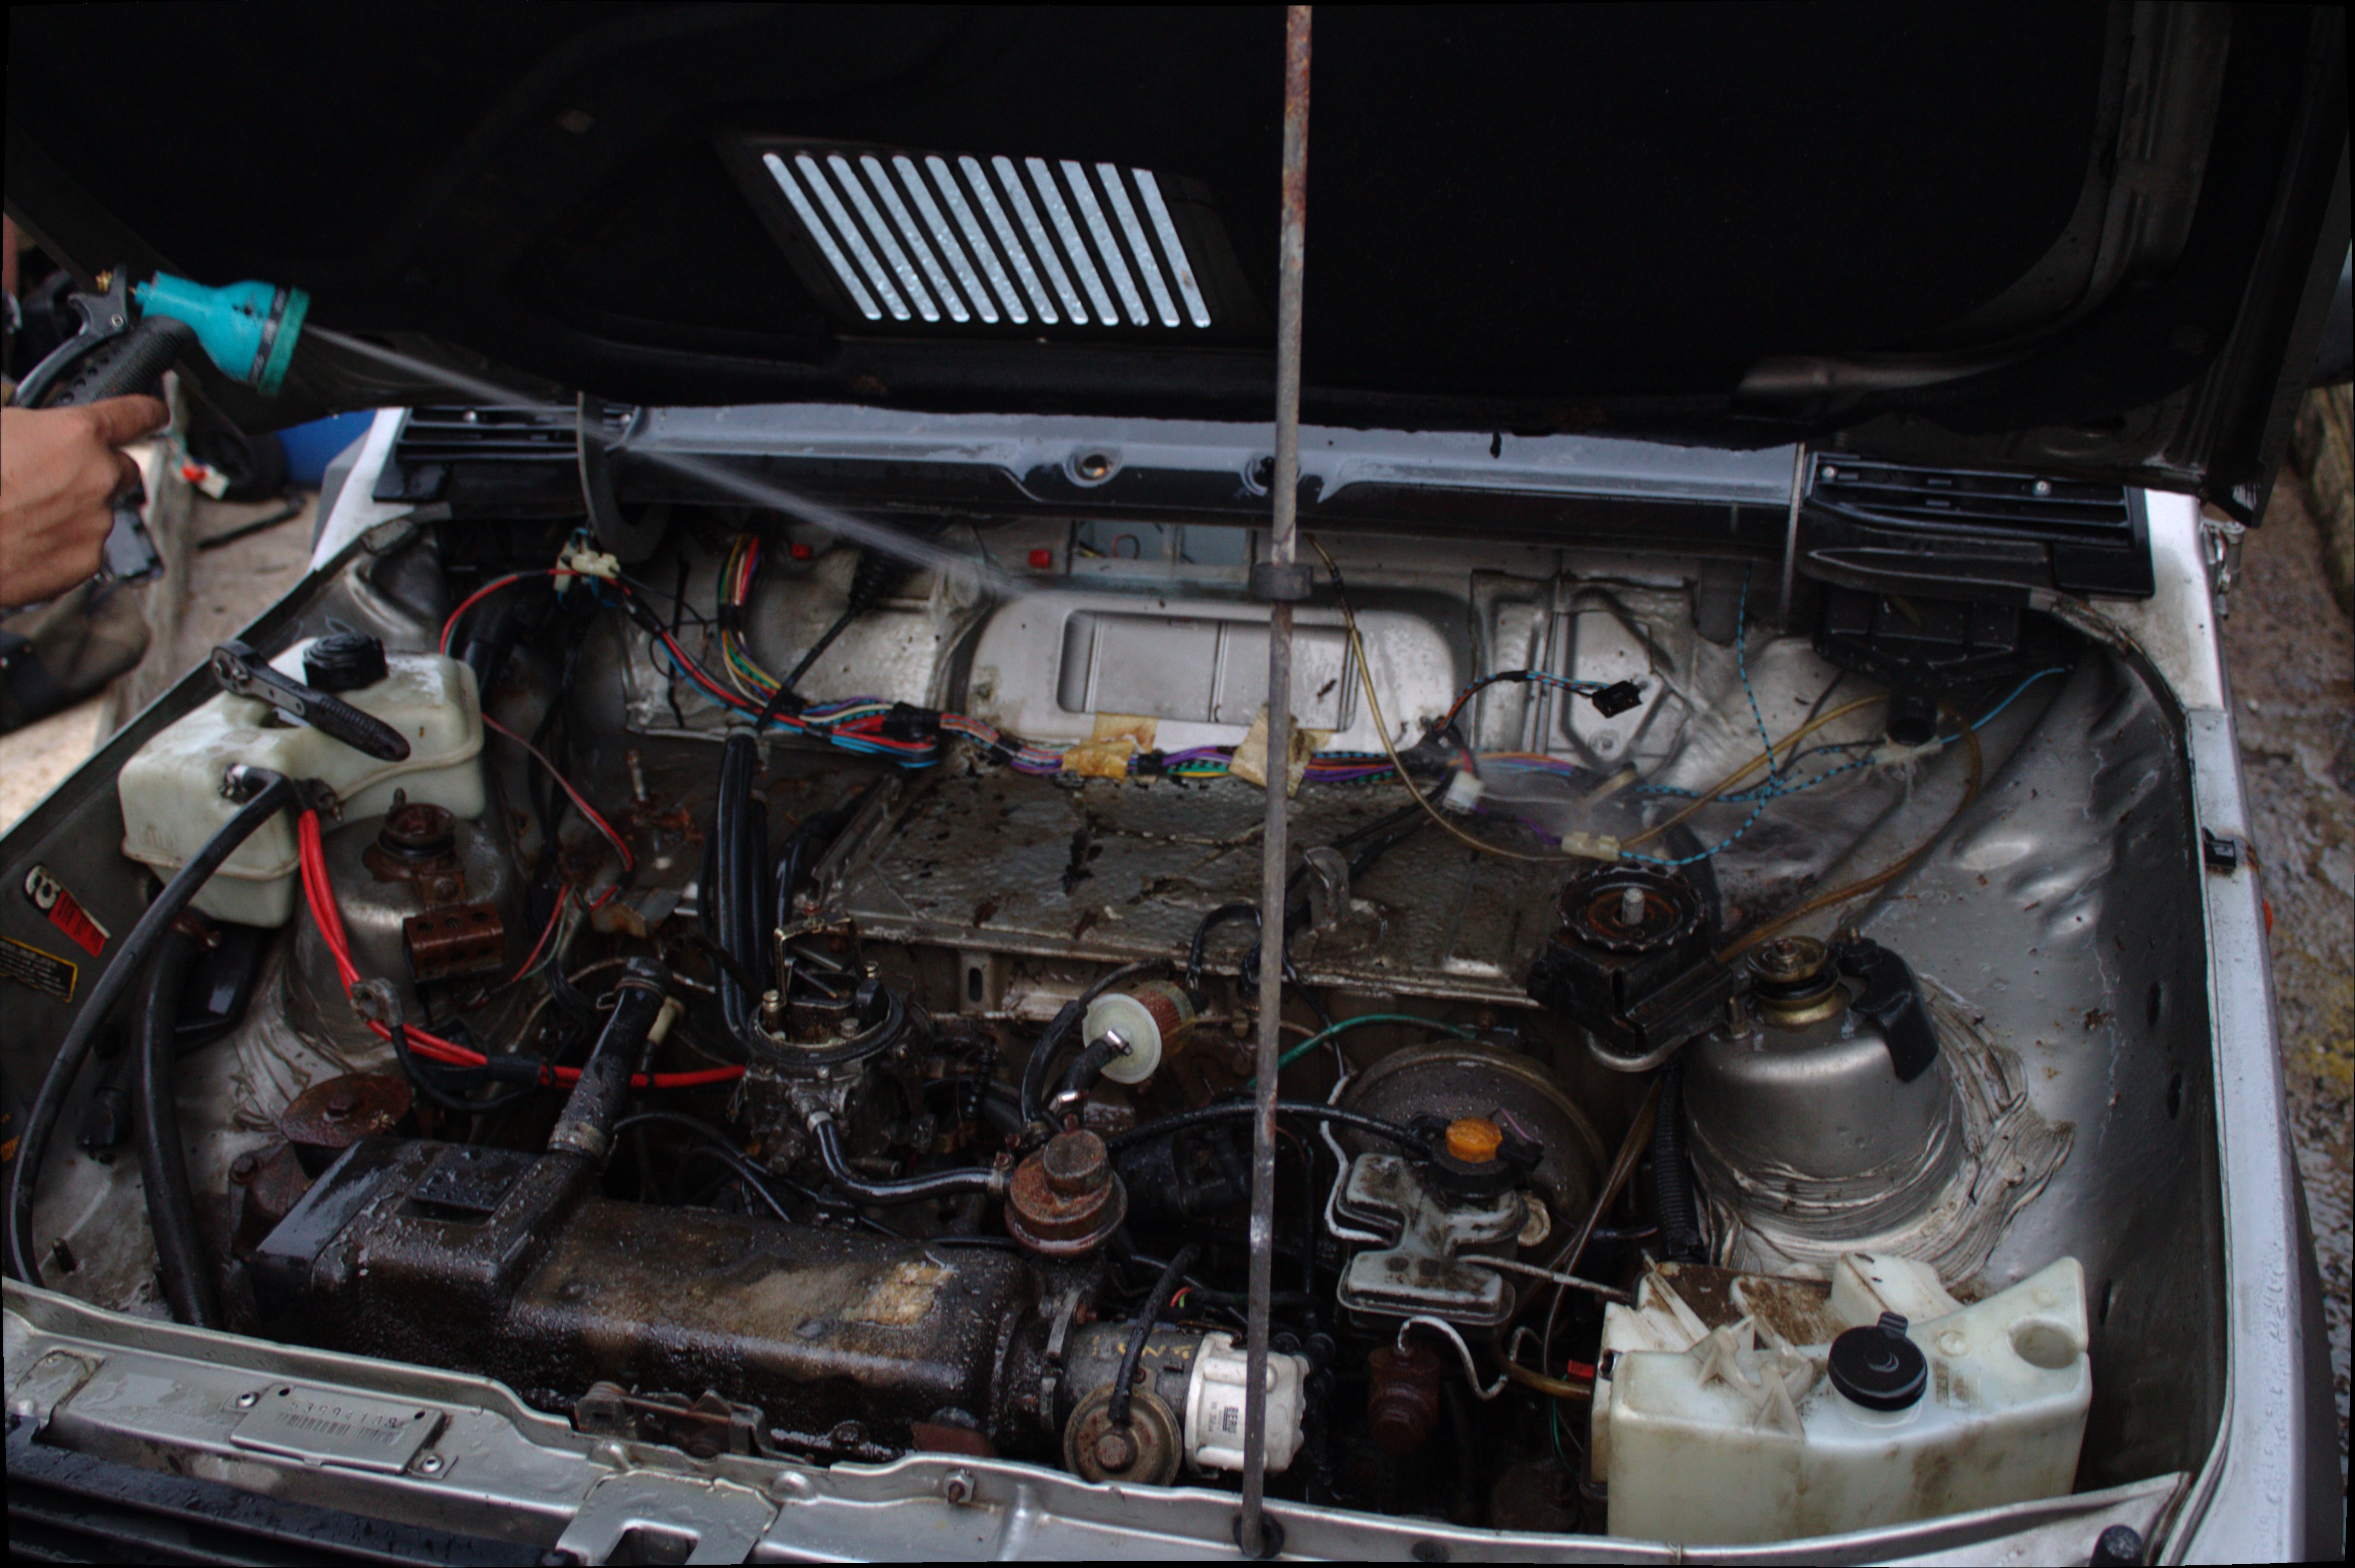
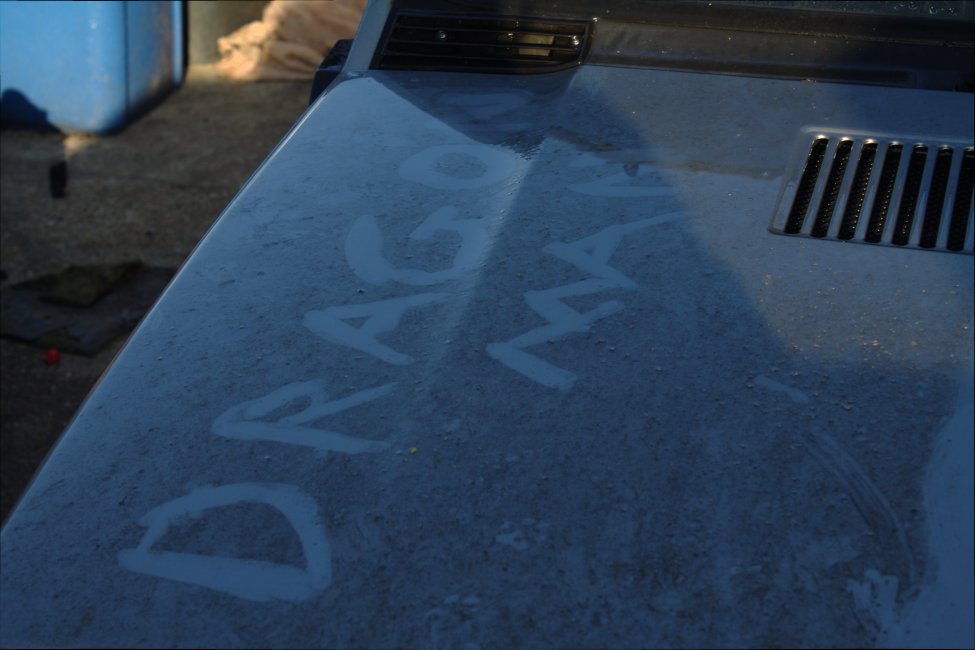
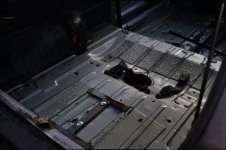
so today i started by stripping out everything inside the car to get a good look at the floor pan and clean it all out (Dragon Man style!) i found the usual rust: the boot floor is a mess, but easy fixable, a seam has gone just behind the drivers seat anything forward of that seems to be OK, and the back of the sills are just gone so i will need to rebuild that.

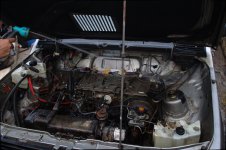
the engine runs.. the vac advance line has split so its a bit rough on tickover but it seems good. the fuel tank seems good.. all the 4x4 stuff seems good.

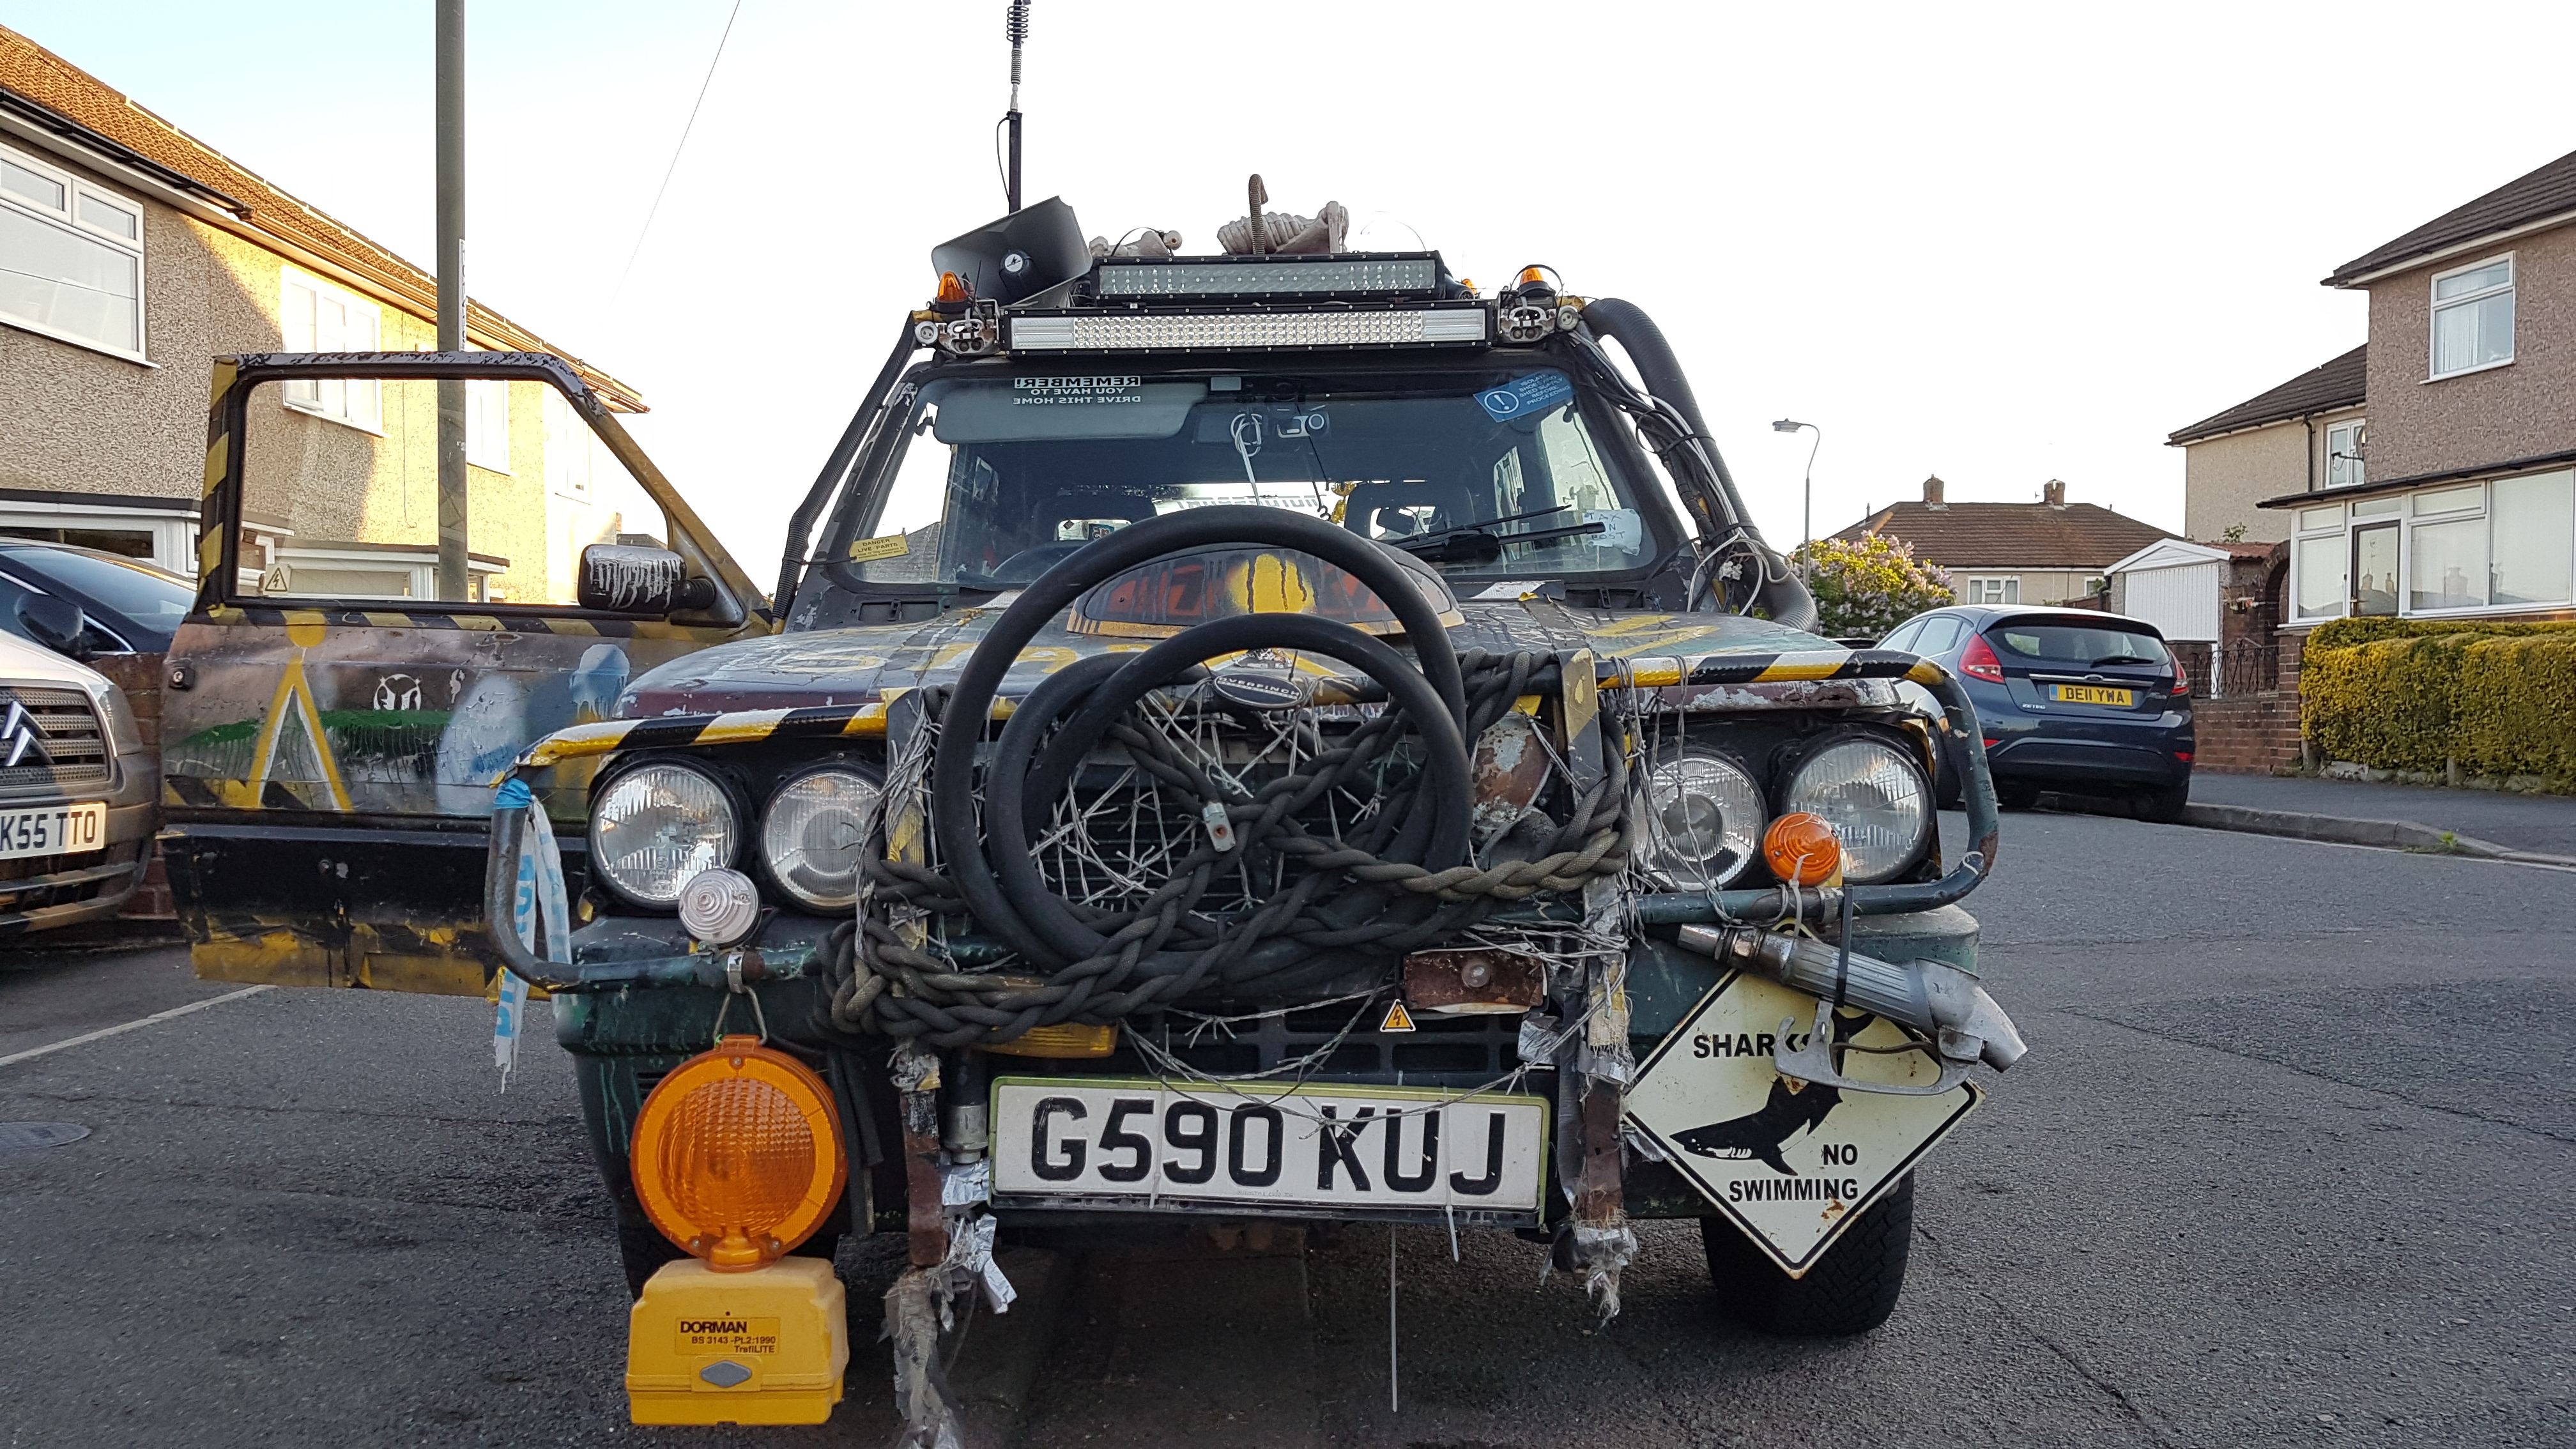
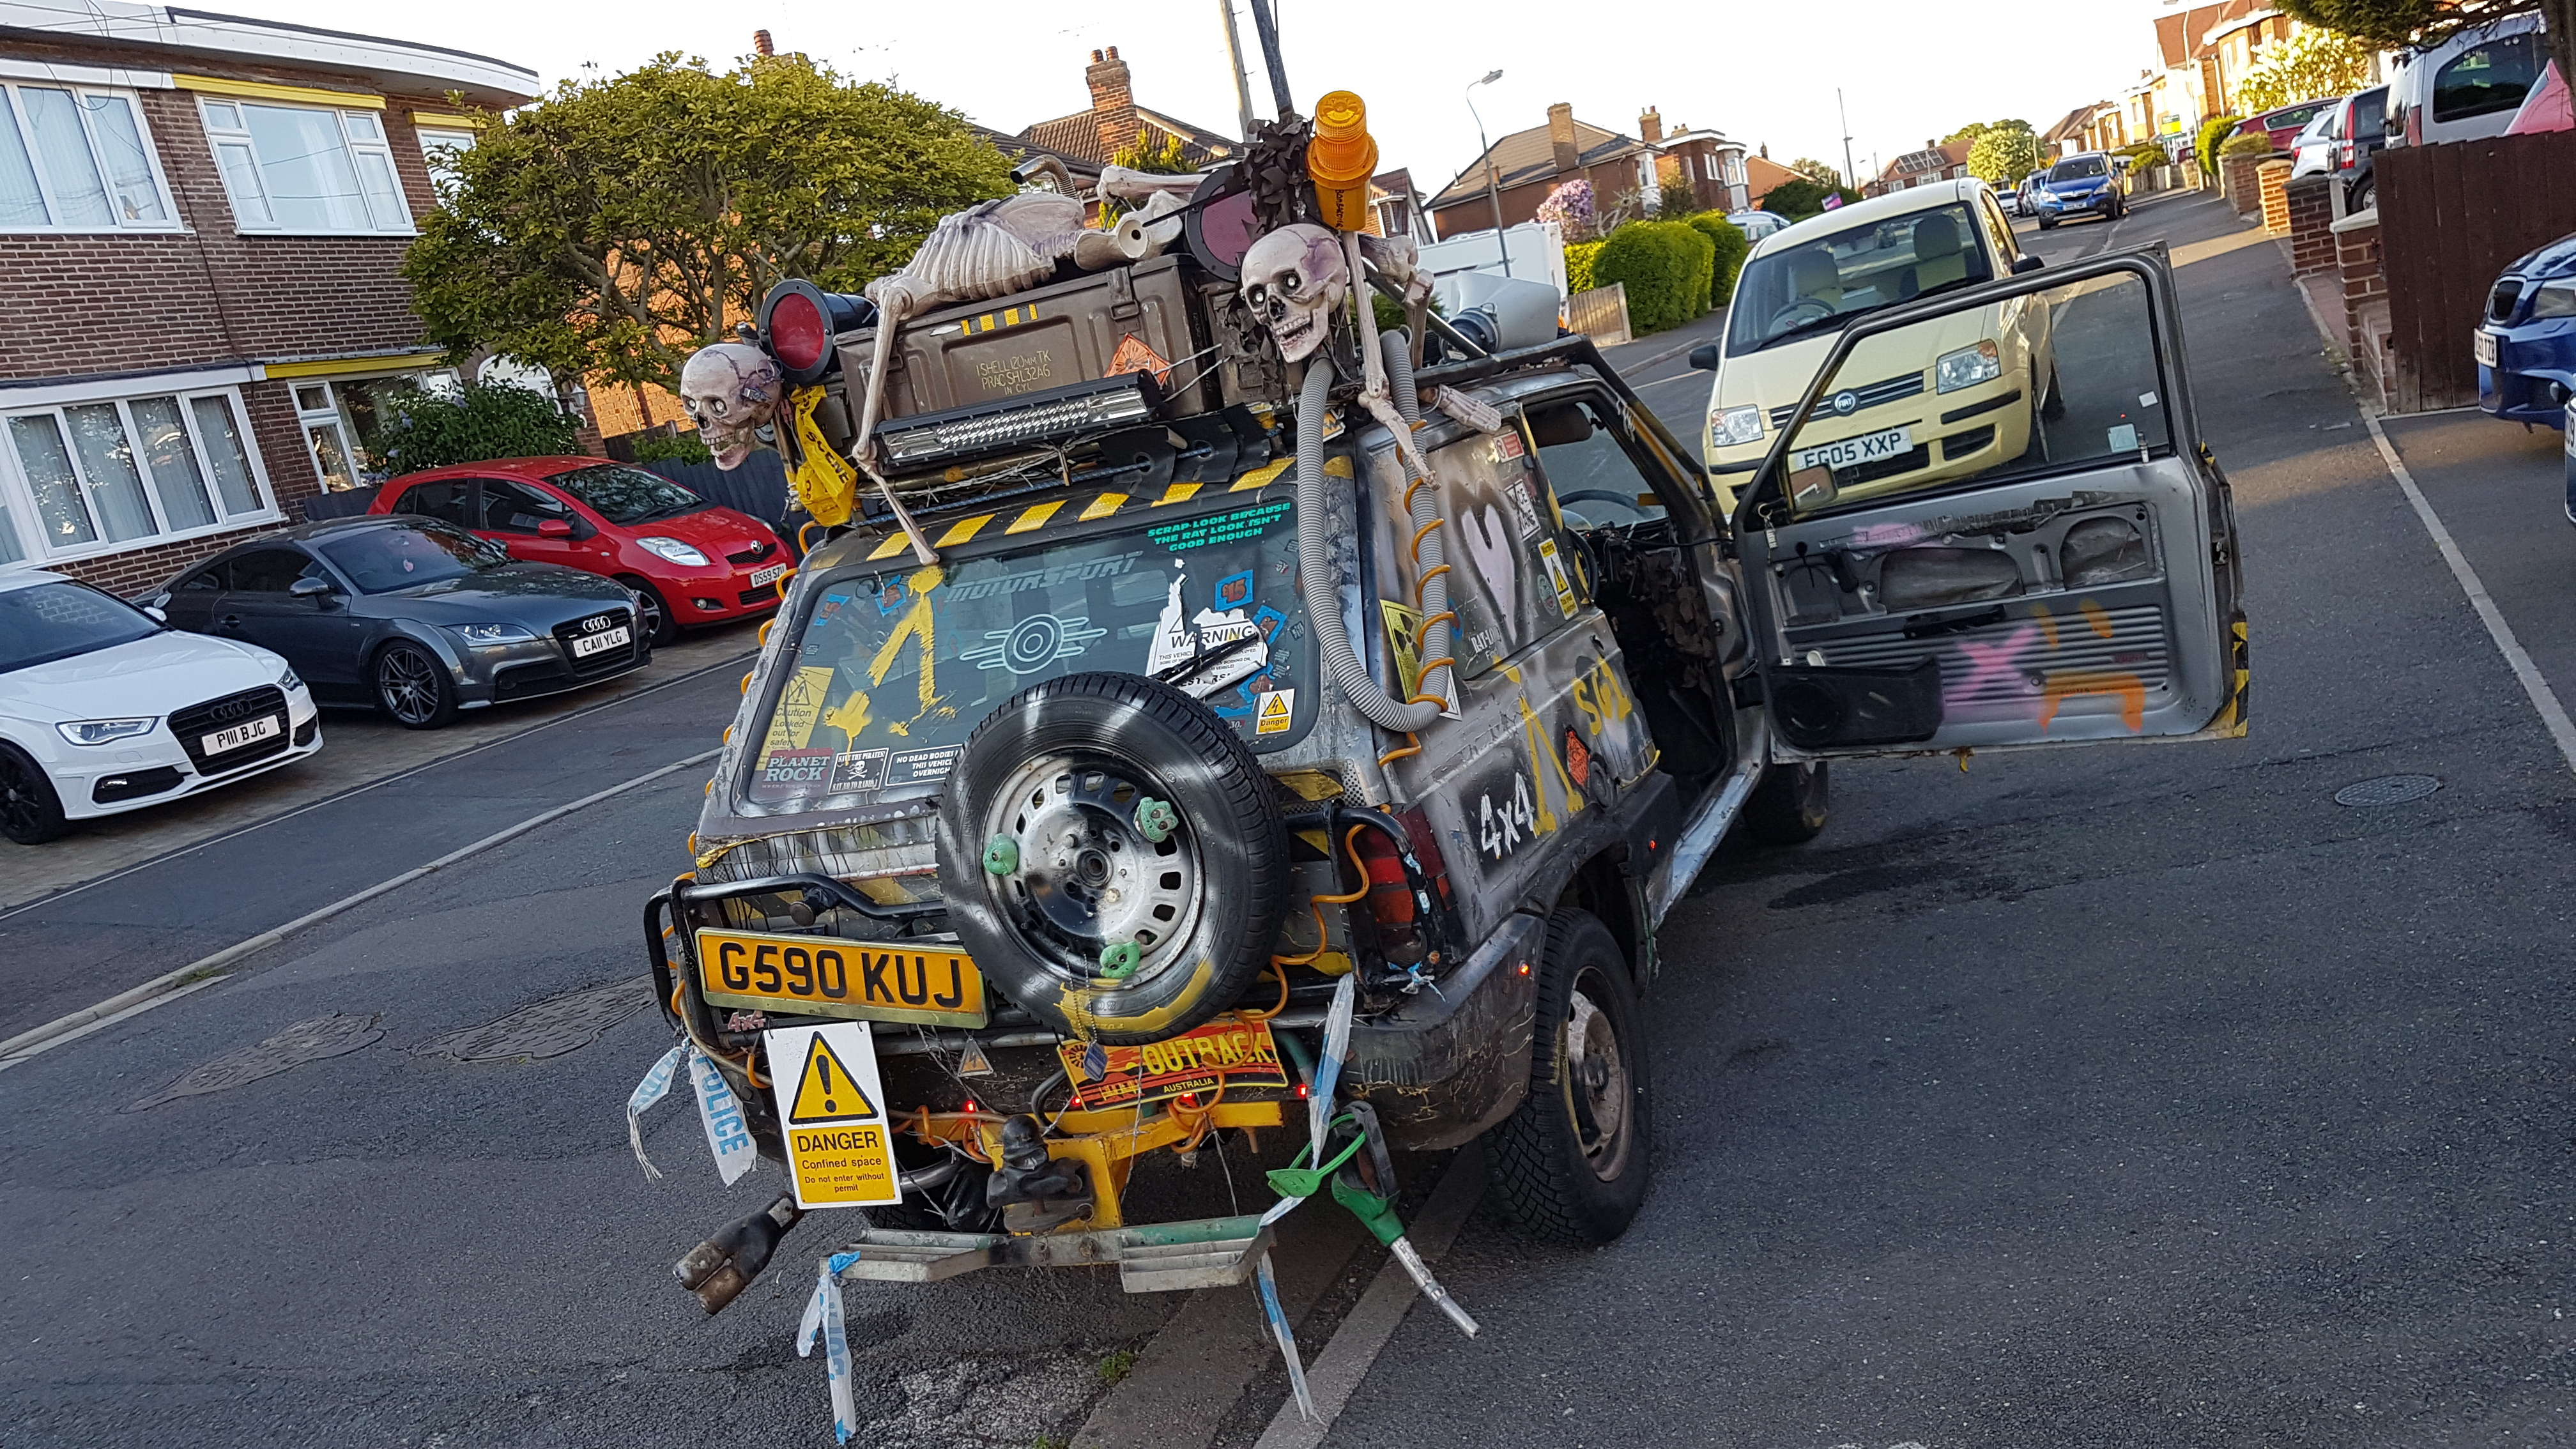
i have go a few pictures took free by a professional photographer! (or should i say someone with an epic camera :p)

Here are a few picture, but please check out >This Album<


like i say, check out the photo album.


i will be keeping >Online video logs< of this, so keep a look out on Youtube too.
here are some videos, both are long but the second one is longer!

Project Fallout a panda 4x4 turned post apocalyiptic - YouTube

Project Fallout Panda 4x4 What to do Post Apocaliptic looking Panda! - YouTube


keep watching guys.. the jet wash will be coming out later today!


Edit:

This is how it looks now: :eek::eek::eek: :slayer::slayer::slayer:


Iv changed my fuel tank over on rusty did you want the old one for fallout, it has lots of rust and a few holes not sure if it would be repairable? I can take pic's later.

sure thing, the fallout panda seems to have a seam that leaks. i can easy weld it up. hell i managed to make Talons tank live again and that was really bad :eek:

i can collect it from an event maybe? save postage!

when i get enough cash to get my ass on the road ill be visiting ALL the places :LOL:
 
hey guys.

having some life changing events occur. all for the best i do believe.

sadly these events have some what killed my plan for the grey panda. some of you know that the grey panda was going to end up (eventually) post apocalyptic,
But the real reason why i had it was so that my dad and i could have a bit of fun down green lanes.

that plan ended when the accident happened. so did my will to kinda fix up the fallout project panda.

with recent events, (good ones.. really good ones :LOL:) i may be moving out of my parents home.

this means that the fallout project will be cancelled and handed over to some one else.
my mum complains about the car being parked around the back. she knew why i had it and my intentions with it.. and i think she just wants it gone. which i can understand.

i have been chatting to another forum member about the grey pandas future, and it does seem hopeful.

im not seeing this as anything bad,, just changing times for me.

i hope the next guy who has the grey panda will be able to continue on the road restoration of it.

Ooh, sounds interesting, I have a couple of ideas who this may be. Will have to keep my eye out :)

Hope everything goes well for you bud (y)
 
ok life changing events to the side.. i have been doing small jobs to the fallout panda.. well bex is parked just in front of it. and well some bits and bobs just sorta.. well you know.

one does not simply just fix one panda when he has three to play with... and a marbella.
to be fair.. the marbella is a cracking little car. its never skipped a beat once. no matter what it starts and runs any time you come to it.

anyway. ive not done much to fallout. moved some stuff from out of him.. stolen one of his prop shaft CV's.. and his distributor is now on talon after the incident in Scotland a few months back.

im mainly making this post to ask if you all can keep your eyes open for a Fiat Tempra manual.. more so the wiring diagrams. i am starting to get on with all my projects again and would love to get this tempra dash fitted to the fallout project panda.

even if it is one from over seas and not in english.. i just need the basic wiring diagram... what wire goes to what sensor kinda thing.

and if you have a manual.. ill buy it off you! haha

oh i feel bad i should have stuck a wanted ad up... hmm think i will in the tempra section :D

should be doing more stuff to this panda anyway being as i cant do anything with bex until i get some sills.
 
ahh so back again. starting proper work on the fallout panda.

i have decided to swap out everything in the wheel arch with all the best bits from off bex!

sadly there was not much, but the struts looked to be only a few years old on bex so ill be sticking them on!

here is a video of me talking all the wheel arch bits out:


i have started now to strip down this hub and one from off bex.
going by the level of corrosion, it looked like Bex had been driven in a salt mine!
hammer on a 19 mm.. works loose.. hammer on a 17mm.. works loose.. right 15mm.. hammer it on.. ahh there we go!

i have never seen blistered up metal like it, besides on docks at the sea side!


bexes calliper was bolted on really loose.. like the bolts were almost finger tight.. for saying how rusted up everything was, i was shocked. the pads has come away from the metal backing, and when i eventually got to the wheel bearing, it was held together with a cable tie! well it was holding the thin outer metal bit on. oh and then theres the bottom ball joint that had been replace but not fitted properly.. so it was only just "in" the slightest tap with a hammer and the ball joint just fell out of the hub! the clip that holds the ball joint in was holding the dust cover on!

man that car was a time bomb. something like that Would have failed if a pot hole was hit.

theres pictures but i left my camera in the garage.. oops..

anyway...

it looked like the inner CV boot on bex (one thats held on by 3x 10mm bolts to the gear box) was replaced with a brand new one not long ago. its in incredible condition. not a crack or any sign of fatigue anywhere... yeah im going to reuse it! the whole drive shaft is actually in better condition so i think i will just degrease the one from bex and replace the whole thing.. after painting of course.

i know i said i would not paint anything.. but its running gear! it demands paint! i do not class painting running gear "cosmetic", i class it as rust proofing. besides, i have it all to bits.. it would be rude not to show it some TLC.

Bexs calliper was seized so bad, it took multiple hits with a hammer to free it up, and a large chisel to get the 2 little slidy bits out. thankfully the rubber around the piston is in fantastic condition :LOL: :D

i am replacing fallouts calliper as the brake hose snapped off flush.. so its more easy to just replace it with a cleaned up one from bex.

i have done another video too, but camera is in garage.. kinda short though so ill add a bit more showing what i have done paintwise.


quick list of things i need i am going to make here while i remember... so i dont forget!

bottom ball joint
ball joint dust cover
brake hoses
brake pads

parafin/jizer
duck oil/wd-40
more grease
0.8 mig welding wire
co2 gas
tin of yellow metal paint
black metal paint
 
ahh here guys, the new video:


man that calliper looks tasty!

and the pictures of the wheel bearing..:


also i have now got these bits:

bottom ball joint
ball joint dust cover
brake hoses
brake pads
yellow / black paint
wd-40
grease
0.8 mig welding wire
welding gas

at £8 a disc, i was thinking about getting new brake discs from ebay! mind you, would not mind a set of drilled and grooved discs.. just for the sake of things. they are £40 though (for 2 of them).... am i just throwing money away? i have got good brand pads though...


bits i need:

de-greaser / jizer / parafin
red metal paint (big tin)
new set of metal files
PSU for garage computer :( (think rust dust got into it and popped it)
 
Last edited:
ahh i have some nice pictures coming.. tomorrow.. show off all the shines for now..
well some.. the rest is in the boxes still


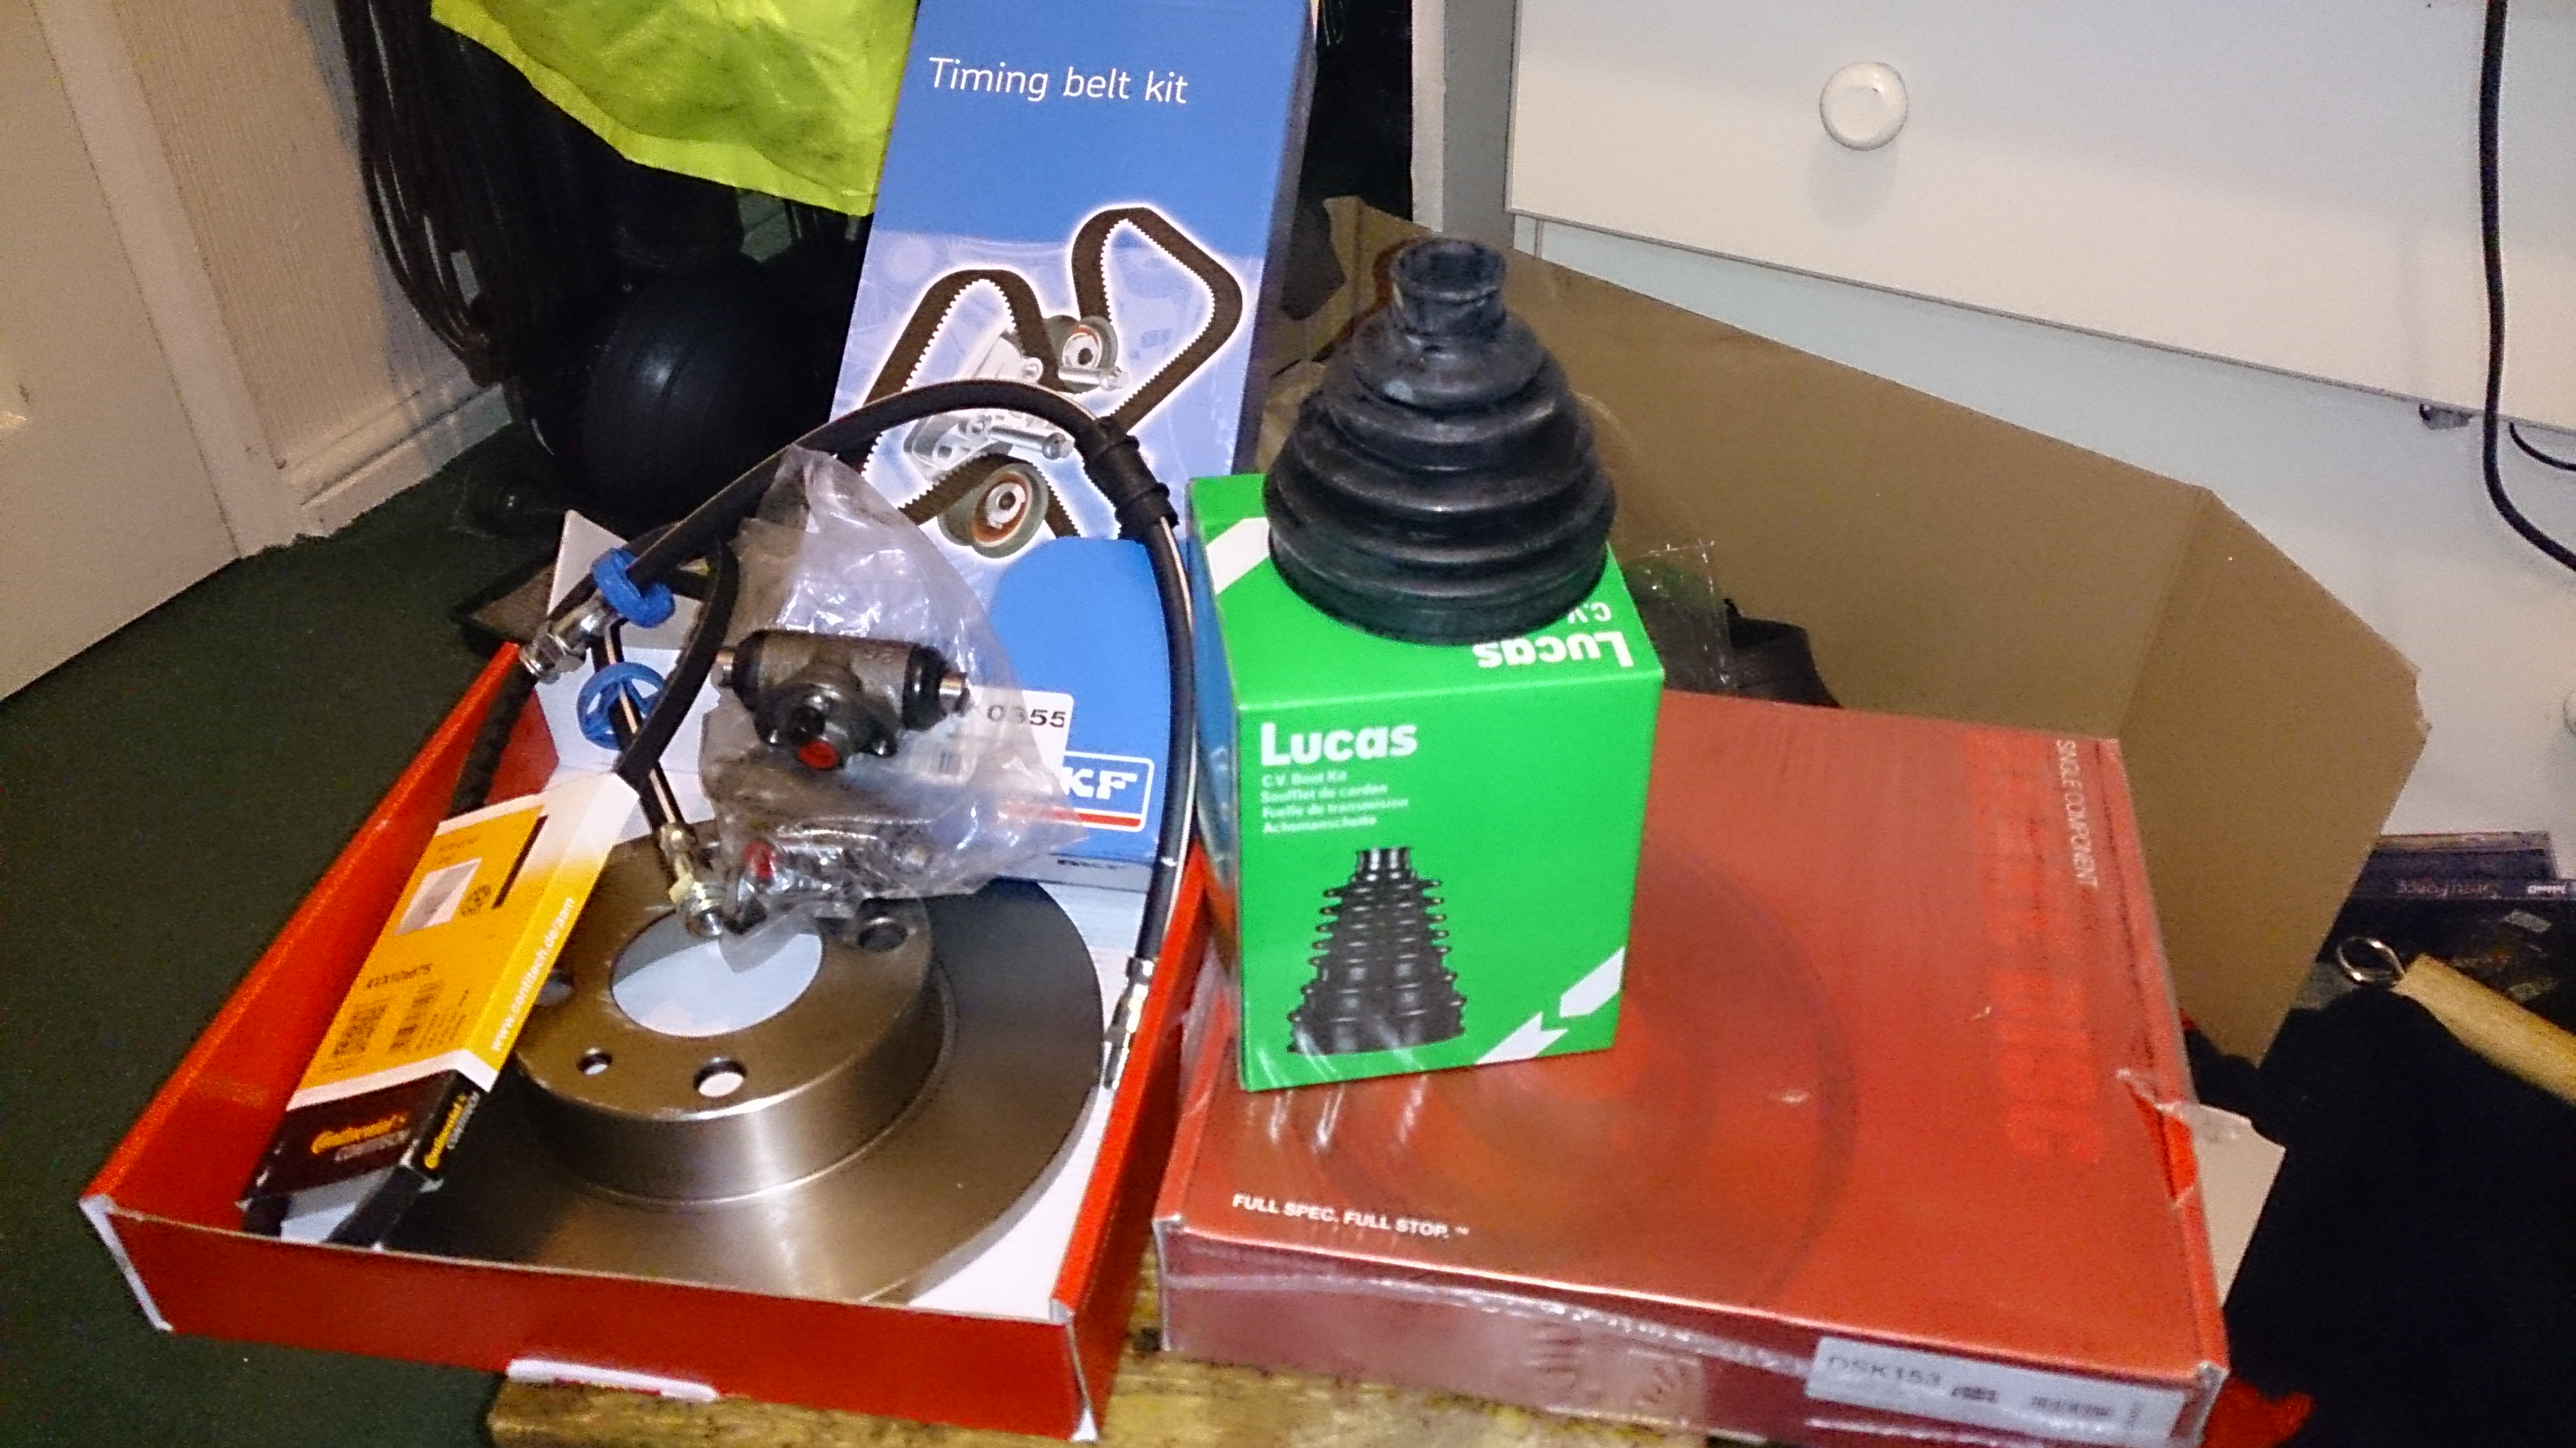
so we have:

timing belt, tensioner pulley
fan belt / aux drive belt belt
2 new 45cm (450mm) brake hoses,
2 new rear brake slave cylinders
2 new Apec brake discs (£7.38 each free post from ebay!! bargain!)
4 new Apec brake pads for the front
2 new bottom ball joints
4 new ball joint dust covers (i got spare) to replace track rod end dust covers
and 4 new Lucas outer CV boots (2 for Talon)
i think that's everything...

now i know how the Australians feel cos man its like a Christmas in summer!

think its going to rain tomorrow.. (it is now at 3.11am)
i was hoping to get some welding done as theres only a bit to do in the front wheel arch. then i can get to painting on some protection then adding a little mixed waxyol and underseal... hope that will stop it cracking and peeling off in the future.

i kinda have a half rebuilt calliper.. its painted and looks real good new pads ready to go in.

man it took about 5 ton of force to press the ball joint in the hub carrier. so much so i bent the vice handle! it now has a good 60 degree bend in it.
got it in though :D thats all been painted in my favourite happy hammerite yellow :D i always give them at least 2 coats, sometimes even 3 or more.

the drive shaft is already complete with rebuilt CV's, filled with fresh grease and new boots.. painted in my favourite "it moves so paint it a different colour" colour: Red! :D

i have all this to look forward to on the other side haha! looking forward to it.. dare i say i actually enjoy it!

there is one down side to all this.. i cant get the gearbox drain plug out. its been tightened up so tight nothing will shift it!
it would help if i had the correct size allen key.. is it a 12mm allen key?ill have to get one ordered from tinterwebs if it is.
may have to get the hammer and chisel out to see if i can knock the plug around. i had to do this on talons box..

only snag i have come across so far. so not doing bad..

oh and it did have oil in it! about half way up the CV boots.. there was a hole in one.. sigh..

least the box had not been running dry :D though the box does look a little black inside, with a coating of black deposits on everything.
no sign of metal in the CV boots, unlike bex's gearbox. thats got to be good!
 
Last edited:
Back
Top