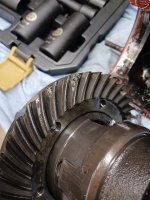
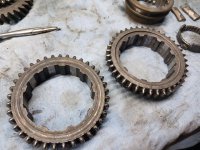
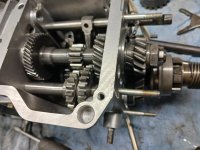
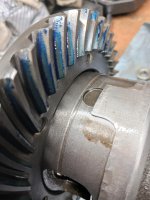
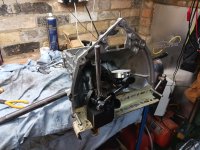
Got the 126 gearbox from Lukasz at LP Garage. It looked ok when peering through the cover. Yet on strip down, what a mess. Turns out the retainer for the layshaft bearing retainer had come loose. The gearbox was eating itself to death. It’s almost as if someone tried to drill the heads off, gave up & threw the box back together. Bizarre.
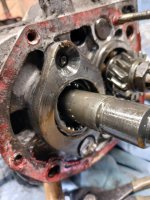
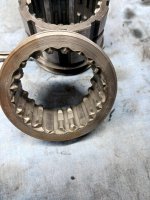
Anyhow, I’m guessing I can use my 500 casing which is good & quite a few other bits which are good to make a nice synchro box.
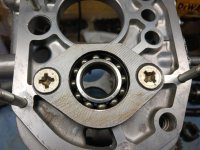
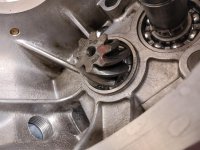
Which brings me to this question. Scoured the internet to locate a suitable impact bit to remove these screws. Can’t find anything. Any ideas? Thanks!
Anyhow, I’m guessing I can use my 500 casing which is good & quite a few other bits which are good to make a nice synchro box.
Which brings me to this question. Scoured the internet to locate a suitable impact bit to remove these screws. Can’t find anything. Any ideas? Thanks!