cab1.JPG

Scudo Scudo 'it's not just a van' build diary.

Introduction

OK - I hate the term 'surf van' - but this is kind of what this van is going to end up as.

But rather than JUST being that, it's also my daily drive and needs to do all the other stuff that vans are good at - like tip runs!

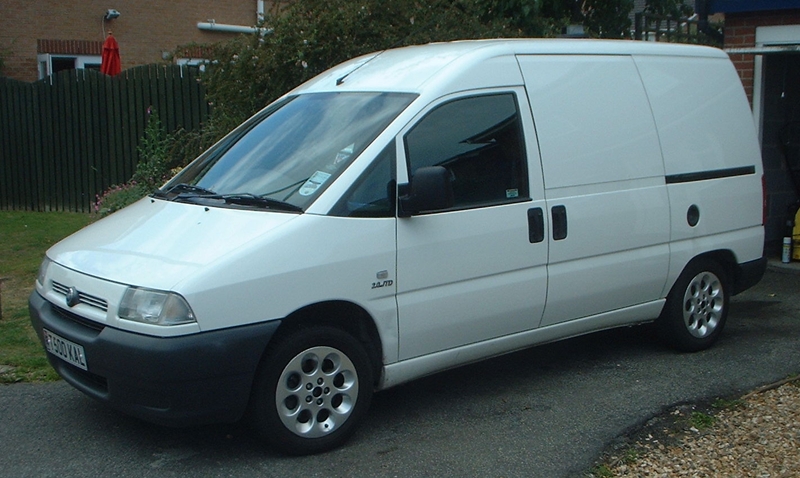
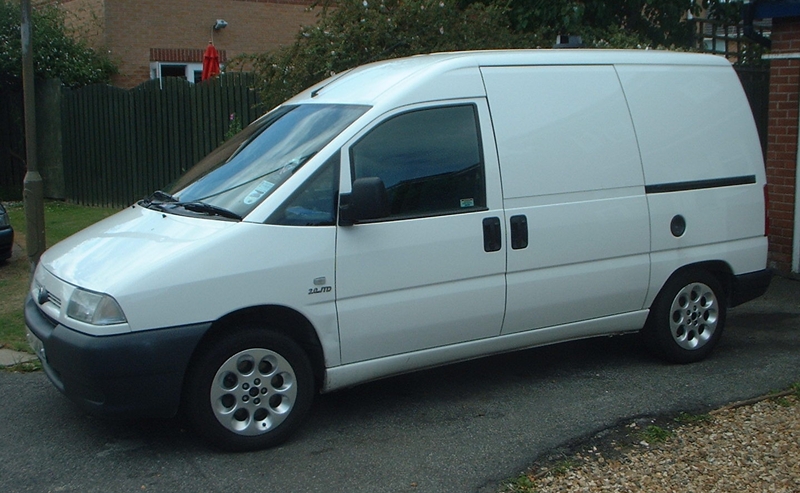
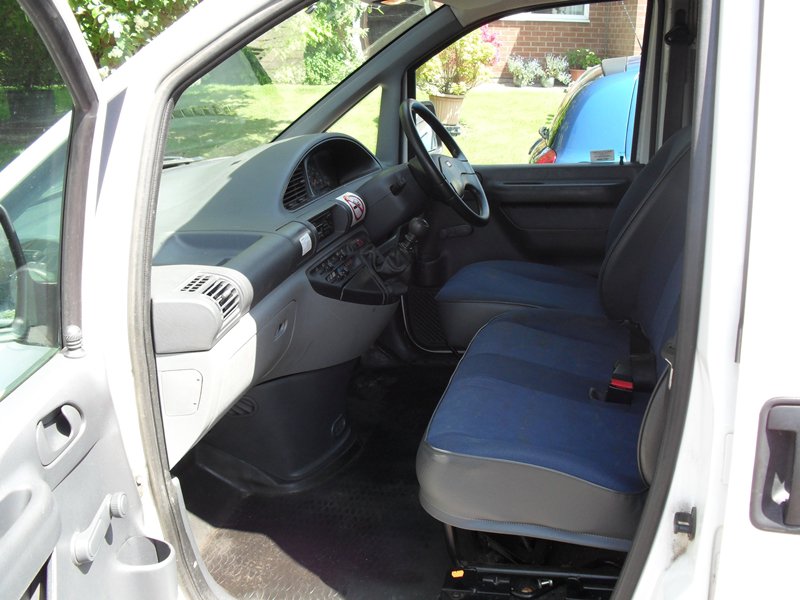
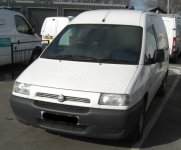
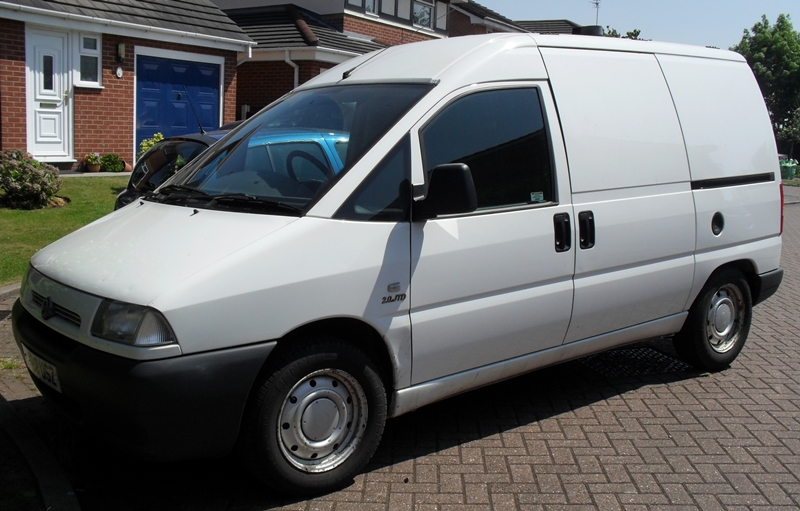
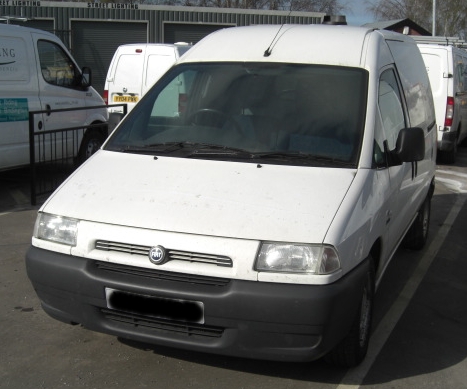
Anyway - it's a 2002, ex council van with 43k on the clocks - a few light scrapes, but overall in great nick :

exterior1.JPG


exterior2.jpg


cab1.JPG


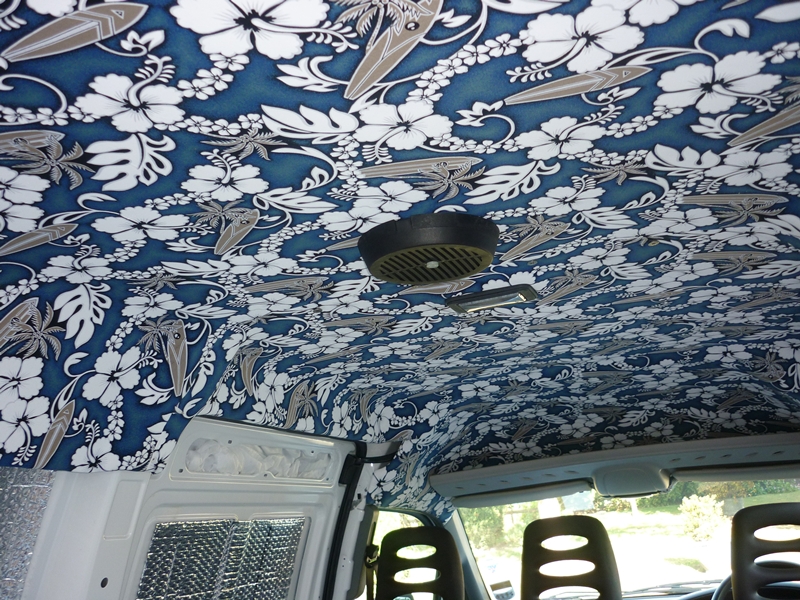
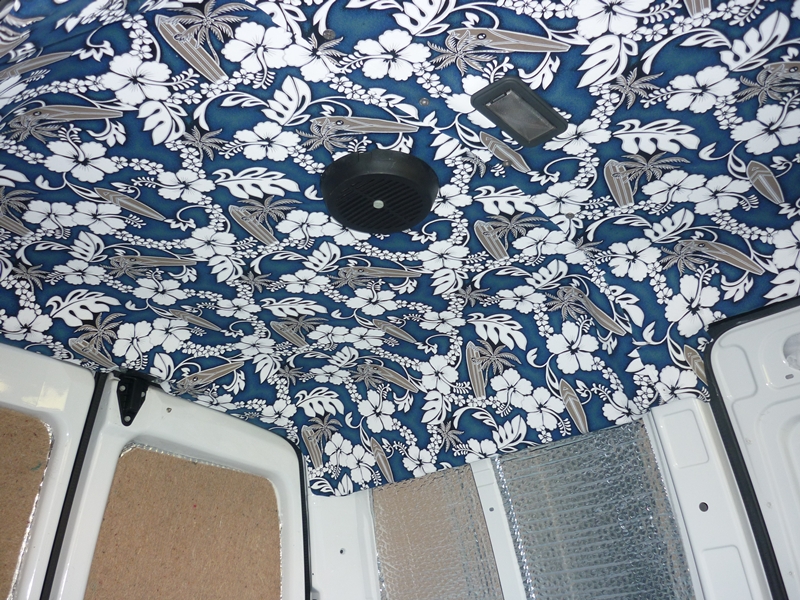
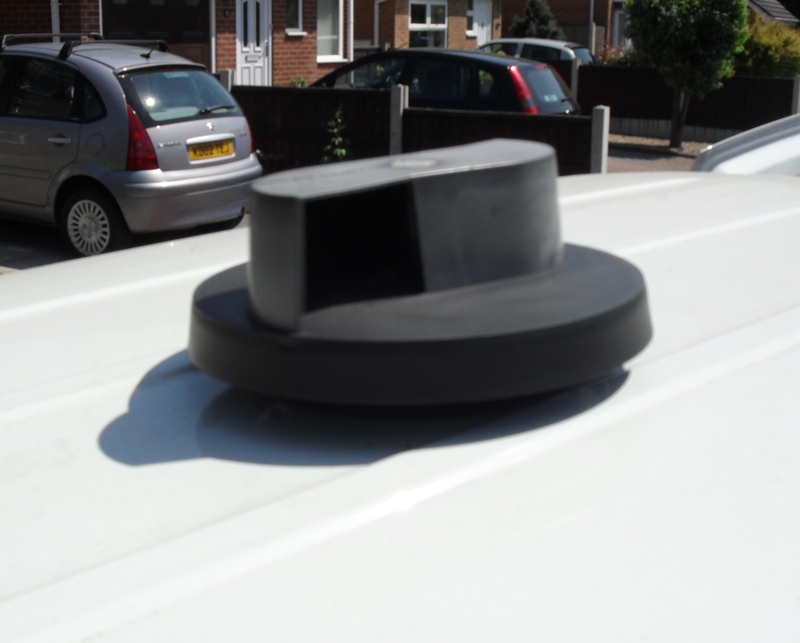
Whirly roof thingy is an added bonus to keep the air circulating - especially when I sleep in the van! :

exterior3.JPG


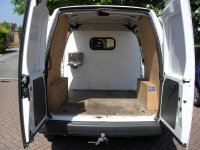
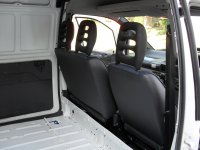
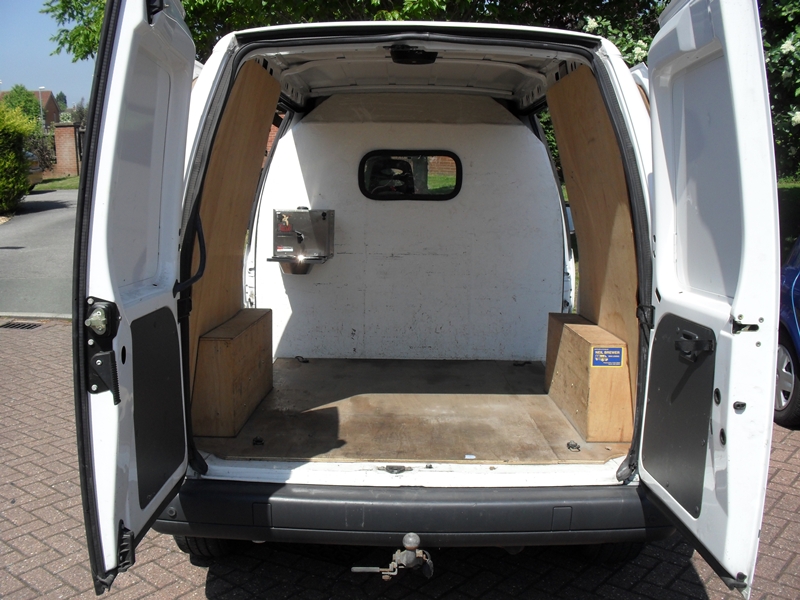
The back originally looked like this :

rear110.JPG


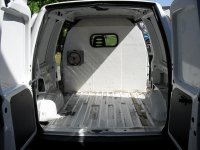
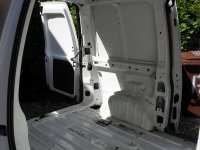
The ply lining kit was first to go :

rear22.JPG


rear31.JPG


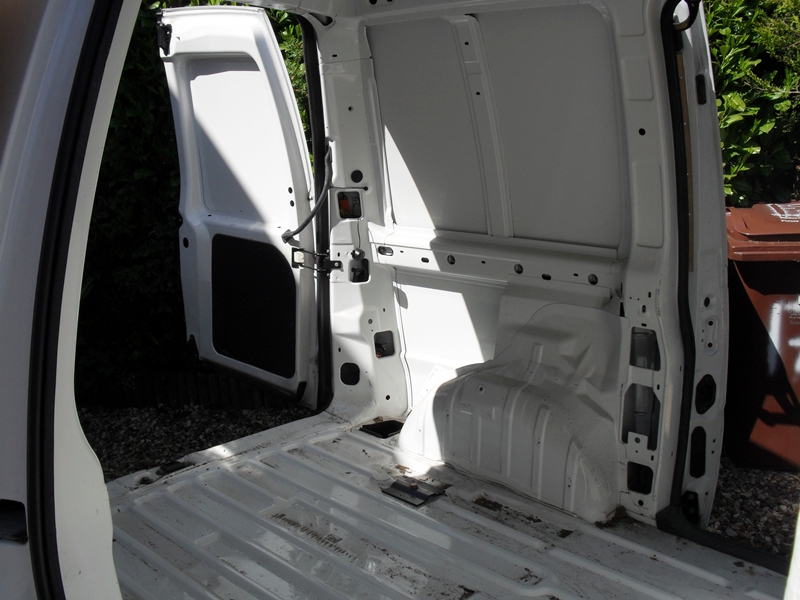
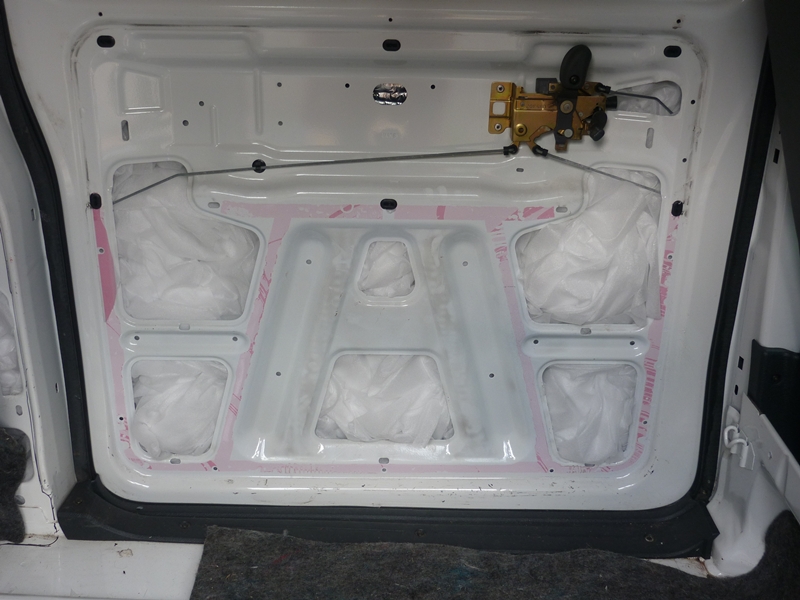
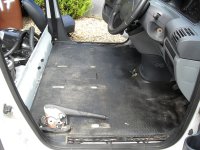
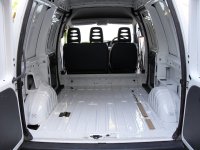
Closely followed by the bulkhead - and then a quick clean :

rear41.JPG


rear61.JPG


rear51.JPG


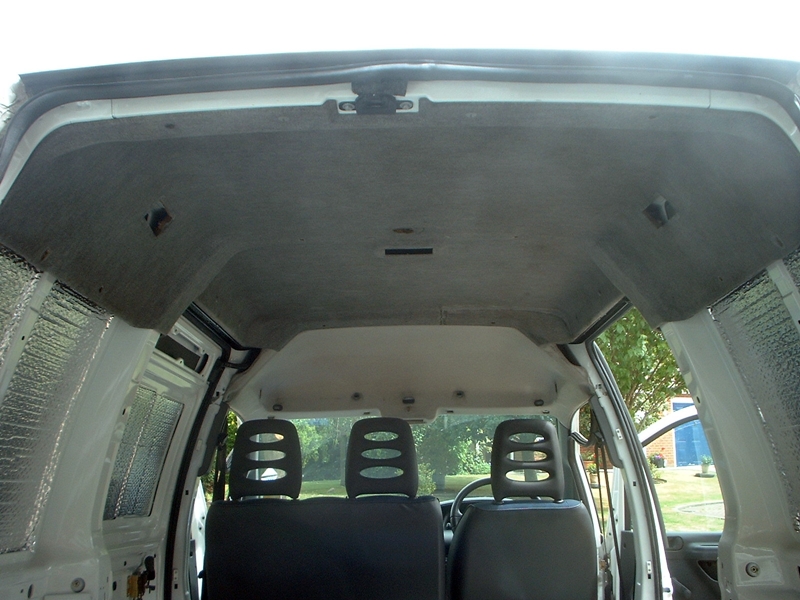
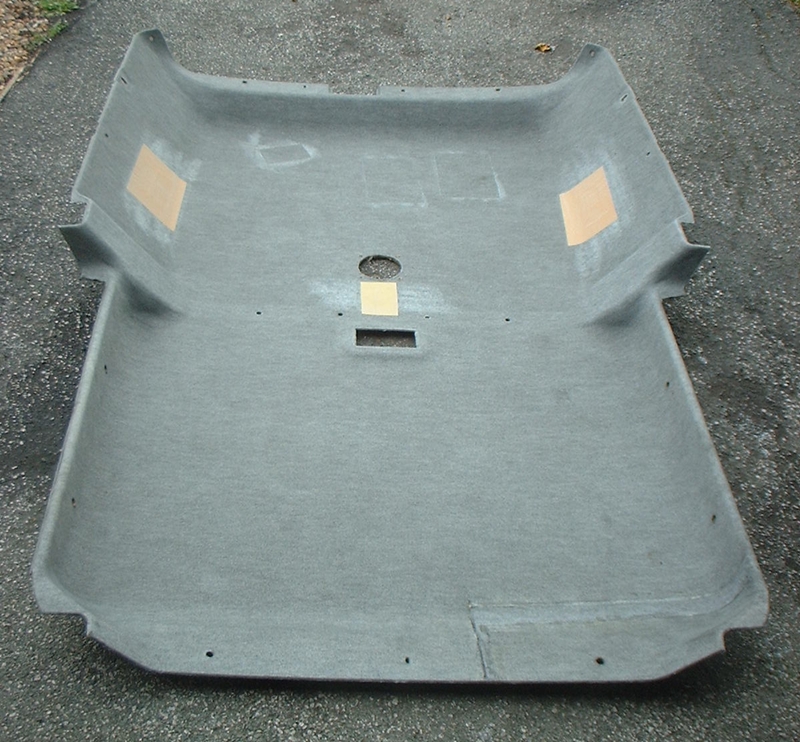
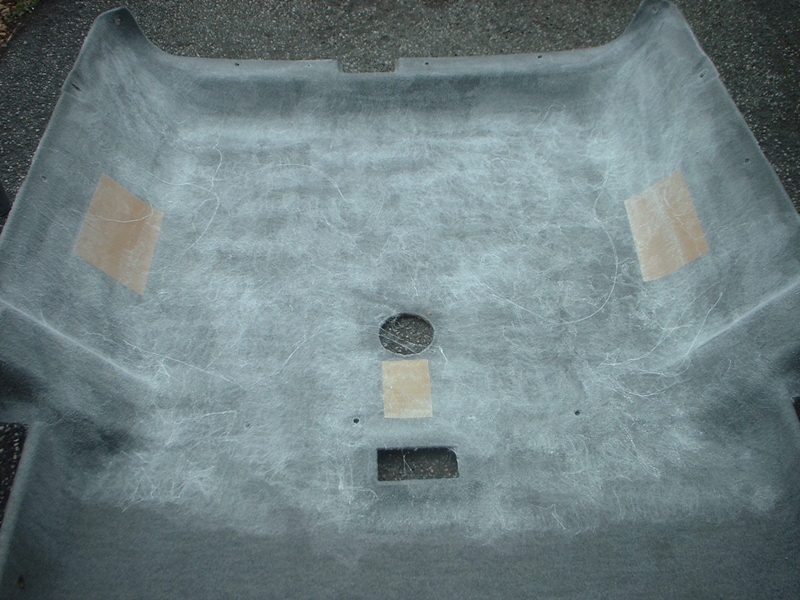
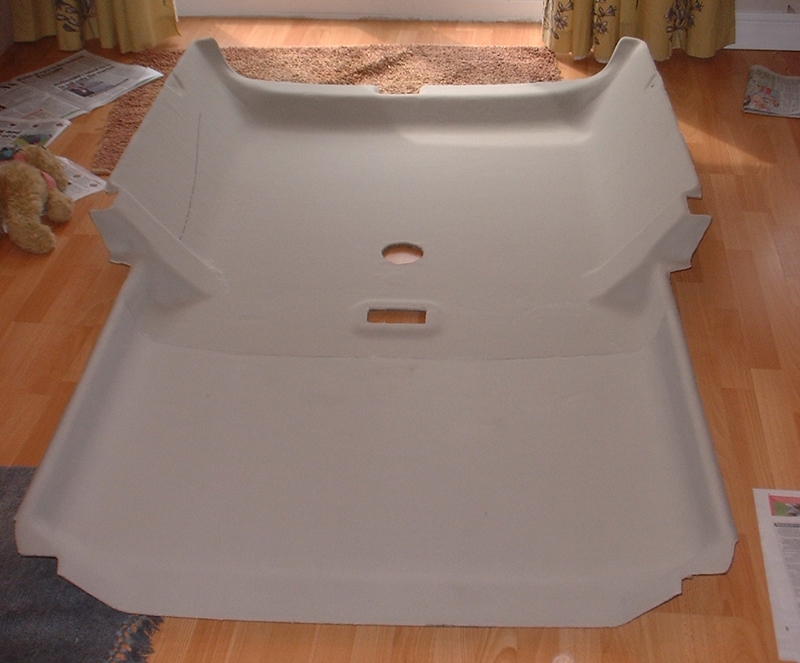
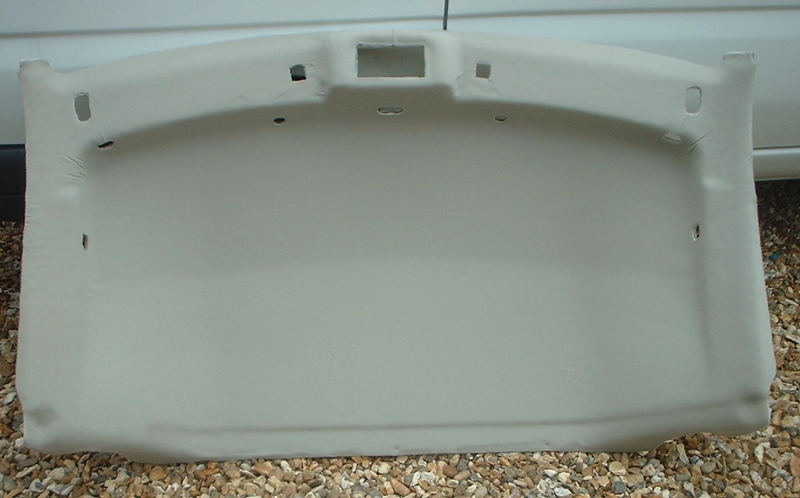
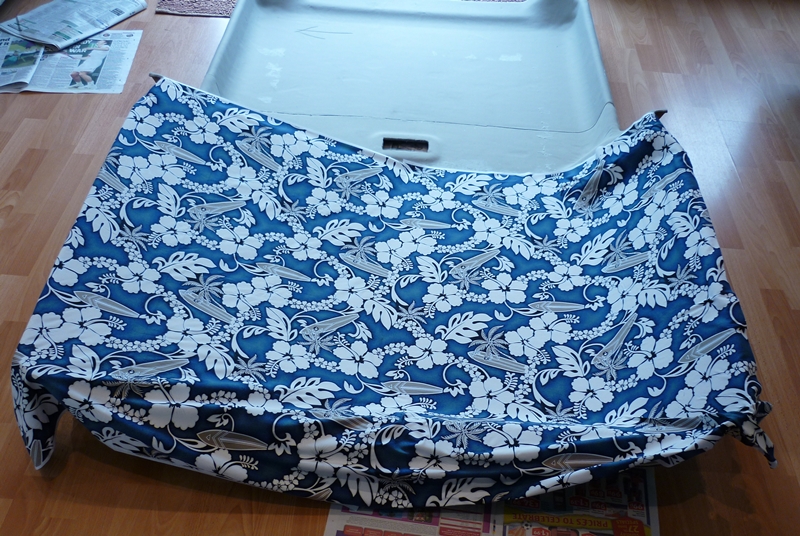
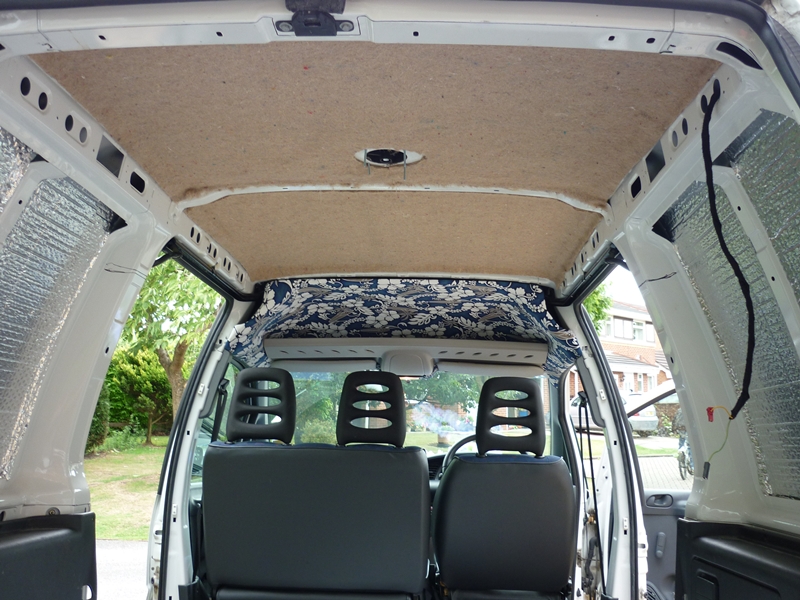
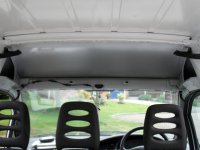
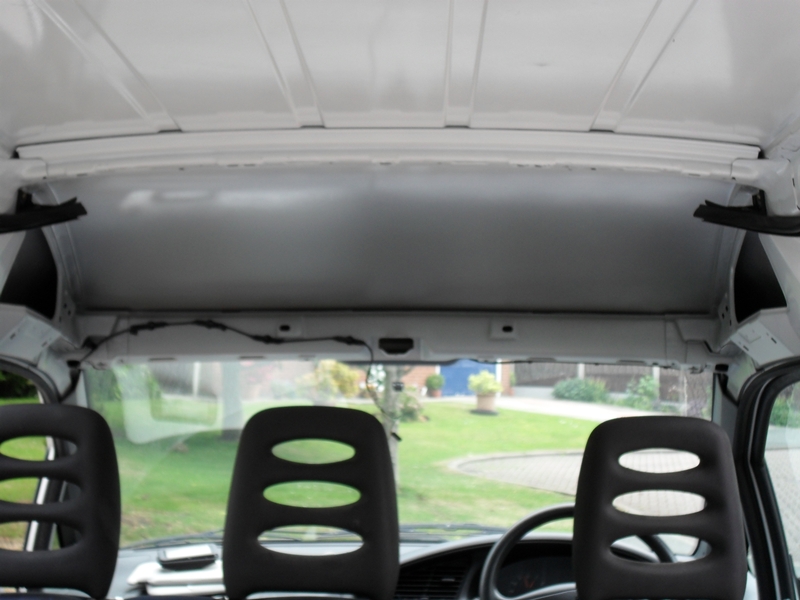
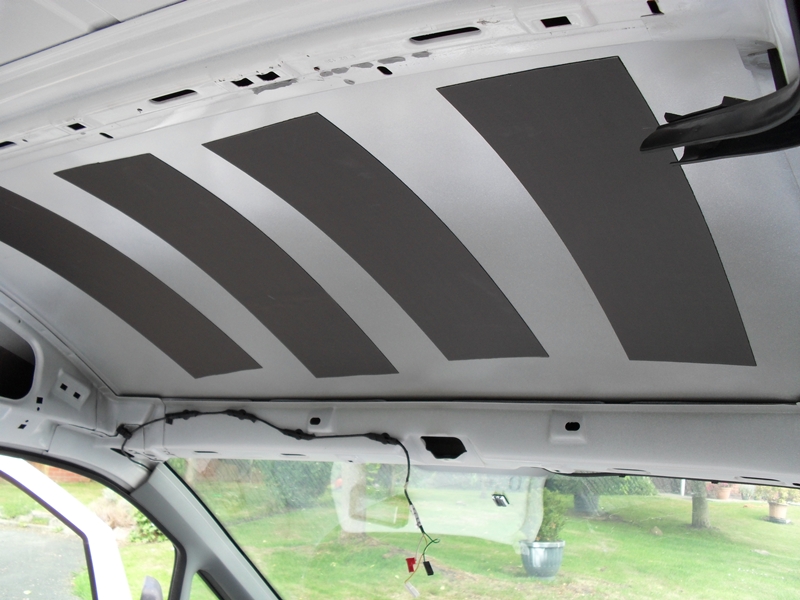
Next to go (for now) was the cab headlining :

roof1.JPG


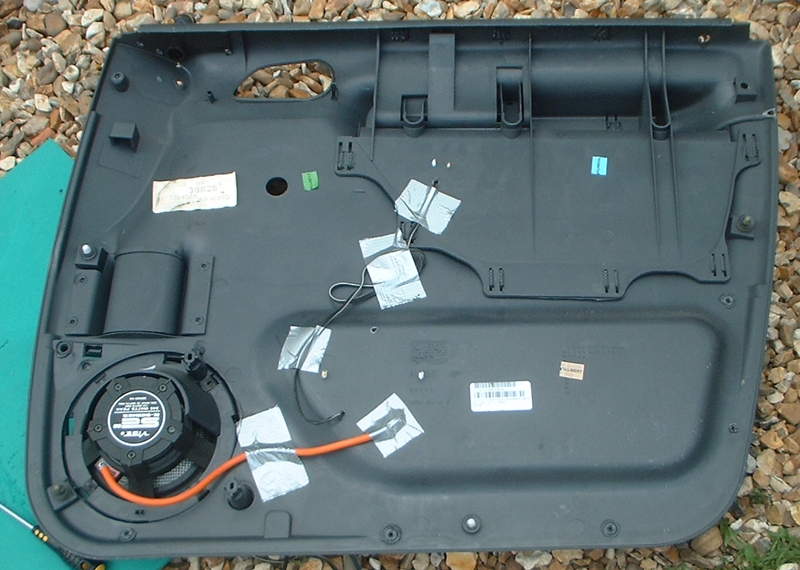
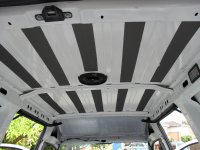
"Flashband" added to reduce panel vibration (cheap alternative - but effective) - can't beleive there's NO sound deadening at all in these vans! :

roof21.JPG


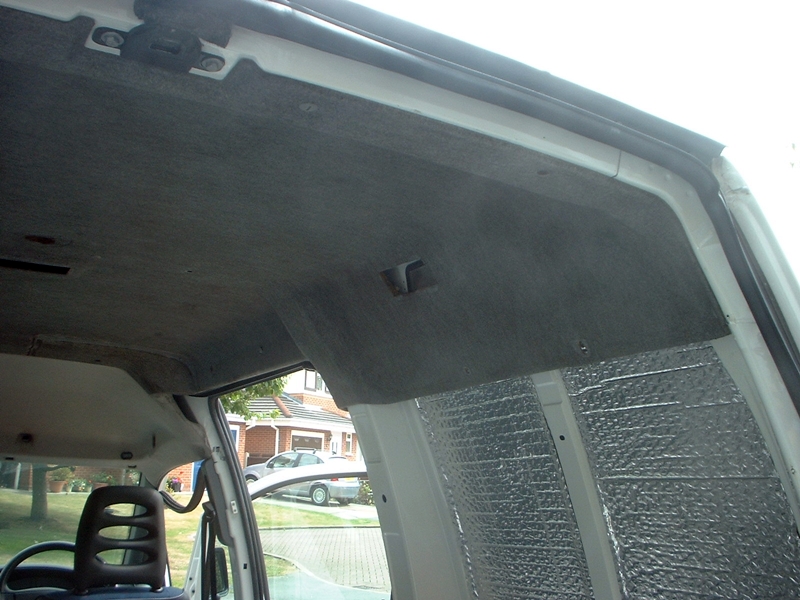
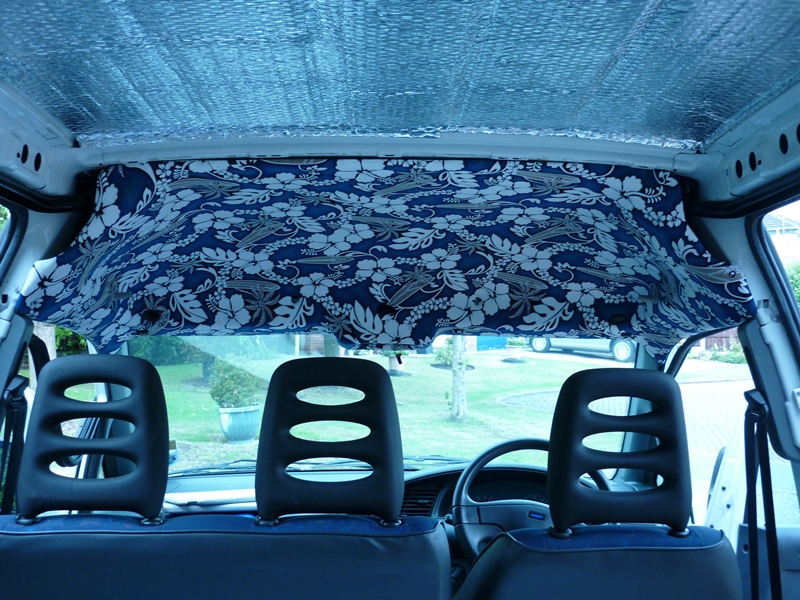
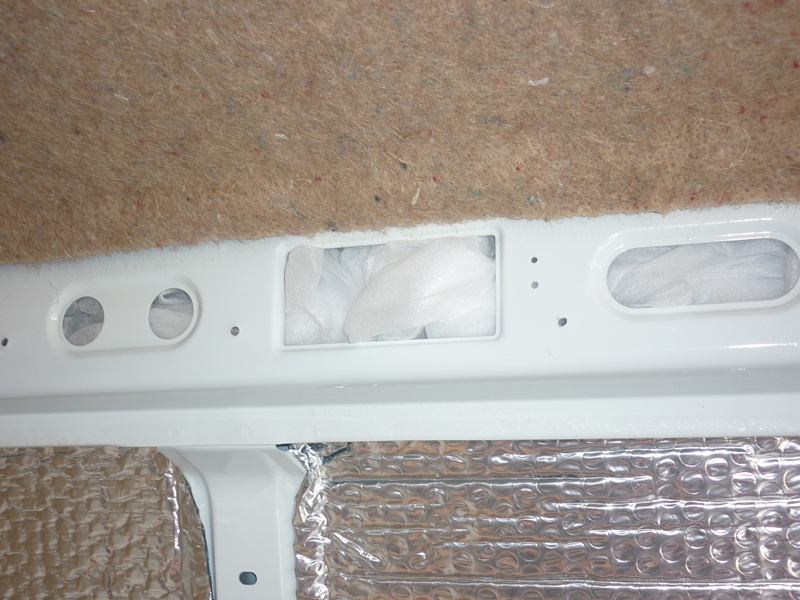
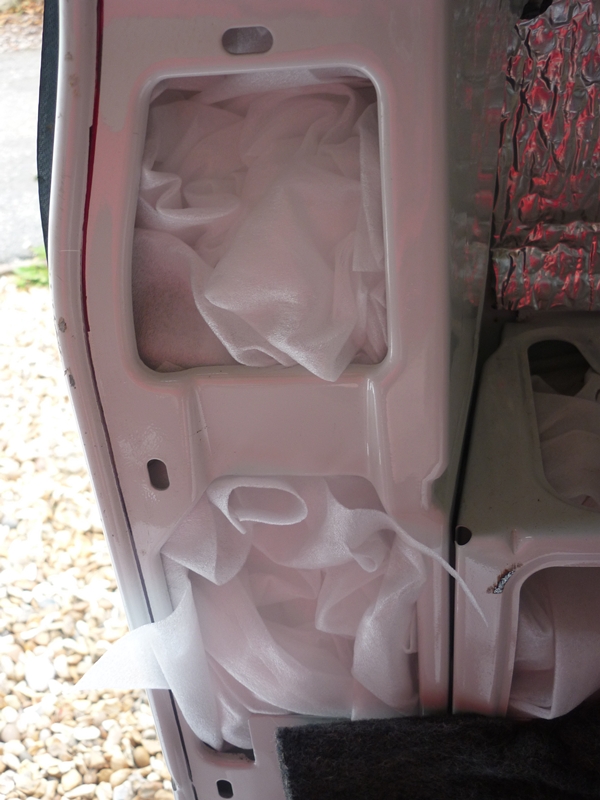
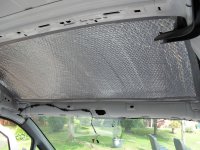
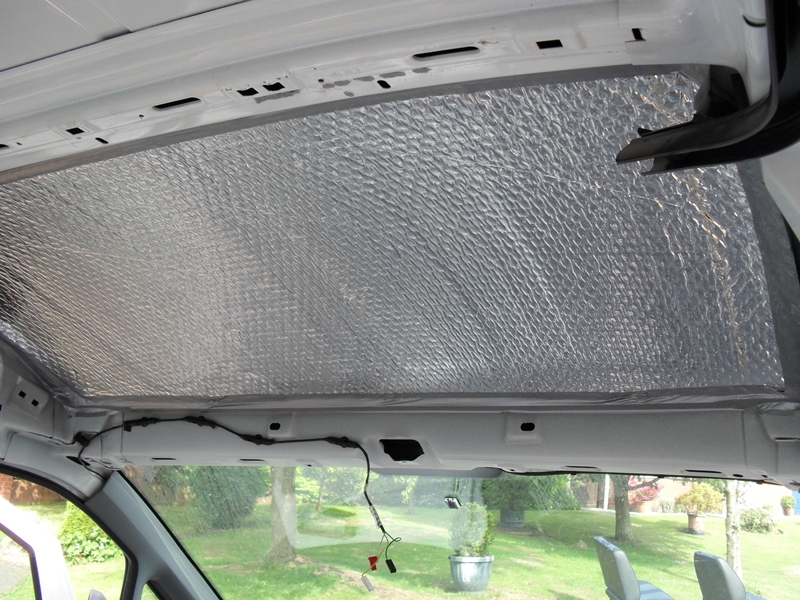
Foil backed bubble wrap is my first insulation layer - reflects the heat both ways to keep the van cooler in summer and warmer in winter - tried and trusted!

roof3.JPG


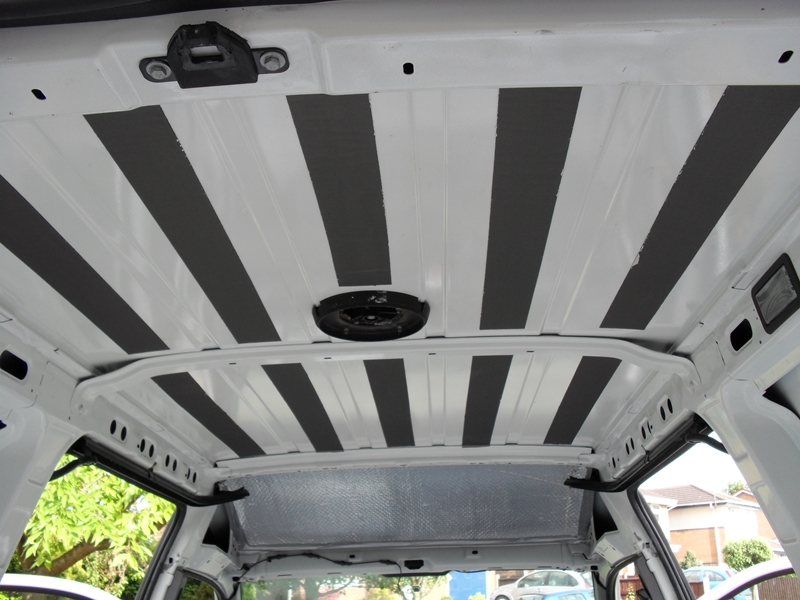
Whilst I'm waiting on a full-length rear headlining, I've just added the "Flashband' :

roof4.JPG


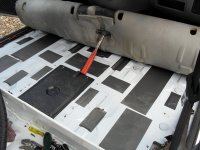
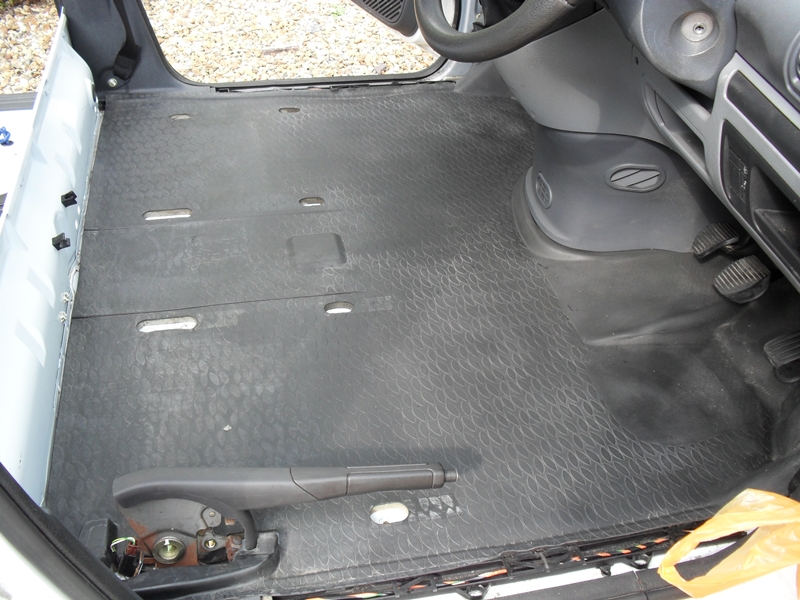
Next to come out were the front seats (with one bolt taking longer than the rest combined, in true DIY style) :

cabfloor1.JPG


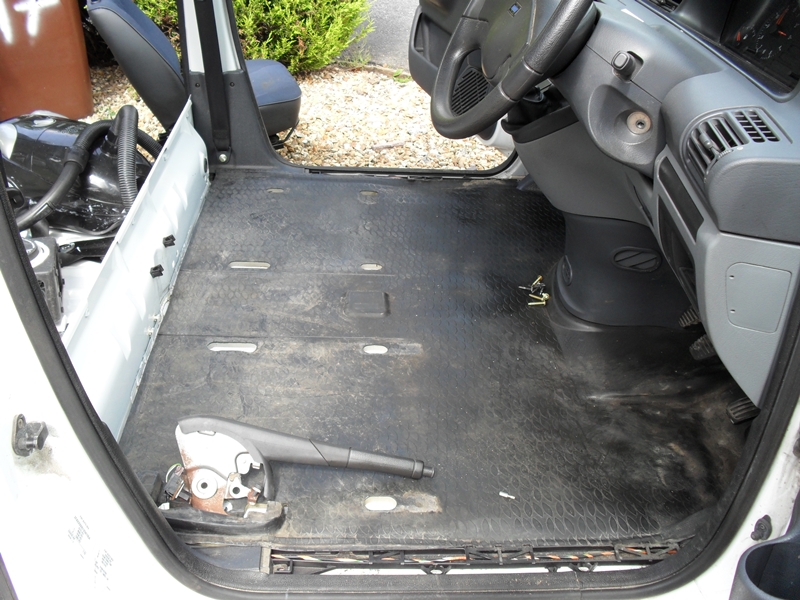
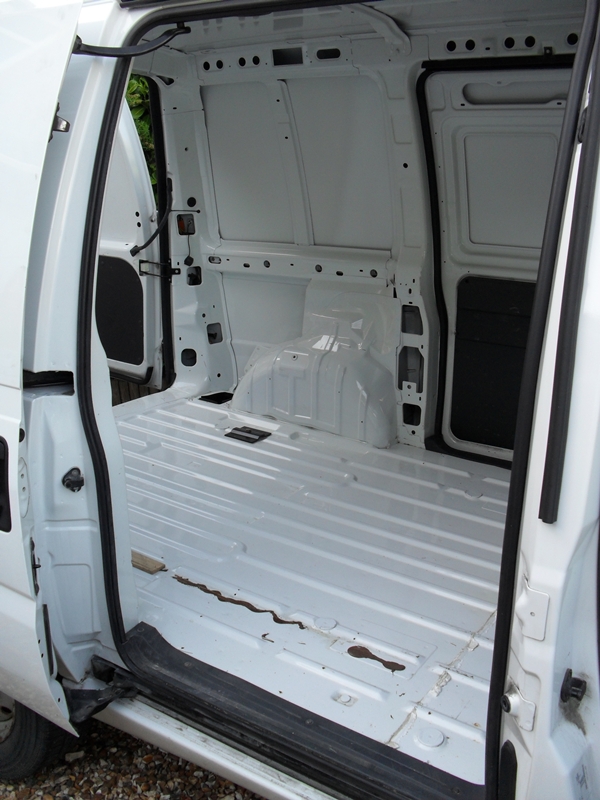
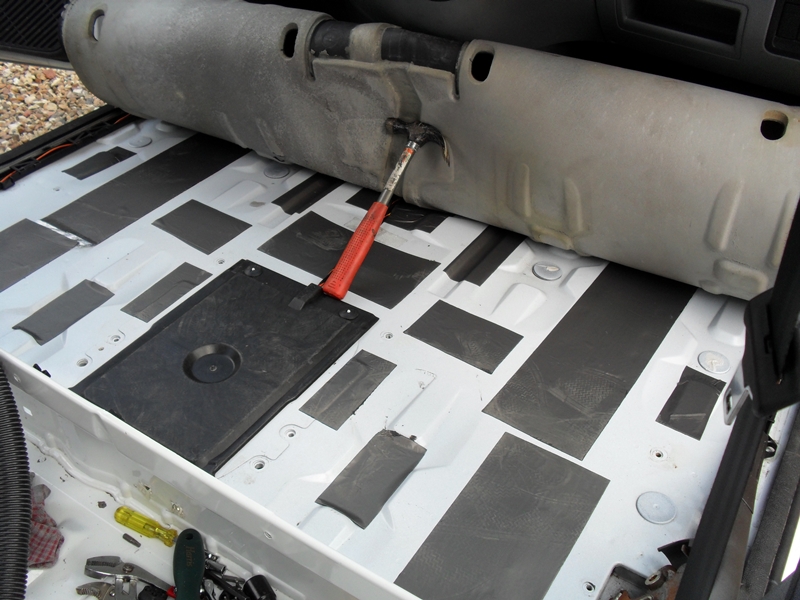
With the floor up, more "Flashband" applied :

cabfloor2.JPG


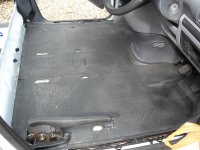
And finally given a good clean :

cabfloor3.JPG


That's about all for now. I'm waiting on some rear plastics out of a combi, plus the rear headlining.

Once the van is fully "Flashbanded" and insulated, I'll start with the cosmetics.

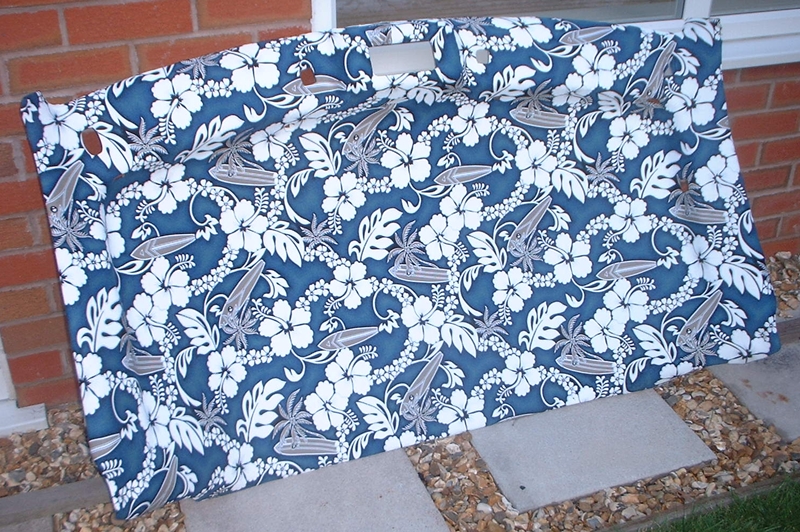
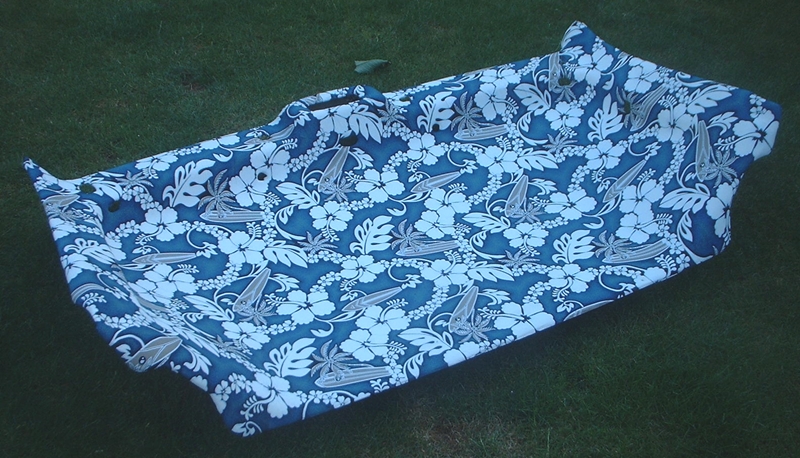
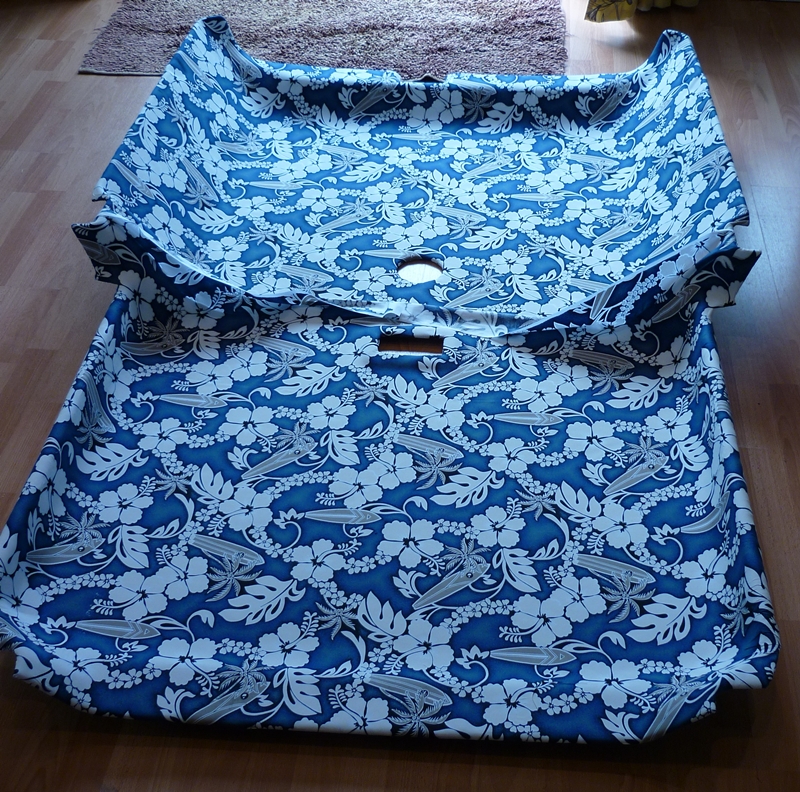
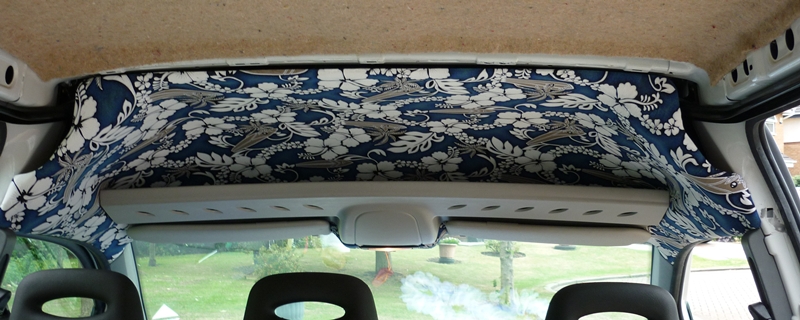
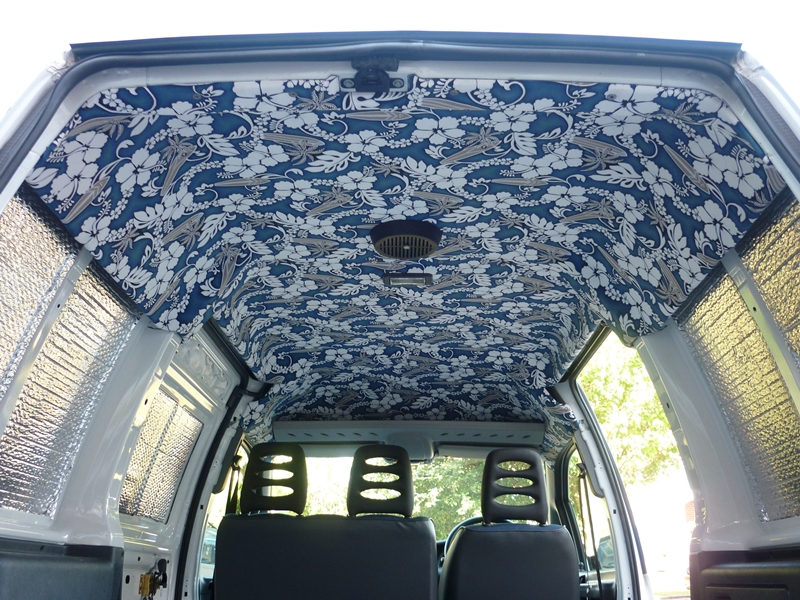
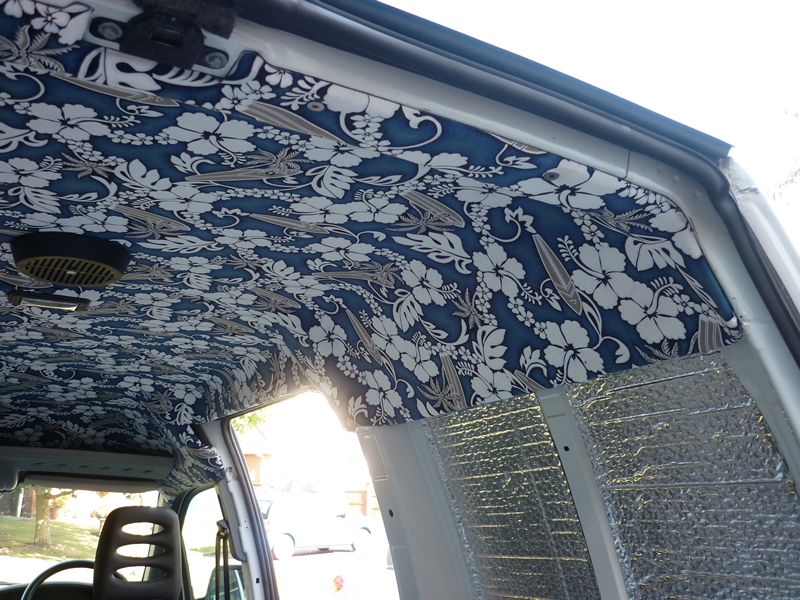
The headlining (front and back) will be getting a complete re-trim in something bright.

The plastics will either be getting just a good clean, painted or re-trimmed, depending on how good they are.

The remaining metalwork will be getting fully carpeted.

A ply floor will be going back in, covered in black Altro flooring and I'll be making a rear-facing seat / storage box that converts into a bed.

I'll add to this thread as I get things done........ :slayer:
  • Like
Reactions: Onthemove
Re: Scudo 'it's not just a van' build diary

Hello - Due a total lack of imagination and the fact that this is a very efficient conversion solution, I am copying what you have done on my Scudo, even down to paying the same price for the interior plastics off a EuroTaxi. Ive put some decent underlay down under the plywood floor and that has made the world of difference to the road noise.

Where can you get the bodywork side of the panel fixings? I have the screws that came with the taxi panels but theres only holes in the metalwork. Is there a Fiat/Pug/Citroen part number that you know of? The panels fit a treat though - very good idea!

Cheers
Paul
 
Re: Scudo 'it's not just a van' build diary

Sorry I've not done much recently - didn't realise so many folk would even be interested... :slayer:

OK, Paul - the interior fixings you are on about can be seen on the ePER drawings - it shows you the part number, but I've not got round to ordering any yet - perhaps you'd be good enough to let me know how easy they are to get and how much?

And no worries about copying me - immitation is the sincerest form of flattery and all that (y)

Anyway - little updates on stuff that I've blagged recently....

It took me a while to source one (fairly) locally - but here's the newly acquired (Euro Taxi) rear roof lining 'test fitted' :

rooflining1.JPG


rooflining2.JPG


The moulded shape would have been a 'mare to recreate with ply - plus it comes lower on the back two panels, making the ply work that will follow MUCH easier to sort out!

I also couldn't resist these when they came up at a decent price only an hour away! They're only 15s, but it means I can swap the load rated (and very decent condition) tyres on my steelies straight over - once I've refurbed them (not sure what colour yet) :

wheels12.JPG


I reckon they look OK .......

wheels23.JPG


wheels33.JPG
 
Re: Scudo 'it's not just a van' build diary

And a bit more today, seeing as it was sunny!

Got some Vibe components off E Bay a few weeks ago, so I ripped out the standard cassette player :)idea:) and fitted a spare Goodmans USB head unit for the time being and put the componenents in the doors.

The 6.5" main speaks fit in the OEM place, but the crossovers were too big to be hidden (the drop glass takes a LOT of space in the front door!) and the tweeters only came with the surface mounts, which was OK, as they're big units and space on the door cards is not that plentiful.

They'll do for now at least....

Door card removed (easy) - I lifted the edge of the vapour seal and applied some flashband to help deaden the sound (not shown - you all know what Flashband looks like by now!) :

frontspeaker1.JPG


Crossover fitted in the door card recess :

frontspeaker2.JPG


Woofer and Crossover in place :

frontspeaker3.JPG


'Bodge-it' wiring tidied up :

frontspeaker4.JPG


Speakers all fitted and door card back on :

frontspeaker5.JPG


Sound quality is OK, if a little 'light' but I think that's more to do with the cack head unit and lack of amp than the speakers.

When funds are spare, I'll get a little sub, a better head unit (Bluetooth and USB) and an amp to drive the speakers a little harder, but for now it'll do......
 
Re: Scudo 'it's not just a van' build diary

The wheels smarten it upa treat. Looks like the work your doing is having all the time it needs and getting done properly which is nice to see.

I had the 5.25" version of those comps in my 106, amped, they sounded decent enough so the 6.5" should be perfect once amped too.
 
Re: Scudo 'it's not just a van' build diary

BUSY day! It may not seem it from the photos, but I promise you it has been!

Today I decided to make a start on the head lining - both the cab one that was already in the van, and the rear one I got last week from a Euro Taxi.

Now, given that I learned how to trim interiors whilst working at Bentley, I would class myself as 'half decent' at it - but the headlinings in the Scudo have been a nightmare, partly due to the compound curves and partly down to the material. :cry:

Anyway - here goes. First off - make good the holes put in by the taxi company :

rearheadlining1.JPG


As the headlining is VERY wide, I had to apply the 1/8" scrim foam in two pieces. For those that don't know, scrim foam is thin sheets of foam backed in material, and it's used to create a thin cushioned backing to the top layer of material. It's used a lot in top end interiors for that touch of extra comfort....... (y)

And a little tip for those not used to using aerosol adhesive - it should look like a spider's web when applied - sprayed on from about 10" away.... :)

rearheadlining2.JPG


Rain interrupted me a lot today - but here's the finished rear headlining with scrim foam applied all over (the join line is visible - but won't be when the job is finished!) (y)

rearheadlining3.JPG


Next up was to scrim the front (cab) head lining - the creases show just what a nightmare this bit was to cover! (Anyone that's seen my work will know that I really DON'T do creases!) :eek:

cabheadlining1.JPG


So - with rain holding me up and having had headaches just putting the scrim on, I was going to call it a day........

But I didn't!

Although at numerous points I wish I had! :bang:

I decided to crack on applying my genuine Hawaiian sourced material to the cab headlining..... and FOUR HOURS later, this is what I ended up with! :bang::bang::bang:

cabheadlining3.JPG


cabheadlining2.JPG


Have to say, it's the trickiest and most time consuming bit of trimming I've ever done....... and whilst far from perfect in my eyes, it's really not too bad at all and looks absolutely stunning in the van! (although you'll need to wait for pics of that, as I want to do the other bit first!) (y)
 
Re: Scudo 'it's not just a van' build diary

And here we are again!

Not many pics today, as the weather has been shocking, so I've not quite managed to finish off.

However - I got on with the rear headlining earlier.....

Had to do it in two halves again - will have to 'hide' the join later

rearheadlining4.JPG


More or less done - just awaiting final tidy up

rearheadlining5.JPG


Whilst the back bit was drying nicely, I decided to refit the front. I put some more jute felt under the headlining to finish off the soundproofing/insulation for the cab (no pics of that though)

Sorry about the dodgy first pic - here's the lining fitted on it's own

cabheadlining4.JPG


And here it is with the parcel shelf and the sun visors back in

cabheadlining5.JPG
 
Re: Scudo 'it's not just a van' build diary

Looks fantastic - I'd never have the patience to trim everything so neatly!

Does your bargain ikea sofabed have a model name? Not that I'm wanting to be a copycat or anything...

Eddie.
 
Re: Scudo 'it's not just a van' build diary

Looks fantastic - I'd never have the patience to trim everything so neatly!

Does your bargain ikea sofabed have a model name? Not that I'm wanting to be a copycat or anything...

Eddie.

Sorry Eddie - no idea which one it is. However, the 'one' to look for is the Lycksele - they normally go for about £50-100 on Flea Bay and was what I was really wanting - until this one came up at such a bargain price!
 
Re: Scudo 'it's not just a van' build diary

Today has been another 'rain affected' wash out - but I did manage to get bits done....

First in between the downpours, here's a better look at the complete rear headlining with excess material tidied up. There is a slight join line down the middle, but I've made a covering strip out of some foam sleeping mat, trimmed in the same material...... (not in the pic, as will be fitted last of all)

rearheadlining6.JPG


OK, something else that needs doing is to create 'infills' for every internal panel. The ones that come in ply lining kits tend to be a bit rough - and I know the ones that were fitted to my side loading doors were stupidly oversized, meaning holes were drilled into the frame that I'll need to sort out!

Anyway - thought I'd share a few tips on how you can measure these things up for a nicer fit.

Using paper (I had to tape a load of A4 together, in a Blue Peter stylee), cover the area you want to make an infill for and tape in place :

infilltemplate1.JPG


Now, using a (dirty) finger, simply rub along the edge of the panel to mark your template :

infilltemplate2.JPG


You'll notice the pics are from my back doors - which have recesses where the windows could fit - this method is a bit more tricky on internal panels, but can still be used to good effect and certainly gives you a decent starting point......

One thing to note when doing this, the paper templates you end up with will be slightly oversized as you're taking the mark off the outside of the recess - but trimming a few mm inside the line will cure this!

Now - another tip when marking up ply or hardboard using a PAPER template is that trying to draw around it is a 'mare!

So - instead, just tape a few edges and then use a can of whatever paint is lying around in the garage to dust around the template, leaving you a perfect line to follow when you break out the jigsaw or whatever!

infilltemplate3.JPG


Another tip to remember is that, if you're covering this stuff in material (and why wouldn't you) then make sure to account for the thickness of the material around the edge (as you'll overlap the material when putting it on!)

(y)
 
Re: Scudo 'it's not just a van' build diary

OK - last update for a while, as I'm back in work Monday.......

Today I've been mostly fiddling with a few bits. First, I managed to blag a roll of thin polystyrene sheet, so decided to scrunch it up and use it as a 'stuffing/loft' type insulation for the box sections inside the van.

No idea if it'll work, but the theory is sound, as there's lots of little air pockets to warm up - and being polystyrene, it won't soak up moisture like rockwool will......

Anyway - basically, if there was an orifice, it got stuffed :slayer: :

insulation5.JPG


insulation6.JPG


insulation7.JPG


And then I got impatient! I decided to refit the complete rear headlining 'just to see'. (y)

It'll mean more work eventually, as it'll all need pulling out again when I do the sides, but hey - I wanted to see what it looked like.

I solved the issue of the rubbish push in plastic fixings, by using M10 countersunk bolts, which fit just snugly into the oval holes :) (incidentally - especially for 'Paul in Plymouth' - you can use the same M10 bolts to fix in the rear plastics - saves forking out on those little clips that fit into the holes.......)

So - first pic shows some more 'jute felt' added to the roof - this now means the headlining fits snug against the roof insulation, so should help cut down on rattle and squeeks too!

(Note - after this piccy was taken, I also extended the wire on the courtesy light, as this was previously fitted to the rear side panel - and my headling fitment is in the middle....)

completerearroof1.JPG


Now the interesting stuff - the complete headlining in place......

You don't get the full picture, as the sides aren't on, but I'm really pretty pleased with how it's turned out :)

Even the whirly roof thing blends in a treat!

completerearroof2.JPG


completerearroof3.JPG


completerearroof4.JPG


completerearroof5.JPG


:slayer::slayer:
 
Last edited:
Re: Scudo 'it's not just a van' build diary

if your back at work mon you better pull ya fingure out and get th sides finished tomorrow:ROFLMAO::ROFLMAO:

love the look of it way more than i thought i would keep up the great work mate:slayer::slayer:
 
Back
Top