DSC008751.JPG

T.E.D Pick-up

Introduction

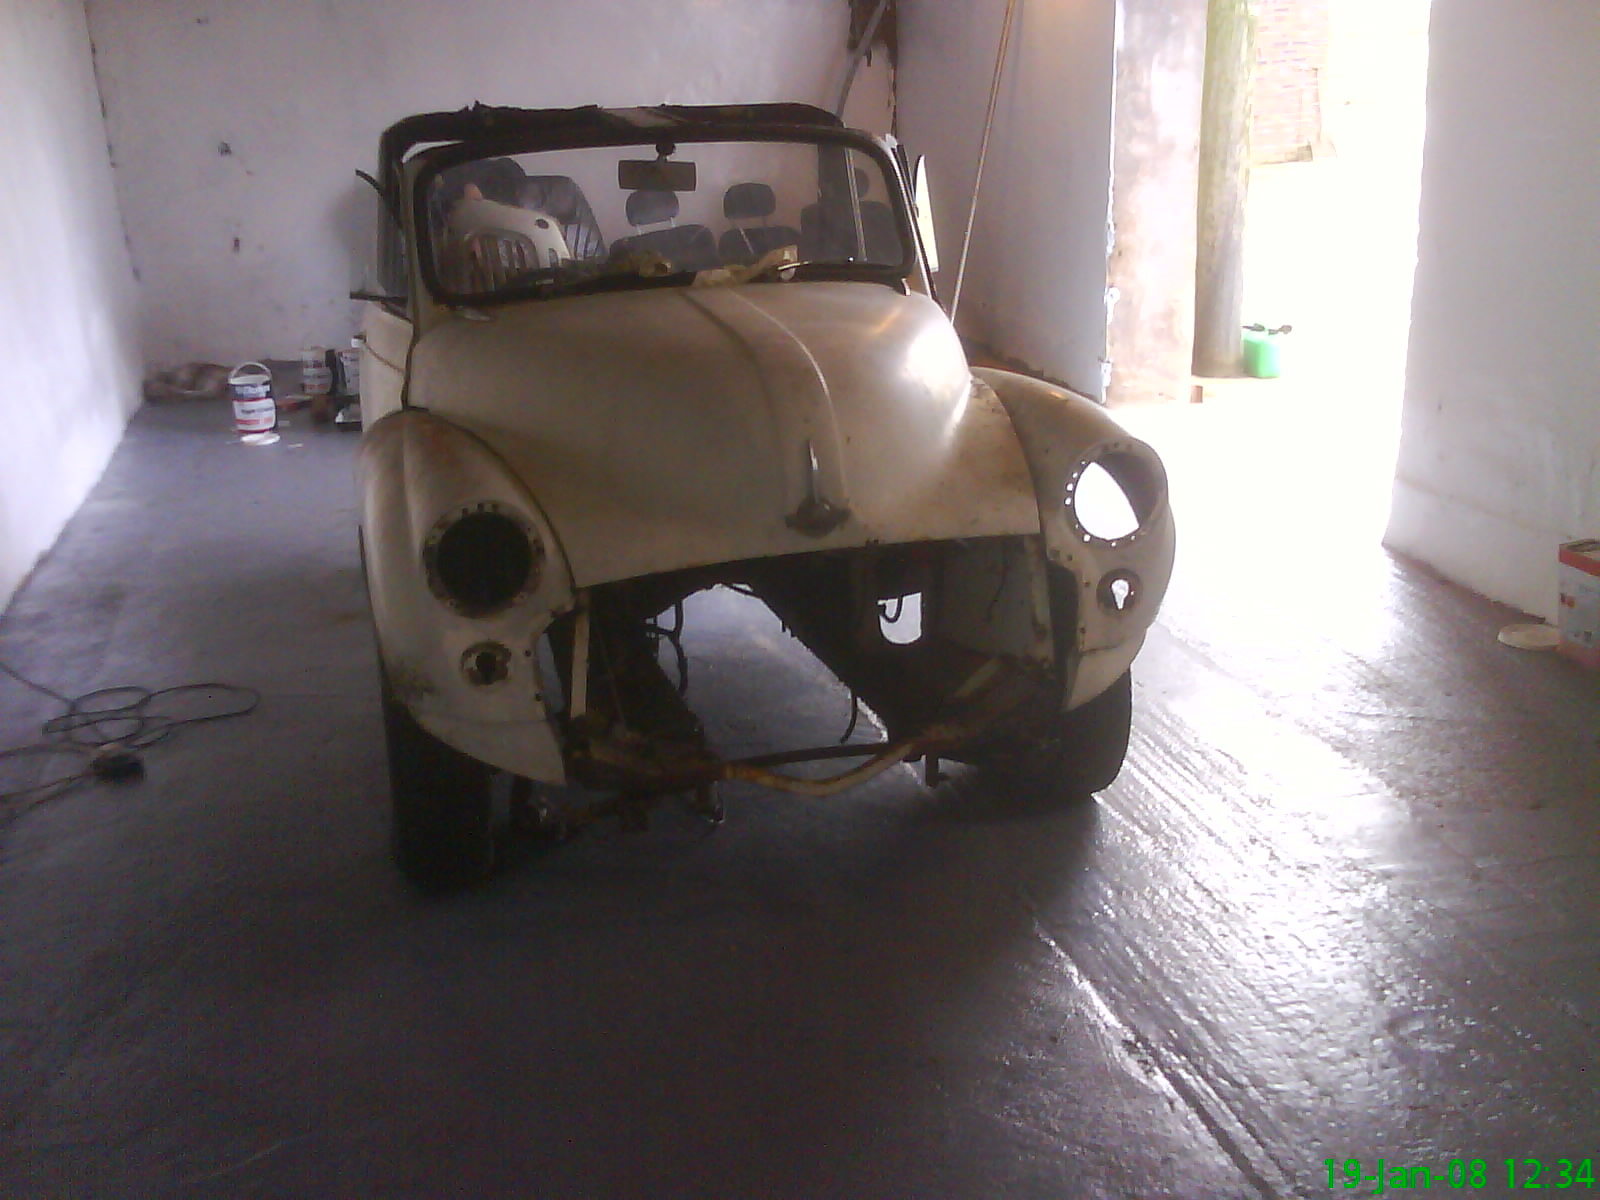
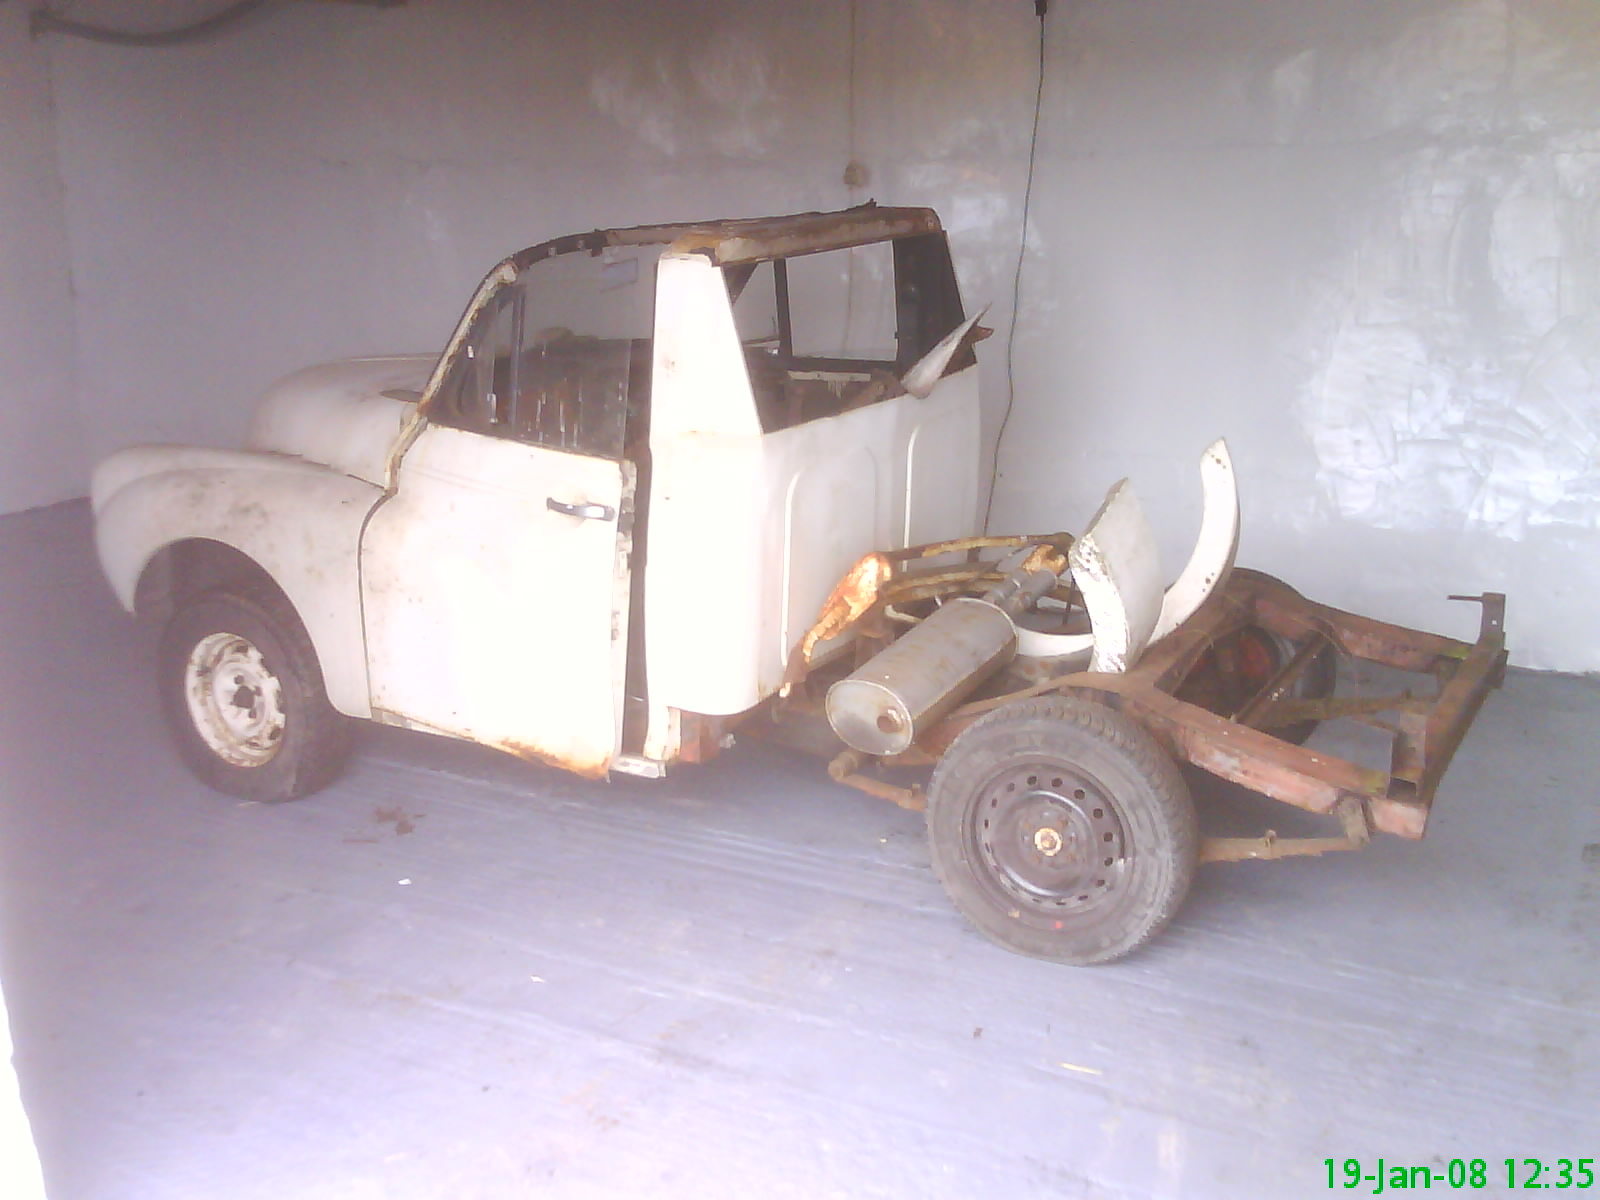
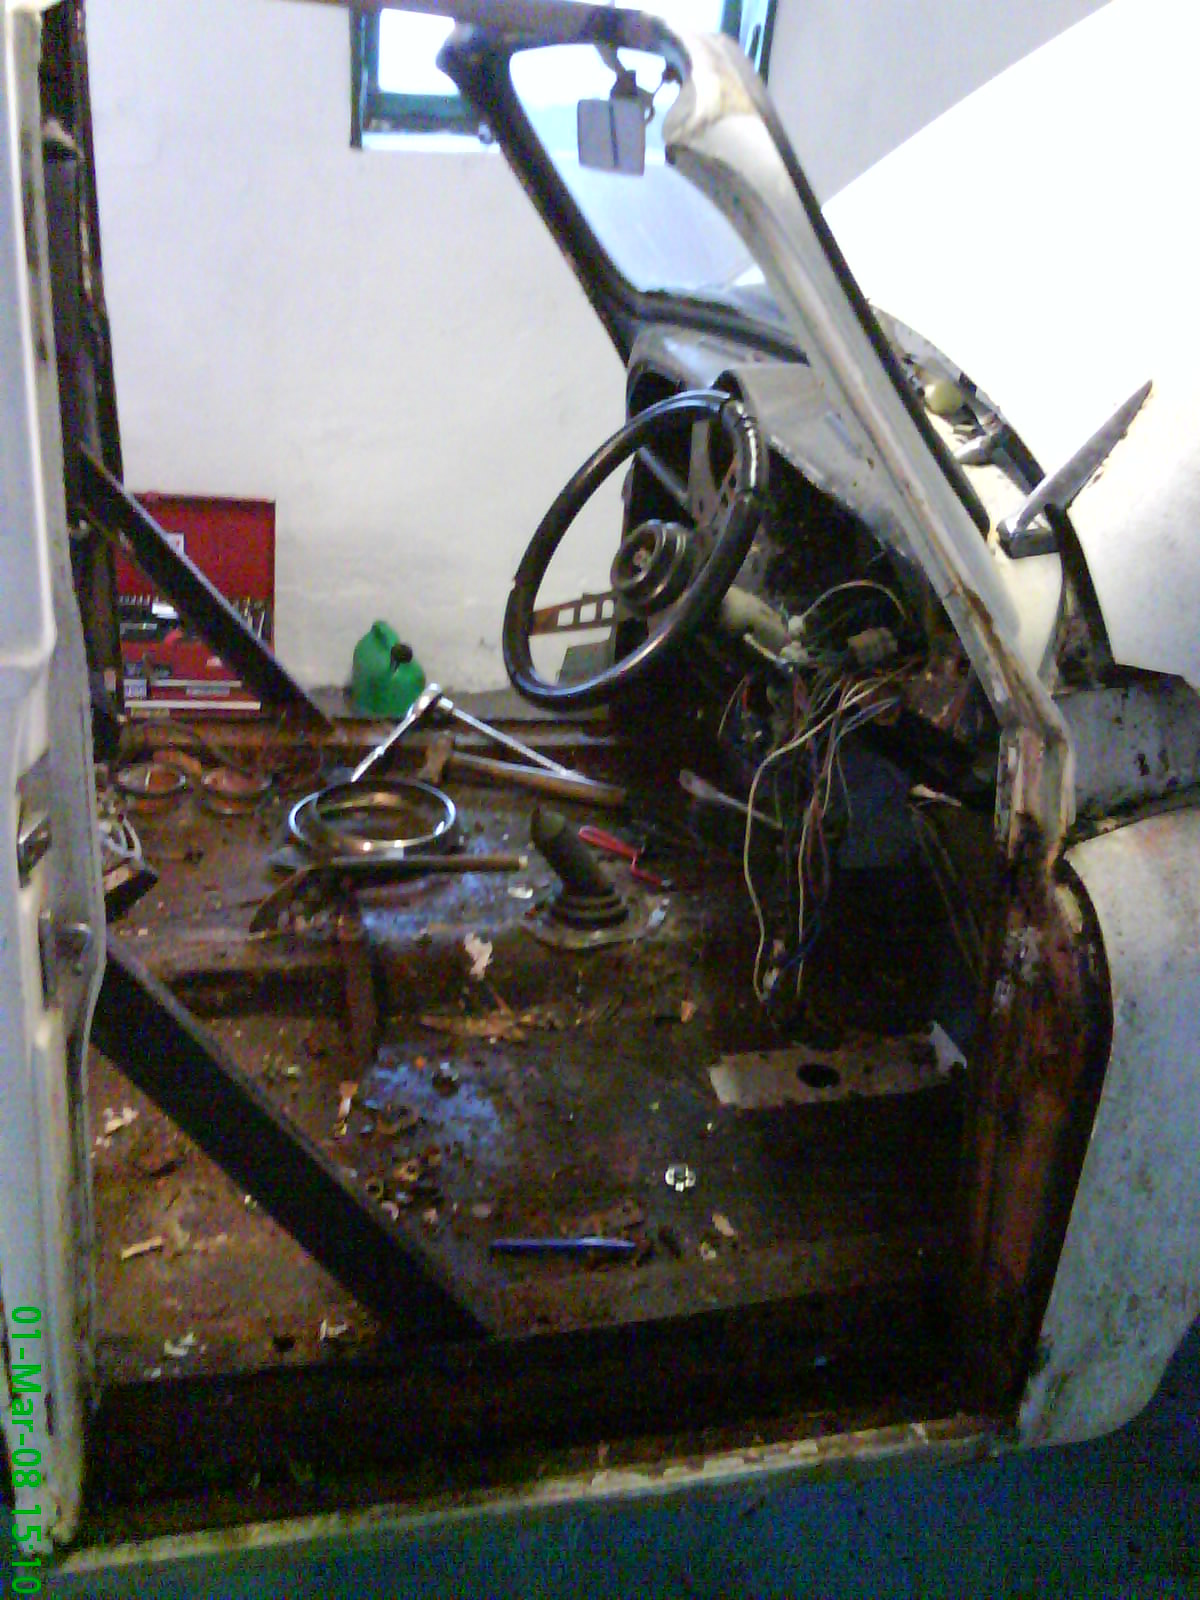
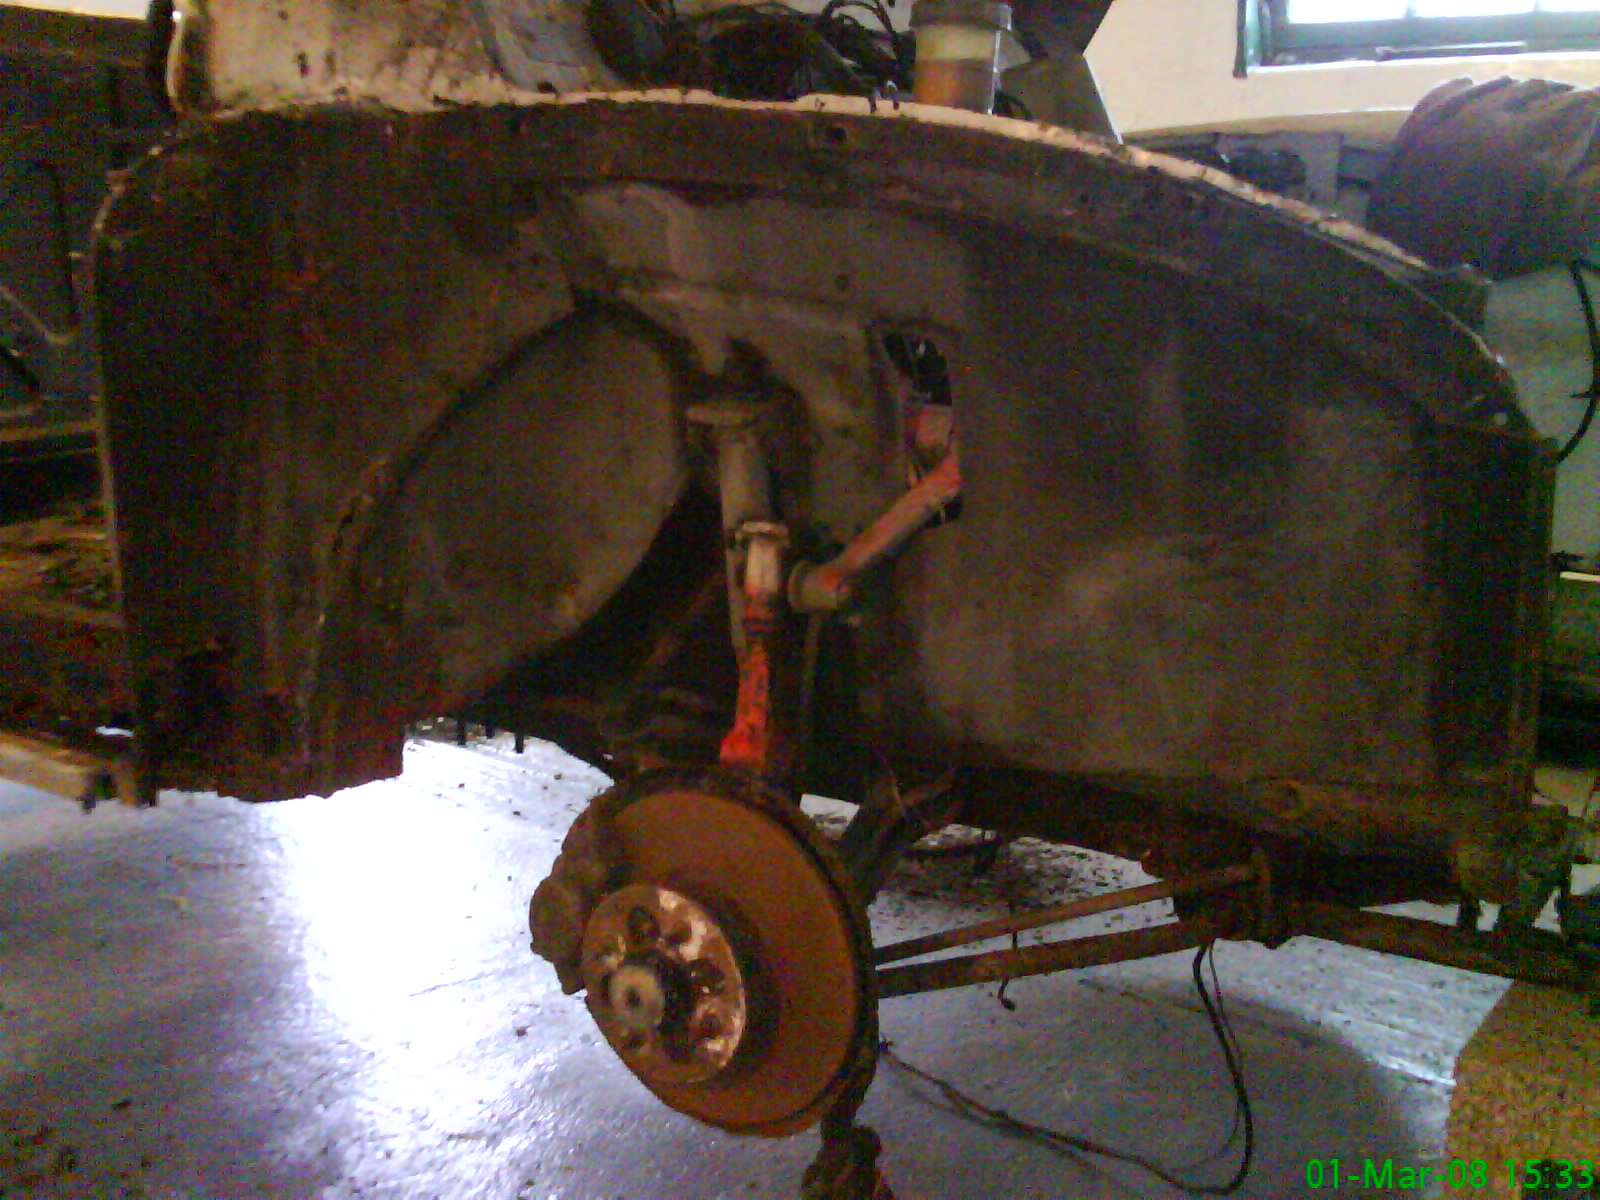
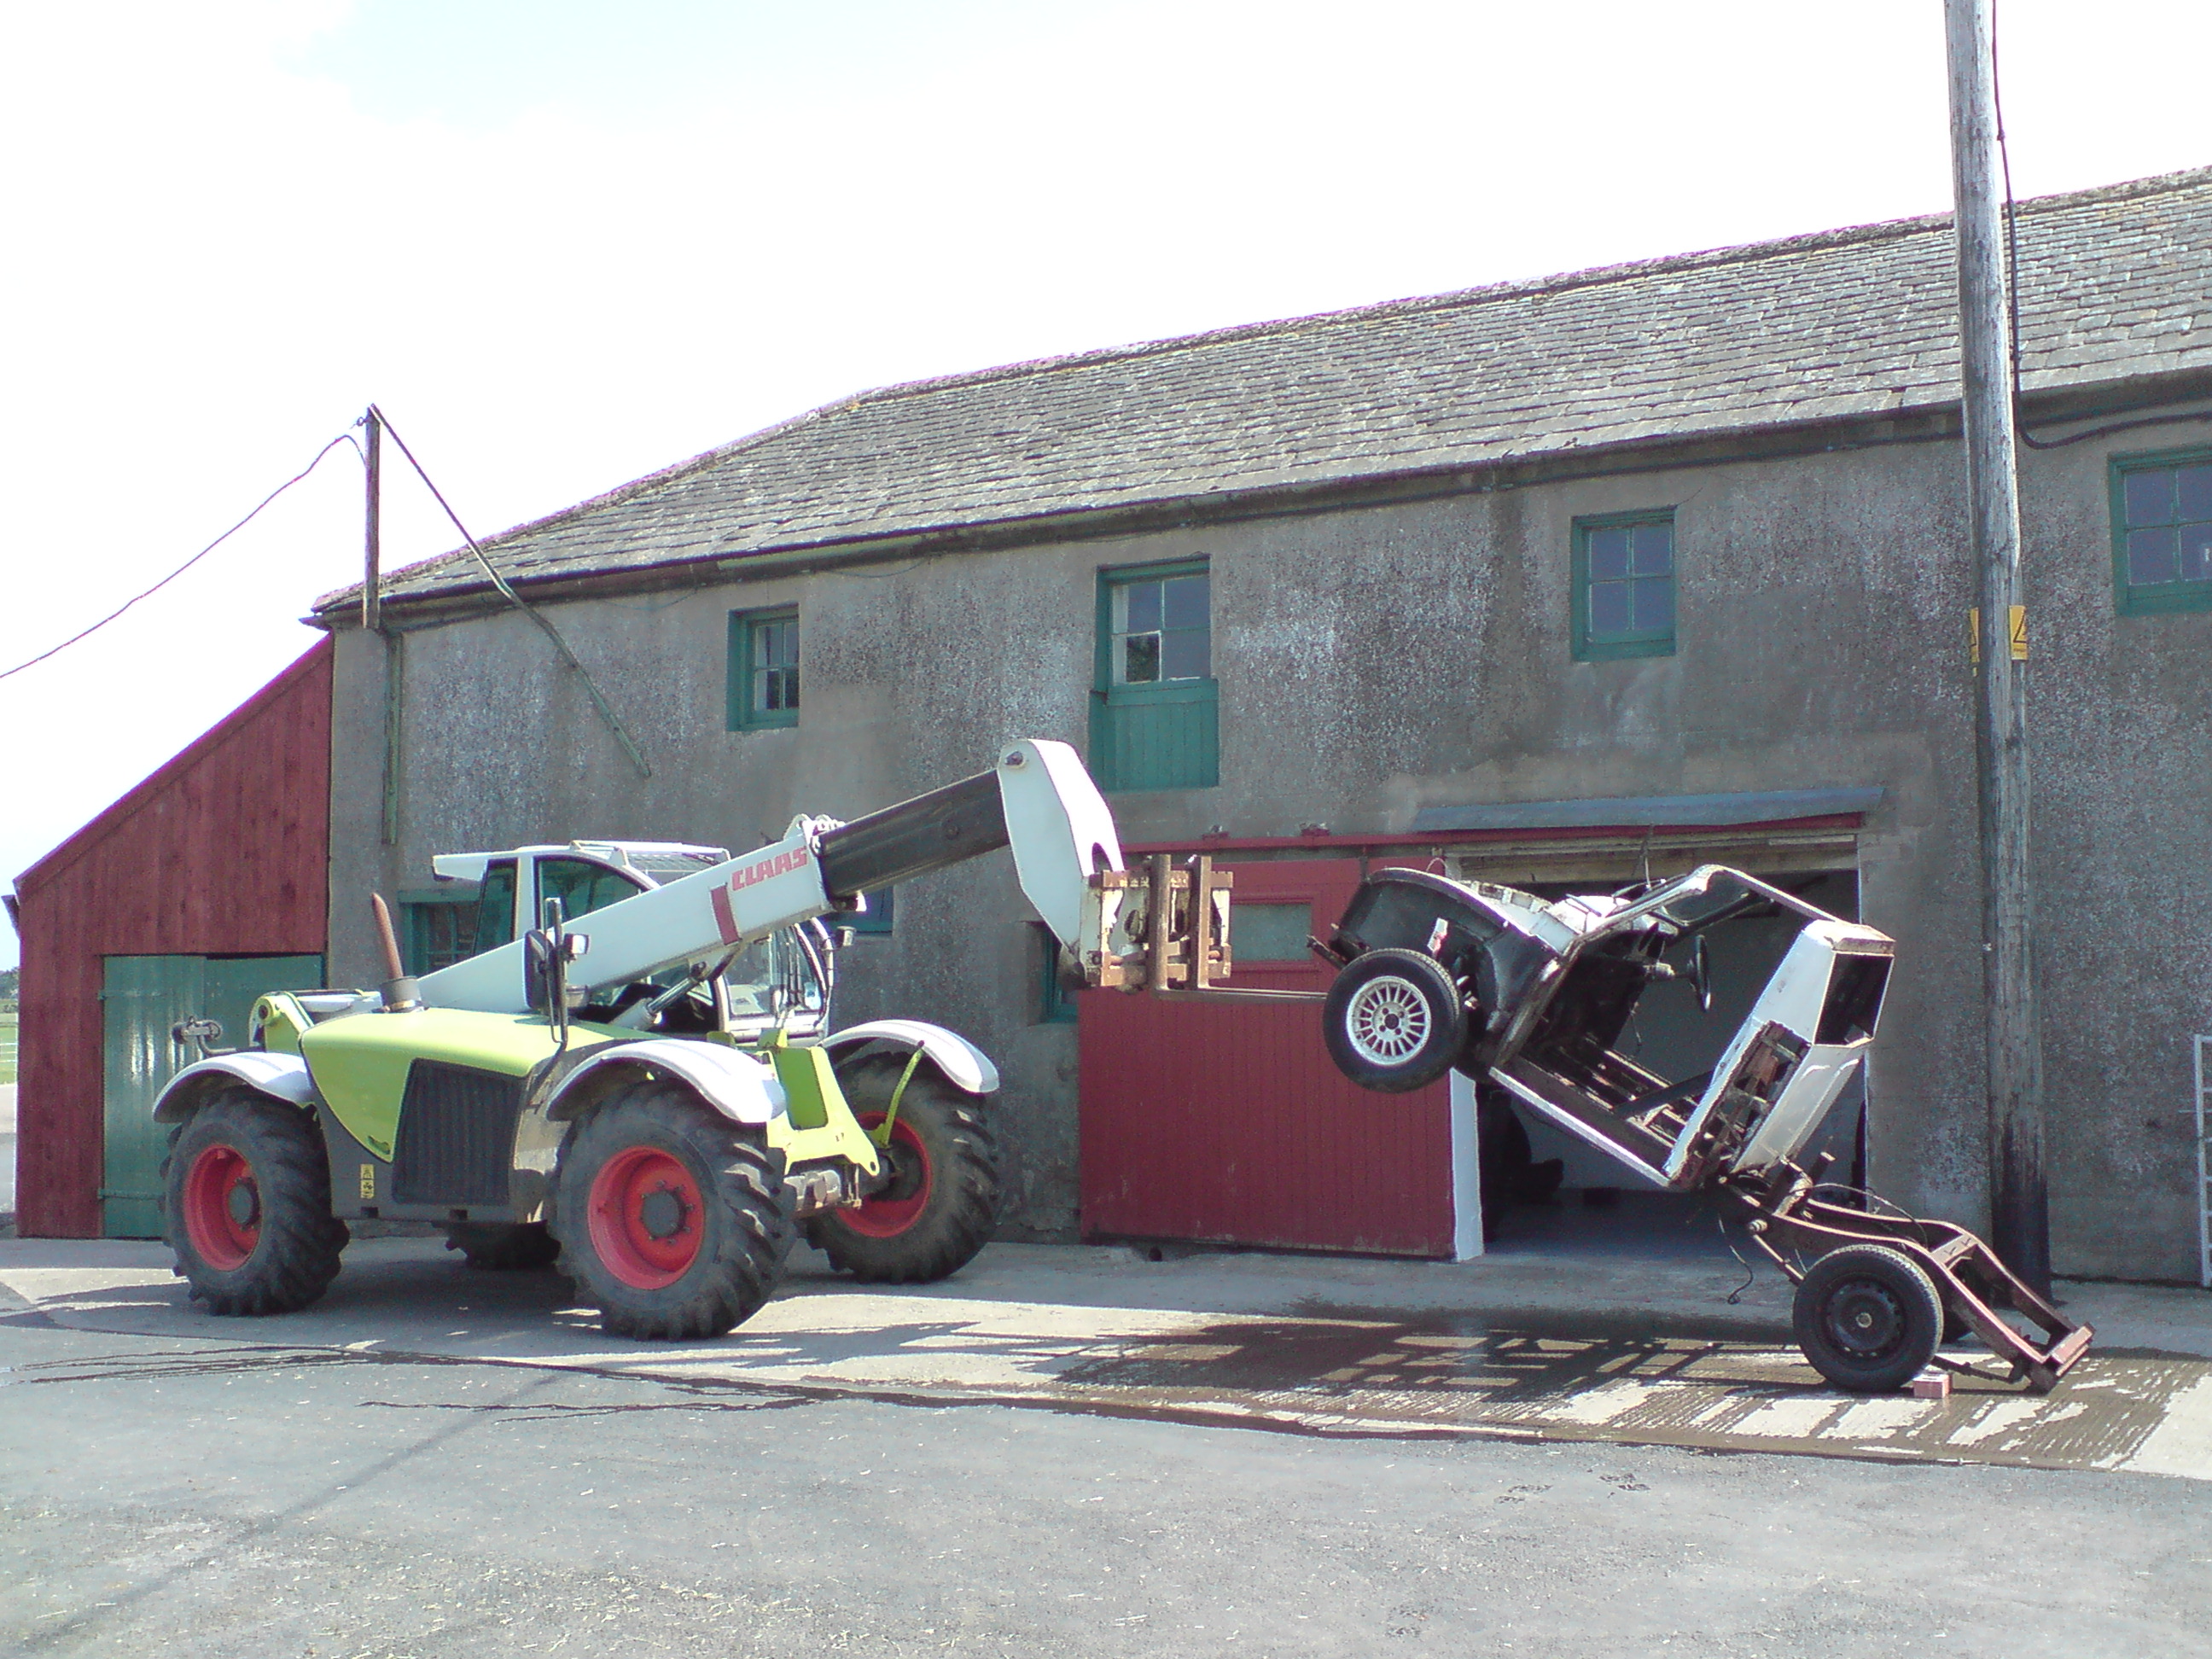
I won't try and convince you that its a perfect donor car and i cant honestly tell you why i've chosen something so old but I think that its something to do with the amount of modern engineering i'll be using to make this car what its going to be. I bought something that has a removeable cab, a T-bar roof conversion and funnily enough for a pick-up, Racing heritage. This car had a tuned MGB engine, (B series obviously) and after that the famous fiat twin camm and thus has alot of the modern mechanicals that some of the lowest spec cars don't have today, anti-roll bar, vented disk brakes, PAS (not from the MGB) and servo assisted brakes. None of that really matters as i've designed a new tubular chassis for the engine that is to go in which will require widening of the vehicle by around a foot and lengthening of the cab and back by about a foot also, which will be taken up in the arches and chassis. Here she is, warning, you WILL laugh

DSC008751.JPG


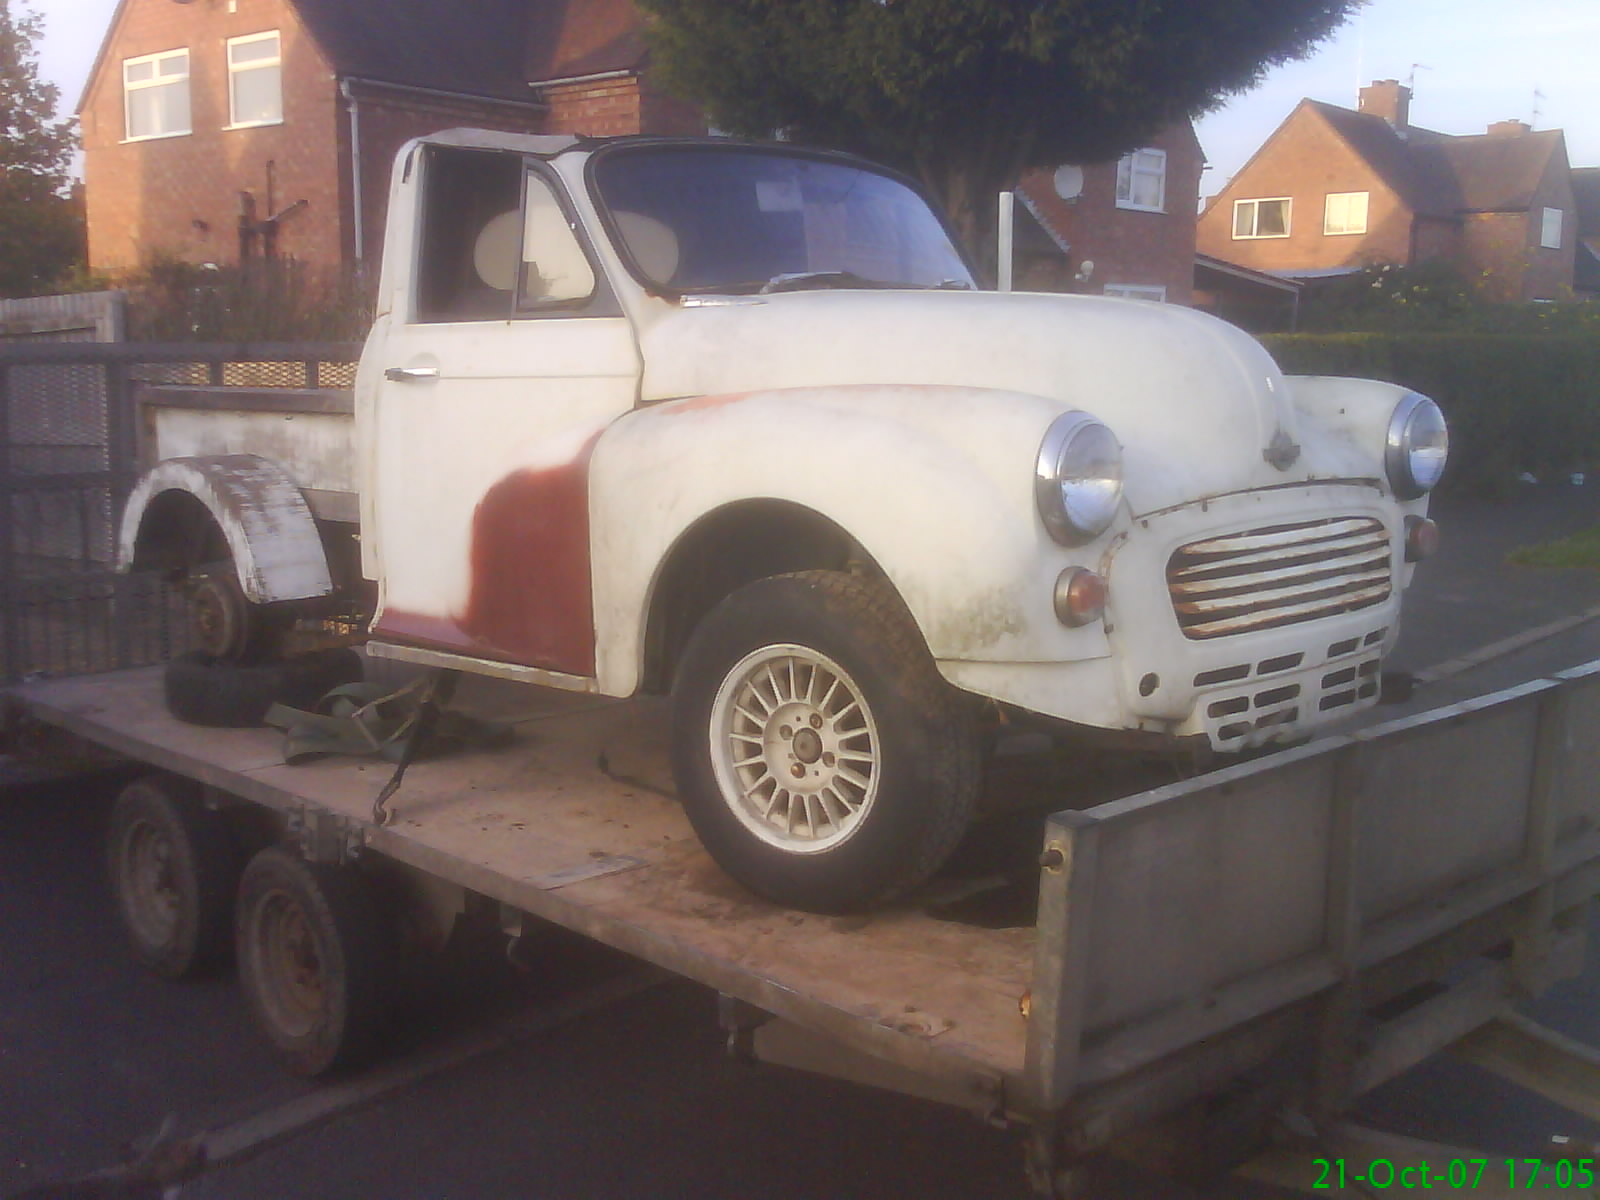
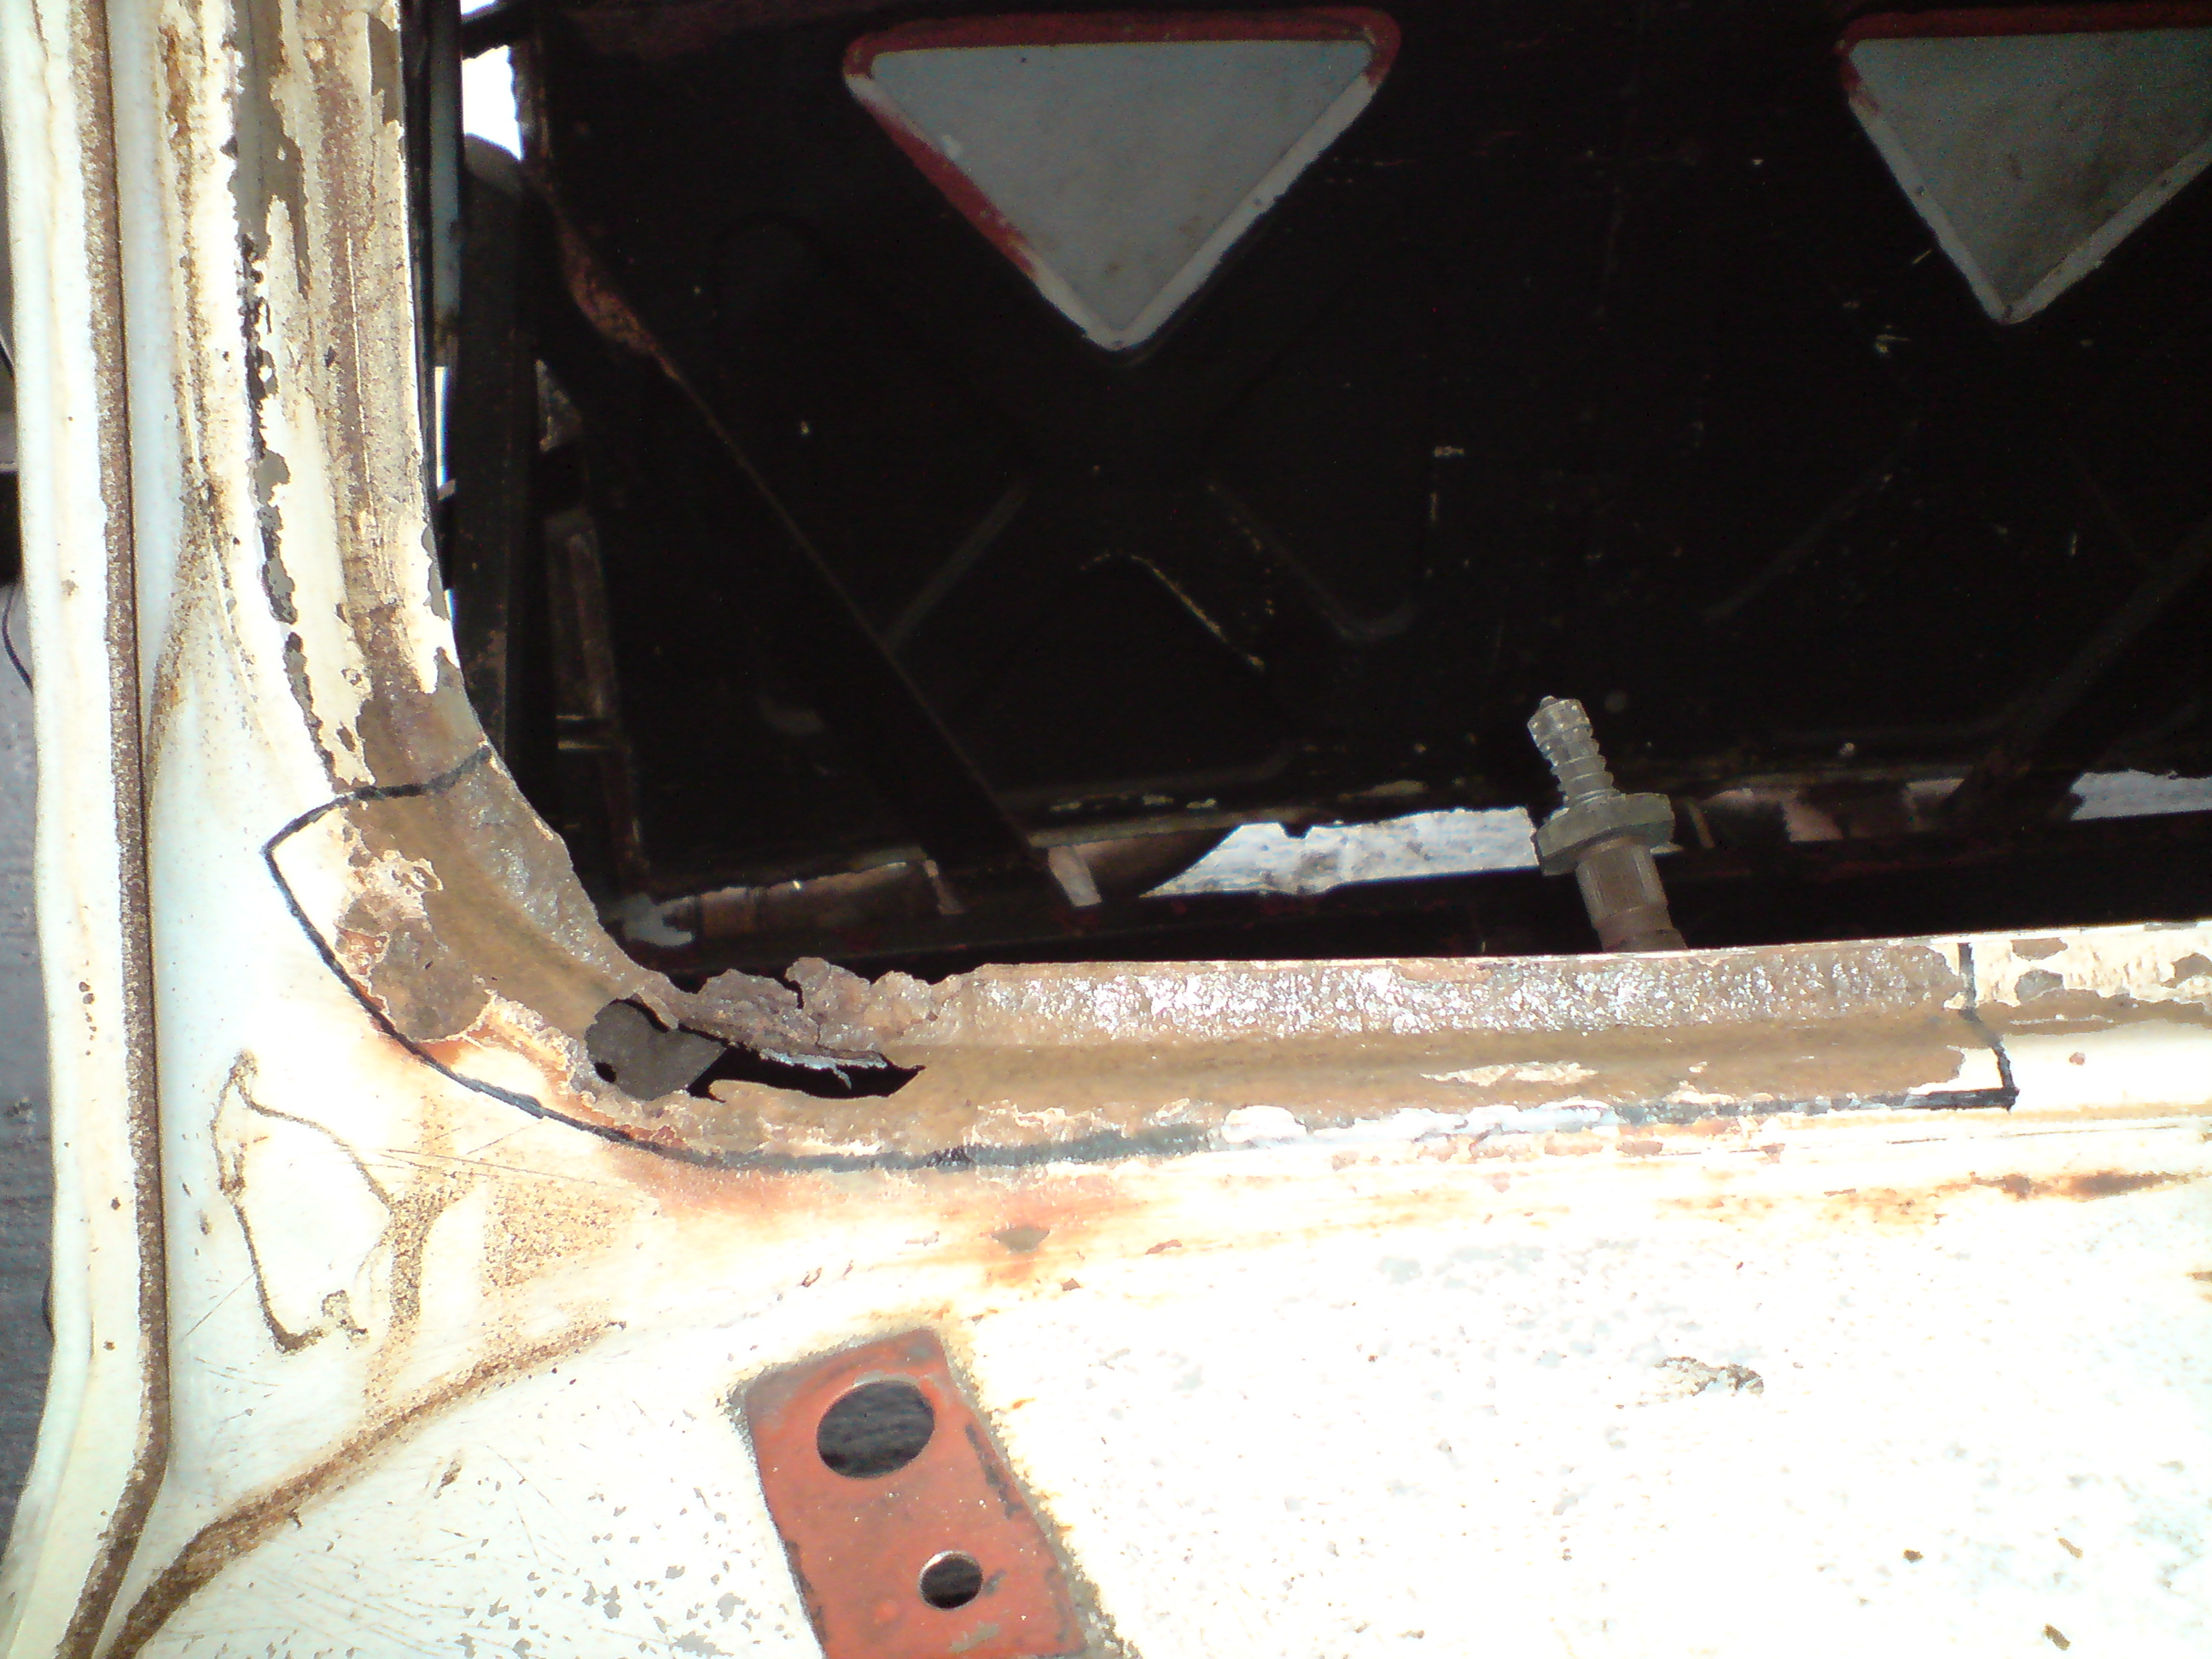
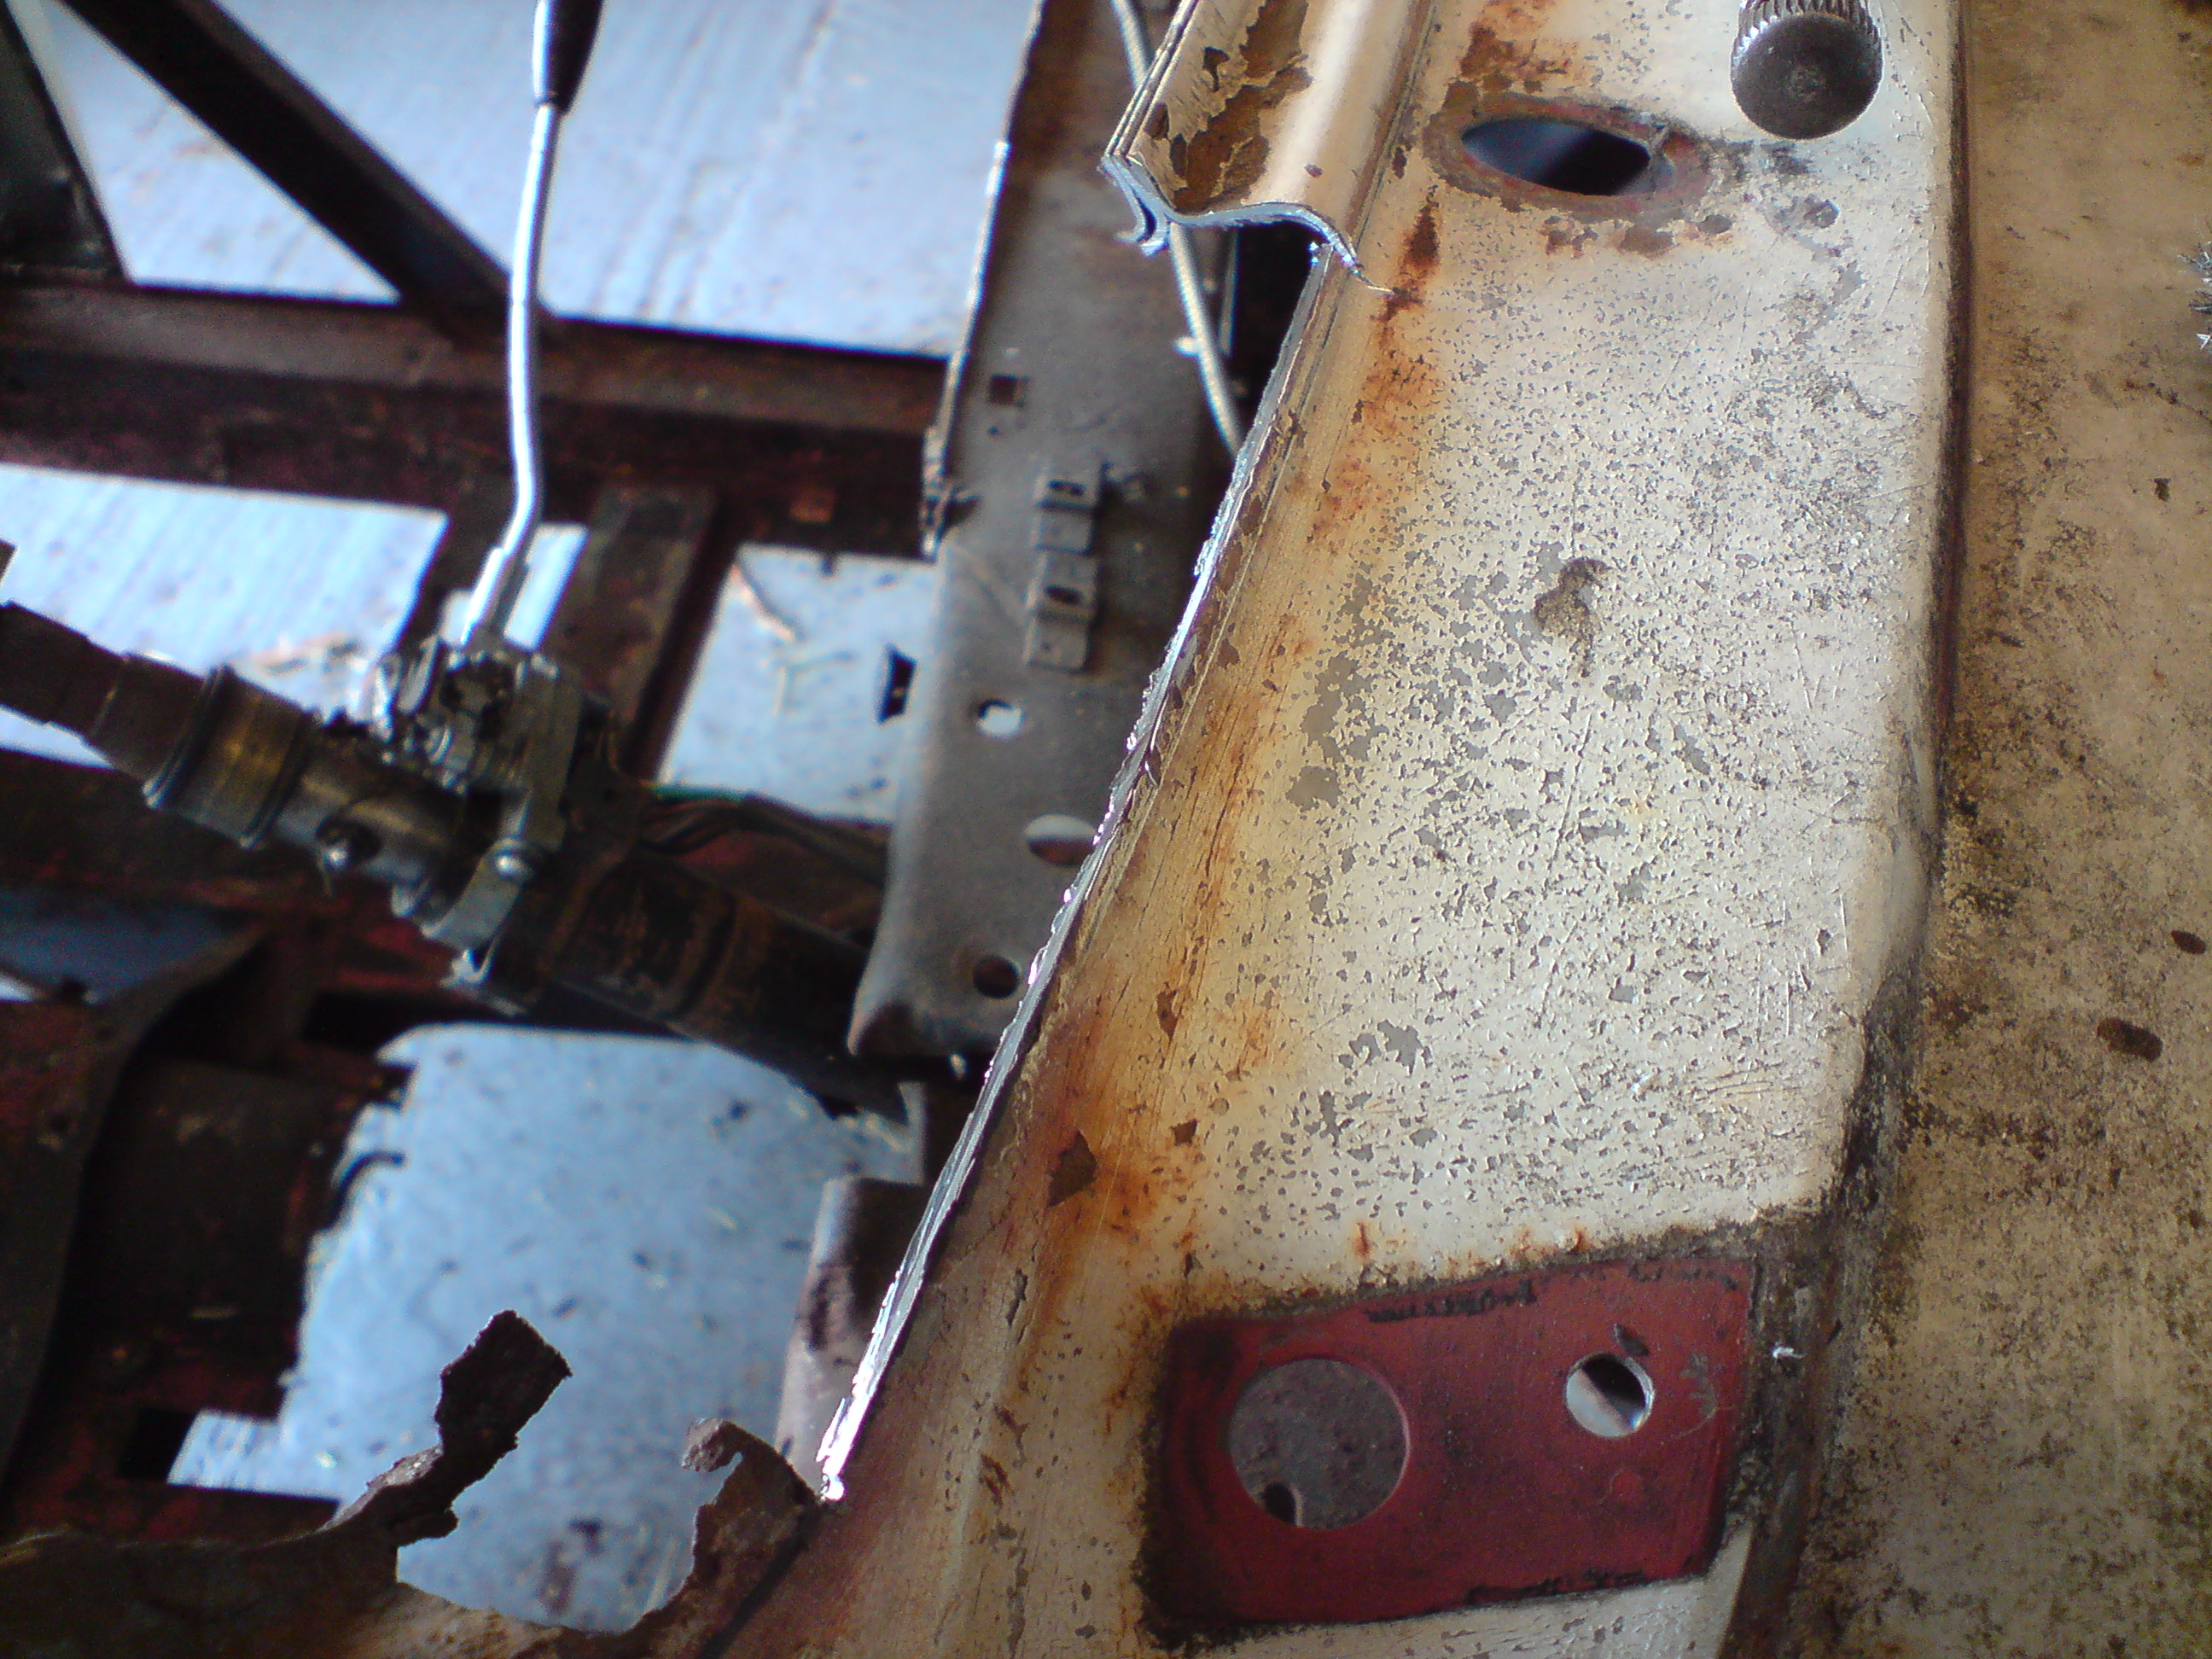
I aquired the vehicle some a little while ago now and chose this basis becasue it wasn't something someone could really restore anymore. I didnt want to waste a decent classic, which i'm sure you can agree, this is no longer. The back will be rebuilt with brushed aluminium rectangular section and the front will be a fixture of carbon fibre and kevlar (but painted).

I'm building this to showcase my side of the companies abilites and it may serve as a work vehicle also. I'll try to keep this as a blog or i'll start an actual blog when i get properly stuck into it.

Jordan
Don't worry dave, it in't V-tec, that really is very boring, but its not a 20VT, and as phil guessed, its staying rear wheel drive, but the chassis will be allowing a forward to mid placement of the engine. The donor car is........

A 300ZX twin turbo manual. Reliable 300bhp minimum and with breathing modifications and the DTA set-up, an also very reliable 380bhp proven. I will be buying a completely destroyed 300ZX asap (write-off preferably) to strip its guts out, but got to get the stilo sorted and the little workshop for the pick-up.

I've only ever seen one FWD moggie done phil, and that was a diesel engine out of a rover, it was pretty nasty handling too lol.

Jordan
 
Got it moved into its own workshop, got it finished being painted later that day, and installed the sink etc, got to wire sockets in there now as atm its just 1 socket and the two bulbs will be replaced for fluorescents in the future, then its just get the welders, grinders bench sanders, toolboxes etc in there and its ready for work to properly start.

DSC01083.JPG


DSC01085.JPG


DSC01084.JPG


Jordan
 
Mmmmm thats some power you fitting in there ..I think your going to need major chassis mods to take it ..I take it your not staying with the old trunion front suspension set up either ..Dom [guy down here ] used the old triumph herald front suspension set up his worked out well and has a masssive turning circle with it ..we used to use the same triumph front set up on our single seater grass track cars ..the problem tho is finding one nowadays and you dont see that many of the old triumphs around now ..a good sorce is ebay if your going to use that suspension ..quite a few on there from time to time ..
 
Cheers chris, should be good for wheelies :p not.

Phil - appreciate the concern, im building a complete new chassis of my own design, i basically only got this moggie for the shape, as i'll be using 3dr front doors (slightly longer), and making my own back-panel etc to accompdate, means i can get another 2" of length on the side of the vehicle without the original line being broken. I will probably use the front XYZ +/- co-ordinates off the donor car and then design swingarms etc to match the aforementioned co-oridates. They will be adjustable via rosejoint in all directions, as John beardmore has used on his build, and the forumla karts adopt. (y)

Jordan
 
Tiny update, finally got the lighting sorted out, and ordered new A-pillars for each side with cover plates. I'm converting everything to metric so i've got to drill the spot welds out, take the keeper plates out and cut/drill &tap new ones, then i'm going to seam weld every piece back together. Strength being the main reason, but also it prevents water becoming trapped between surfaces, a huge disadvantage on any vehicle. Pictures to follow

Jordan
 
Well i started stripping down the car even further yesterday. Got one wheel and wing off, only alloy on the car was a pest because It had a locking nut and no key supplied so i spent an hour attempting to smash a socket onto it, then my dad decided t let me know to pop over as he would probably have a key that fitted, which he did :eek:.

Got the other door off too, and made the templates for the new adjustable door hinge bolts. Heres a few pictures:

DSC01152.JPG

Seam welded the lip on the spot welded faces i, stops water errosion in the gap, adds strengths and doesnt warp them if its done intermitant, then ground them back so theres no visable join.

DSC01153.JPG

Wheel off

DSC01155.JPG

Interior needing only a little more cleaning before removing flooring

DSC011561.JPG


Should hopefully have more updates next weekend, cutting out of rotten pieces etc and prepping cab on current chassis to keep it square.

Jordan
 
No replies as of yet, nearly removed the floor on the car, ready for new A-pillars to hand the 3 inch longer 2 door version doors off of, busy wiring for more plugs at the minute and been plumbing the sink and hot water heater unit in, then i've benches to attach to the fllor and wall then level, but also its been taken over by alot of other people vehicles :mad: They will move shortly took them out to take a photo to show how many.

DSC01181.JPG


Jordan
 
Awesome project!! You been watching th guys project on SXOC who is building a minor on a 200sx floorpan??? Awesome work. Also get yourself over onto Retro-rides with this crazy ass project!!
 
Updates will be few and far between on this thread, but heres a small update - Cleared out the workshop and tidied the place up a bit, got a few panels collected so i'm hopefully going to have some spare time this weekend to start making the new front end for the car:

DSC000645.JPG


DSC000666.JPG


May have some photos to post over the weekend, the car's getting steam cleaned friday night to hopefully stop the piles of rust collecting and keep it to a minimum (y)

Jordan
 
Glad i mentioned updates would be few and far between :rolleyes:

Been ticking on with it now and again, got the standard panels that I've decided to use on some pieces, partially becasue it makes it a little easier, but also because they give the car a more standard look, the inner arches are scalloped in 3 different directions fr example, which if I were to beat out of sheet metal, would take way too long.

Also sourced and bought a fibreglass front for it, it'll have to be widened by around 178mm in the middle (as will te whole cab section - rear will be tailor made) and flared arches also to compensate for the width of track I want to use.

Some pics from after i steam cleaned the vehicle inside and out and left it to dry for a day (using some to-hand machinery lol):

DSC000815.JPG


DSC001486.JPG


DSC001506.JPG


DSC002051.JPG


DSC001972.JPG


DSC001945.JPG


I have some time away from work for a while so I should hopefully be getting on with this

Jordan
 
:p

Been busy/too tired with work etc some nights and weekends, these window pieces are hard to make too, they have concave and compound curves, so other than using my sheet metal bender, I have to hand form them. They're one of the few pieces that I can't buy as repair panels. That and the roof, of which, I'll need two :mad:. I've been doing the other side today and will be back on with it later tonight, I'd like both sides finished by tomorrow ideally, then theres a small bit on the top that needs sorting before the windscreen area's rust free (y)

Jordan
 
Back
Top