So what I needed was a plan of attack for fitting the suspension.
It was never going to happen (front and back) all at once, so knowing that the fronts will be a right pain (as I have to alter the top turrets) I looked for a day and a half window to change the back end over and sort any probs.
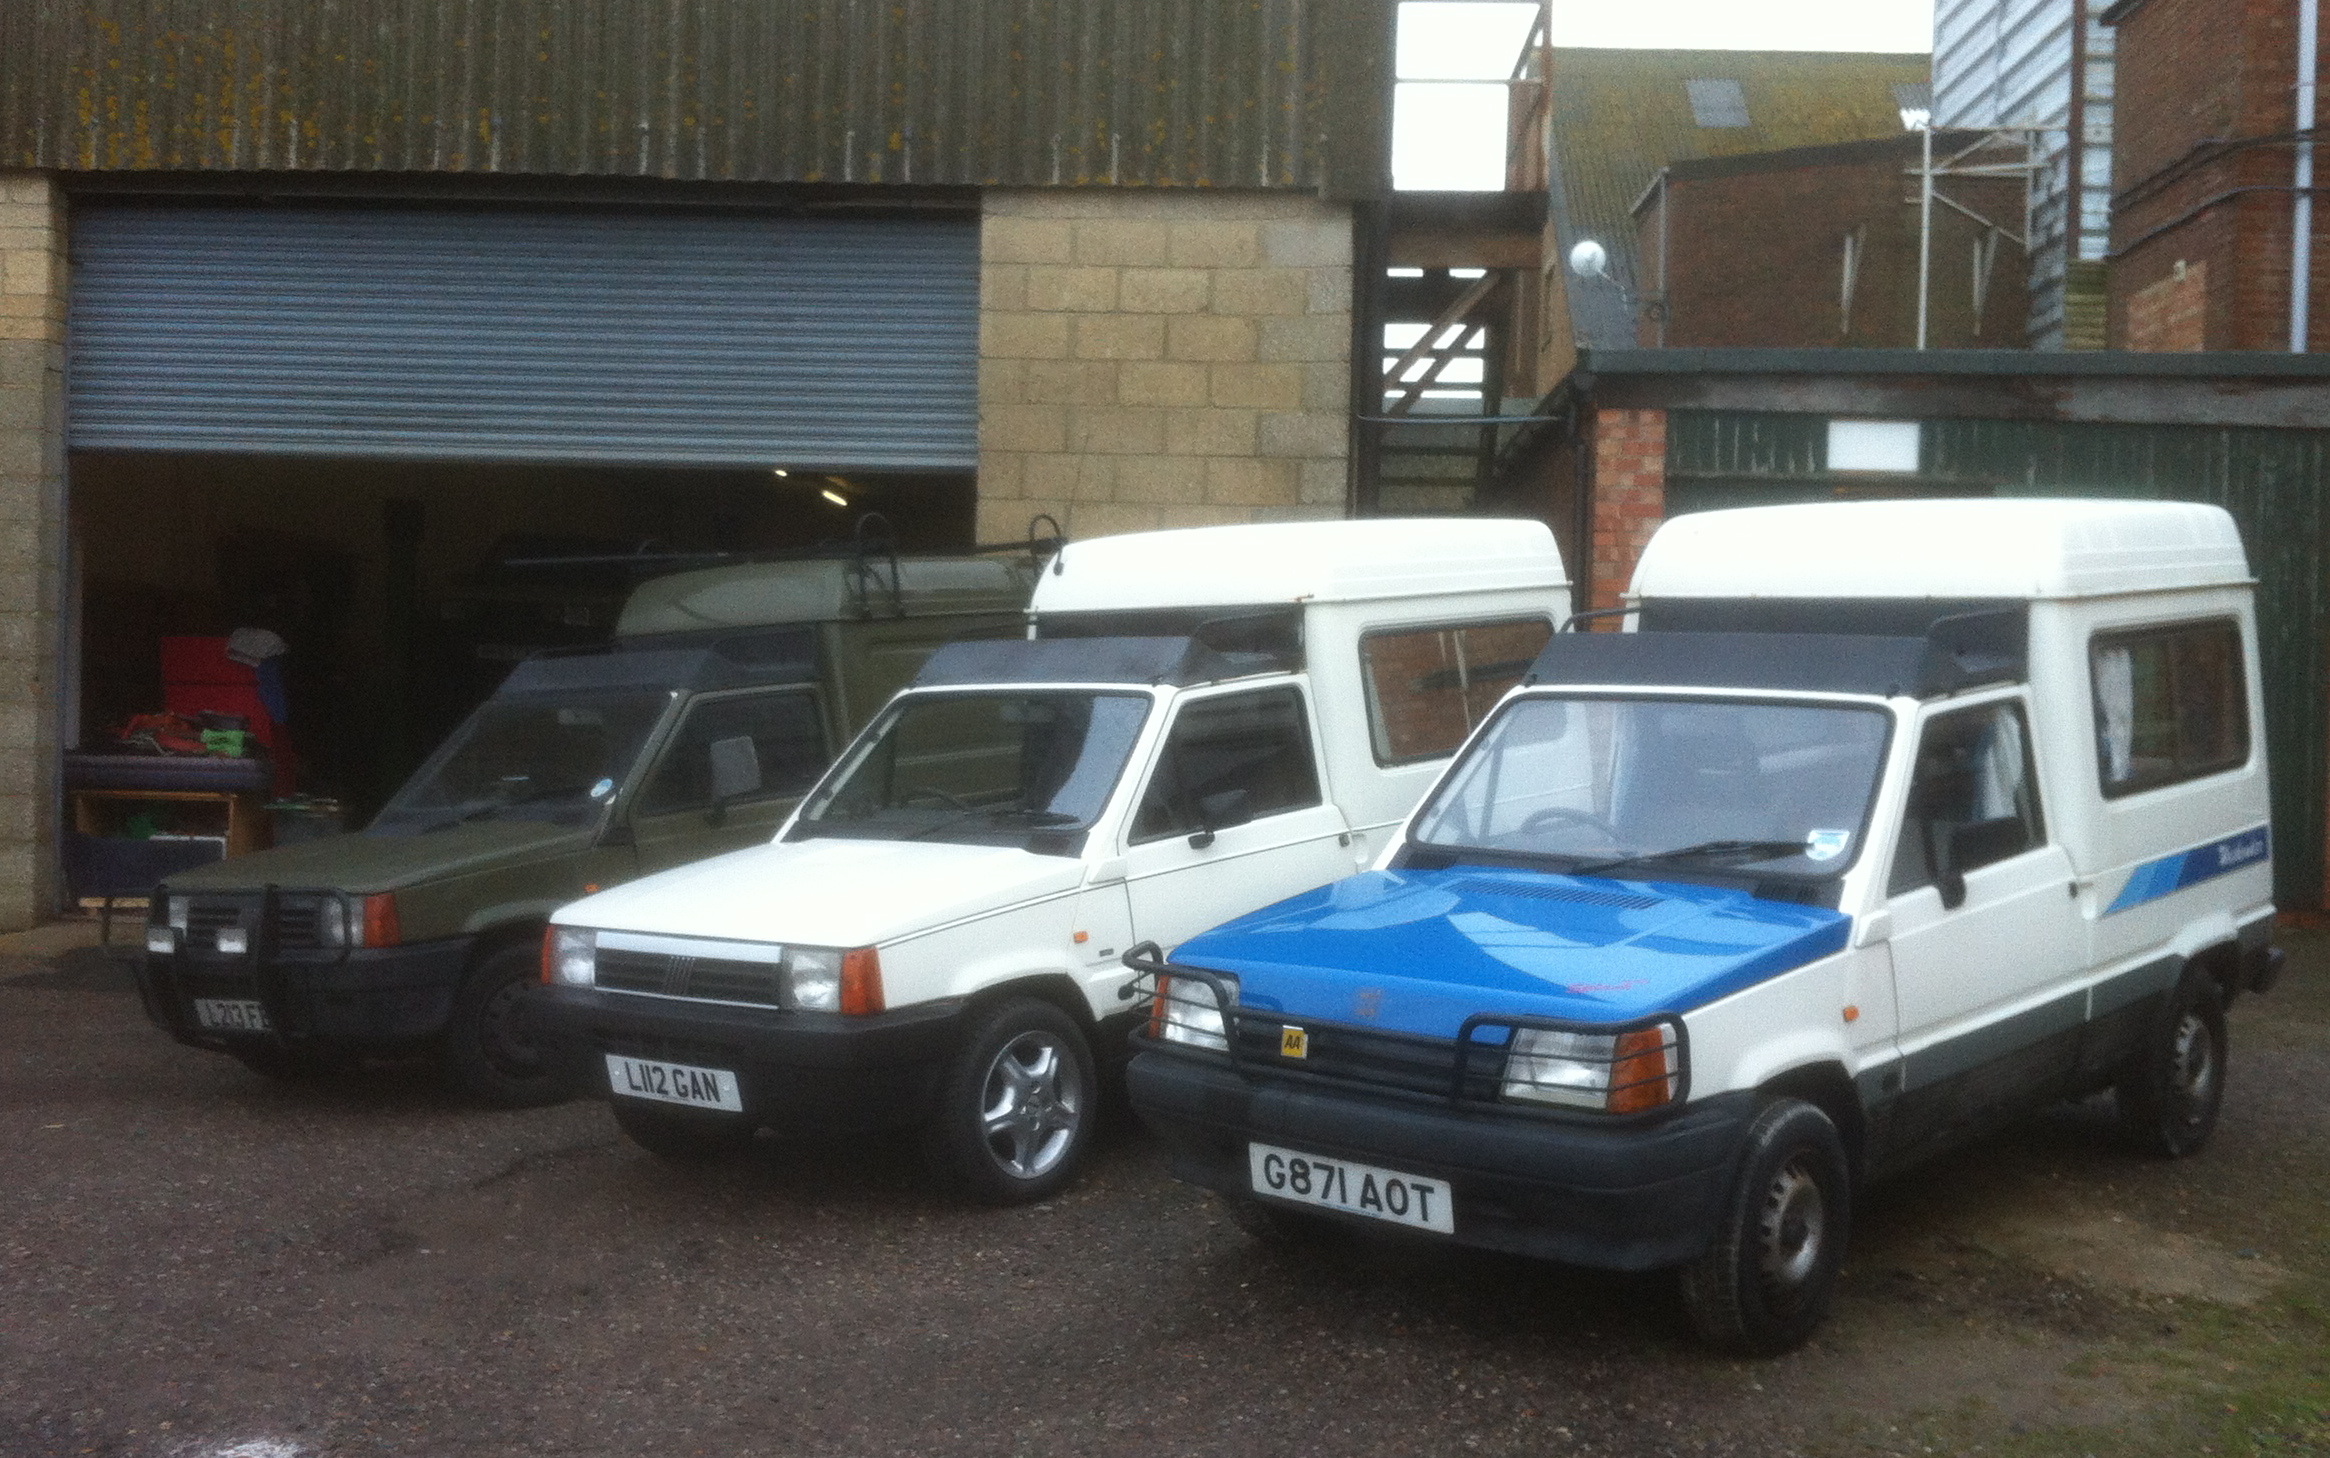
This is of course my daily driver which is working fine and it is only my warped mind that reckons the suspension needs lifting.
So last weekend saw such an opportunity and no rain forecast. OK go for it. After all. "WHAT COULD GO WRONG..?"
If I tell you that I'm still working on it and that I havent used a single part of the rear suspension I had prepped and painted then you might get an idea of the depth of despair which is still unfolding.
Saturday morning; back the van under my bit of cover; get some axle stands under some strong bits, pop the wheels off, disconnect the brakes (don't worry clamping off the lines this wont take long) and unbolt the springs to pull the whole lot off as one.
Strangely all the bolts were undoing nicely....... Except one front spring mount.
With brake fluid dripping, this Recalcitrant little rascal got the full long ba;r bash with big hammer; trolly jack under a rachet wrench treatment. Just when I thought it was starting to turn, I realised that it was the insert turning in the rubber bush and that the bolt was in fact permenantly rusted in place.
So how bad can it be.? I'm changing the spring and the bushes in the 4x4 leafs are OK. So I saw through the bolt either side (inside) the mounting bracket and the blighter is off.
1st fundemental error. Not measuring the length of the 4x4 springs when I know full-well that the van is longer than a car by some 10".
Well they aint 10 inches longer but they are significantly longer. Bug*er bug*er.
OK so I'll use the original leaf springs... Oh yeah that bush that didn't matter five minutes ago.
I try drilling it out in situ. Not a chance.
I manage to drive the entire bush out with a couple of sockets and a sledgehammer.
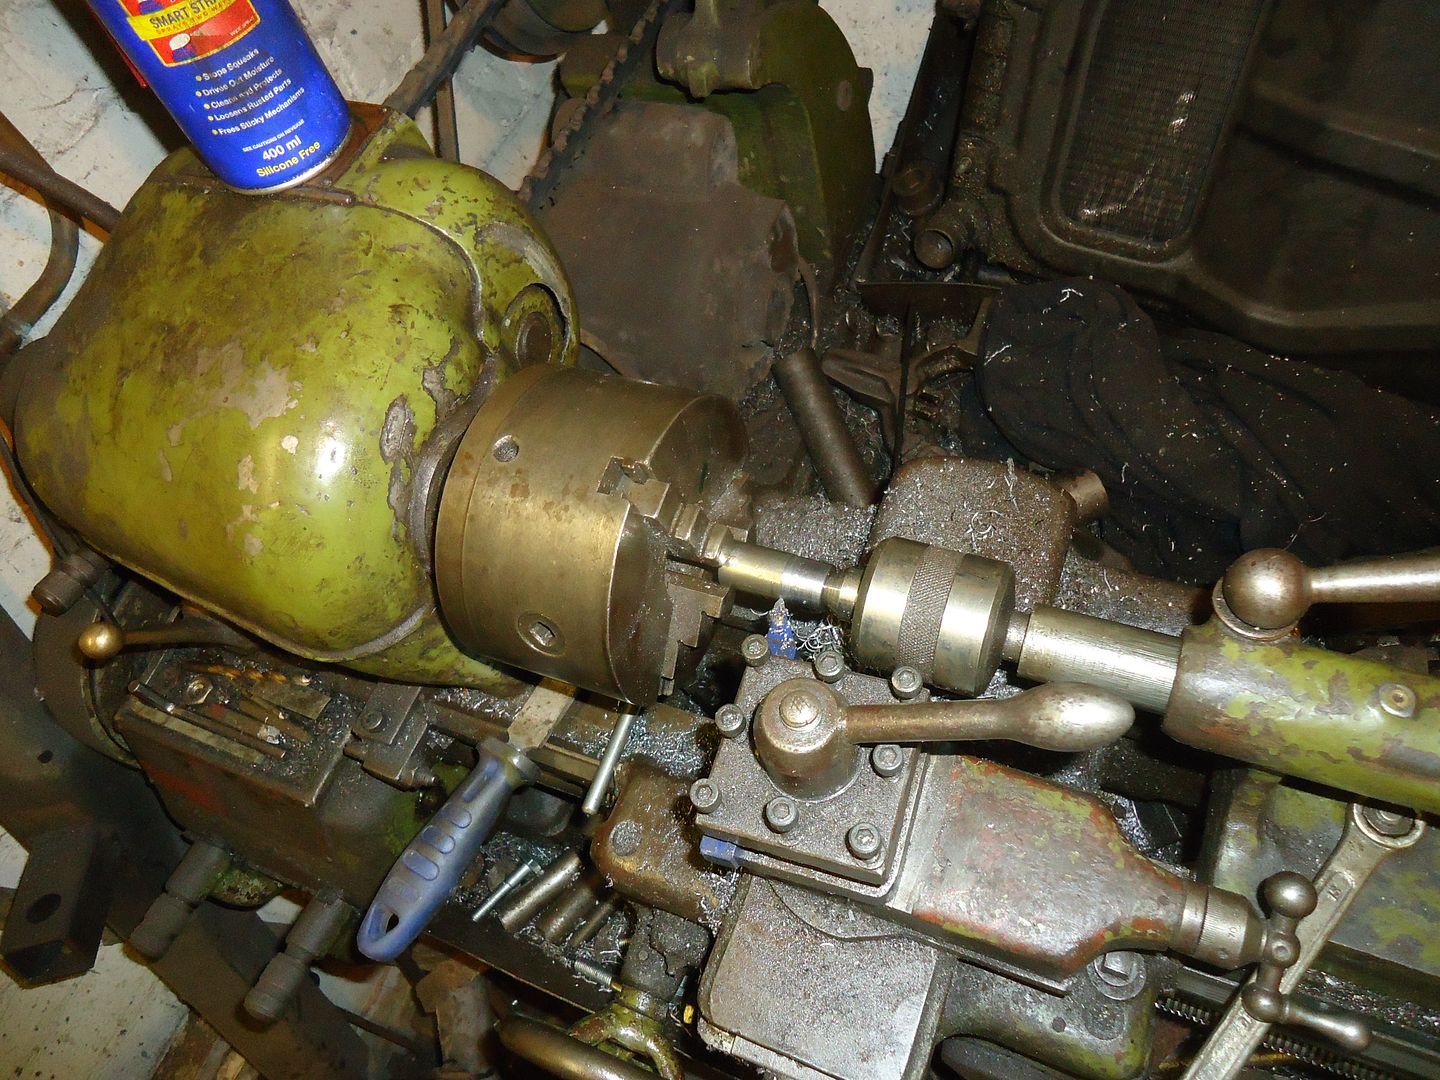
Saving grace.............. I have a small lathe............. I put the bush into the lathe chuck and manage to get a pilot hole through the saw off bolt.
I'm really in with a chance here. "WHAT COULD POSSIBLY GO WRONG.?"
The final size brill bit manages to push the insert right through the rubber bush.
Bug*er bu*er.
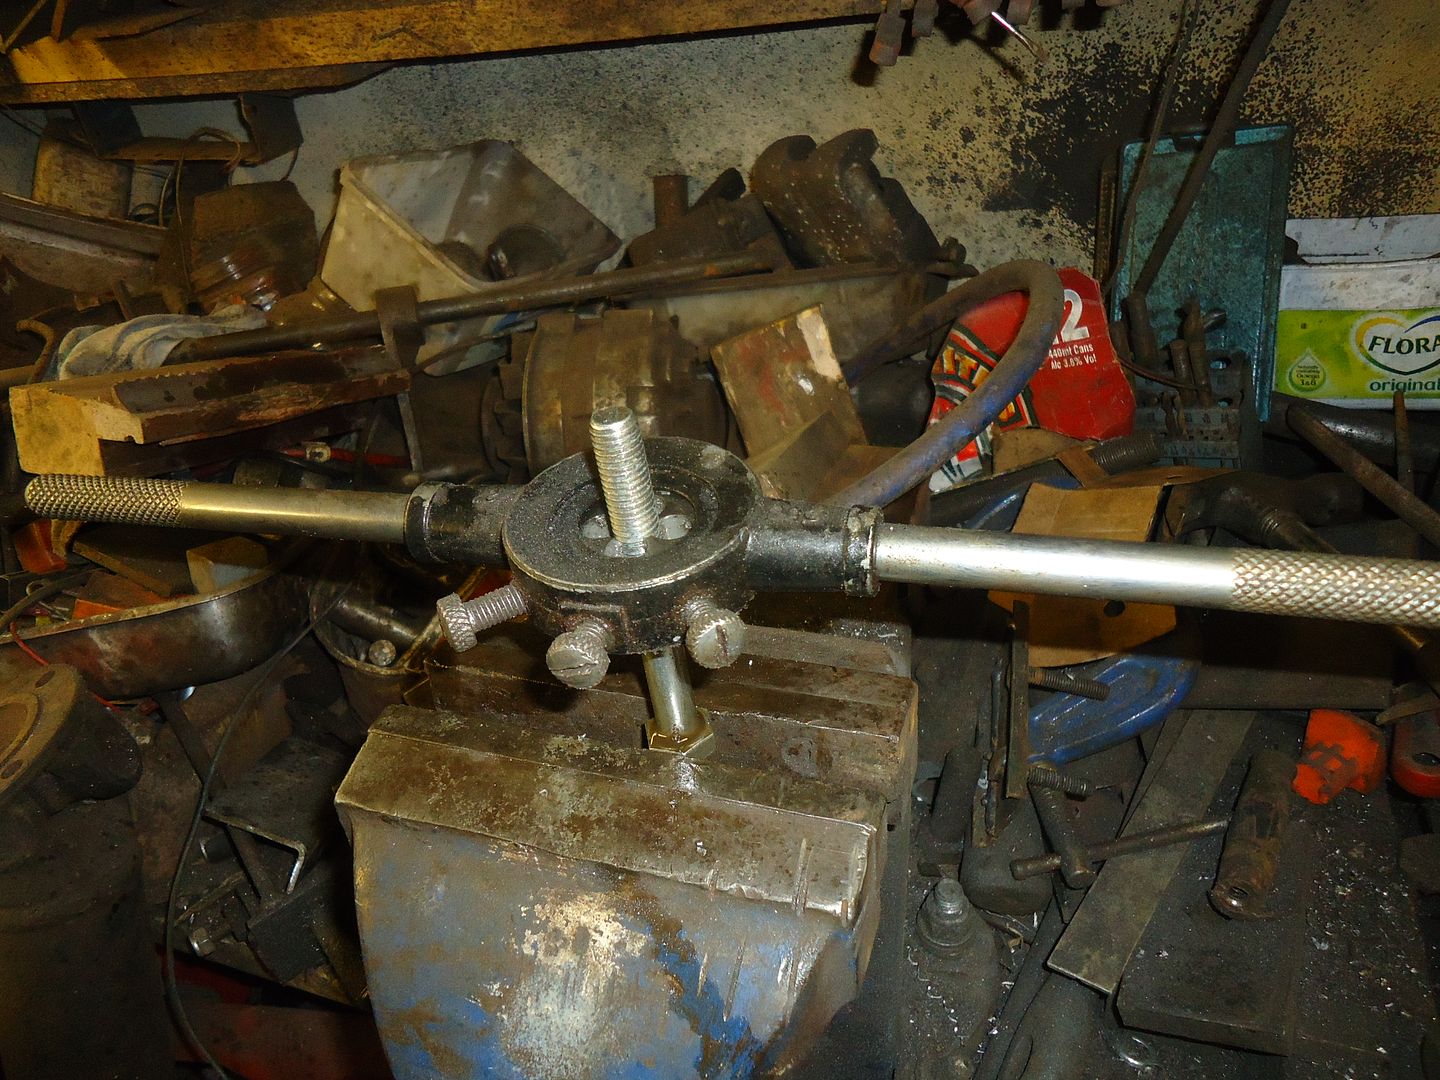
OK; so I have the lathe, I can turn up a new insert and Tiger Seal it back into the rubber bush..... Oh yeah and I'll make another bolt to replace the sawn off one cos no one has any in stock and what I have are an inch too short.
THERE AREN'T A LOT OF PICS IN THIS COS I WAS A TINY BIT MIFFED
I'm off to a beery quiz night so proceeding are halted in the face of impending alcohol.
...........................................................................................................................
It's Sunday. I decline my usual regieme of laying in bed and listening to the 'Archers' omnibus on the radio and get stuck in.
My head hurts and if I lean forward I feel nauseous. I begin to regret sending the girls home and us boys having a 'late one'.
Right; now I am in a position to replace the original rear leaf springs which I didn't actually need to be removed in the first place.
Perfect; back in place, unbolt the two little bits which locate the axle, which undo after WD40 and a deal of patience, and refit them the opposite way so the axle can now be 'hung'.
Unbolt shiney painted axle from 4x4 springs and 'U' bolt it into place onto the Terra springs.
Everything is going very well. The handbrake cable locates perfectly and works better than it did originally.
Time is passing fast, so I just unbolt the brake back plates etc from the Terra axle and fit it onto the van as one unit; leaving the shiney painted items disguarded.
The rear damper are fitting very badly; but I can live with that. This is my daily driver and I need it.
I'm supposed to be going to a family do in the afternoon. Jan goes on her own and I promise that I only have to bleed up the brakes and I'll catch up.
Connect the brake lines and jack up the van off the new (relocated axle) to give myself more room underneath.
With a bang one of the twin fluorescent lights bursts as the roof rack hits it.
Bug*er bug*er. Fortunately the other one still works.
Strangely the brakes bleed up OK. I'm used to bleeding brakes on my own ever since I shouted at someone who was punping the clutch pedal..
All I have to do now is fit the wheels and I'll sort out better damper mounts another time. After all; "WHAT COULD POSSIBLY GO WRONG?"
Did you know that a Terra van axle is 30mm wider than a MK1 Panda or SEAT Marbella one.? NO; nor did I.!!!!!!!!!!!!!!!!!!
The wheels bolted up against the leaf springs and didn't turn.
Jan came home from the family do and I moaned and made some templates off the 4x4 axle I have.
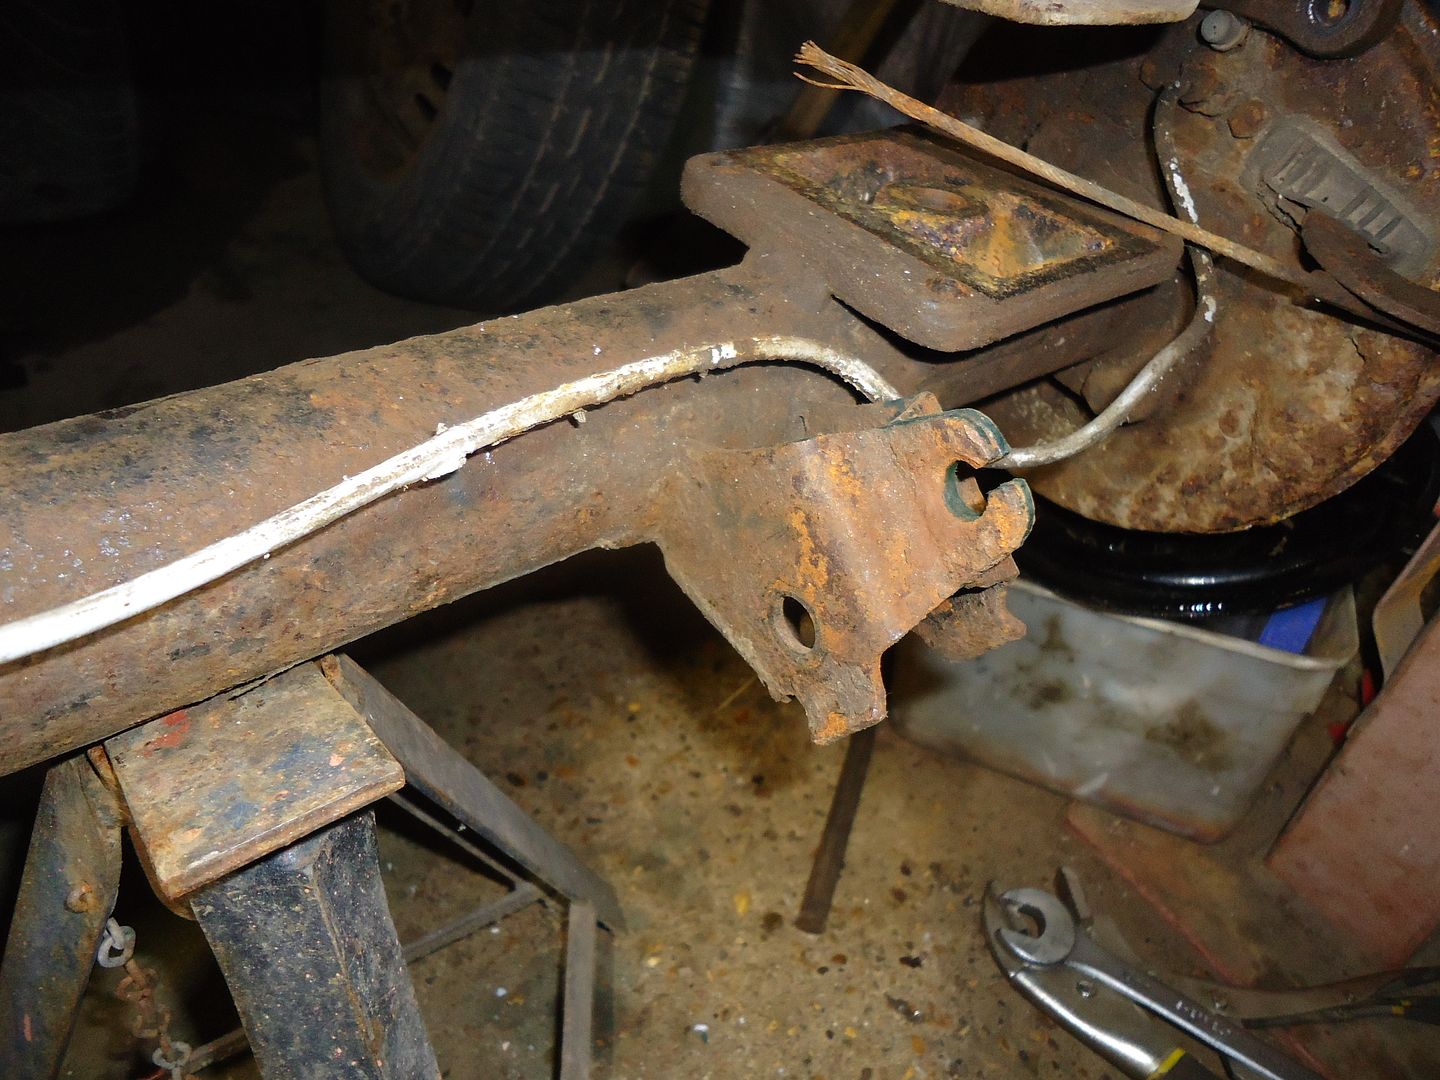
I realised that I was going to have to convert the original Terra back axle to fit upside down and might as well make some suitable damper mounts.
On the 4x4 these also carry the handbrake anchor points.
I hate it when I can't do it my way and have to do what the manufacturer designed
This is a 4x4 damper /handbrake mount
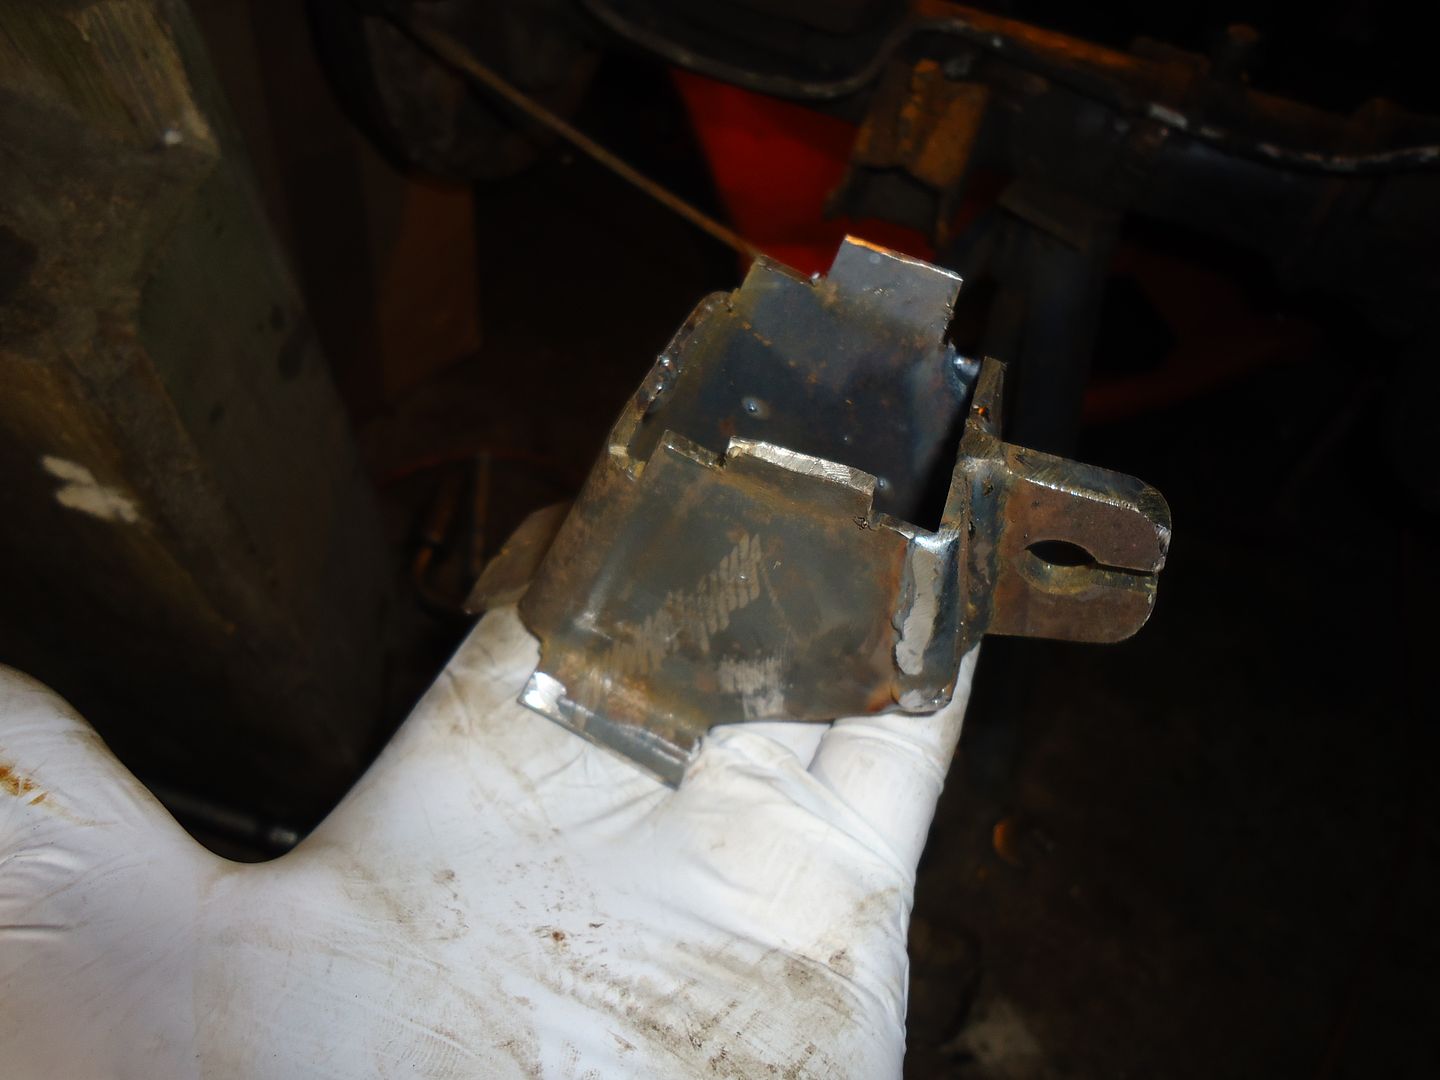
This is my crude copy.
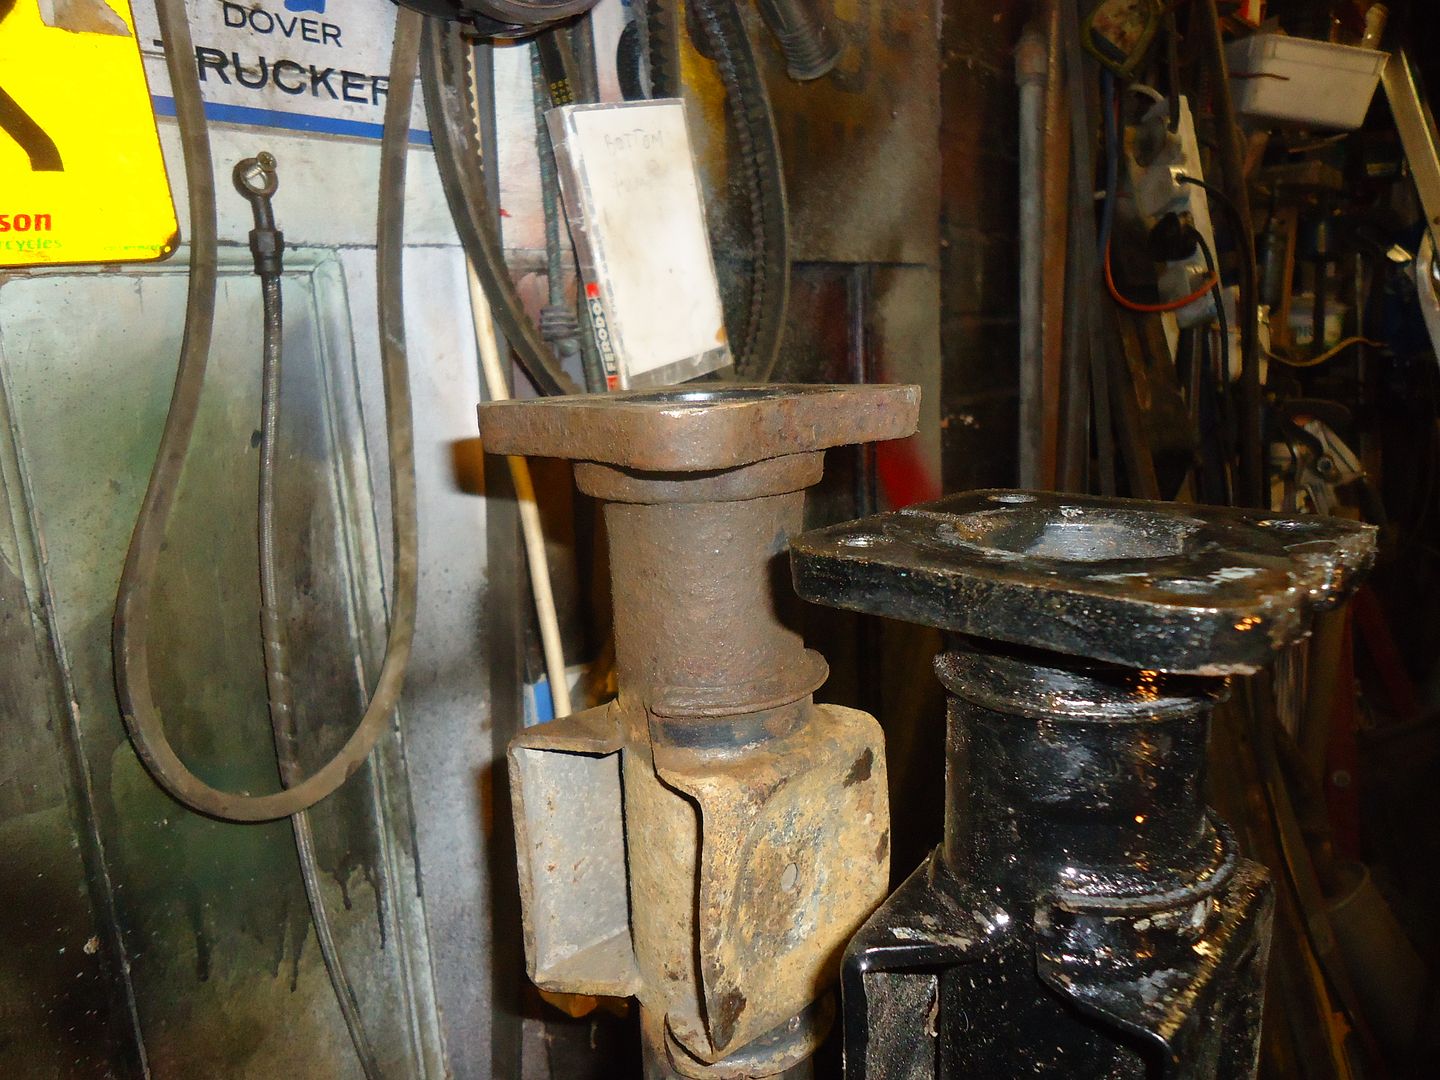
Of course the new damper mounts meant that I had to make inserts to fit the existing bushes
I had bolts but they were too long, so I had to extend the thred down the shank
I ground off all the original fittings from the Terra axle and tack welded the 4x4 style damper mounts in place.
I refitted the axle to check the damper mount positions.
Close but no cigar.
10 PM too late for grinding.
So what was I going to do tomorrow anyhow.??????????????
It was never going to happen (front and back) all at once, so knowing that the fronts will be a right pain (as I have to alter the top turrets) I looked for a day and a half window to change the back end over and sort any probs.
This is of course my daily driver which is working fine and it is only my warped mind that reckons the suspension needs lifting.
So last weekend saw such an opportunity and no rain forecast. OK go for it. After all. "WHAT COULD GO WRONG..?"
If I tell you that I'm still working on it and that I havent used a single part of the rear suspension I had prepped and painted then you might get an idea of the depth of despair which is still unfolding.
Saturday morning; back the van under my bit of cover; get some axle stands under some strong bits, pop the wheels off, disconnect the brakes (don't worry clamping off the lines this wont take long) and unbolt the springs to pull the whole lot off as one.
Strangely all the bolts were undoing nicely....... Except one front spring mount.
With brake fluid dripping, this Recalcitrant little rascal got the full long ba;r bash with big hammer; trolly jack under a rachet wrench treatment. Just when I thought it was starting to turn, I realised that it was the insert turning in the rubber bush and that the bolt was in fact permenantly rusted in place.
So how bad can it be.? I'm changing the spring and the bushes in the 4x4 leafs are OK. So I saw through the bolt either side (inside) the mounting bracket and the blighter is off.
1st fundemental error. Not measuring the length of the 4x4 springs when I know full-well that the van is longer than a car by some 10".
Well they aint 10 inches longer but they are significantly longer. Bug*er bug*er.
OK so I'll use the original leaf springs... Oh yeah that bush that didn't matter five minutes ago.
I try drilling it out in situ. Not a chance.
I manage to drive the entire bush out with a couple of sockets and a sledgehammer.
Saving grace.............. I have a small lathe............. I put the bush into the lathe chuck and manage to get a pilot hole through the saw off bolt.
I'm really in with a chance here. "WHAT COULD POSSIBLY GO WRONG.?"
The final size brill bit manages to push the insert right through the rubber bush.
Bug*er bu*er.
OK; so I have the lathe, I can turn up a new insert and Tiger Seal it back into the rubber bush..... Oh yeah and I'll make another bolt to replace the sawn off one cos no one has any in stock and what I have are an inch too short.
THERE AREN'T A LOT OF PICS IN THIS COS I WAS A TINY BIT MIFFED
I'm off to a beery quiz night so proceeding are halted in the face of impending alcohol.
...........................................................................................................................
It's Sunday. I decline my usual regieme of laying in bed and listening to the 'Archers' omnibus on the radio and get stuck in.
My head hurts and if I lean forward I feel nauseous. I begin to regret sending the girls home and us boys having a 'late one'.
Right; now I am in a position to replace the original rear leaf springs which I didn't actually need to be removed in the first place.
Perfect; back in place, unbolt the two little bits which locate the axle, which undo after WD40 and a deal of patience, and refit them the opposite way so the axle can now be 'hung'.
Unbolt shiney painted axle from 4x4 springs and 'U' bolt it into place onto the Terra springs.
Everything is going very well. The handbrake cable locates perfectly and works better than it did originally.
Time is passing fast, so I just unbolt the brake back plates etc from the Terra axle and fit it onto the van as one unit; leaving the shiney painted items disguarded.
The rear damper are fitting very badly; but I can live with that. This is my daily driver and I need it.
I'm supposed to be going to a family do in the afternoon. Jan goes on her own and I promise that I only have to bleed up the brakes and I'll catch up.
Connect the brake lines and jack up the van off the new (relocated axle) to give myself more room underneath.
With a bang one of the twin fluorescent lights bursts as the roof rack hits it.
Bug*er bug*er. Fortunately the other one still works.
Strangely the brakes bleed up OK. I'm used to bleeding brakes on my own ever since I shouted at someone who was punping the clutch pedal..
All I have to do now is fit the wheels and I'll sort out better damper mounts another time. After all; "WHAT COULD POSSIBLY GO WRONG?"
Did you know that a Terra van axle is 30mm wider than a MK1 Panda or SEAT Marbella one.? NO; nor did I.!!!!!!!!!!!!!!!!!!

The wheels bolted up against the leaf springs and didn't turn.
Jan came home from the family do and I moaned and made some templates off the 4x4 axle I have.
I realised that I was going to have to convert the original Terra back axle to fit upside down and might as well make some suitable damper mounts.
On the 4x4 these also carry the handbrake anchor points.
I hate it when I can't do it my way and have to do what the manufacturer designed

This is a 4x4 damper /handbrake mount

This is my crude copy.
Of course the new damper mounts meant that I had to make inserts to fit the existing bushes

I had bolts but they were too long, so I had to extend the thred down the shank

I ground off all the original fittings from the Terra axle and tack welded the 4x4 style damper mounts in place.
I refitted the axle to check the damper mount positions.
Close but no cigar.
10 PM too late for grinding.
So what was I going to do tomorrow anyhow.??????????????