Technical Project Paolo

Currently reading:
Technical Project Paolo

Cheers Tony. I was thinking I was going to have to fit one as I can't see another way of making it look neat and tidy.

Yes I think it would be difficult.

On the carpets where they fit over the front wheel arch. I secured them at the top on the A post using a self tapper but I found the have a tendency to not fit snugly onto the wheel arch itself, they sort of flop forwards a bit and leave a gap, so I used some double sided tape to make them sit flush against the top of the wheel arch.
 
My thoughts exactly. Just ordered some double sided gorilla tape to do just that.
 
Decided to go for a centre console as I just can't see any other way to make the handbrake etc look neat and tidy when the carpets fitted. I know an F isn't supposed to have a centre console but so be it. My third order from LvdL in as many weeks has just gone in! Also went for a 45ah battery which I got for 38 quid off Ebay (batterymegastore). Free shipping and delivered next day.
mf54523_1.jpg
 
I also found that the carpets were a very poor fit round the front wheel arches. I padded them out slightly by gluing some fibre padding (a bit like the old 'silent travel cloth') onto the inside of the inner wheel arches, and then pulling the carpet as tightly round the wheel arches as I could,. I also 'pop-riveted' a small aluminium panel to the carpet (the soft padding stopped the rivets chaffing against the wheel arch) where the outside of the 'throttle-shoe' would normally chafe against the carpet. Done neatly, it looks quite effective.
 
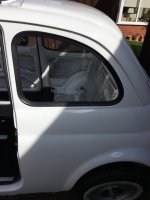
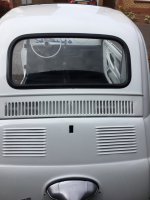
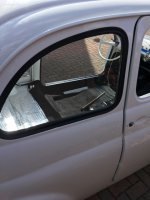
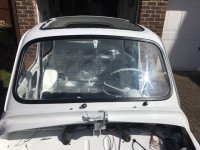
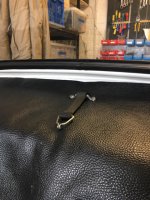
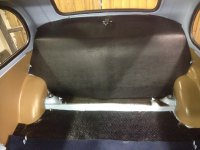
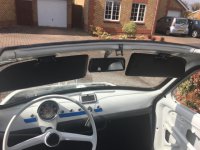
All glass is in now and sealed. No real dramas just one of the side windows put up a bit of a fight but gave in eventually. Rear seat tomorrow and fuel tank clean up. A question on the rear view mirror, which wire goes to the positive? White or black? Is the padding on the rear shelf that goes behind the rear seat only held in place with the 2 screws from the rubber strap?
IMG_0218.JPGIMG_0219.JPGIMG_0220.JPGIMG_0221.JPGIMG_0223.JPG
 
The black should go from the negative on the mirror. this then goes to the switch on the a-post which gets earthed out.
The white is the live feed.


And yes just the 2 screws hold the insulation - why complicate things or put the cost up by using more?
 
Thats what I thought Sean and how I wired it. I guess most of the insulation gets held in place by the rear seat back. Saving the best till last, the dreaded doors! Any tips gratefully received
 
Get someone else to do it!


They are fiddly as f@%k, and to be honest the hardest part to get right.


I cant remember if you changed the doors or the 1/4 glass frames, if not it may not be too bad. But new ones just don't fit together.
I would trial fit the 1/4 glass frames before fitting the aluminium surrounds.
When you are ready you fit the 1/4 glass frames in place but not all the way home, door glass in the door, then fit the trims starting in the tight corner.
I had to cut a couple of mm off the window scrapers as they were too long.


Once they are all in and lined up the rest is easy
biggrin.gif
 
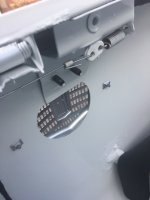
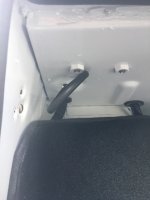
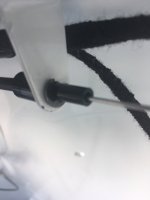
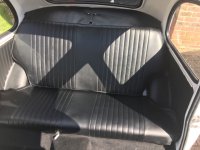
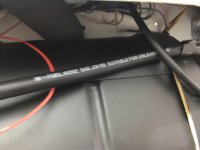
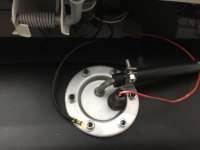
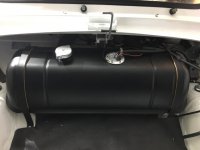
Refurbished fuel tank and fitted rear seats today. Rear seats are a weak point on Paolo but rather than sort them now I've fitted them as is and will sort them in the winter. After all I'm not going to be sat in the back! Fuel tank wasn't too bad and could've gone in as is but decided to give it a quick spruce up. Just waiting for some paint to dry and then I can fit it. Also fitted the bonnet release cable with a new one. New one was longer so I had to trim it to fit. Also decided to make the fit a bit more sturdy so I fitted a couple of e clips to hold the cable in place.
IMG_0224.JPGIMG_0227.JPGIMG_0228.JPGIMG_0229.JPGIMG_0230.JPGIMG_0231.JPGIMG_0234.JPG
 
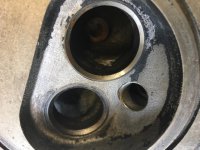
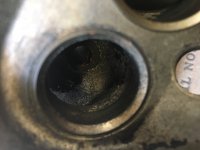
I also had a look at my head today and found out it is from 1976 and has hardened seats fitted.
IMG_0232.JPGIMG_0233.JPG
 
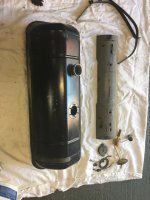
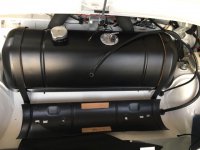
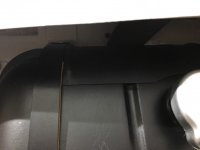
Well the fuel tank is beating me. I can fit it without that spacer underneath it but as soon as I put the spacer in the tank straps arent long enough! I cant see what that spacer actually does or is for? Any tips/help?
IMG_0237.JPG
 
The spacer is actually the tank protector. It sits in between the tank and the heater ducts. You need to turn it 180° from as it is shown in your picture. The rounded edge goes around the filler neck and the floater.

I'll find a picture if needed.


Btw, very nice rebuild! I have followed it with great interest. Thank you!

Edit:

 
Last edited:
A picture would be great Varonego. Sat here with a beer contemplating it did pop into my head that maybe it went how you described
 
All sorted. Exactly as you said Varanego. I can see what all the bumps and clips do now. 10 minutes all done. I spent 1 1/2 hours earlier cursing and swearing. Never mind, all the fun of restoration.
IMG_0238.JPGIMG_0239.JPGIMG_0240.JPGIMG_0241.JPG
 
Yes it all became clear after half a beer Peter.
 
Back
Top