Panda_clx_sr_011.jpg

Panda (Classic) Project Panda-looking Pandas.

Introduction

Ok Gavin here we go ;).

With Gavins (Palio) consent this thread will chart the progress of a little project I'm carrying out for him. It's basically two matching Pandas made to look like Panda bears. These will then be used as company cars by Gavin and his business partner to also promote their new business venture.

Now Gavin is well aware that this could easily turn into being two tacky cartoon style wouldn't be seen dead in cars, so my initial brief stated that my design had to be tasteful and suggest Panda rather than be in your face. Also, there were to be certain engine and interior upgrades to make them more pleasant to live with on a regular basis.

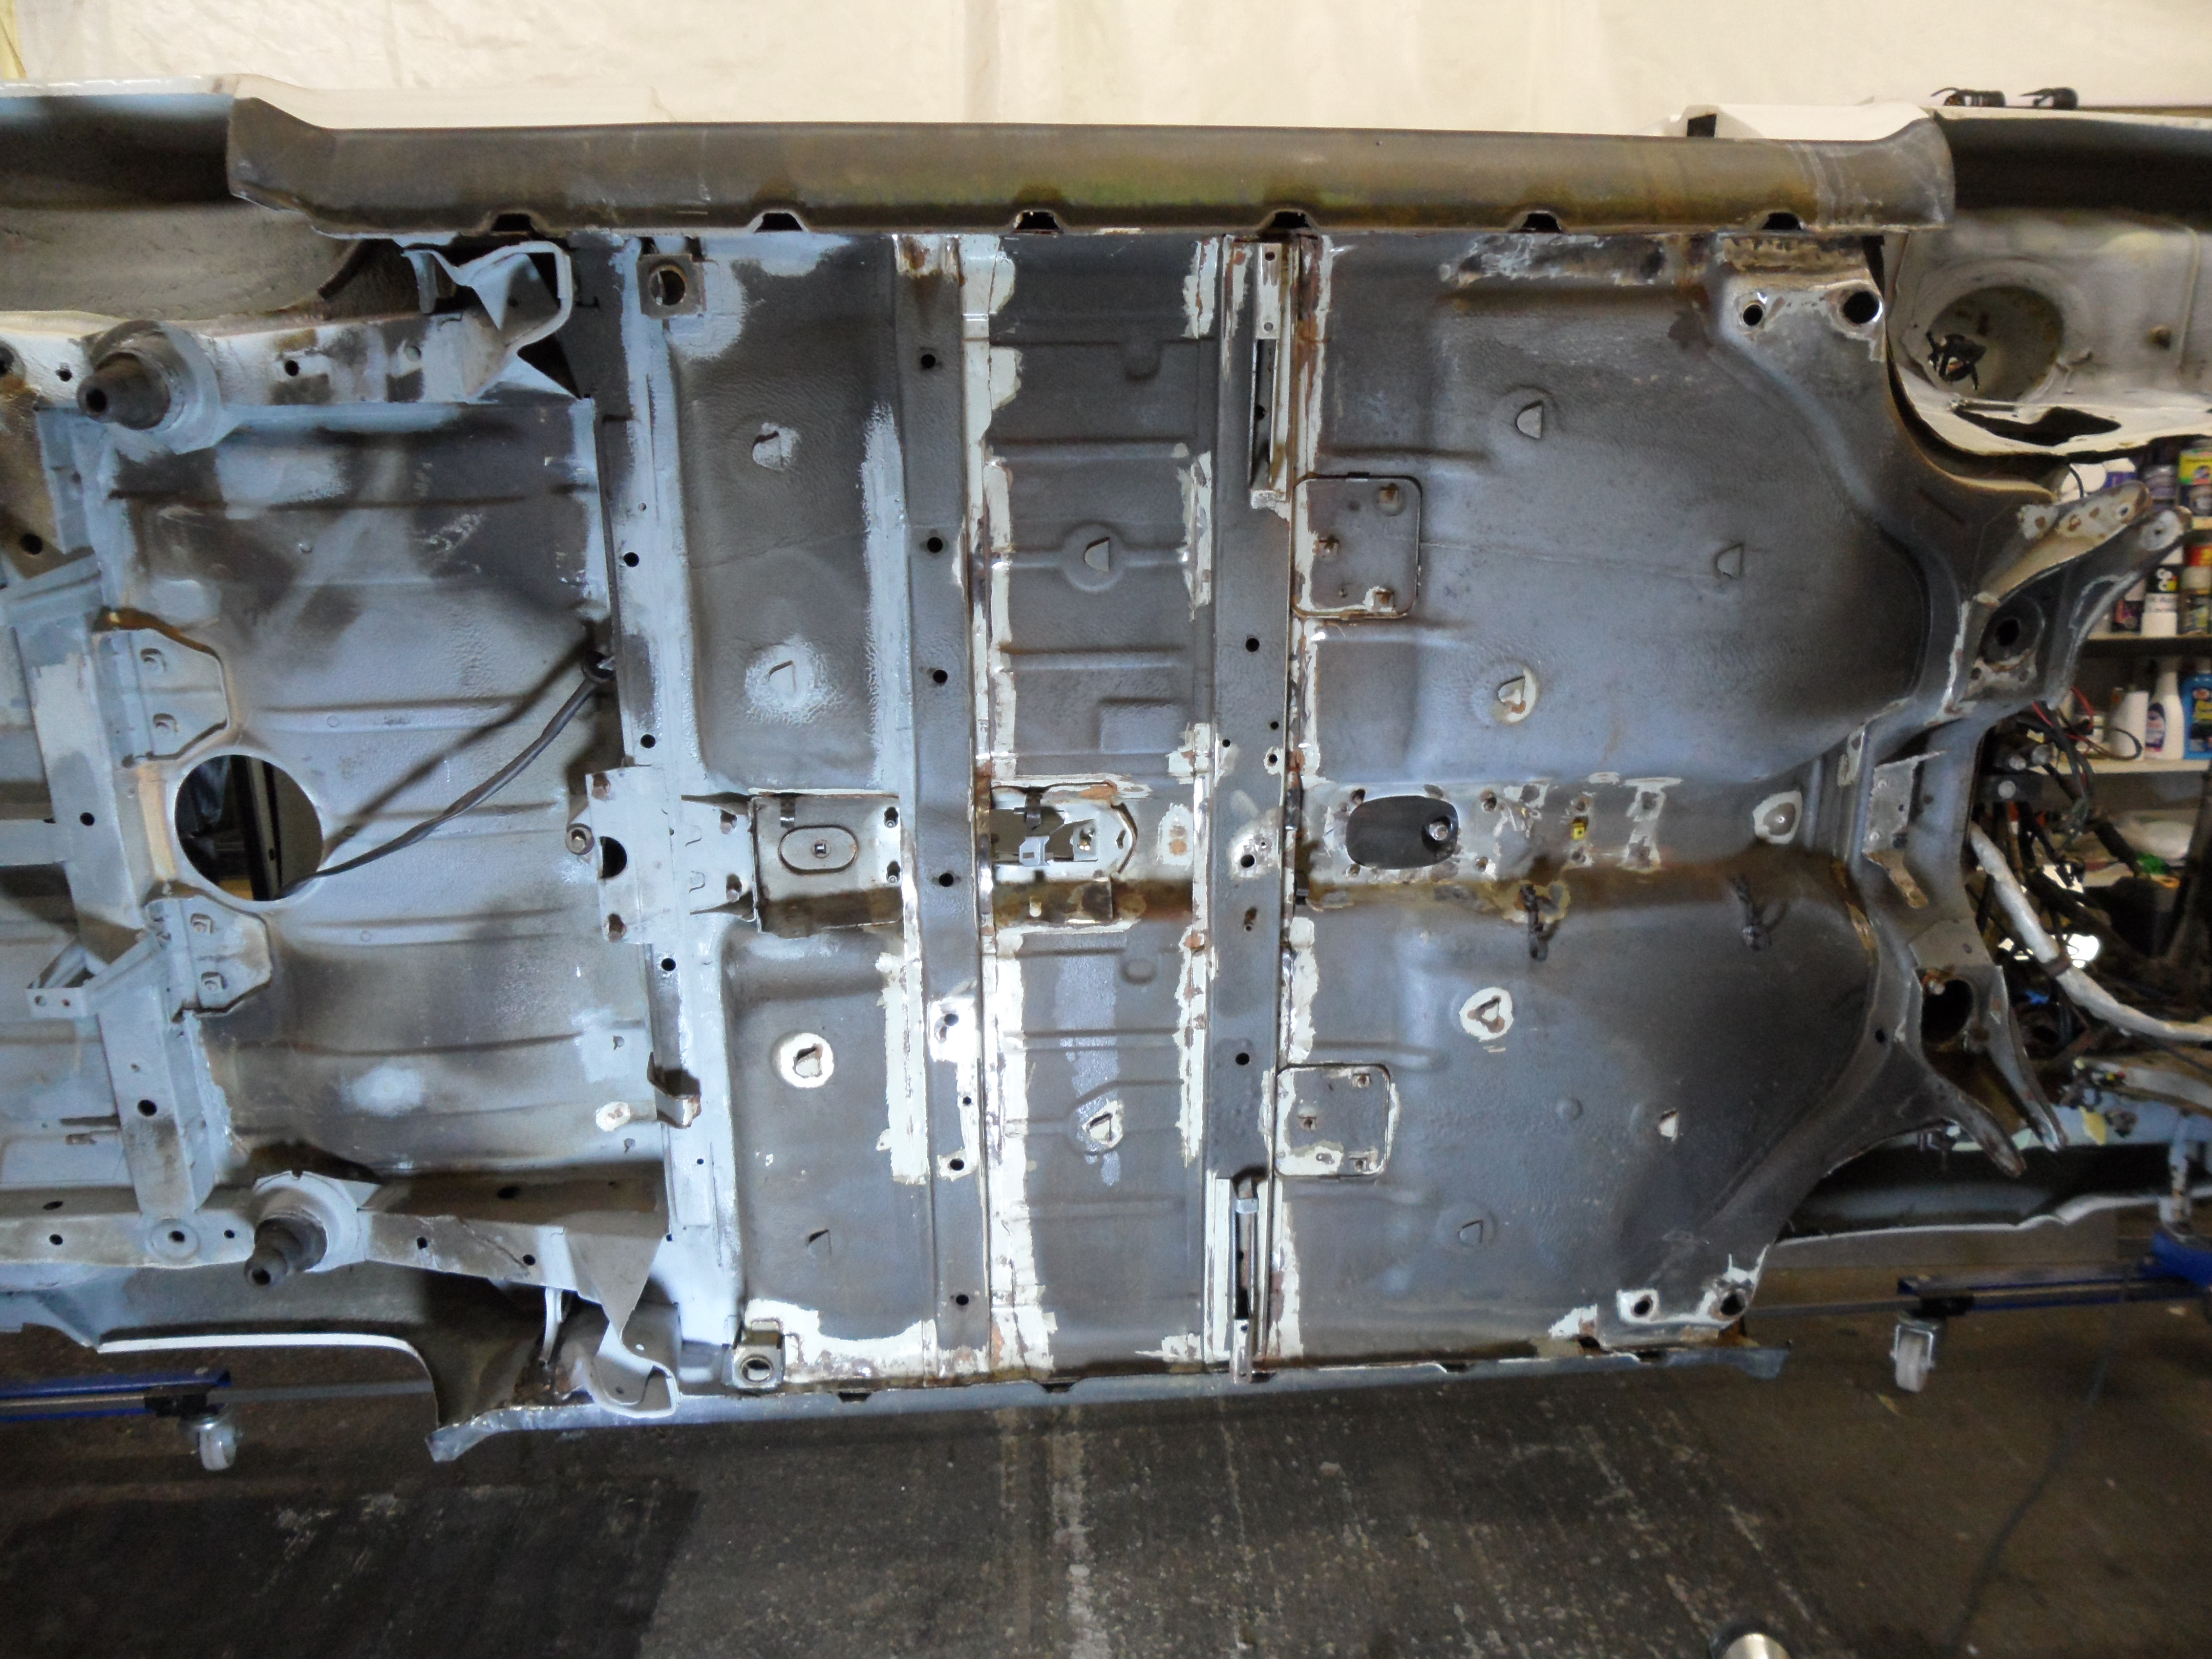
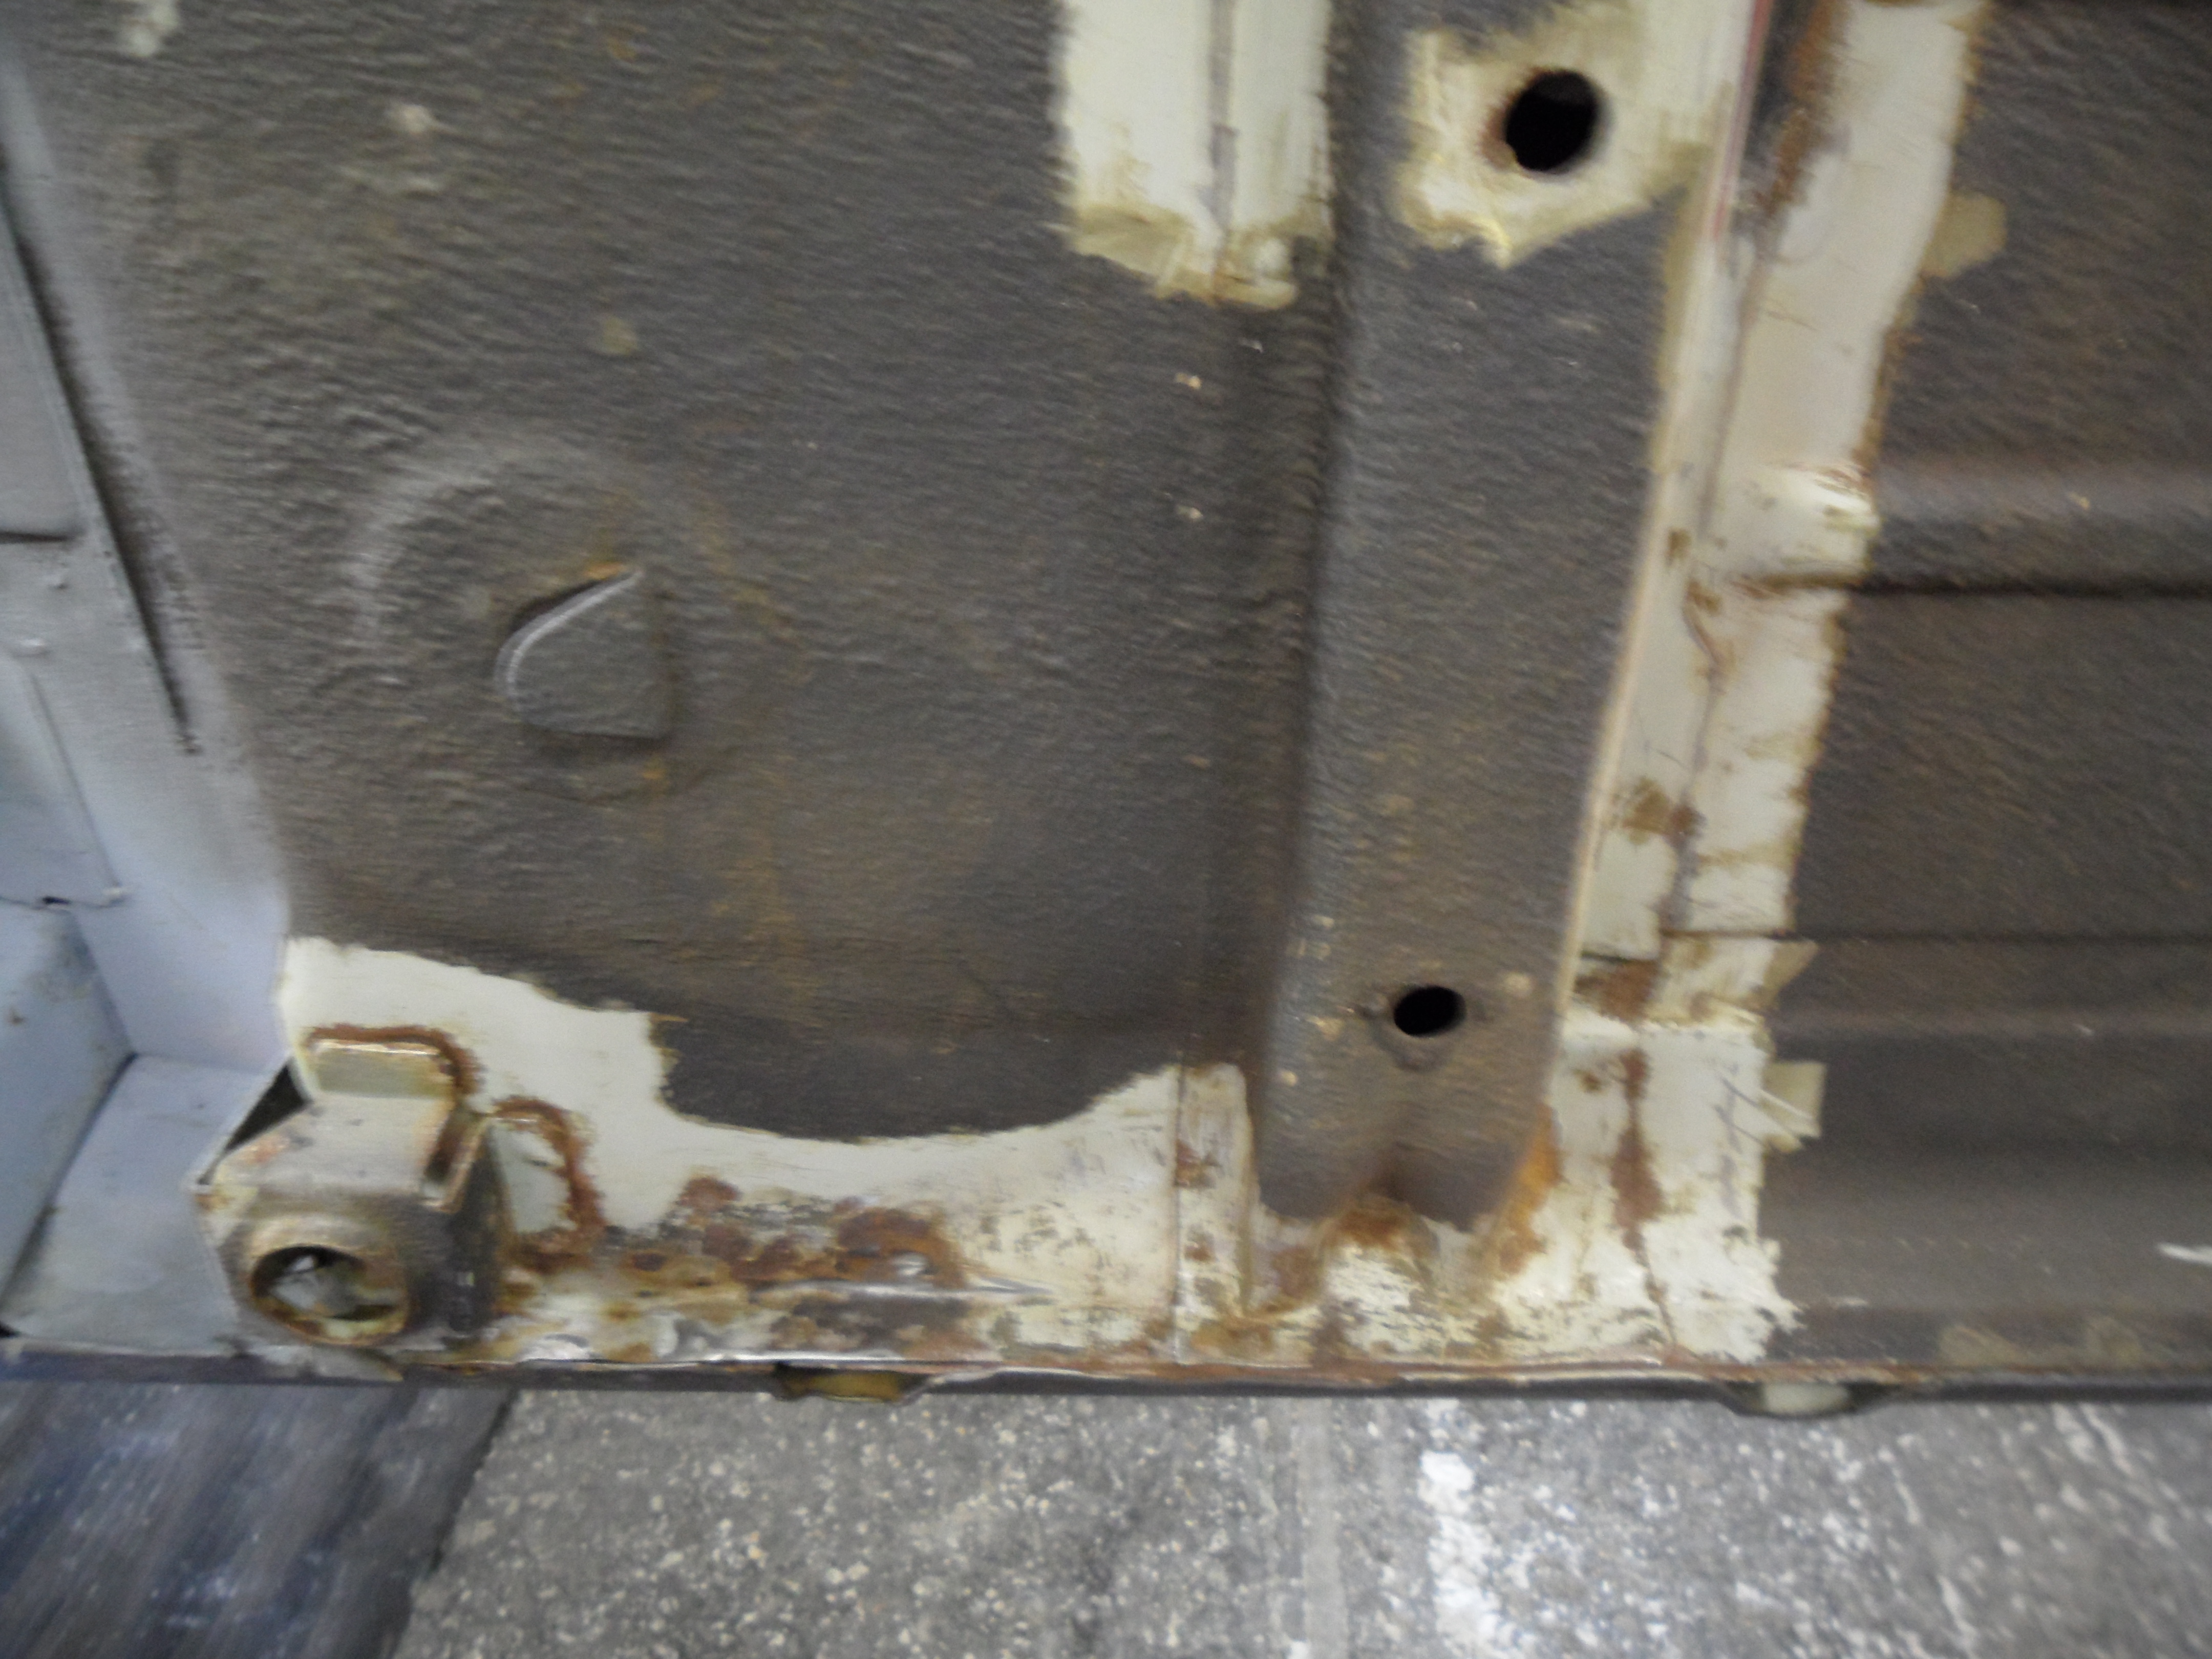
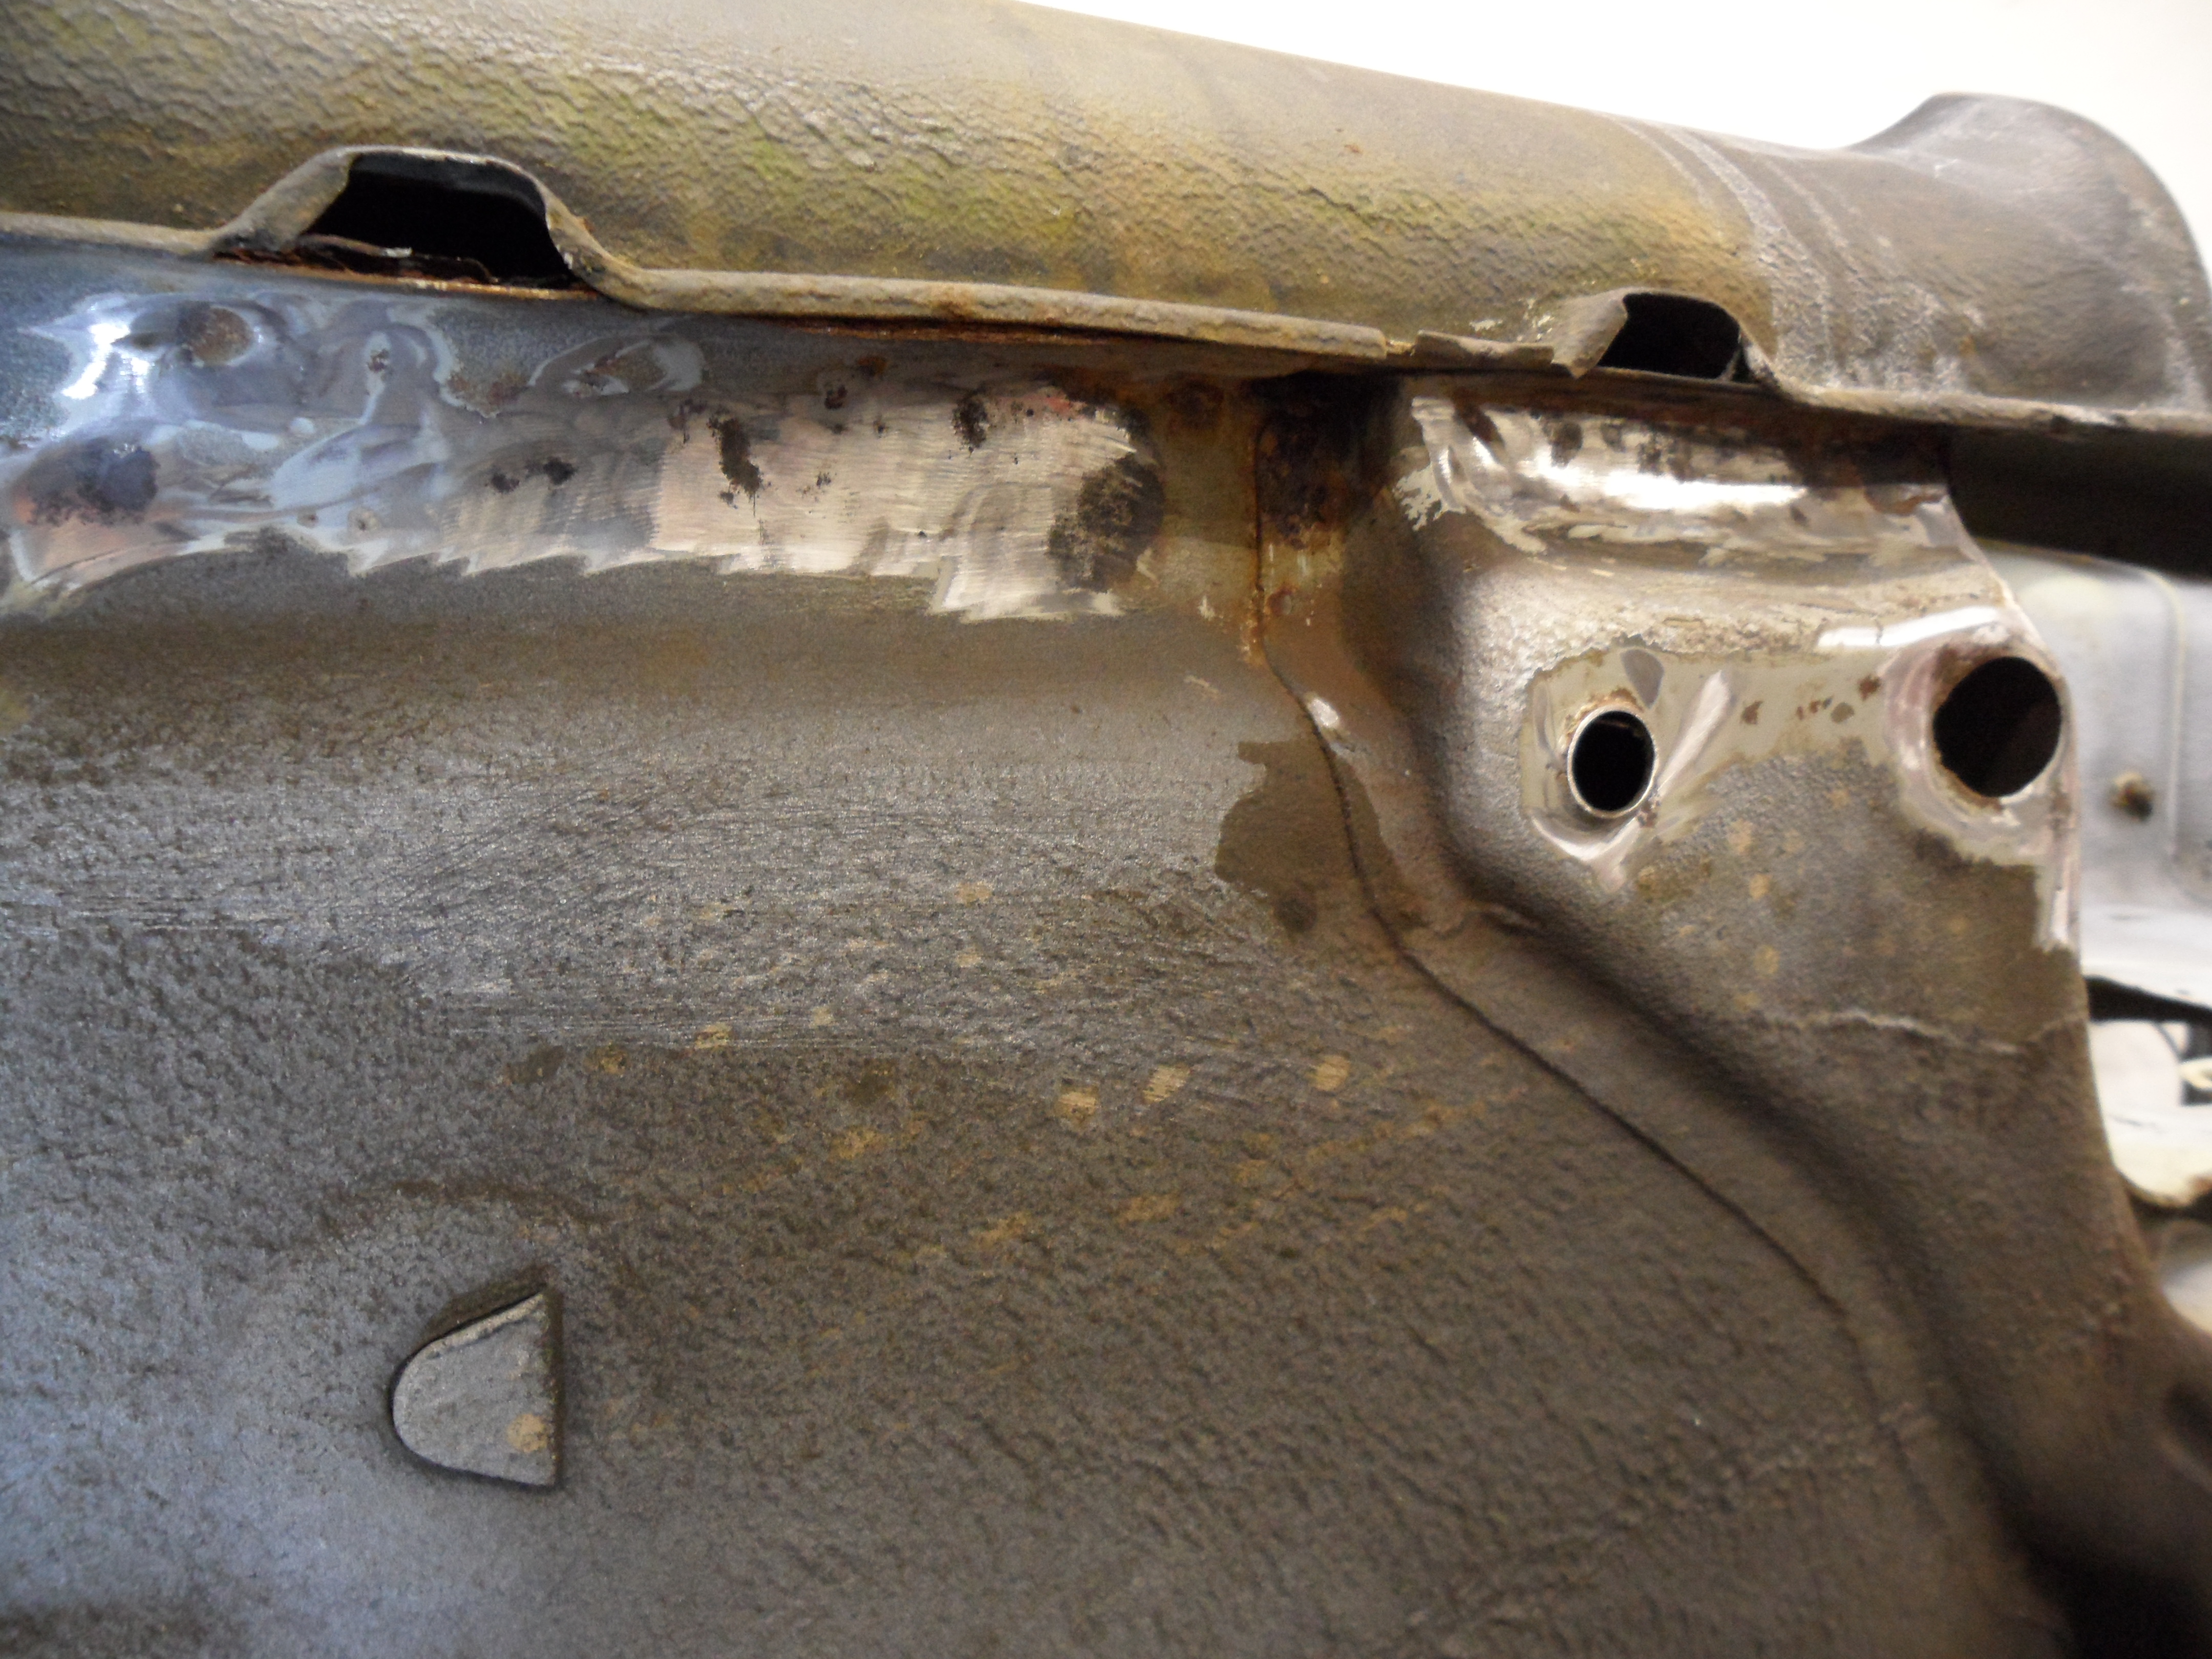
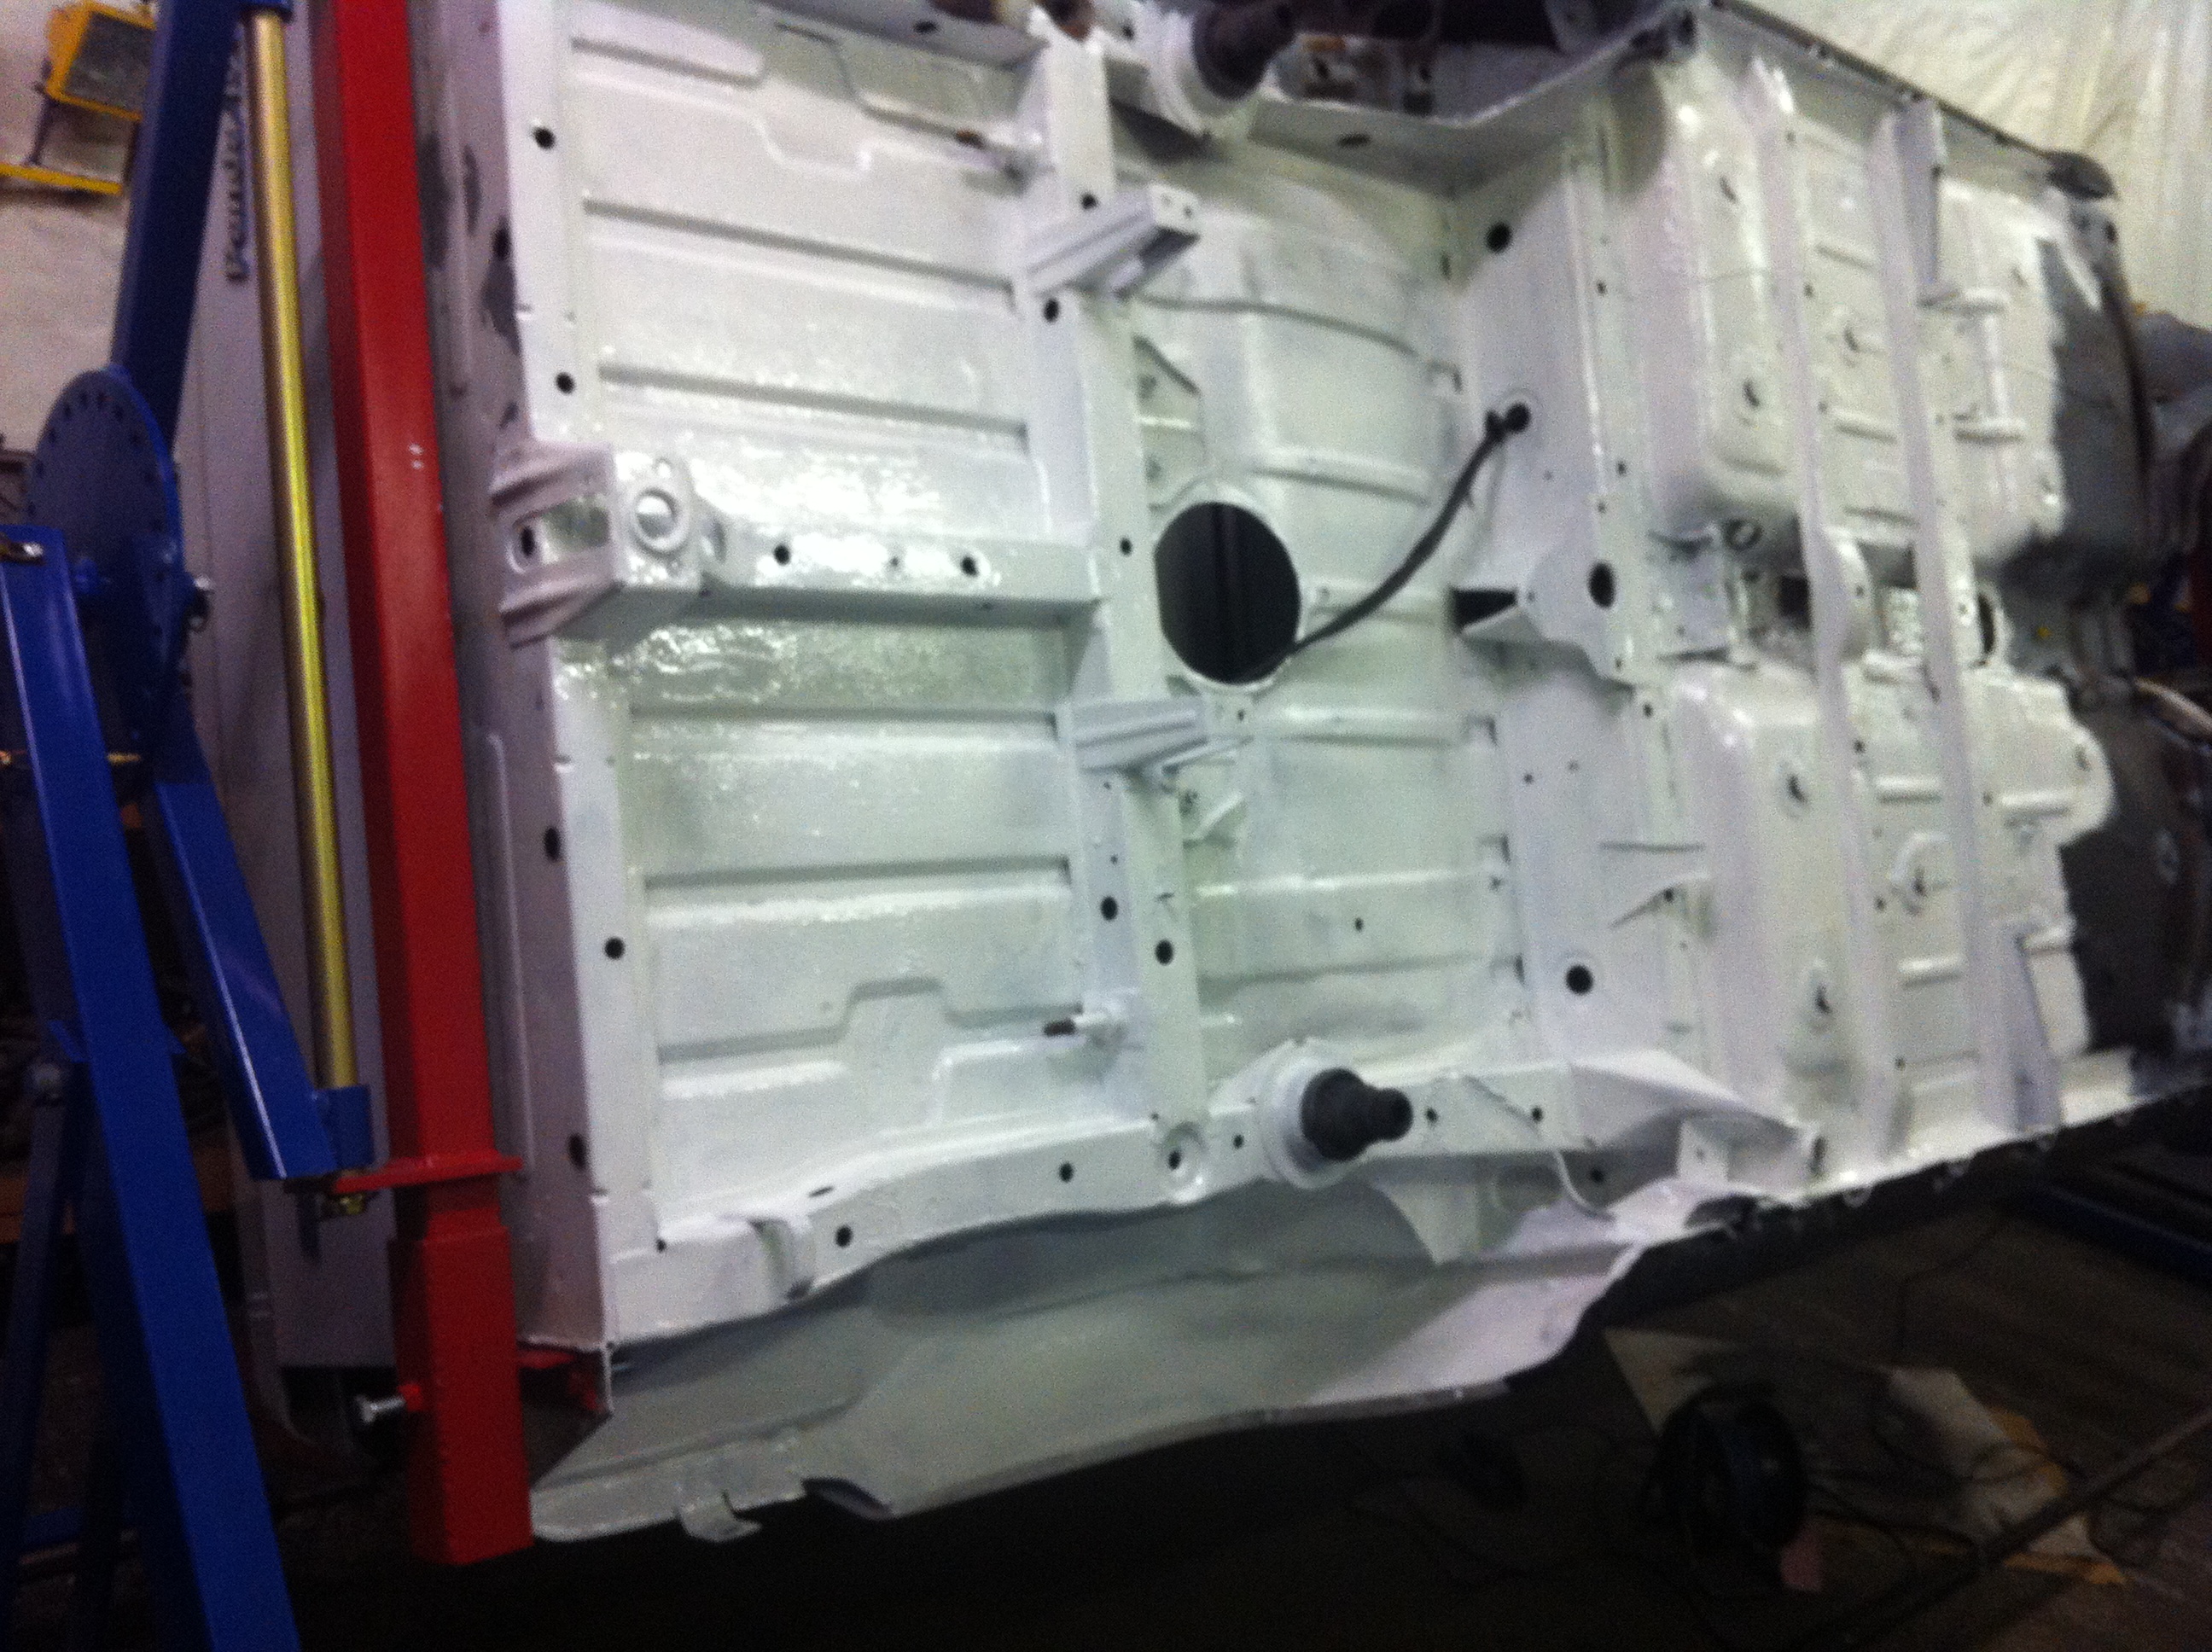
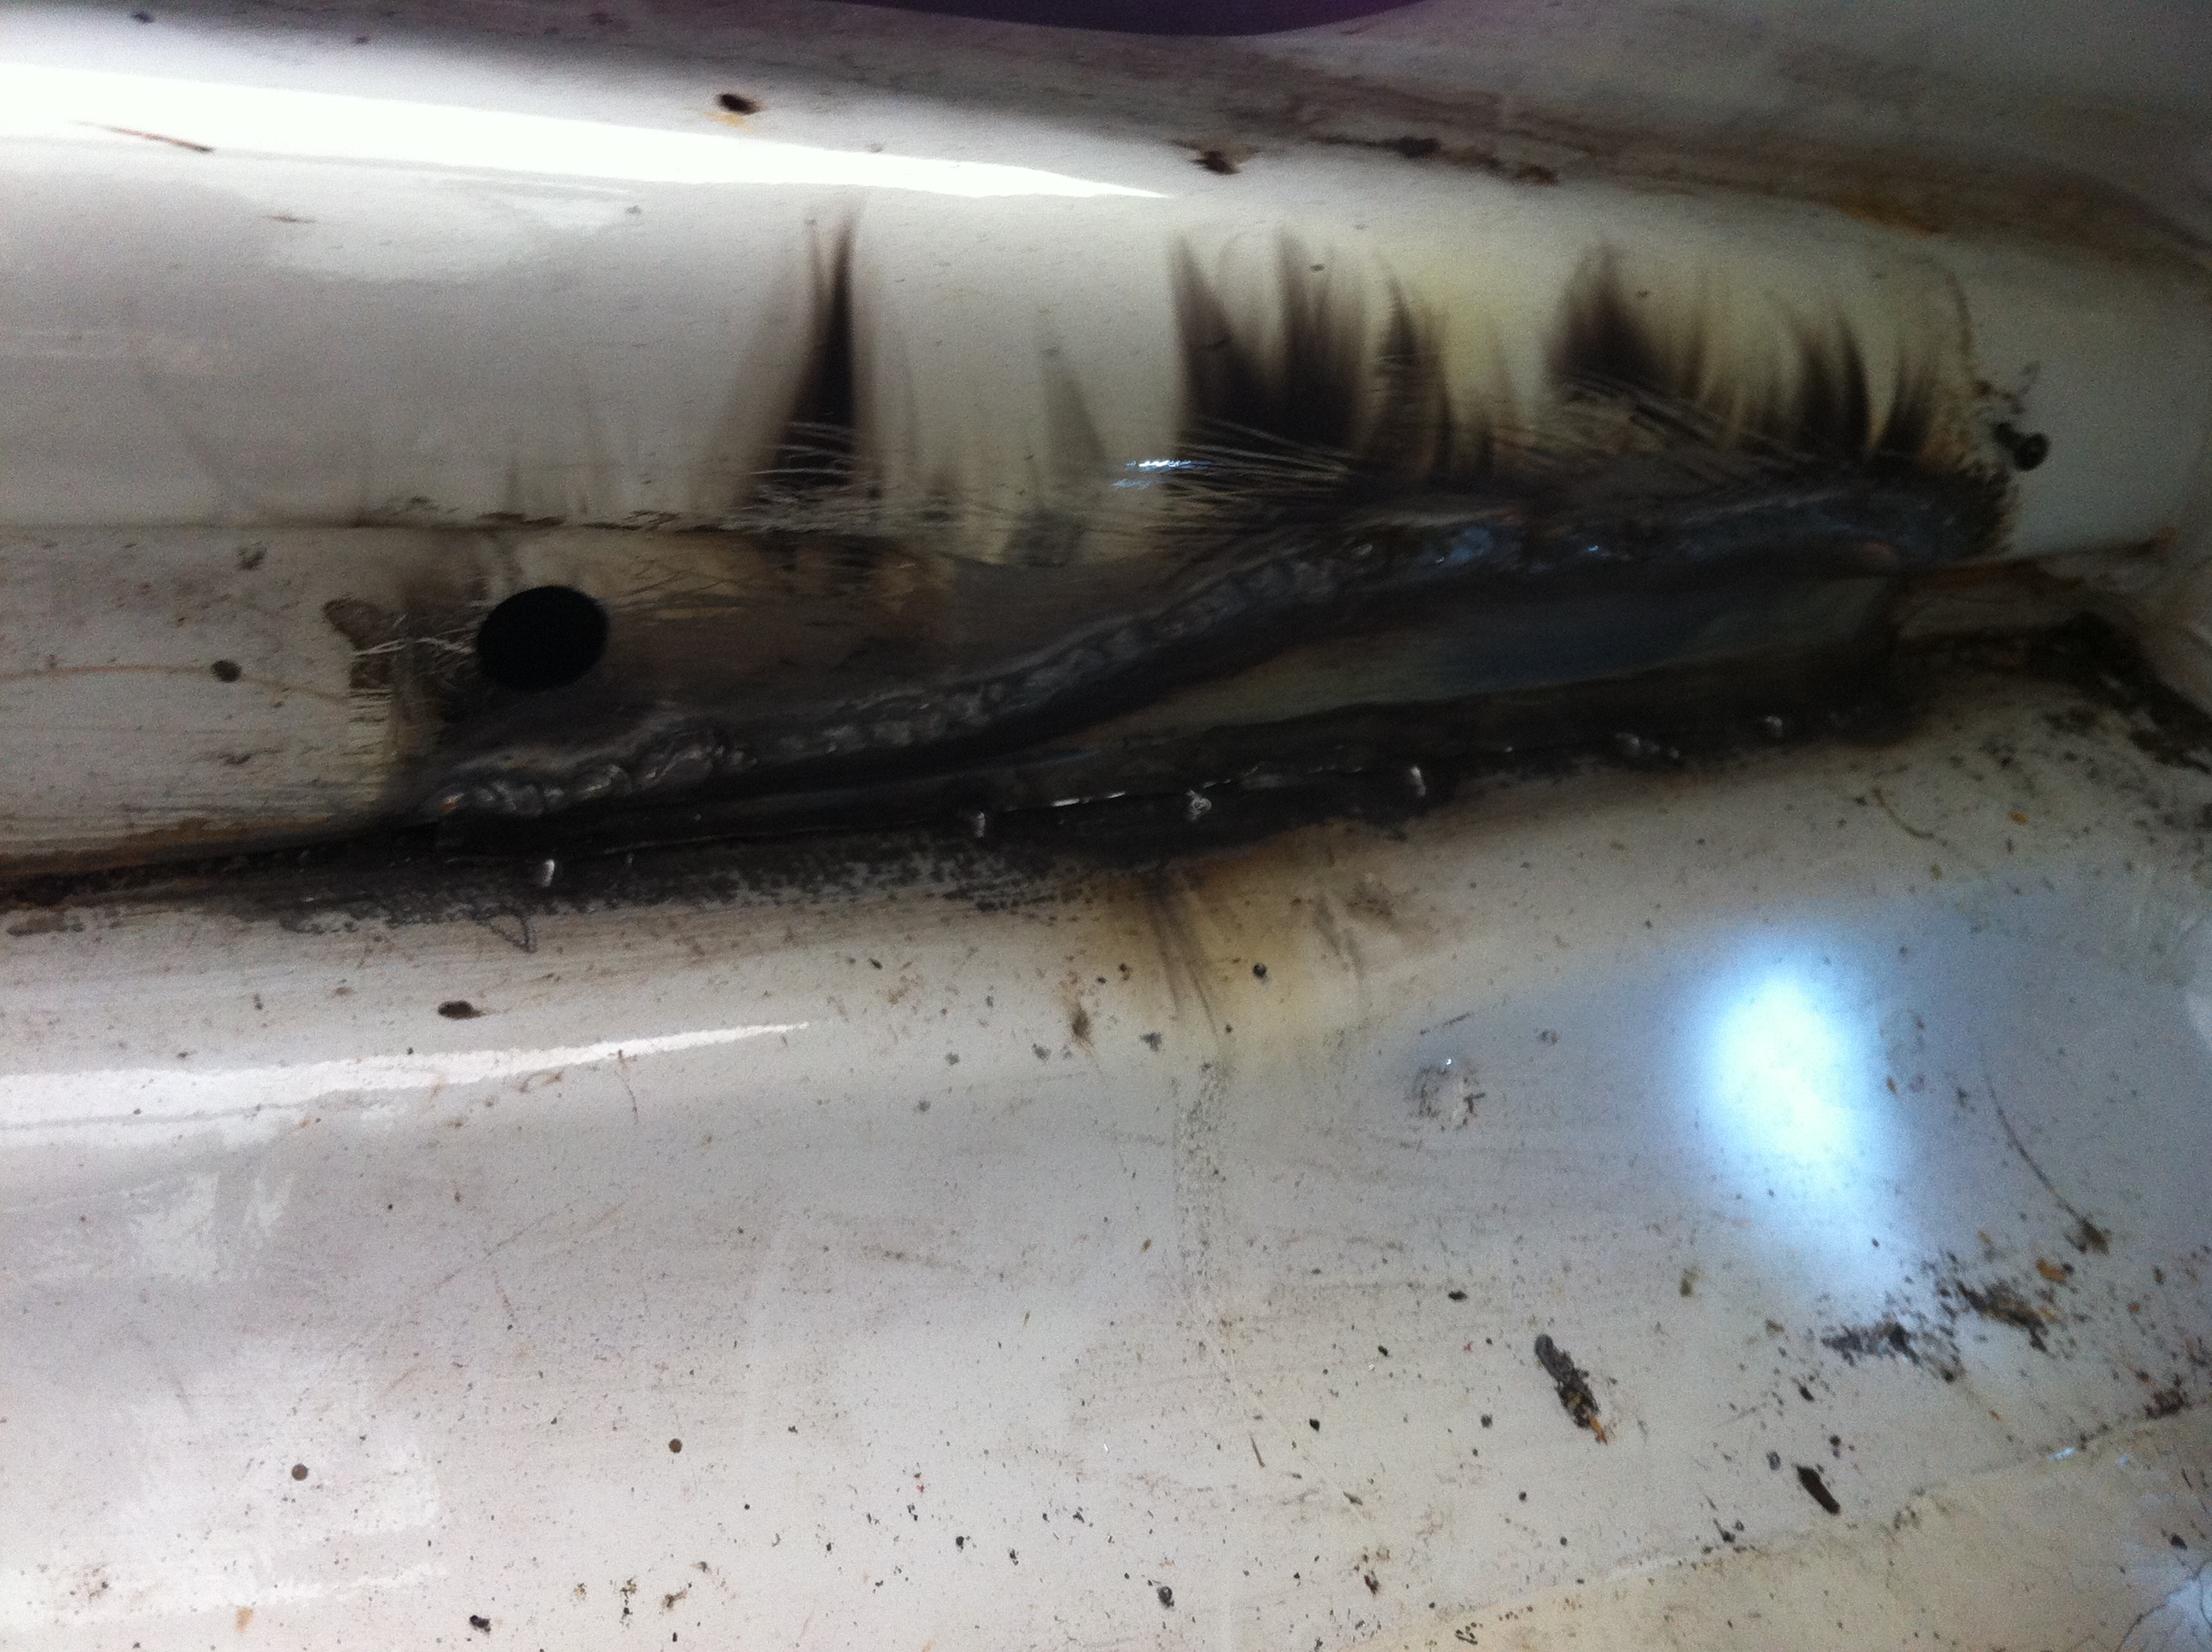
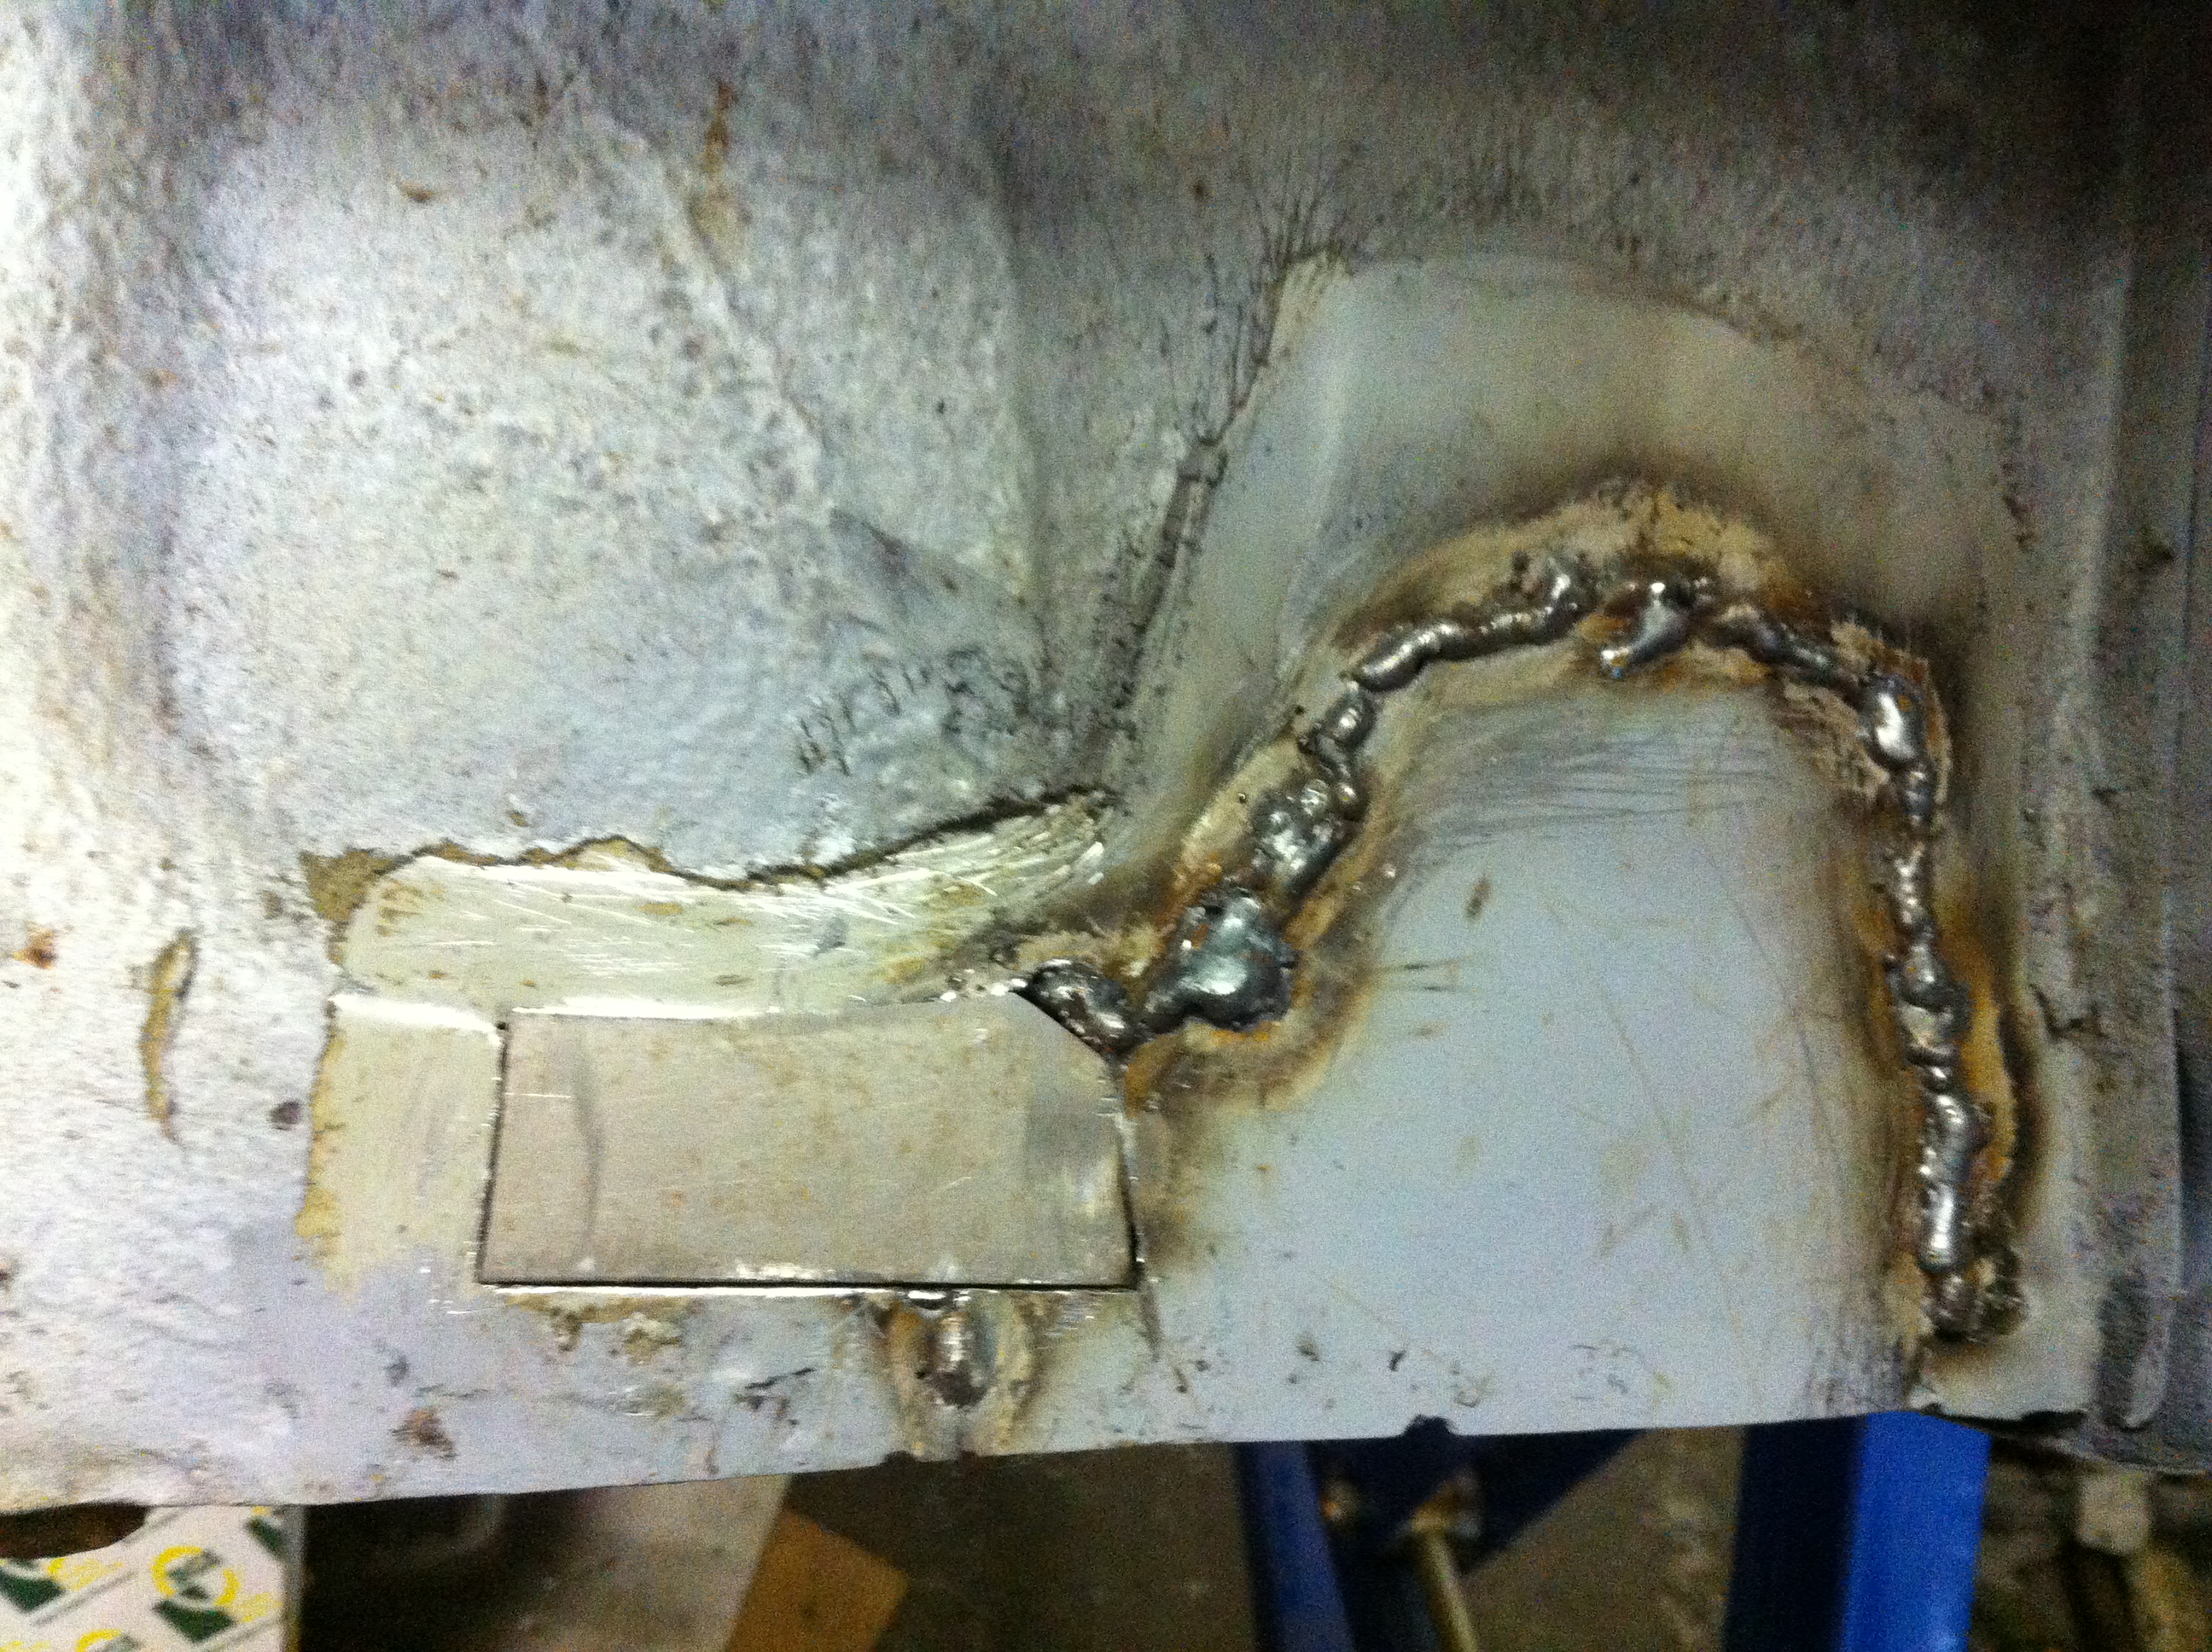
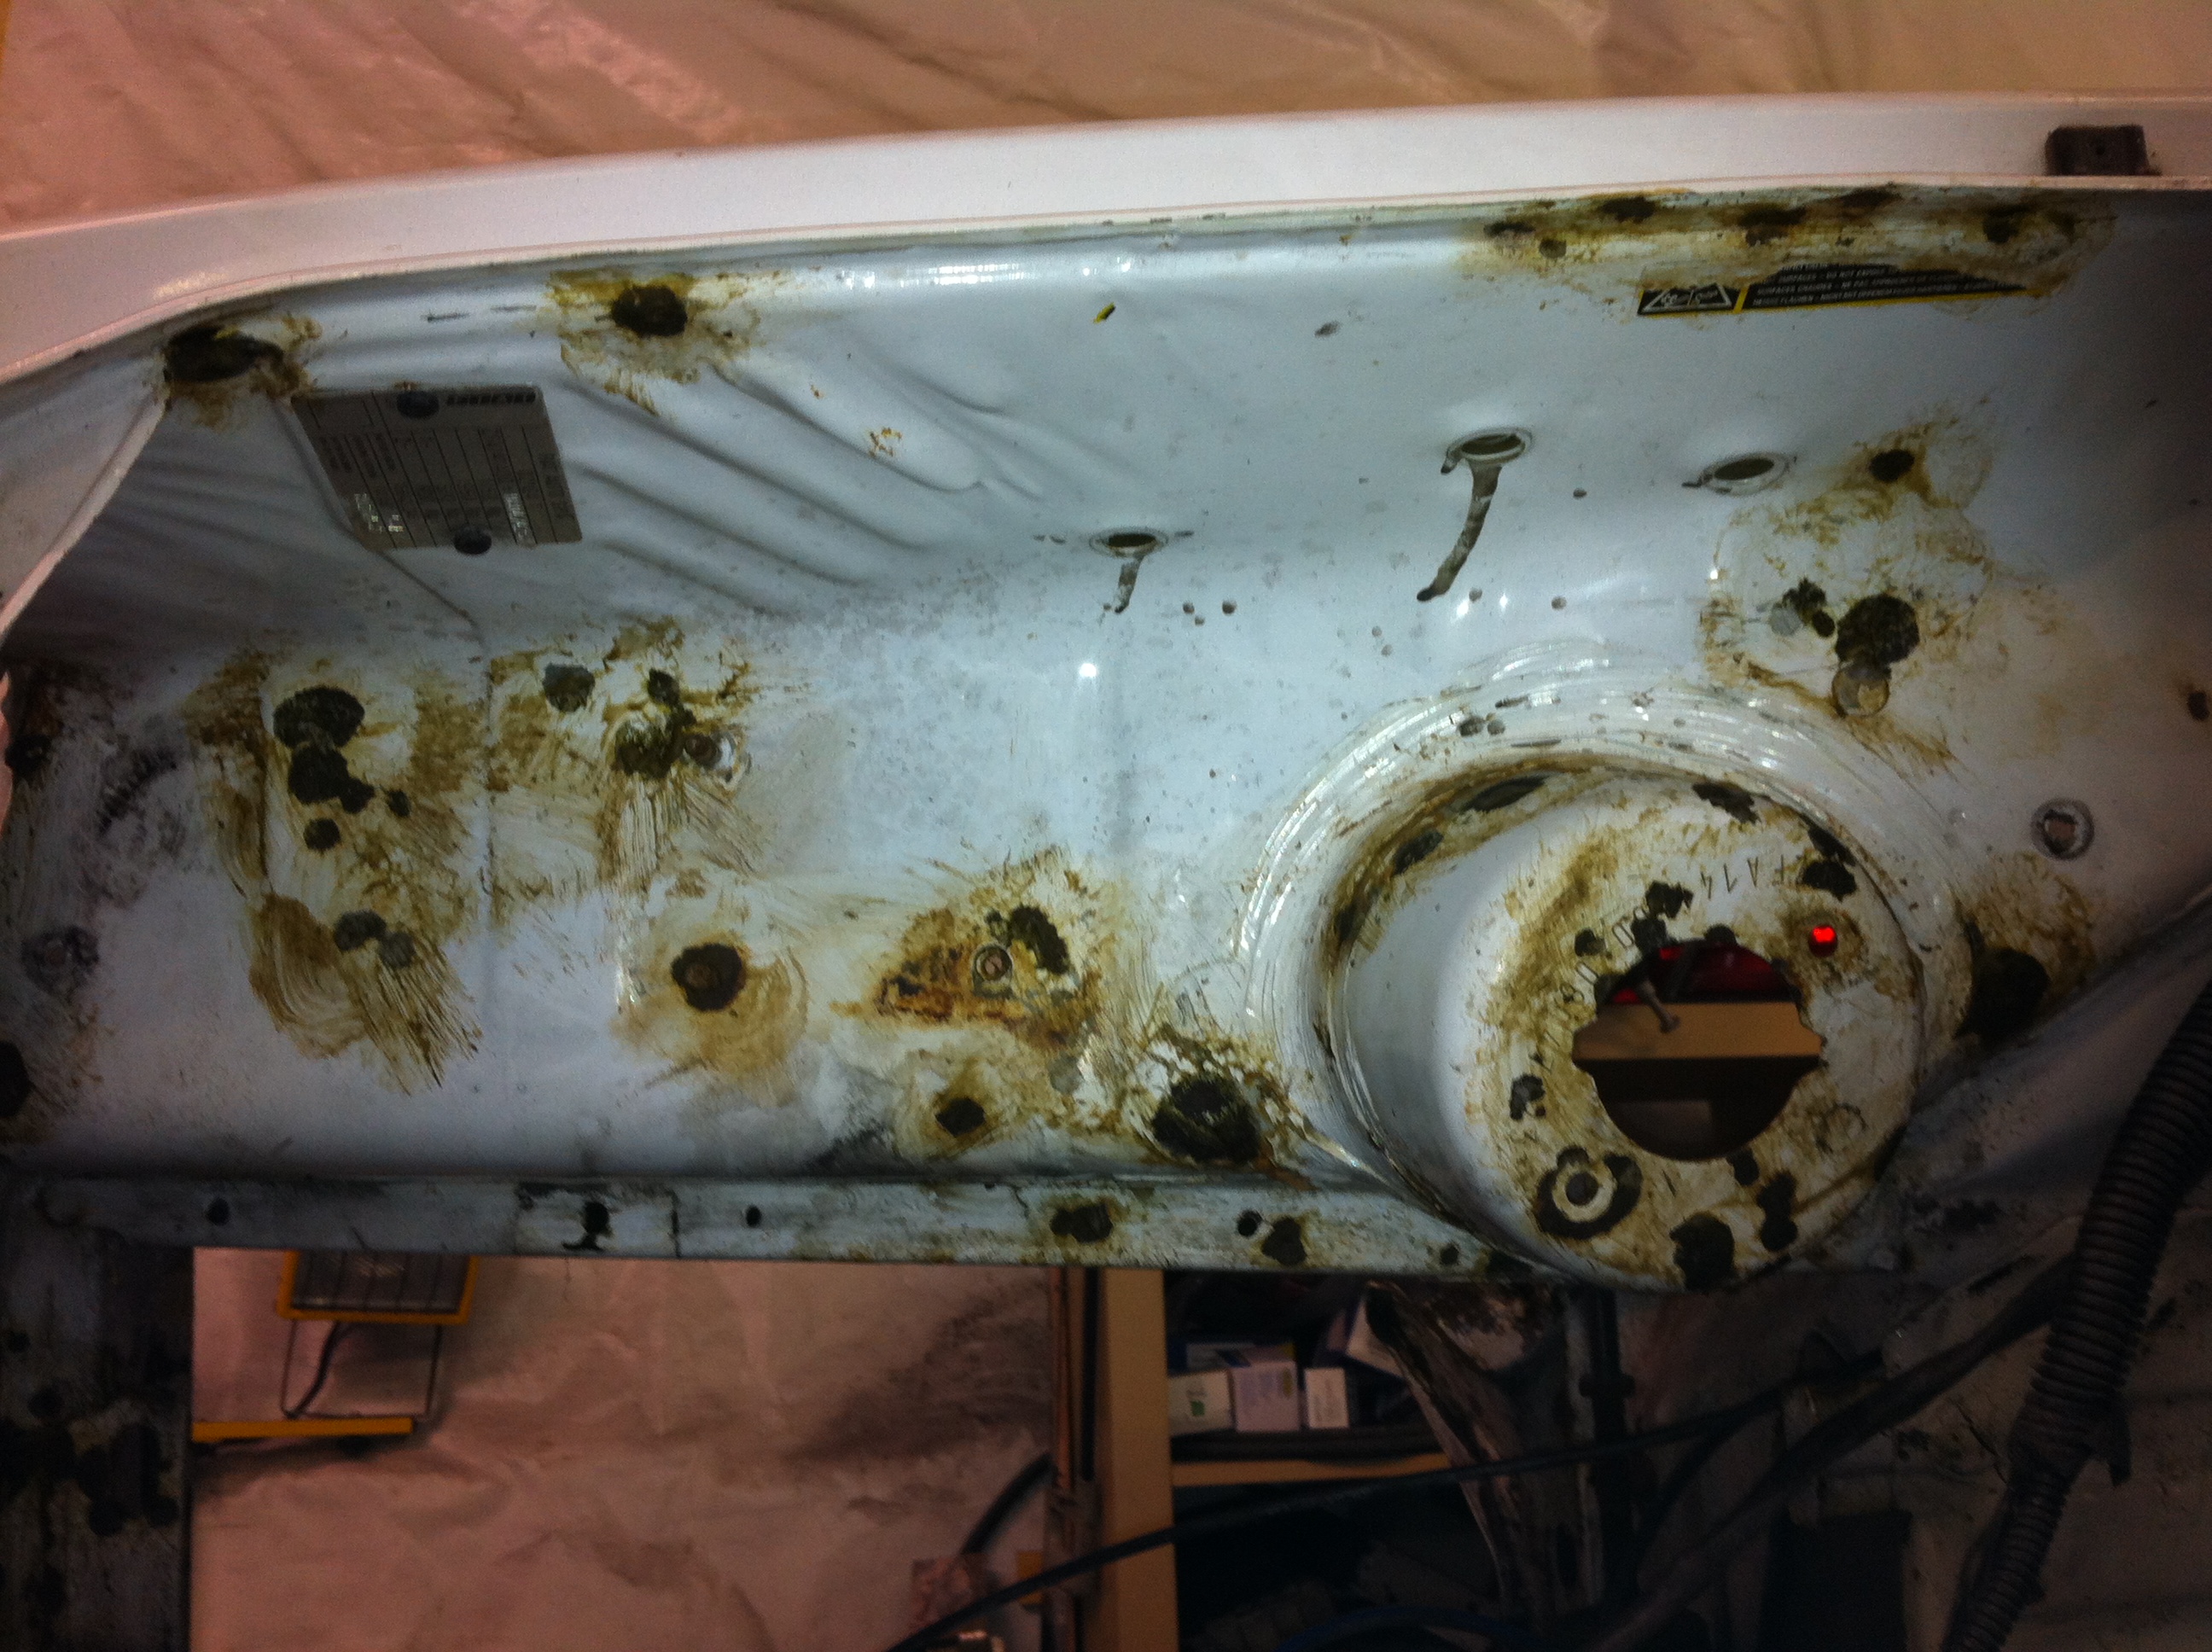
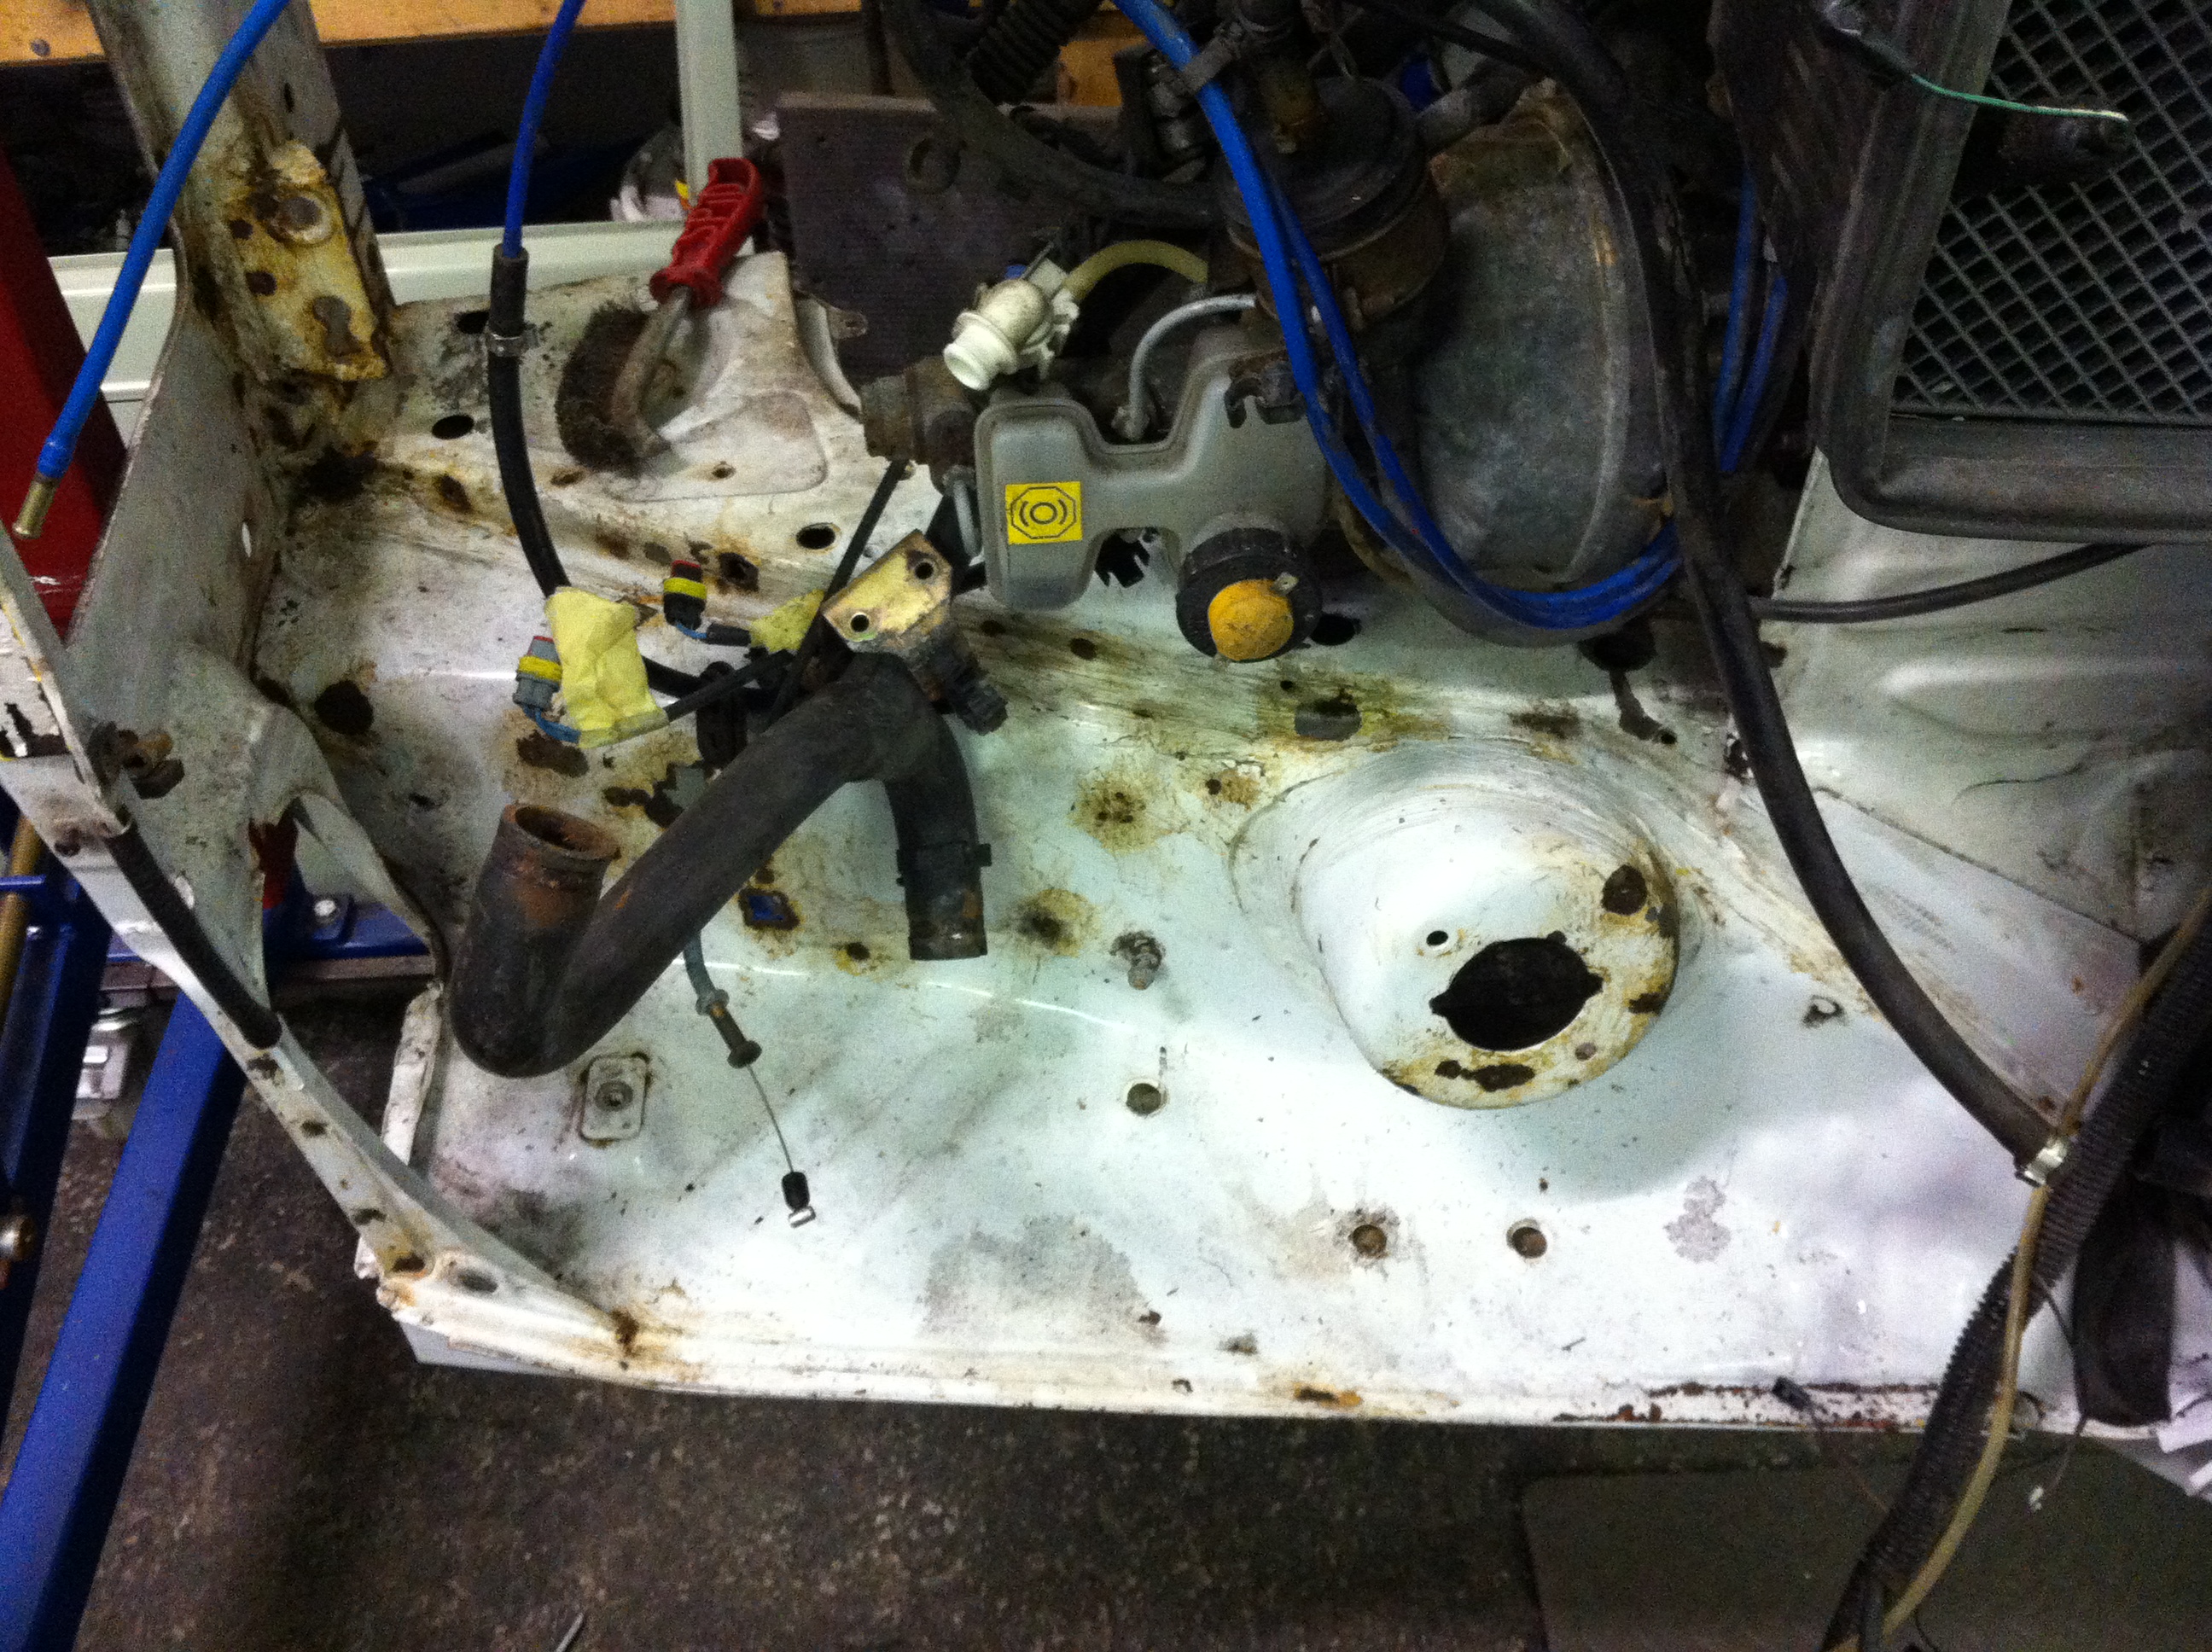
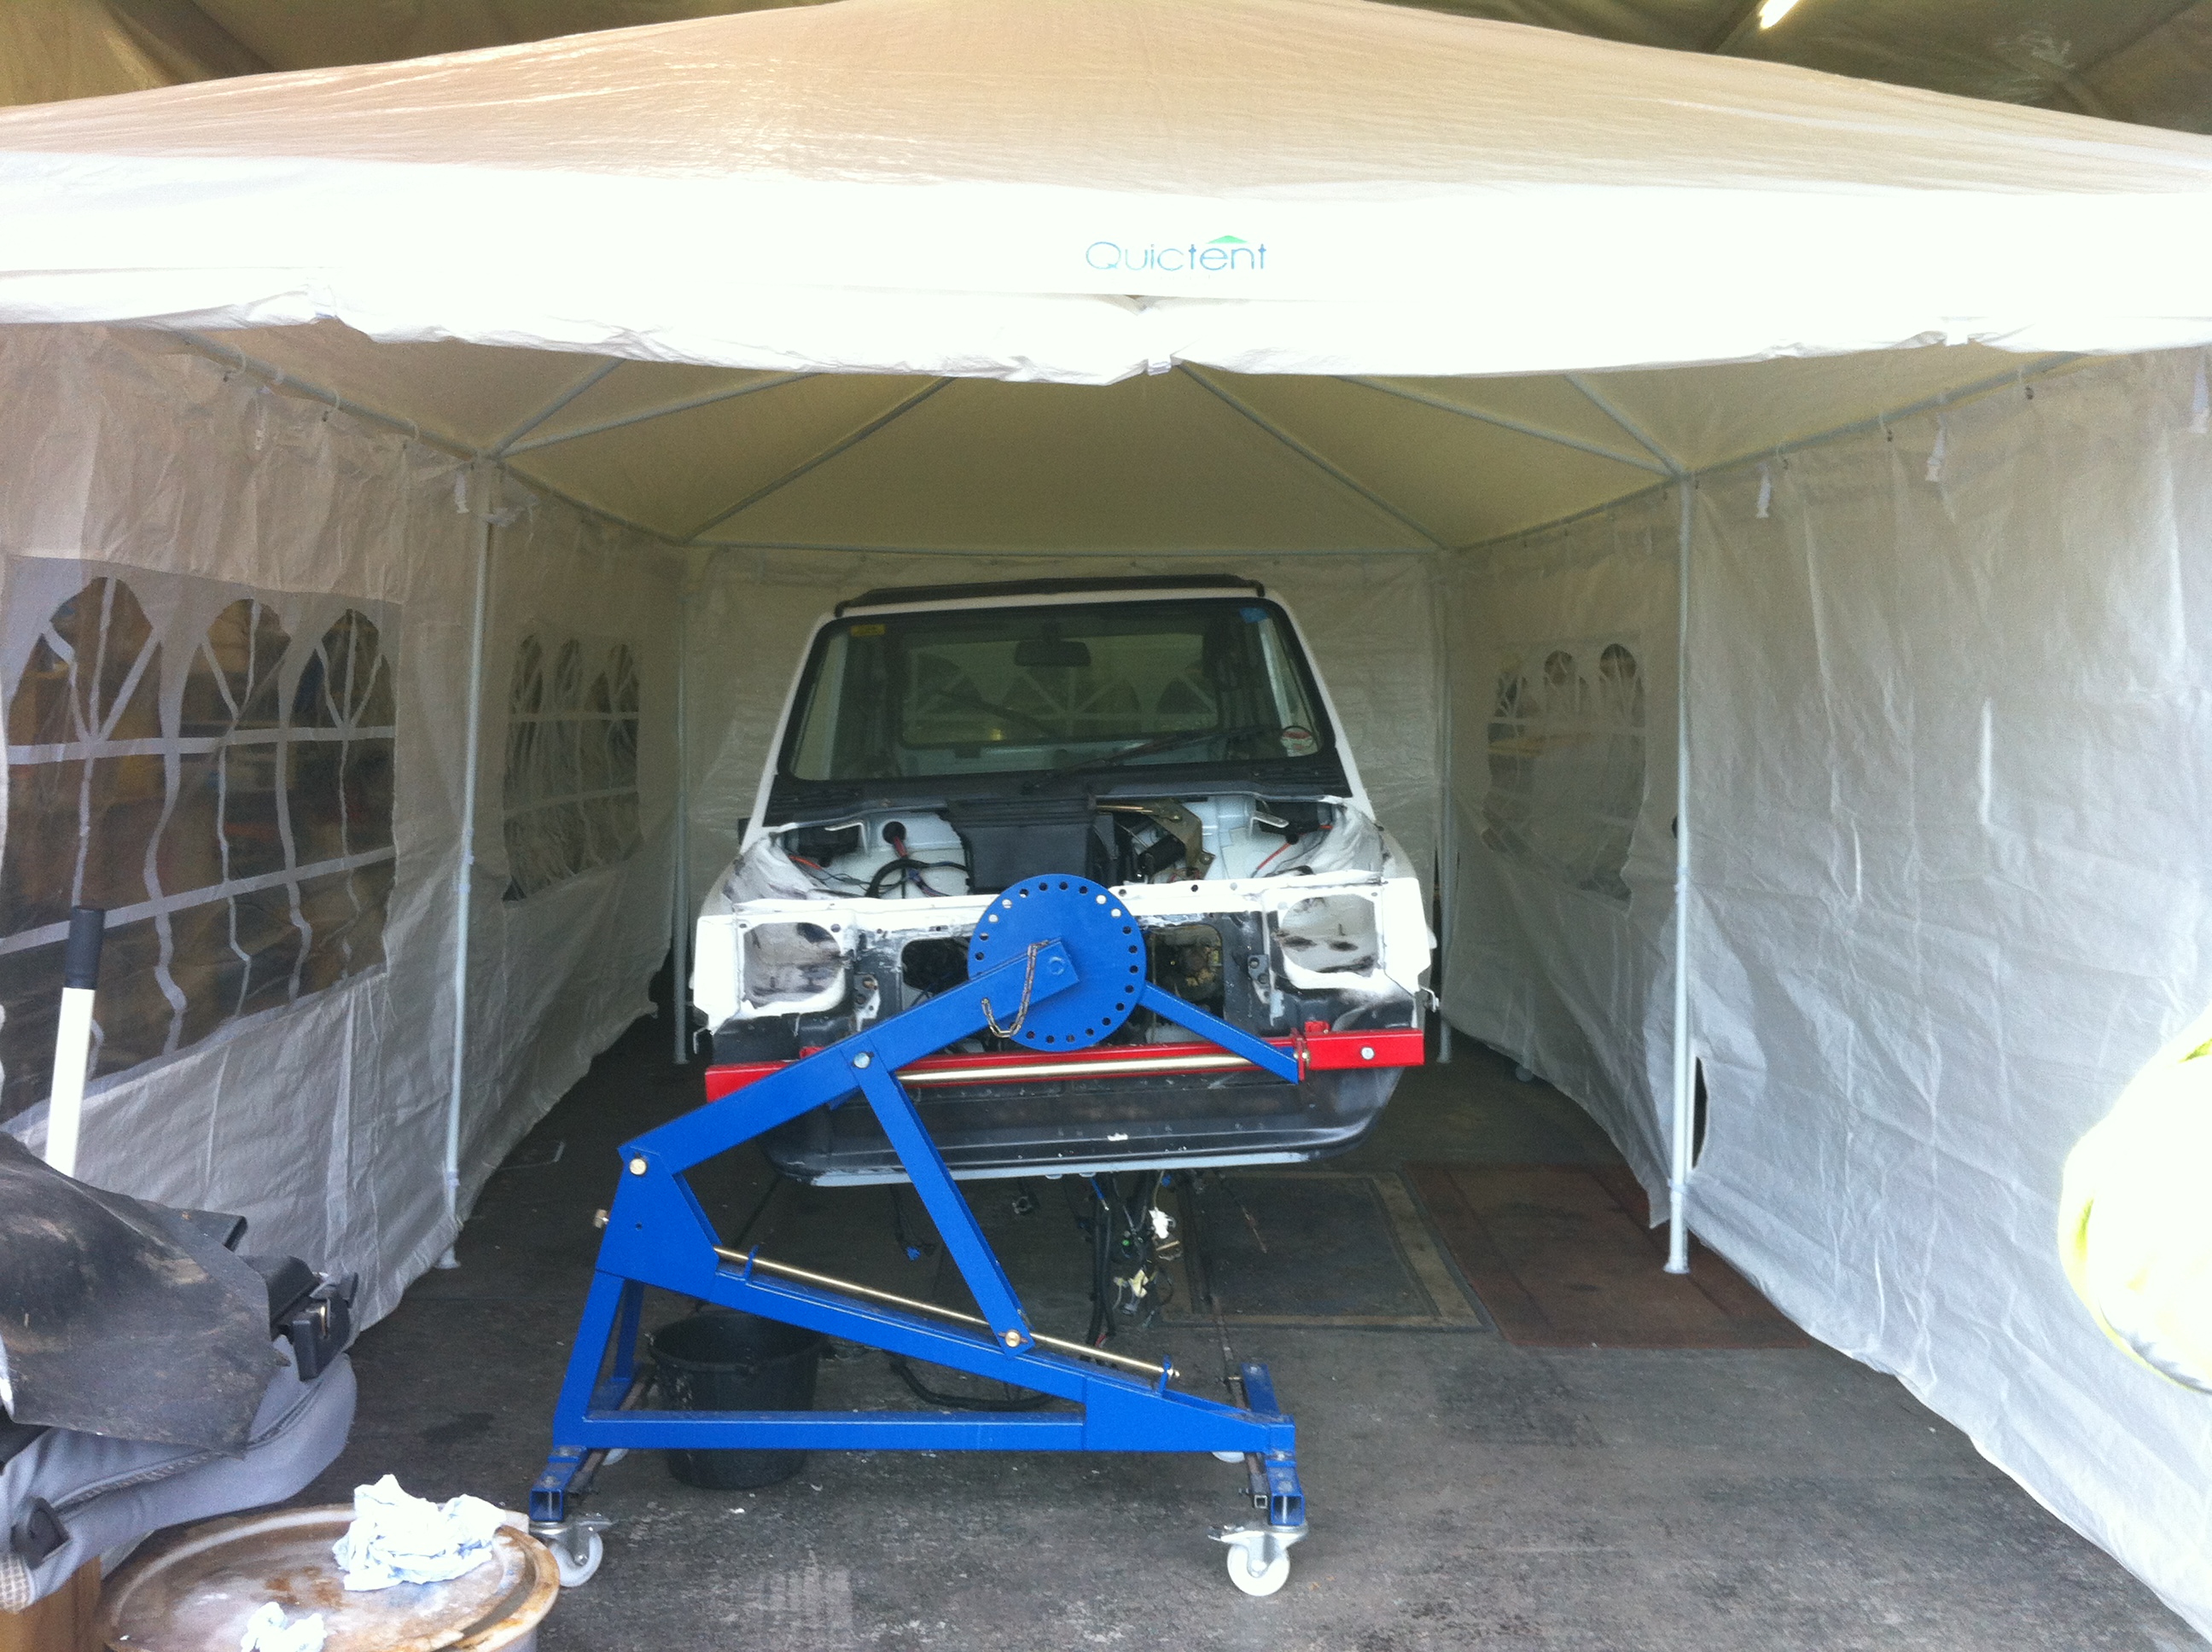
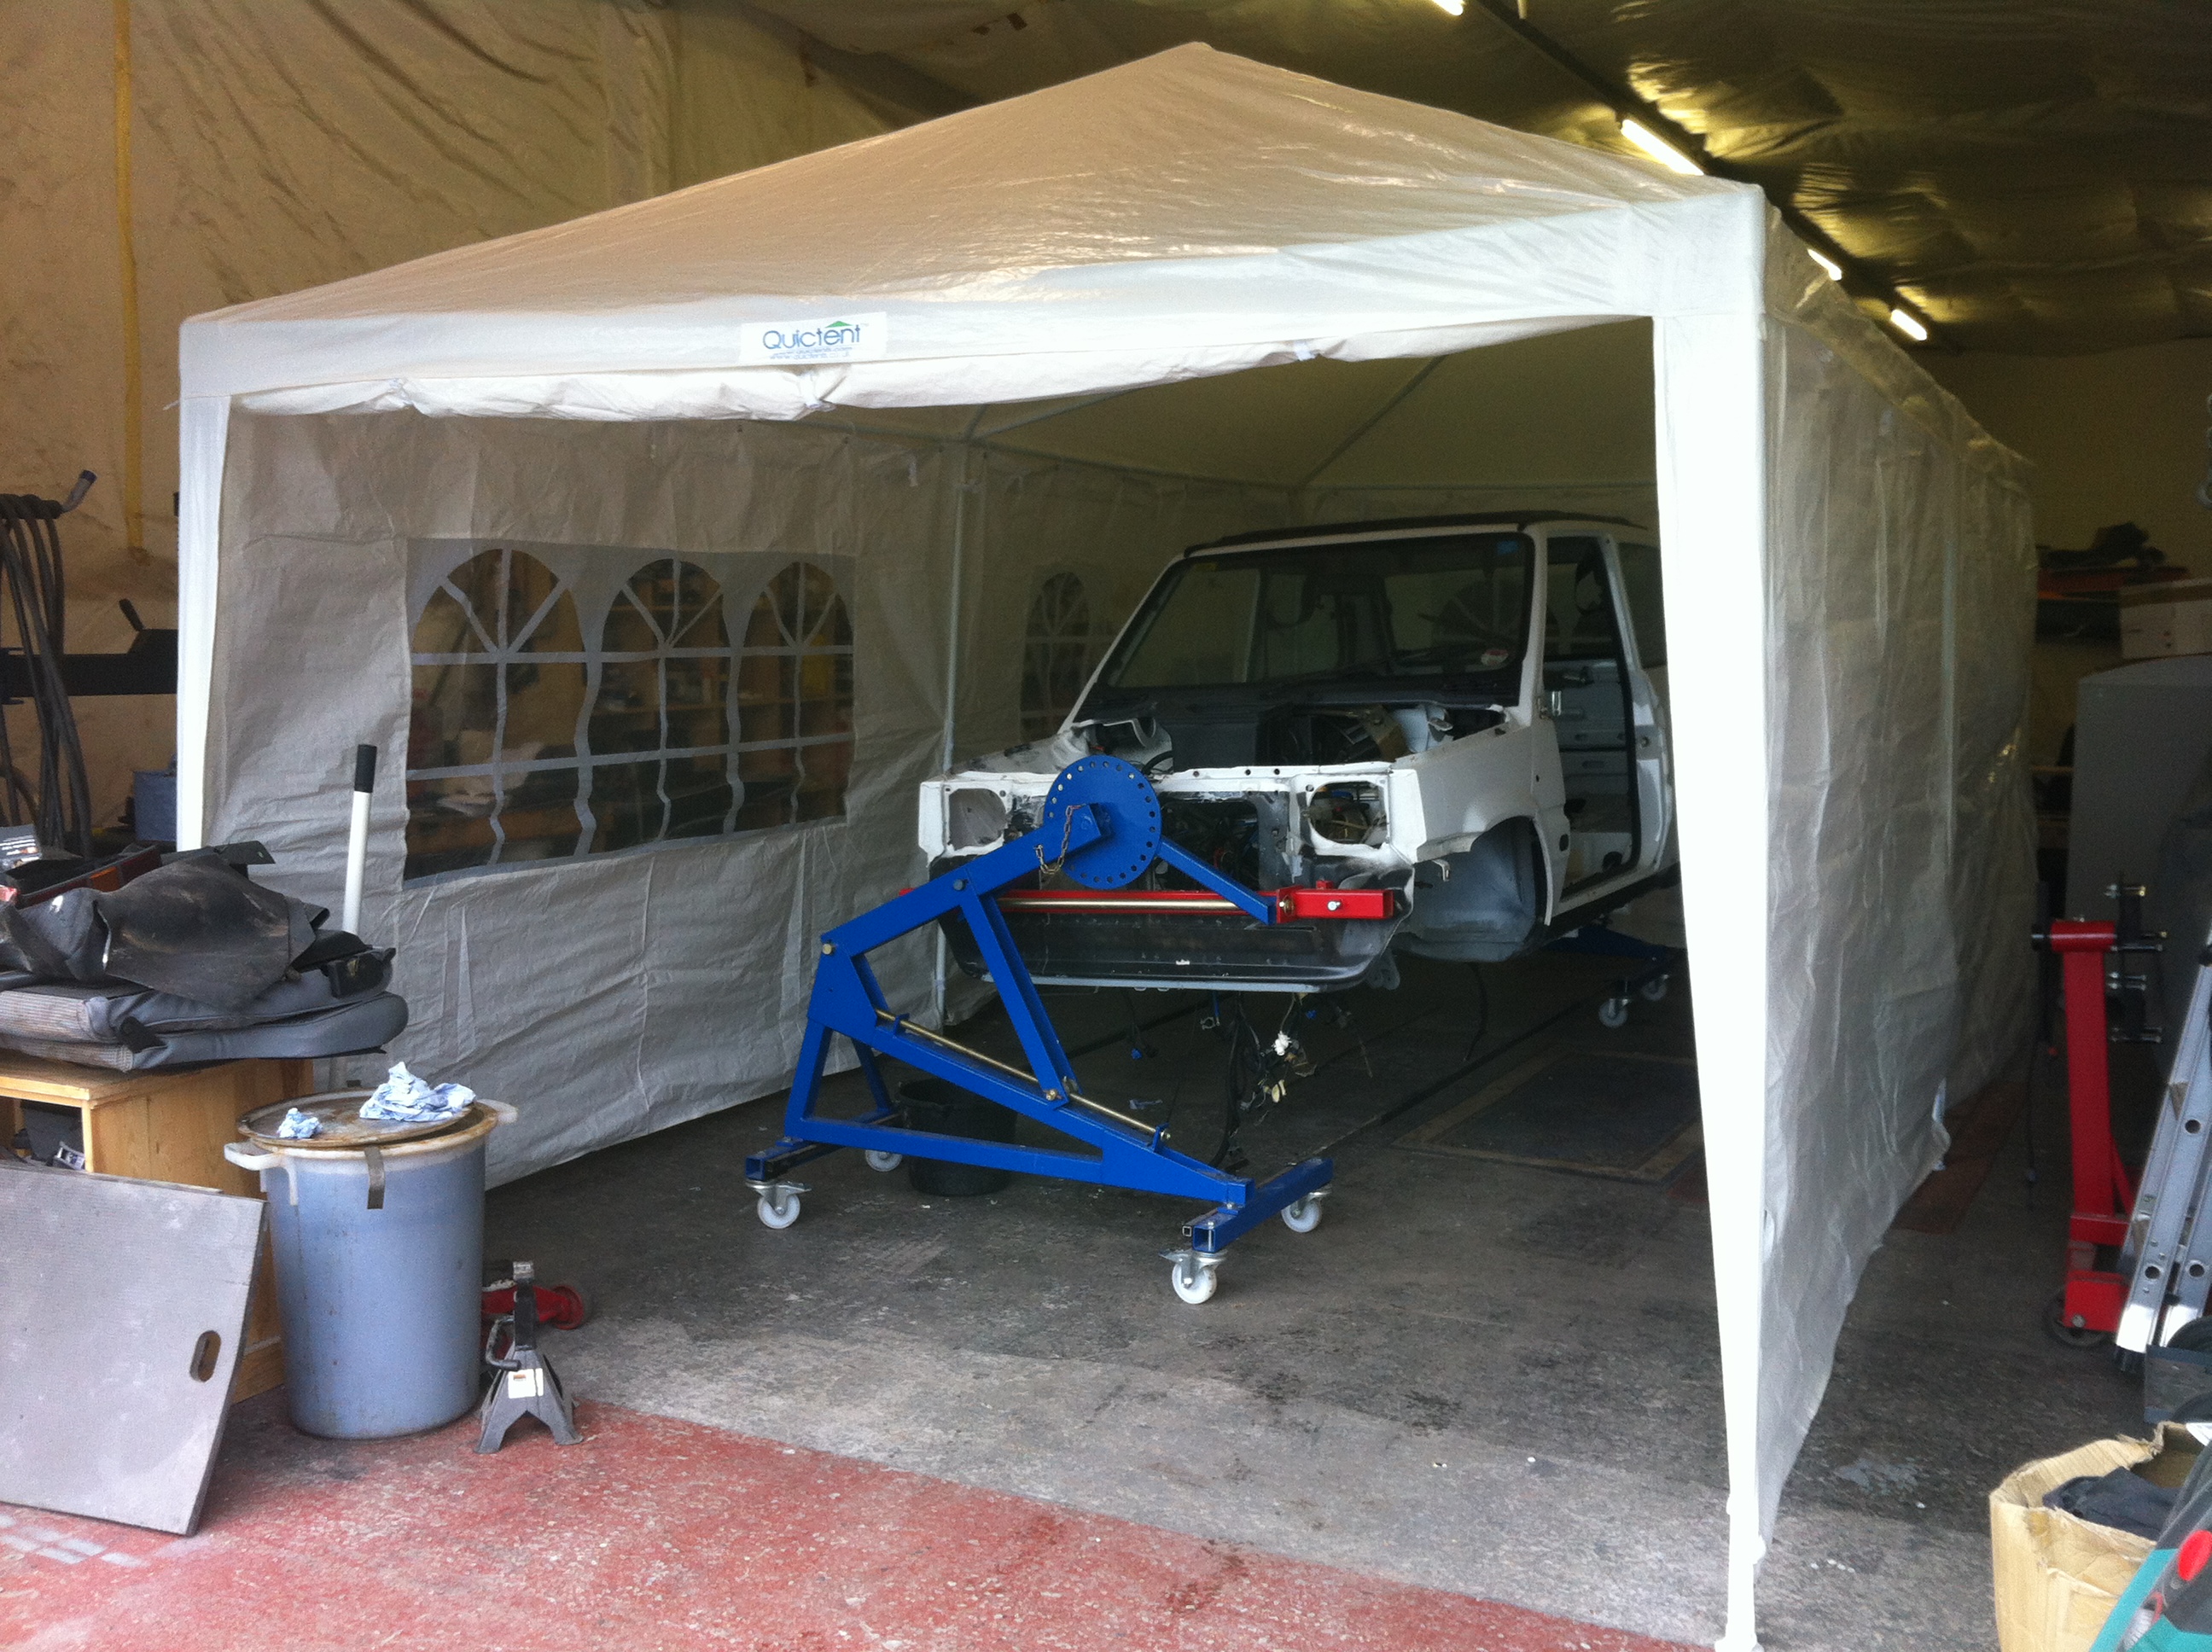
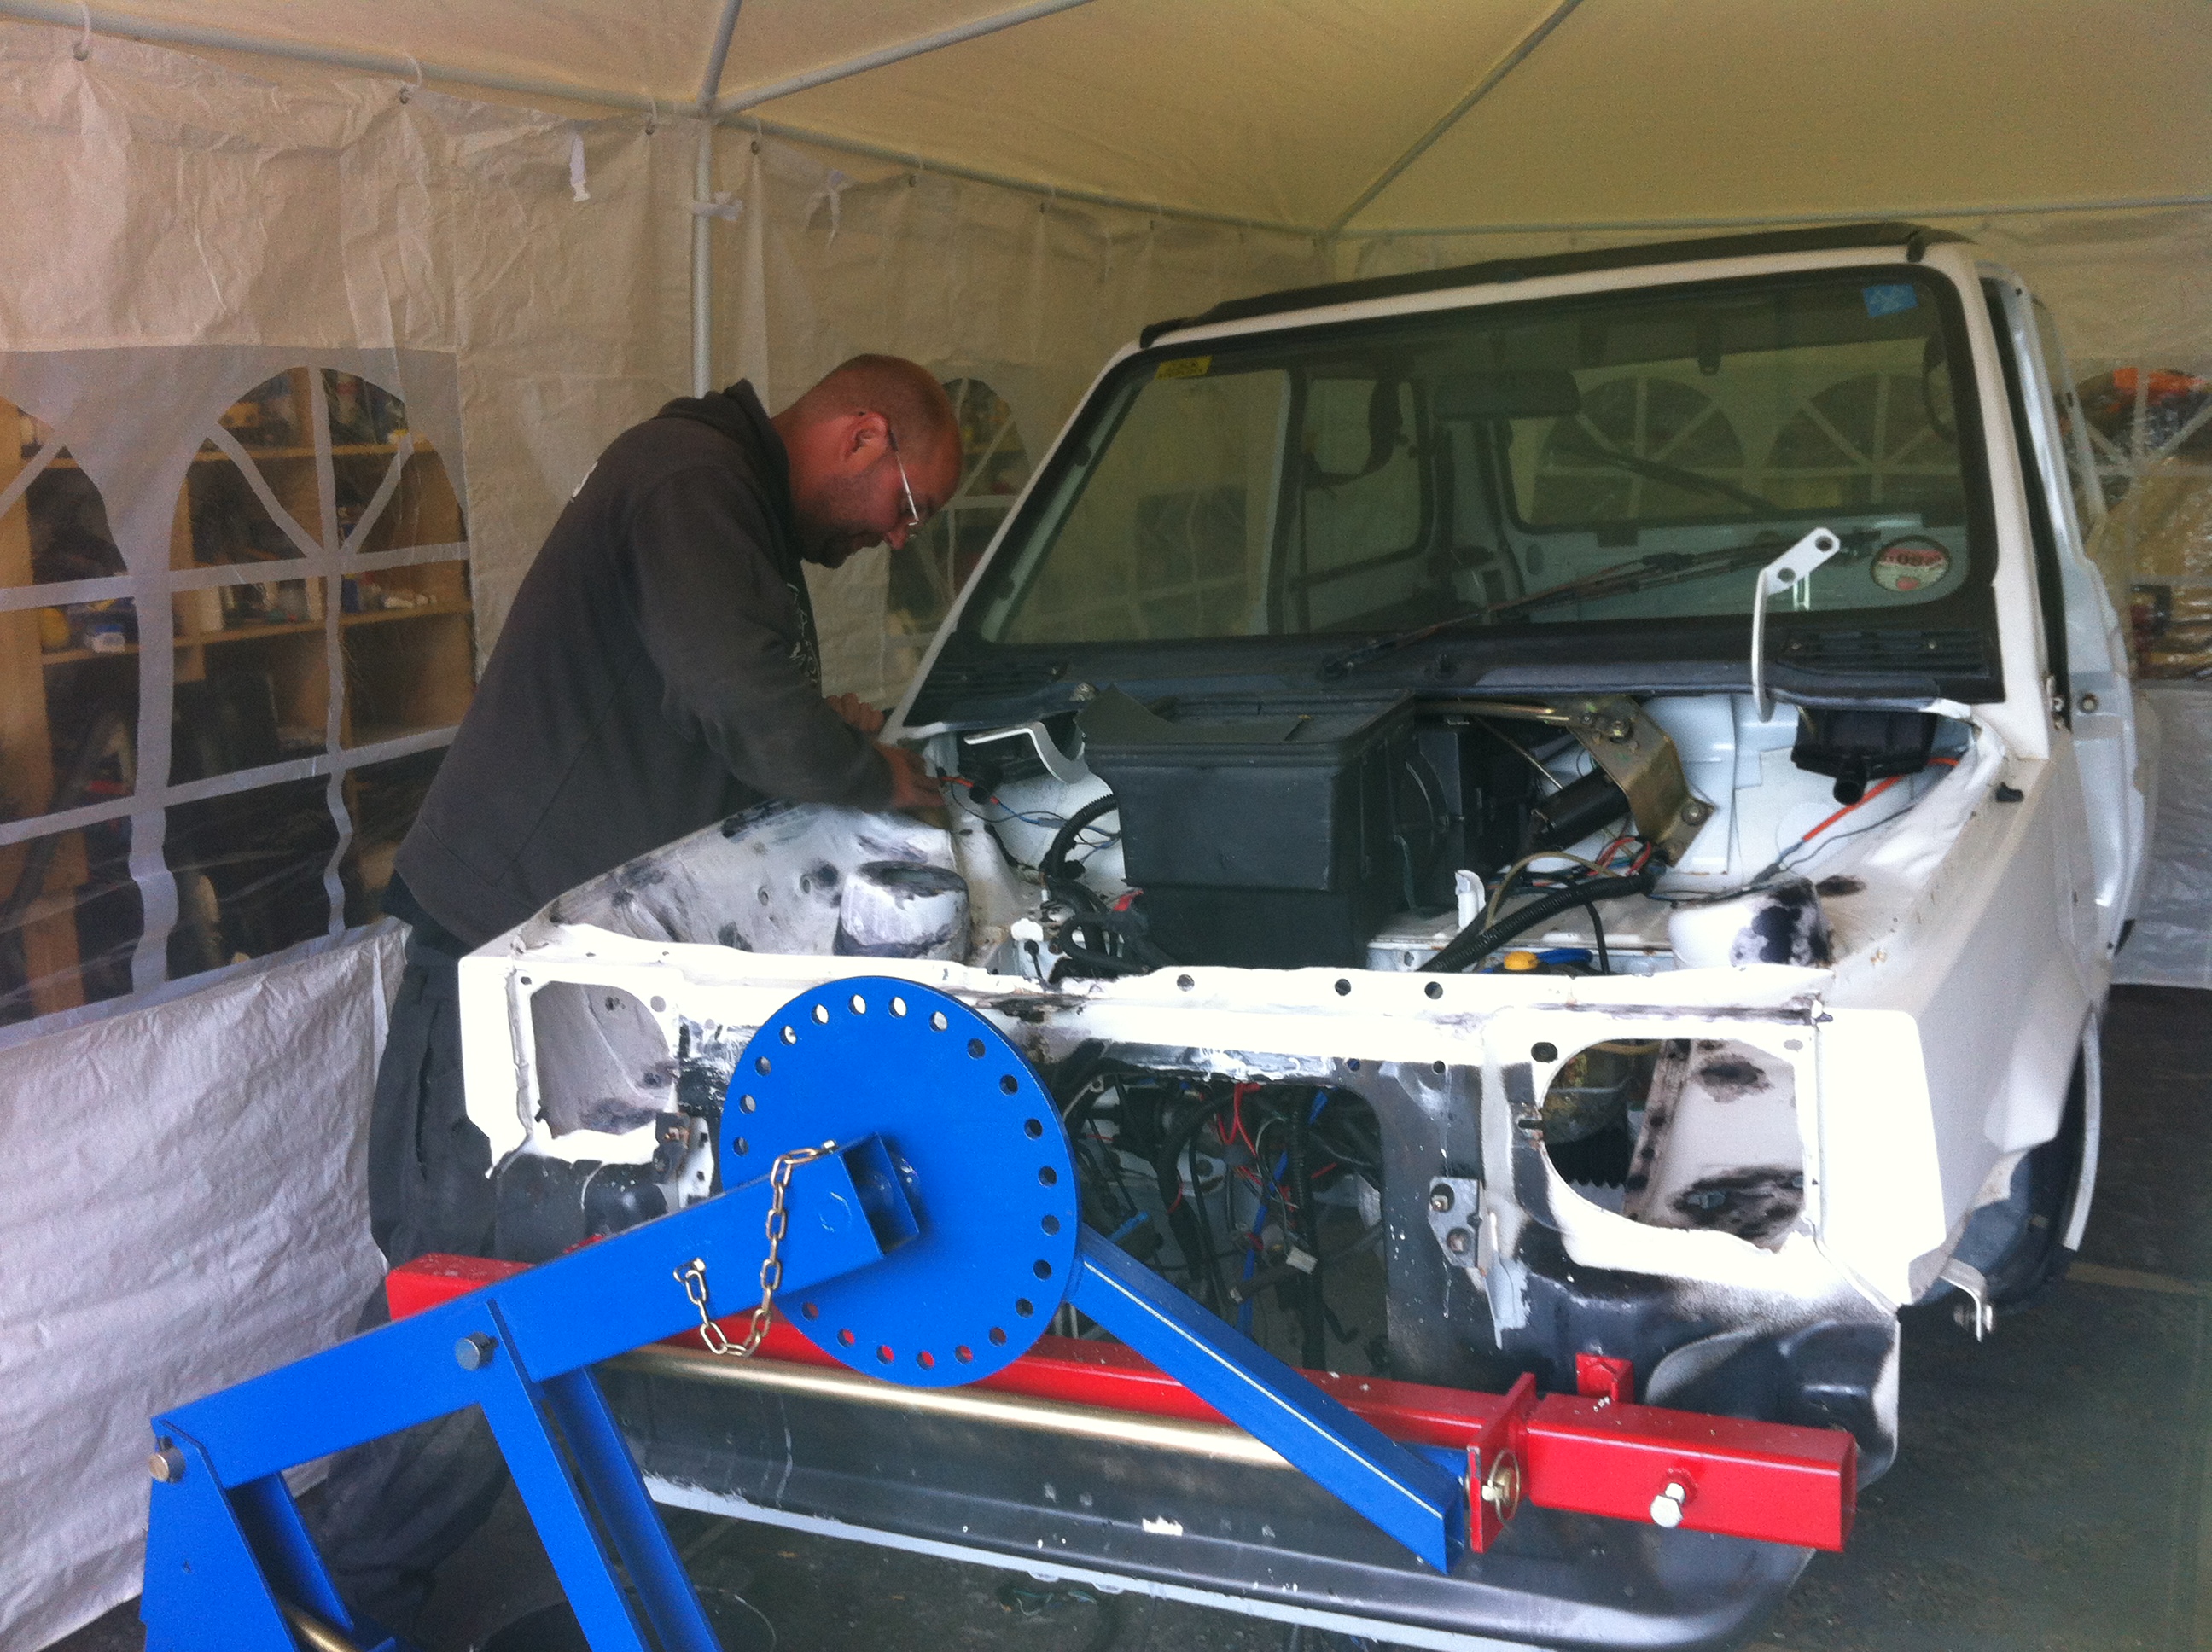
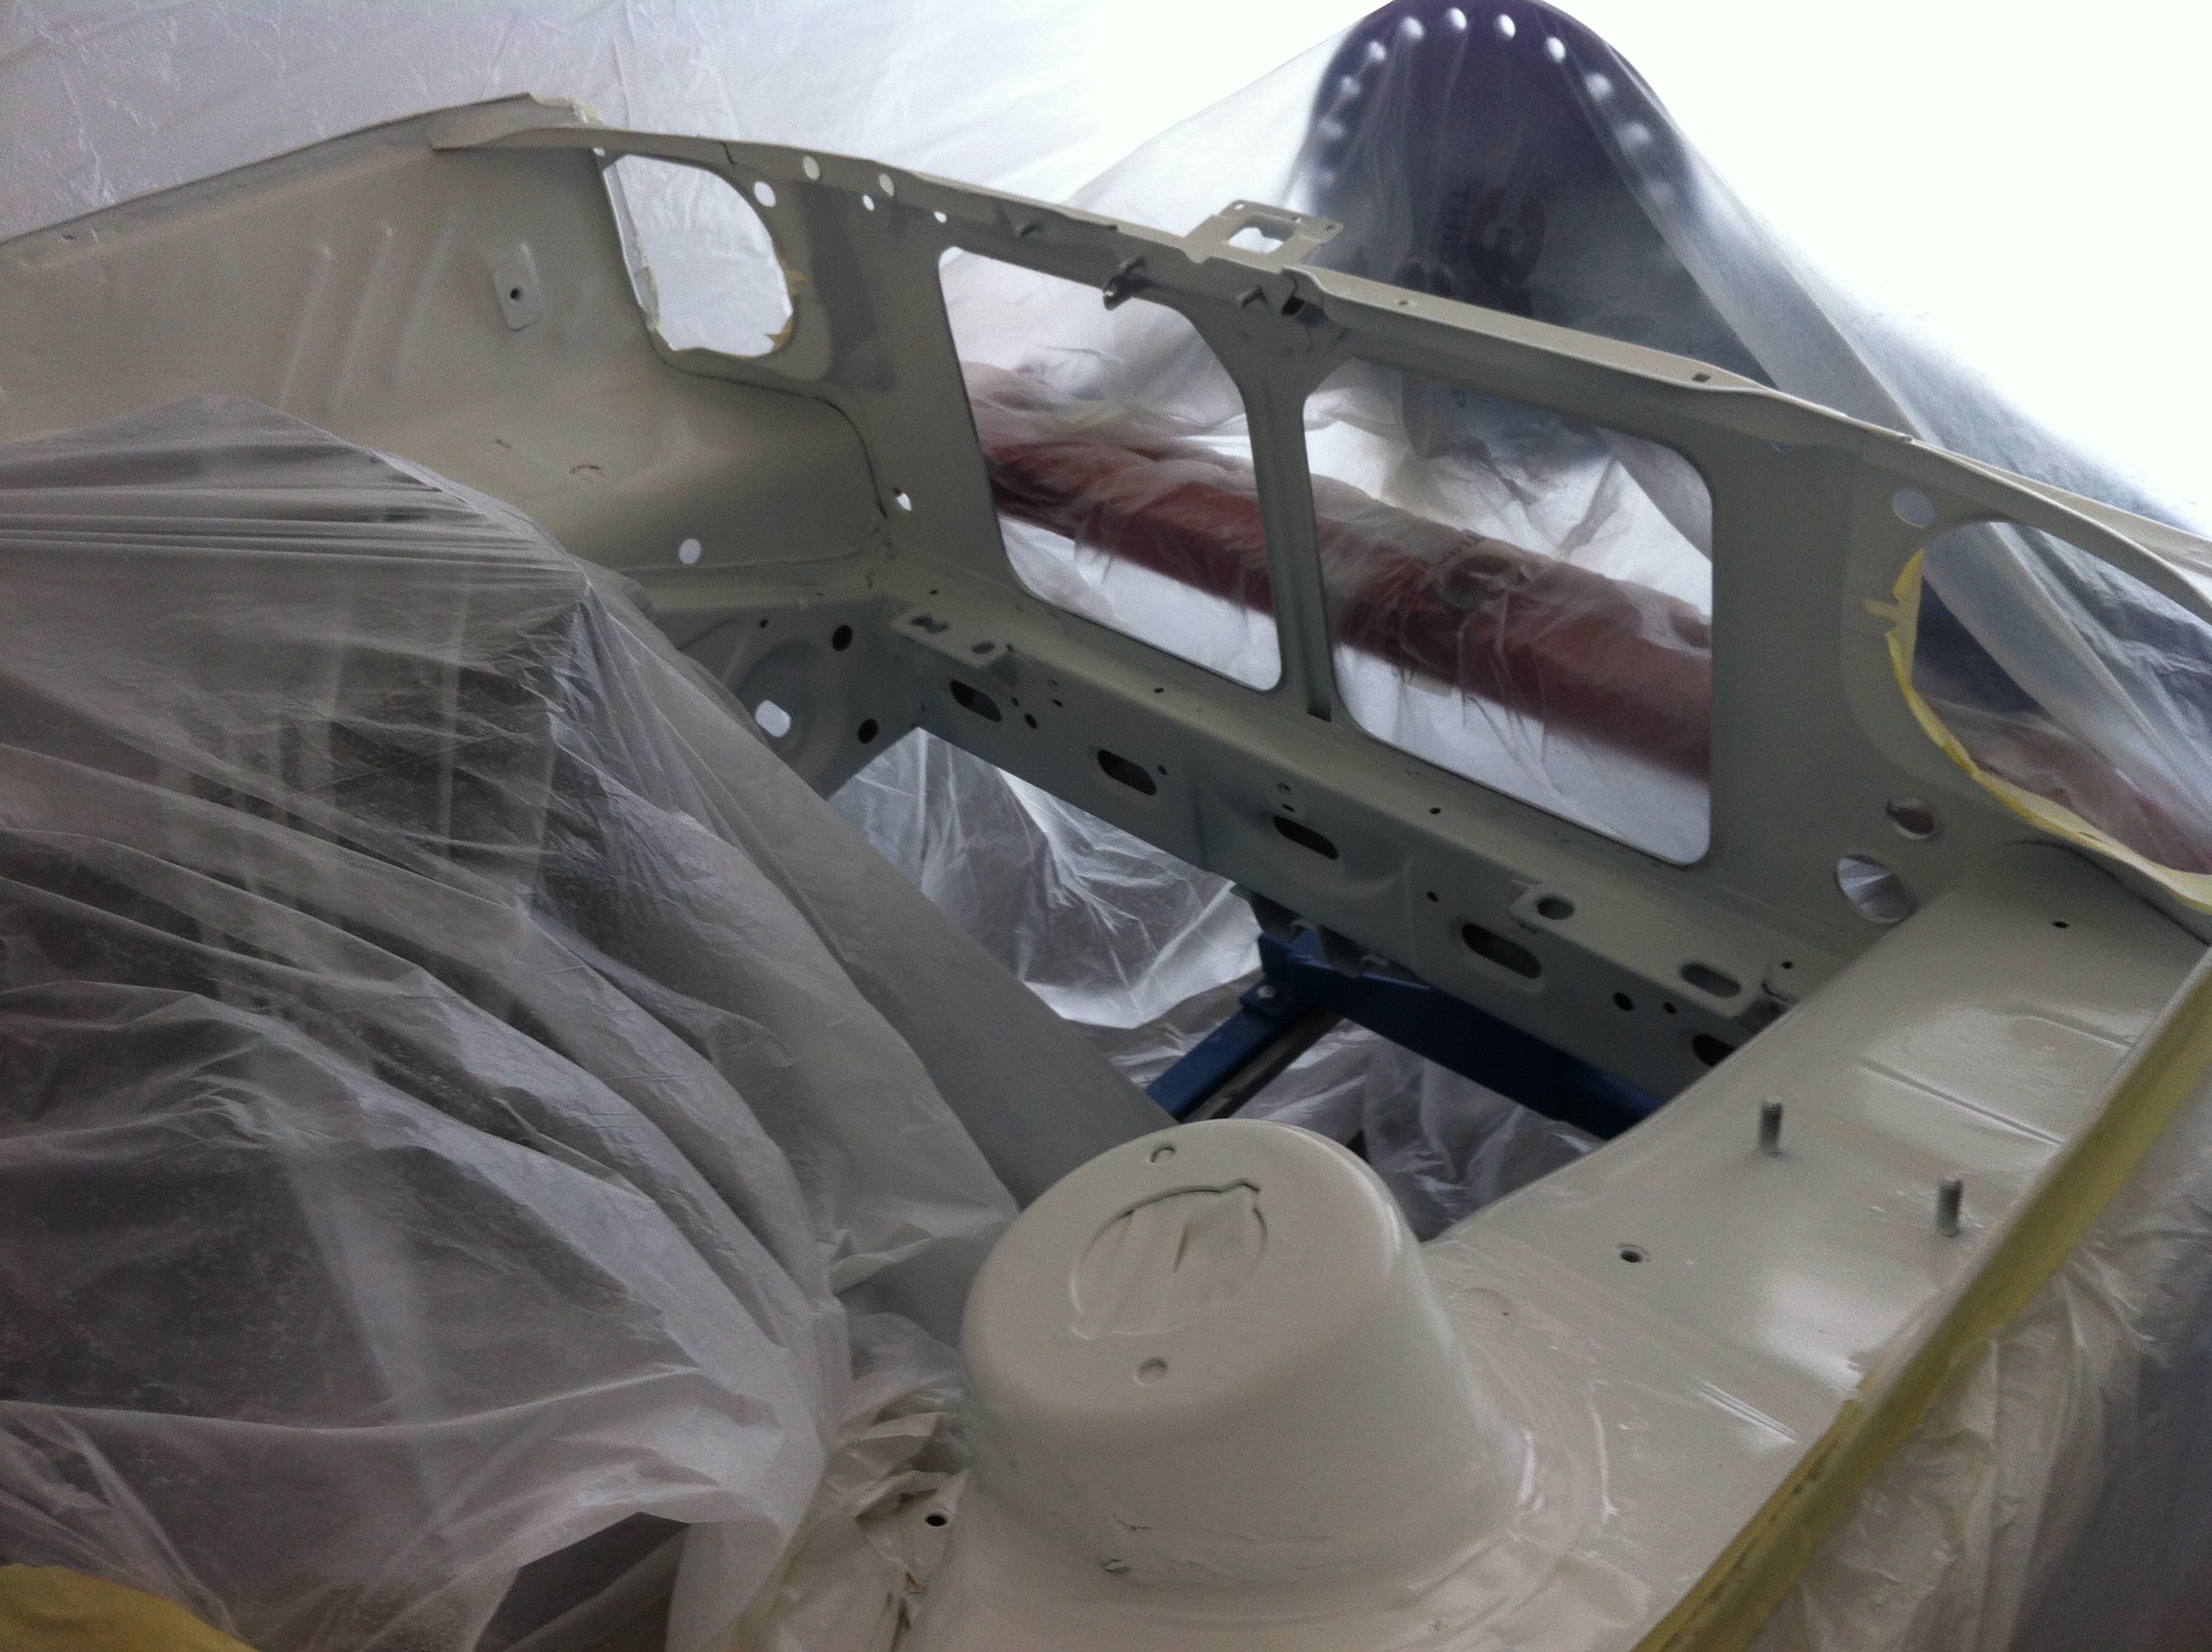
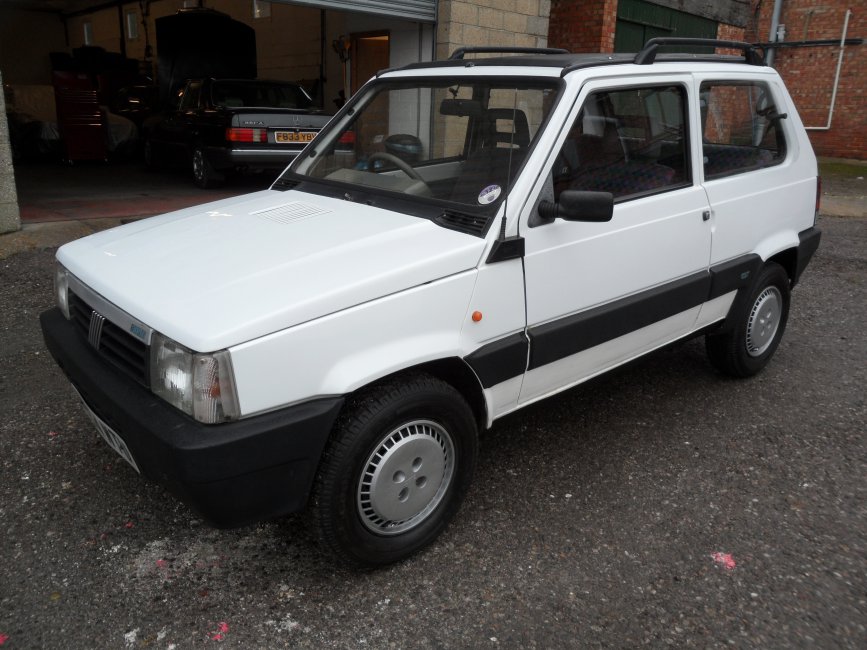
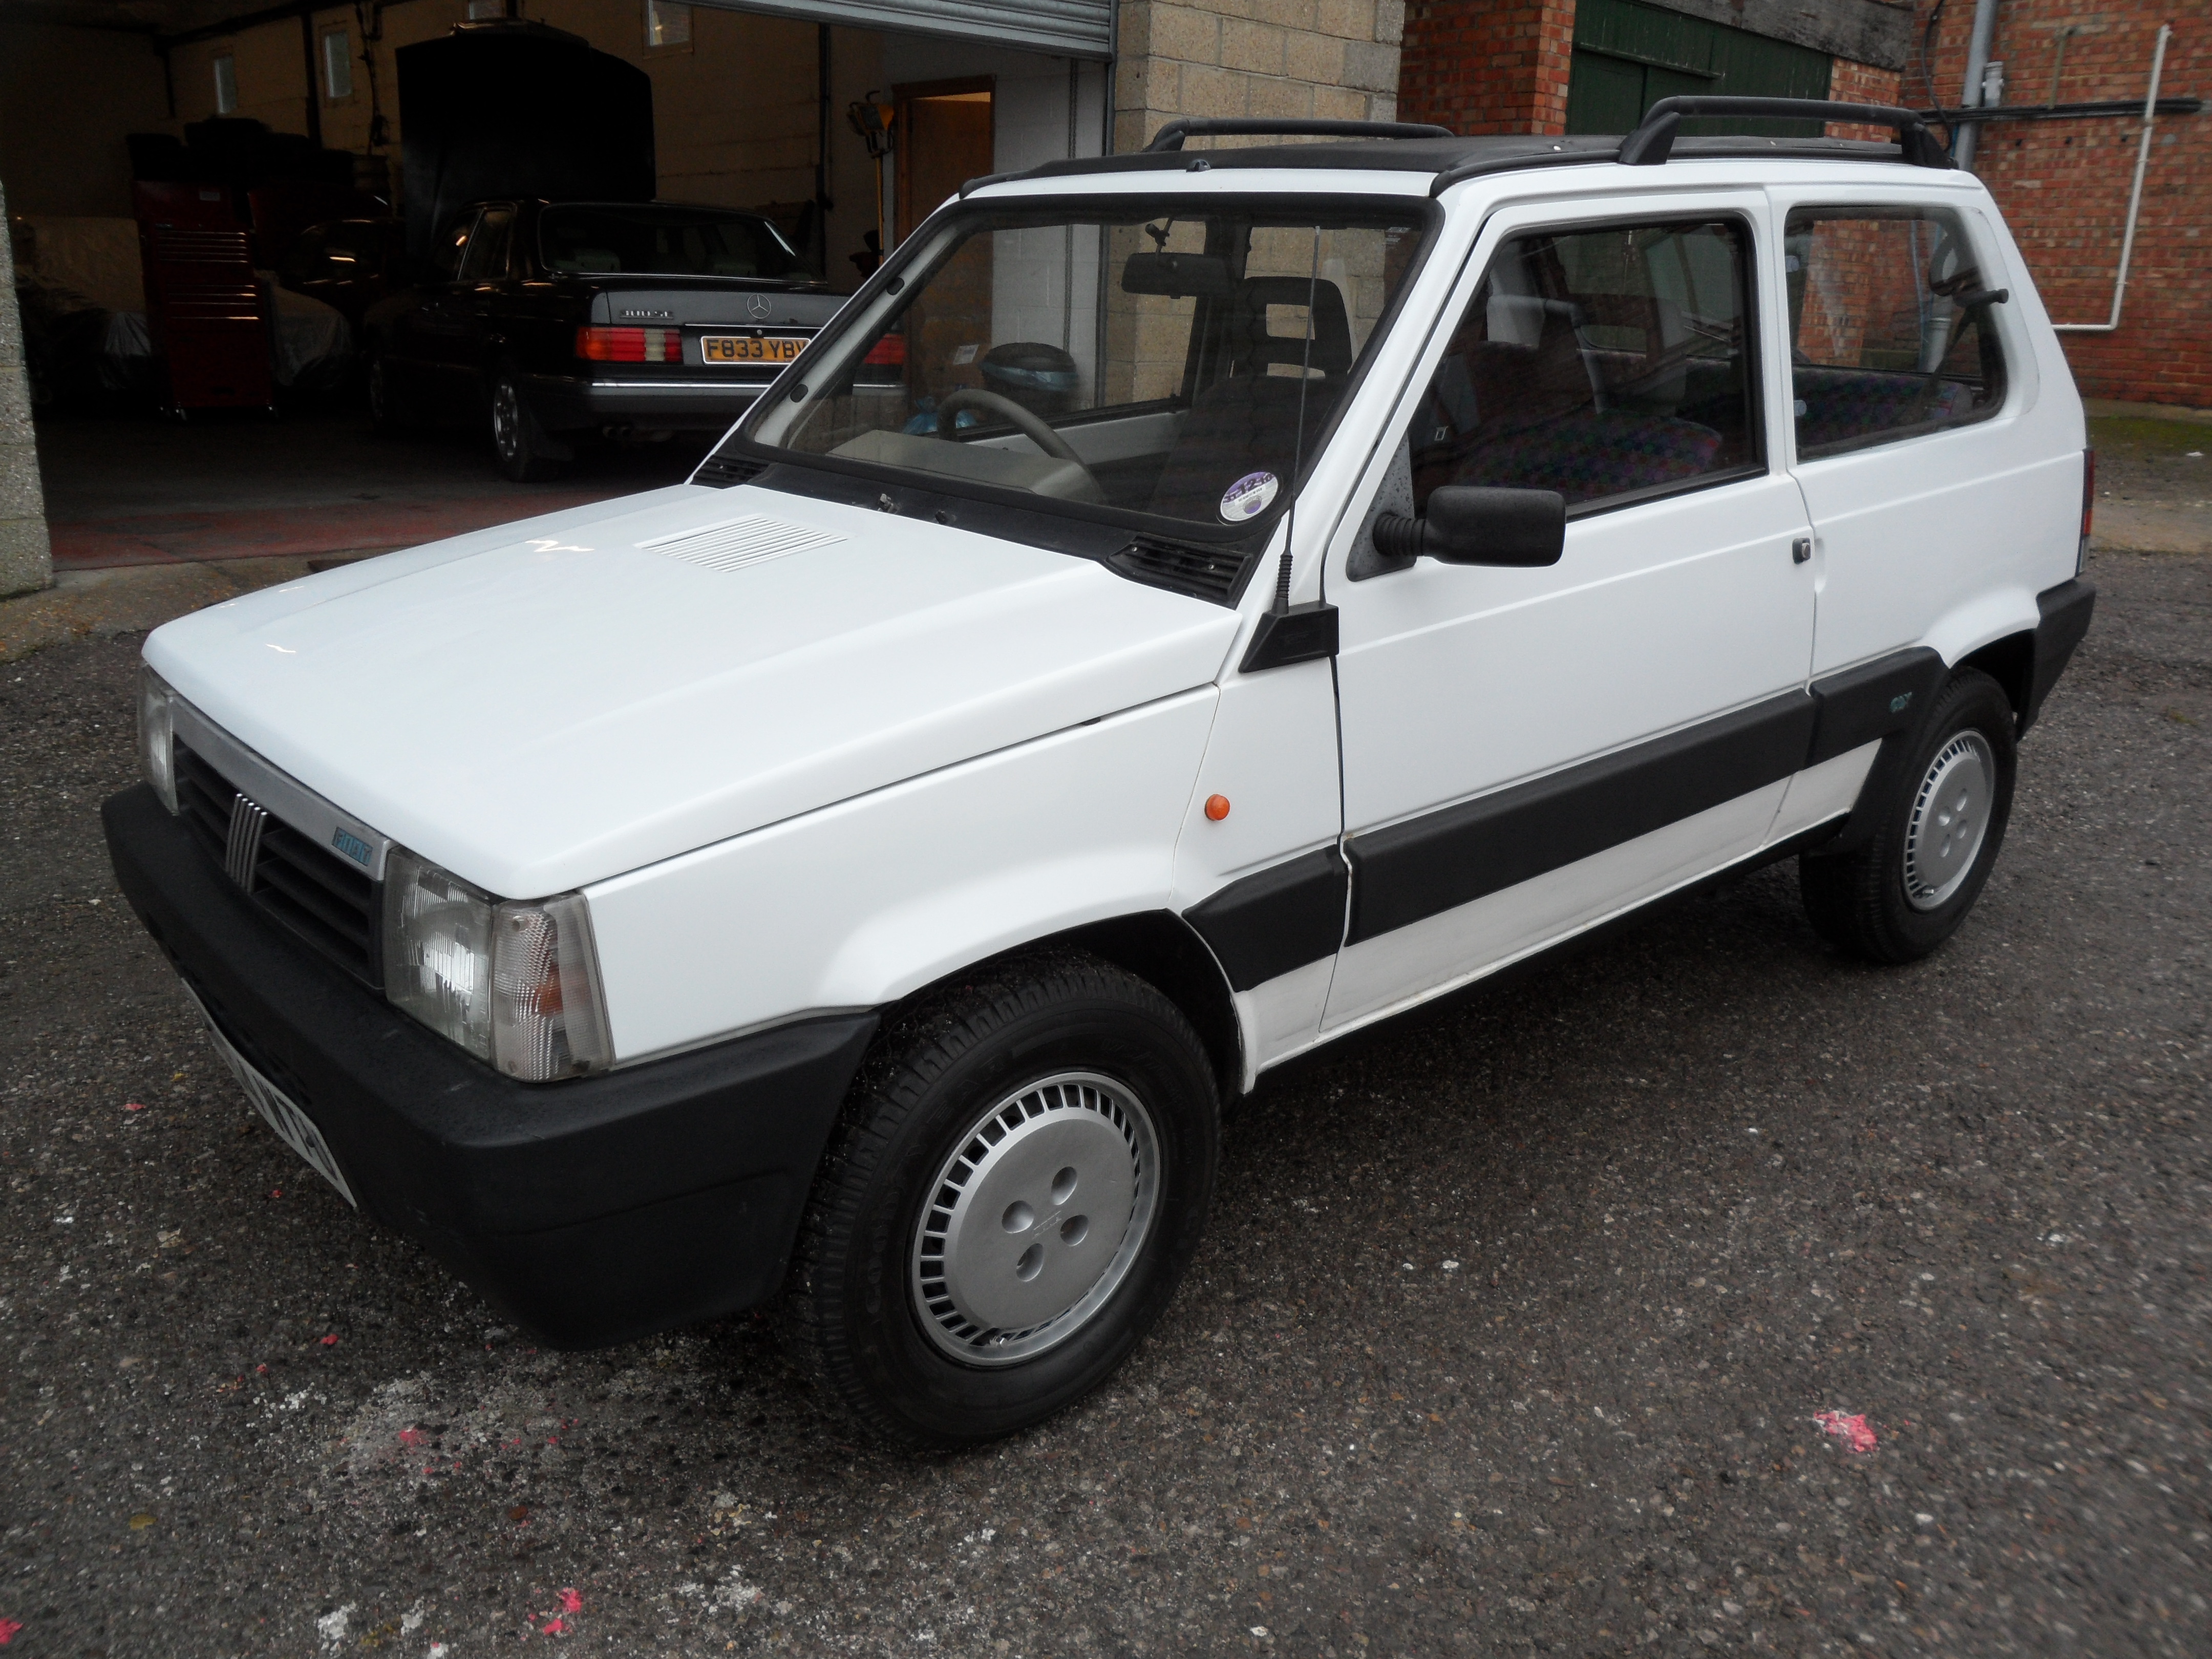
Well I have submitted and had approved a design so it's now full steam ahead with the first car. The basis for this is the white clx I recently picked up from David (Fiat Nutter)............


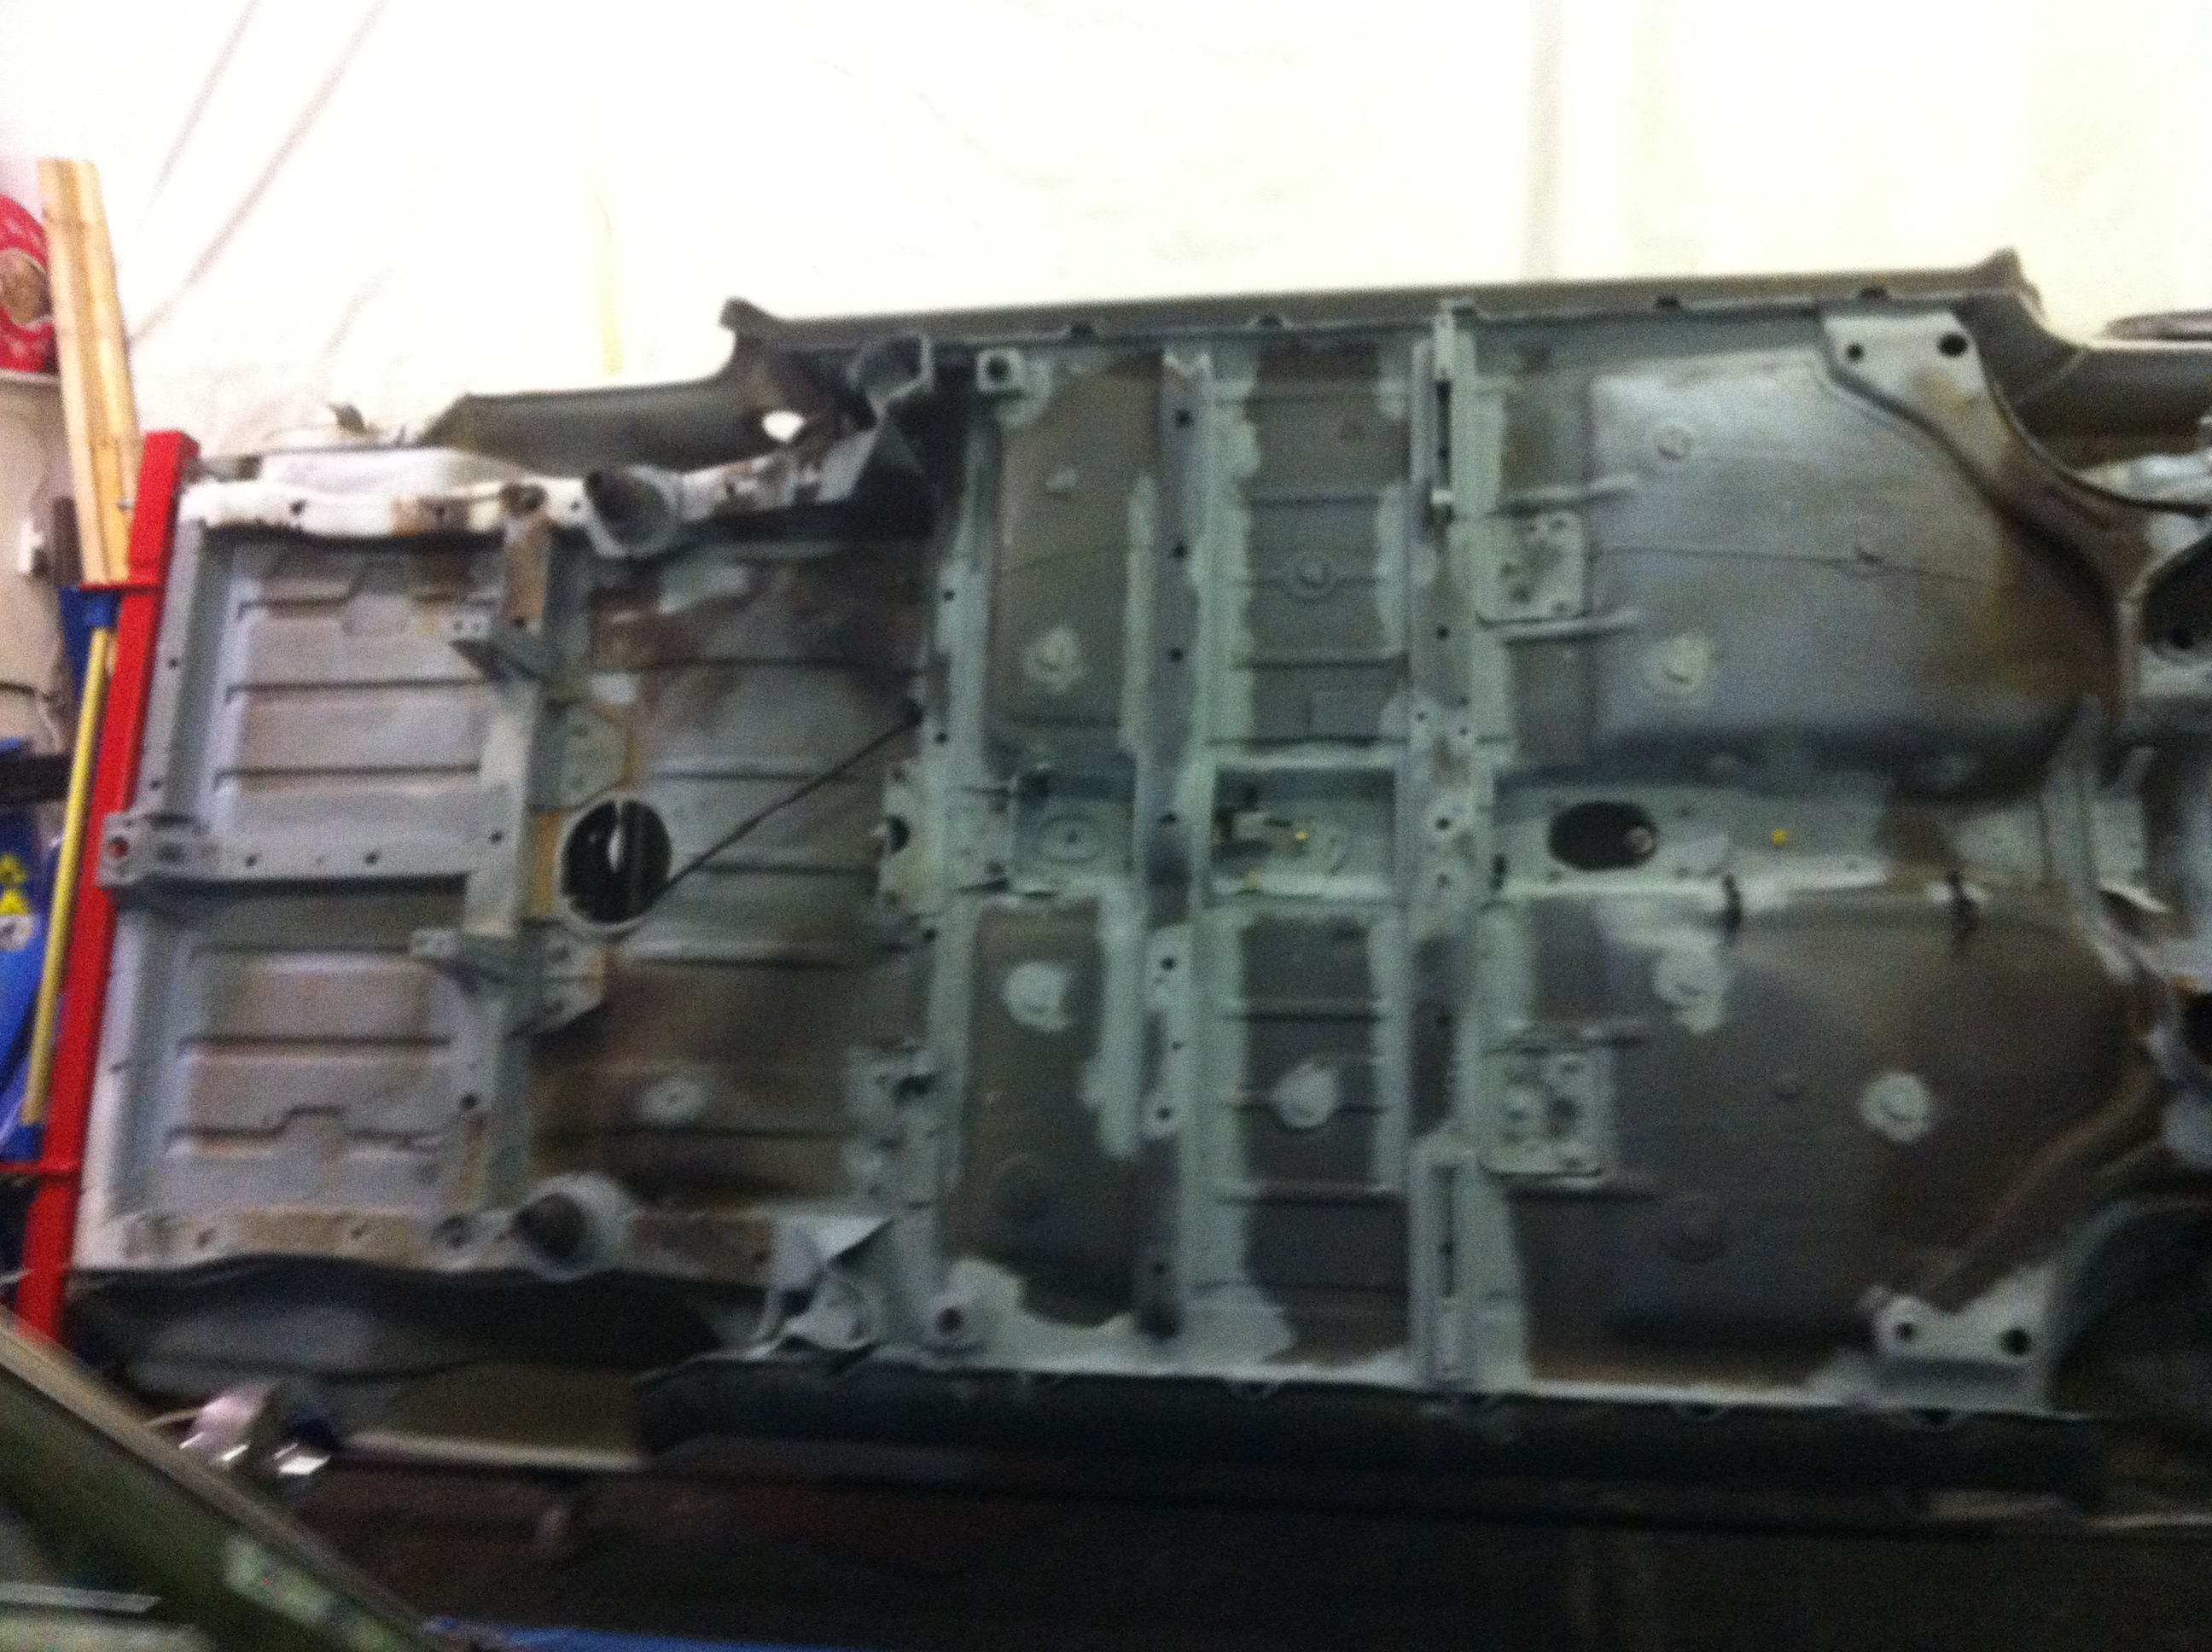
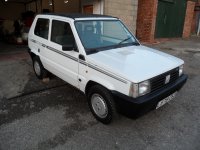
Second car may be this one that I already had..............


But may not.
It's not going to be clean! Gavin doesn't like that sort of thing, the engine bay must remain looking well used too. ;)

I thought that would get a response :p.

Don't worry Gavin I understand your priorities really. ;)

With them in mind this is what I have planned really.

1. Remove all old underseal where it is losing adhesion. The factory coating is a rubberised underseal that does a good job for a while, but eventually starts to peel away on seams and edges. This then holds moisture and promotes rust rather than inhibiting it. As you can see from the previous pics there are a lot of areas where this has happened and surface rust has formed, all this will have to be removed and treated. Once I'm back to good metal everywhere I will treat these areas with a 95% zinc rich paint as a primer, followed by a white epoxy mastic which is also zinc rich.
I disagree about the use of black underseal, it's too often used to disguise problems, a quick fix before selling a car on. It will eventually do the same thing as the original coating and encourage rust. At the same time the black colour makes it difficult for you to spot this process early on.
As well as the repair areas I will also cover the rest of the floor with the white epoxy paint. White makes problems easy to spot, but only if you look. It's not going to be showy as you can't see it, unless Gavin runs you over :p, even the wheel arches have black liners.

2. Suspension and axle should all be black I think, nothing to attract the eye away from the Panda looking Panda theme of the bodywork. Not just Hammerite though! Just because this is a car that's going to be used a lot doesn't mean all the running gear has to be rusty looking again 6 months after it's finished. So I will use some better stuff to paint everything with, at least I hope it's better stuff, I'm only going by recommendation. I did use it on the white 4x4 and it was still looking good when I sold it, but 3,000 miles and five months wasn't a long enough test.

3. The engine bay will be clean and tidy, everything looking as close to new as is economically viable (there is a budjet to stick to). Gavin expressed at the beginning of this project a desire to have the engine swap looking like Fiat had intended it to be that way so that's the aim, even down to the original Punto air filter if possible. I know there are height issues with the 16v engine but if I can find a way of overcoming them I will. Sorry Mr. K&N.
 
Last edited:
This post contains affiliate links which may earn a commission at no additional cost to you.
Ah ok hadn't thought about that - they are T rated. They come up on the search if you take the rating out. T is 118mph - hmm should be enough for normal use (Panda's don't go that fast officer!)? On track though???!!

Edit: How about 165/55's? There are Pirelli H rated ones in that size - more expensive though!!

The trouble with the 55's is that they may look too small, plus the gearing would be lower, you'd be constantly red lining it!

118 mph is plenty for normal use I'll agree, but I would imagine that 'H' rated tyres are built with better handling in mind too. I'll ask the tyre suppliers near me if Pirelli do them.


I know these aren't Pirelli's but that's a great price!

http://www.ebay.co.uk/itm/165-65R13...pect+Ratio:65|Diameter:13&hash=item257802a536
 
This post contains affiliate links which may earn a commission at no additional cost to you.
I agree it's really good price. Looking at the tyre ratings (there's a link by each tyre) I'd go for the Nokian i3 on mytyres if going for the H rating. The ones on the 'bay are significantly lower rated in that test, then of course these are the most expensive listed!!

Am I going near 118? Well maybe the H is wiser.... :eek:
 
Been making steady progress on this since last posted, mainly working on the floorpan.

It's actually a very solid Panda but with a lot of surface rust where the original underseal has lifted on the seams and allowed surface rust to develope. So first job was to thoroughly scrub the underside then scrape off all loose underseal.
Then the surface rust could be sanded off as much as possible and what little was left was treated and primed with zinc primer. This stuff is 95% zinc, I've never known a 1litre tin of paint weigh so much. :eek:

The usual rust trap at the rear of the inner sill was perfect on one side but did need plating on the other.

A few pics .............


Also, work has started on the seat subframes, and Gavin and I have settled on tyres.

Gavin would have liked Pirelli's but they didn't make the spec we were after, so we have decided to go for Firestone 175/60/HR13's. They are a little wide for the wheels but should be fine, they are H speed rated though which was important.
 
Finally got the de-rusting and zinc priming finished as far as the start of the engine bay........


So now I was able to start applying the epoxy mastic with a brush, a cheap brush too as it's cheaper to throw it away than it is to clean it! This is as far as I got before running out of the stuff........


Another litre is on its way. :)
 
Sorry to show off the chassis tilter , I'm really spoiling myself there :eek:, but with at least six cars lined up for similar work it will easily pay for itself, and make the task of doing floor pan work alot more pleasant.

Sorry for dragging this back up from nowhere but having seen it, I want one :eek:
 
This long overdue update is a bit long so you may want to grab a cup of tea.

First off is a couple more areas of rust that needed welding...........


This is an area where the inner sill meets the floor. Barely noticeable at first which is why I had missed it on earlier inspections, but this was the size of it once we'd got back to good metal.


This odd triangle in one front corner of the engine bay had rusted where it was spot welded to the chassis, the only way to kill the rust completely was to cut it all out and make a new piece.


This section (in primer) under the o/s/f wheel arch covered a rusty hole that grew even bigger when I tried to weld the back edge, so another piece was needed before it was finished.......


Next it was on to the engine bay.......


Front panel and inner wings were covered in rust scabs, not deep or seriously rotten, just ugly. The pics above show them treated with Deox C gel, it's the liquid in the rust bath but in gel form.

Once this had done its job rust converter was applied to what was left......


I have two new things in the workshop......

1. A makeshift spray booth to make sure nothing else gets covered in overspray.

2. A helping hand called Alan.

Both are shown in the next bunch of pics. Pete has been helping out recently too, but next week he goes back to work for McLarren. :(


First job to be carried out in the booth was to spray the inner wings and inside of the front panel. We've used epoxy primer in white, very tough stuff. :)


Top coat should be going on tomorrow, will post pics once done.
 
Last edited:
Big(y)

loving the work and effort that has gone into this already can't believe how scabby the engine bay was before looks like you caught it just in time:)

Will be keeping an eye on this (wish I had your roll over jig)
 
Big(y)

loving the work and effort that has gone into this already can't believe how scabby the engine bay was before looks like you caught it just in time:)

Will be keeping an eye on this (wish I had your roll over jig)

Thanks Mike. (y)

Although it's very low mileage it was stored for several years in a Welsh front garden, and I understand they have just a little more than the average rainfall over there. But yes, it was mostly superficial rather than structural.
 
Back axle is now stripped and at the powder coaters. It's not going to be powder coated, this project is too far over budget as it is :p, but because of its size I felt that getting them to sand blast it will be a big time saver.


I'm leaving the brakes in one piece for now and will deal with them as an individual item.


In fact I think I'll compare them with the donor Punto's brakes to see if there is a worthwhile upgrade to be had.
 
Back
Top