
Introduction
Hello!
Well, I have been waiting a long time to do this!
Introducing (Drum roll please!).....
Edit: about half way through the time it took me to get the car on the road it found the name Talon. So everyone Meet:
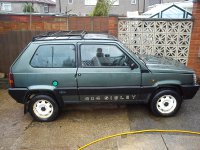
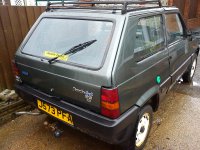
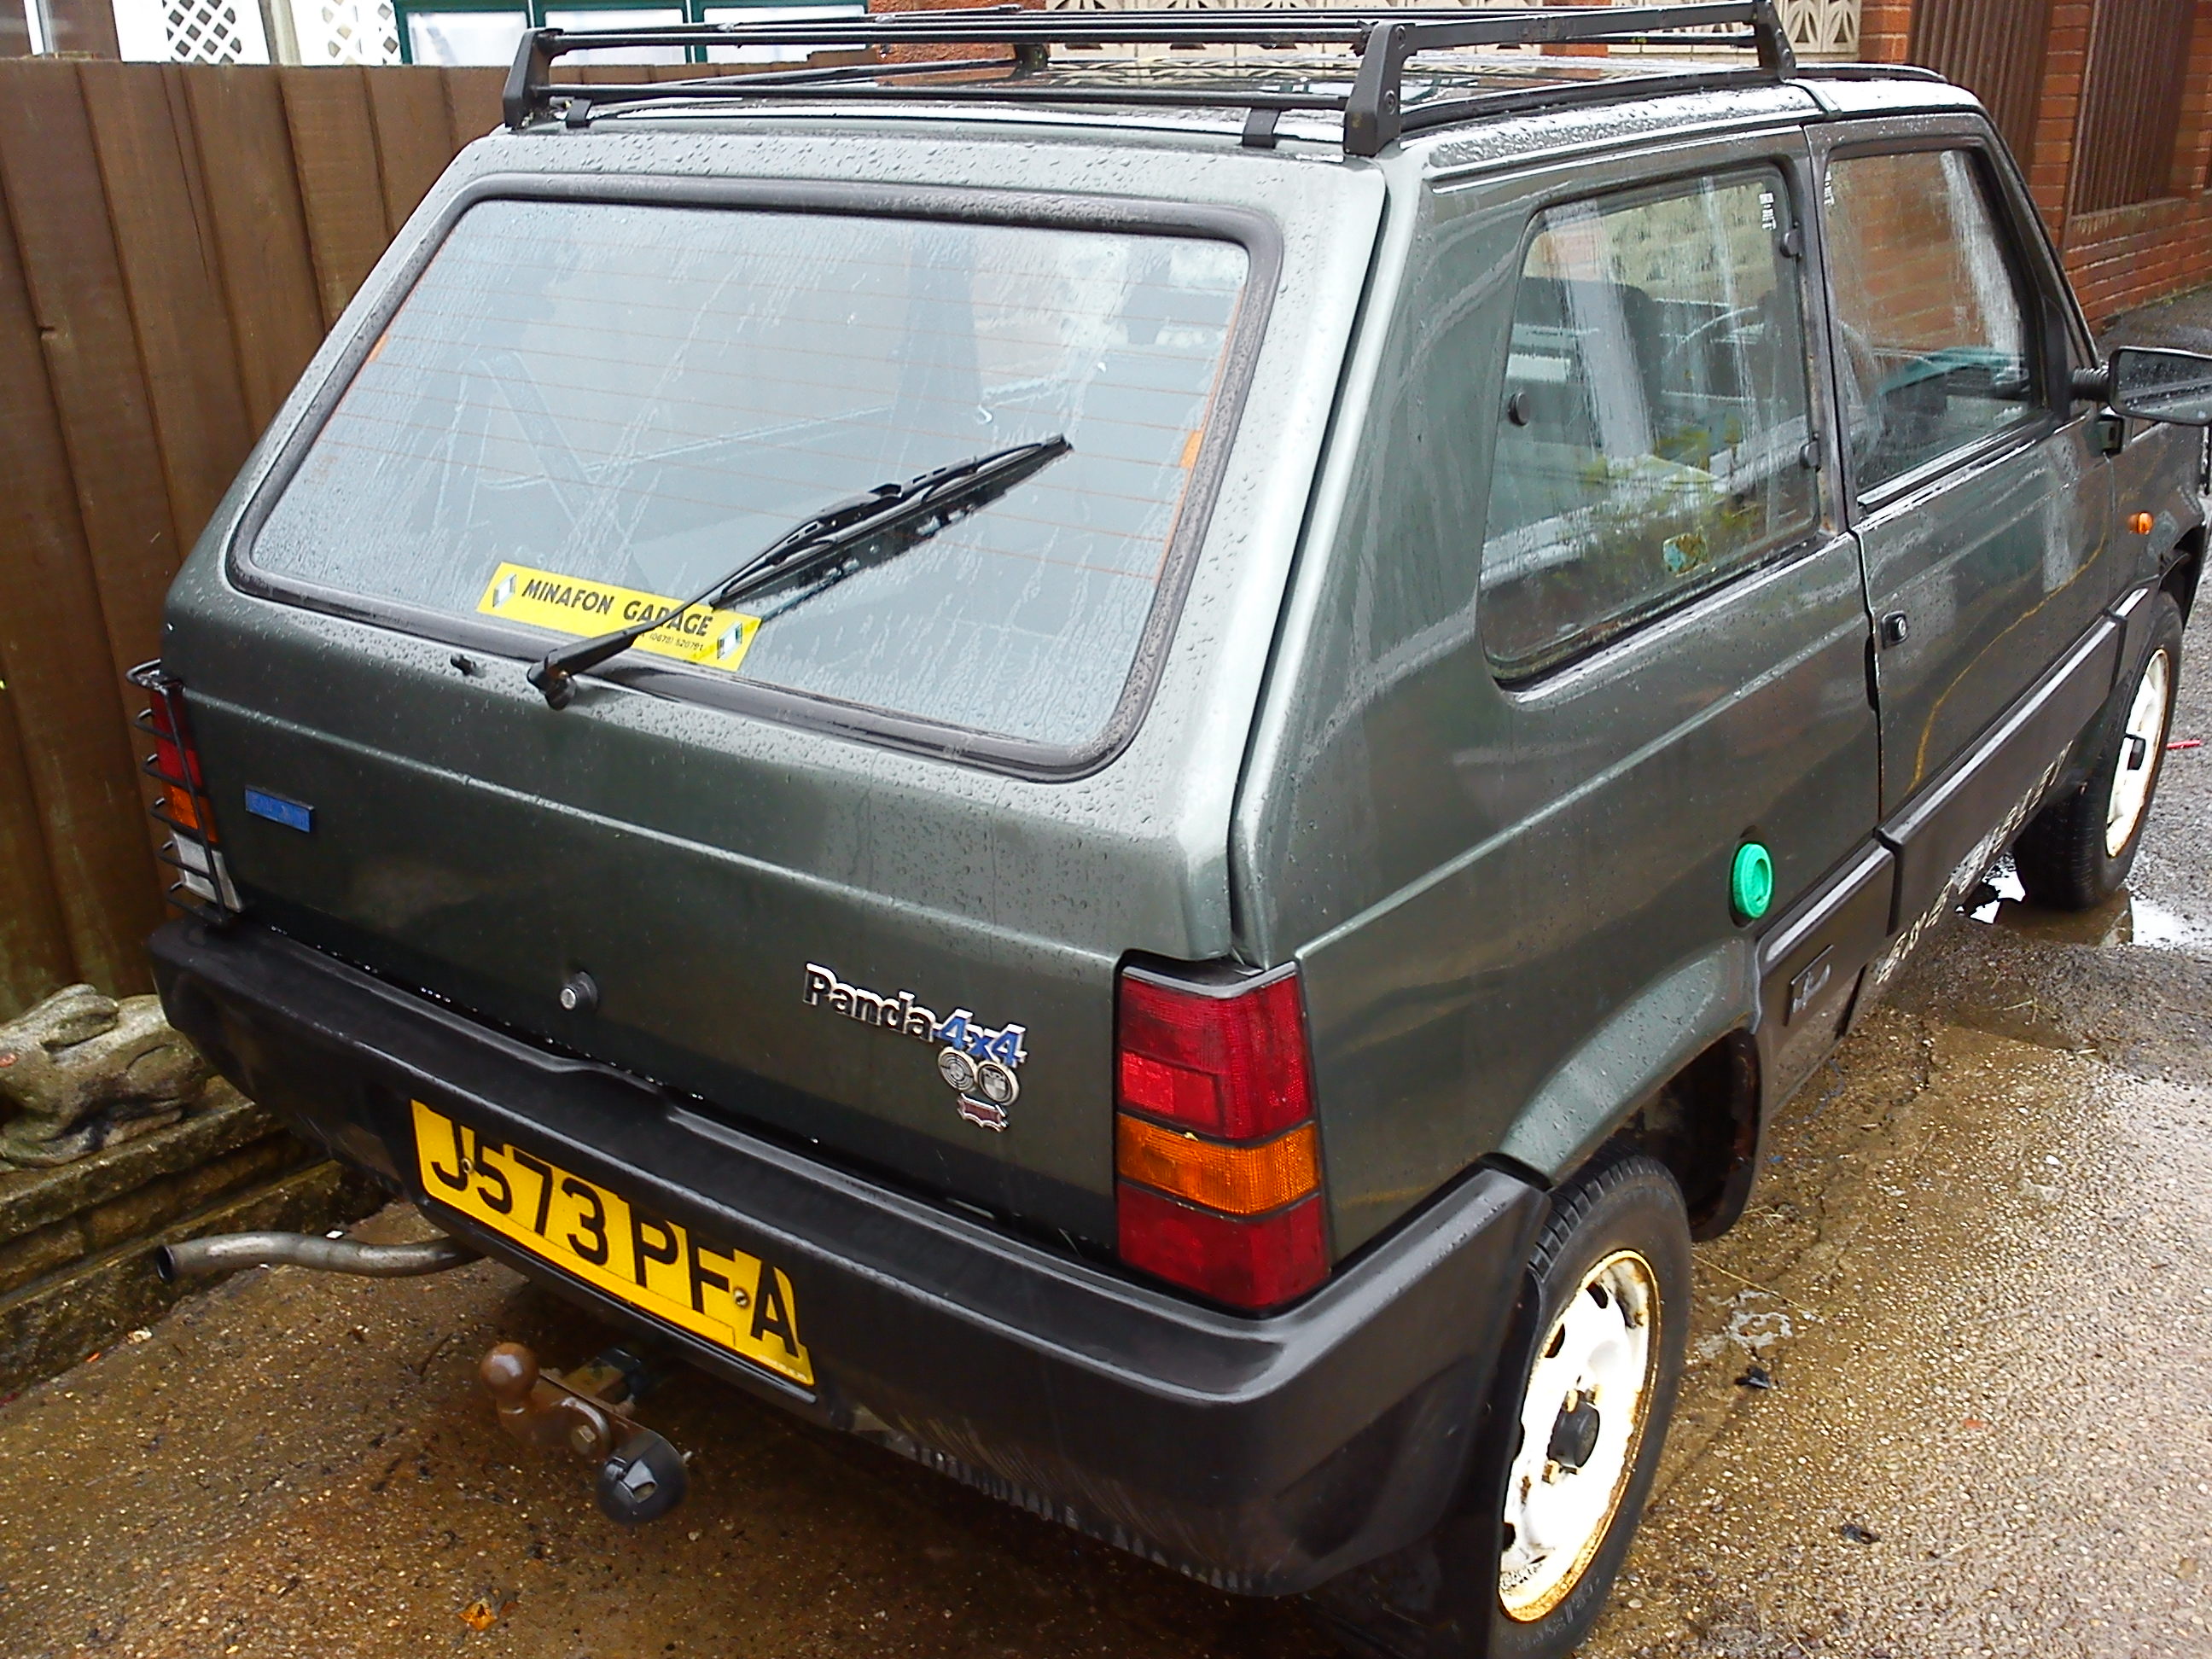
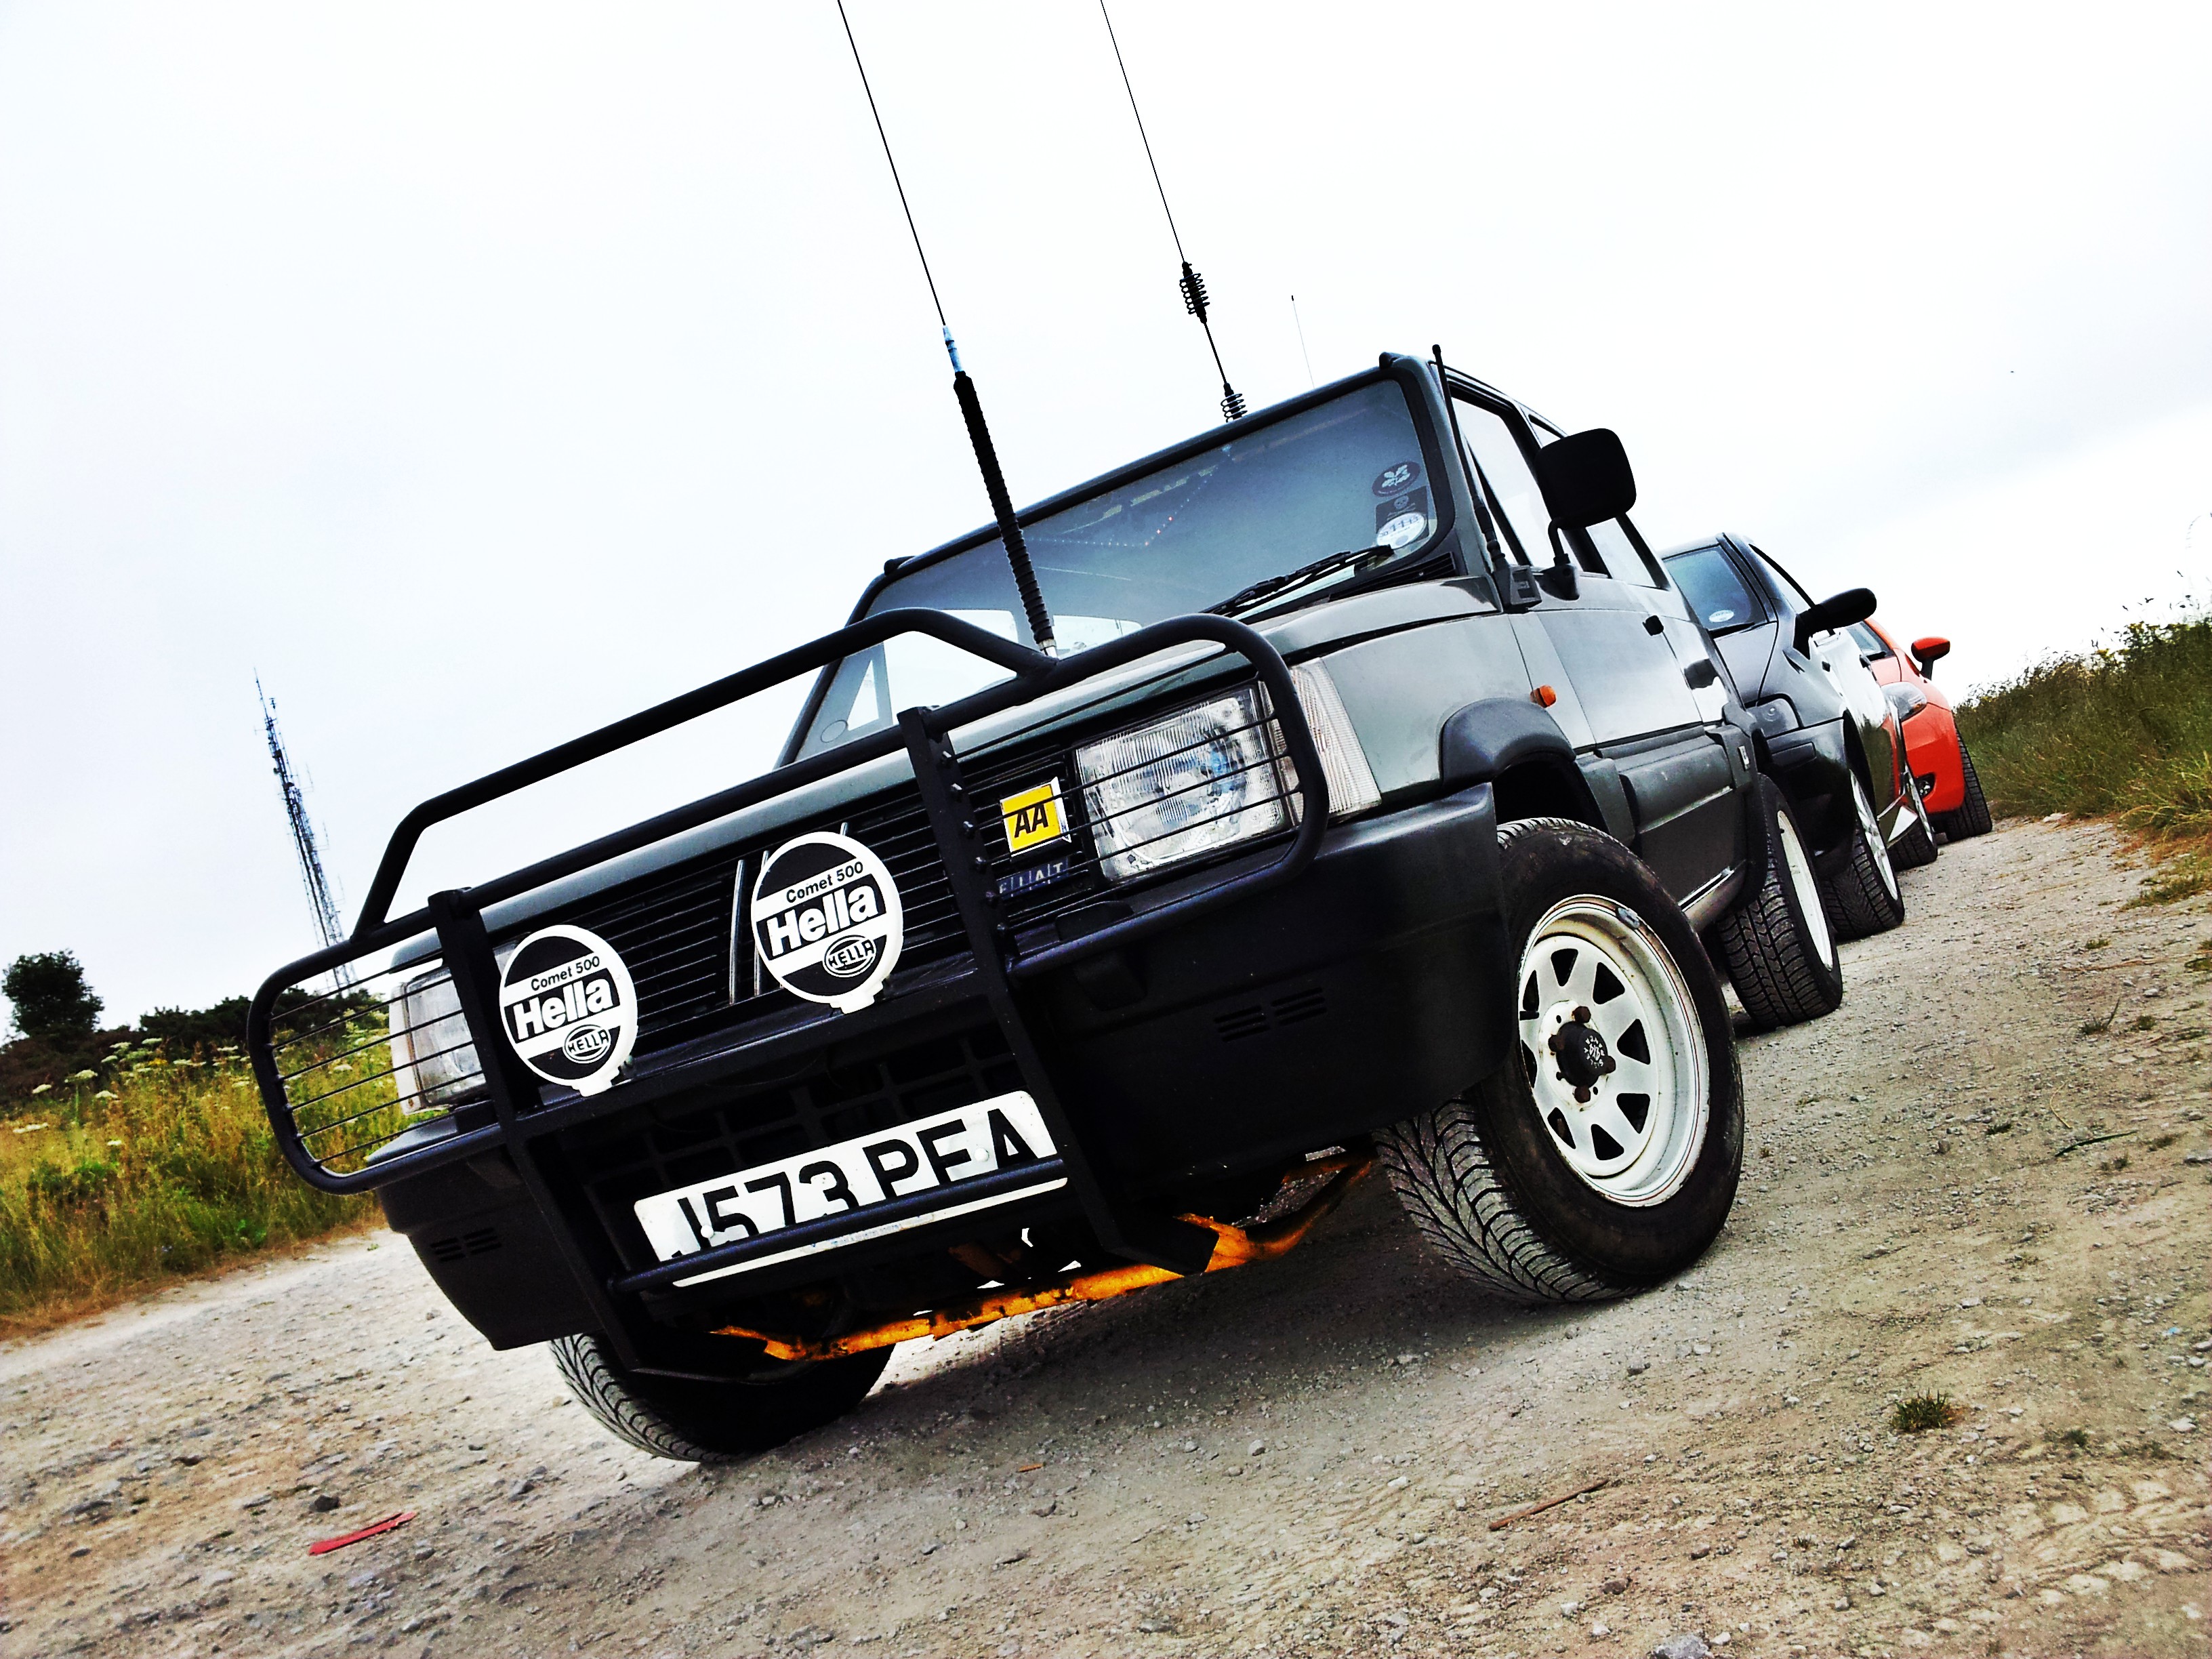
Talon. My Fiat Panda 4x4 Sisley:

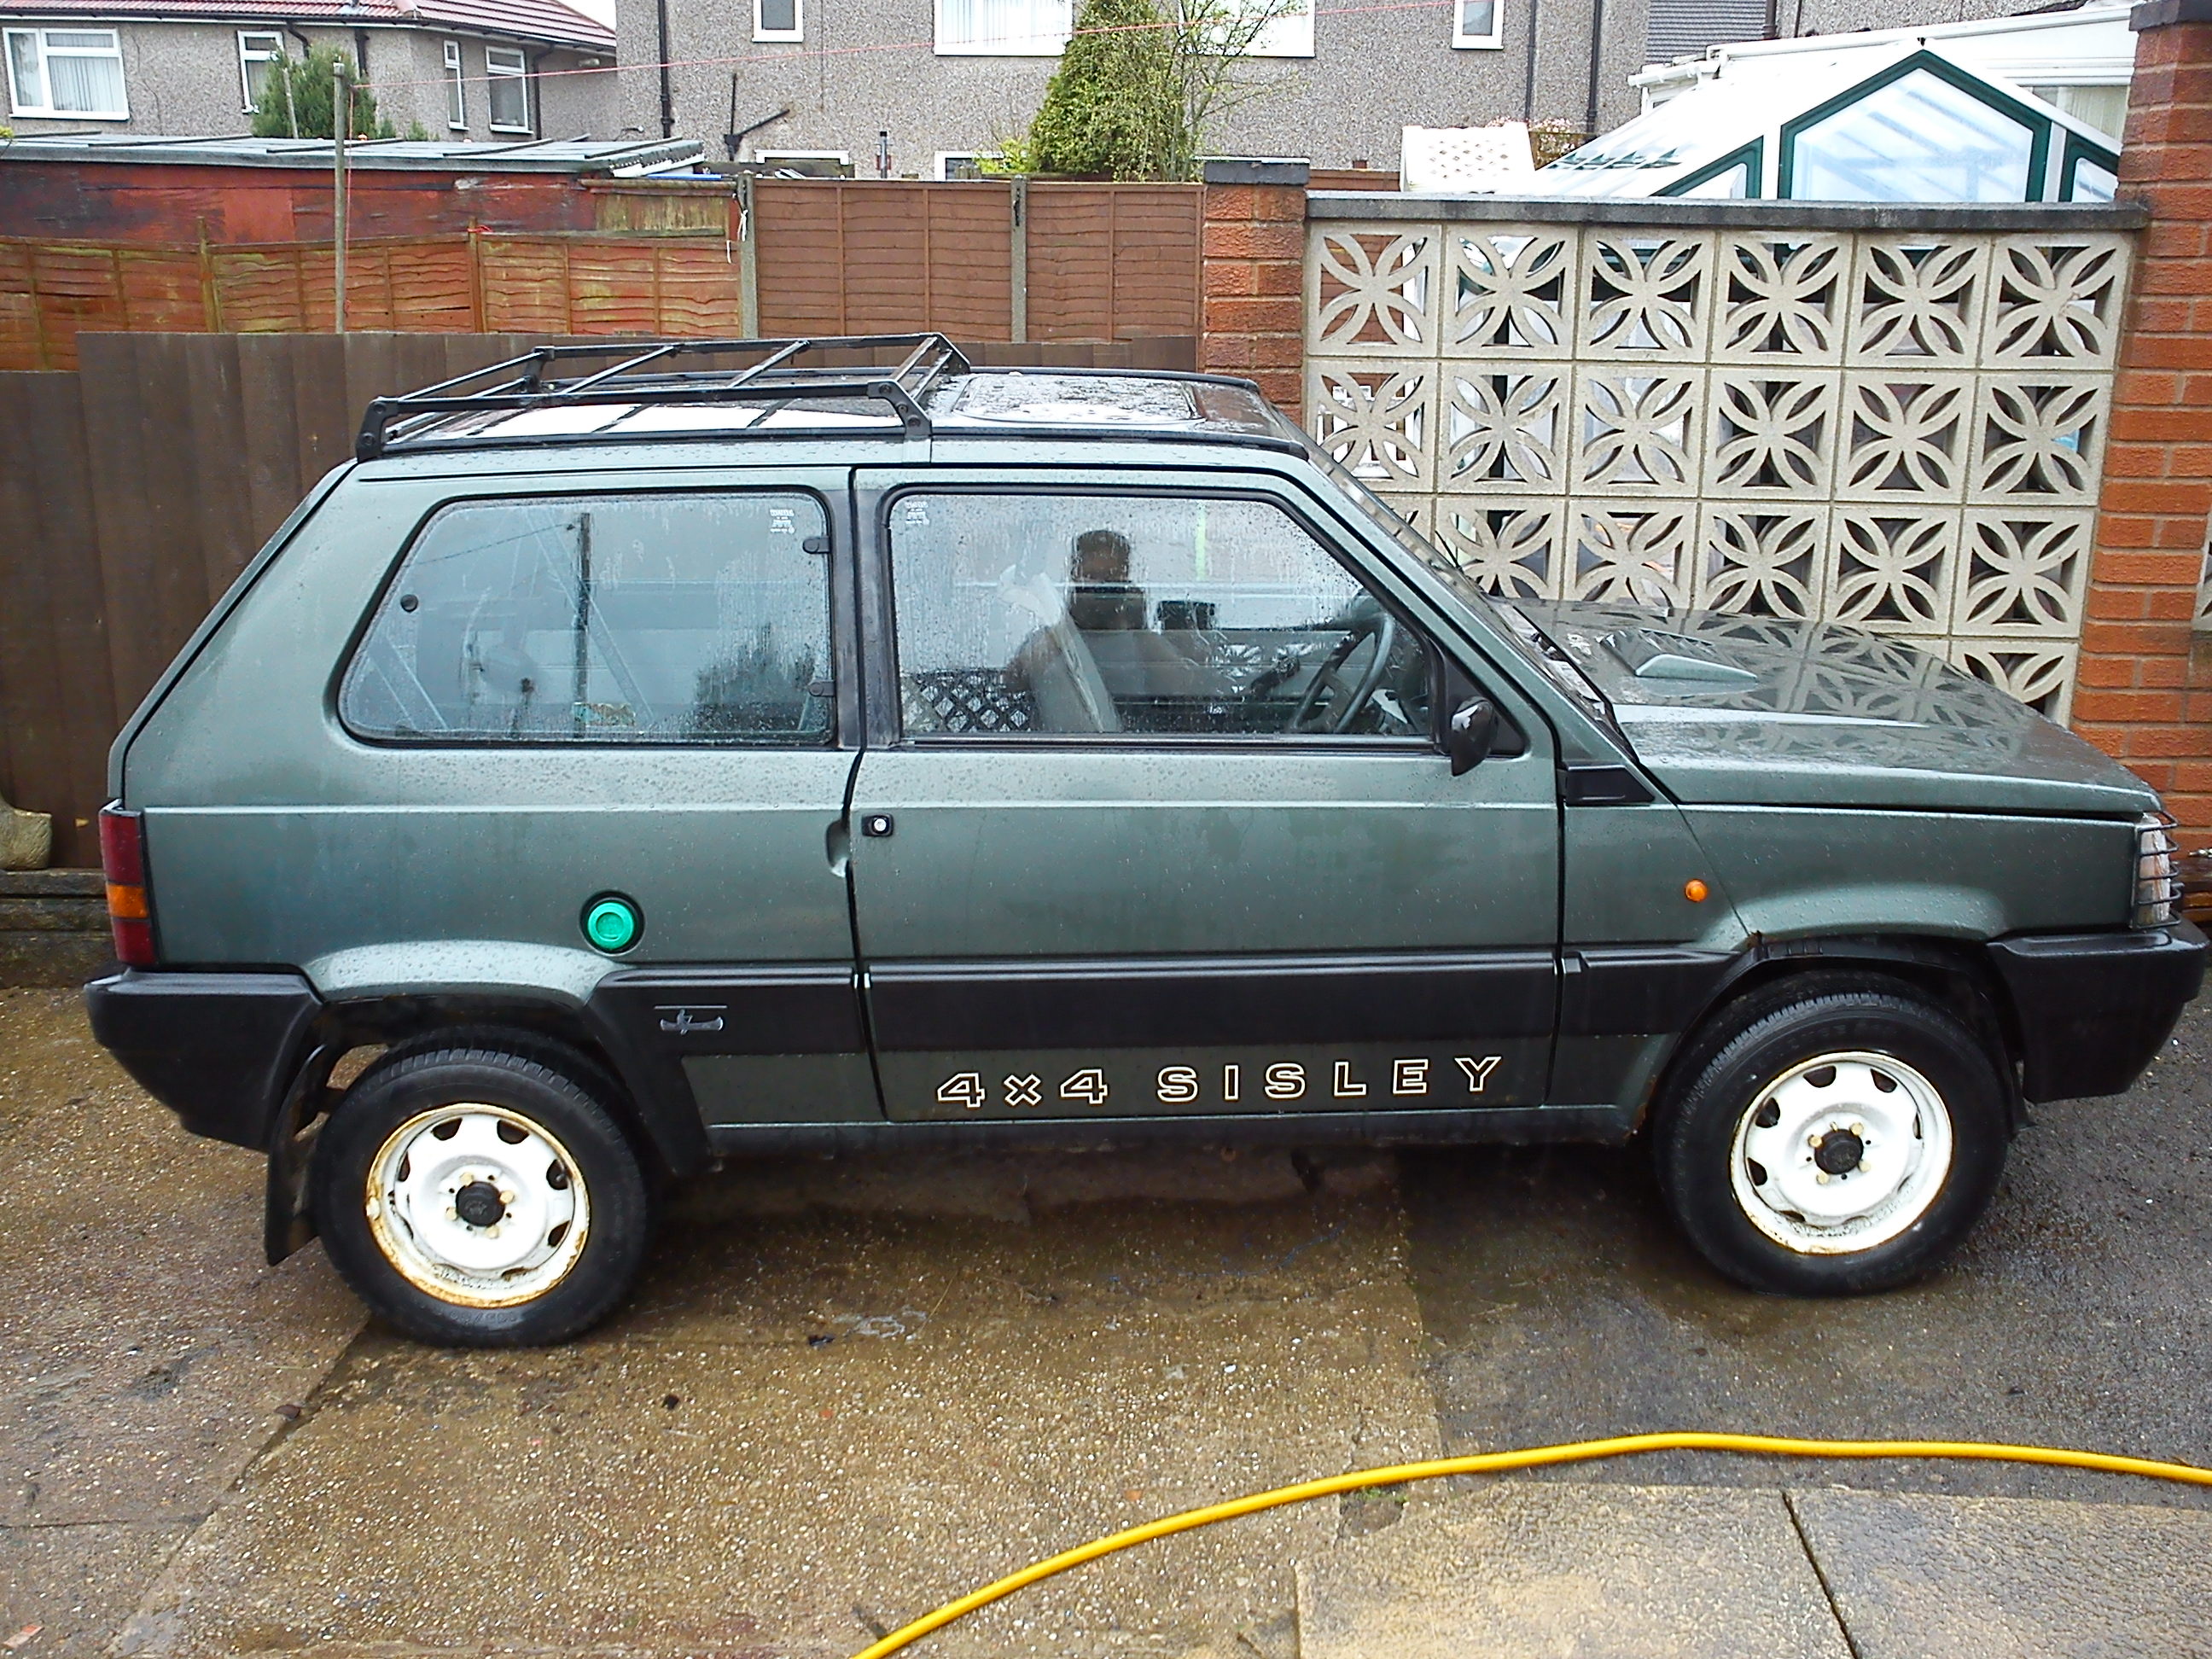
Great Looking car.. As i am sure you all agree!
It has its Good points:
No Horrid noises in any gear and the 4x4 system works and sounds brilliant! Its a Sisley! And it came with some nice extras such as the light grill covers.
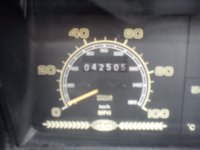
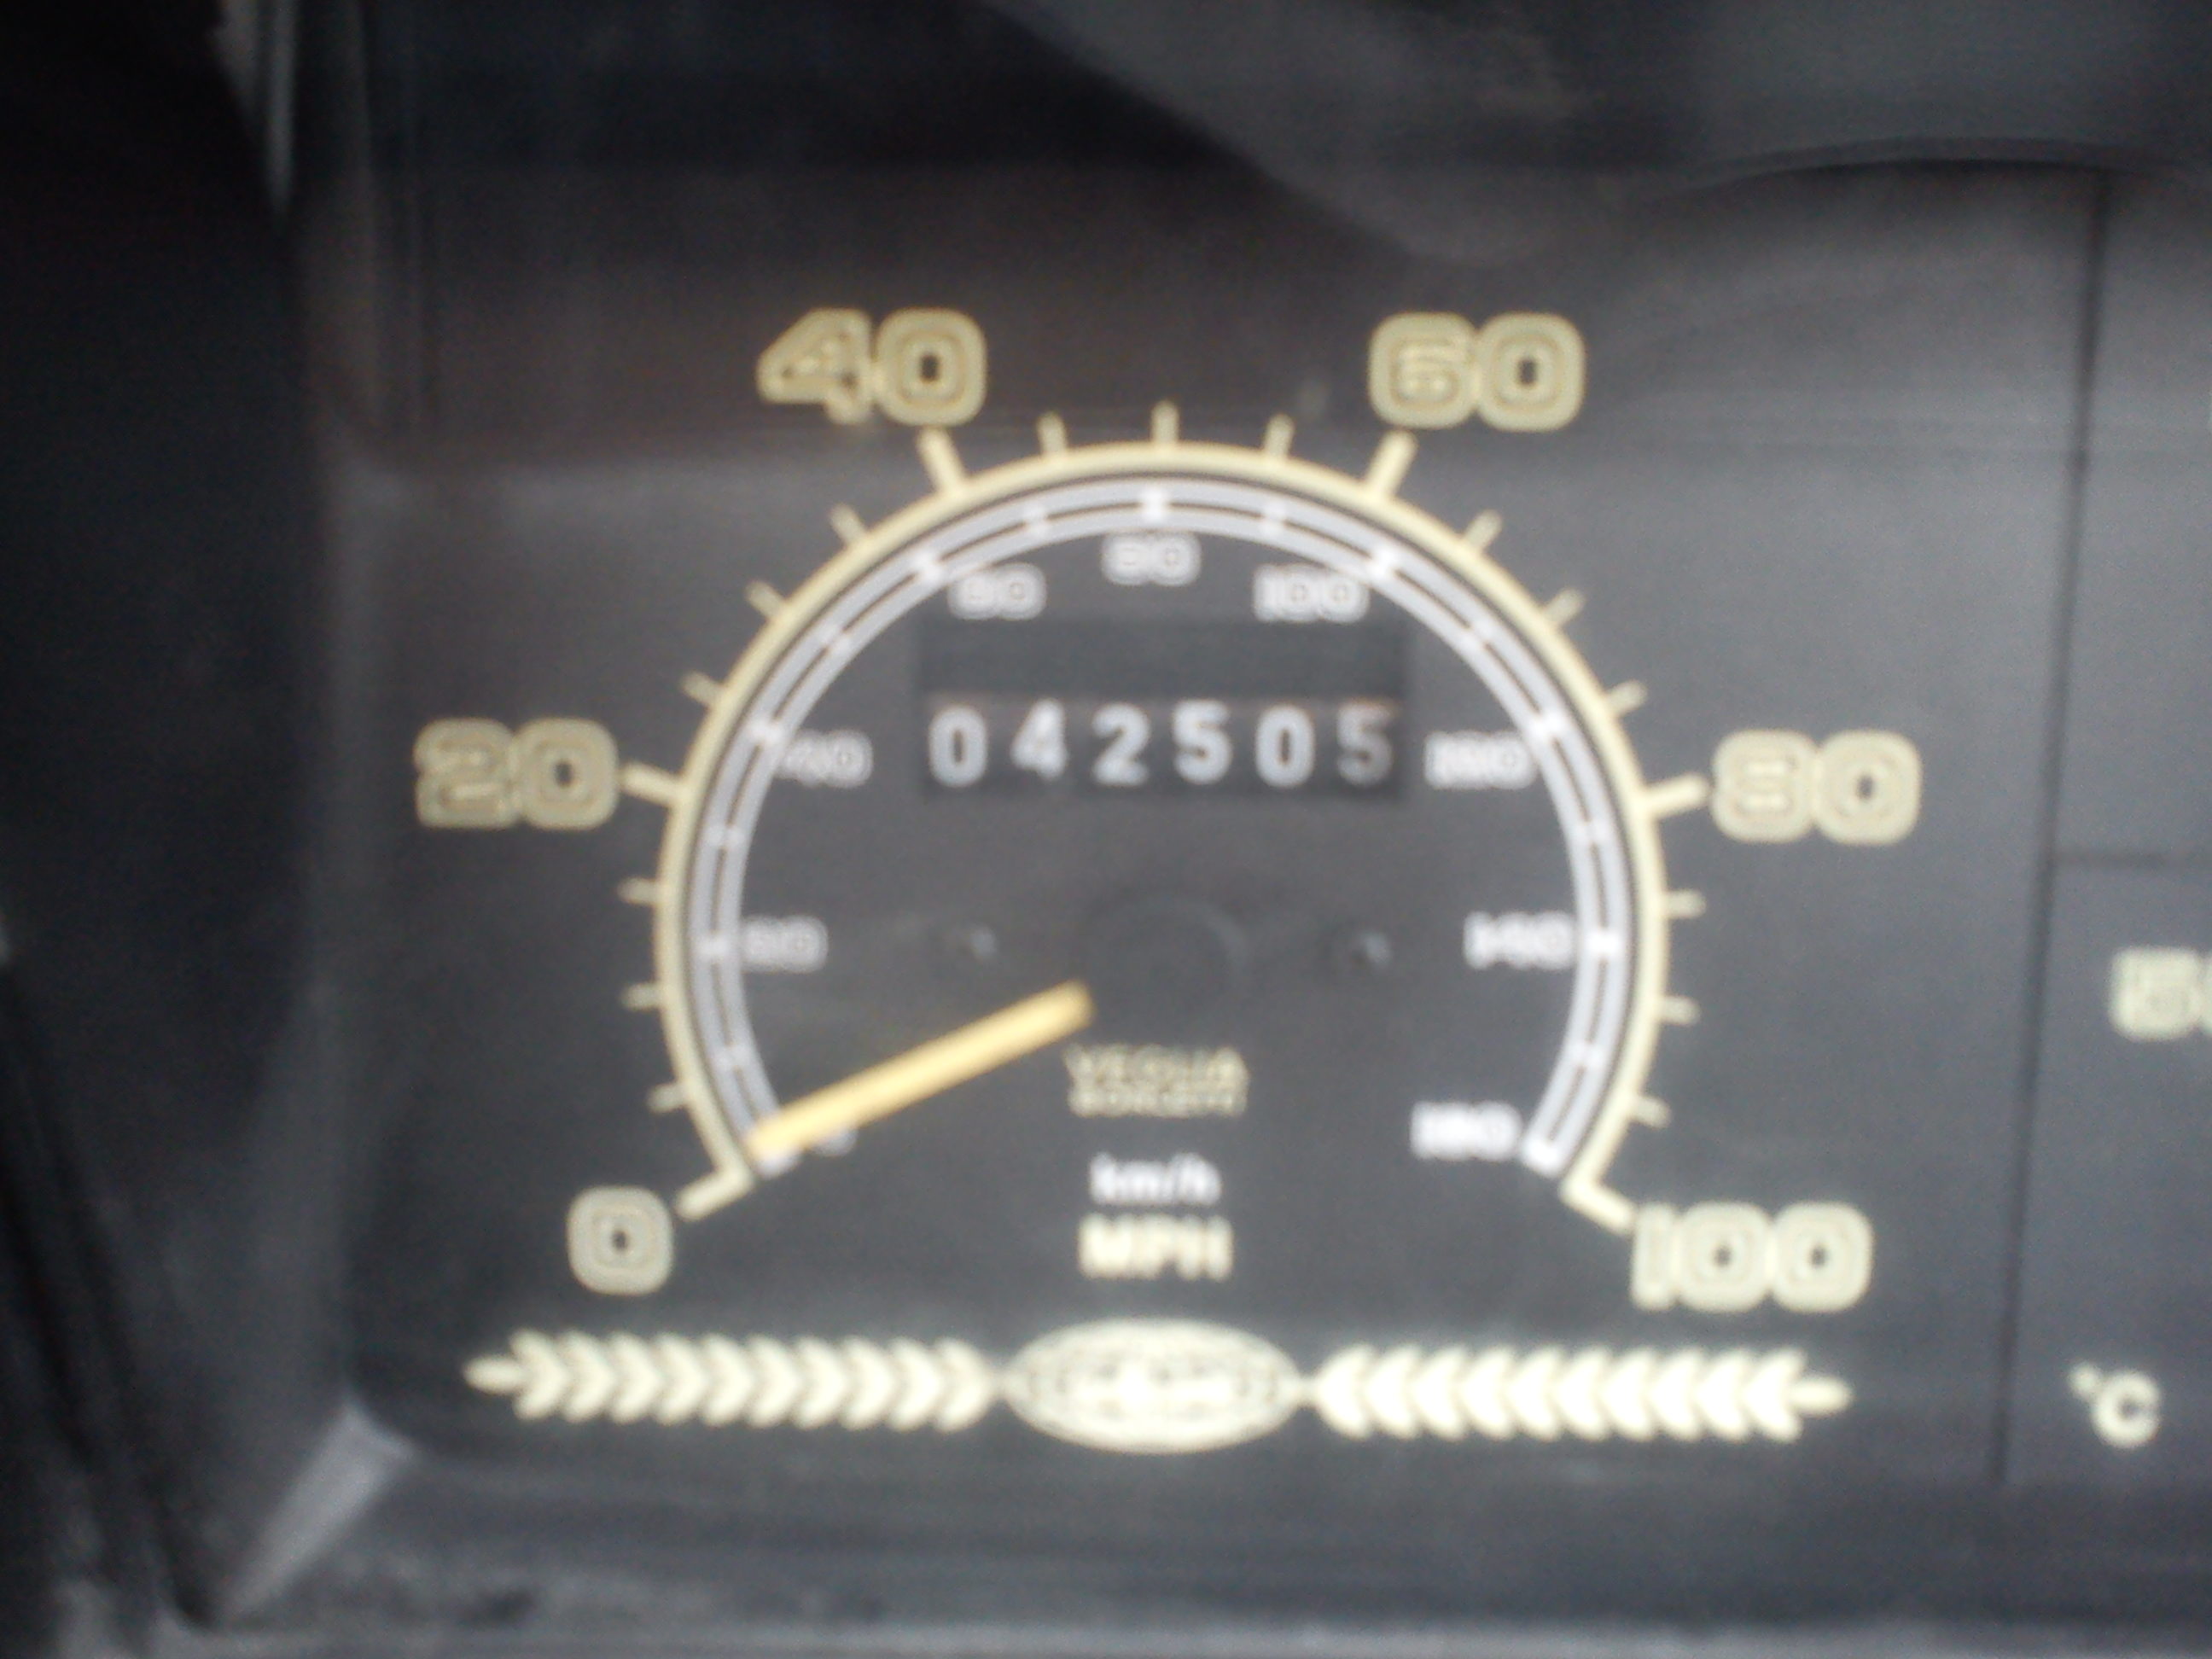
and also nice low mileage.
And it has its bad points... Lots of bad points:
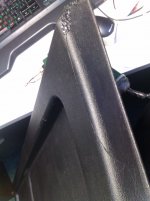
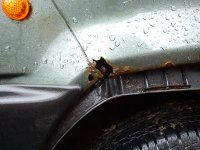
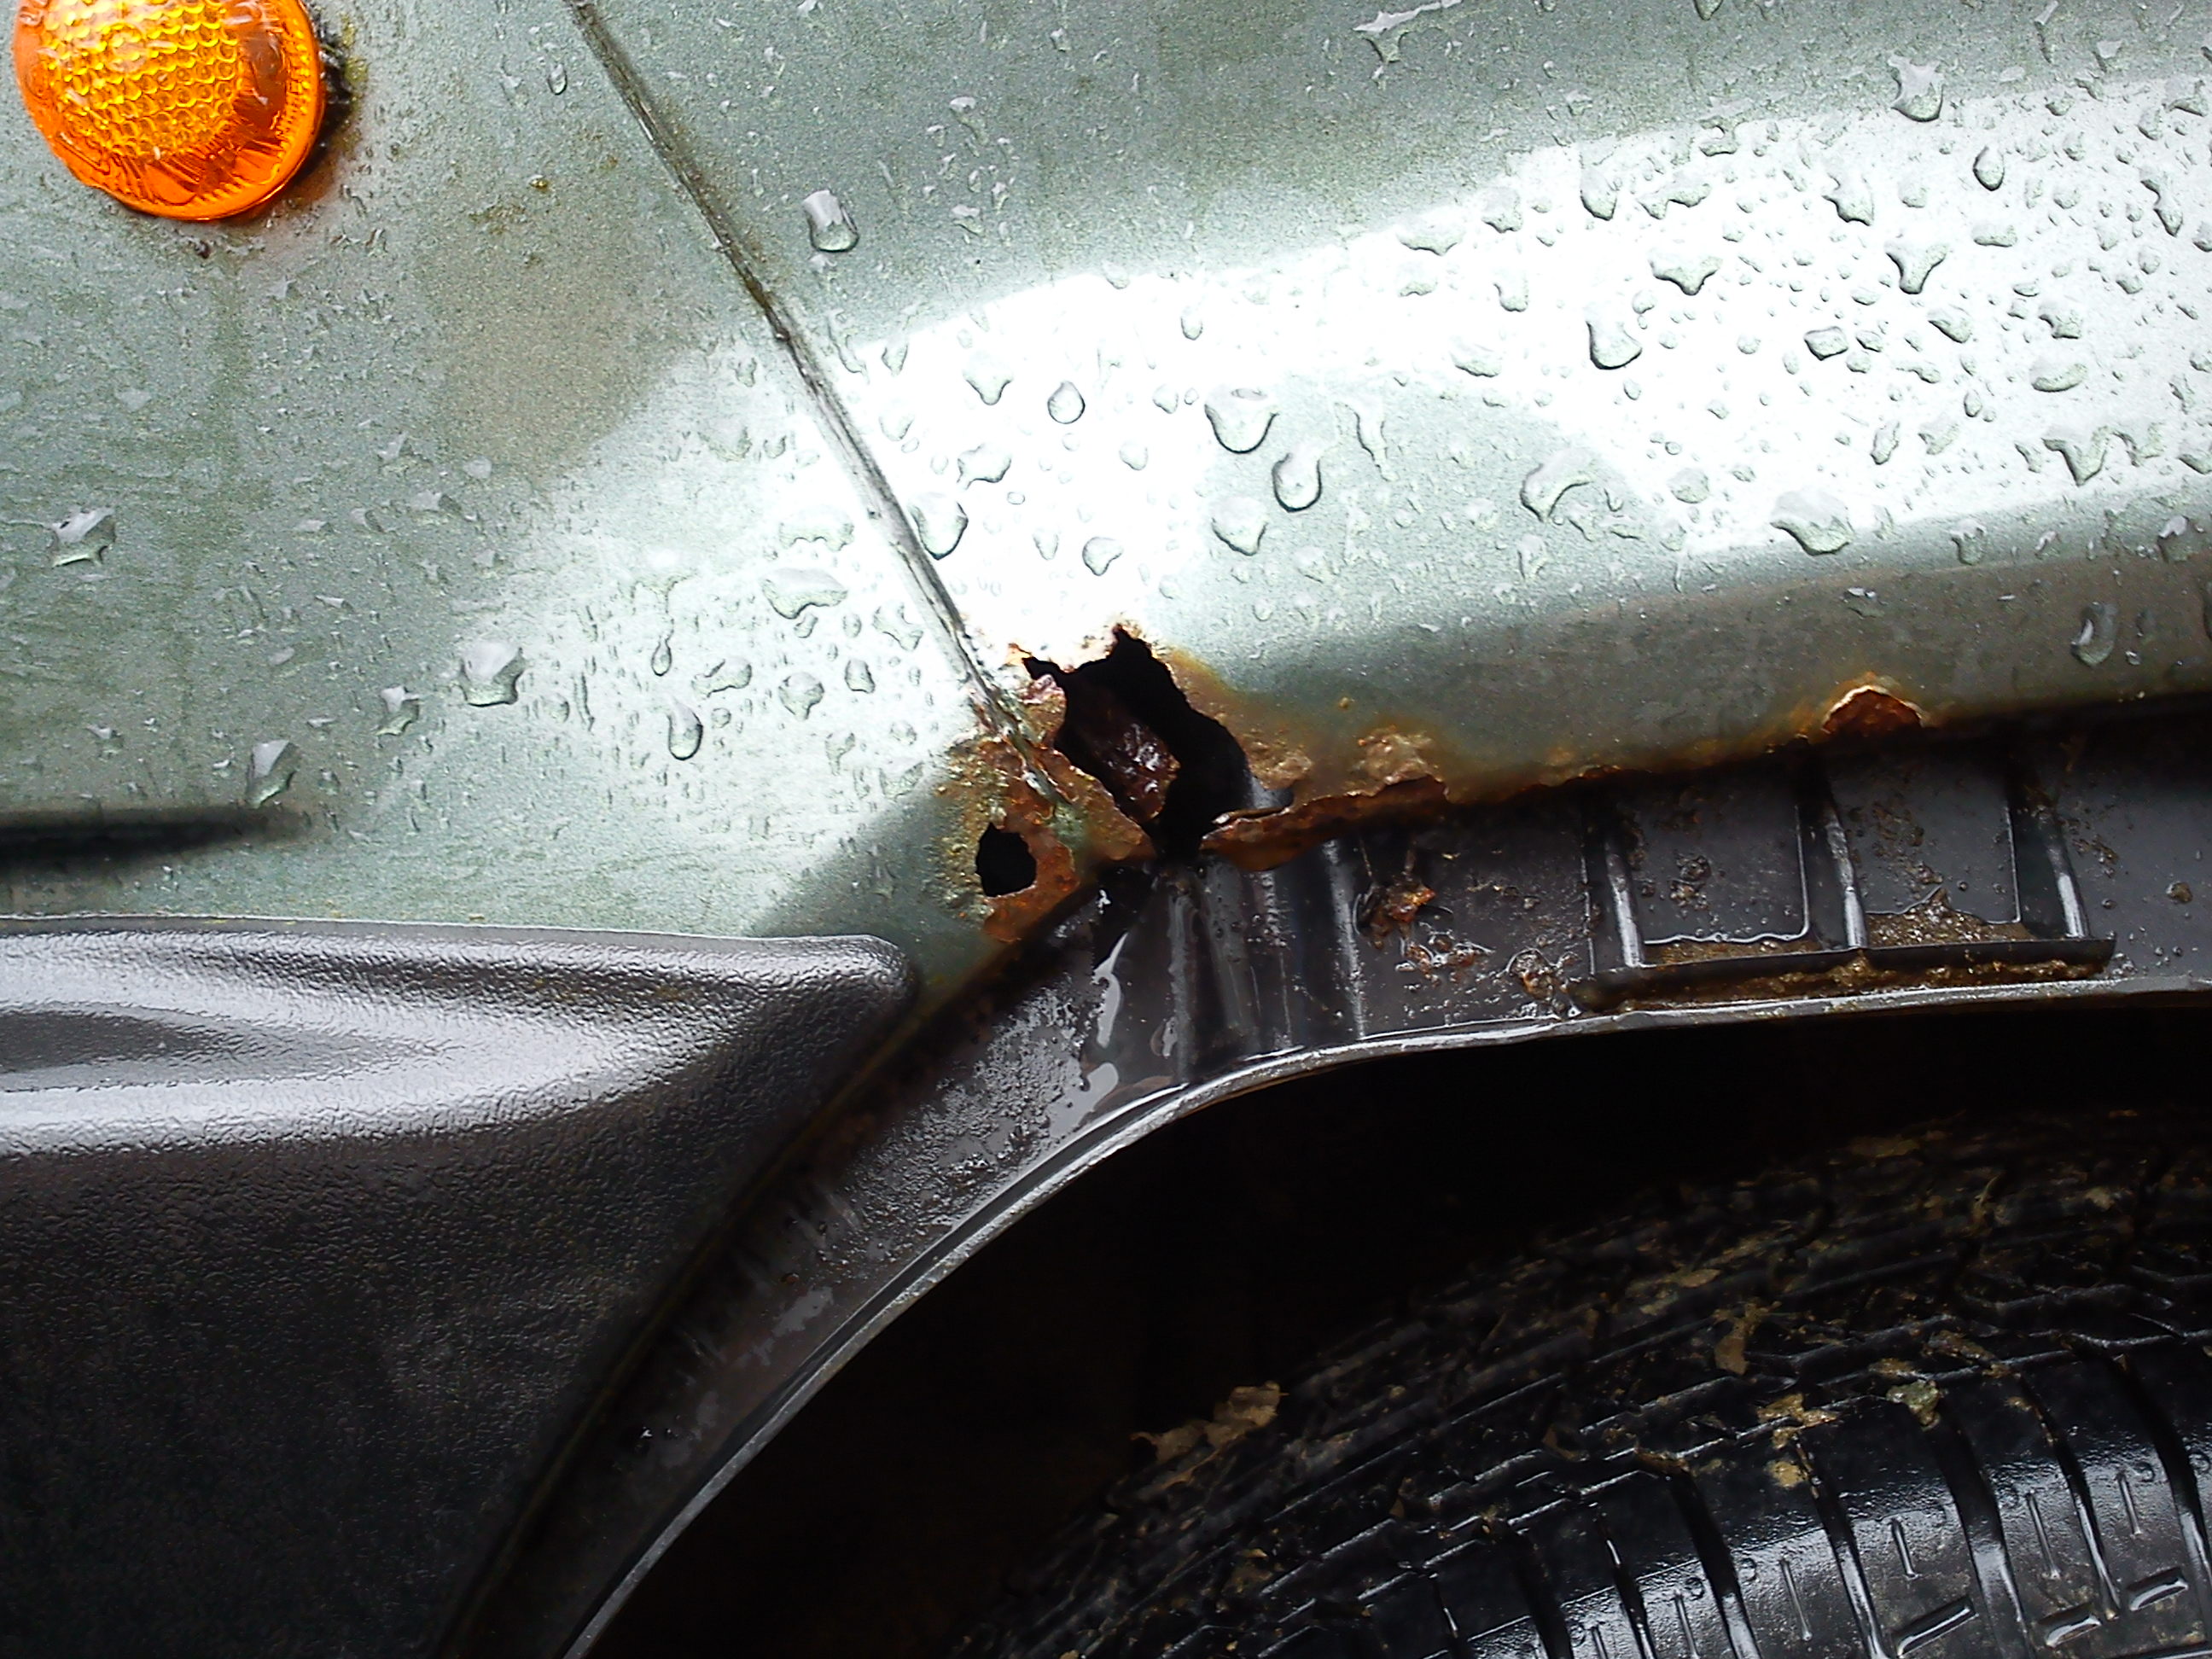
Mid body rust, This is the worst on the drivers side (in the UK) front wing:
The Doors are Rusty.. Ok, i did expect this as it seems to be a common thing on most Fiats over 10-15 years old:
And the other Door, Not as bad.. I may be able to save this side!

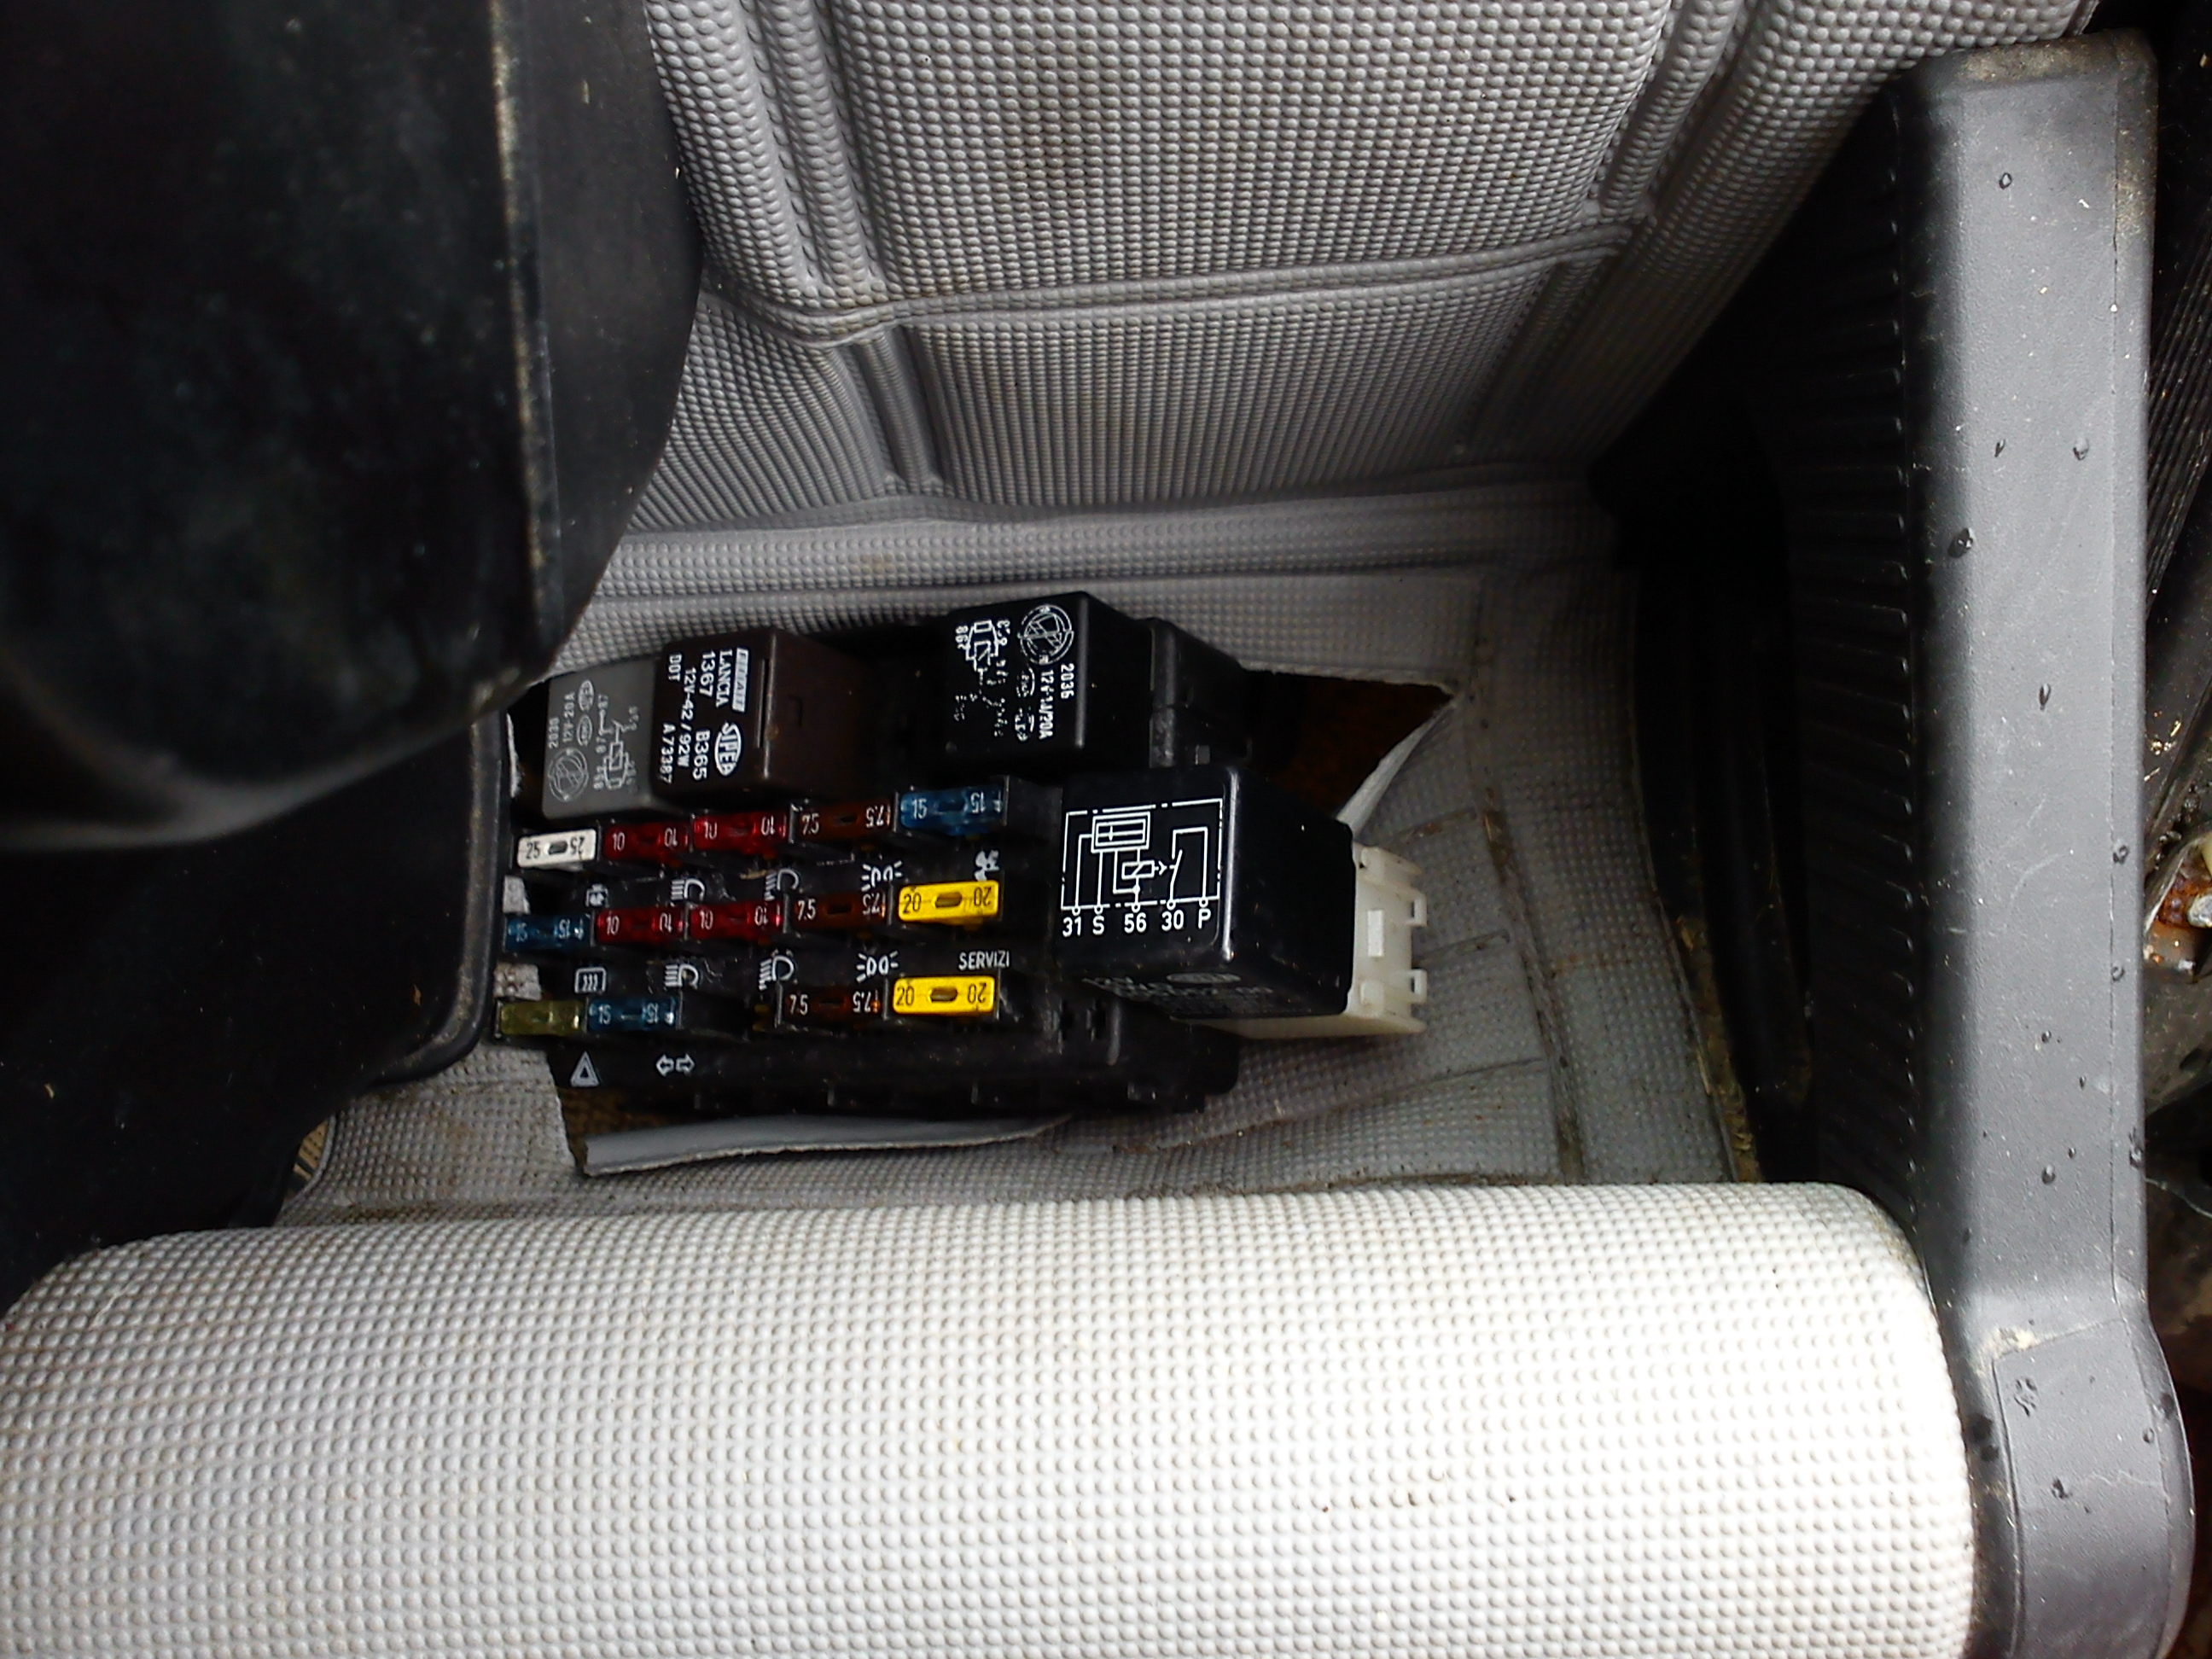
"Phantom Electronics" the electronics do what they want to do, when they want to do it. No Switches necessary!
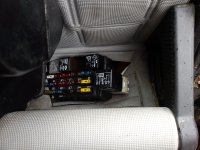
Also the Fuse box now lives here That means that a flap has been cut in the pocket
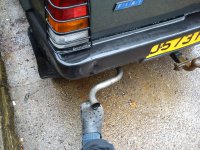
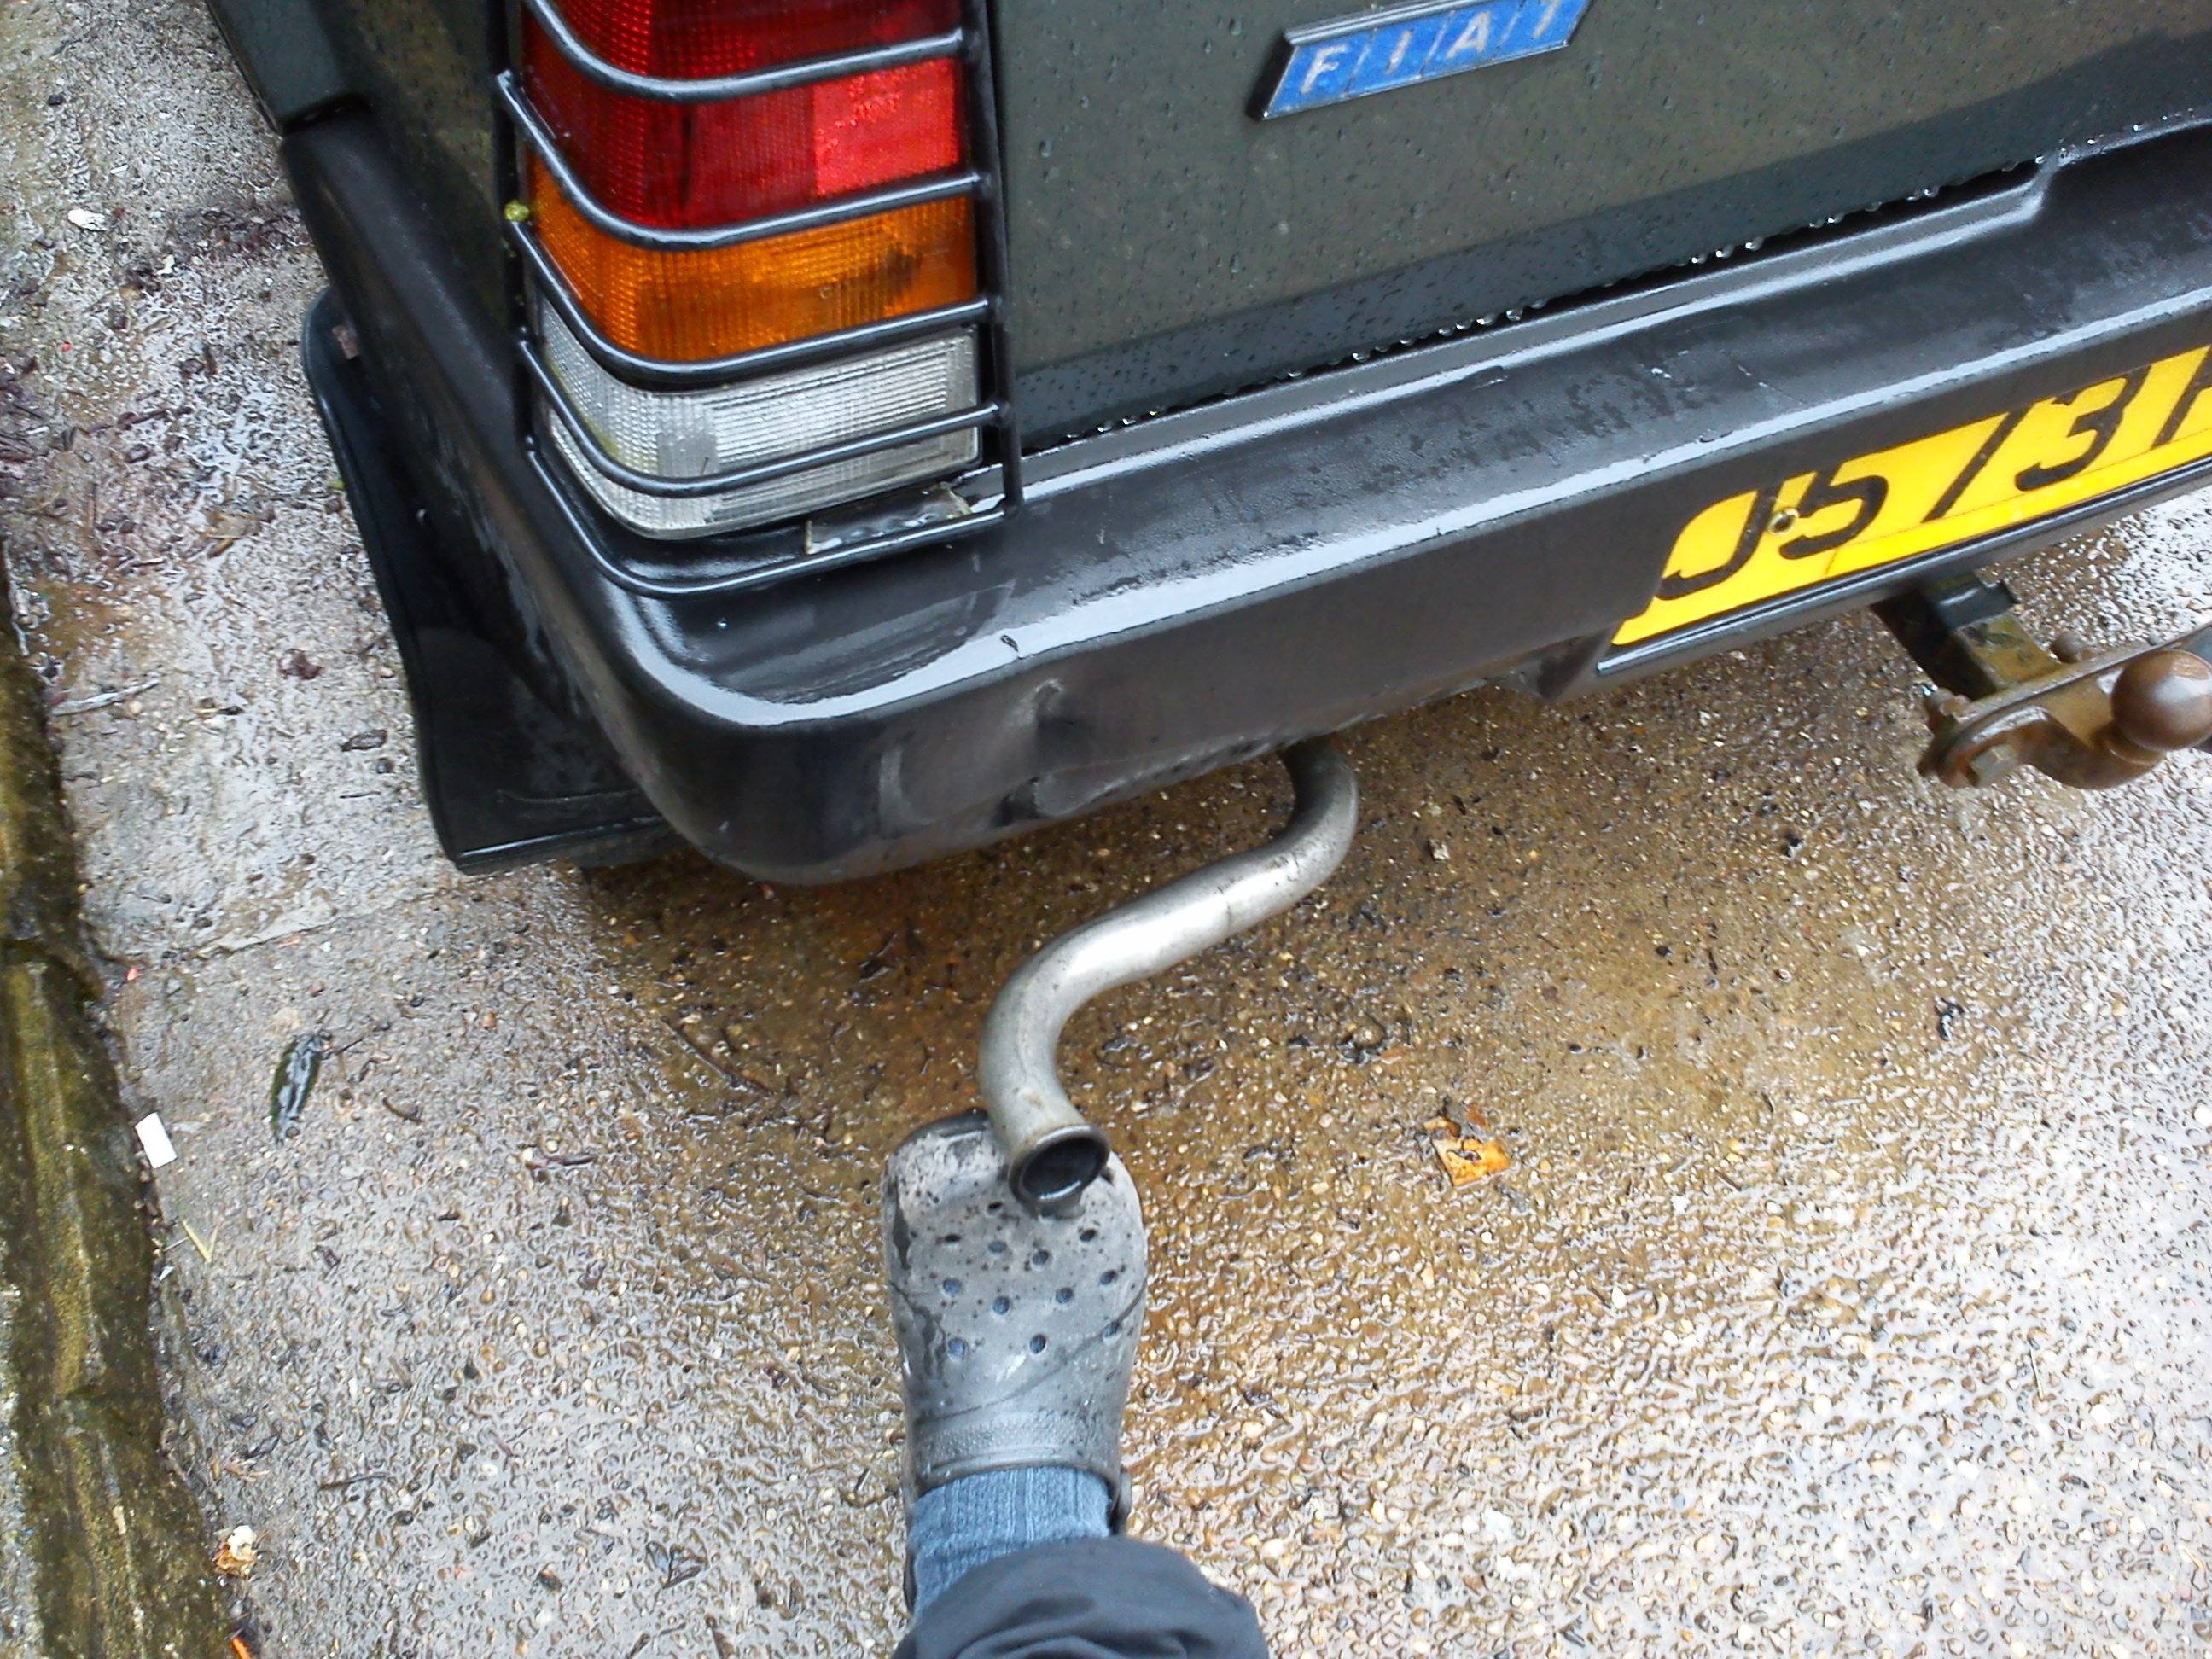
The Exhaust is very broken, in multiple parts. even the down pipe!
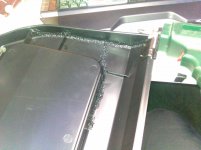
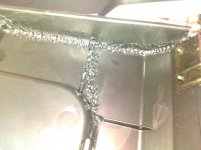
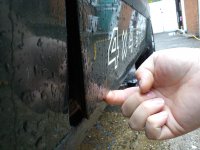
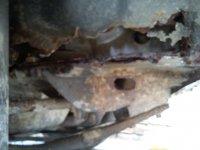
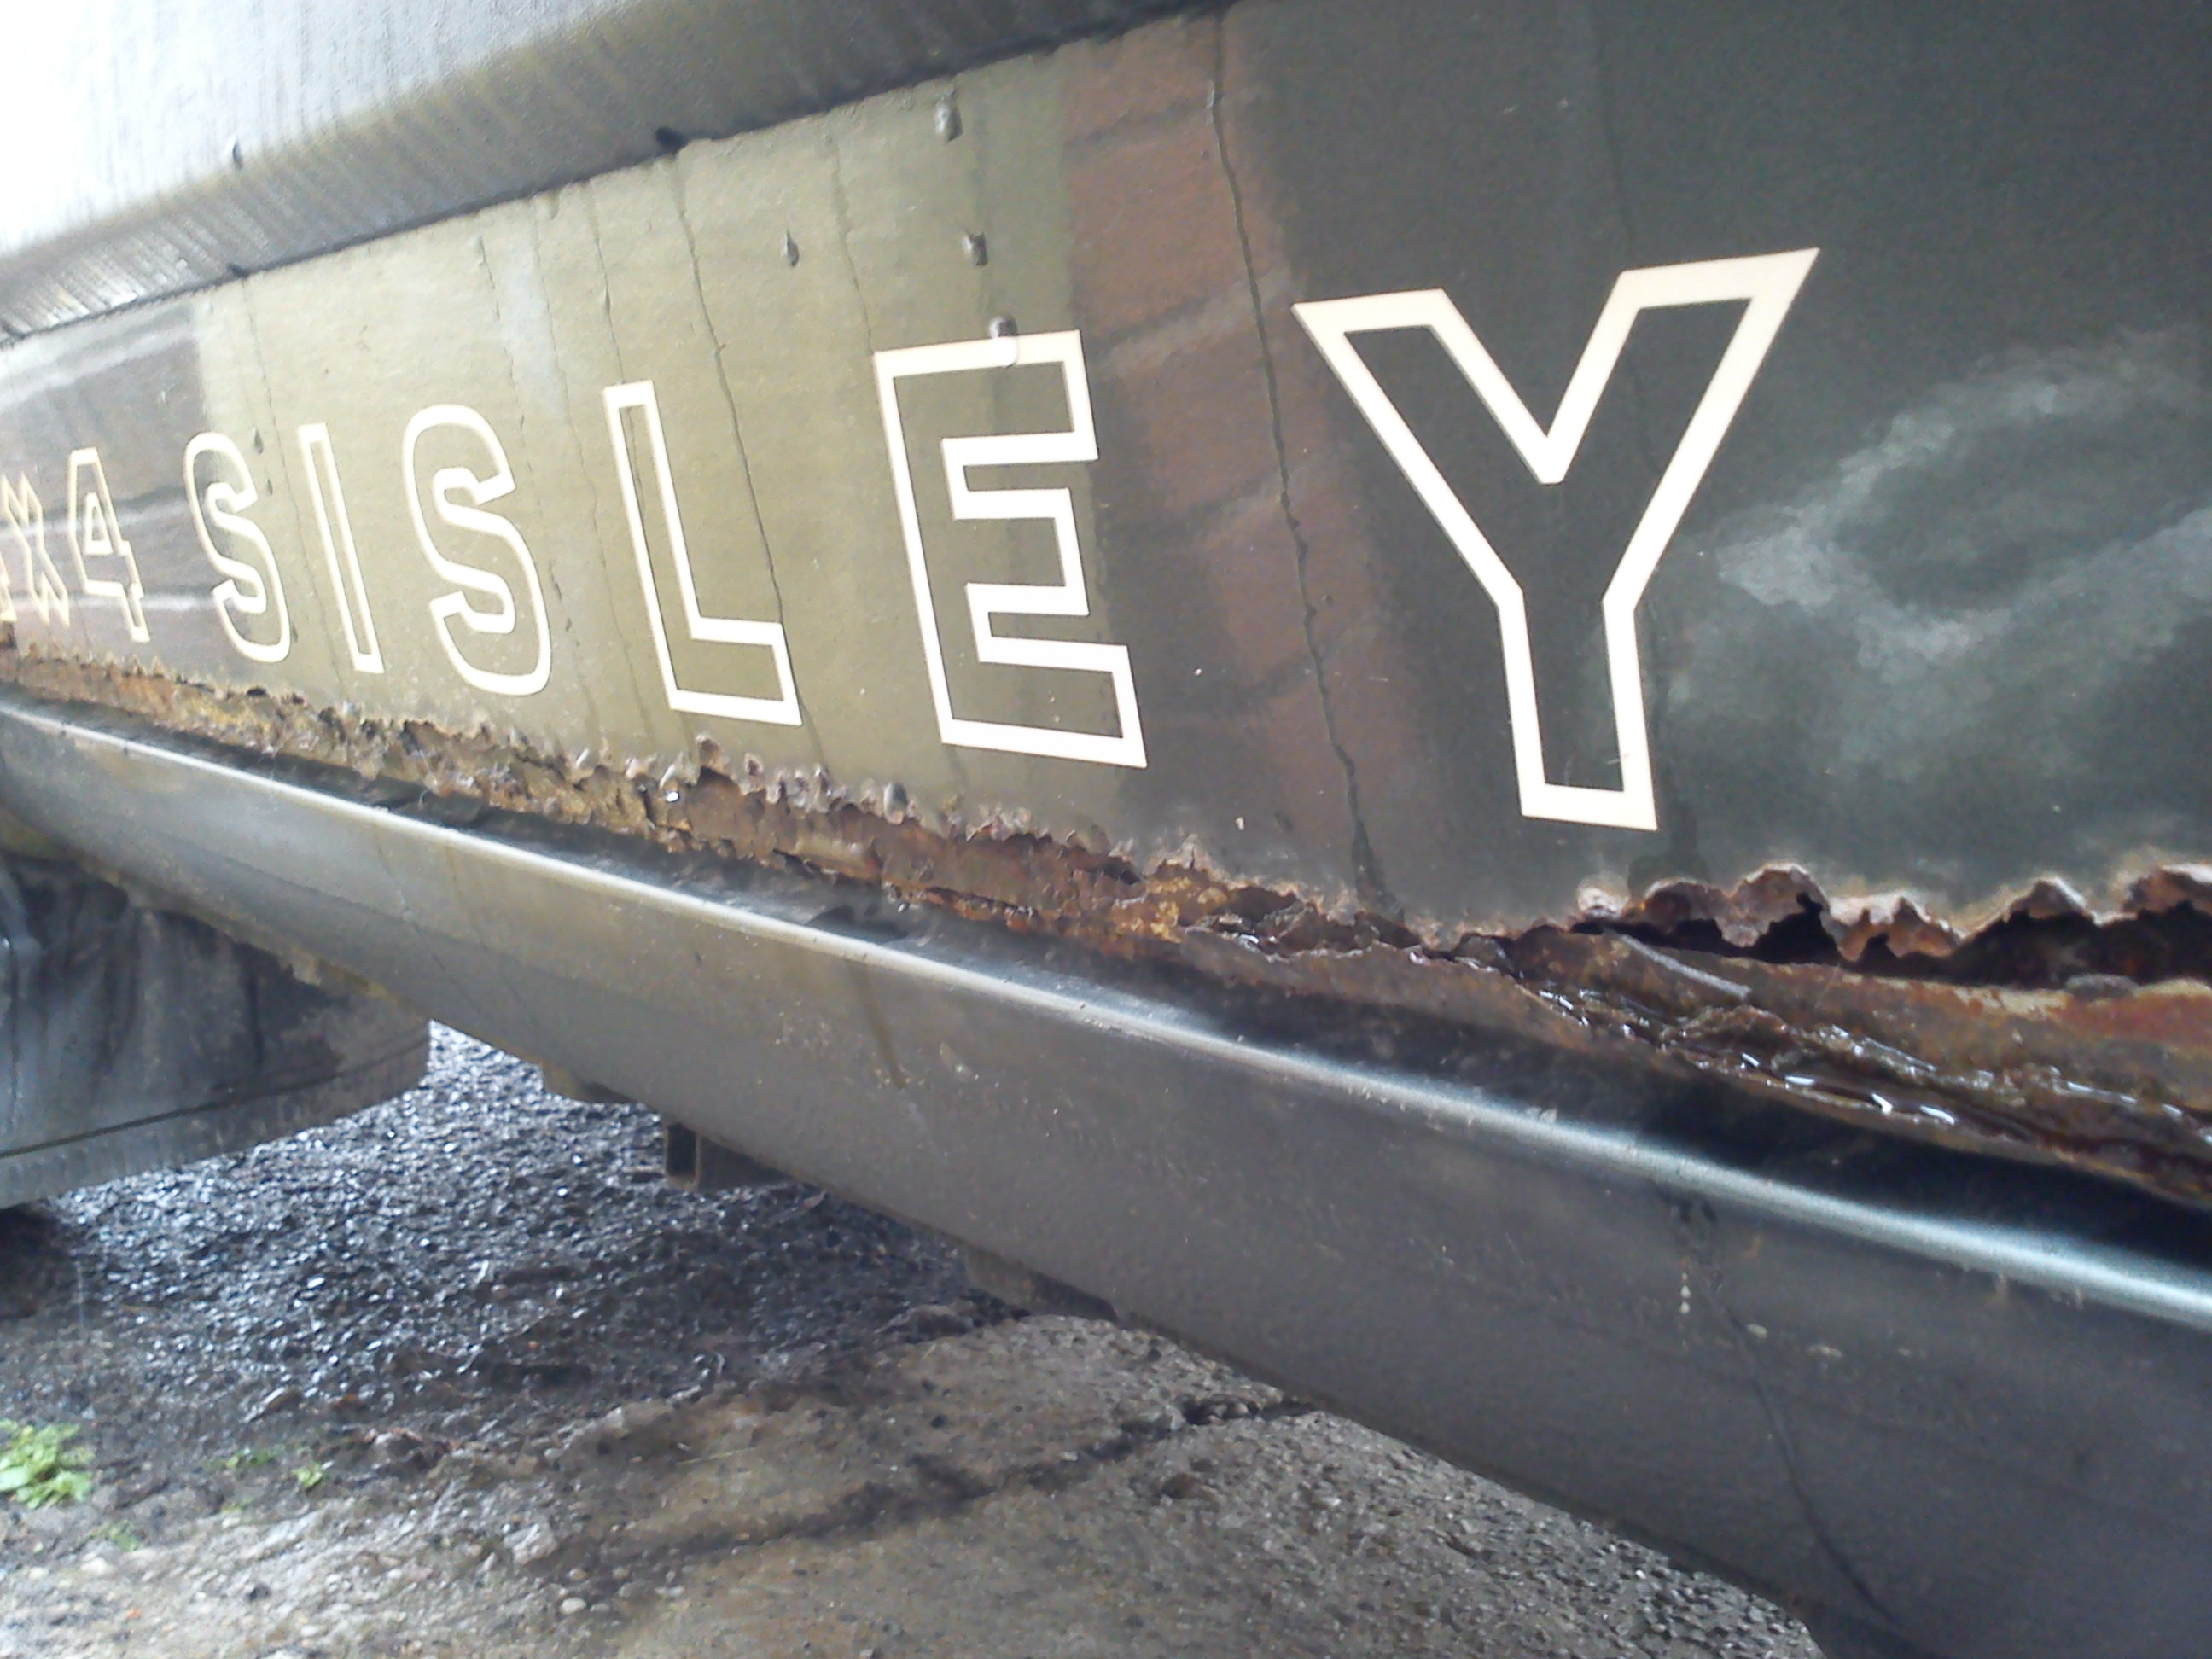
Lastly and by far the worst, Under body rust. Now its not as bad as it could be. The rear sills on both sides have a small 1 - 2 inch hole in them. No biggy.
I have still yet to remove all the plastic wheel arch liners and have a proper look.
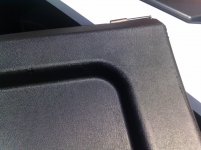
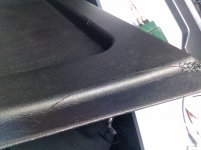
Here's a picture from the front drivers side wheel arch, its only a skin so a easy repair:

A bit of work needs doing to the brakes, pads i think. The fluid needs changing and the drivers side front brake pipe is corroded so i will replace that.
Also the engine needs a good cleaning up, a full on service replacing the water pump, cam belt, tensioner pulley, distributor cap and rotor arm, filters, oil, radiator, coolant and starter motor.
I also need a few things like a locking filler cap, the little clips that hold the air box together, a new boot gas strut and a non damaged back bumper.
Its the car I have always wanted right from when I was a young lad. So you can imagine how I was when I won it on eBay for a grand total of £547. Getting it from Wales To my home town of Derby Cost me £135.
With some love, care and late nights I reckon I can turn it into a cracking motor!
Oh and stay tuned as I will be keeping a Video Log of what I will be doing to the car on Youtube!
This is the video i took just as the car transporter left from delivering it:
See the rest of the videos Here: Fiat Panda 4x4 Sisley Restoration Video Logs
See my Youtube Channel >>>Here<<<
Also Click Here for more up to date pictures of this car!
I am so very proud to be the owner of a Fiat Panda 4x4 Sisley!
Edit: this is how Talon looks now:
:yum:
Since then Talon has gained more lights, and now has some blue rust free Seat Marbella doors. I had also converted him to Fuel injection, however the parts i used were old and worn so now it is back on Carburettor.
This thread has its ups and downs but through the years Talon and myself have pulled through.
When you are done reading this thread, be sure to check out the little red scrap yard rescued Seat Marbella thread and also Project Fallout!
Peace all and enjoy the thread, videos and pictures!
Well, I have been waiting a long time to do this!
Introducing (Drum roll please!).....
Edit: about half way through the time it took me to get the car on the road it found the name Talon. So everyone Meet:
Talon. My Fiat Panda 4x4 Sisley:
Great Looking car.. As i am sure you all agree!
It has its Good points:
No Horrid noises in any gear and the 4x4 system works and sounds brilliant! Its a Sisley! And it came with some nice extras such as the light grill covers.
and also nice low mileage.
And it has its bad points... Lots of bad points:
Mid body rust, This is the worst on the drivers side (in the UK) front wing:
The Doors are Rusty.. Ok, i did expect this as it seems to be a common thing on most Fiats over 10-15 years old:
And the other Door, Not as bad.. I may be able to save this side!
"Phantom Electronics" the electronics do what they want to do, when they want to do it. No Switches necessary!
Also the Fuse box now lives here
That means that a flap has been cut in the pocket The Exhaust is very broken, in multiple parts. even the down pipe!
Lastly and by far the worst, Under body rust. Now its not as bad as it could be. The rear sills on both sides have a small 1 - 2 inch hole in them. No biggy.
I have still yet to remove all the plastic wheel arch liners and have a proper look.
Here's a picture from the front drivers side wheel arch, its only a skin so a easy repair:
A bit of work needs doing to the brakes, pads i think. The fluid needs changing and the drivers side front brake pipe is corroded so i will replace that.
Also the engine needs a good cleaning up, a full on service replacing the water pump, cam belt, tensioner pulley, distributor cap and rotor arm, filters, oil, radiator, coolant and starter motor.
I also need a few things like a locking filler cap, the little clips that hold the air box together, a new boot gas strut and a non damaged back bumper.
Its the car I have always wanted right from when I was a young lad. So you can imagine how I was when I won it on eBay for a grand total of £547. Getting it from Wales To my home town of Derby Cost me £135.
With some love, care and late nights I reckon I can turn it into a cracking motor!
Oh and stay tuned as I will be keeping a Video Log of what I will be doing to the car on Youtube!
This is the video i took just as the car transporter left from delivering it:
See the rest of the videos Here: Fiat Panda 4x4 Sisley Restoration Video Logs
See my Youtube Channel >>>Here<<<
Also Click Here for more up to date pictures of this car!
I am so very proud to be the owner of a Fiat Panda 4x4 Sisley!
Edit: this is how Talon looks now:
:yum:Since then Talon has gained more lights, and now has some blue rust free Seat Marbella doors. I had also converted him to Fuel injection, however the parts i used were old and worn so now it is back on Carburettor.
This thread has its ups and downs but through the years Talon and myself have pulled through.
When you are done reading this thread, be sure to check out the little red scrap yard rescued Seat Marbella thread and also Project Fallout!
Peace all and enjoy the thread, videos and pictures!