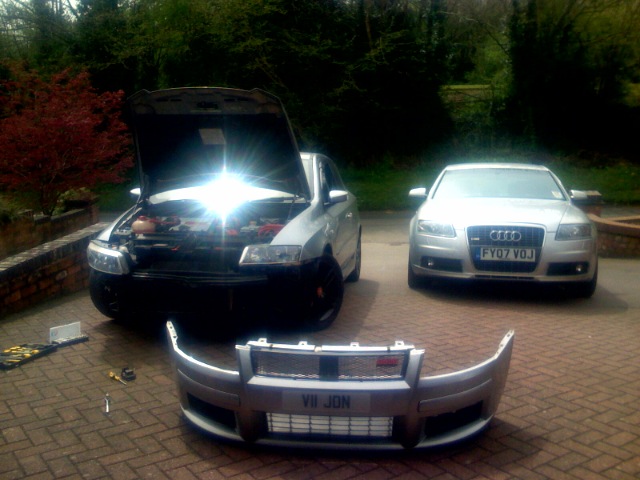
Seeing as though it was a nice day and my car was nice and clean, i though, what better opportunity to fit my new sidelights. And also my Xenon conversion Kit.
So i started at 11 this morning.
Heres How it Was Done:
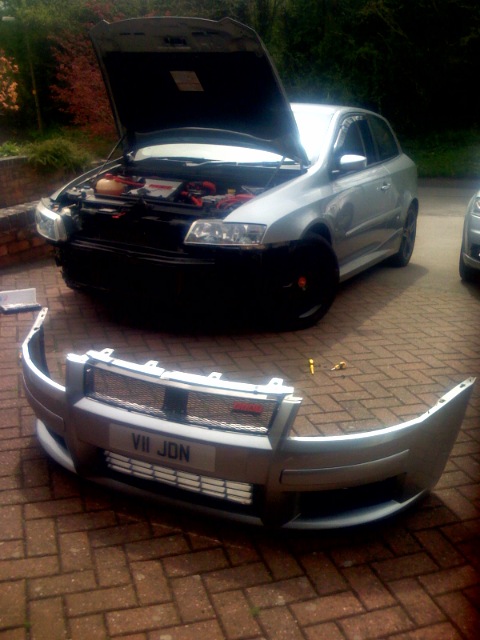
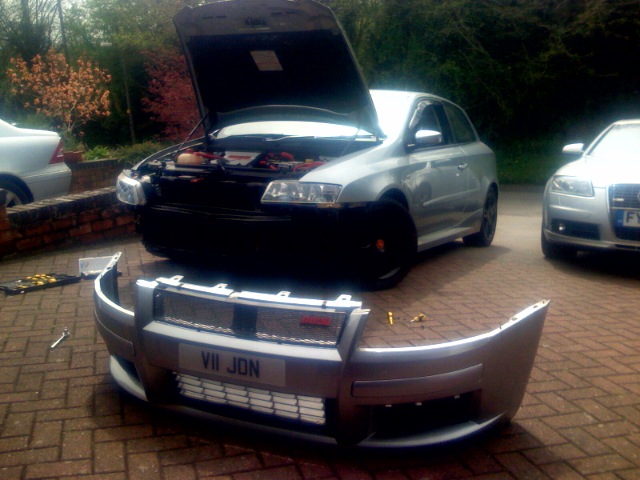
1) Remove a couple of screws from each arch lining, just enough so you can get behind it, to the screws holding on the bumper. There is no need to completely remove the arch lining. you can get away with just moving it abit.")
2) remove the 2 screws from the arch which are attached to the bumper. Remove the 4 screws from the top of the bumper (just above the grill)
Then remove the 4 screws from underneath the bumper. Your bumper should then just drop off, make sure it doesn't fall to the floor and get scratched.
3) remove the 2 screws holding the headlight in. you will also have to remove the plastic holder from under the headlights or they wont come out. Once all the screws are out, ease the headlight out, and disconnect the wiring loom.
4)Remove the two plastic panels from the back of the headlights so you have access to all bulbs. the sidelights are then clearly visible so just twist and pull to take them out. and fit your new led's. I went for the ones with 4leds on each unit: http://cgi.ebay.co.uk/ws/eBayISAPI....m=250182056756&ssPageName=STRK:MEWN:IT&ih=015
You will obviously need 2 sets as the stilo has 4 sidelights. When you have them in, plug your light unit back in to make sure they work, if they don't just turn them round and that should do the trick.
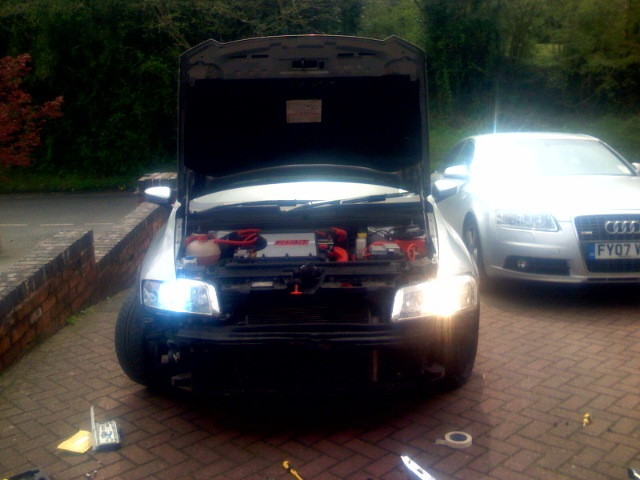
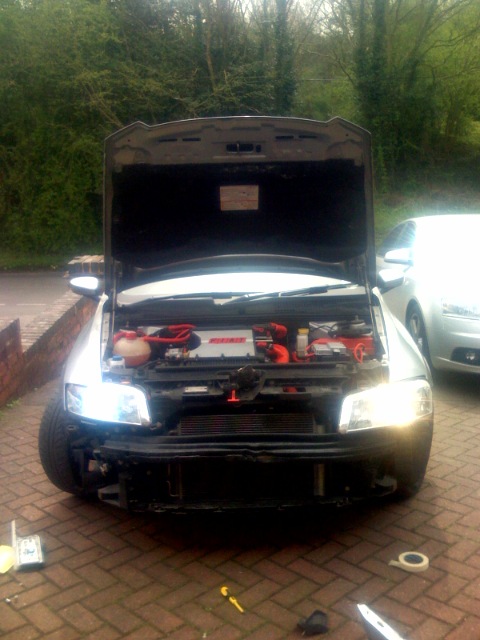
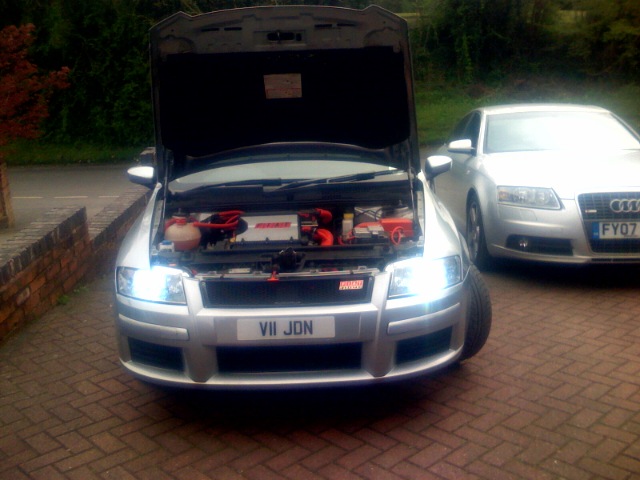
5)fitting the xenon conversion was much easier than i expected. Just remove the H7 dipped beam bulb from the centre of the unit. Remove the wiring from it. wire that to your amp box supplied with the xenons. and the xenon bulb fits perfectly in the original slot. no drilling or squeezing required.
again try them to make sure they are in correctly and working. You will then need to find somewhere to place the conversion amp packs. for my driverside i placed it on the metal directly below the light. and on the passanger side i used the side of the battery tray as there should be some left over space.
6)once everything is all working, ease your headlights back in to place and tighten up.
7) Fit the bumper the same way it was removed. (i did it on my own, but may be easier for someone to hold the bumper in place as someone else tightens all the screws up.
8) by this stage everything should be back as it was with your new side lights and headlights in place! I also took this opportunity to fit some nice enigma indicator bulbs.
9) ENJOY And have a well deserved pint or 5
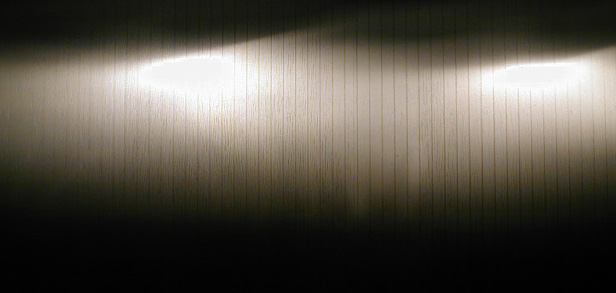
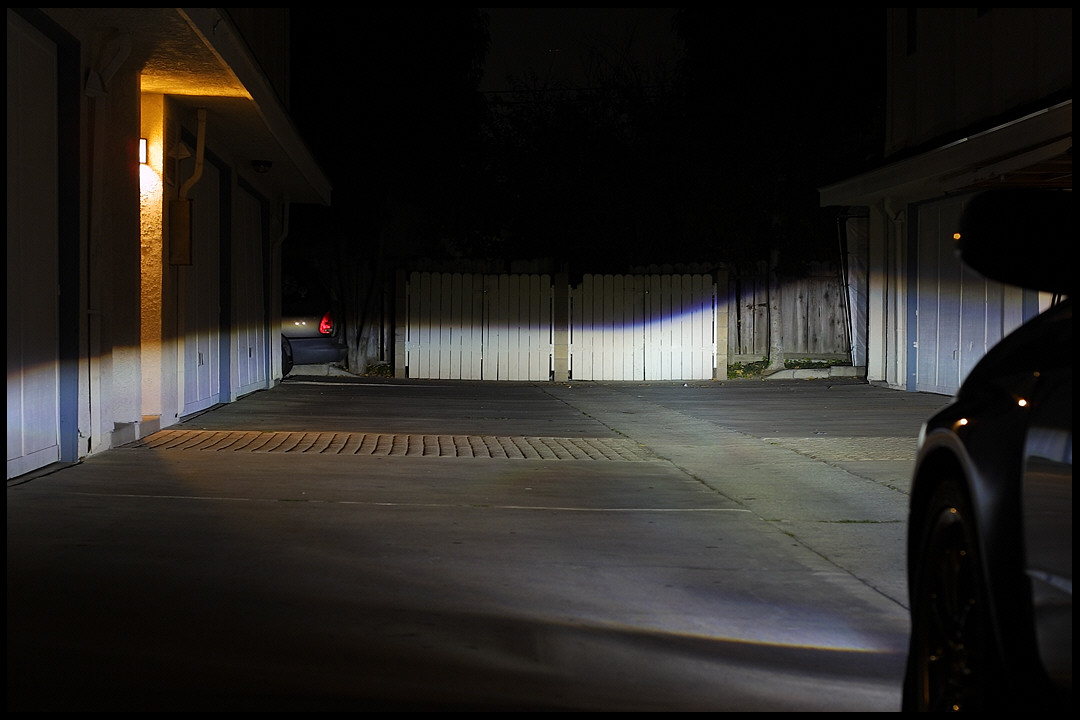
Here are some pics i took along the way. will take somemore as it starts getting dark so you get the full effect. But trust me they are very bright and look amazing!
So i started at 11 this morning.
Heres How it Was Done:
1) Remove a couple of screws from each arch lining, just enough so you can get behind it, to the screws holding on the bumper. There is no need to completely remove the arch lining. you can get away with just moving it abit.
2) remove the 2 screws from the arch which are attached to the bumper. Remove the 4 screws from the top of the bumper (just above the grill)
Then remove the 4 screws from underneath the bumper. Your bumper should then just drop off, make sure it doesn't fall to the floor and get scratched.
3) remove the 2 screws holding the headlight in. you will also have to remove the plastic holder from under the headlights or they wont come out. Once all the screws are out, ease the headlight out, and disconnect the wiring loom.
4)Remove the two plastic panels from the back of the headlights so you have access to all bulbs. the sidelights are then clearly visible so just twist and pull to take them out. and fit your new led's. I went for the ones with 4leds on each unit: http://cgi.ebay.co.uk/ws/eBayISAPI....m=250182056756&ssPageName=STRK:MEWN:IT&ih=015
You will obviously need 2 sets as the stilo has 4 sidelights. When you have them in, plug your light unit back in to make sure they work, if they don't just turn them round and that should do the trick.
5)fitting the xenon conversion was much easier than i expected. Just remove the H7 dipped beam bulb from the centre of the unit. Remove the wiring from it. wire that to your amp box supplied with the xenons. and the xenon bulb fits perfectly in the original slot. no drilling or squeezing required.
again try them to make sure they are in correctly and working. You will then need to find somewhere to place the conversion amp packs. for my driverside i placed it on the metal directly below the light. and on the passanger side i used the side of the battery tray as there should be some left over space.
6)once everything is all working, ease your headlights back in to place and tighten up.
7) Fit the bumper the same way it was removed. (i did it on my own, but may be easier for someone to hold the bumper in place as someone else tightens all the screws up.
8) by this stage everything should be back as it was with your new side lights and headlights in place! I also took this opportunity to fit some nice enigma indicator bulbs.
9) ENJOY
And have a well deserved pint or 5Here are some pics i took along the way. will take somemore as it starts getting dark so you get the full effect. But trust me they are very bright and look amazing!
This post contains affiliate links which may earn a commission at no additional cost to you.