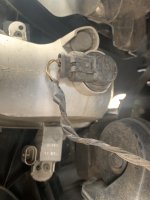
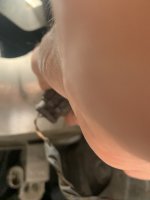
Sorry if I'm being thick but I can't work out from drawing 100 in the handbook (or find videos or other advice here) how to change the little daytime light - cover is off and there's the two wires (connector D) into a clip (C) that I cannot understand how to unlatch to access and remove the bulb holder (E) on the back of the bulb - any advice please ?
Last edited:
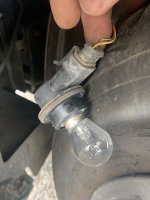
 usually with mine I have to take the bulb out of the holder, adjust one of the 2 prongs inside the holder as ones usually sitting lower than the other, put the bulb back in & all is good again for a while, I've heard before that a common problem with Panda DRL lights is that the holders melt but I've haven't seen it yet
")