Agreed great work!


You are using an out of date browser. It may not display this or other websites correctly.
You should upgrade or use an alternative browser.
You should upgrade or use an alternative browser.
General Ritmo Abarth Convertible Renovation
- Thread starter fiat abarth
- Start date
Currently reading:
General Ritmo Abarth Convertible Renovation
Hey......looks great...cant wait for the next update. ")
kev
kev
OP
OP
Yes fantastic work your doing and great to see someone taking the time to document it all.
Can I ask though why you haven't removed the roof to check all the metal underneath or do you intend doing this at another stage. I ask because I haven't started to my car yet and intend to strip it to the shell for it's restoration. I'm wondering how big a job it is to remaove the roof.
Good work
Hey there!
Thanks for the encouraging words!
The hood will be removed later on, as soon as the time permitts, in order to make sure the bodywork underneath is taken care of.
The carpet inside will be removed and taken to the cleaners
only coz the car had to be left outside without the doors fitted.
as soon as the job progresses I will keep it updated.. right now it's very slow.
OP
OP
The update continues.
Sorry for the late replies.. there's alot to tell now.
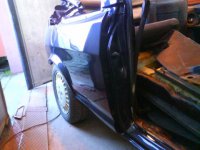
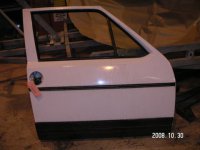
first of all.. the right hand door is in very bad shape.
we decided to buy another one.. however no convertible doors can be found, so we bought a regular one.. that the fram will be cut.
This is a 105TC, in very good.. no rust condition
Sorry for the late replies.. there's alot to tell now.
first of all.. the right hand door is in very bad shape.
we decided to buy another one.. however no convertible doors can be found, so we bought a regular one.. that the fram will be cut.
This is a 105TC, in very good.. no rust condition
Attachments
OP
OP
OP
OP
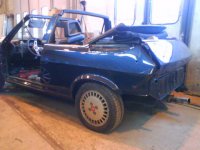
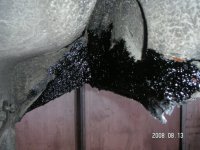
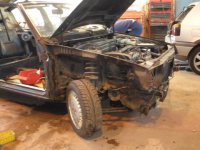
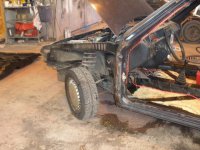
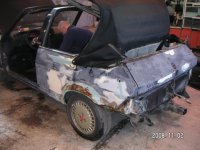
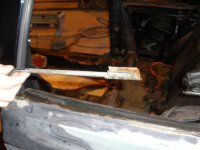
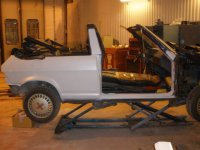
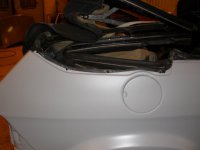
These 5 pics shows what happend after that the car has been left outside and was taken in again.
It's now time for it to strip the hood off, in order to find out what's behind
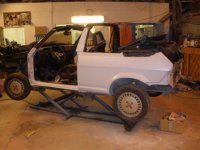
It wasn't as bad as we thought it might be.
However the right hand side passengerdoor window is not working 100%
That needs to be fixed.
It's now time for it to strip the hood off, in order to find out what's behind
It wasn't as bad as we thought it might be.
However the right hand side passengerdoor window is not working 100%
That needs to be fixed.
Attachments
OP
OP
OP
OP
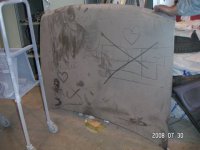
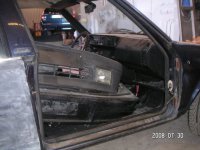
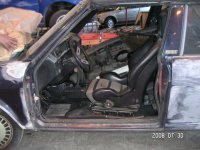
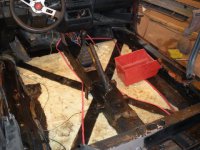
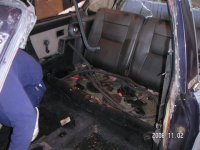
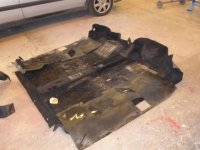
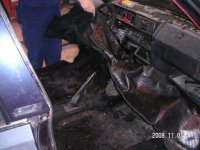
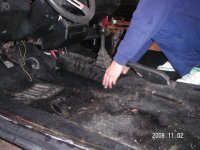
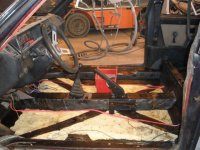
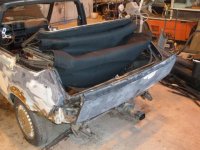
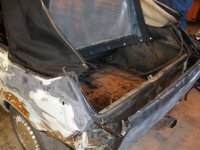
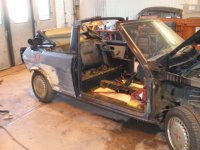
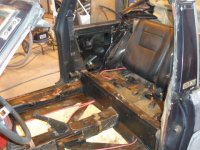
It was now time to strip the interior of the car.
The carpet needed to go to cleaning since it's been outside without door.
Stripping it wasn't the easiest thing to do.. but once you got the hang of it.. it was a piece of cake.
One VERY intresting thing was the cross in underneath.. was really amazed how well buildt the convertible are.
The carpet needed to go to cleaning since it's been outside without door.
Stripping it wasn't the easiest thing to do.. but once you got the hang of it.. it was a piece of cake.
One VERY intresting thing was the cross in underneath.. was really amazed how well buildt the convertible are.
Attachments
OP
OP
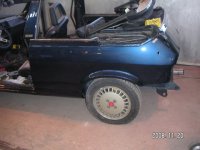
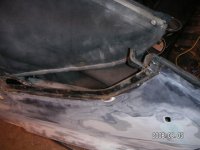
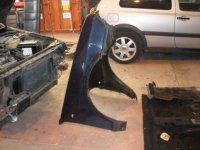
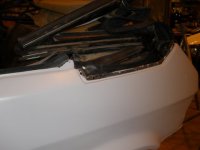
At the same time we stripped the interior we also did some outside work.
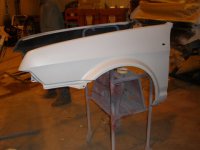
The front wings needed to be removed, as we knew there was some work to be done underneath
The Wings itselves are in very good condition...
The front wings needed to be removed, as we knew there was some work to be done underneath
The Wings itselves are in very good condition...
Attachments
OP
OP
OP
OP
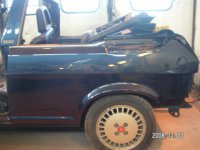
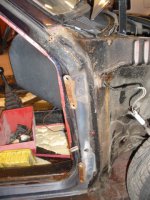
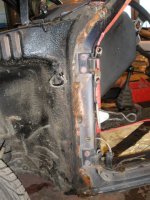
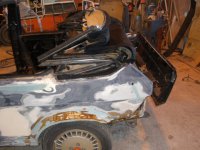
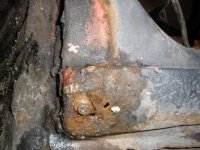
More pics on what it looked like when we stripped it.
The "handle" that runs the right back window when we took it apart.
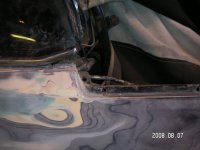
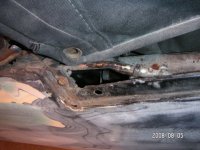
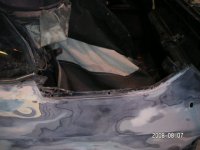
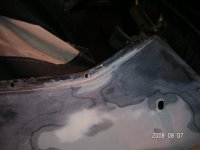
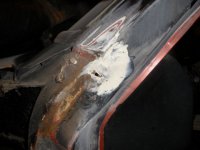
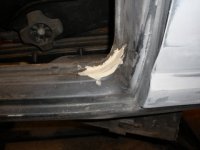
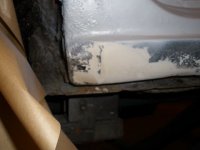
The last pics also shows where the worst rustspot has been, we noticed it when we removed the left front wing. Some welding needs to be done.
The "handle" that runs the right back window when we took it apart.
The last pics also shows where the worst rustspot has been, we noticed it when we removed the left front wing. Some welding needs to be done.
Attachments
OP
OP
OP
OP
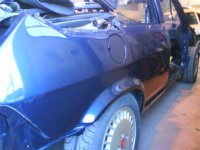
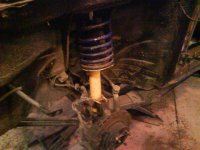
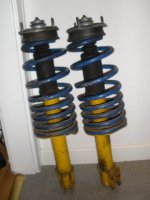
When i bought my other Abarth the seller gave me front konis.
I thought they would do well on my convertible.
On the second pic you can see how well the previous owners have done to convert the normal convertible into an Abarth
I thought they would do well on my convertible.
On the second pic you can see how well the previous owners have done to convert the normal convertible into an Abarth
Attachments

Last edited:
OP
OP
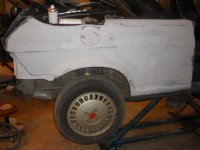
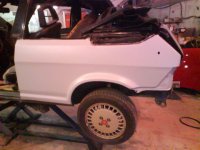
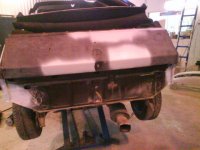
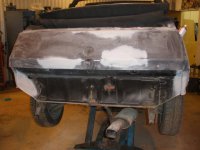
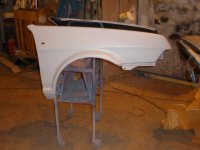
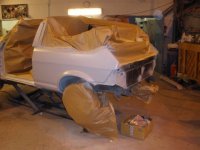
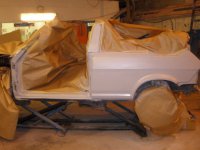
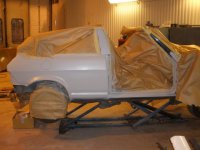
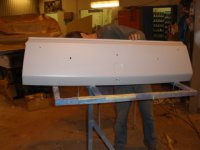
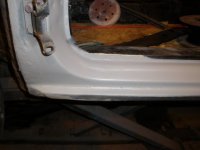
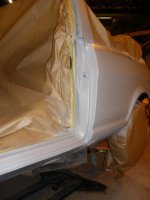
Before the car goes into the box for a coat of color it needs to have a base, in order to see ant make sure all the lines of the car are 100%
It was meant to be done in black, but we decieded to do it in off white.
It was done @ 2 diff times
It was meant to be done in black, but we decieded to do it in off white.
It was done @ 2 diff times
Attachments
OP
OP
OP
OP
OP
OP
OP
OP
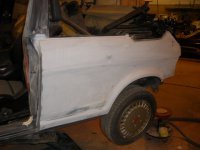
more pics
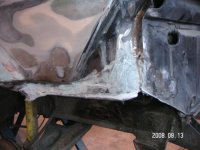
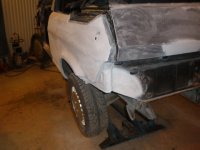
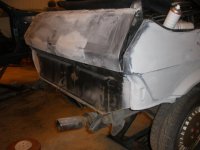
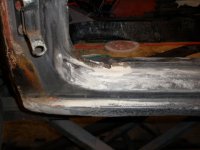
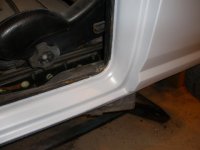
including the previous rustfixing on the drivers side, both front and back, the trunk and last but not least the fitting of the left bottom side of the left front wing
including the previous rustfixing on the drivers side, both front and back, the trunk and last but not least the fitting of the left bottom side of the left front wing
Attachments
OP
OP
OP
OP