

Removing the old gaiter
Removing the old gaiter
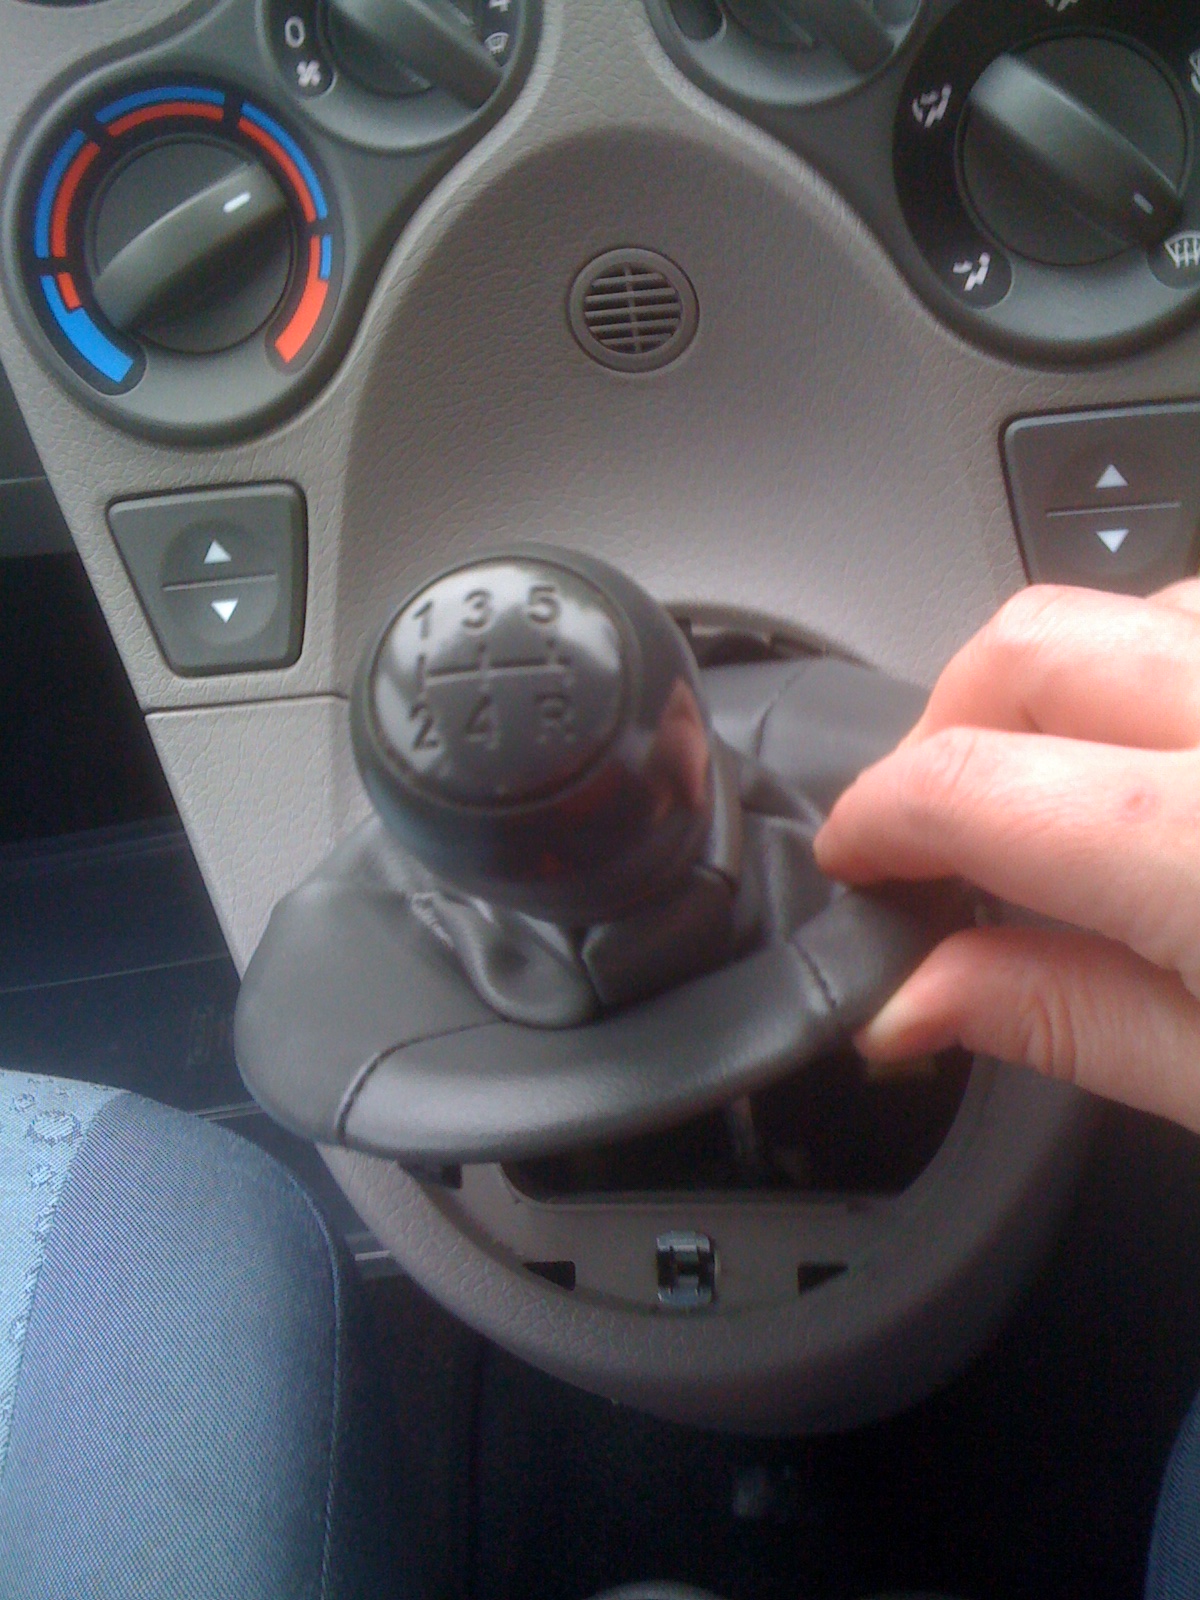
The factory fit item is held on by a cable tie at the top and a plastic ring at the bottom (yes really, a cable tie). Start by removing the plastic ring at the bottom by lifting up from below the gaiter where it ends and meets the dash. I was able to do this with my fingers but you may need a flat screwdriver.
and pull it right up level with the top of the gear knob.

and towards you
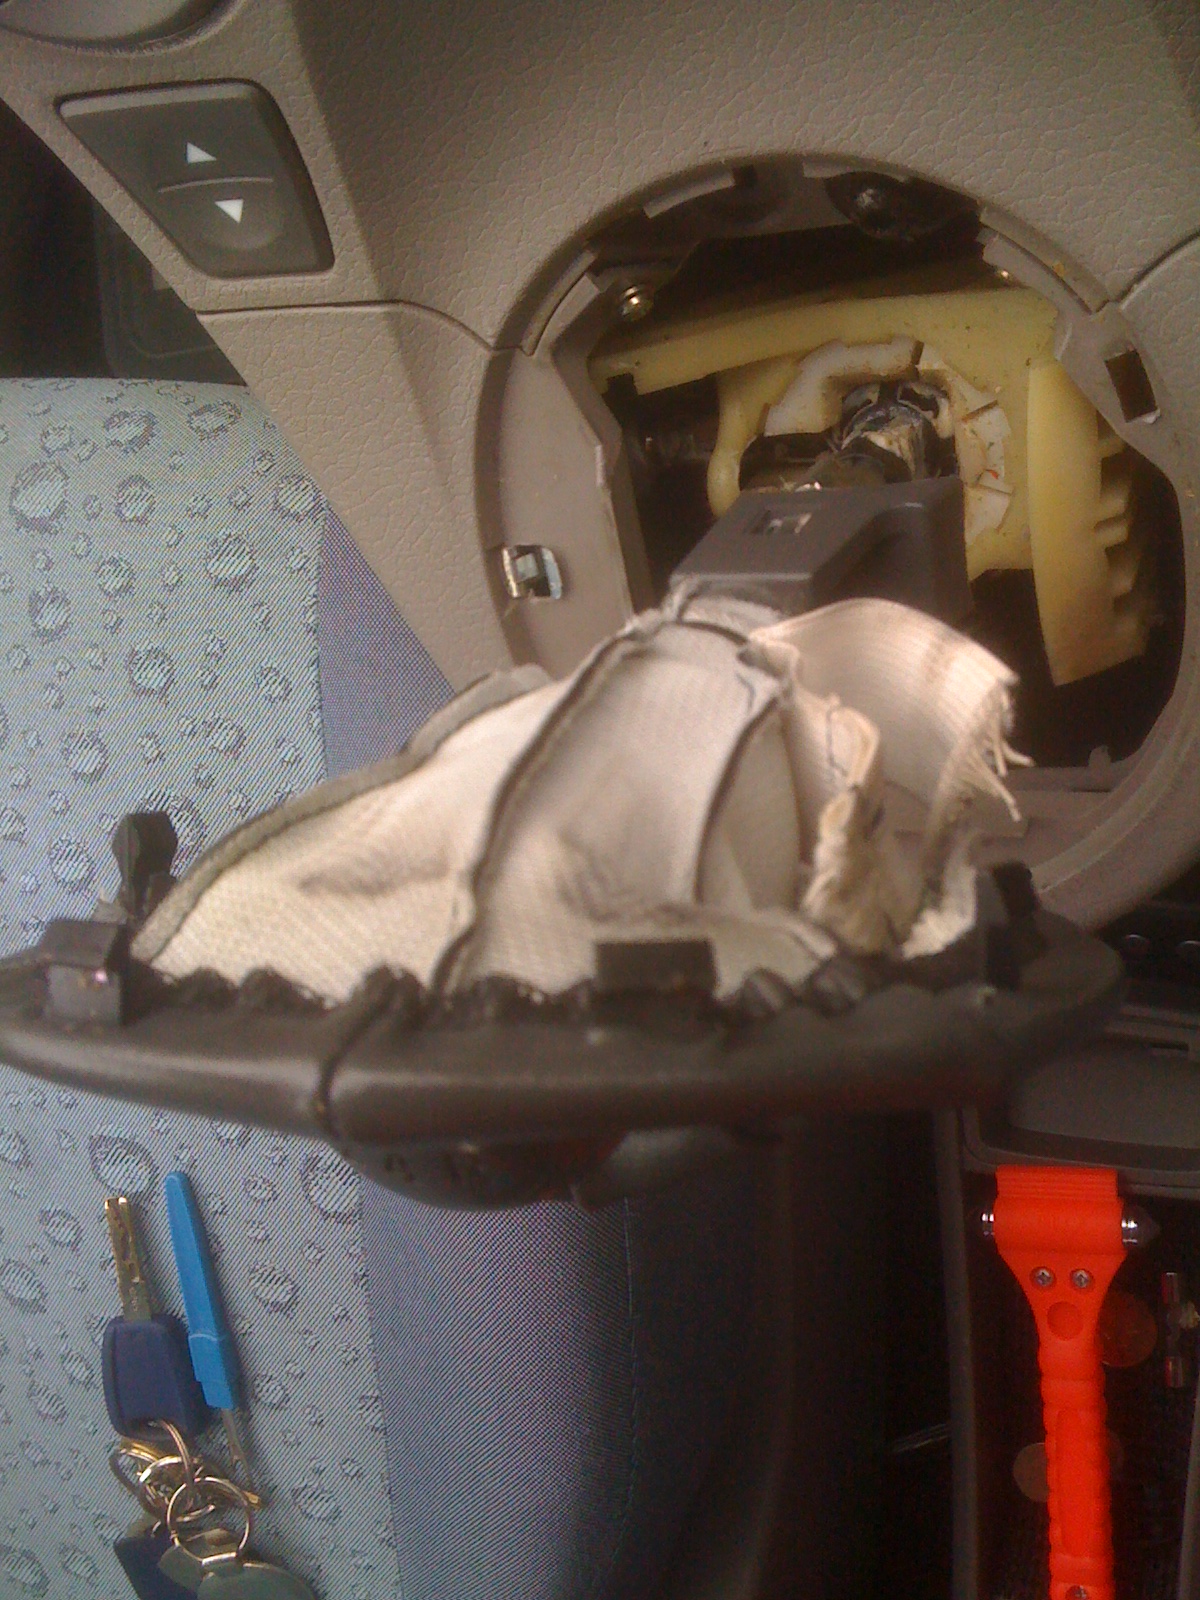
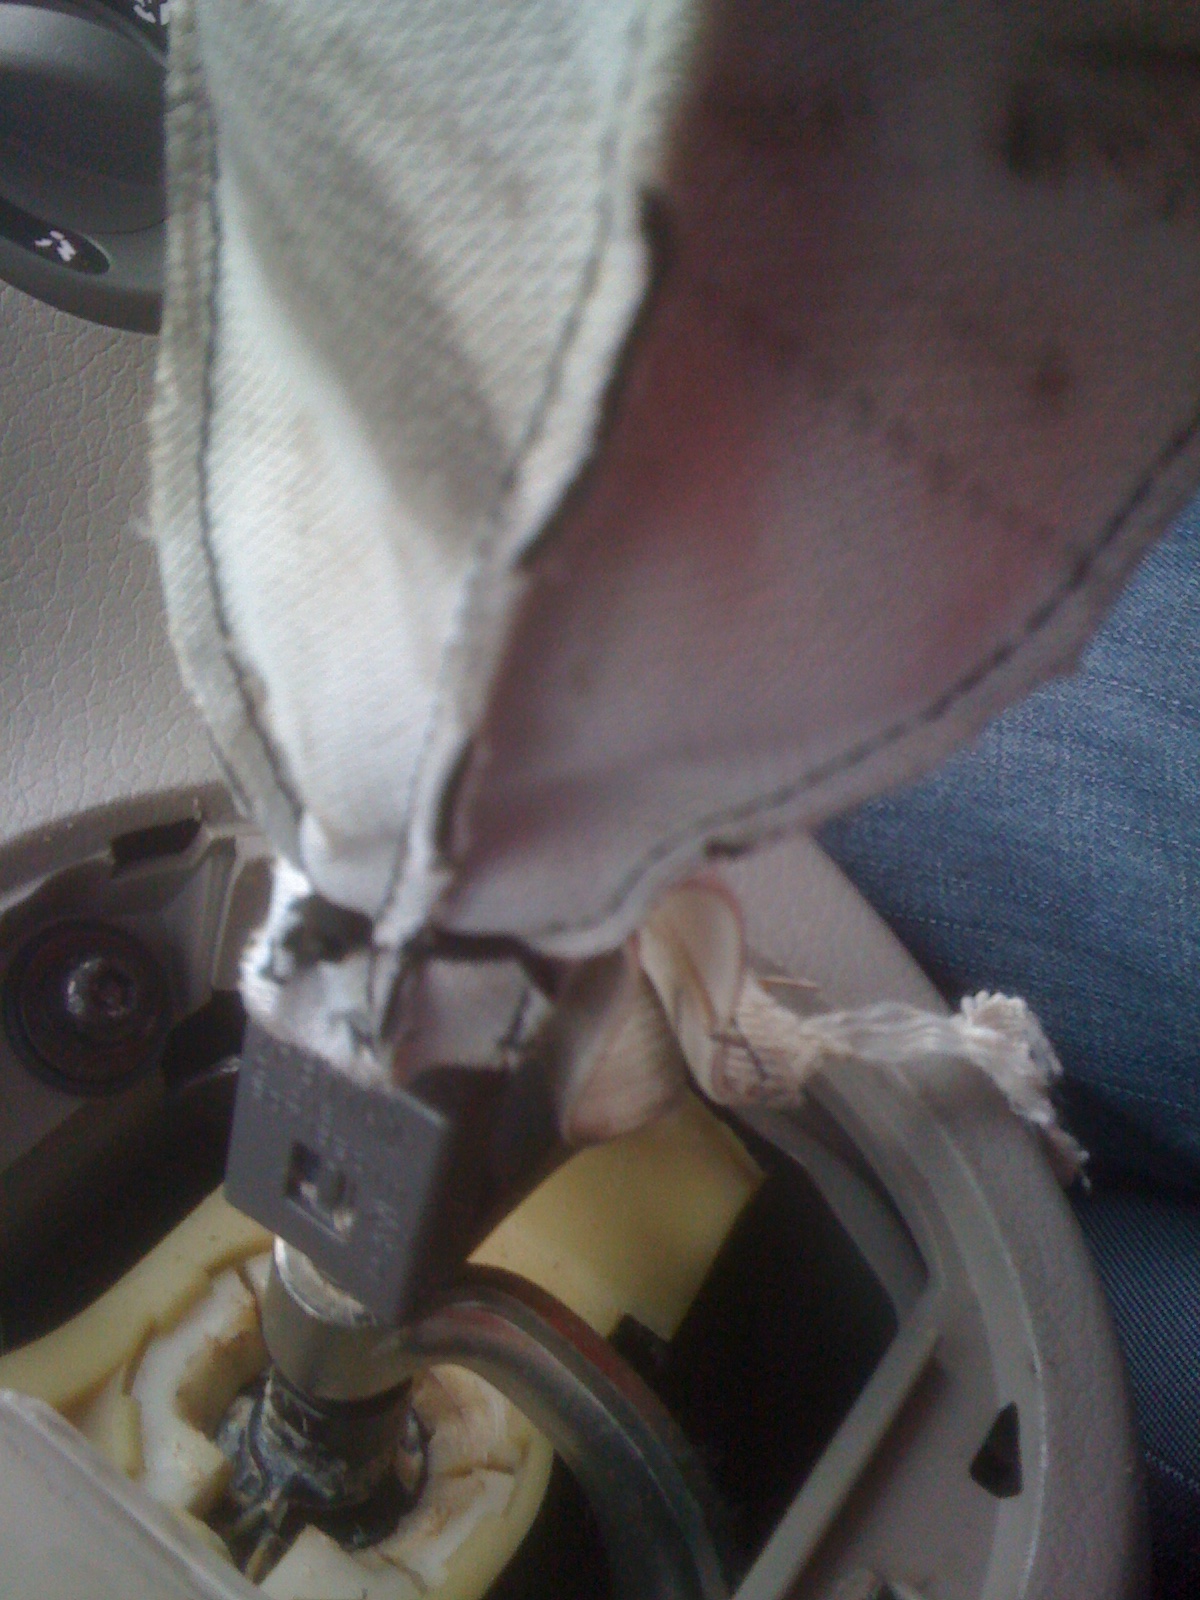
You should be able to see the cable tie holding it in place at the top of the lever just below the lift reverse. You will also see the elastic that pulls the gaiter back down with the lift reverse (mine is very very worn after 40k miles and so I will replace it later in this guide).
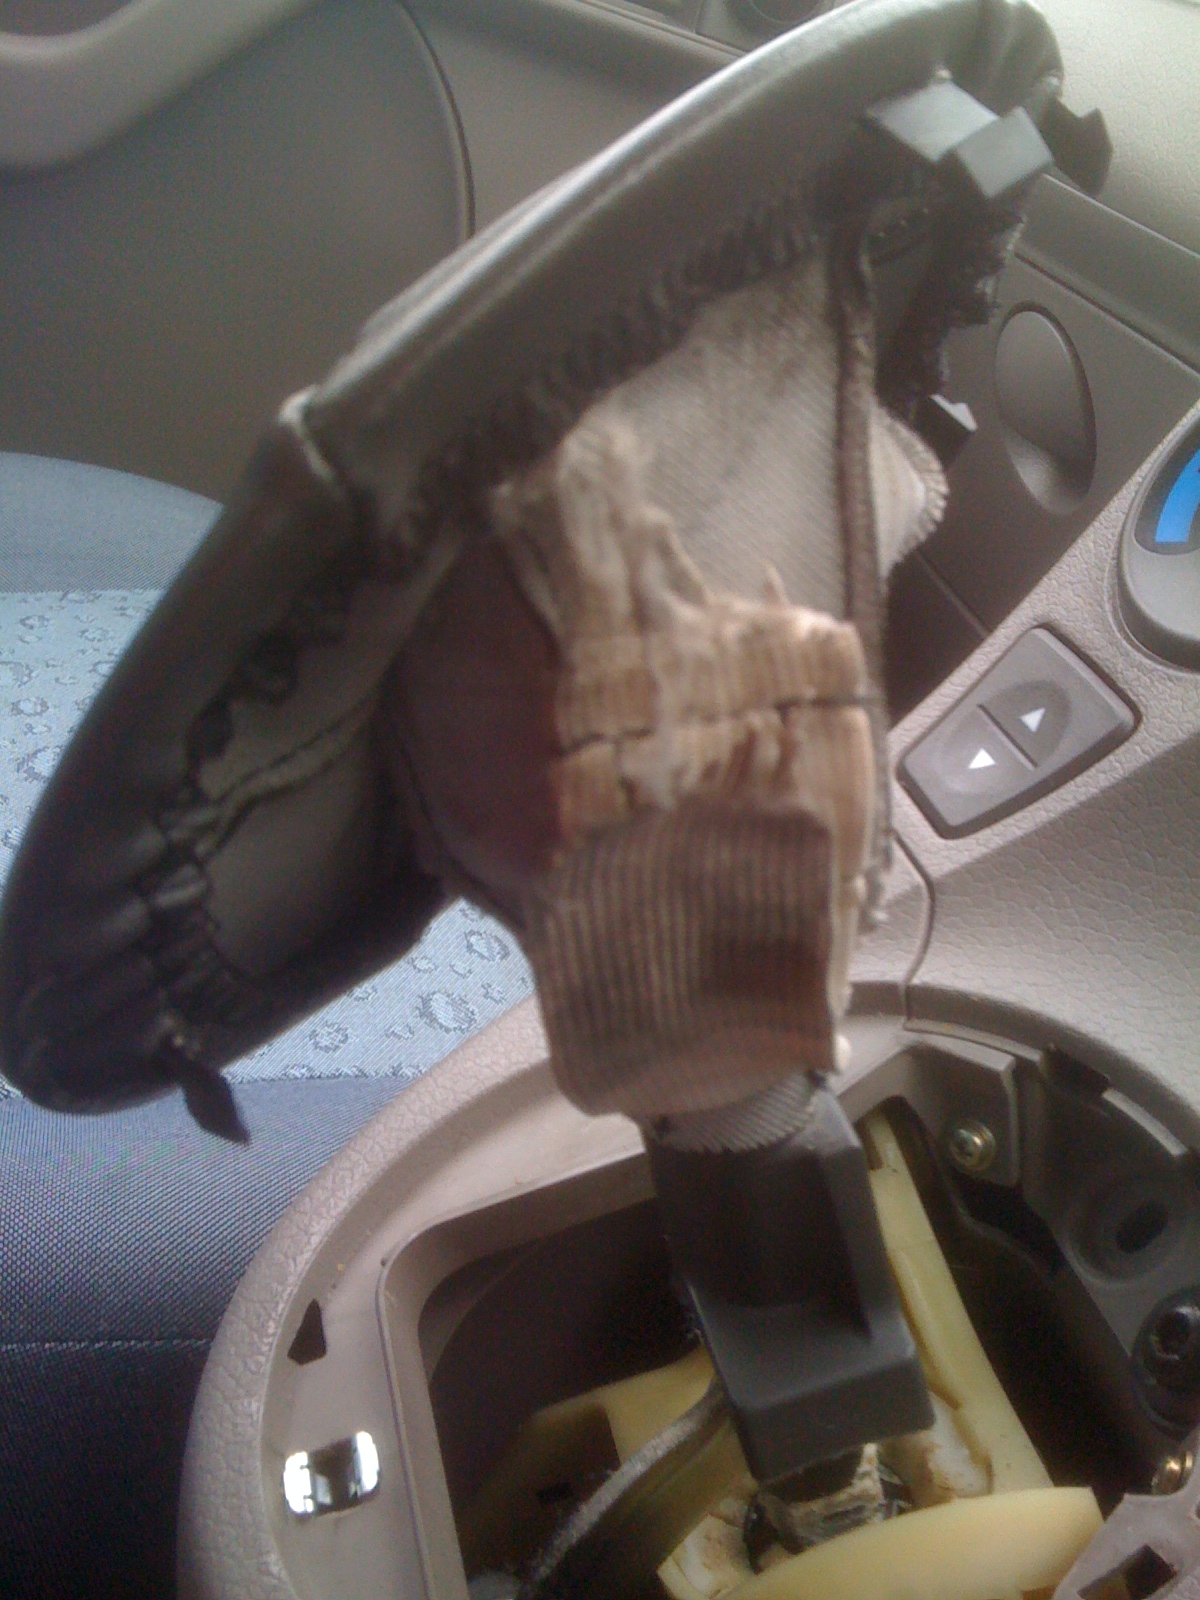
Unhook the bottom of the gaiter from the tabs on the plastic ring. Dont forget the "odd" small one which you can see at the bottom right in this picture. You will also have to cut the elastic from the plastic ring (or in my case it snapped with a quick yank as it was so worn, I wonder if they got this from a polish Y-Front factory???)
and then cut the cable tie.
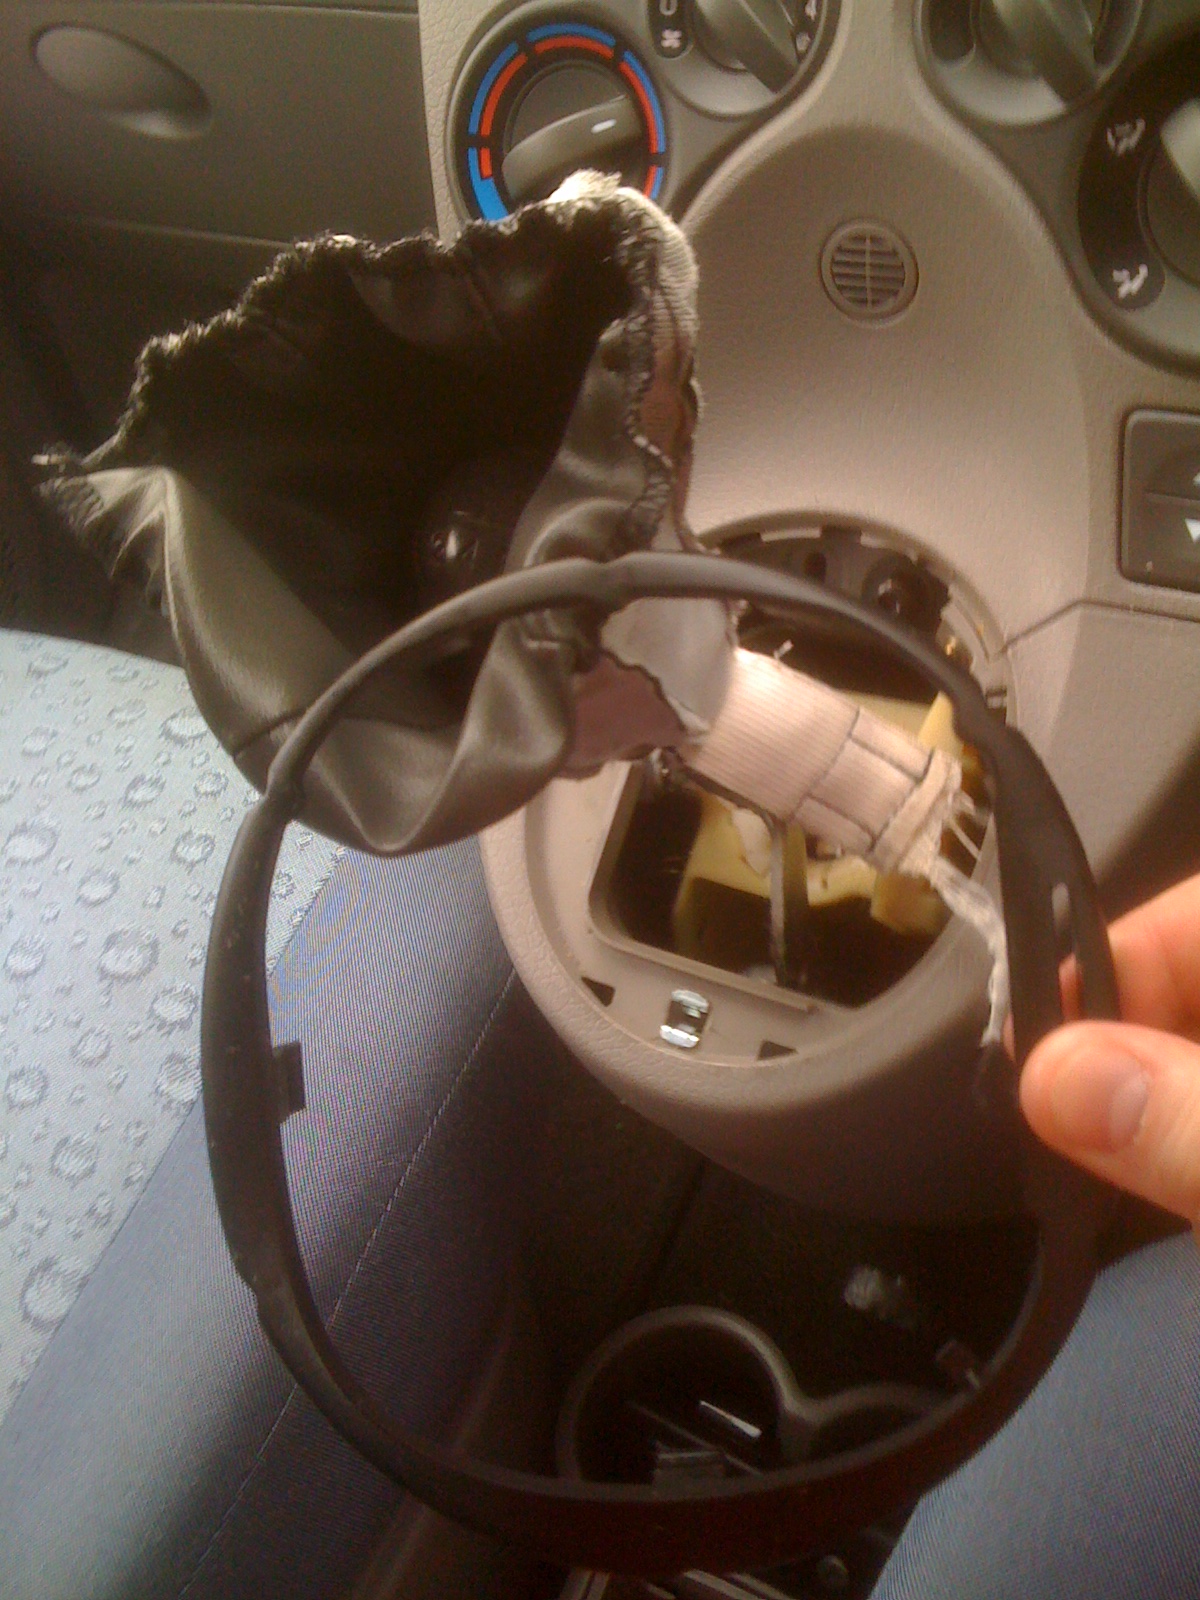
The gaiter should just pull over the knob with a bit of effort. If not you will have to pull out some of the stitches. You will then have something like this!
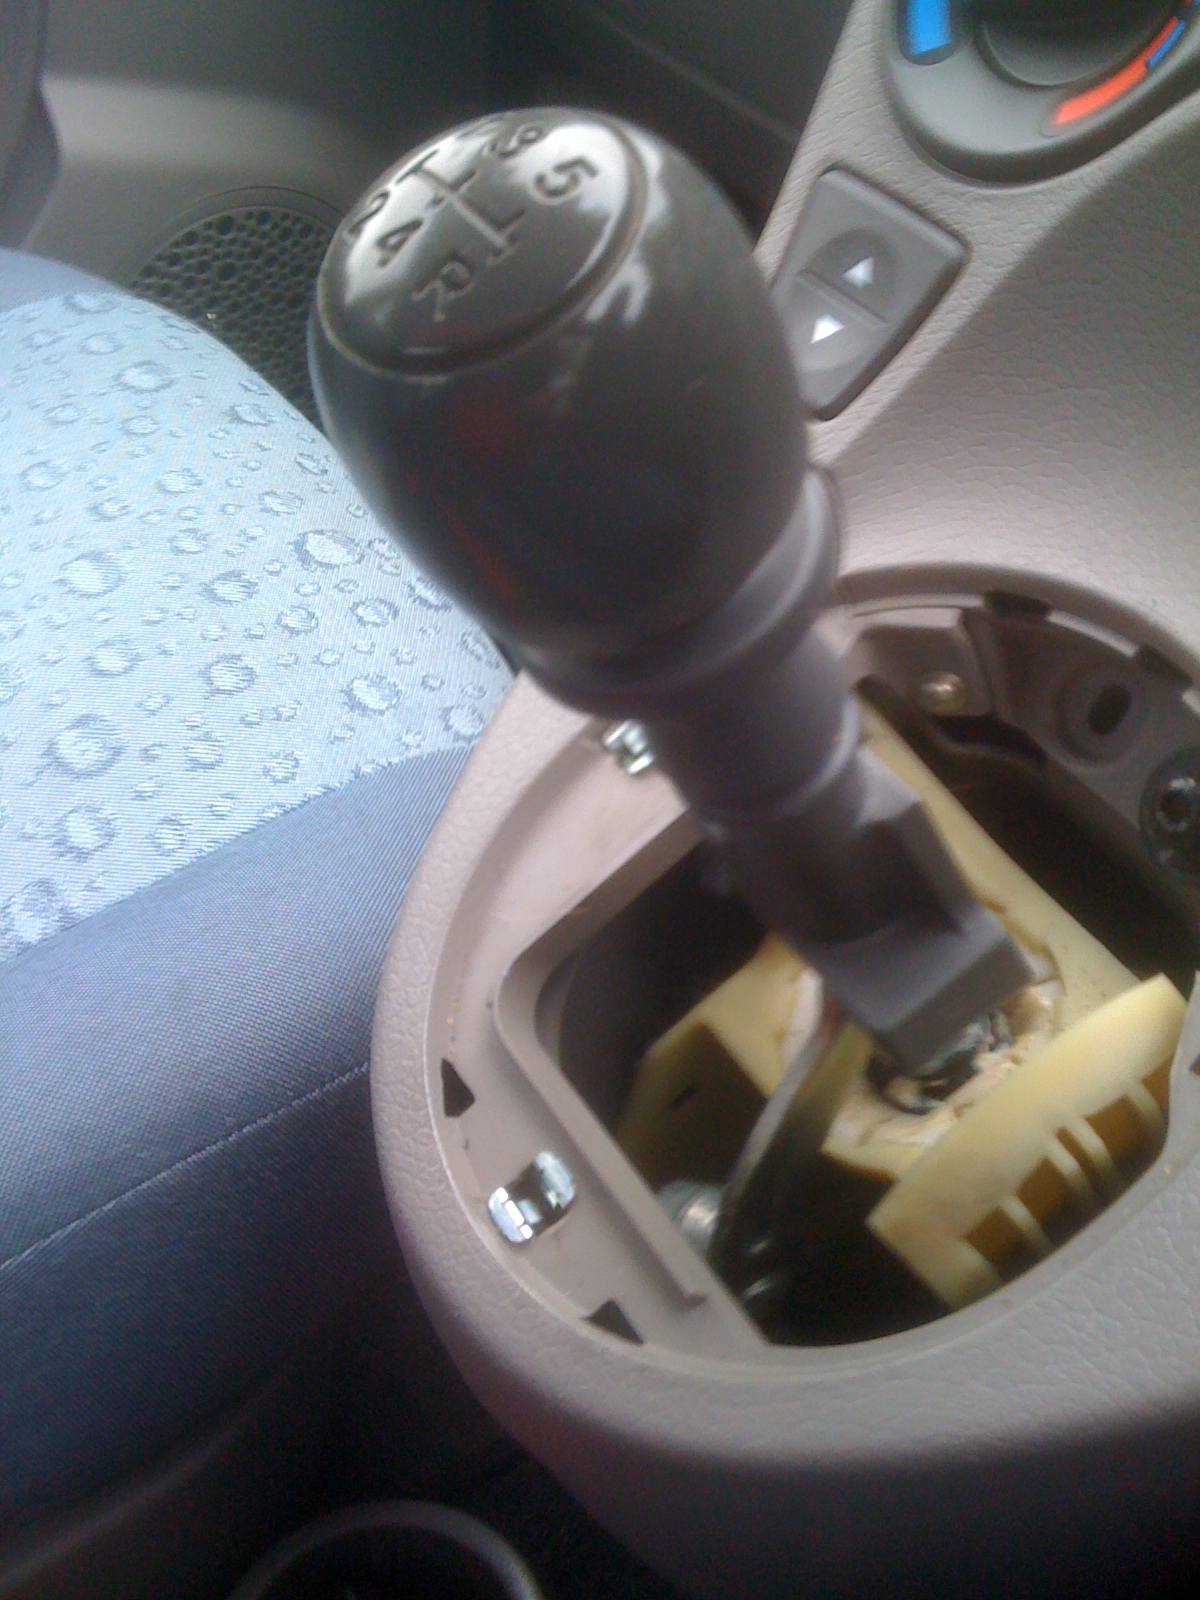
Now is a good time to grease the joints in the linkage to the gear box. I used a lithium based grease on the nylon ball in the centre and the other ball joints I could easily reach. It has made my gear change a lot less clunky!