Thanks!
Random image of Murf


Thanks!
Very nice. Looks like Chianti; certainly not the hills of Maryland.
Love the wrapping job that you did....12 out of 10 for effort!!!
On the fuel filter what I have done with mine is actually fit one in the "frunk" on top of the tank to the fuel line heading out. Much safer and very easy to access in the future without having to burn your fingers or worse spill fuel on a hot engine during maintenance.
Many happy and safe miles ahead I hope!
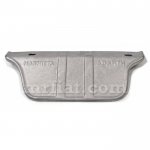
My car came with one of these Abarth heat shields. I’m not sure where and how it attaches. I assume it’s above the exhaust on the right side?
Should I even bother with installing it?

Yes, definitely; it says "Abarth"
It helps to keep the ignition coil less hot and gives some protection to the wires above..
Another USA 500 owner! Welcome aboard. I'm in Texas and there are a few of us around here. Good luck.
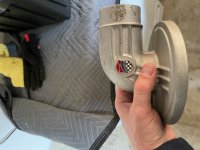
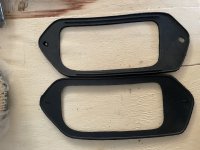
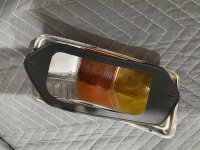
The gaskets look like rear light unit gaskets. The air-filter cover fits (I think) in place of the normal Fiat tin version. Giannini was a contemporary of Abarth, and very good they were too at tuning the 500, and later, the 126 models Giannini still exist as a company, and as they never received any financial assistance from Fiat, cannot be touched by Fiat in their drive to attack the 'pattern' part makers for Abarth (as well as Alfa and Lancia). Lots of Giannini replicas in Italy. Look them up on 'U-Tube'
Thanks Thomas! I thought they may be rear light gaskets but they don’t match up. Maybe it’s for another year?
late N (59-60) or D (60-65