- Joined
- Sep 14, 2009
- Messages
- 19,975
- Points
- 3,977
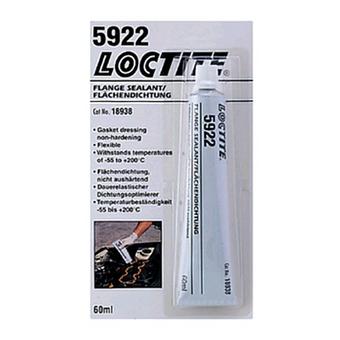
You "could" do this when you do the timing belt, but they are not connected jobs. I would replace the sump and do the timing belt another day. I used a Loctite silicone gasket replacer. It seems softer than the usual cheap RTV stuff and is quite slow to set. It gives more open time to get things lined up. It does need the roll-up key but the stuff works well but has not gone hard in the tube (less waste).
 www.halfords.com
Head Gasket & Exhaust Sealant | Halfords UK
Repair exhausts and head gaskets quickly and easily with the Halfords range of gasket sealers and exhaust repair supplies. Same day click & collect available
www.halfords.com
Last edited:
")

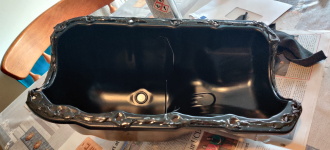
 by doing the following!- I roughed up all the paint with a electric wire brush, then i mixed up some glass fibre resin and painted it all over the new sump pan( being careful to get a thin even coating) and allowed it to cure overnight! then repeated the process again the next day!, once fully cured and hard! i then sprayed it with stone chip paint(four coats allowed to dry in-between!) finally i applied with my finger a fairly thick layer of r t v "instant gasket" to the leading(front surface) to create a resilient barrier to protect from stones and road debris! that was three years ago and as yet no leakage and no signs of any corrosion!