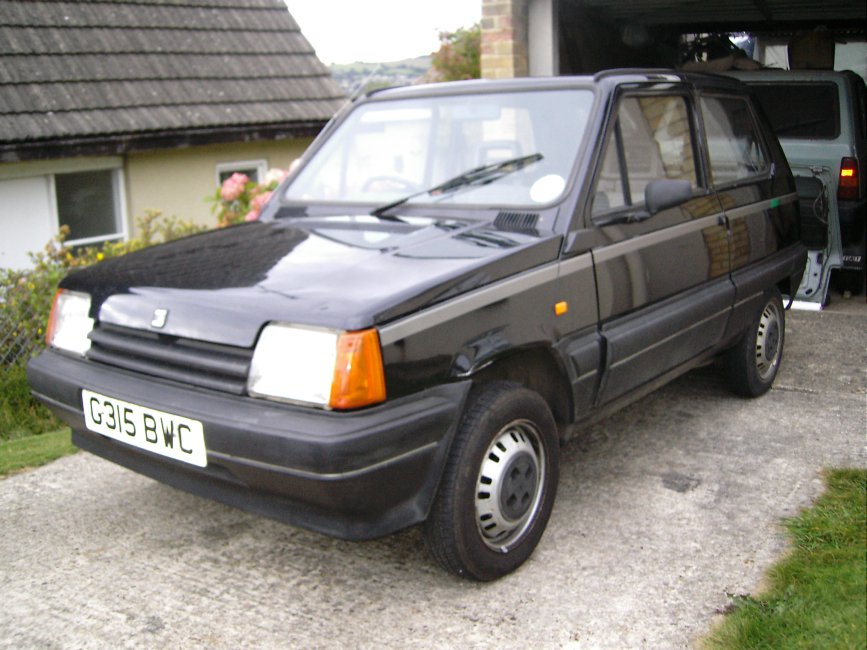
Introduction
Here is the latest addition:


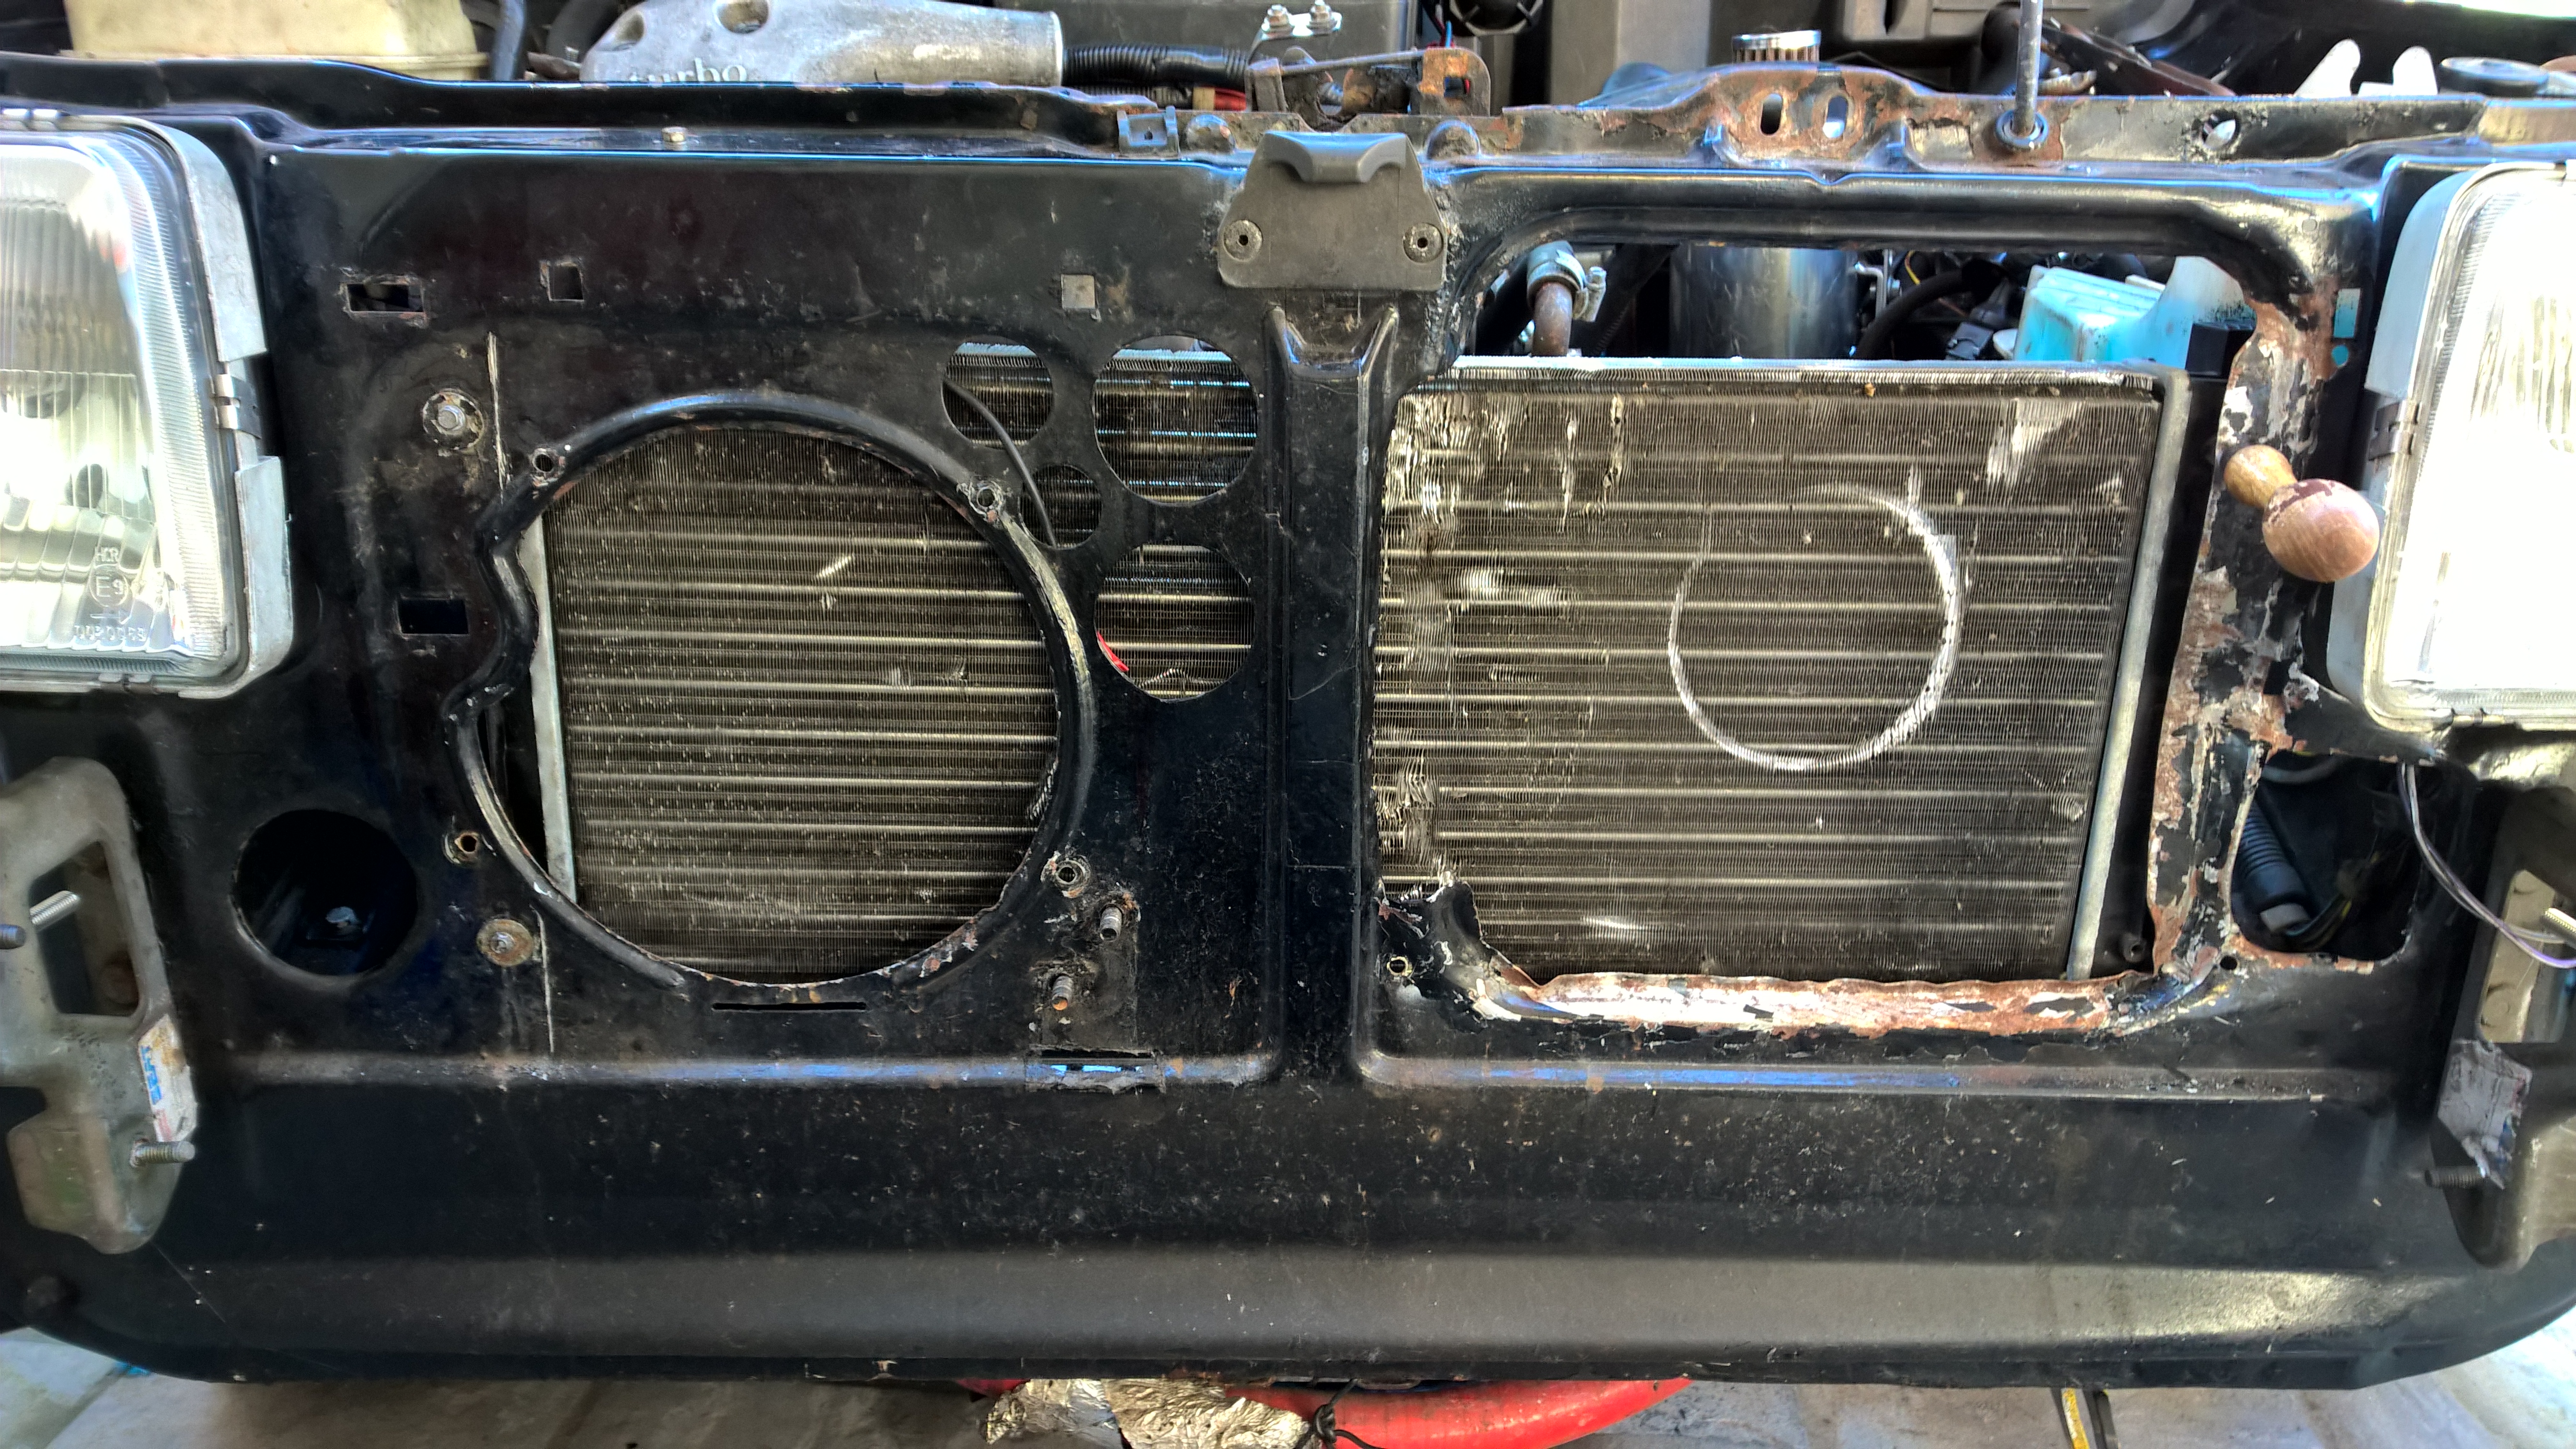
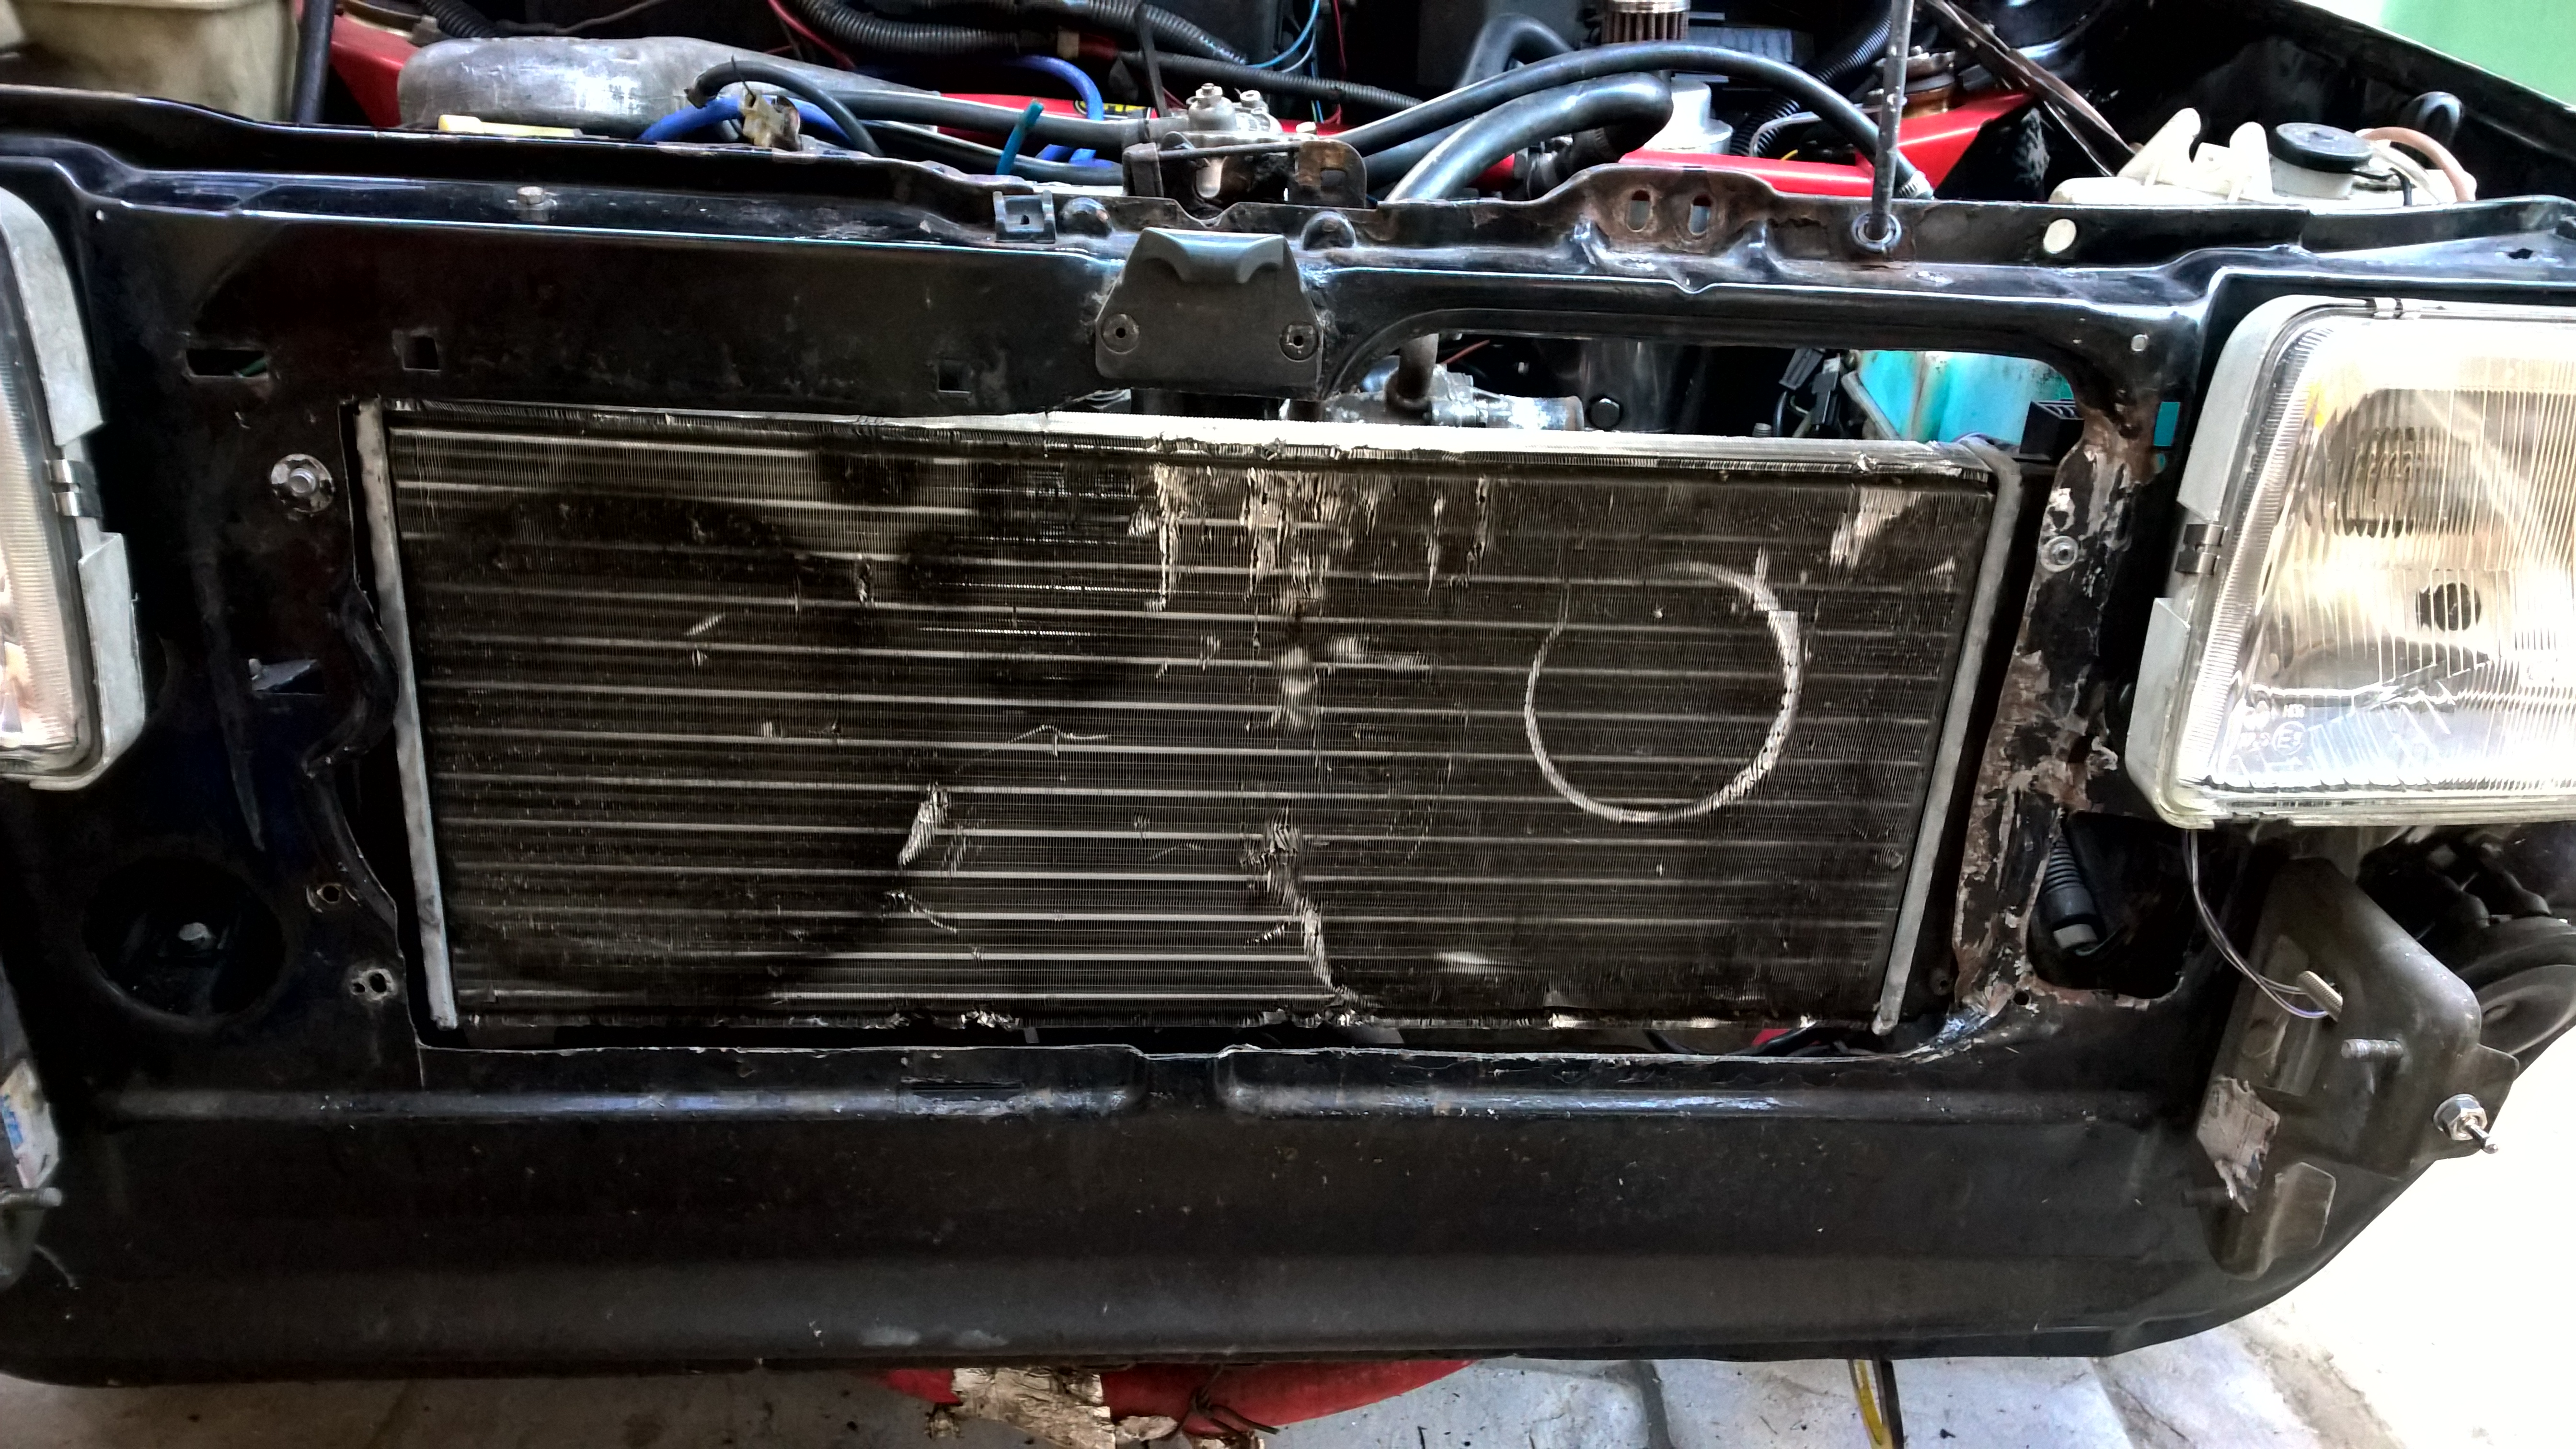
 ...
...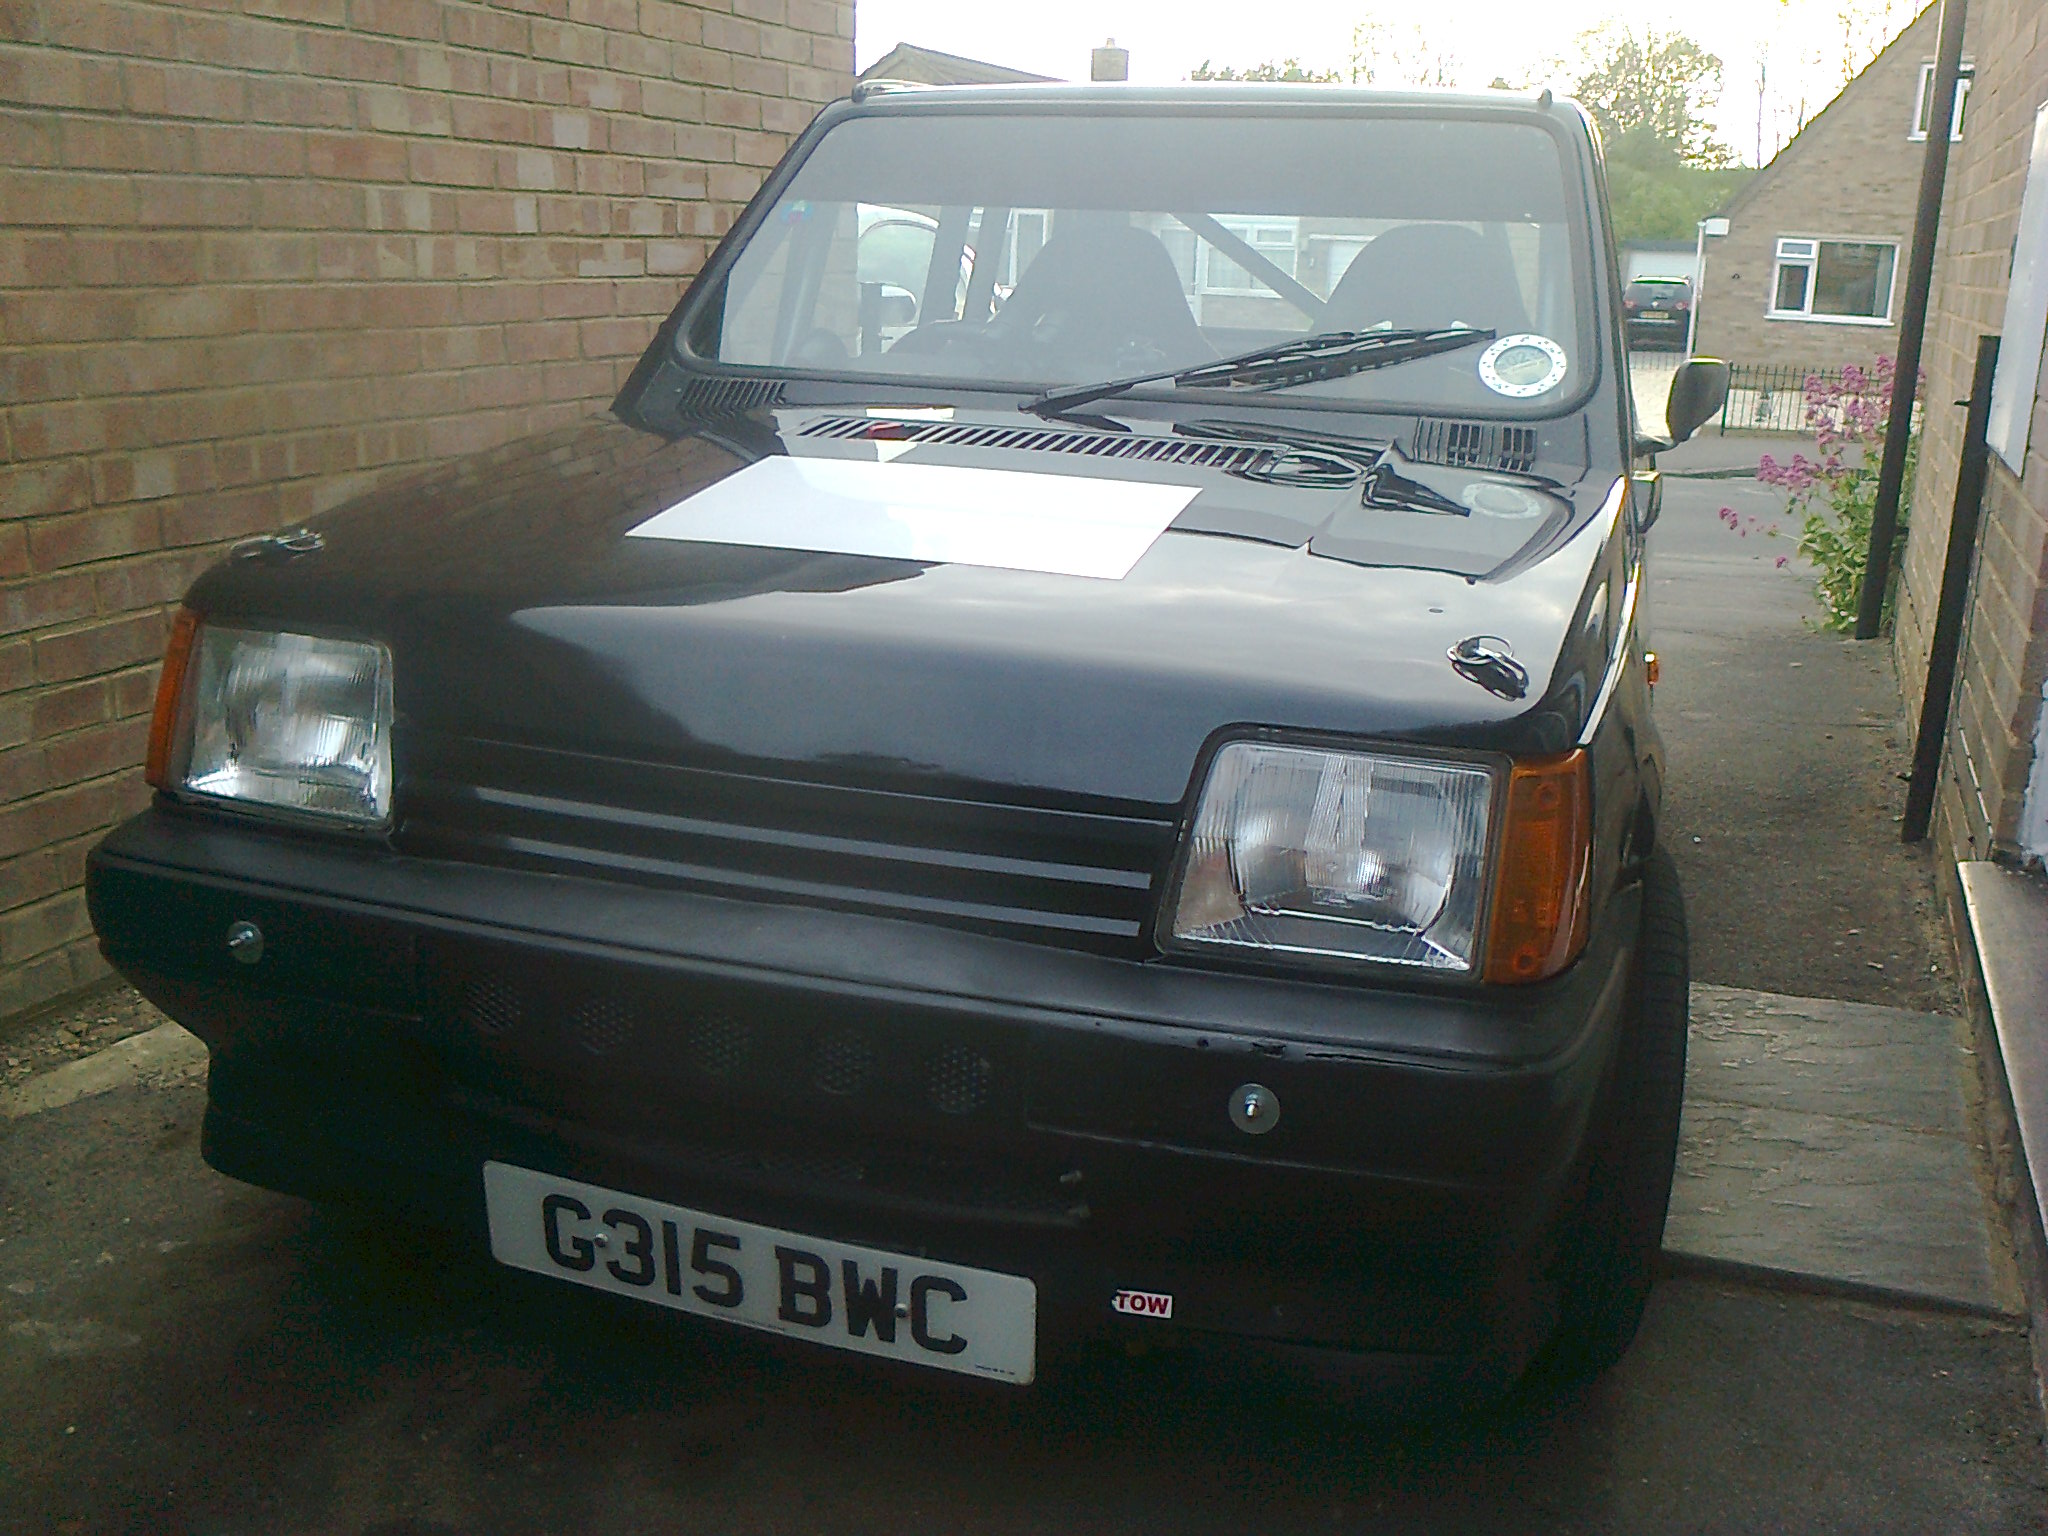
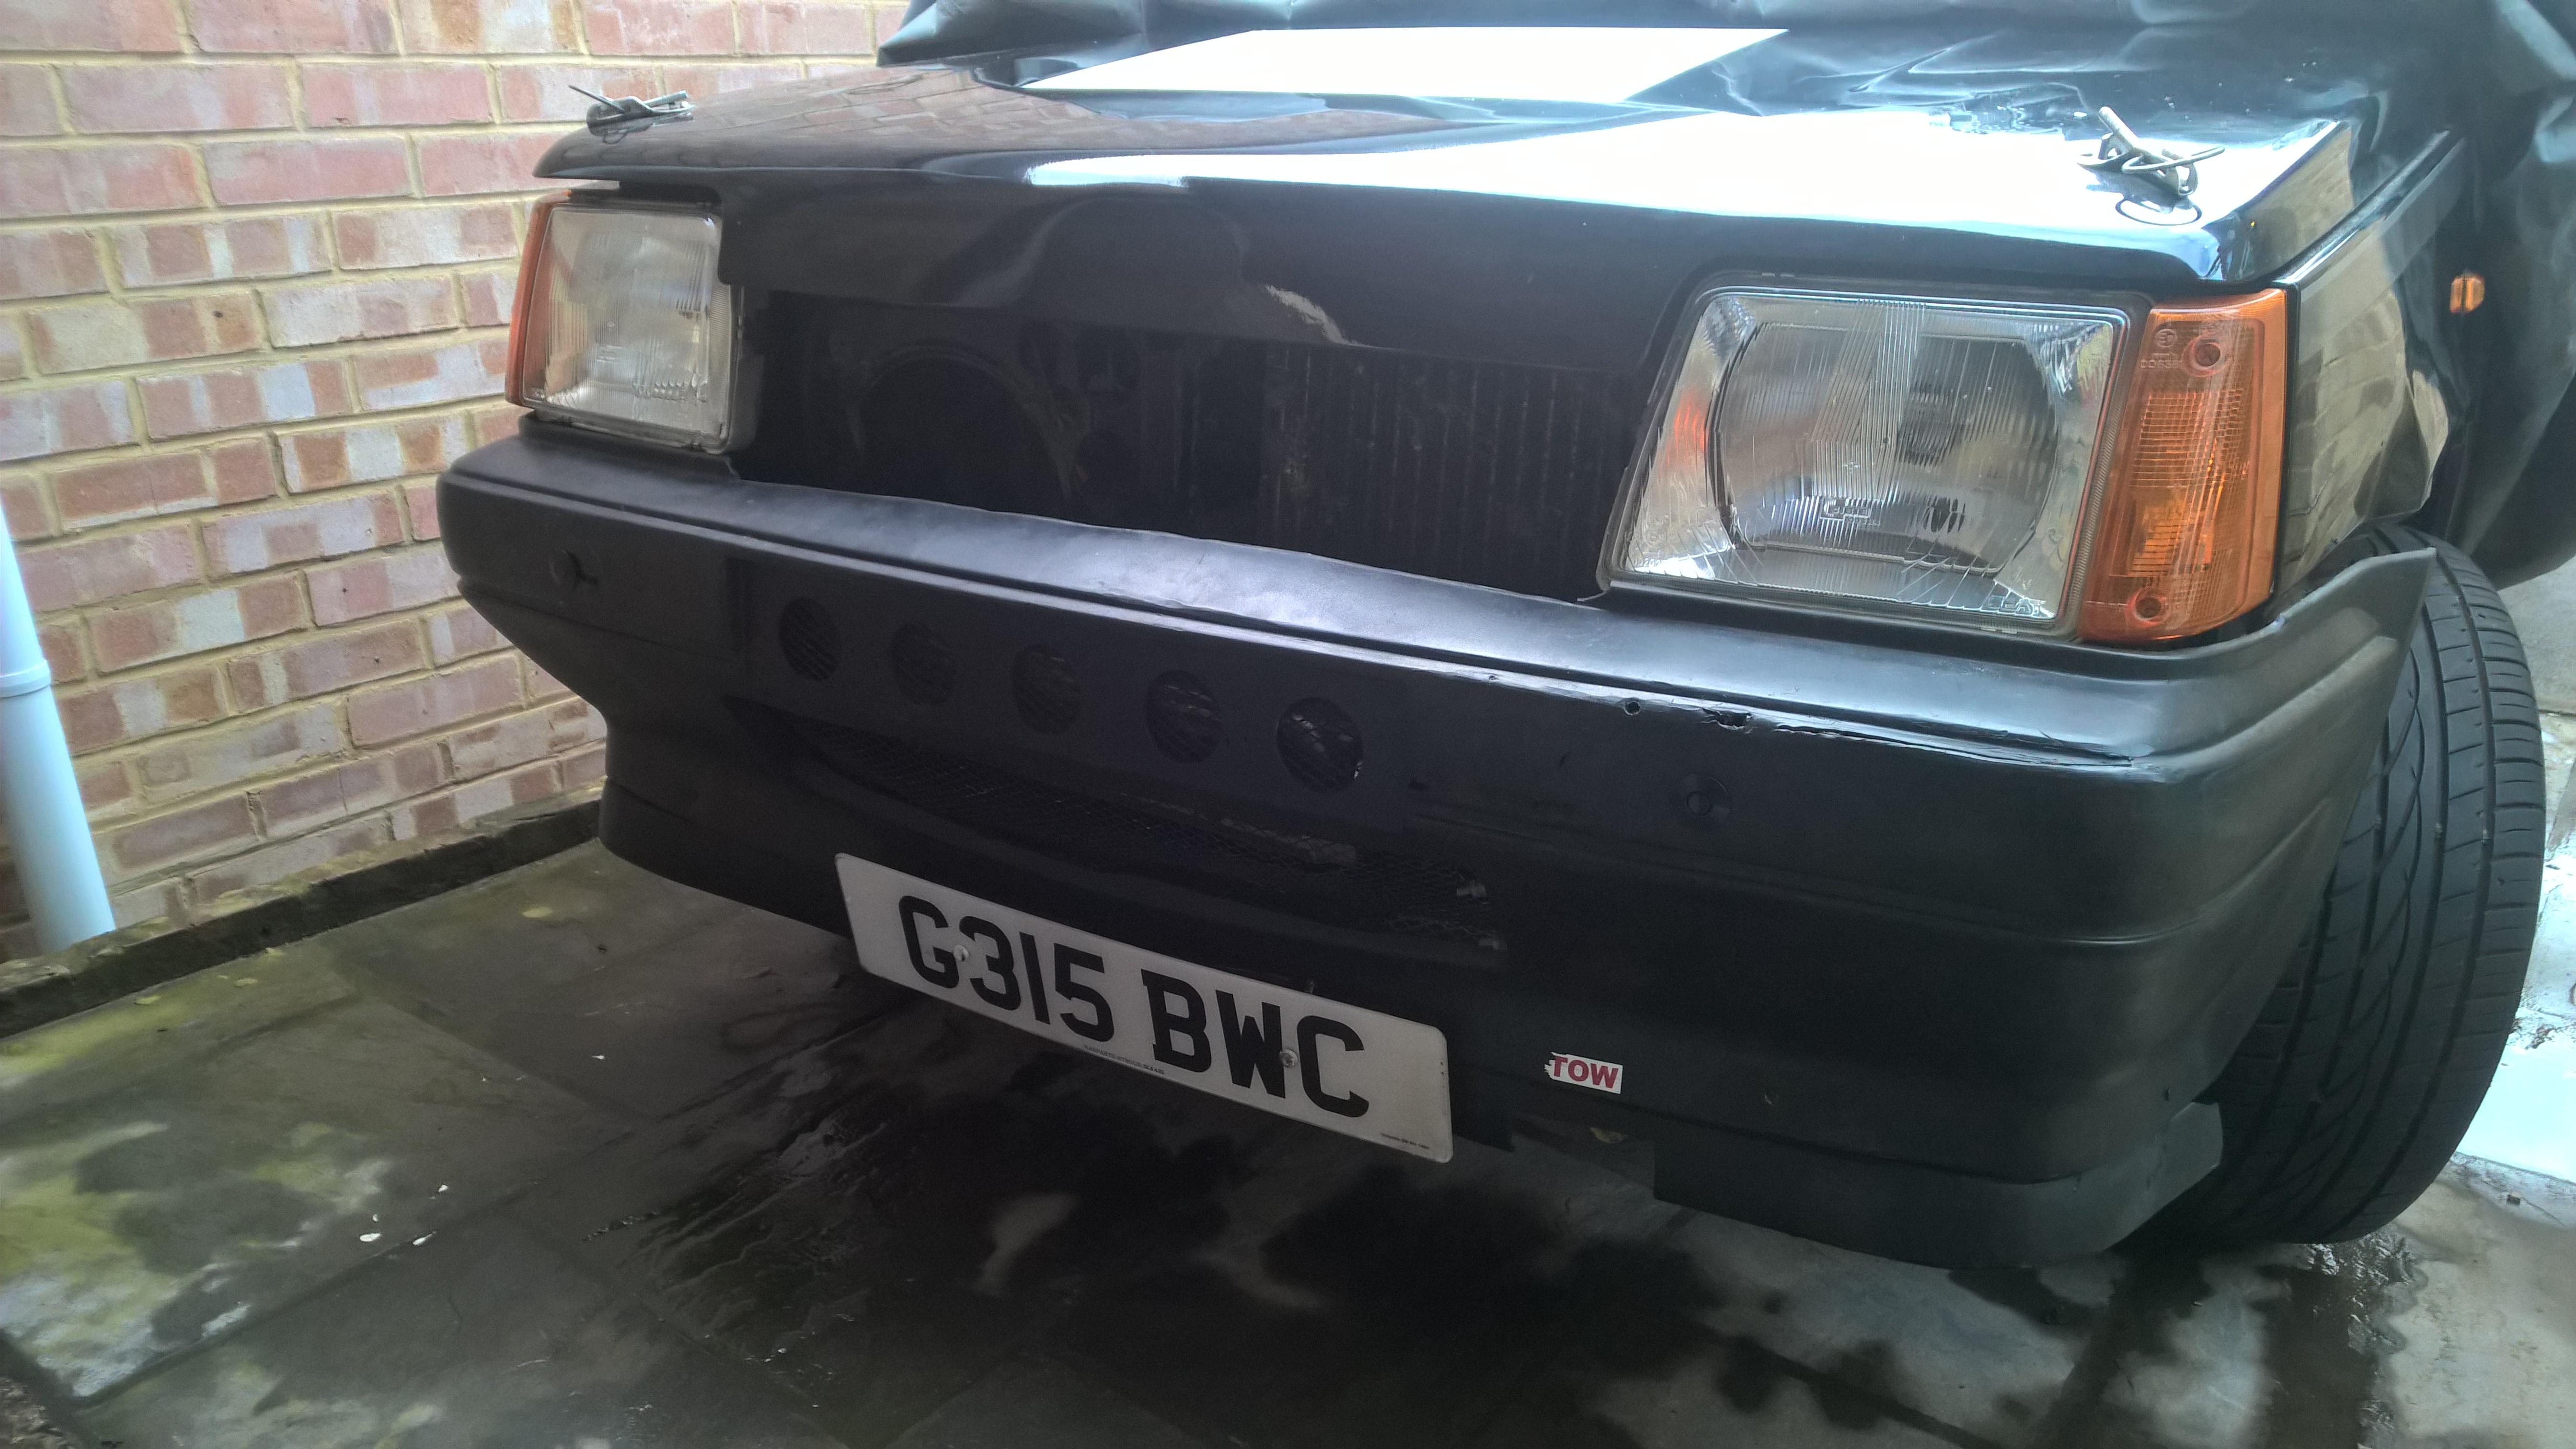
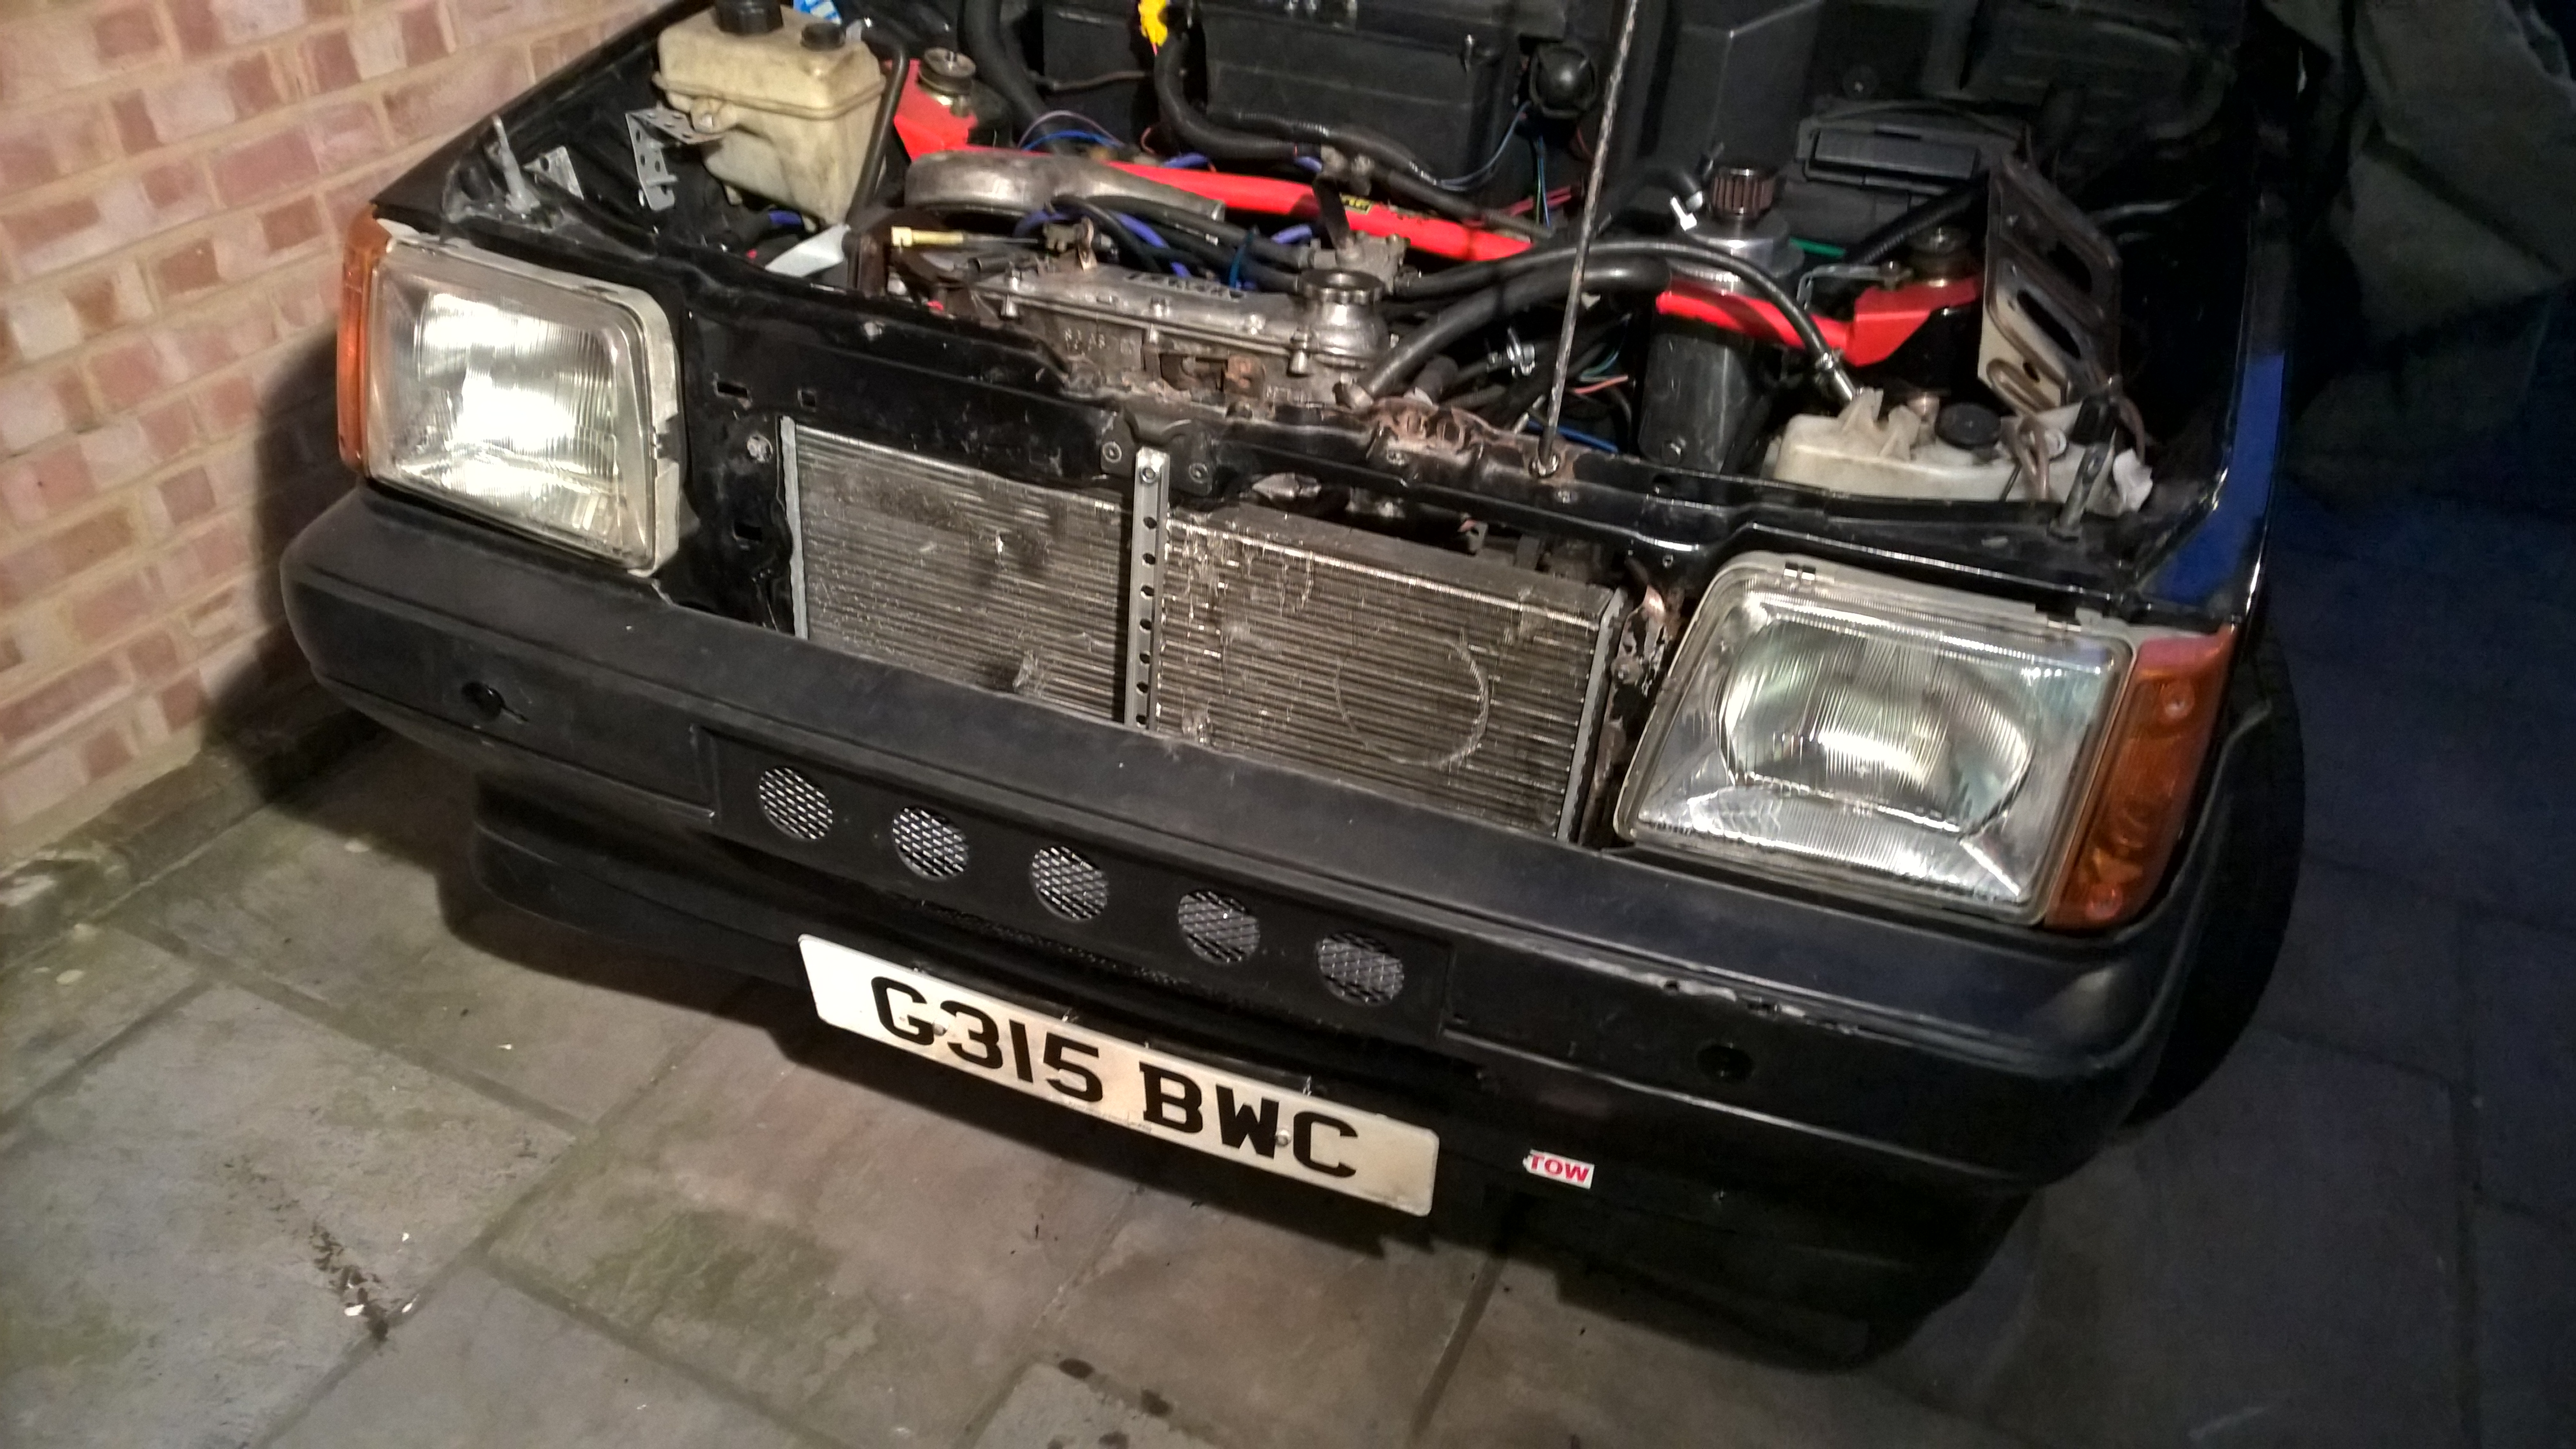
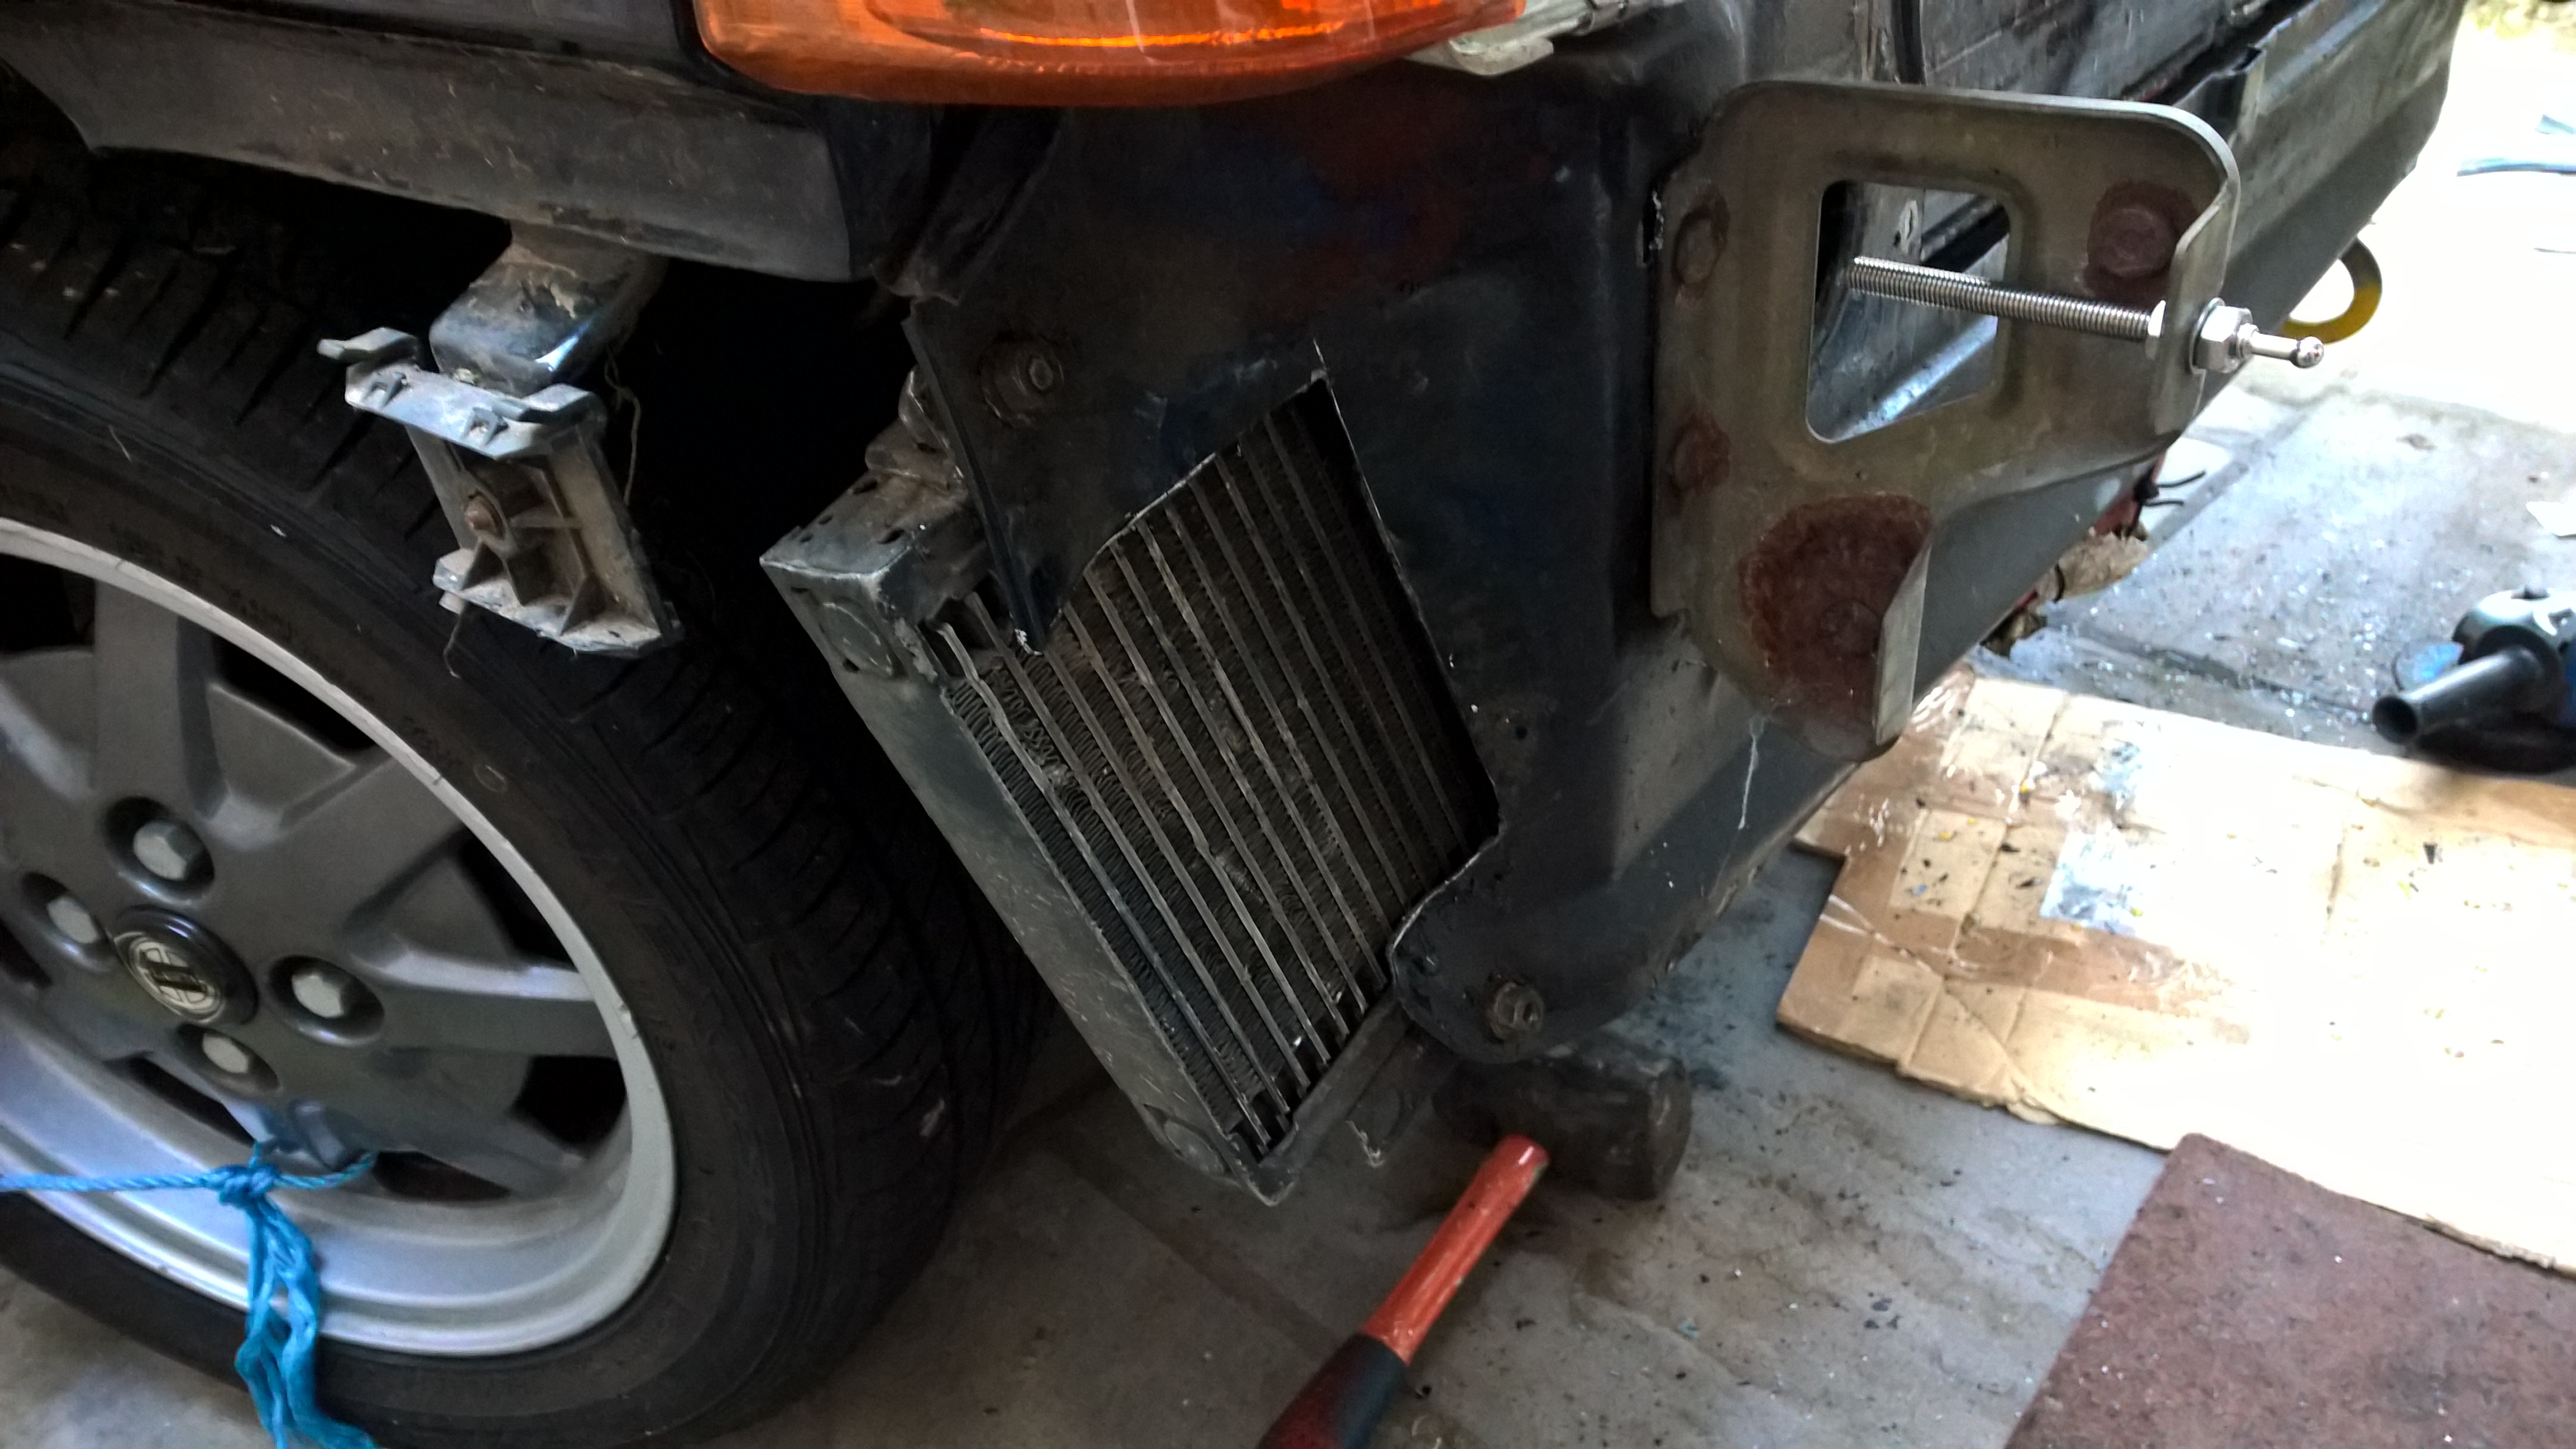
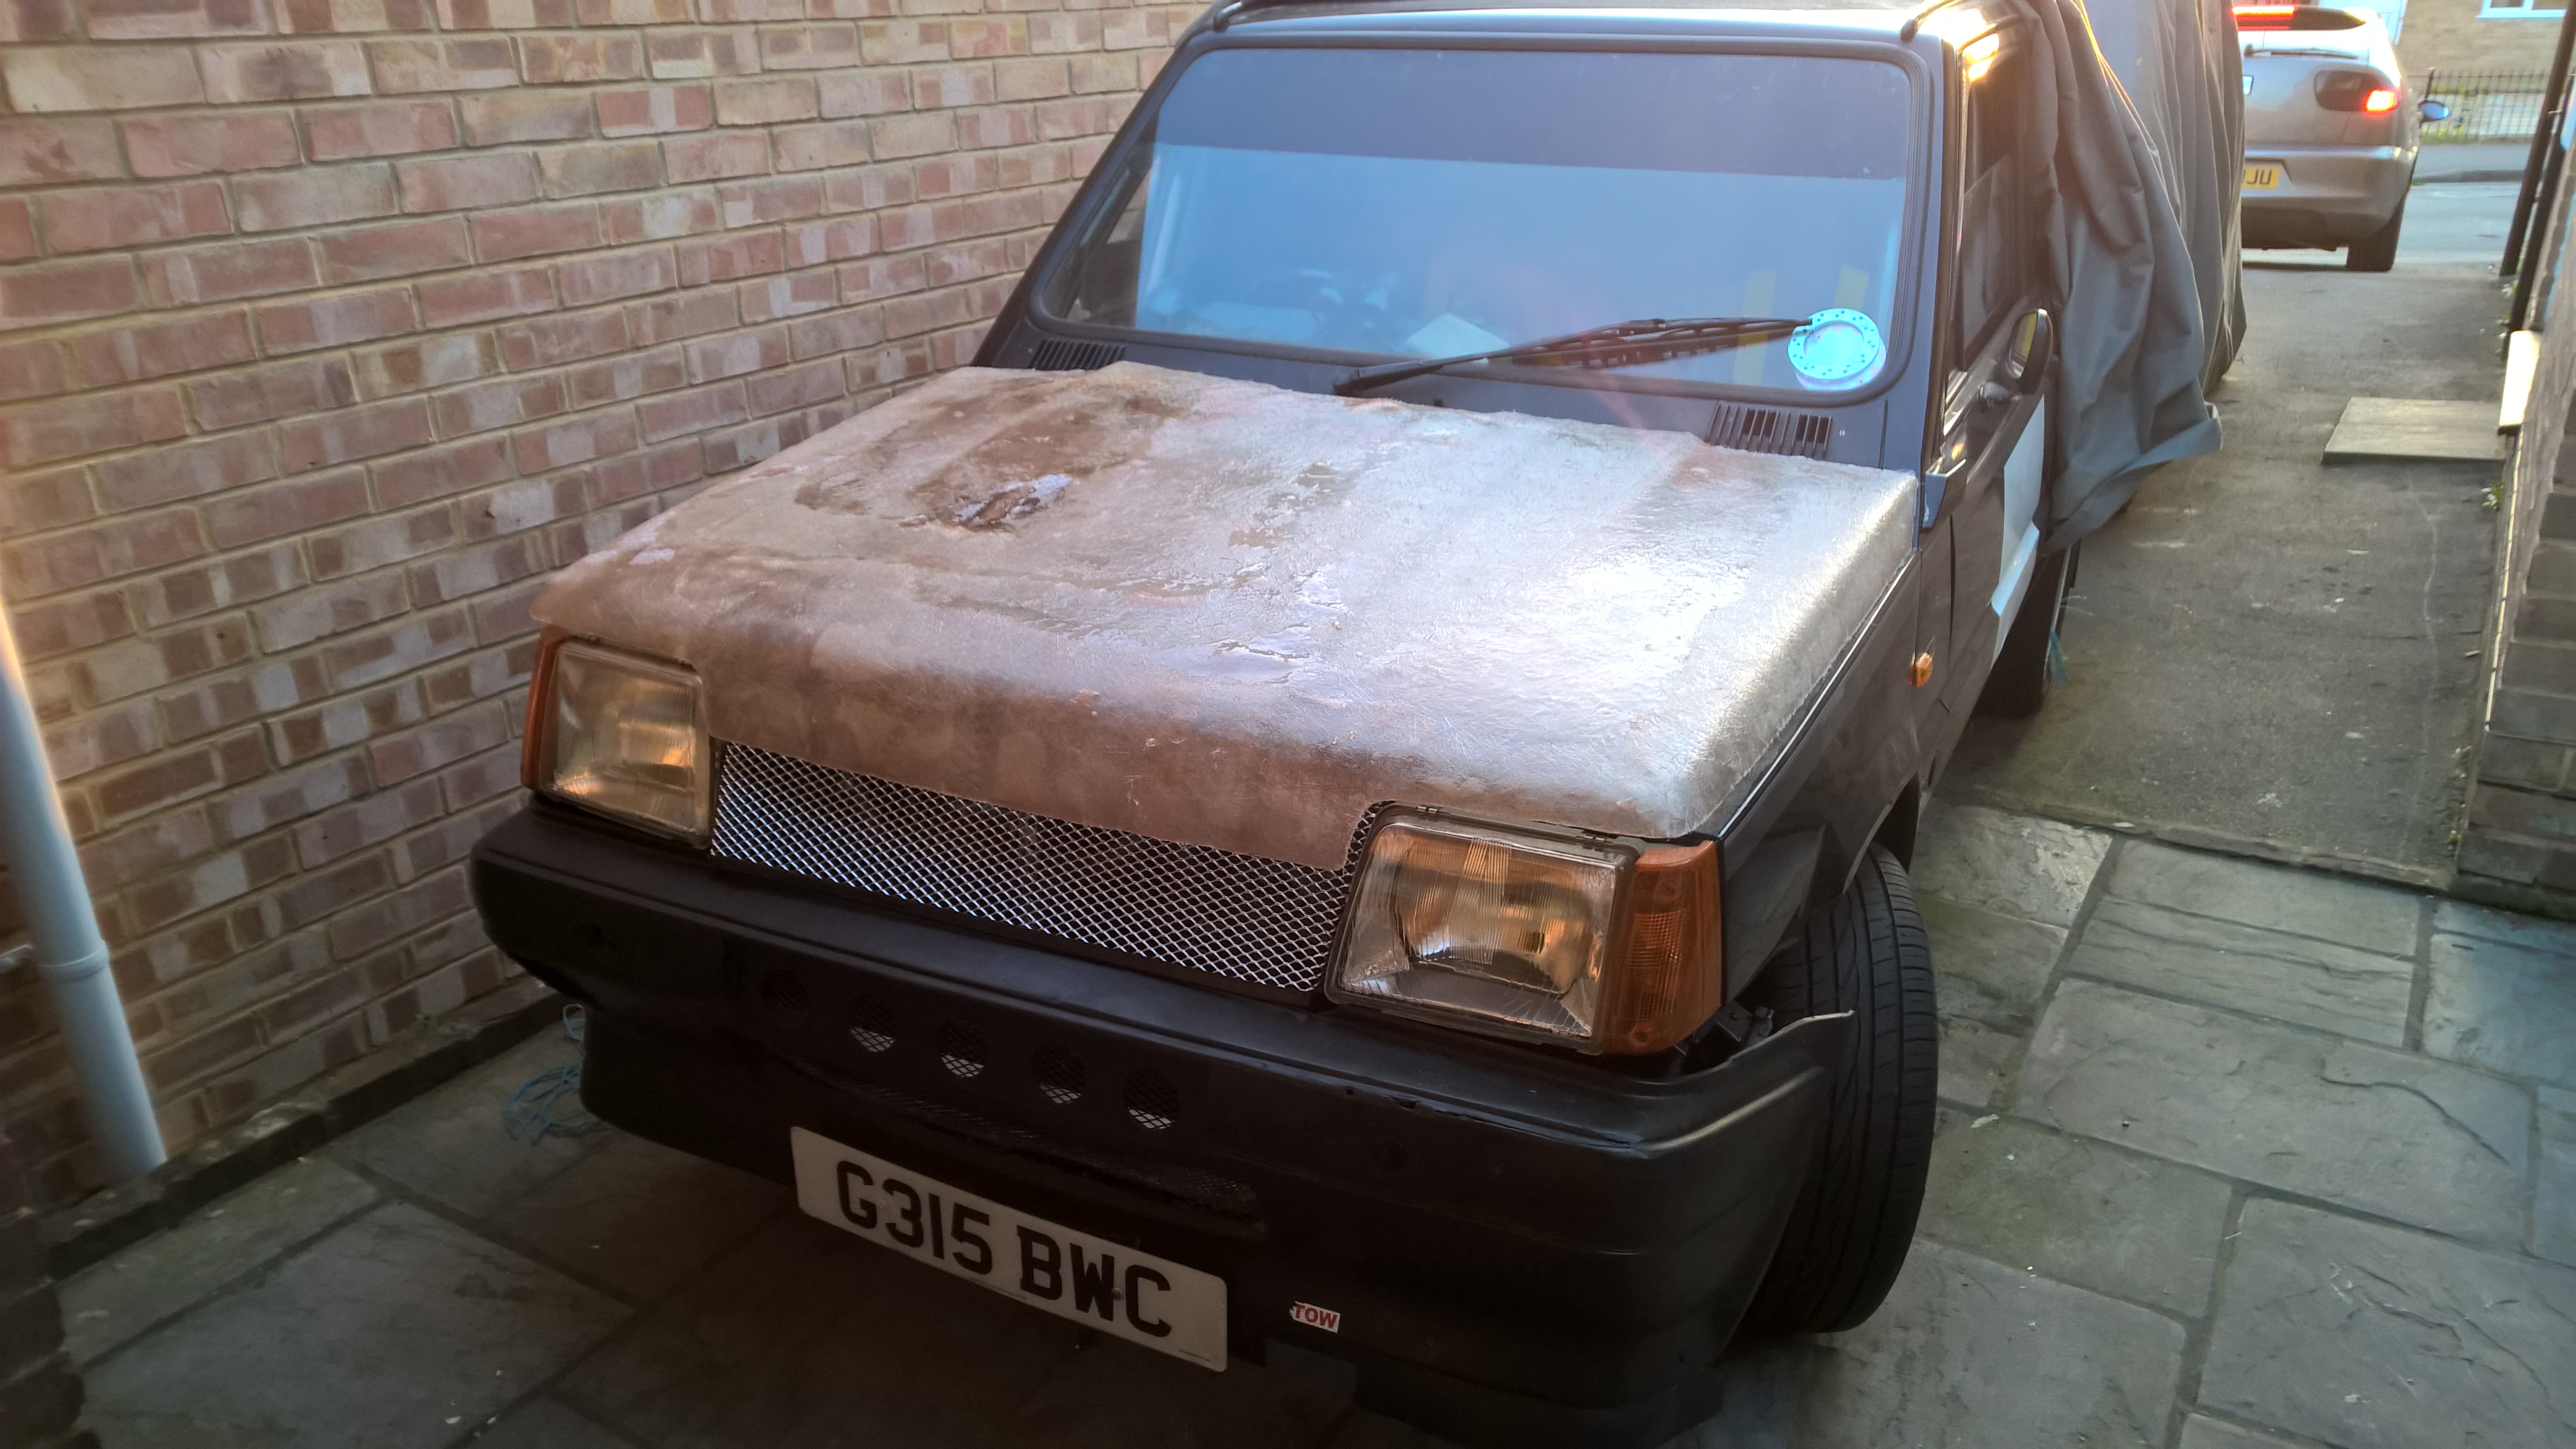
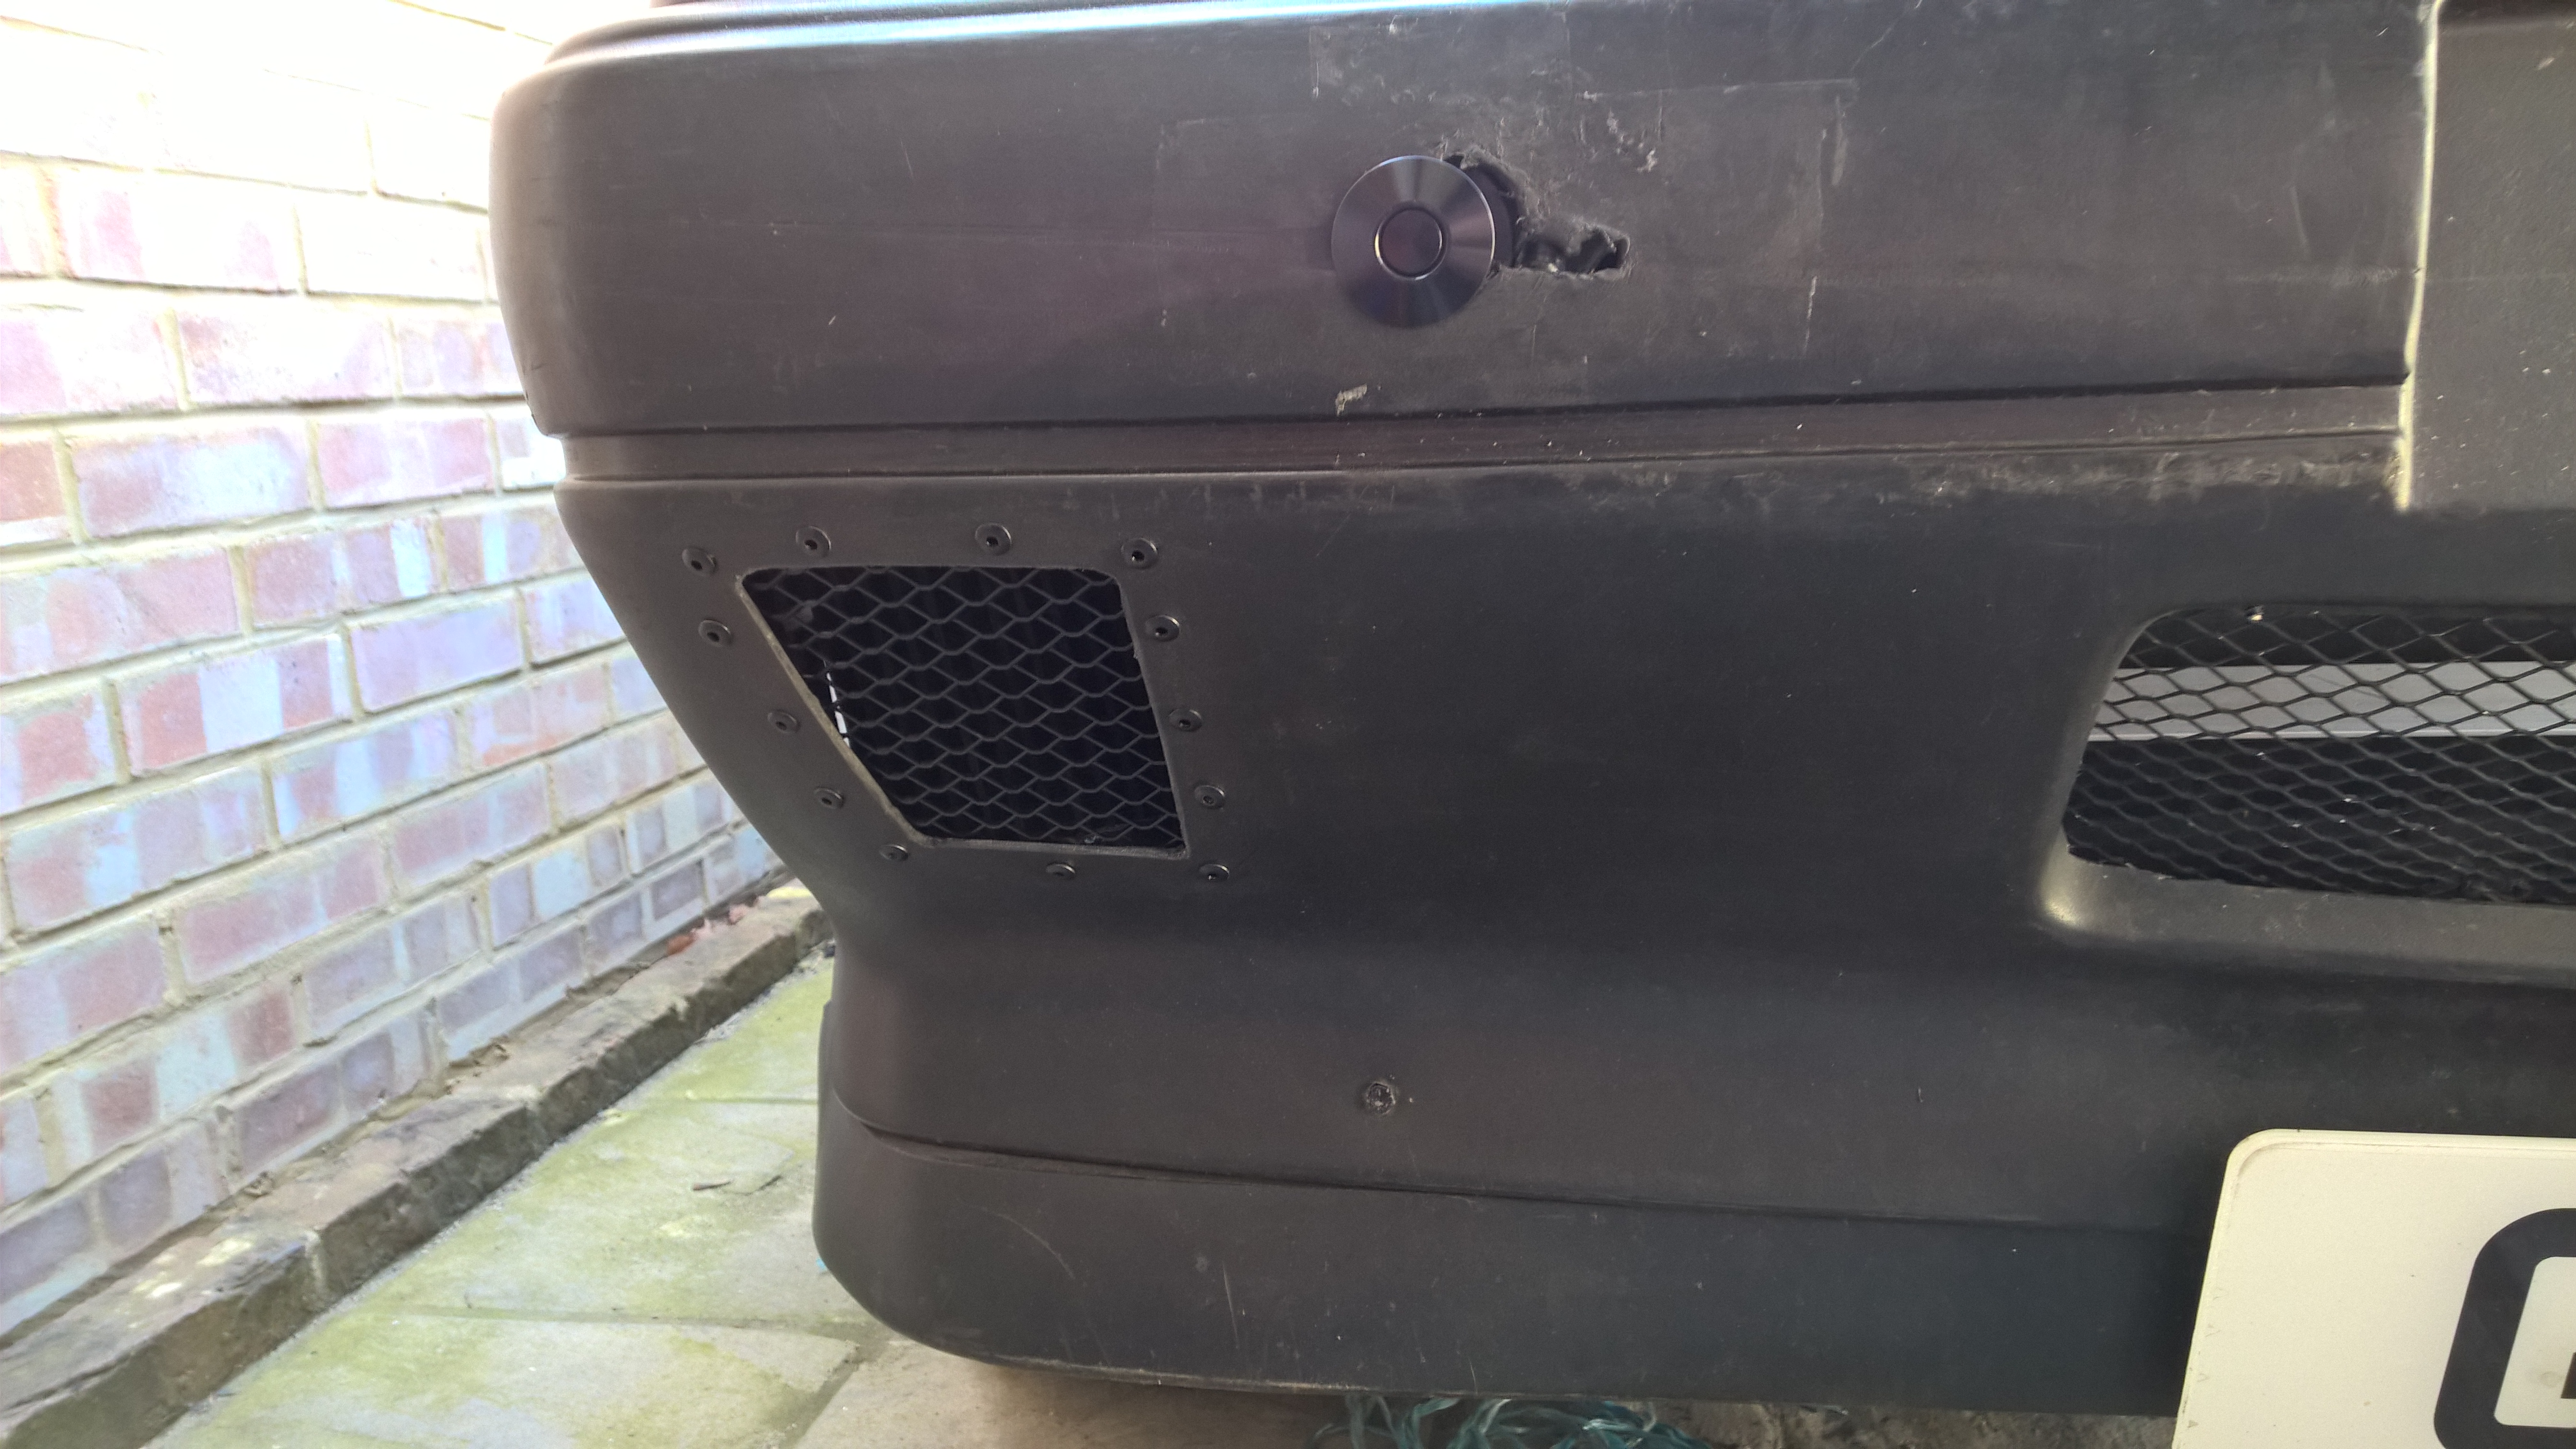
 I know its not really about looks with this car particularly but i can't help thinking some ABS black plastic mesh would look so much better...
you will have to let us know what events you are taking part in mate, want to see this beast!
 Looks more racey with random vents in odd places anyway I think
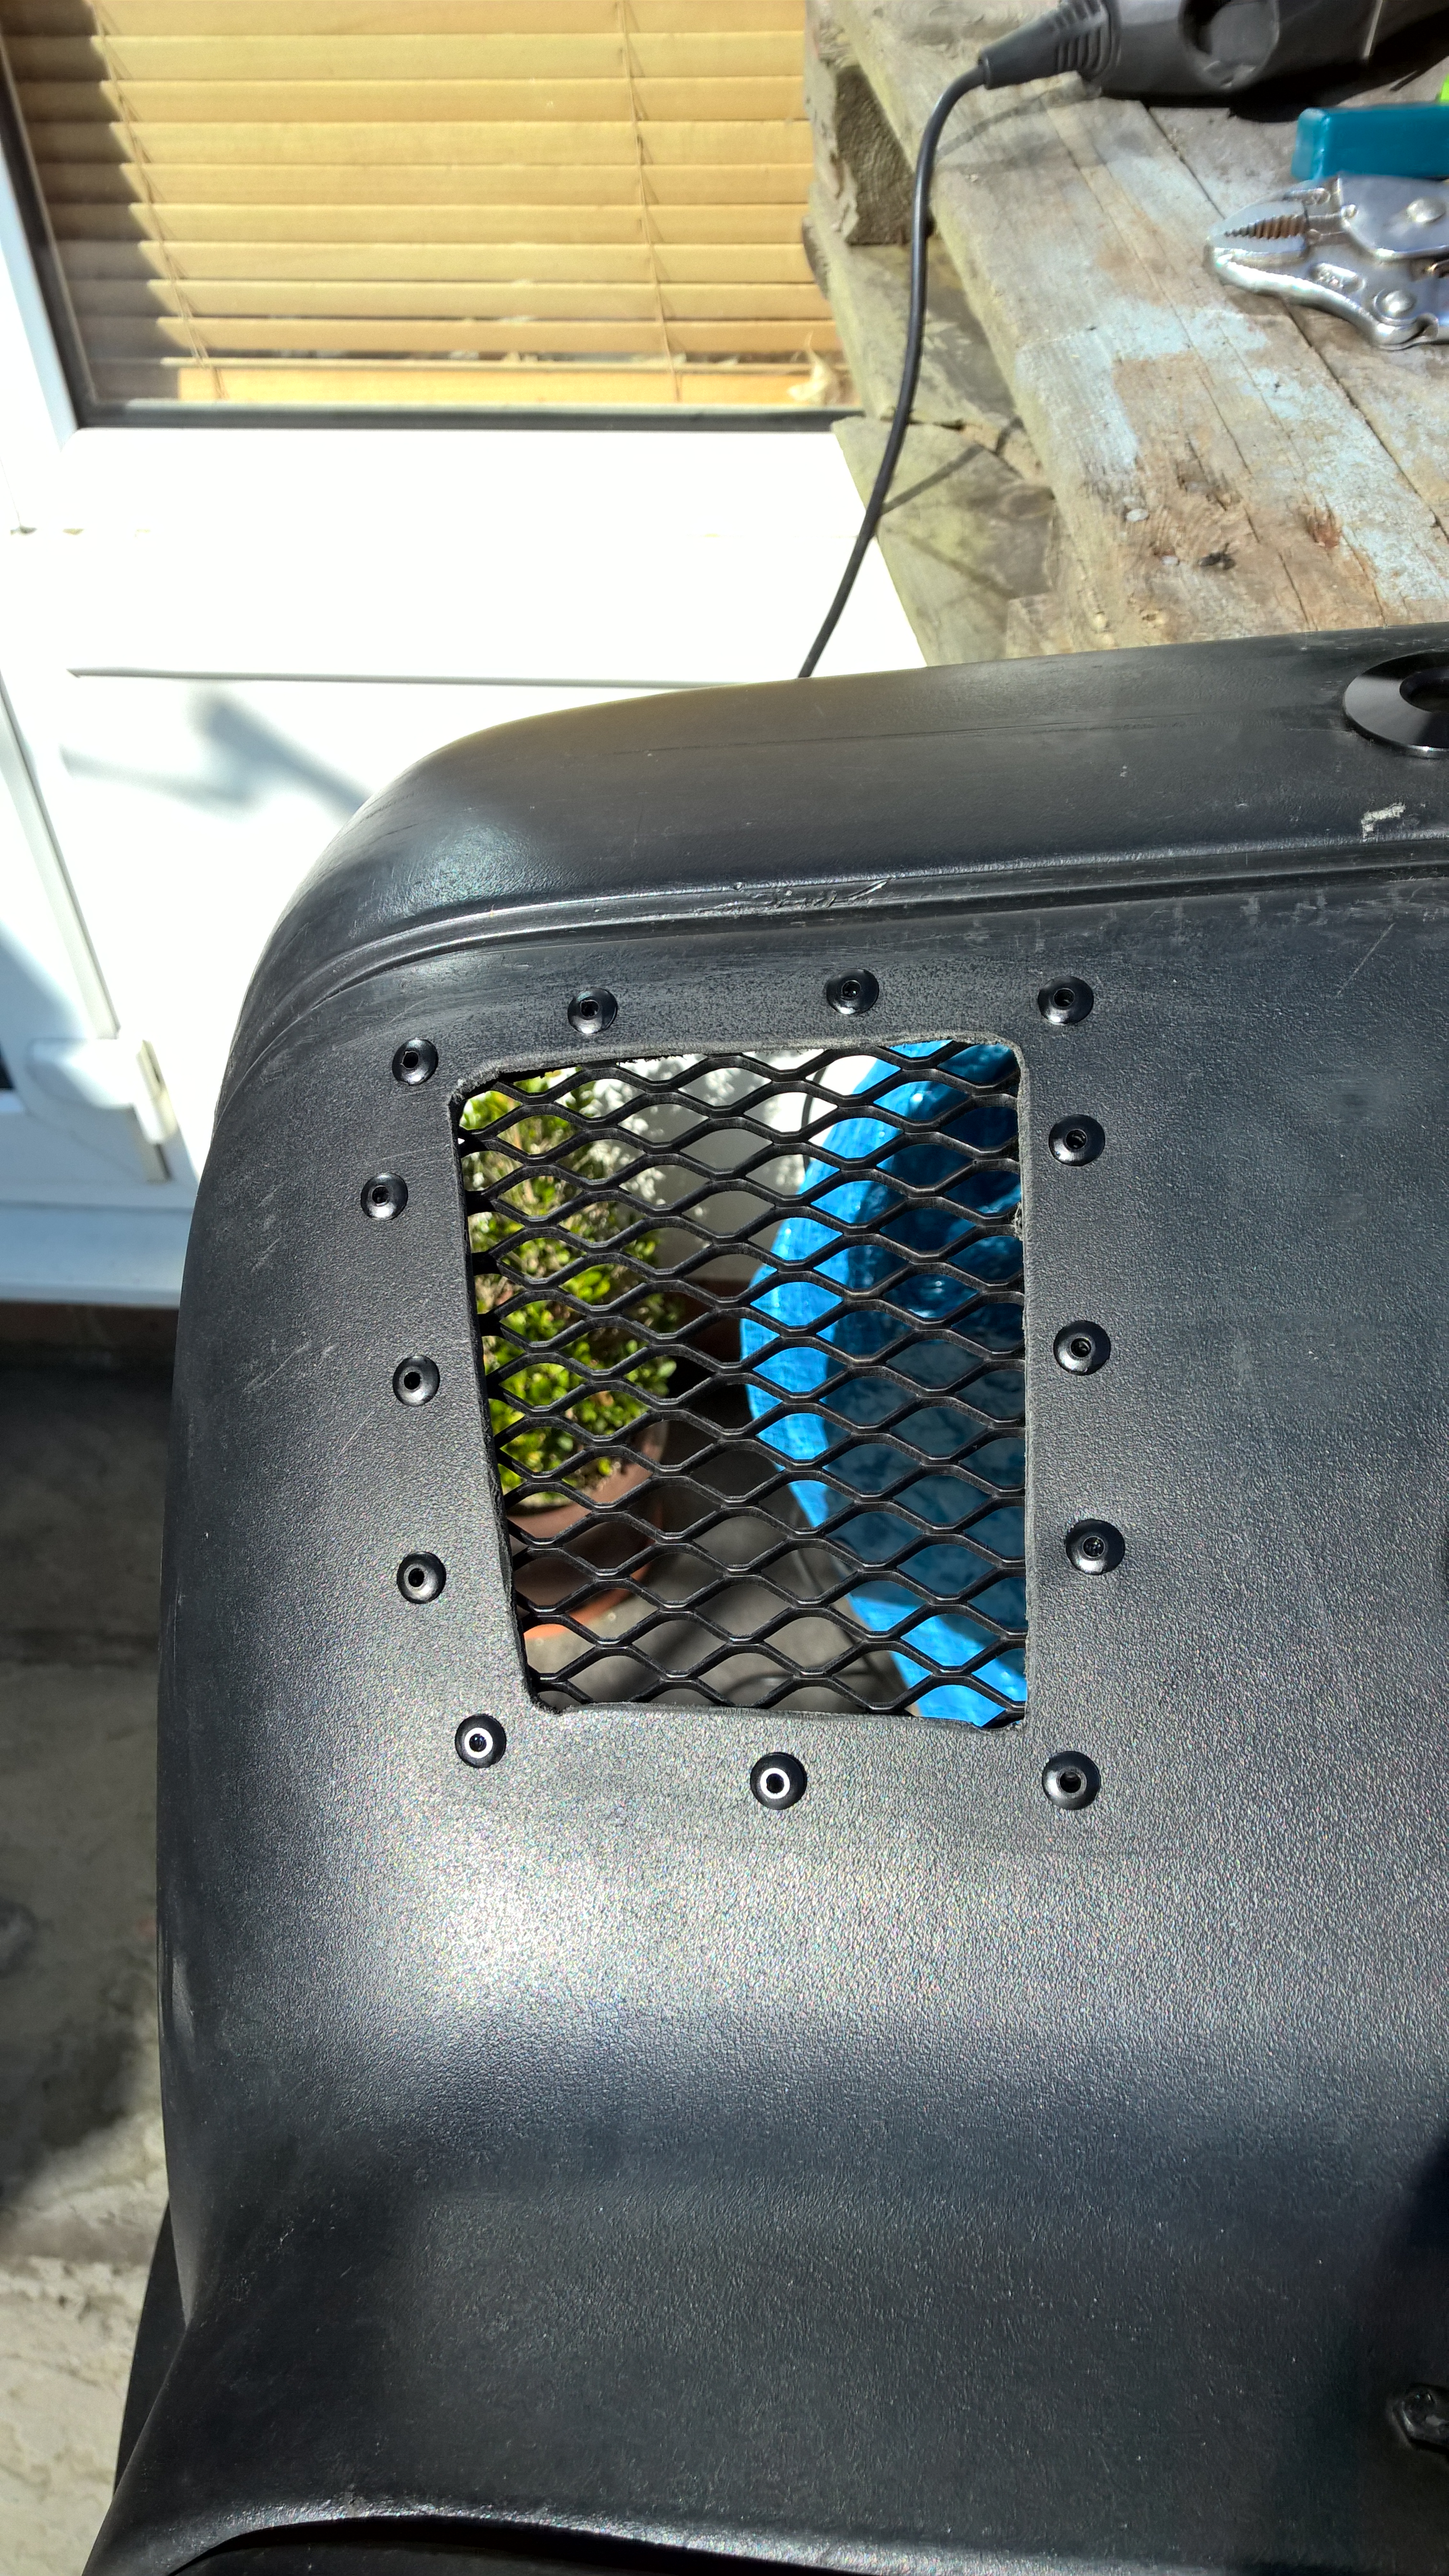
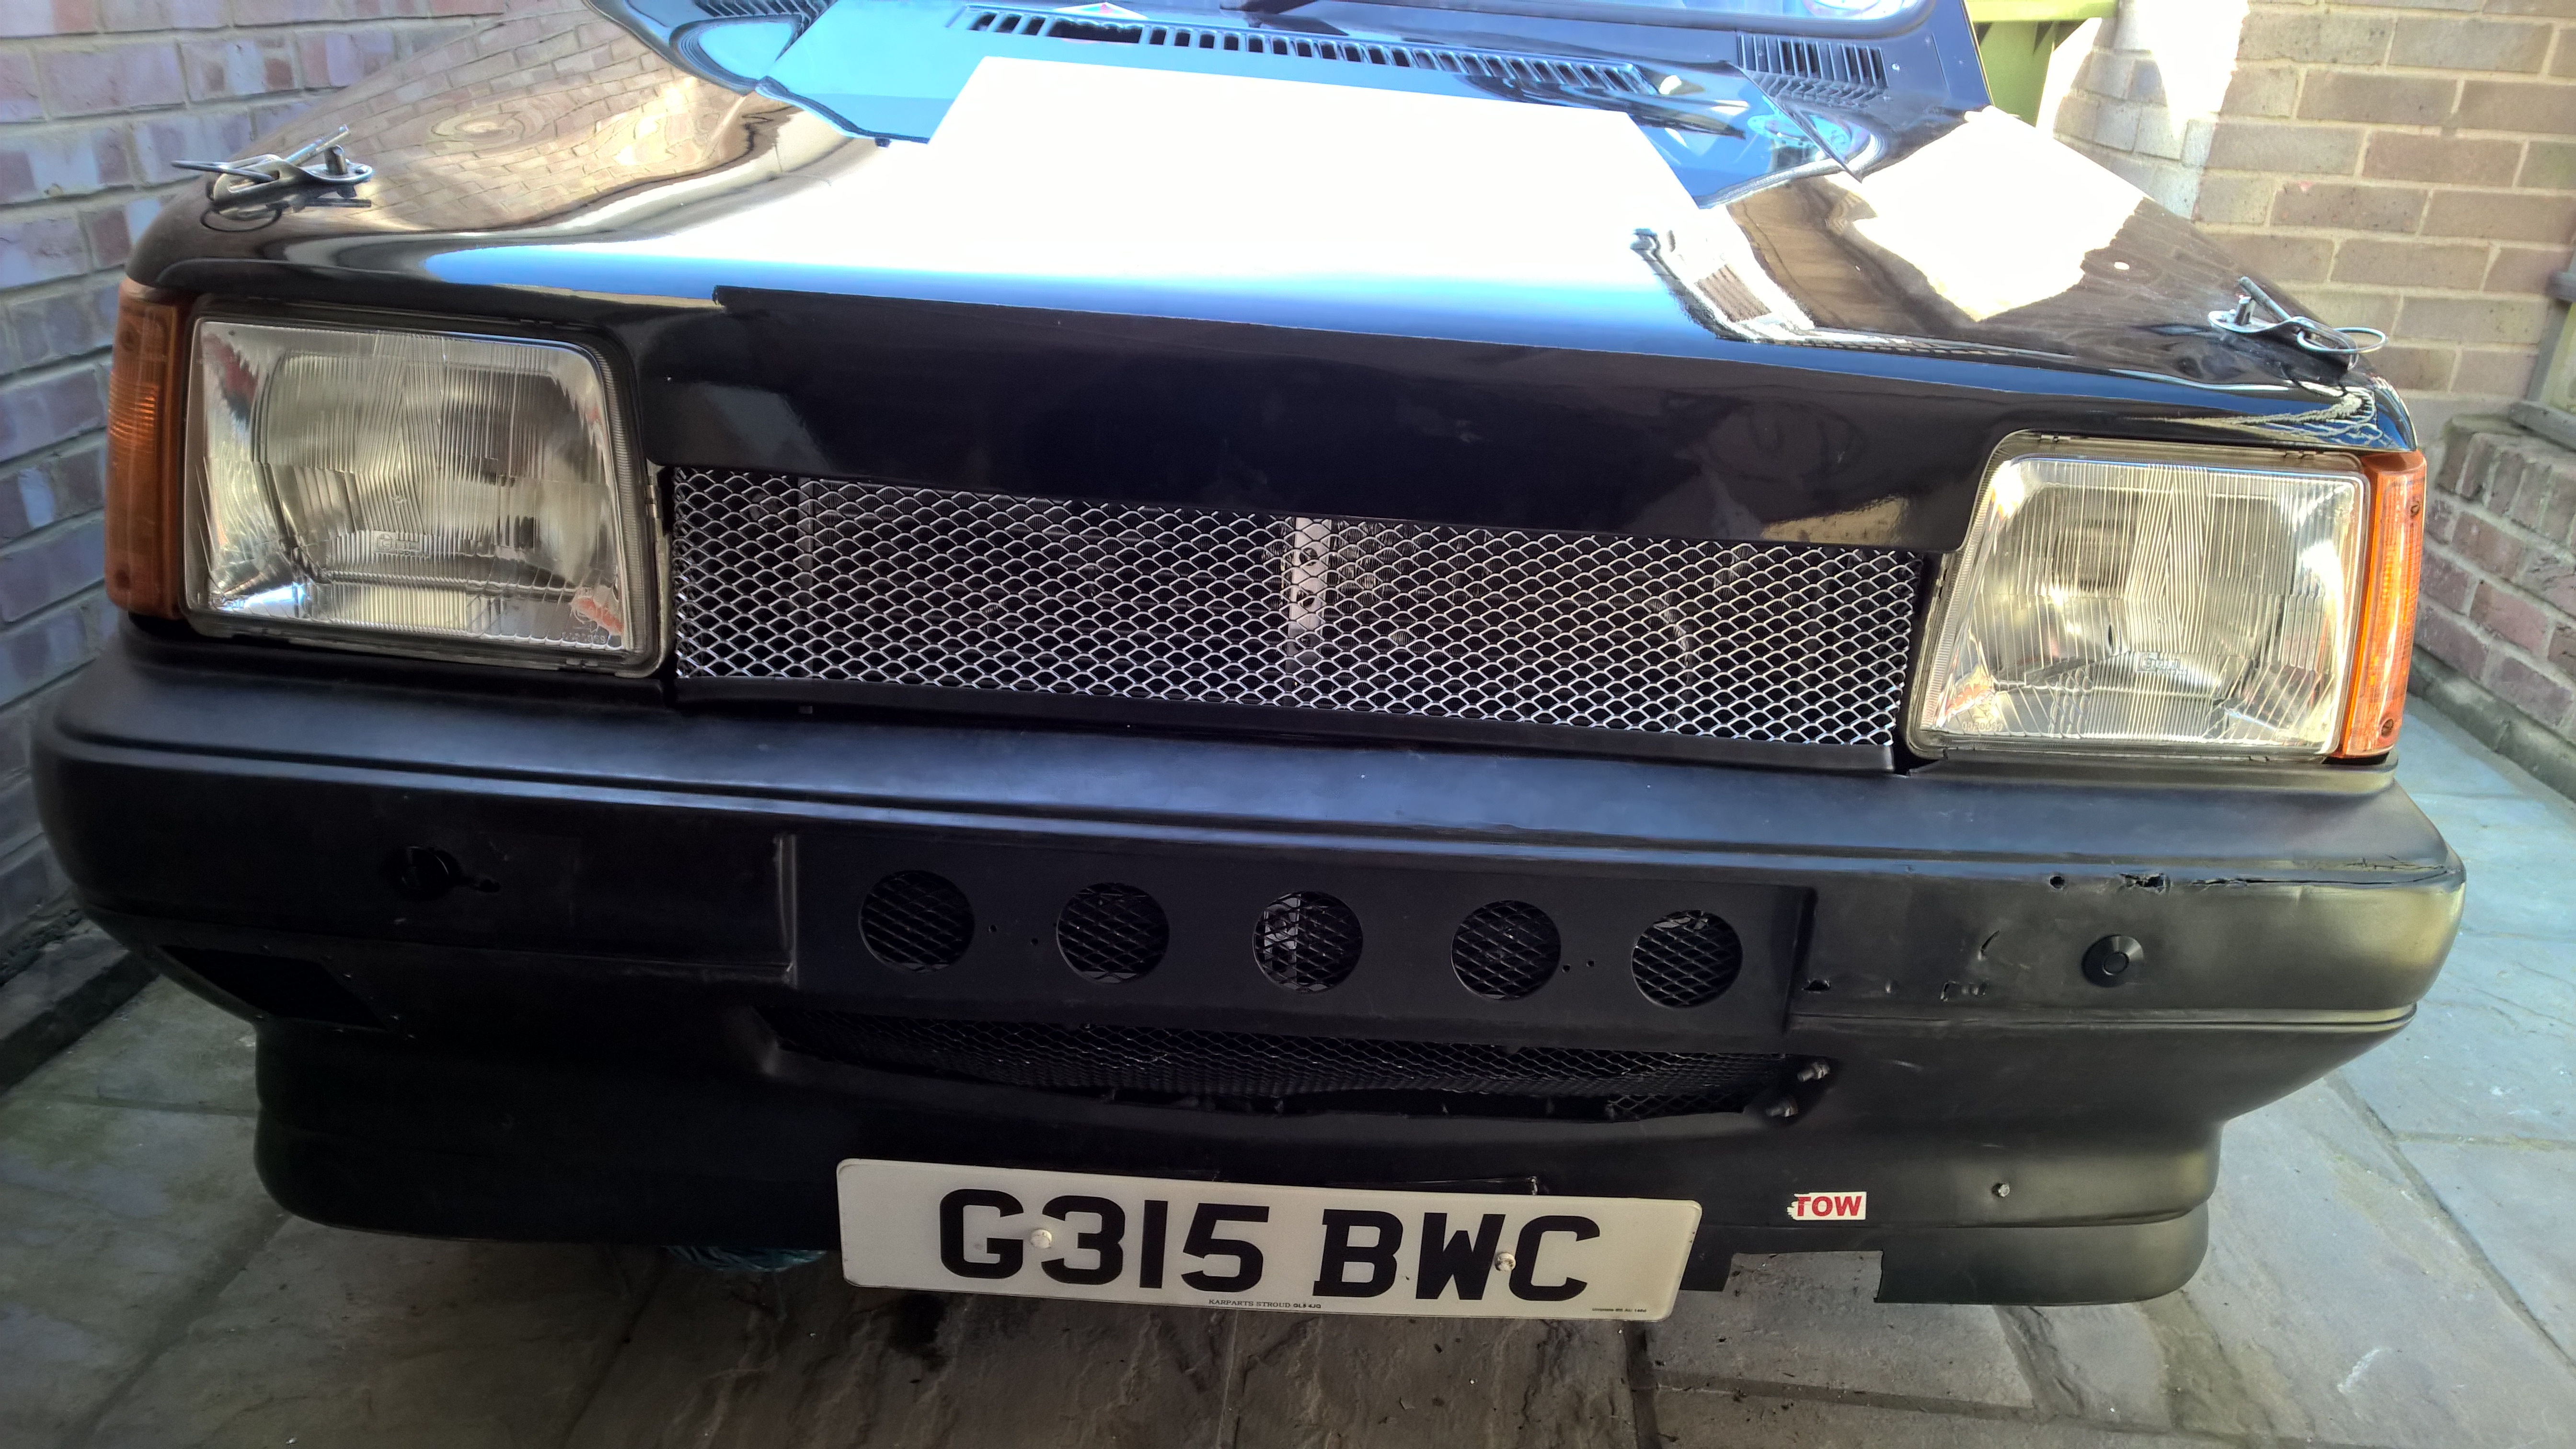
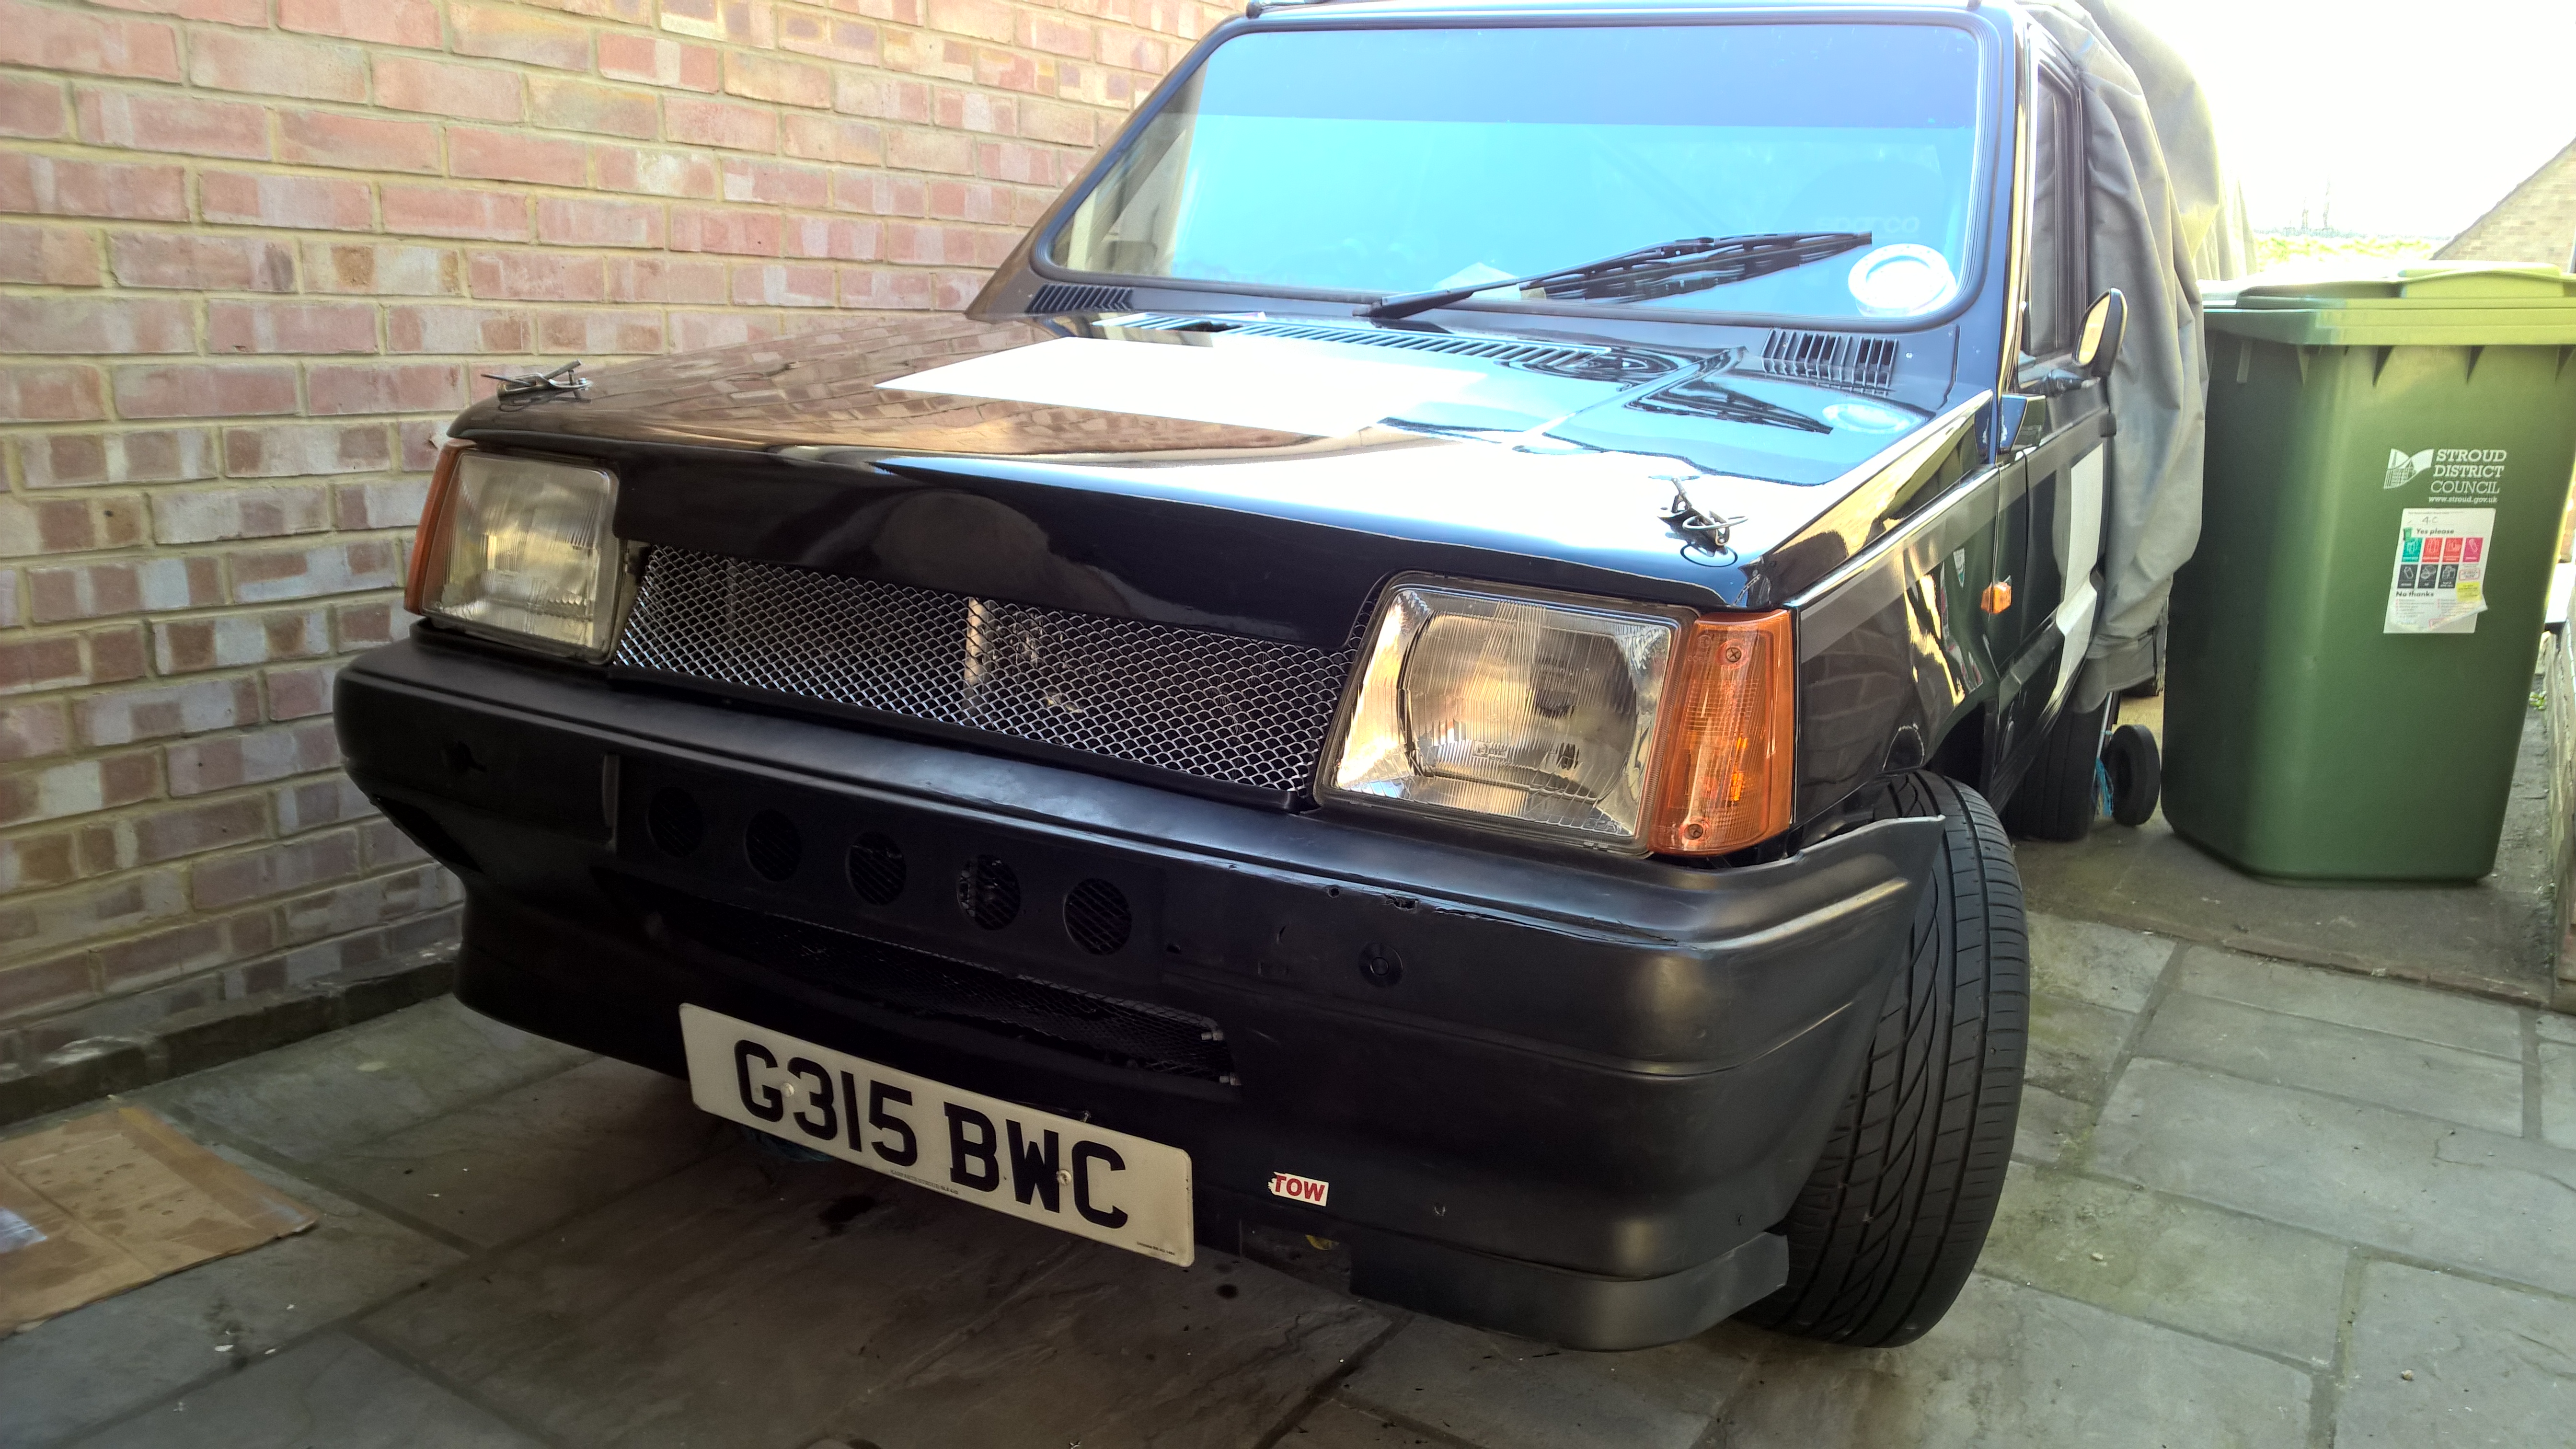
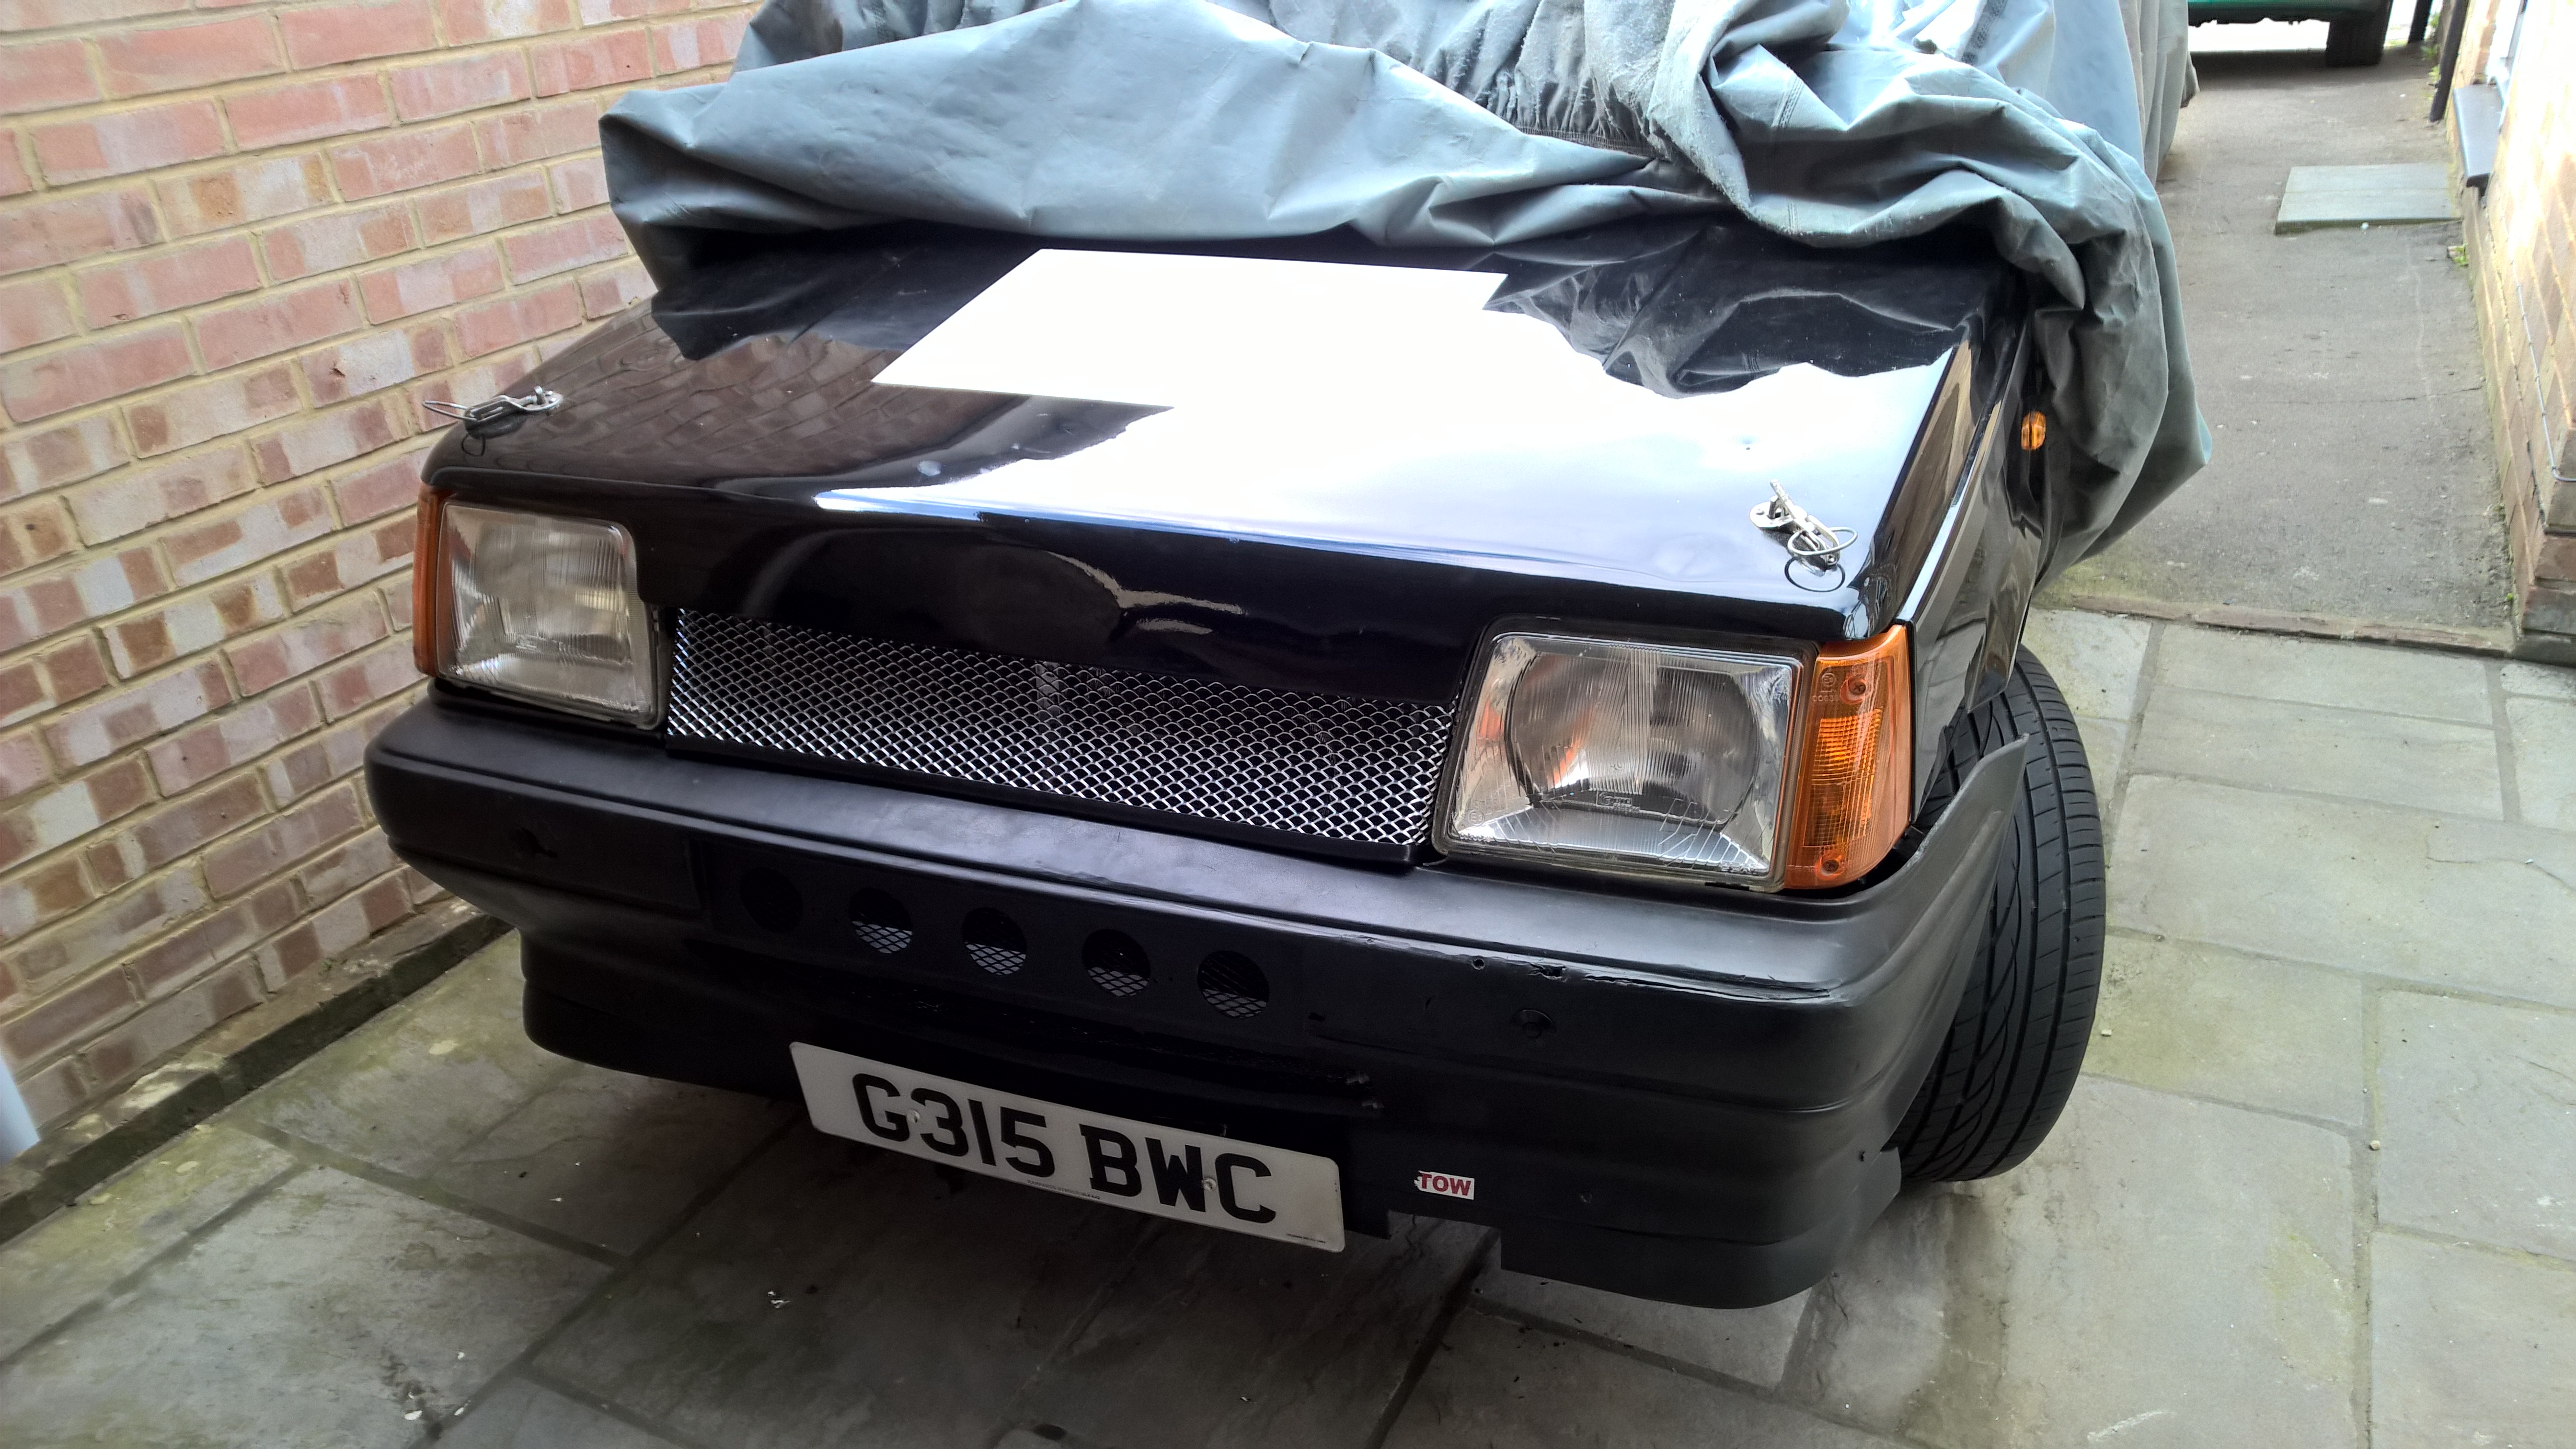
All this black paint, fishnets & rivets is starting to look kinky. I like it
) together. I think it's looking great - and form is definitely following function, but I'd like to see it with the grill's rake matched to the headlamps' for comparison... please.
'Droop Snoot' stylie.
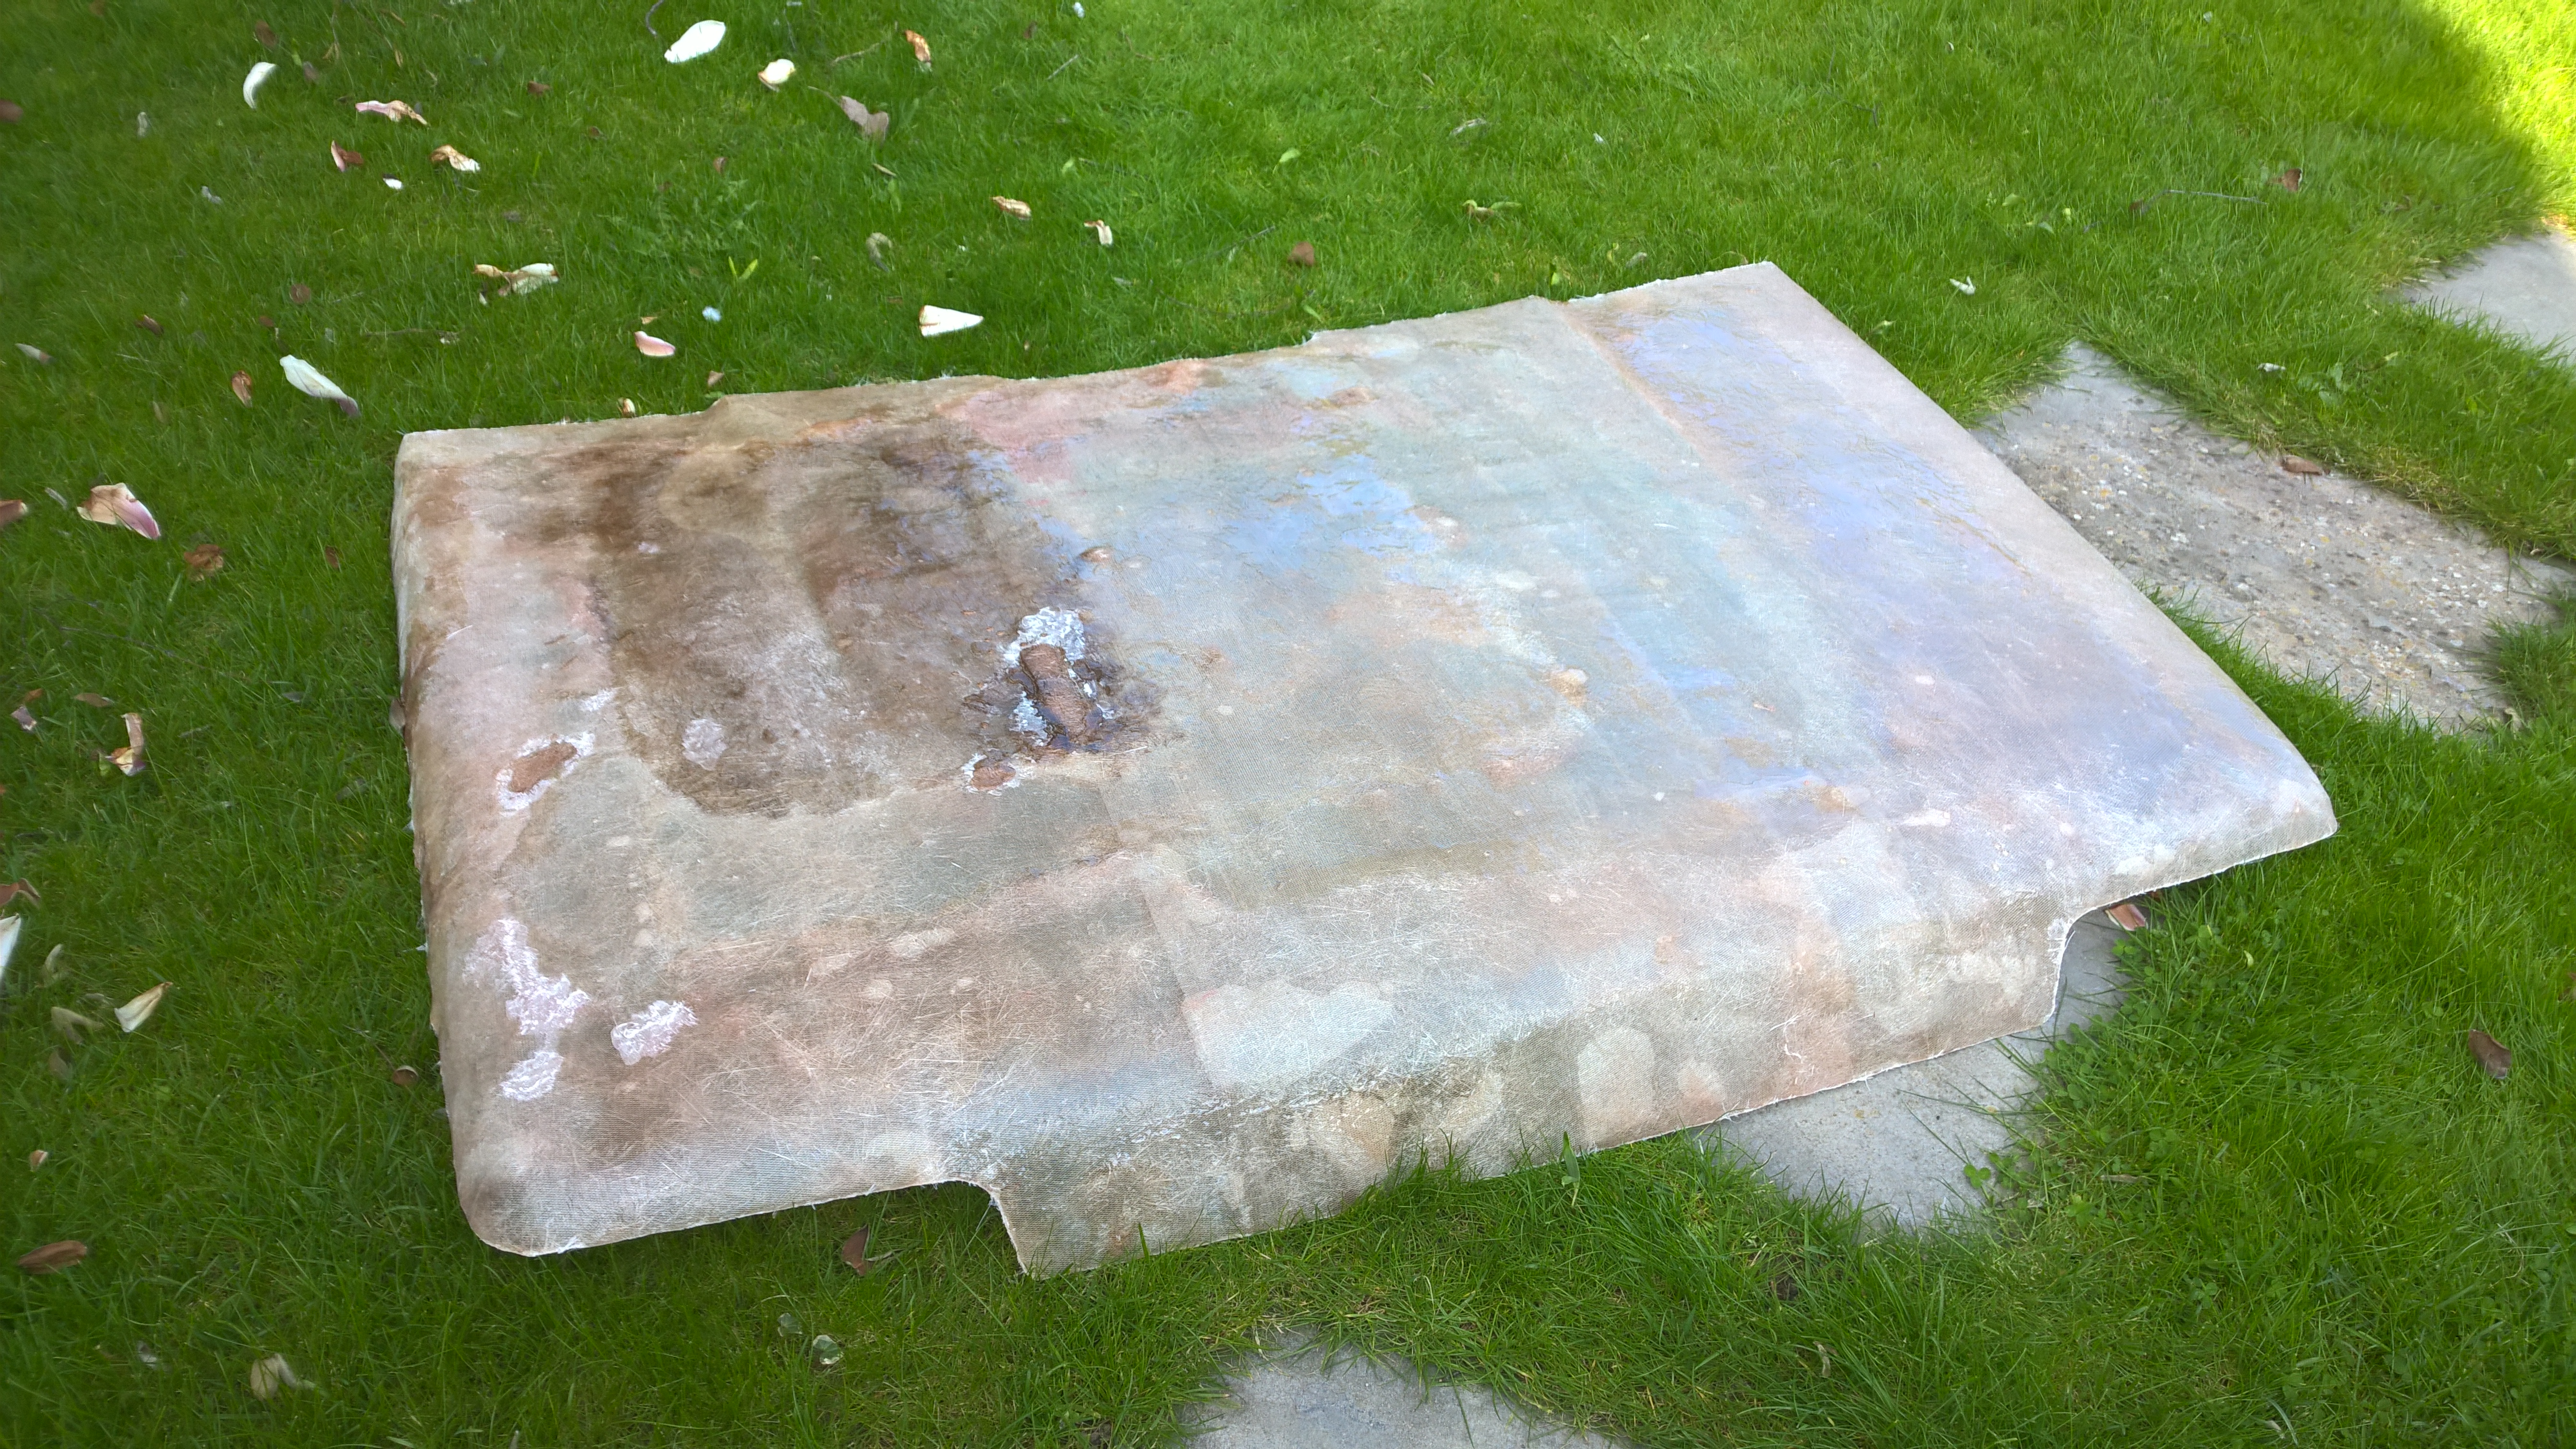
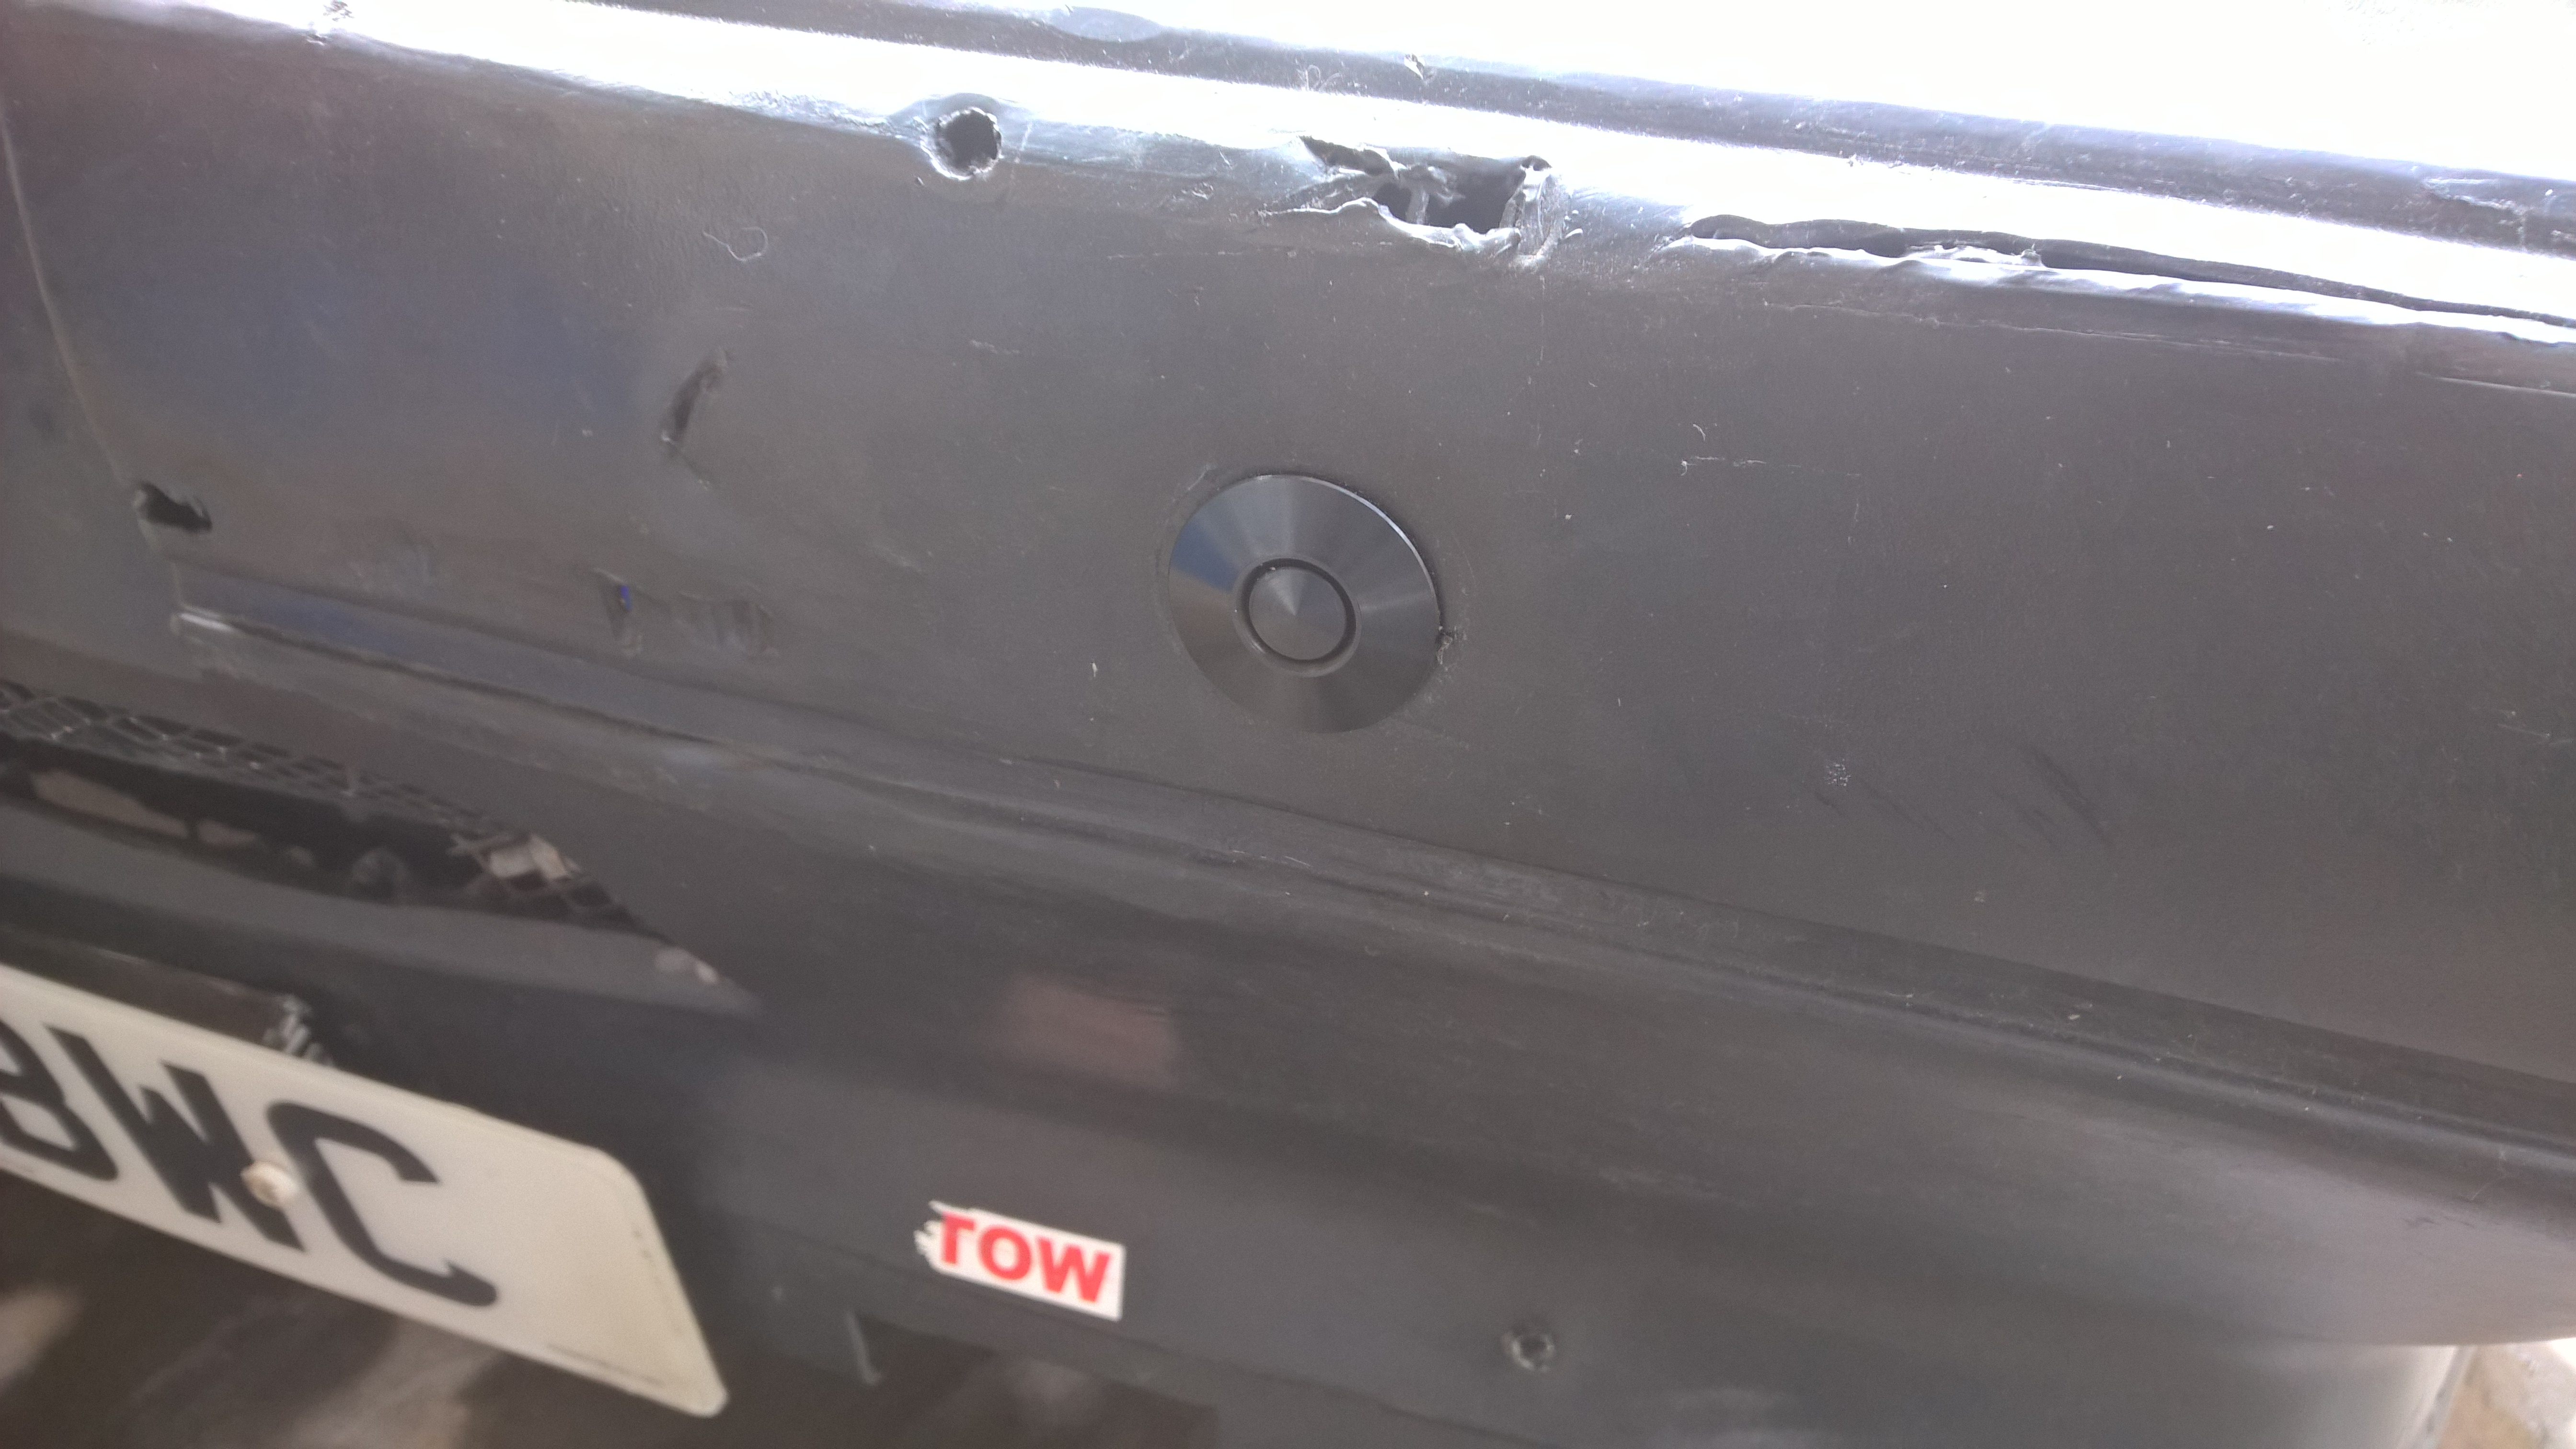
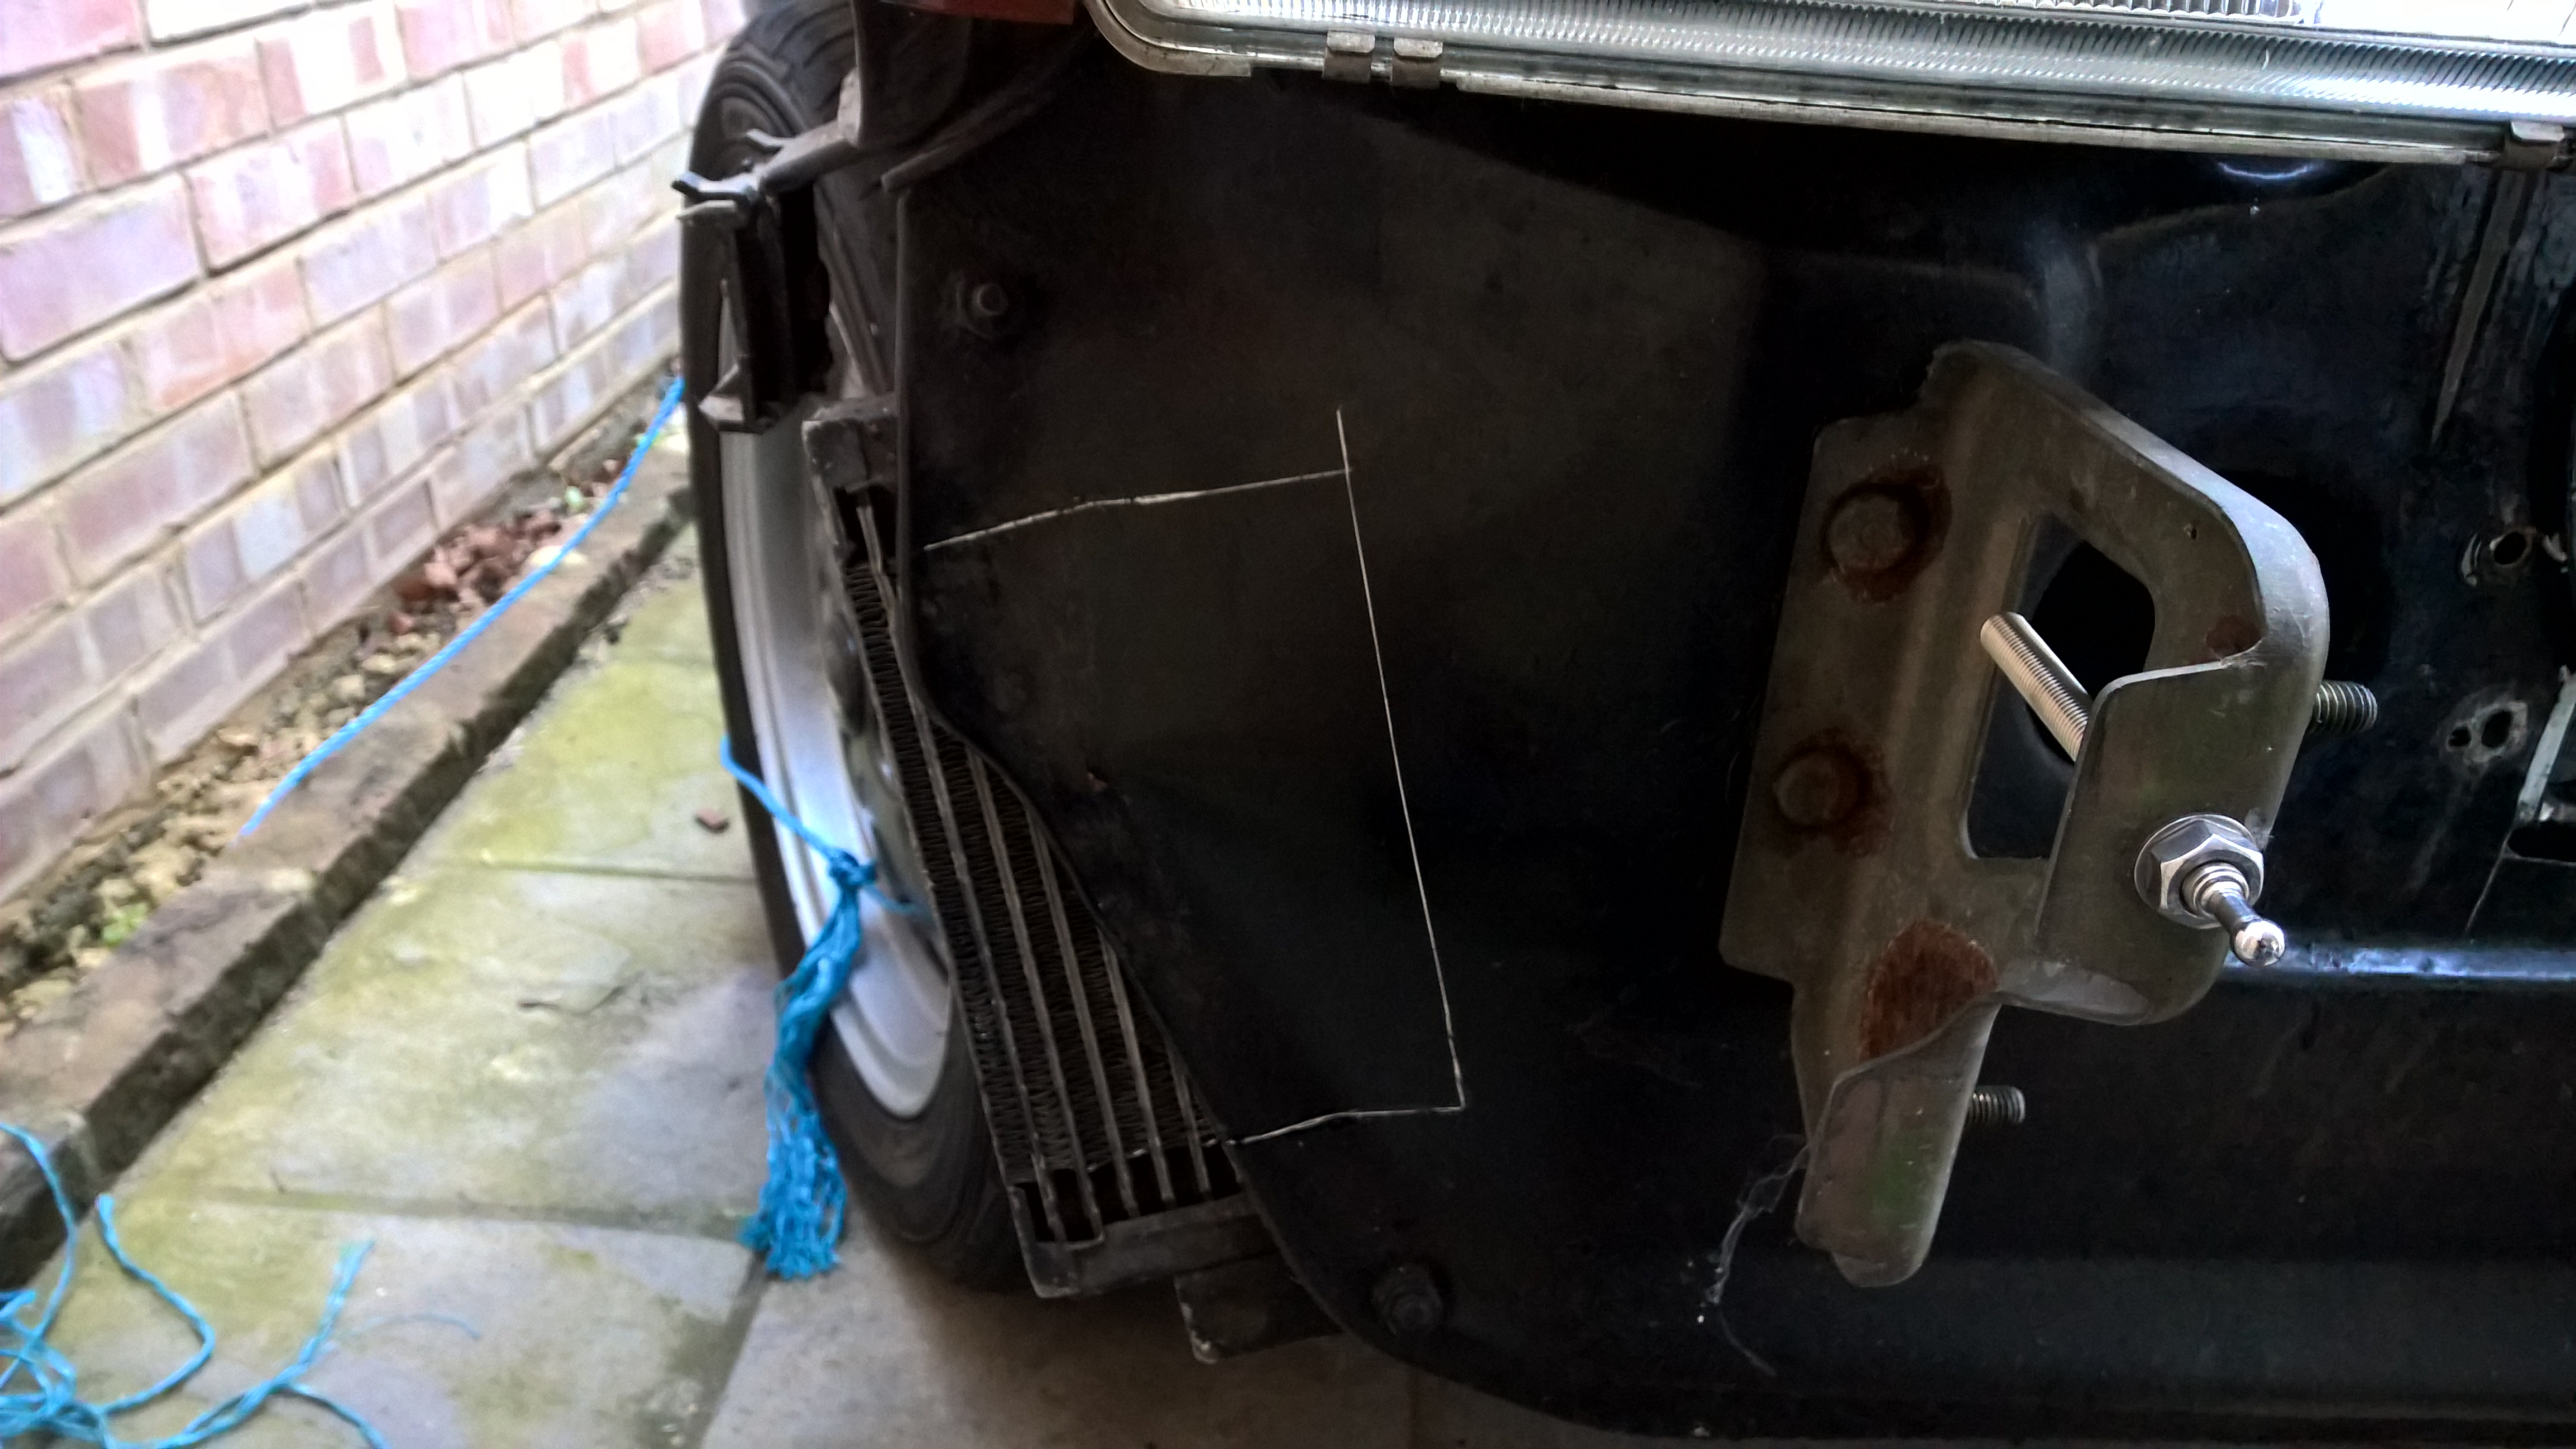
ok I'll, I'll snap a photo of it when I take it back off to paint the front panel. I might have cut it into shape and limited options a bit now though Possibly a 2016 grille option haha. This changing grilles each season could turn into an obsessive tradition though...I must be careful! This thread makes me so jealous. I miss my turbo, so much fun
Would love to put the combo of turbo and Panda (well almost in your case
...well it's the demented offspring of almost all the Panda spin-offs out there...just missing some 4x4 stuff I think...which would be quite an interesting project in fact :devil: If funds ever allow for it, can't just bolt an already turbo engine in unfortunately, would need to turbocharge a N/A FIRE engine, which gets very expensiveBut yeah, would be great to have another Panda turbo beast to race against, so I say go for it :slayer:
 )...
)...