Introduction
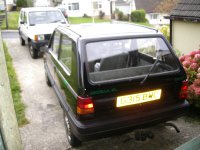
Here is the latest addition:

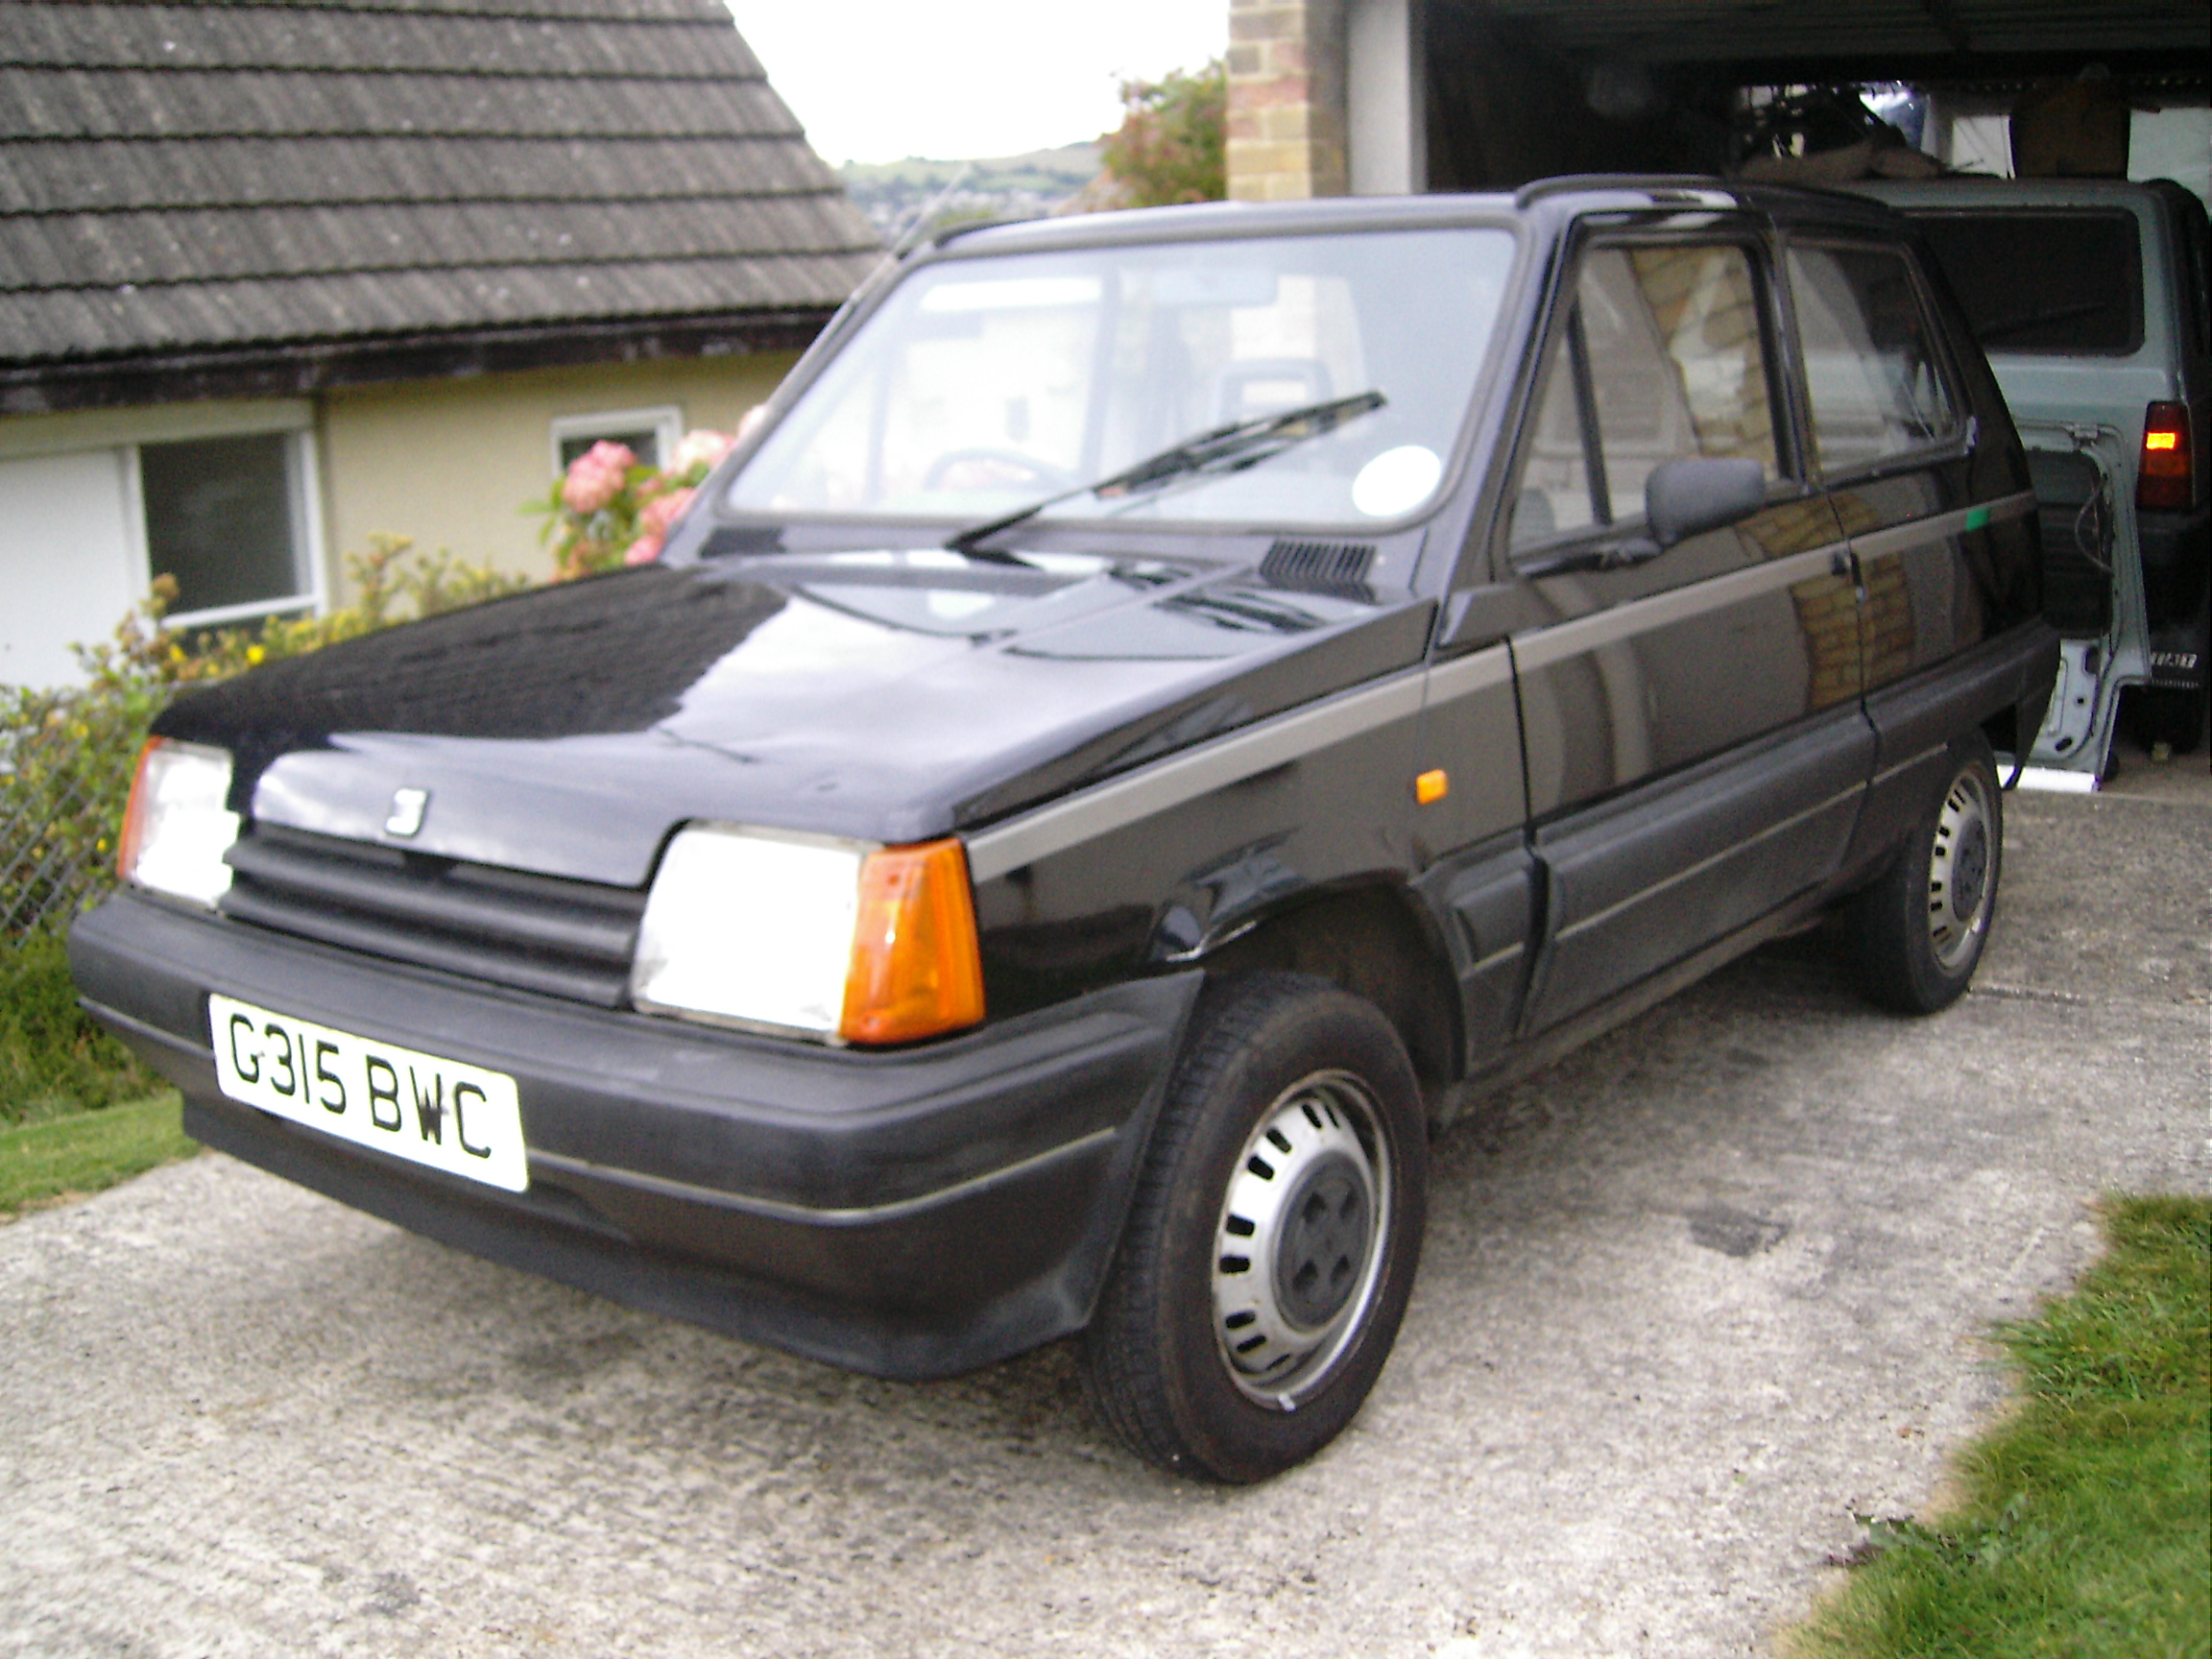


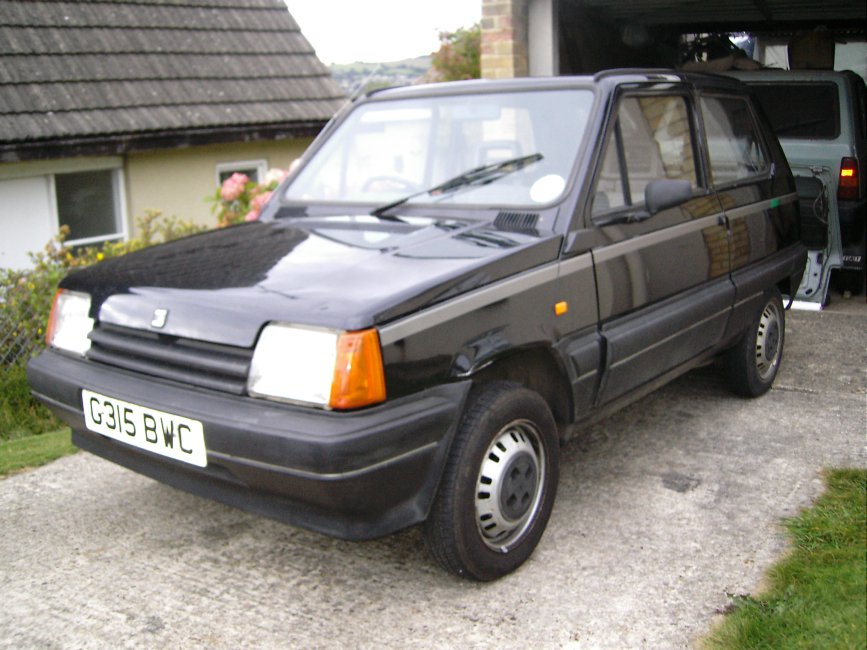
Saw these and thought of the marbella
http://www.ebay.co.uk/itm/Retro-6x1..._Car_Rims_ET&hash=item3ce35bc099#ht_215wt_820
 ...
...
How much weight-saving did you make removing the letter M...?
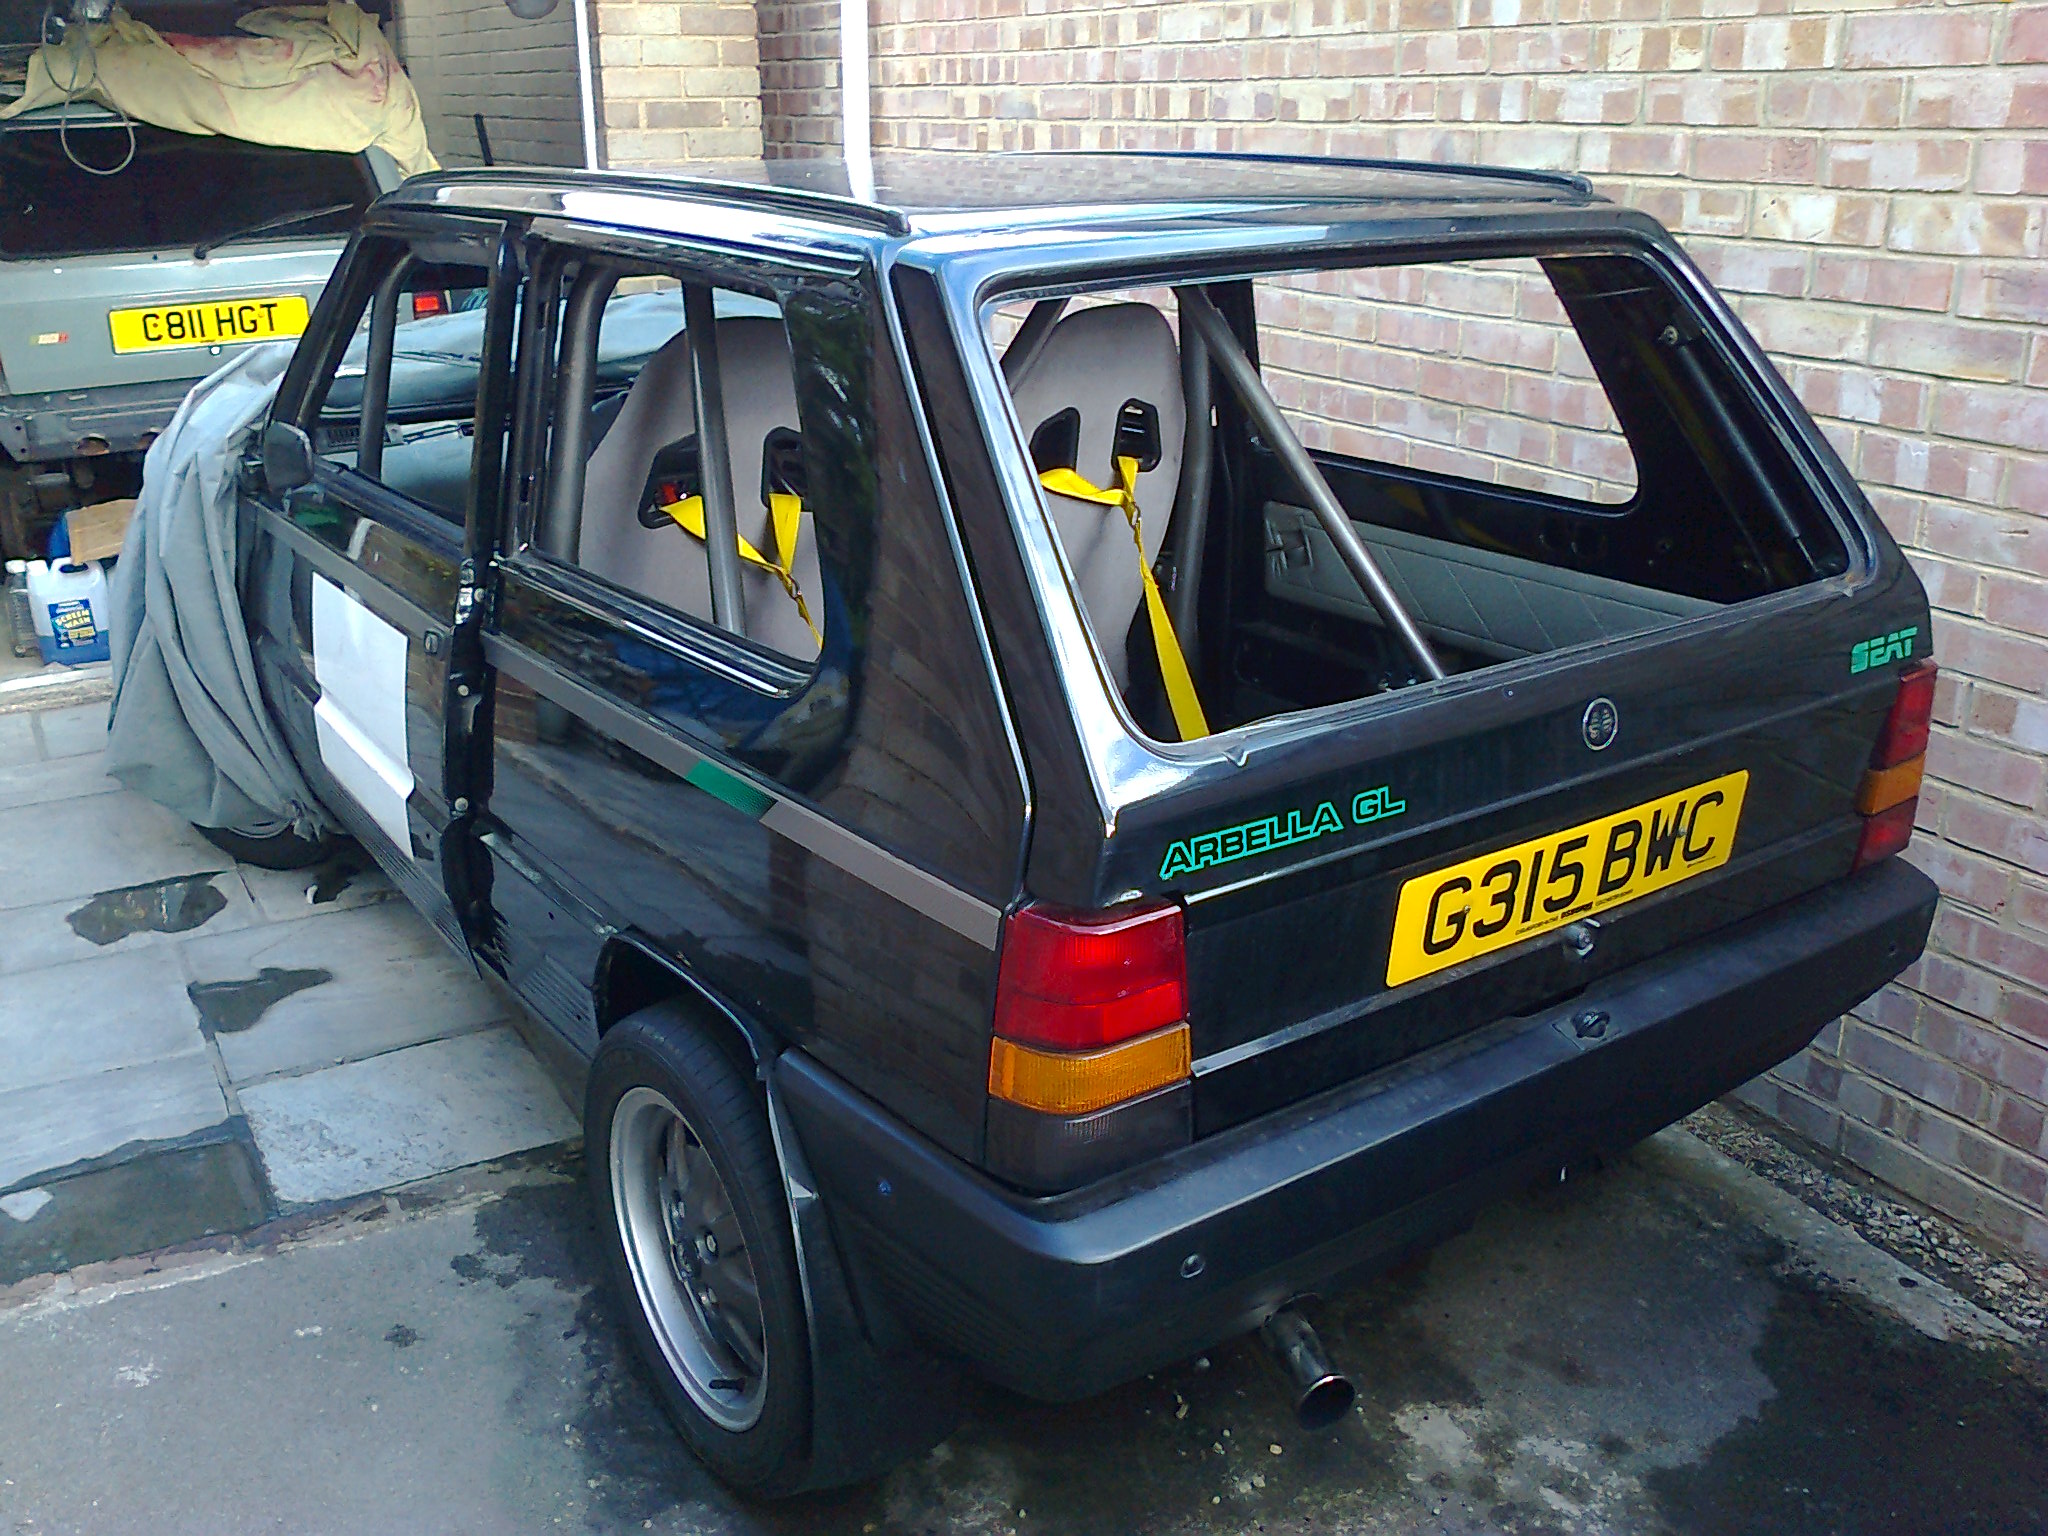
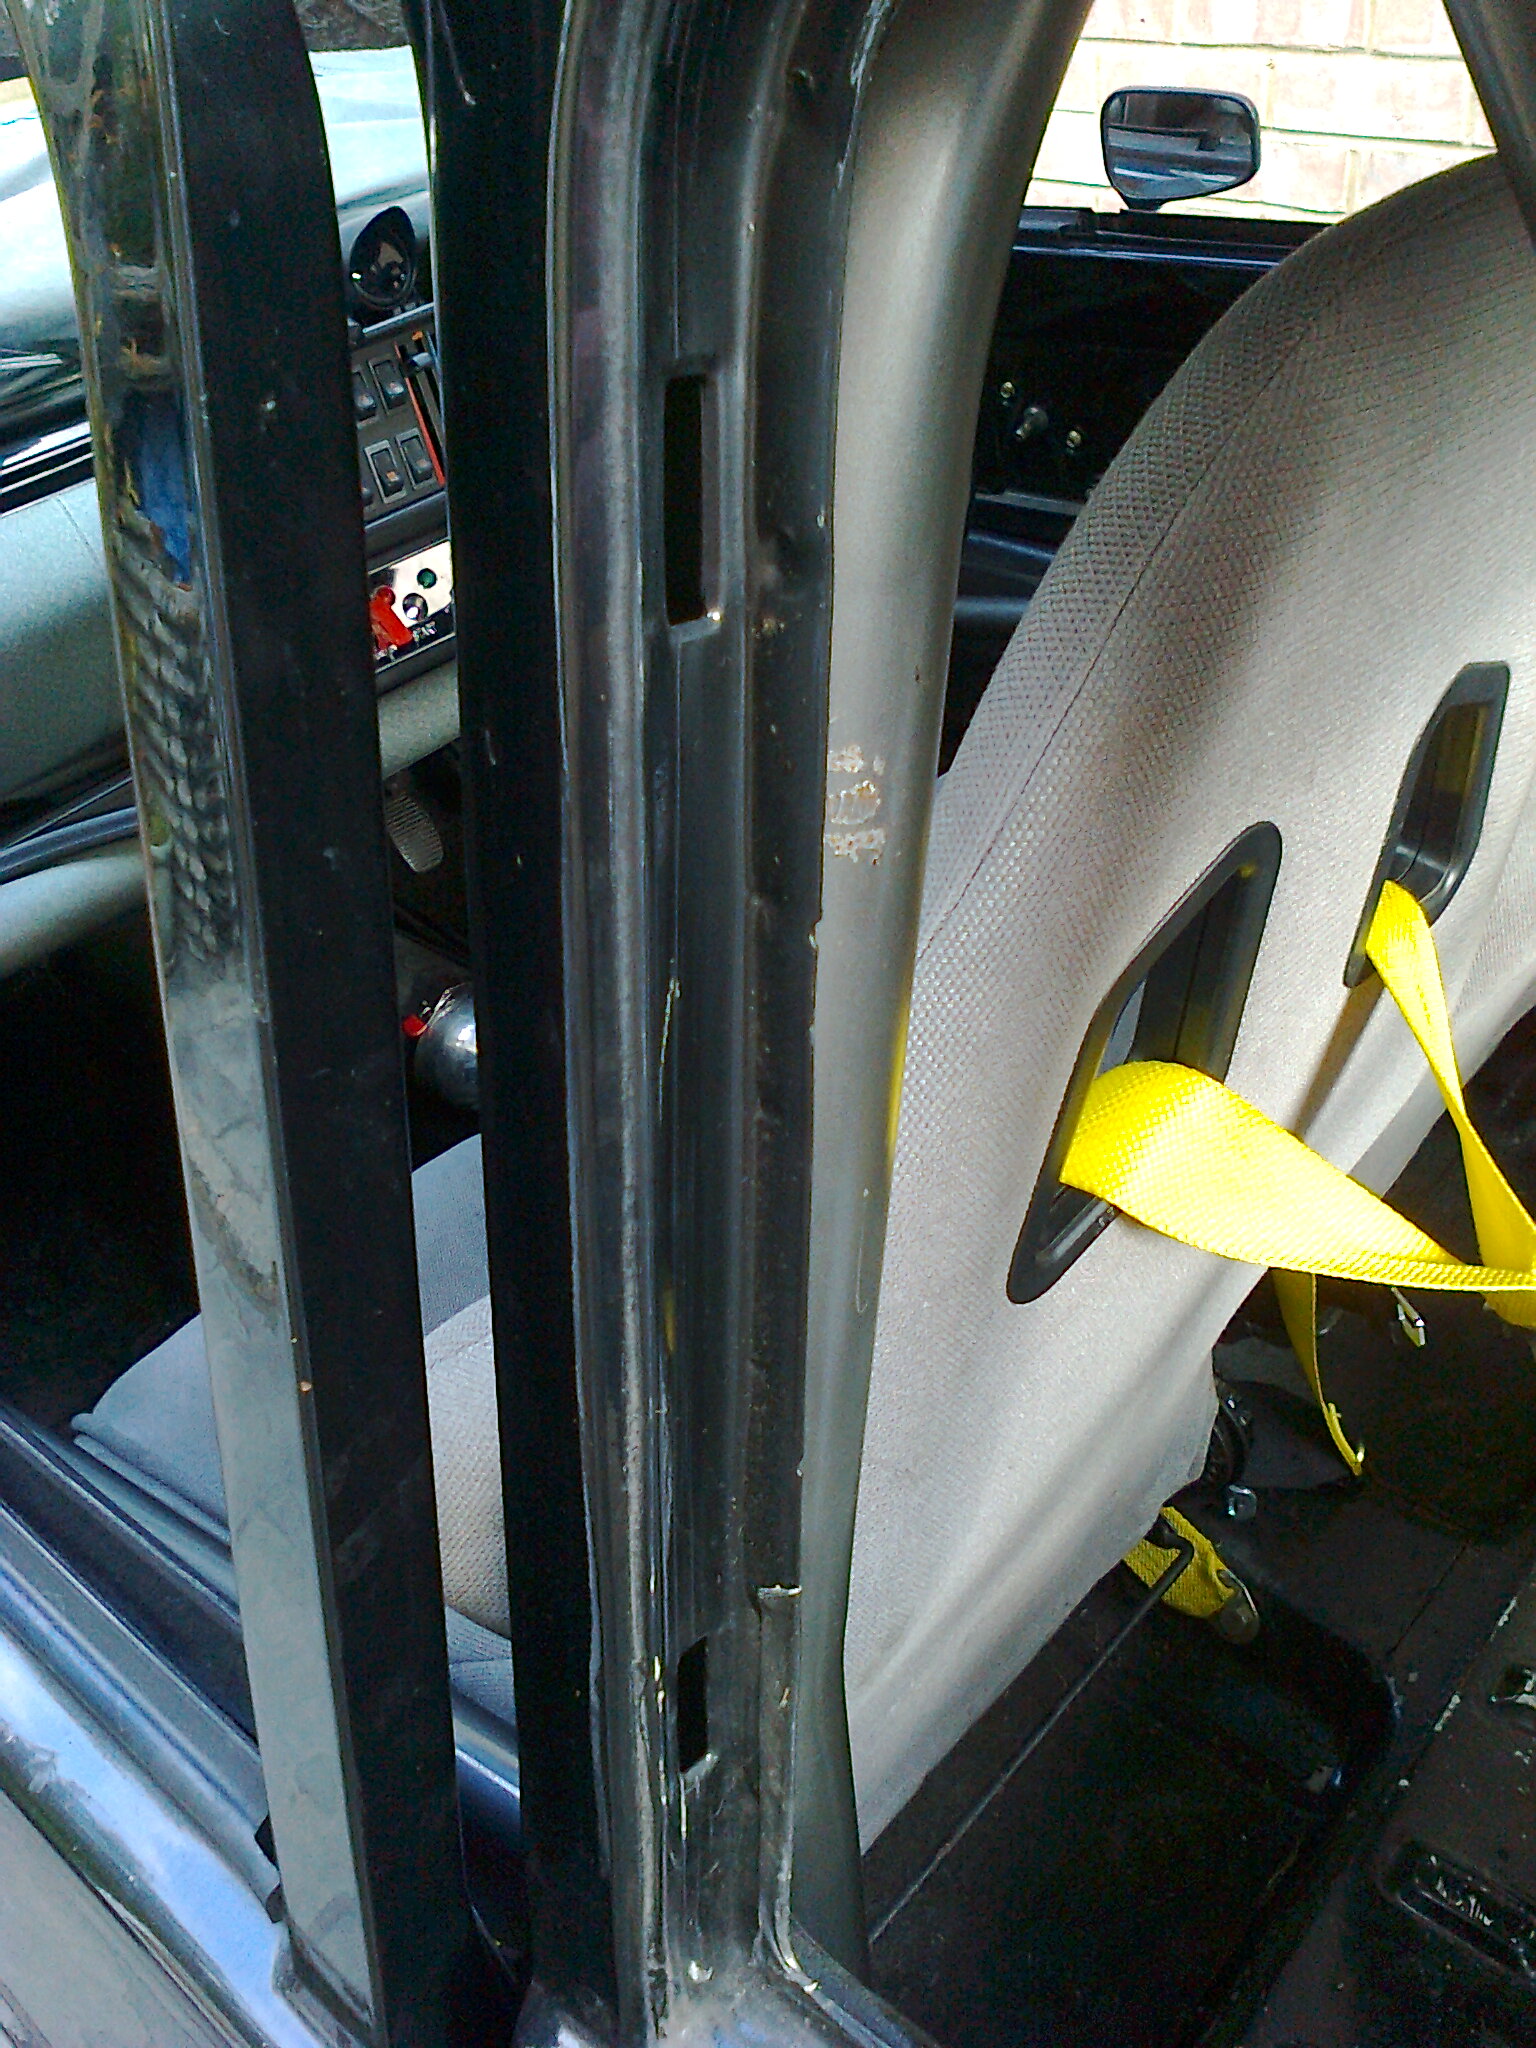
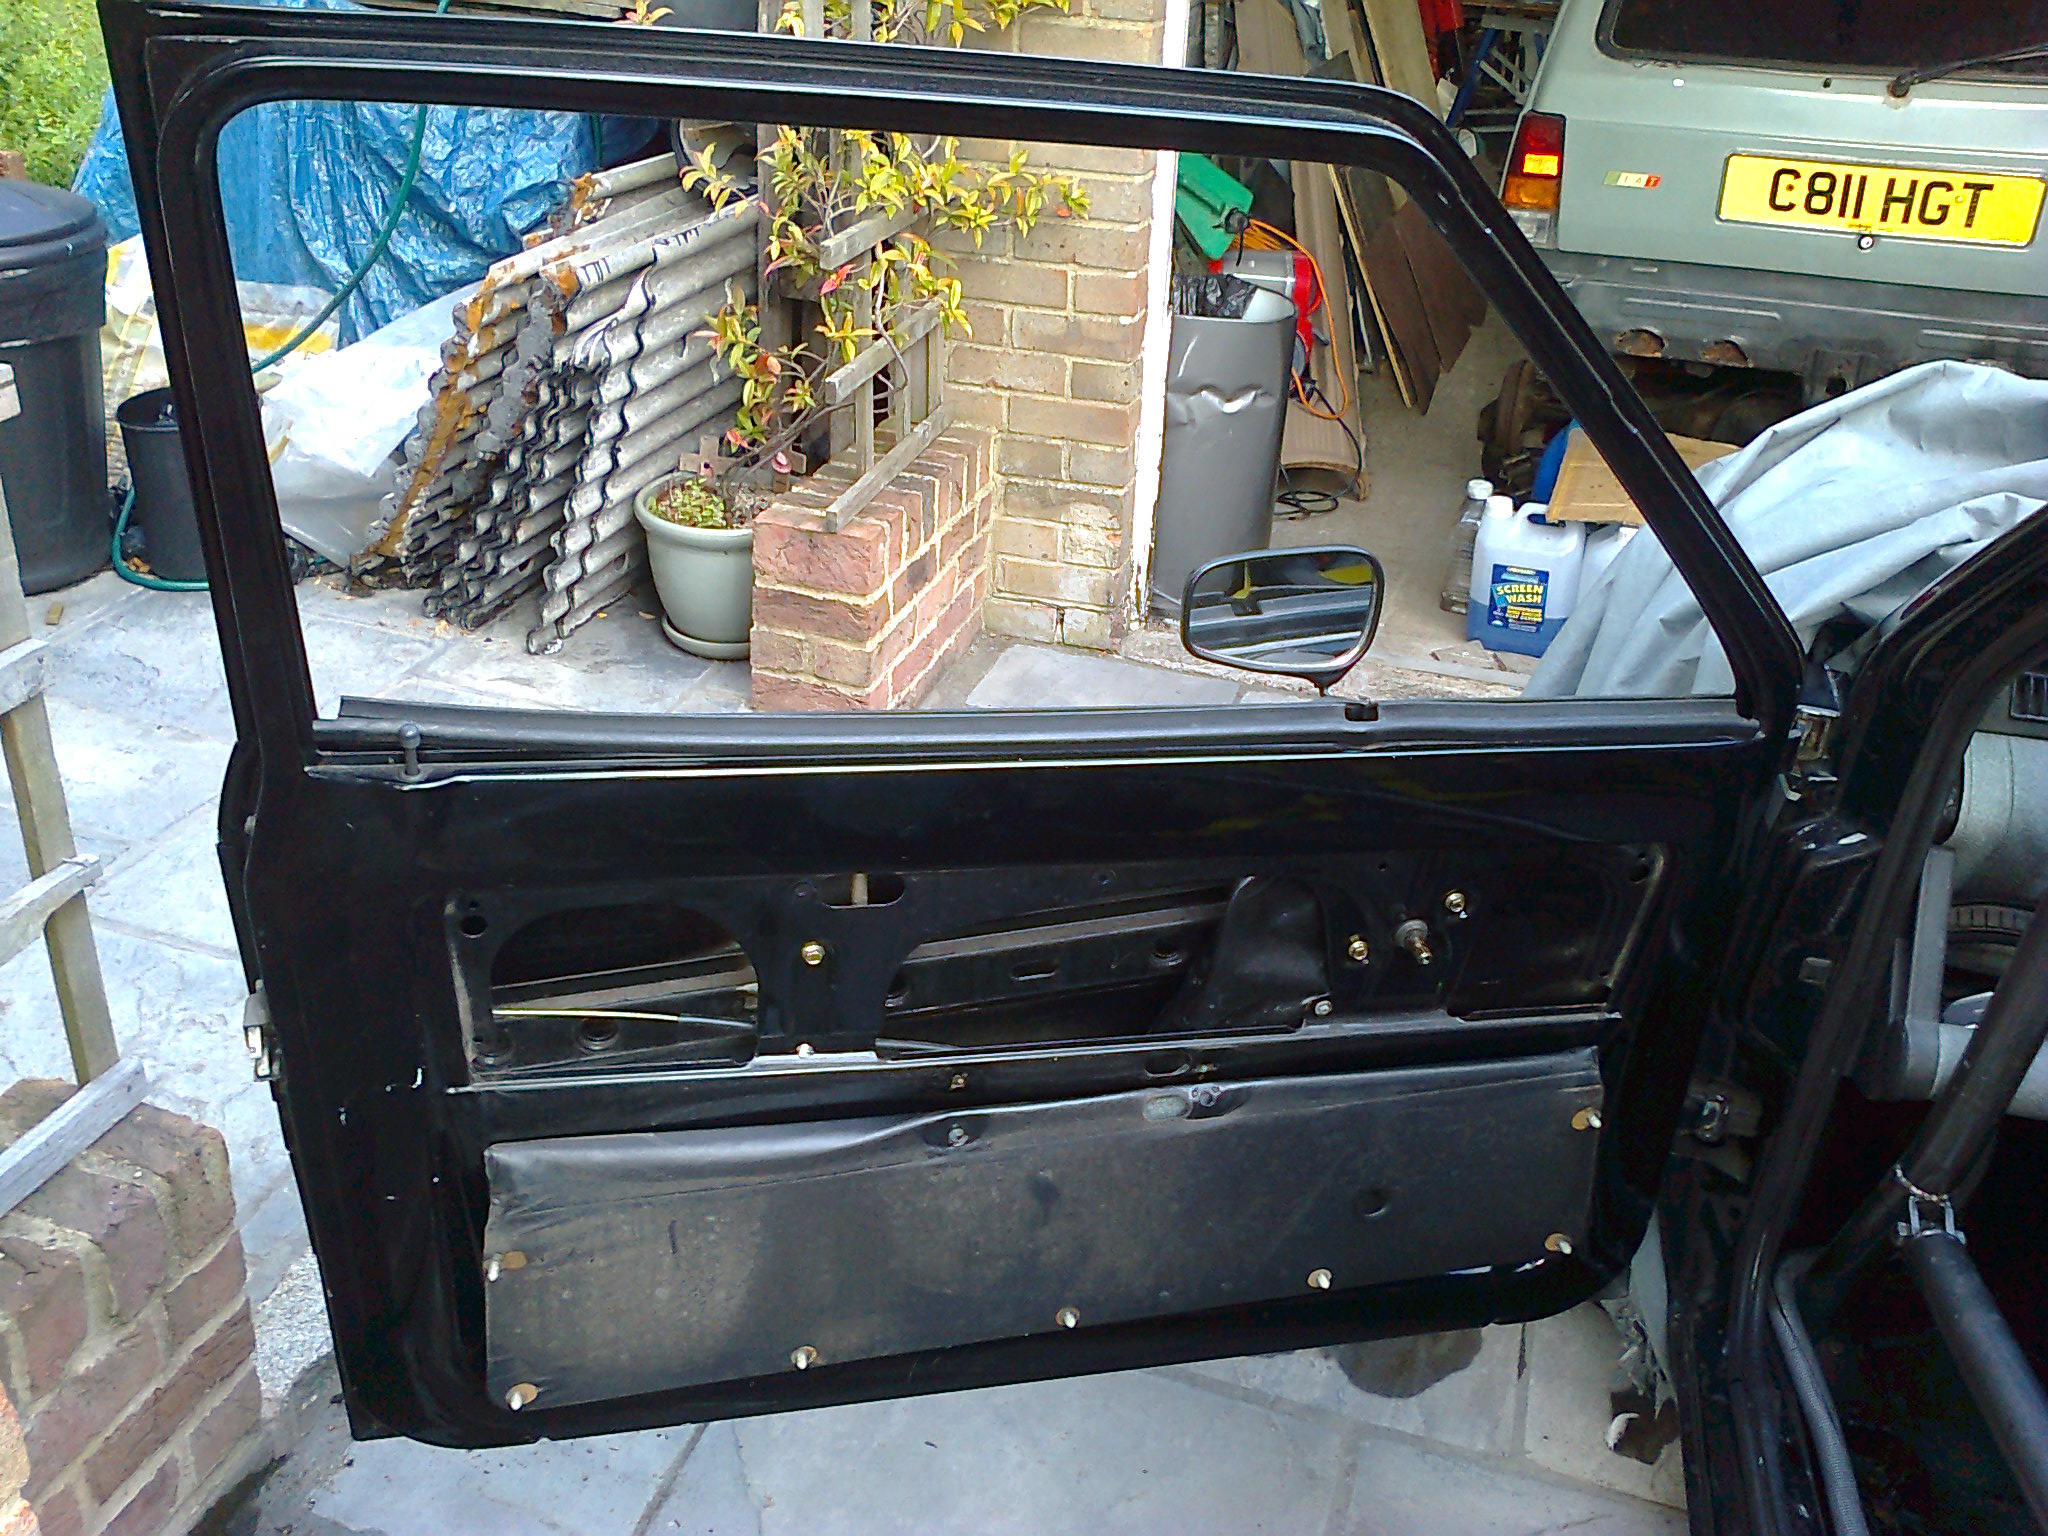
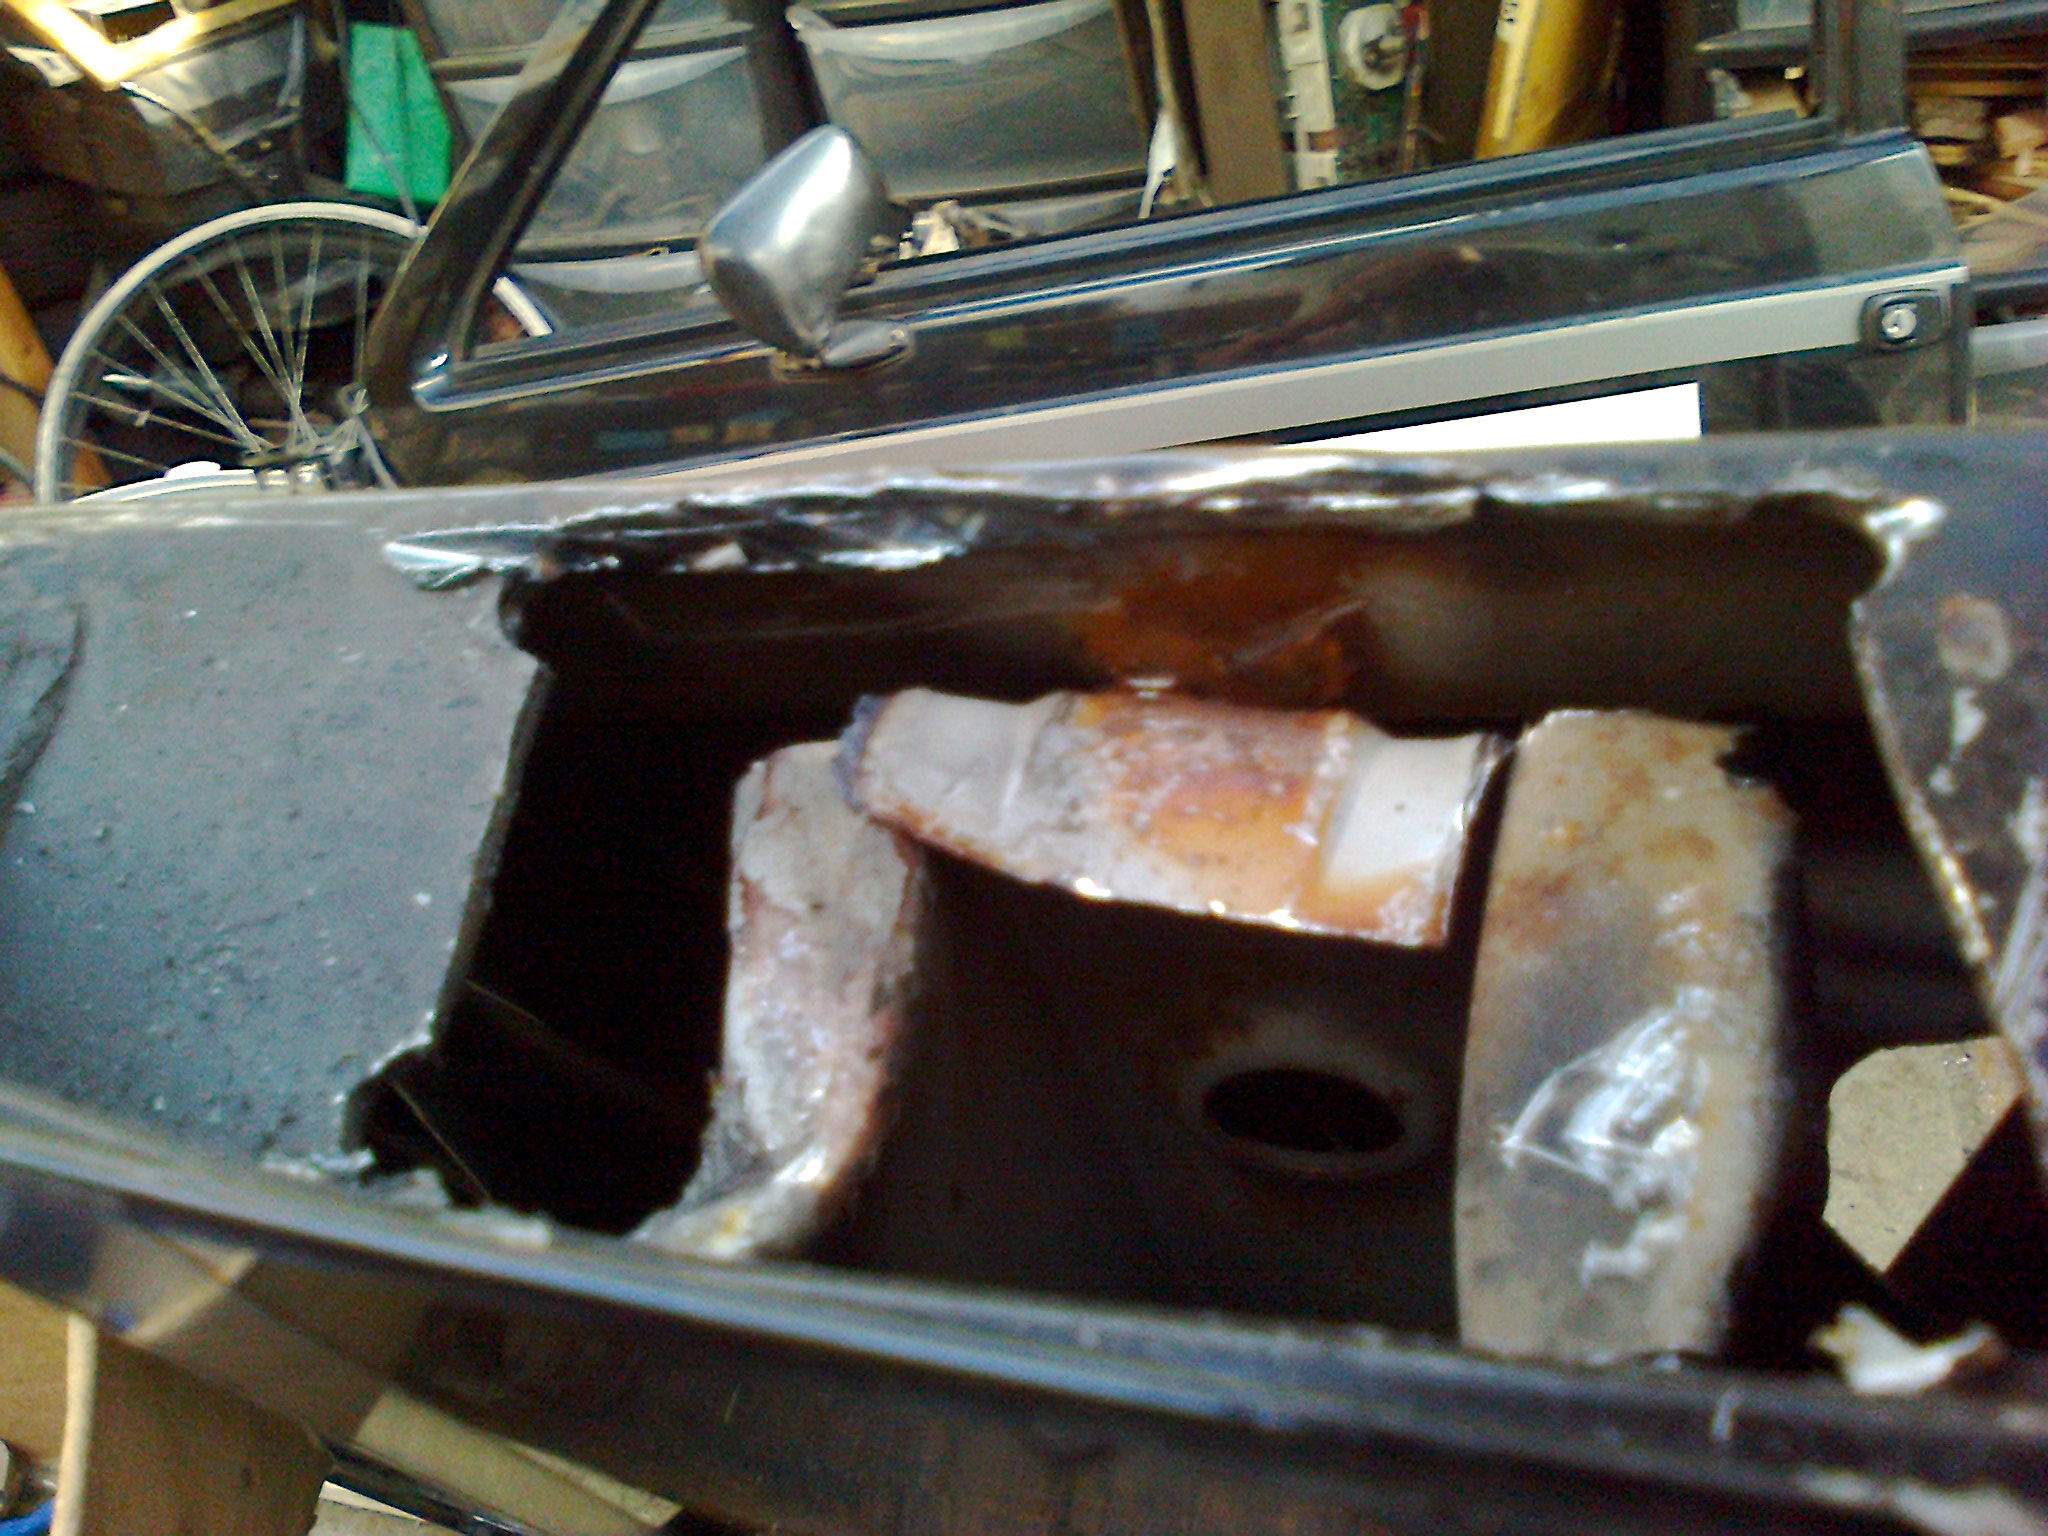
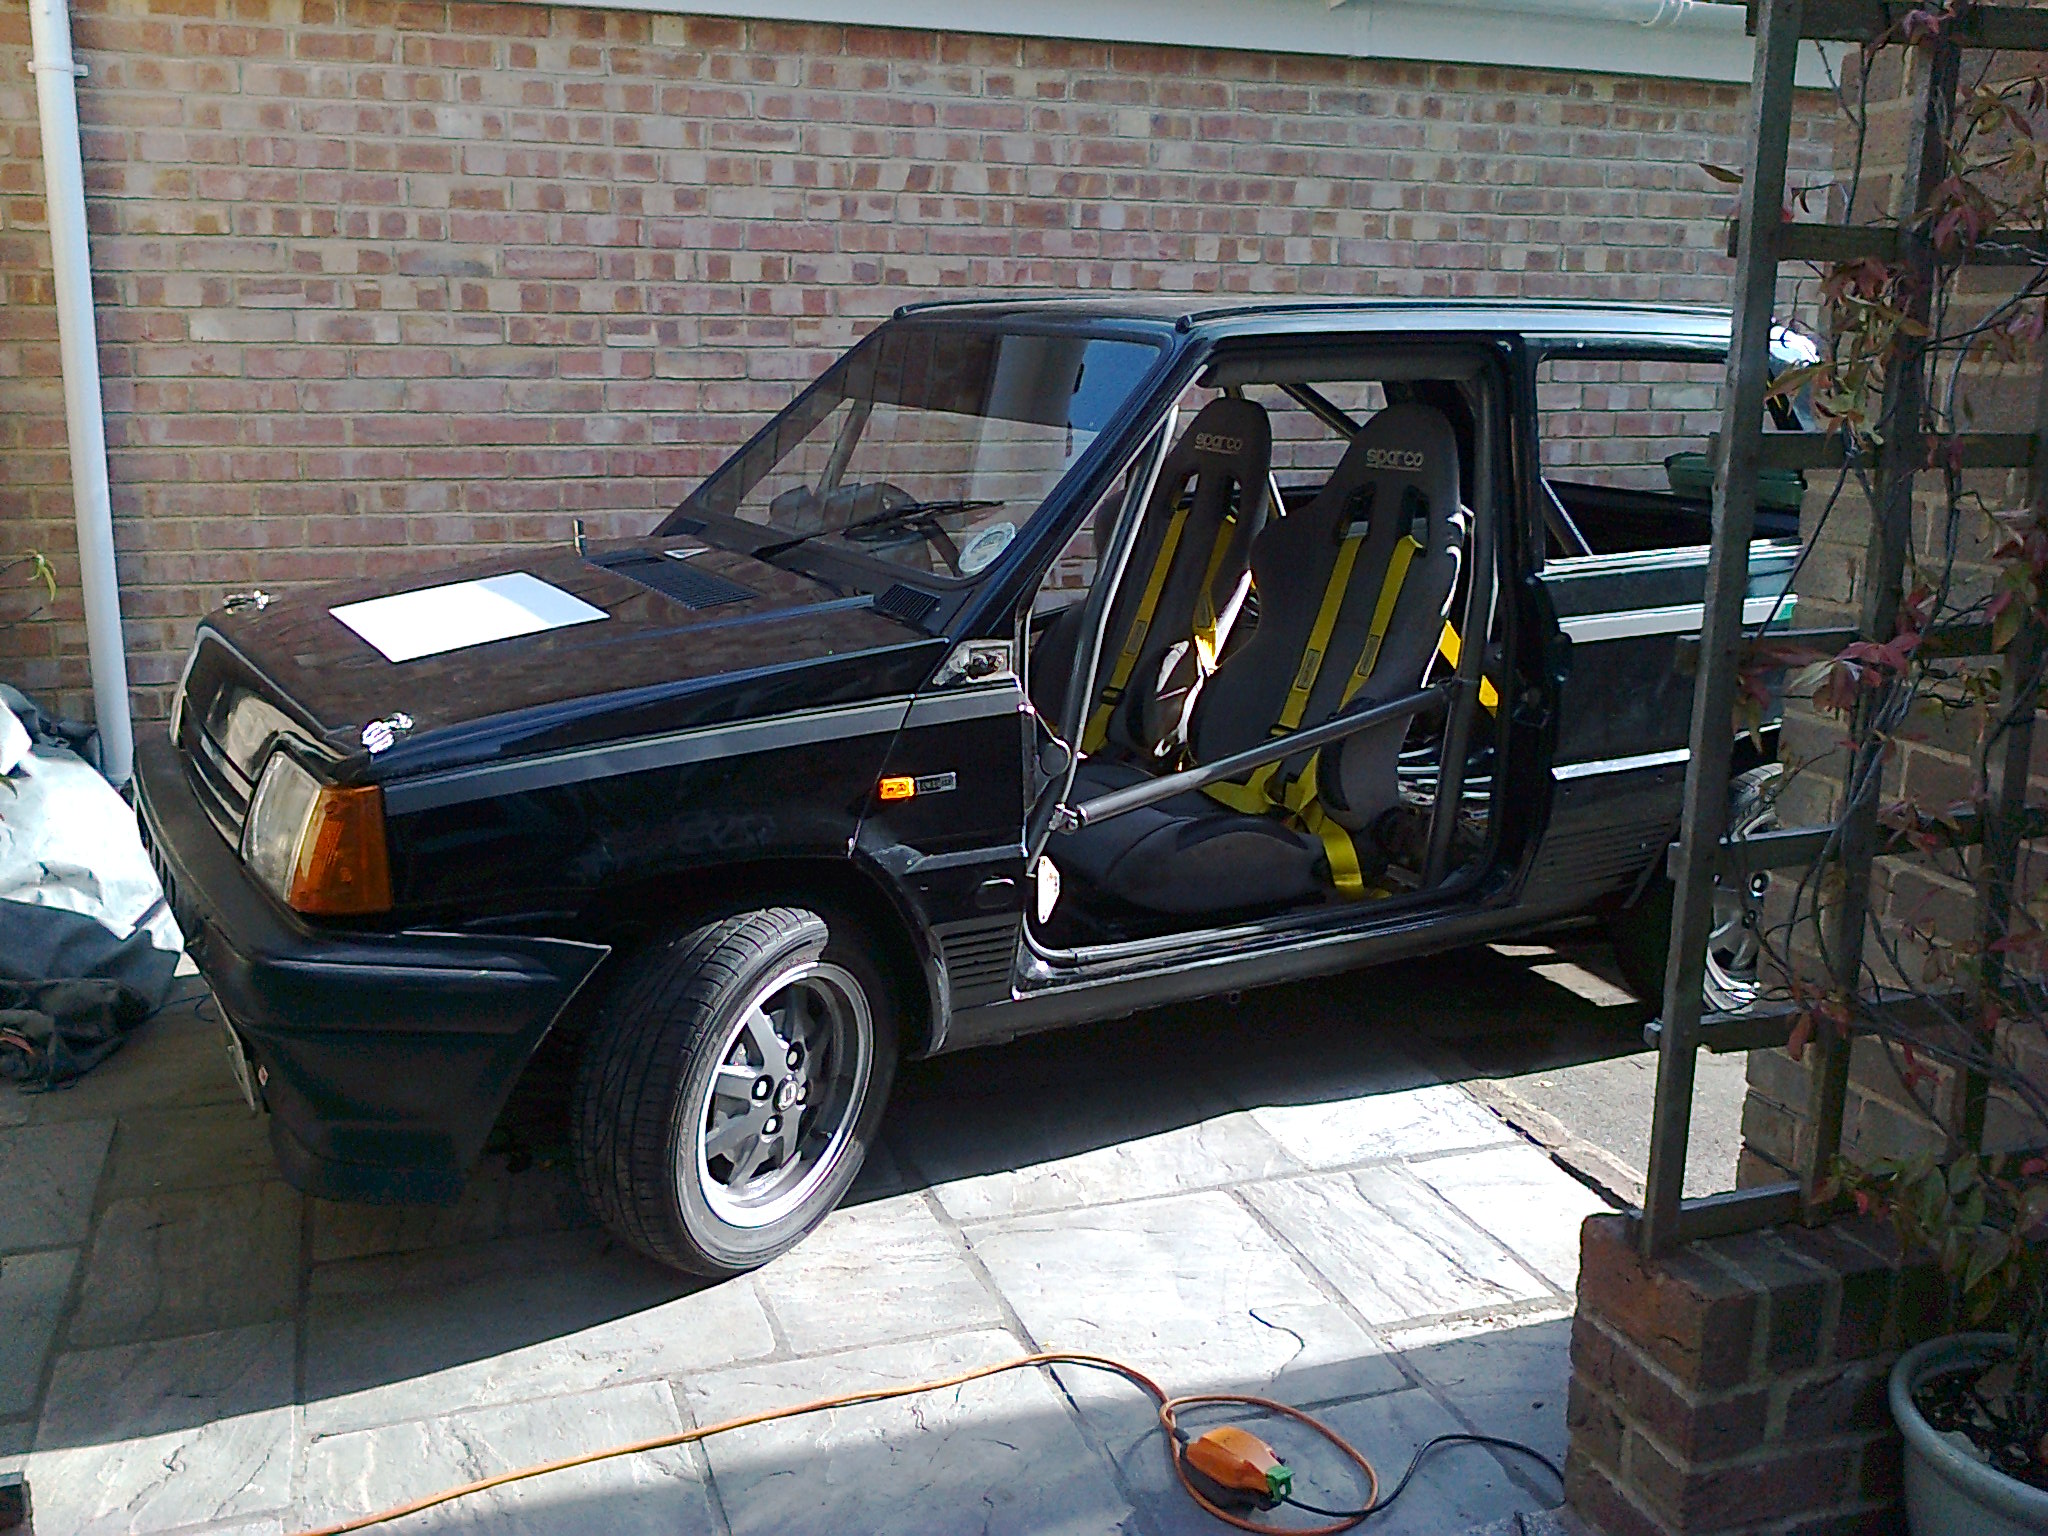
OK sort of a rip the plaster off situation but weight reduction has begun!
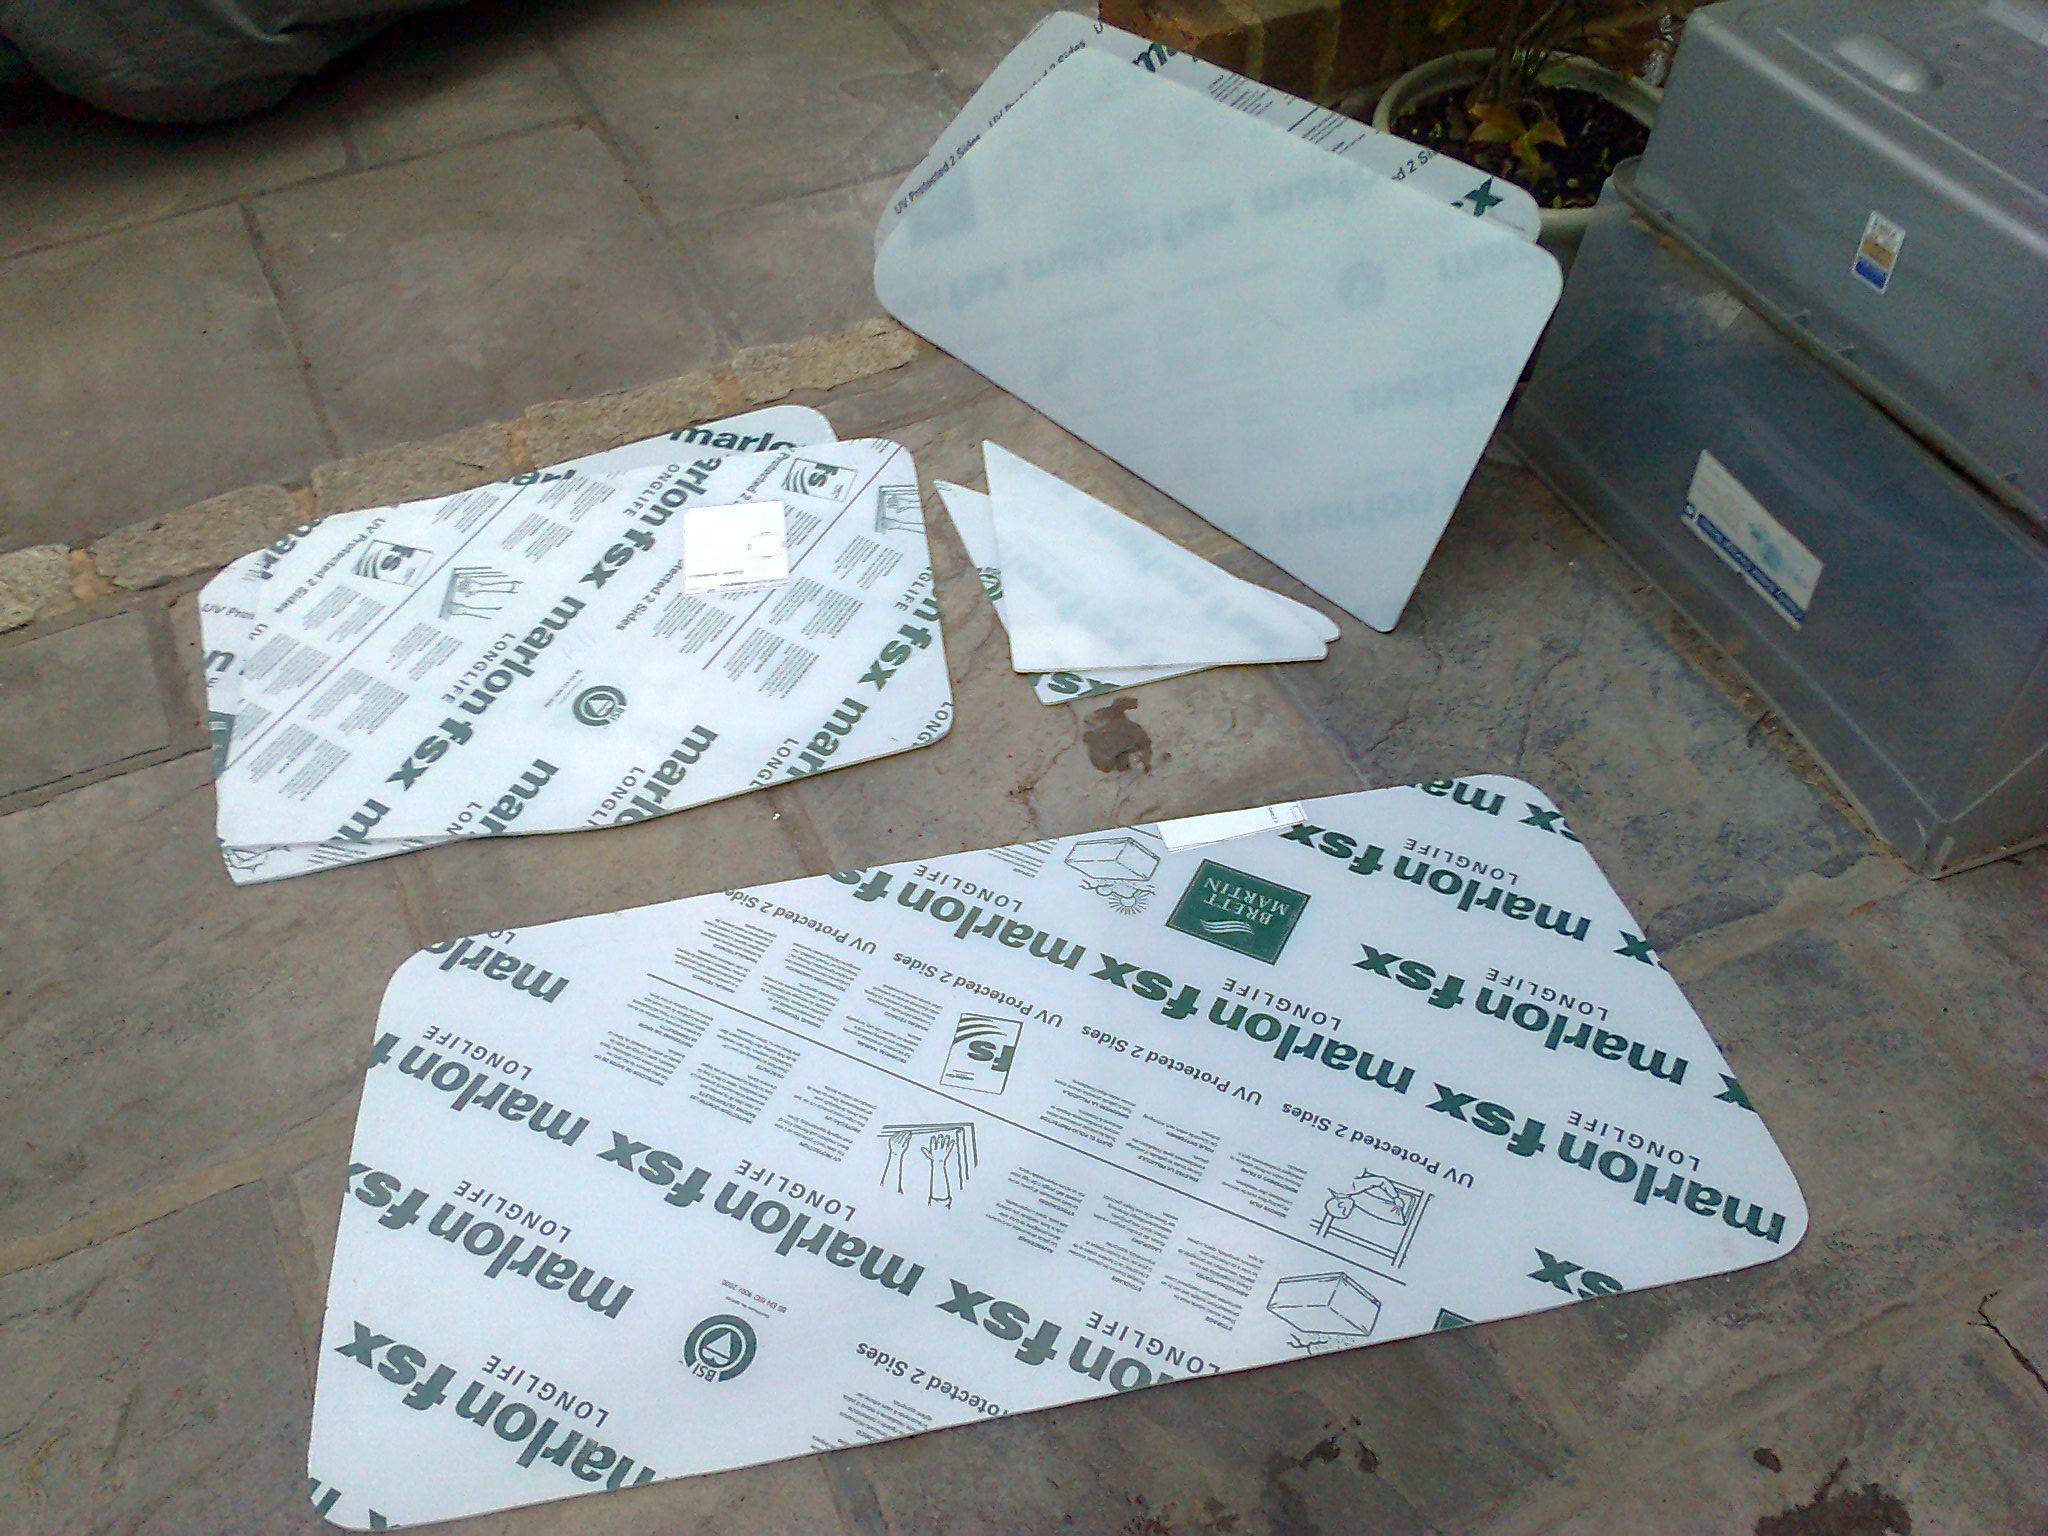
Starting with the glass:
Glass + Rubbers weighs only 18kg so I think I'm unlikey to break any records here! Plastic is going to weight somewhere between 5 & 10 Kg I hope
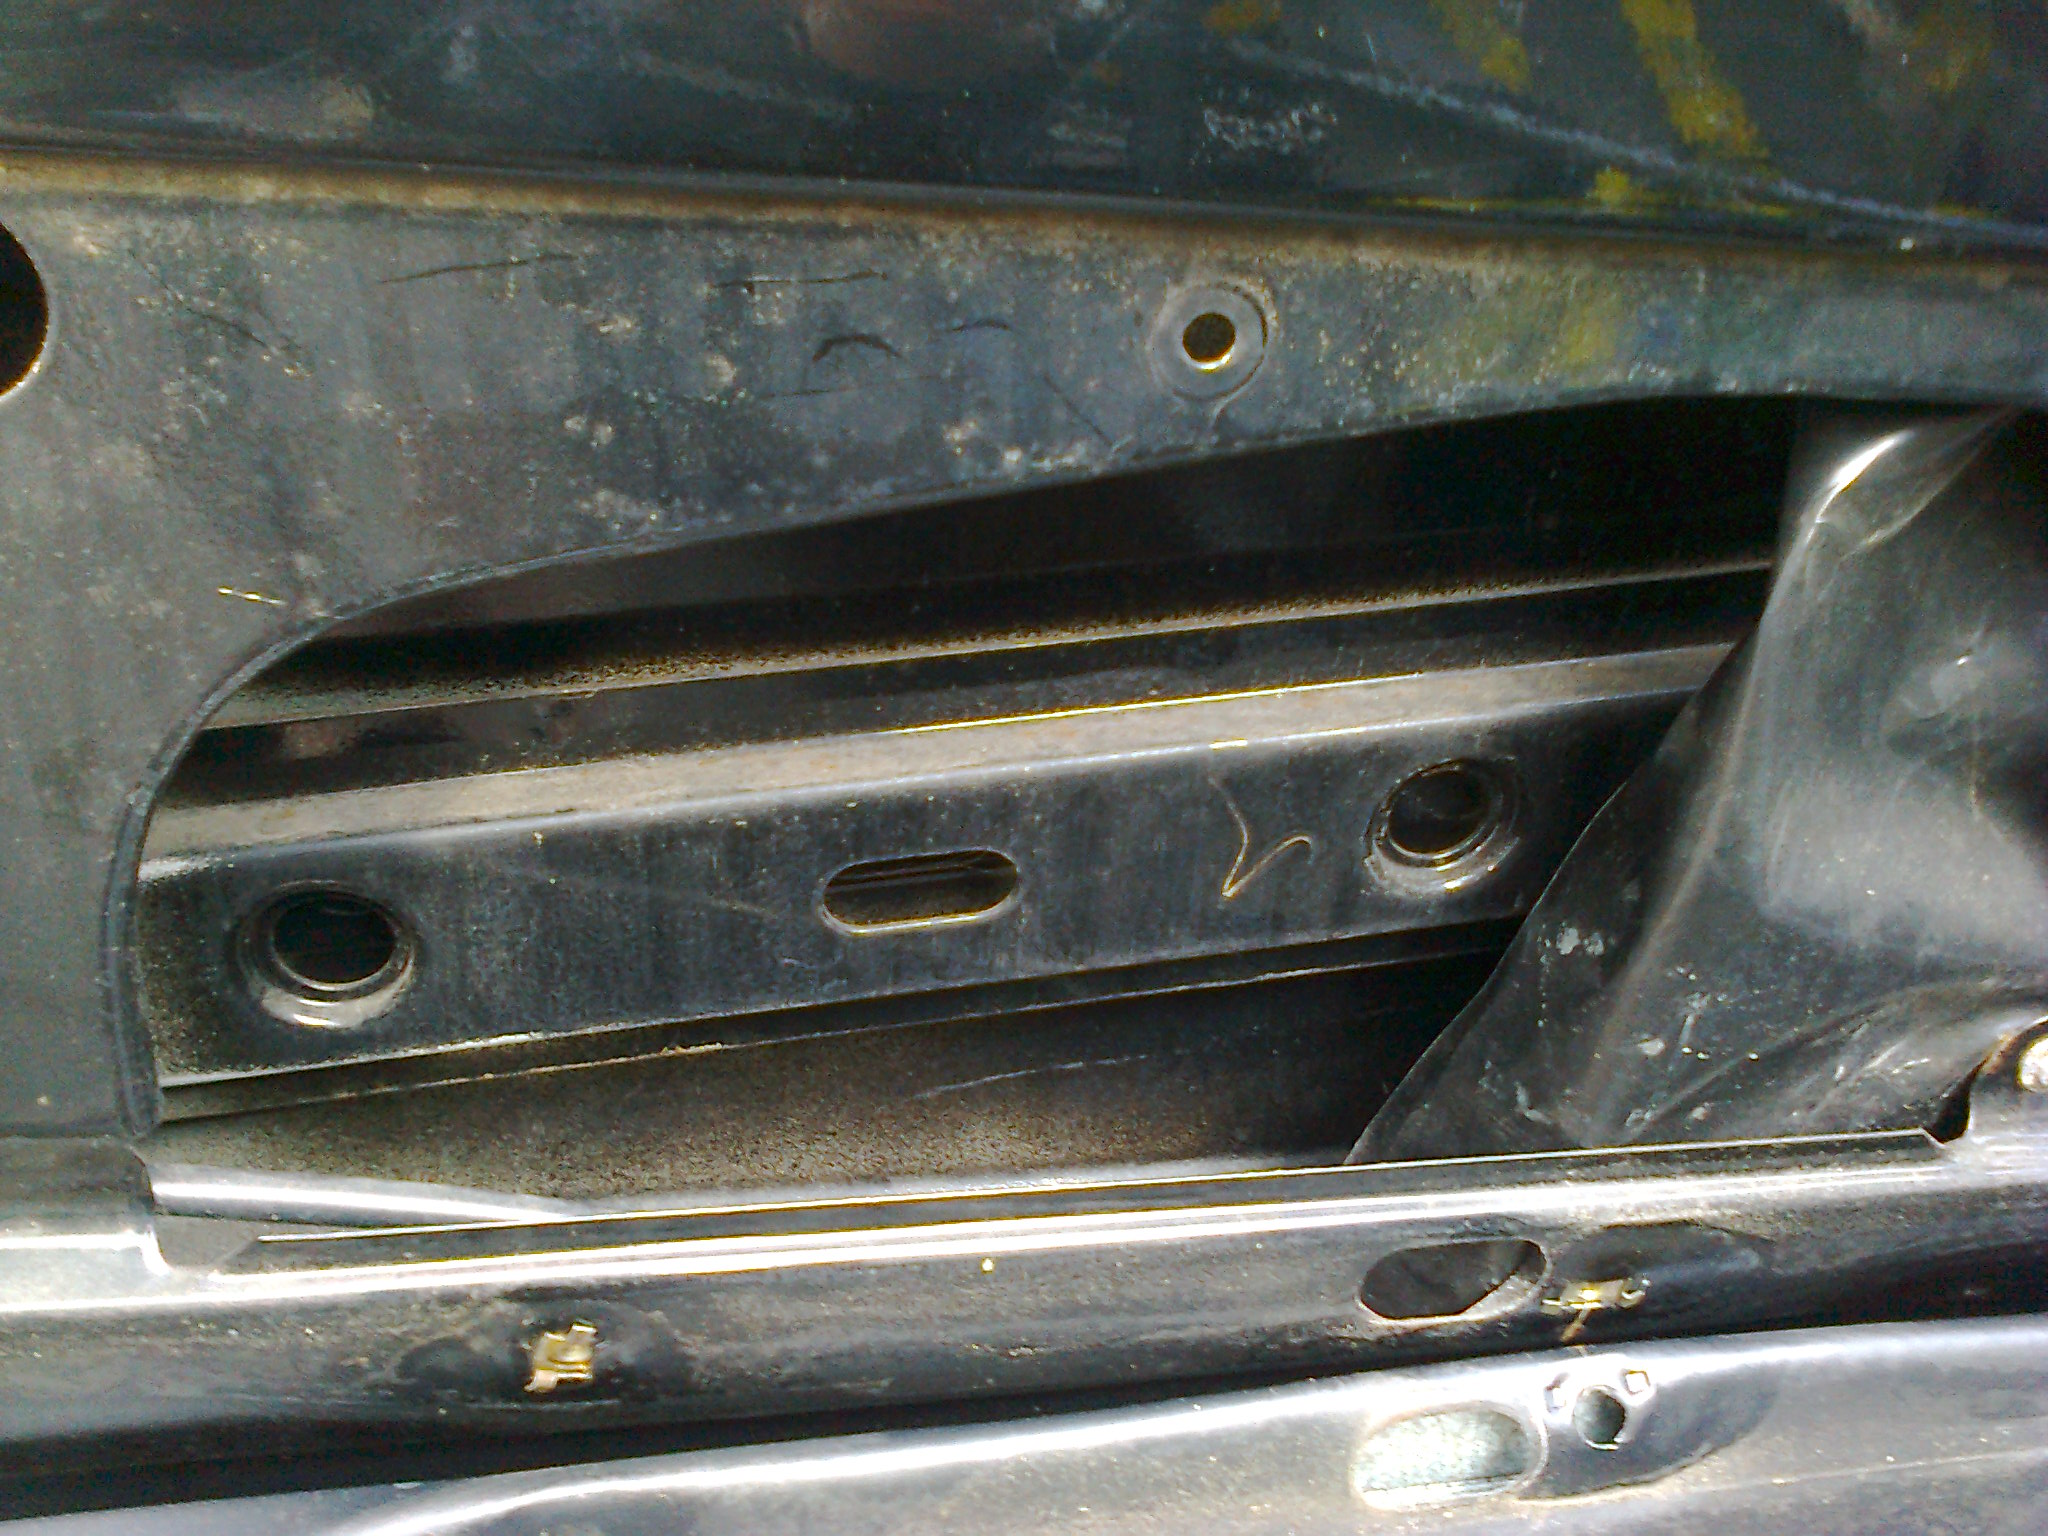
FYI there are hinge slots behind those marbella rubbers if anyone wanted to upgrade to opening rear windows on theirs
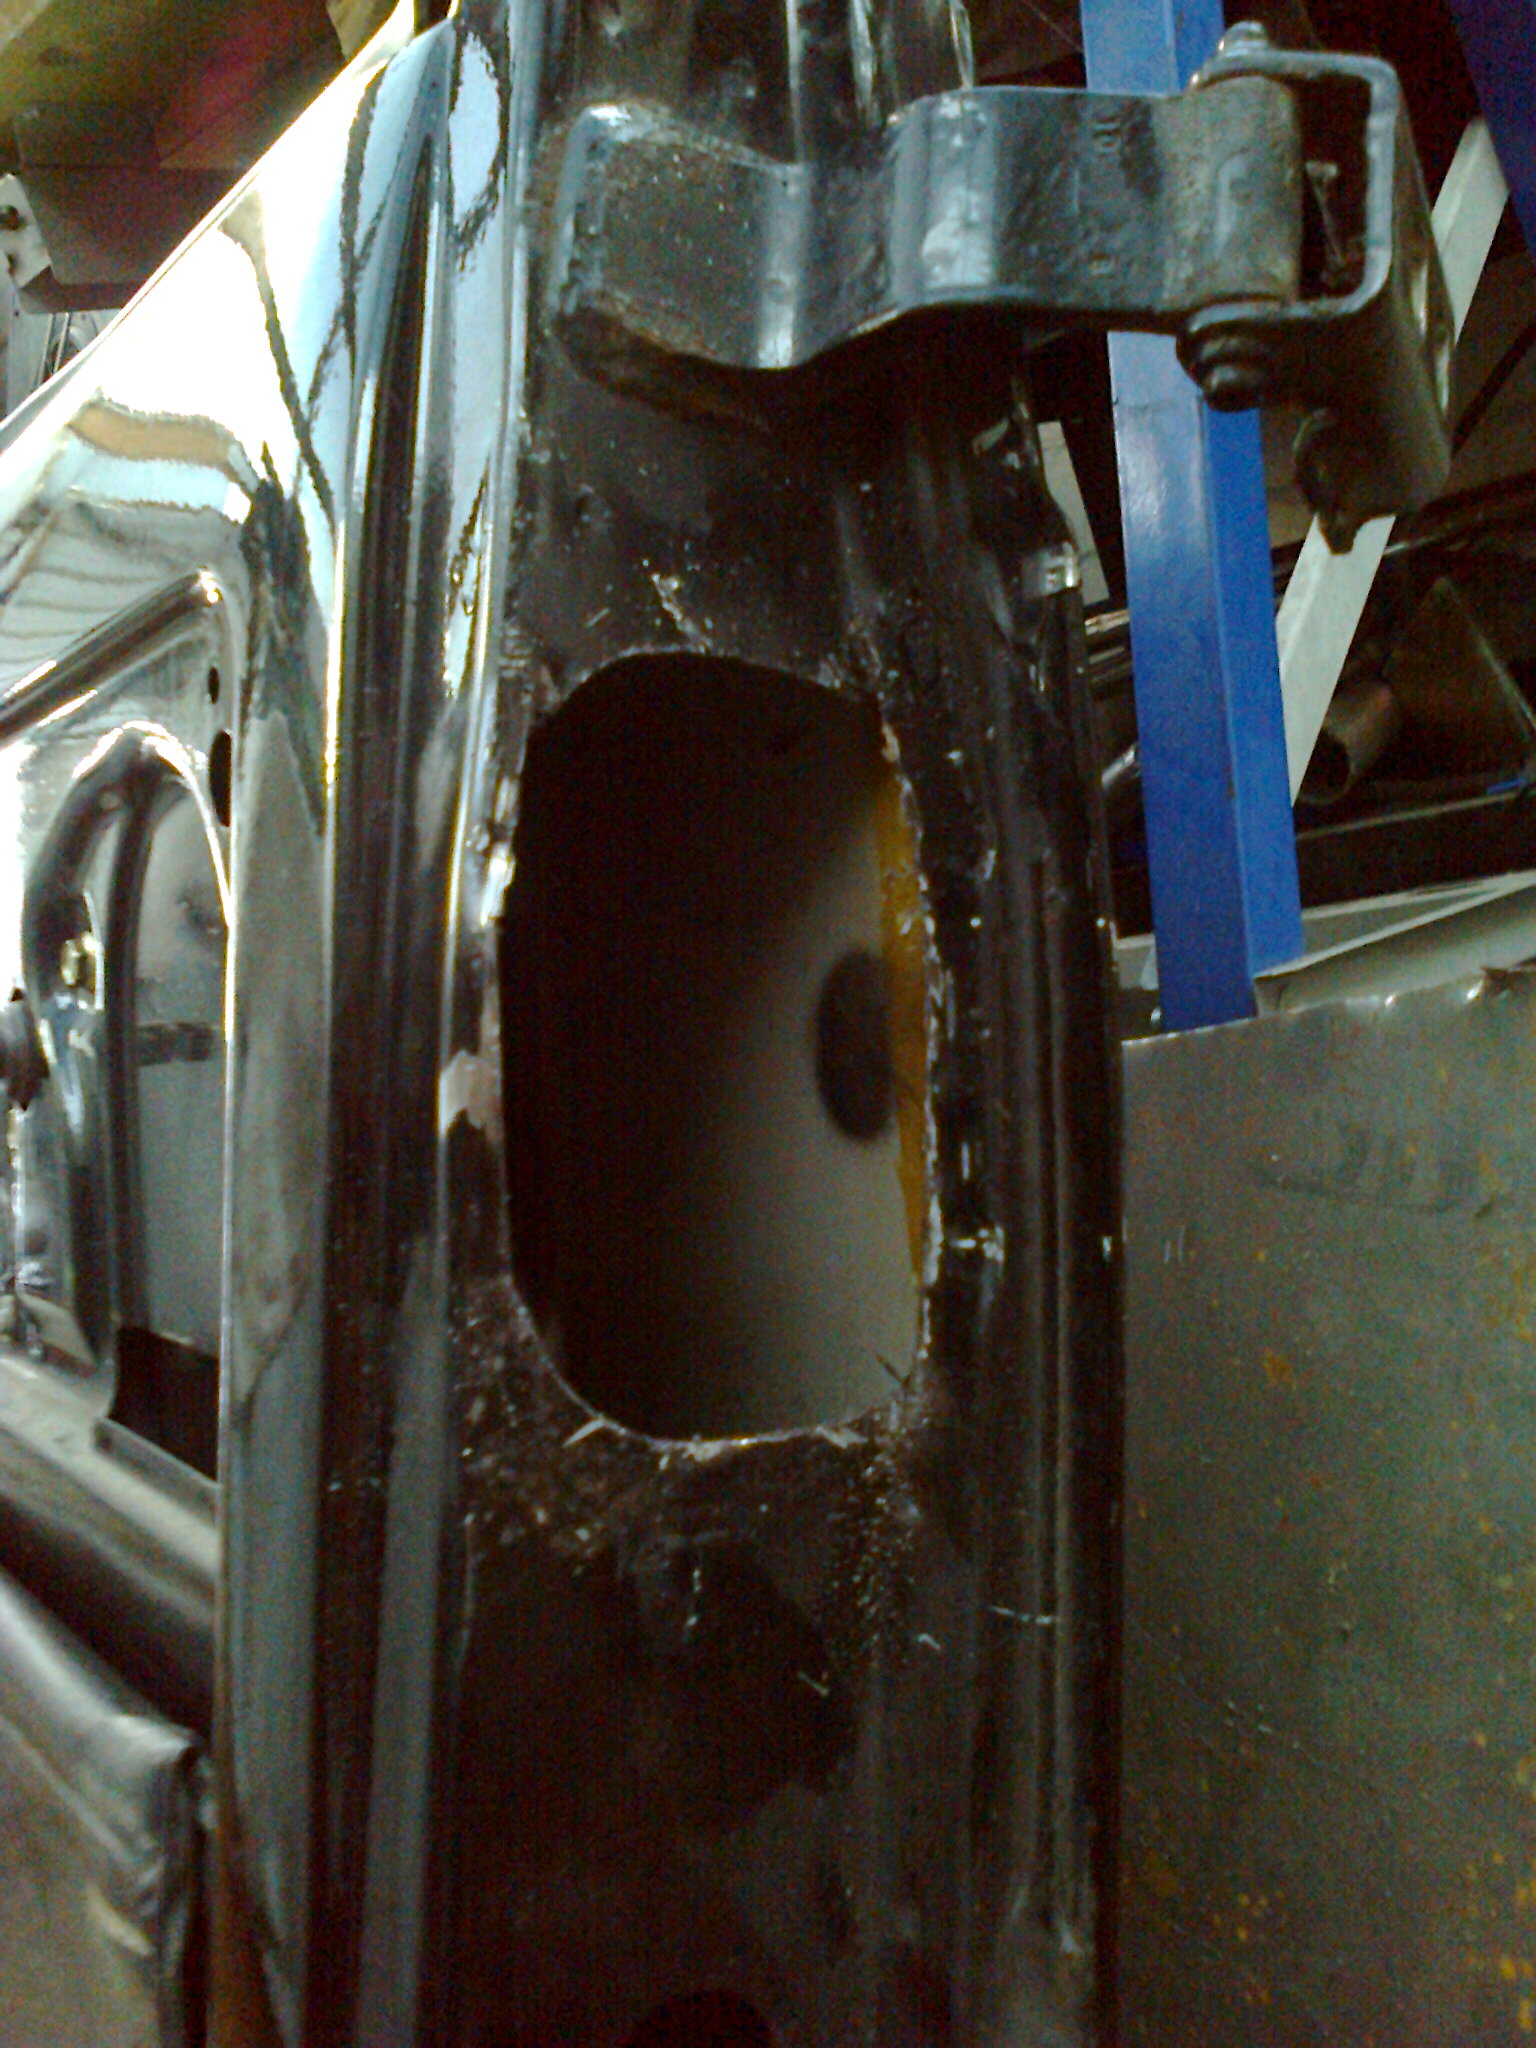
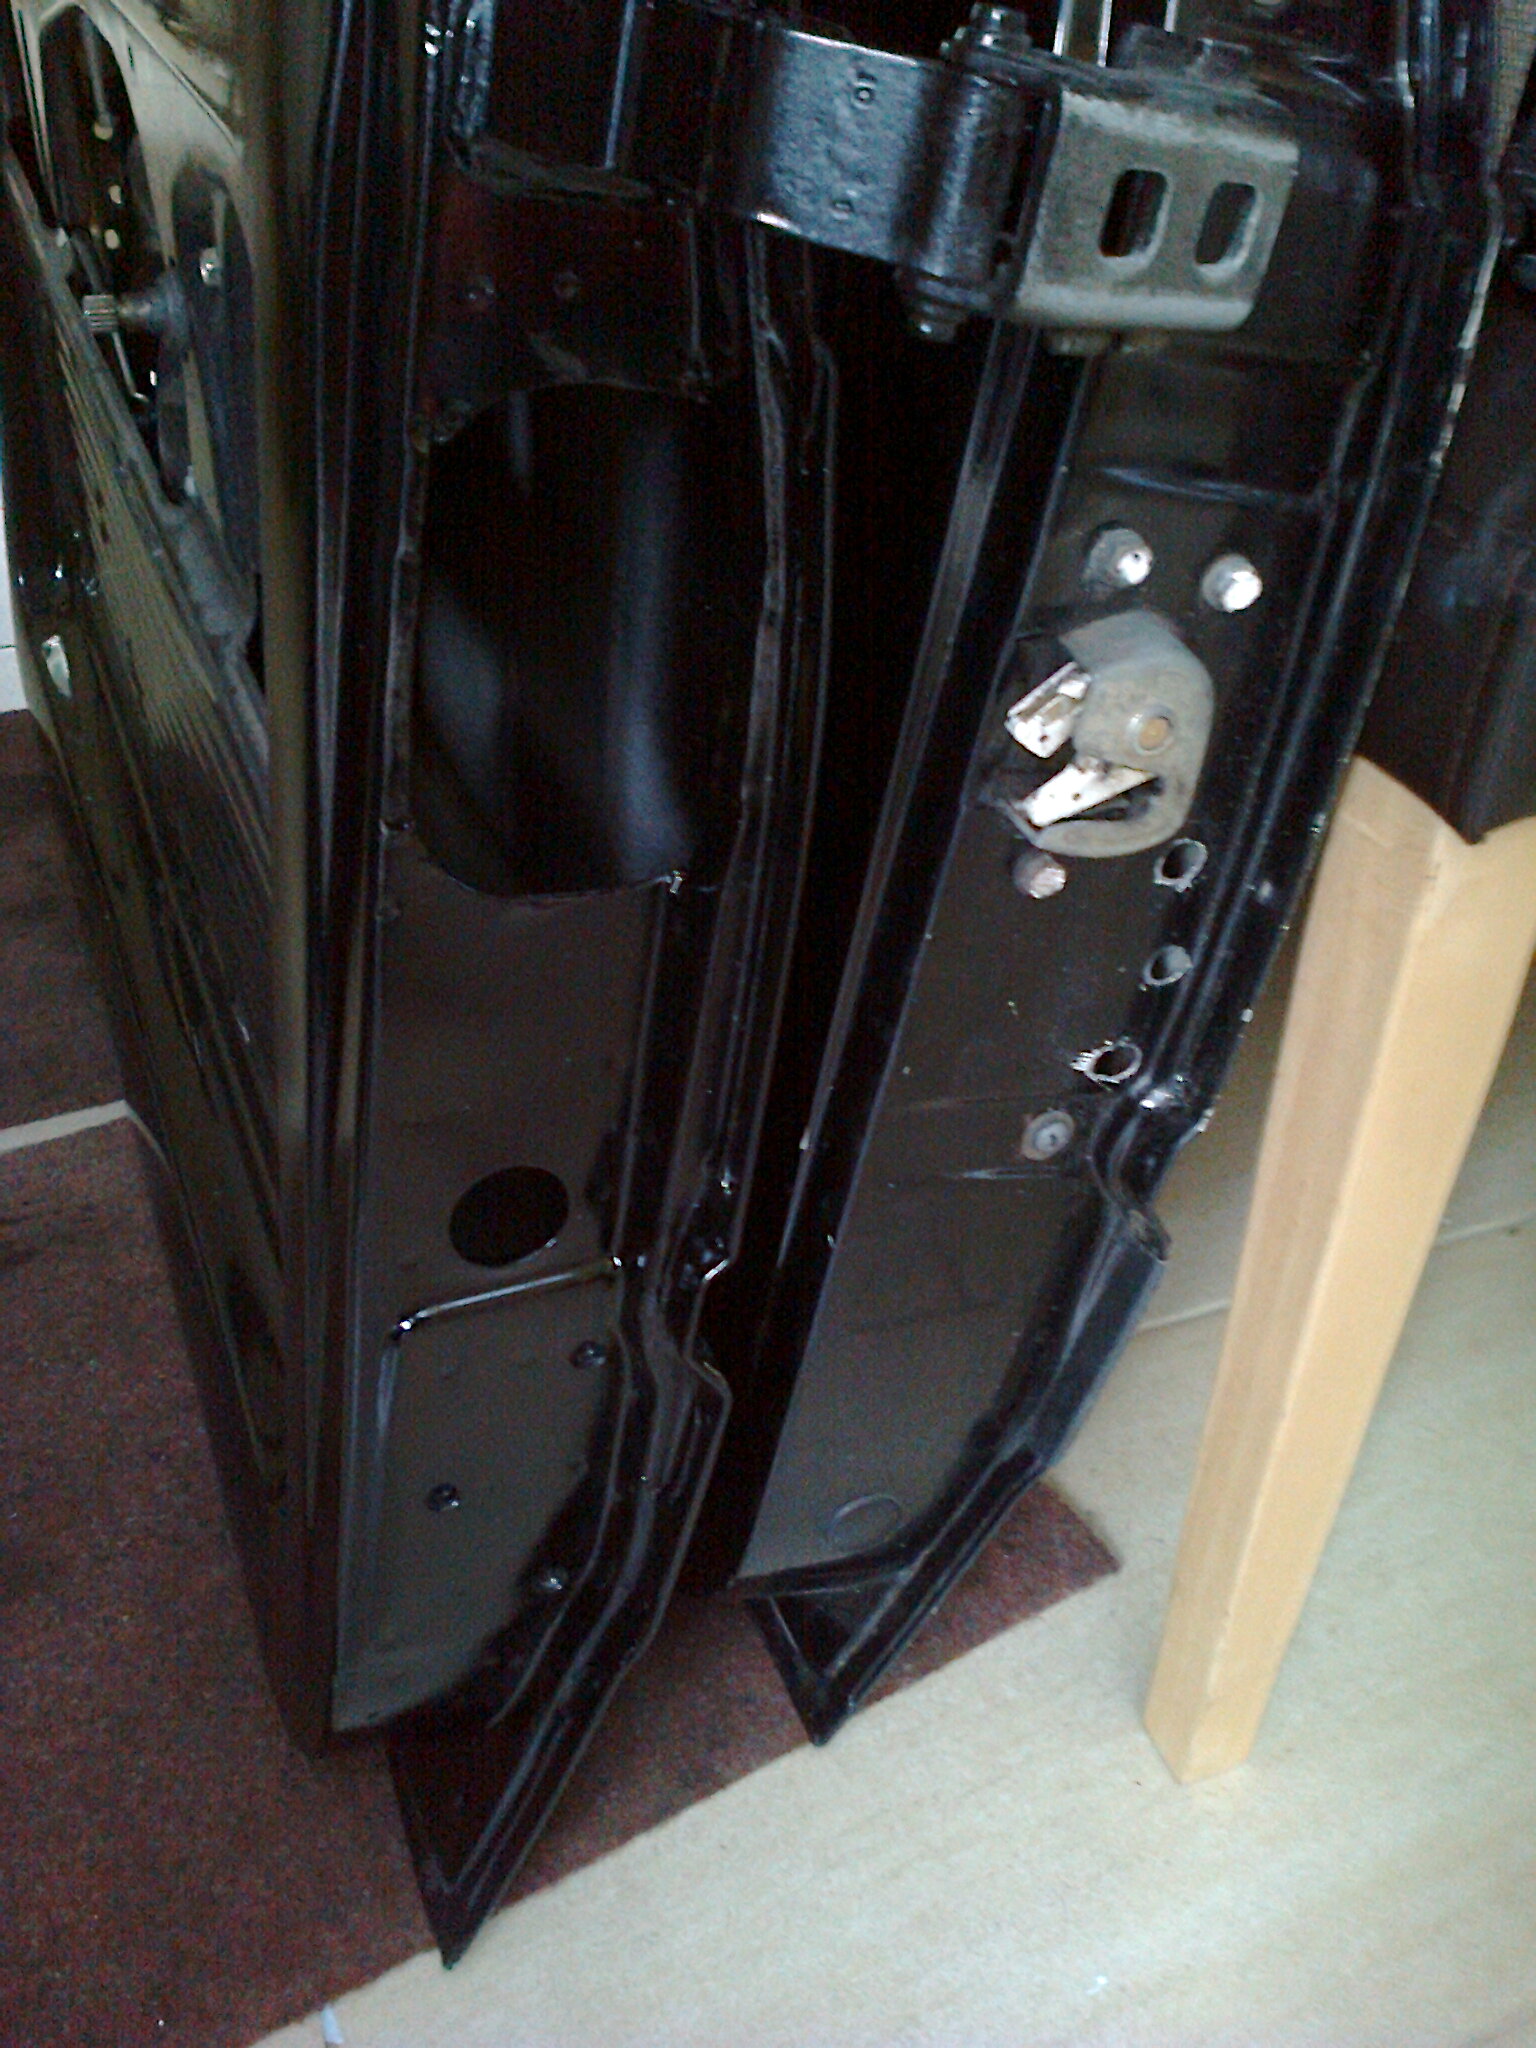
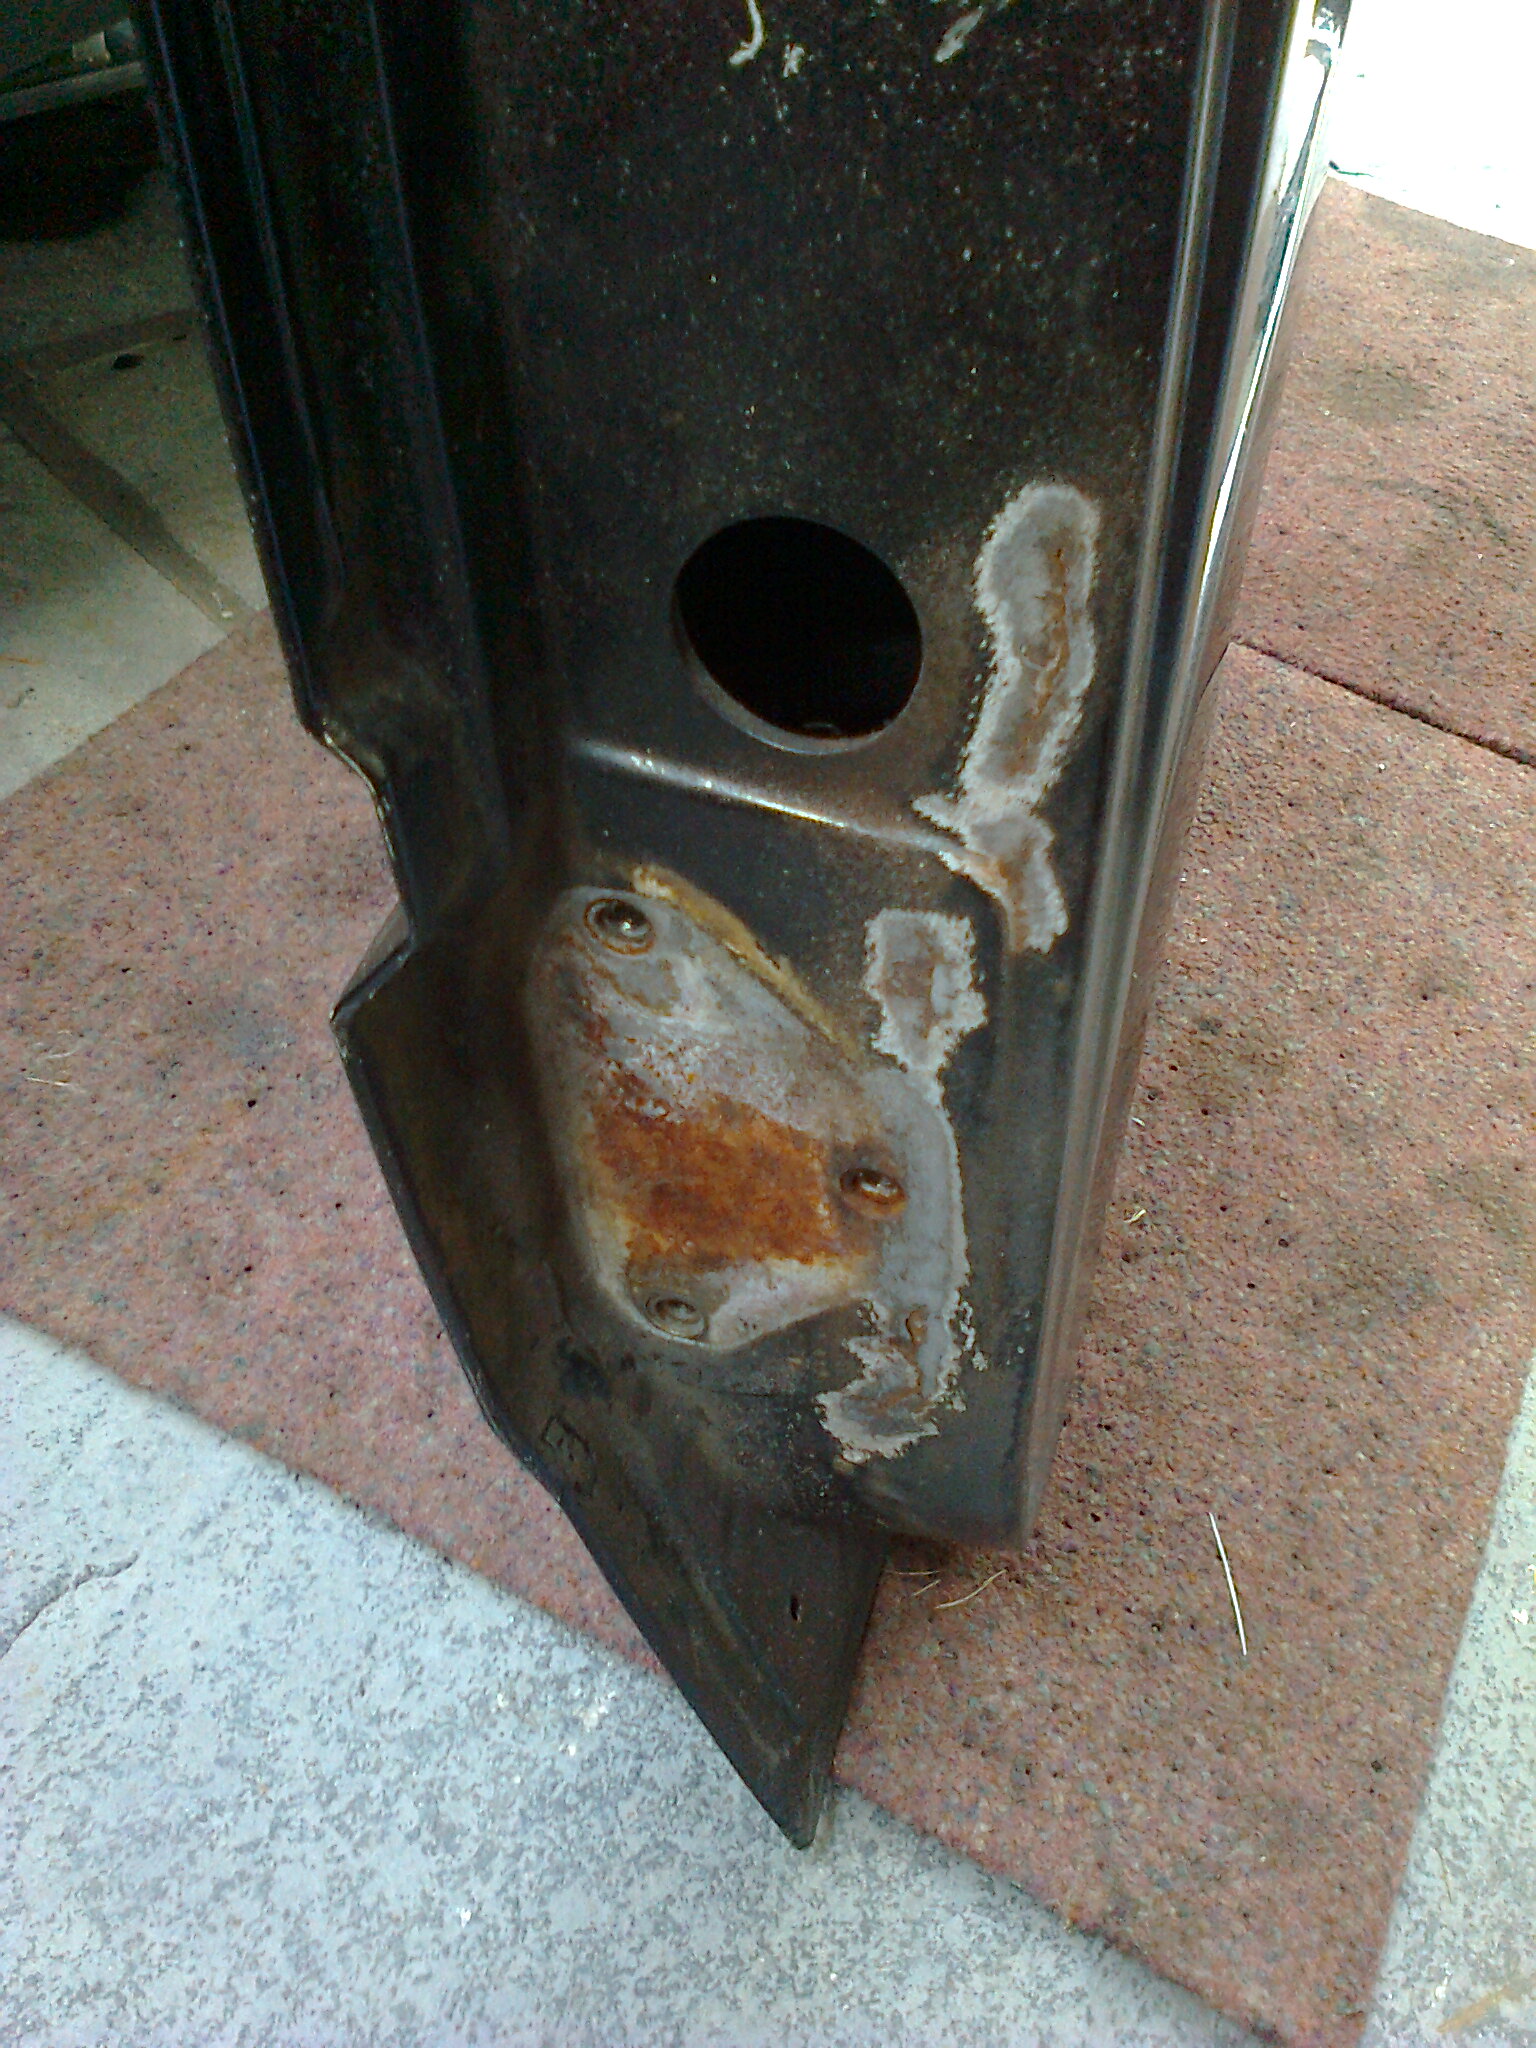
Door feels nice and light with all the glass removed but I think there is more weight to come out of here.
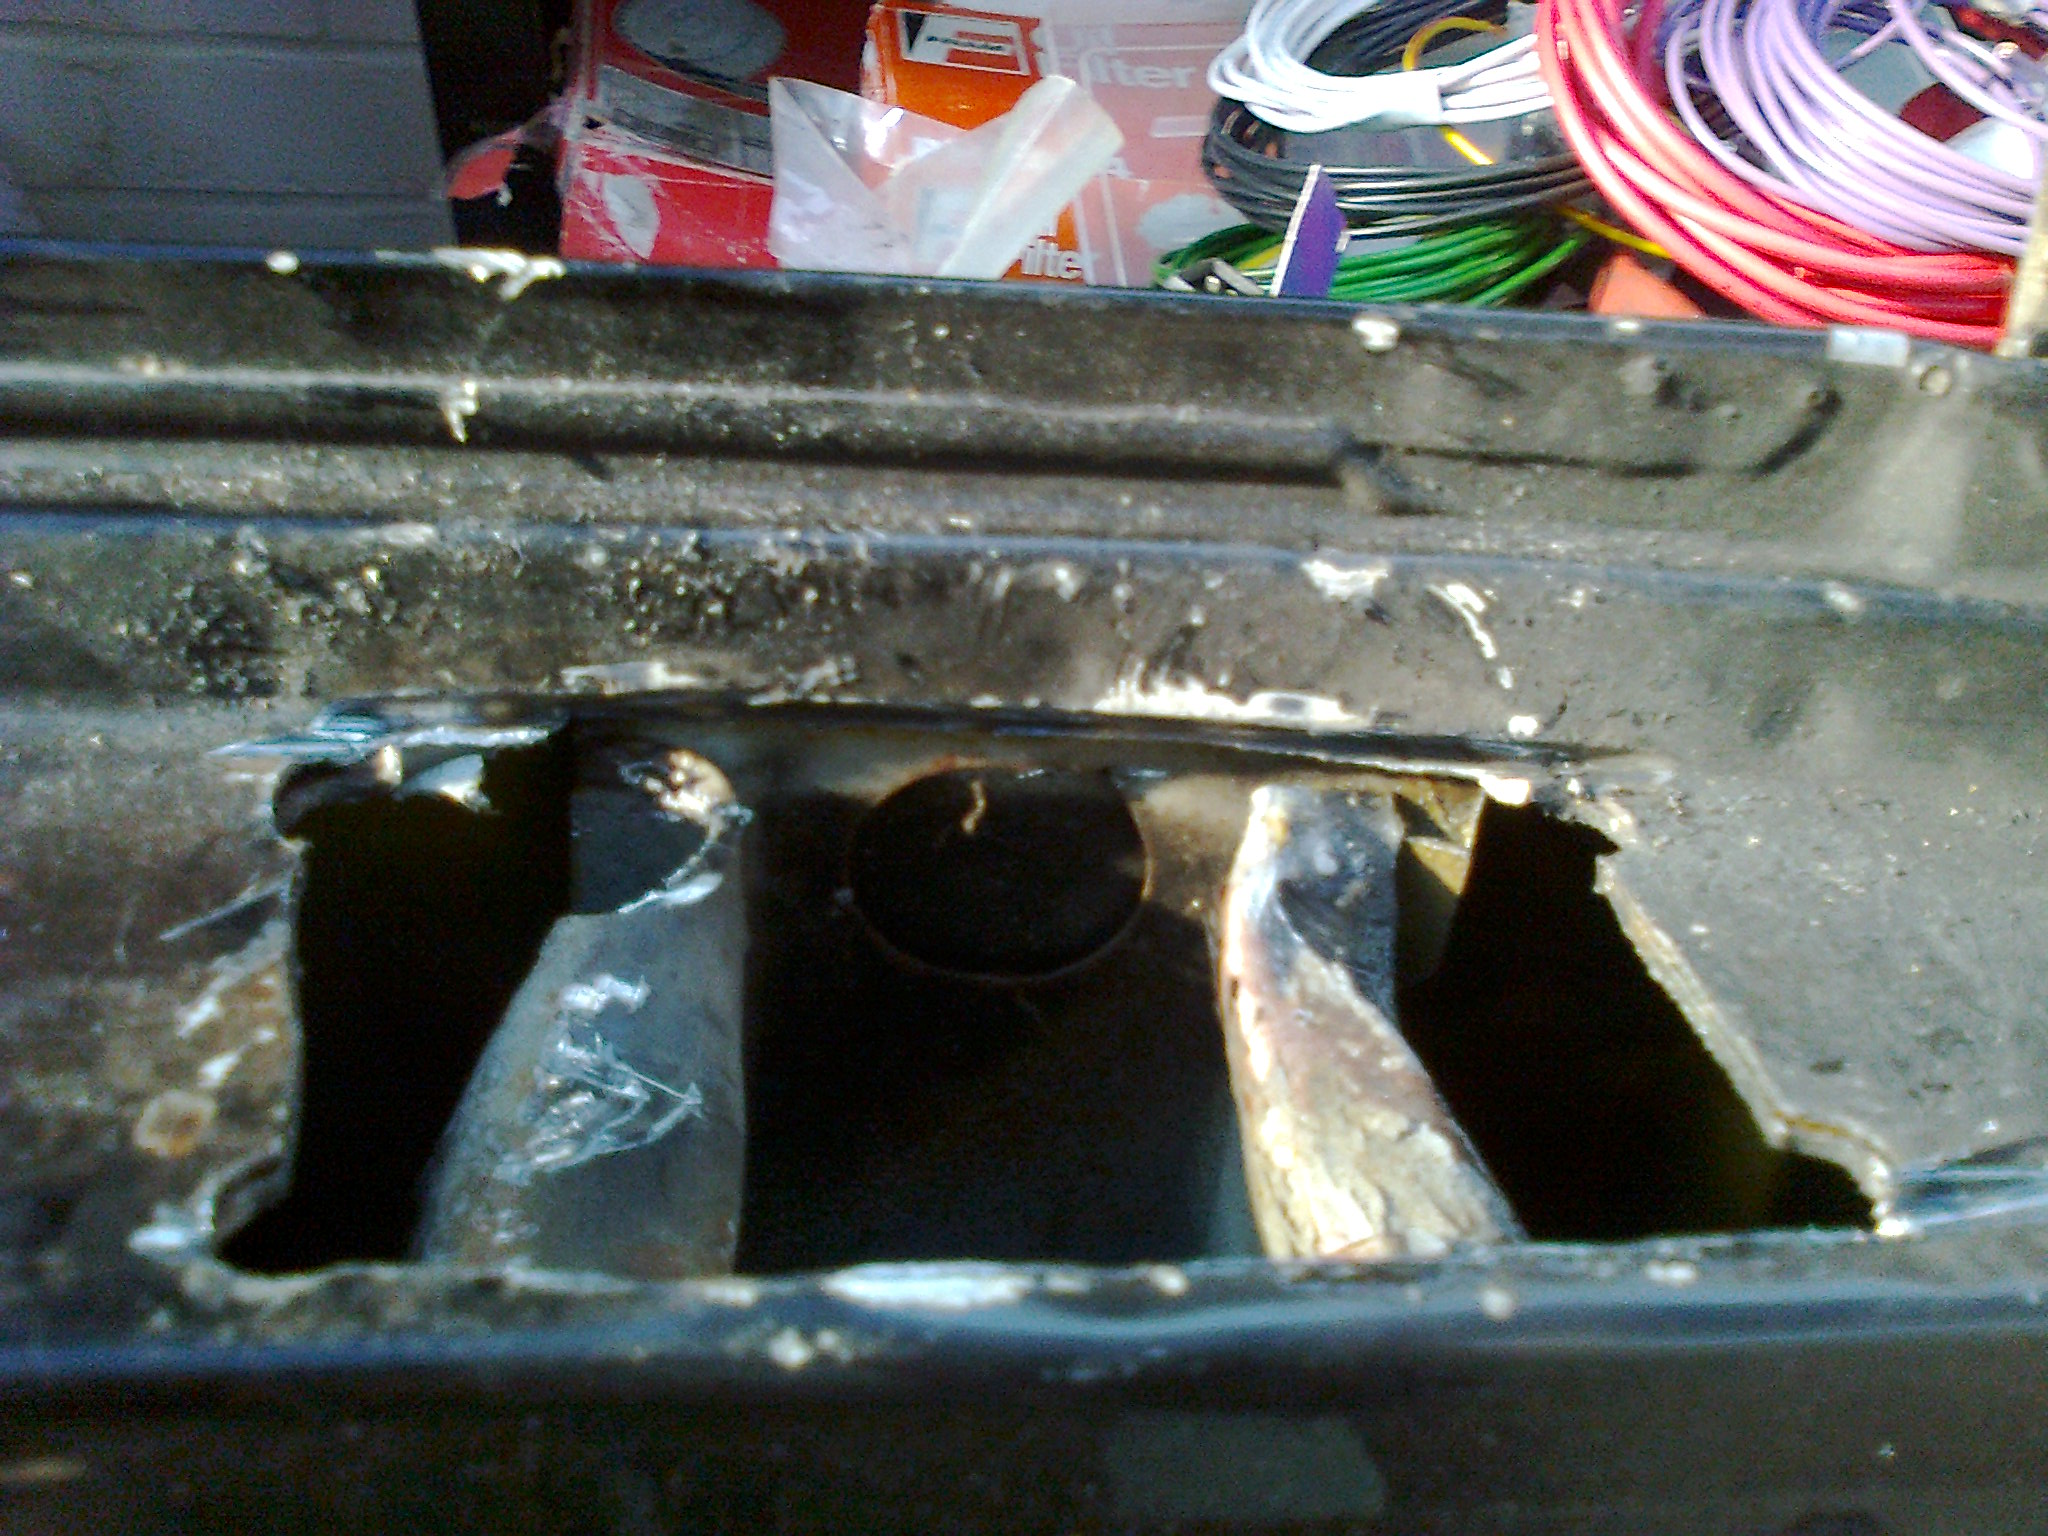
In particularly in the crash bar inside. Anyone have a top tip for removing this crash safety re-inforcement bar without lunching the door skin!?...
Need to bite the bullet and remove front shocks for Leda to work on next. While that happens make a start on a glass fibre bonnet and cut out / fit the plastic windows.
Maybe remove some sound deadening from the floor as well....


 )
)Great work mate. How much do the side impact beams weigh?
I hope...
Oops, sorry Si for the misleading advice. - I had forgotten that the 'doors' I worked on had been cut in half already.
Great work though!
I'm enjoying the ride too.☺
Had a chance to investigate what happened on the morning of RetroRides yet Si?? I was so sad I didn't get to see it that day...
There is a possibility of a loss of oil feed pressure I guess, but the turbo was filled with oil when I removed it (after standing for months) so seems unlikely. I will fit an oil pressure gauge to the turbo oil feed I think when I fit the replacement so I can be sure that this is ok. Then might give Turbo Technics a call to see if they can give me a partial refund...unlikely though! yeah, dead turbo is annoying but really could have been much much worse i guess.
What turbo is on it? I seem to remember that it wasn't a stock Y10 one when i read the thread through originally.