You are using an out of date browser. It may not display this or other websites correctly.
You should upgrade or use an alternative browser.
You should upgrade or use an alternative browser.
Technical Project Paolo
- Thread starter Paolo66
- Start date
Currently reading:
Technical Project Paolo
AndrewHarvey
Established member
- Joined
- Jan 17, 2015
- Messages
- 1,471
- Points
- 290
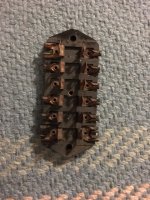
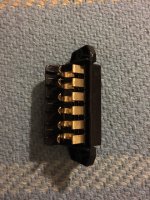
Thats a 500 lusso fusebox - and it matches the loom.....
Thats a 500 lusso fusebox - and it matches the loom.....
...and the later "F".
It's worth checking how it fits onto the car because the brackets might be different too. It looks the same as Tony's "F", which is '66.
AndrewHarvey
Established member
- Joined
- Jan 17, 2015
- Messages
- 1,471
- Points
- 290
It sits in a horse shoe bracket that also holds the brake reservoir and bolts to studs on the inner wing
...and the later "F".
It's worth checking how it fits onto the car because the brackets might be different too. It looks the same as Tony's "F", which is '66.
Mine is the same as the one on the left in Damian's pictures with bullet connectors and it is secured to the wheel arch by two little bendy tabs. I like to keep my car original and and unmodded, (unlike some originalists who have fallen off the wagon), so I refitted the original one. I particularly liked the patina that it had amounted over the years.
Mine is the same as the one on the left in Damian's pictures with bullet connectors and it is secured to the wheel arch by two little bendy tabs. I like to keep my car original and and unmodded, (unlike some originalists who have fallen off the wagon), so I refitted the original one. I particularly liked the patina that it had amounted over the years.
Hey, you could both get a lovely sparkling cheapo fusebox with a smart, see-through lid from Halfords.
That's an interesting difference; my fusebox sits over two studs on a metal bracket. I think my later one is the same basic box but slots into a quick-release plastic mounting bracket that Andrew describes.
If you're ever short of white 8 amp fuses I bought a bag of (I think) 50 with a recent electrical order.:eek I've not had a fuse blow since then!
Paolo66
Established member
- Joined
- Feb 6, 2013
- Messages
- 1,004
- Points
- 235
Lol, had the same problem. I'm sure there's details of them in my thread [emoji3]
Good to see you again Friday. Your 500 has made great progress since last time I saw it[emoji106]
Good to see you again Friday. Your 500 has made great progress since last time I saw it[emoji106]
Paolo66
Established member
- Joined
- Feb 6, 2013
- Messages
- 1,004
- Points
- 235
- Joined
- May 27, 2010
- Messages
- 417
- Points
- 138
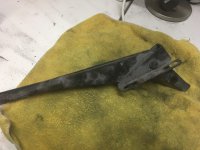
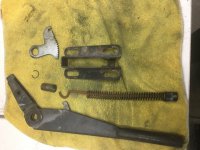
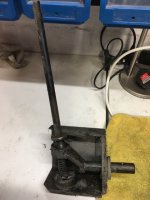
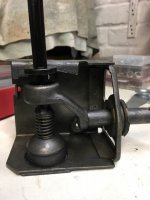
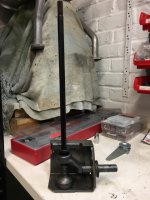
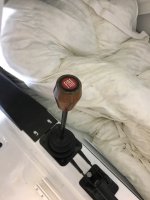
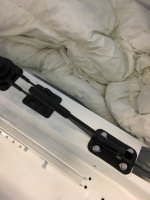
Can't tell if you took the small push button off the rod / spring assembly, but if you did, make sure you put it back on with Loctite or something similar.
If you are trying to do a hill start in traffic and the button has unscrewed itself popped off and rolled under the seat it would be hard to release the brake. Don't ask me how I know......
Love your work.
Joe R
If you are trying to do a hill start in traffic and the button has unscrewed itself popped off and rolled under the seat it would be hard to release the brake. Don't ask me how I know......
Love your work.
Joe R
Paolo66
Established member
- Joined
- Feb 6, 2013
- Messages
- 1,004
- Points
- 235
Wasn't 100% happy with the rear wheels so decided to investigate further. The wheels were binding, slightly on one side and all round on the other. New drums and shoes so everything was tight. The drum goes on easy enough and spins freely without binding but as soon as you tighten up the 4 bolts it was binding up. Have decided for now to fit the old drums which don't bind. Once the new shoes have bedded in I will fit the new drums.
Paolo66
Established member
- Joined
- Feb 6, 2013
- Messages
- 1,004
- Points
- 235
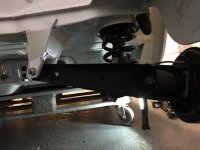
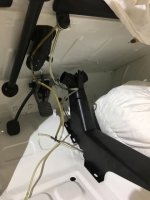
The rear wheels are a lot better now. Once I put the wheels on I checked for play in the bearings and found both to have slight play even though I had done the torque procedure correctly. I tightened both sides to the next split pin hole and the play went away. Been busy today getting all the cables through the tunnel. Just need to order some fuel hose and I'm replacing the positive battery cable so need to order that as well. When I changed the engine for the 650 because of the different locations of the starter the battery cable only just reached. I'm going to order a longer one and also change the colour to red.
Oops sorry Damian, I knew I forgot something. Will try to remember tonight
Hi Damian,
this is the best I could do without getting the car up in the air.
I think from this you can see where the cables run.
Let me know if you need any other areas recorded. The camera wouldn't get far enough away so it was best using the video.
[ame]https://youtu.be/YiMrkZLAuKE[/ame]
this is the best I could do without getting the car up in the air.
I think from this you can see where the cables run.
Let me know if you need any other areas recorded. The camera wouldn't get far enough away so it was best using the video.
[ame]https://youtu.be/YiMrkZLAuKE[/ame]
Paolo66
Established member
- Joined
- Feb 6, 2013
- Messages
- 1,004
- Points
- 235
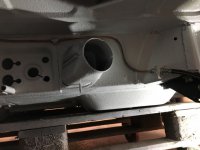
Spot on Sean thanks. It was were those clips fixed that was throwing me but now I know they go on the gearbox bracket. There are bendy clips on the floor and I thought these were for handbrake. Have to find out what they are for now.
As far as I can remember the only bendy clips were for the fuel pipe or brake pipes
Similar threads
- Replies
- 7
- Views
- 793


