Technical Project Paolo

Currently reading:
Technical Project Paolo

Personally - I wouldn't have it matching the body colour - and to go a step darker would seem correct

I'm with you Andrew. Just have to convince Kerry and it's her car. We spent months trying to decide on a colour for the car, don't want to go through all that again!
 
IMO it would look too much if it were the same colour.....I would buy a couple of colours of varying shades and experiment
 
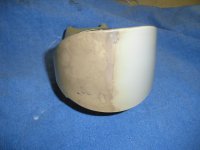
I used an high cut automotive paint cutting compound followed by a fine cut and then a polish. Made a really sun beaten and rough surface come back to smooth finish with even colour. Little bit of work, but we are used to that anyway.

Photo shows the difference.

SANY0631.JPG

Regards

Joe R
 
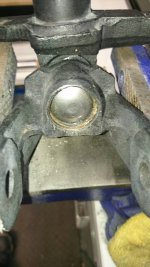
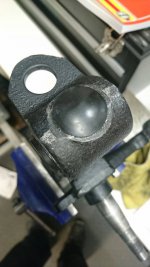
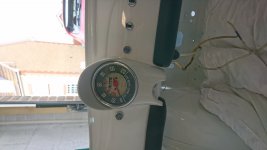
Gone for ral7035 for the speedo and steering wheel. Will see how it turns out but it will probably stay. Finally got round to buying a grease gun so greased the king pins I refurbished ages ago. All good, grease came out top and bottom. Peened bottom cap on and then glued a rubber bush to the top hole to stop dirt getting at the bush
 

Attachments

  • 1476793577425.jpg
    1476793577425.jpg
    61.6 KB · Views: 29
  • 1476793587542.jpg
    1476793587542.jpg
    50.2 KB · Views: 33
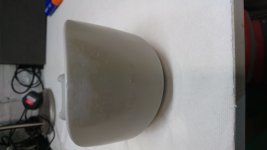
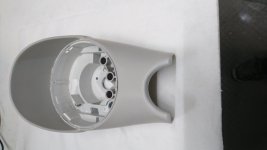
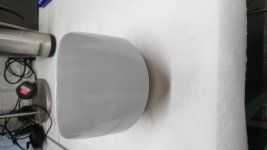
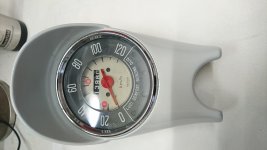
Stripped back the speedo to bare plastic and put on the first coat of Ral7035. It looks spot on. Will post a pic when its dry
 

Attachments

  • DSC_0214.JPG
    DSC_0214.JPG
    2 MB · Views: 63
  • DSC_0213.JPG
    DSC_0213.JPG
    2.1 MB · Views: 40
Thanks, the finish came about purely by circumstances. The original speedo looked tired and crap. Tried to polish it but no good. Then sprayed it antique white but looked too yellow. Then sprayed it porcelain white which looked okay but Kerry didn't like it. Then sprayed it radiator white which looked good and Kerry wanted but for me it was too much white. Sprayed on the Ral7035 which looked good but as it dried it reacted with the previous paints and started to crackle. Had to remove everything using thinners and scotch brite so I was left with original plastic that was slightly rough. Then went for 2 coats of Ral7035 followed by 1 coat of clear laquer. Looks bloody good. Anybody doing this Ral 7035 is a nice shade, if you want to go a bit more original Ral7038 is a shade darker
 
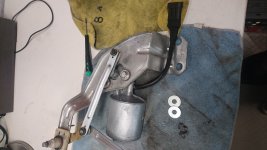
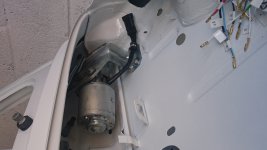
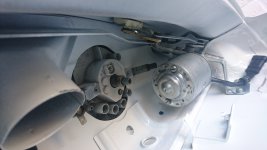
Wiper motor cleaned and fitted. New plug wired in
 

Attachments

  • DSC_0219.JPG
    DSC_0219.JPG
    3.1 MB · Views: 40
  • DSC_0220.JPG
    DSC_0220.JPG
    2.8 MB · Views: 95
  • DSC_0222.JPG
    DSC_0222.JPG
    2.2 MB · Views: 66
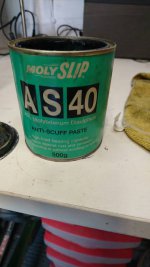
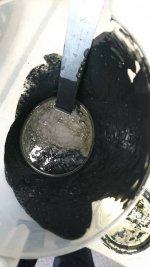
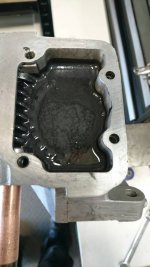
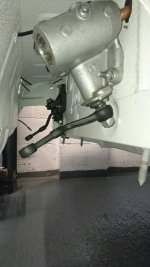
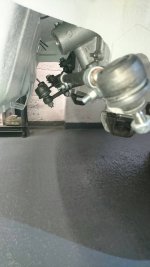
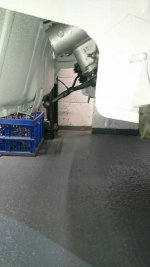
I have been rebuilding the steering box. I made a mix of grease and oil which seems about right. Gonna check tomorrow that it hasn't leaked and the mixture hasn't seperated. Pushed him outside today to enjoy the sunshine!DSC_0226.jpegDSC_0227.jpeg
DSC_0229.jpegDSC_0230.jpegDSC_0231.jpeg
 
No leaks from the box and the grease/oil emulsion hasn't seperated. Kept moving it and you could feel it getting smoother as everything bedded in and got lubricated. Obviously I won't be able to fully assess until steering wheel is connected to the wheels but so far so good
 
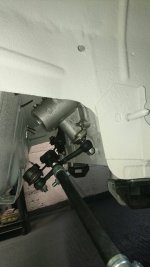
A change of job and a bad back have stopped me getting in the garage for a while but have been able to get in there today. When I trial fitted the steering box I had a similar problem that Franko500 had in that the pitman arm and the relay lever looked to be at different angles. I removed the steering box and torqued the pitman arm nut up and hey presto they are now at the same angle! Have fitted all the steering linkage and going to try and fit the front spring next. Also put heat shrink over the metal tabs.
DSC_0233.JPG
 
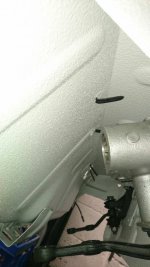
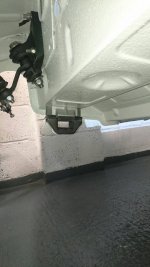
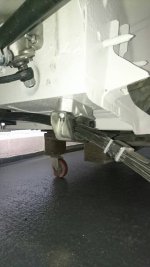
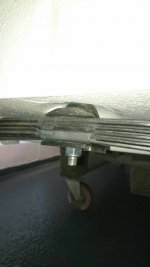
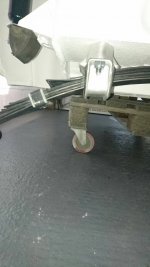
God that front leaf spring is a bugger to fit without the Fiat spring compressor! Almost stripped the threads on one of the studs but managed to save it. Wouldn't even know where to start with replacing one of those. Had to round off the edges of the tab at the centre bolt as they were touching the bodywork. Did it in situ with the trusty Dremel. That and the sandblasting cabinet have been money well spent.
DSC_0240.jpegDSC_0241.jpegDSC_0242.jpegDSC_0243.jpeg
 
It was something I was considering, how did you manage it ?
 
With great bloody difficulty! Used my trolley jack but because there is no weight in the car you end up lifting it. Luckily it was on a pallet and not axle stands. If I did it again I would make up a jig to compress it first
 
I've shown this photo beforeb ut I have rotated it as it can be seen better; it was actually done with he car on it's side. As Damian says, without the mass of the car to help, it's tricky as the spring is very curved. My way was with ratchet straps and angle iron and was dangerous. A bit of time with a welder and a few coachbolts would have produced a good tool quite easily.
JAN_7361 by Peter Thompson, on Flickr
 
A similar query was made some time ago on the Forum, but sadly, I can't remember where/when. My suggestion was a piece if angle-iron and 2 big 'U' clamps located just INSIDE the body-mounting clamps. Weld 2 cross-bars on the angle-iron where the 'U' clamps are located with holes drilled as required. Slip the 'U' bolts over the top of the spring and then through the cross-bars, and do up the nuts so as to flatten the spring. Make sure that the angle-iron can go between the 'jaws' of the king-pin carrier. By doing it this way, you can leave the angle-iron in place until you have the king-pin carrier/spring bolt in as well as the upper wishbone bolt before you remove the angle-iron.
thumb.gif
smile.gif
 
Back
Top