Technical Panda 750 CLX - Head Gasket blown

Currently reading:
Technical Panda 750 CLX - Head Gasket blown

P1010053640x480.jpg


P101005350-1.jpg

I made a mistake, started to loosen the nº 1 head bolt (yellow dot), but i supose i should have started by the nº 10 bolt (white dot) right? then i broke the 13mm socket set doing that... so the job stoped cause it was the only 13mm i have...
P1010060320x200.jpg


This is how the oil came out (mayo)... this and much more

P1010061320x200.jpg

i Also couldn t loosen this 3 bolts... put loads of WD40... i ll have another try tonight.

P1010057320x200.jpg

Can i let the fuel pump (mechanical one) attached to the head?

P1010065320x200.jpg


I cleaned the carb with some ...

P1010062320x200.jpg


and later on i ll try to separate the top cover from the main body and check the float level. I have no kit for the carb overhaul.

Again, thanks for your help.

Cheers
 
If there is a problem with rusty bolts and WD40 (or other sort of penetrating oil) isn't helping than the next solution is to heat up nuts or bolts with blow torch and it will be much easier...

Though, you can also break bolts by using brute force while unscrewing them if they are easily replaceable...
 
Good morning:
Here it is:
The Head
P1010107640x480.jpg


Does the yellow line in the cambelt need to be align with the mark in the wheel ??? Mine wasn`t, So i got a pen and made a mark in the belt (when wheel mark was aligned with the head - 9 o`clock) then turned the wheel twice and the mark i made didn t aligned again...strange no? wrong cam belt size?

The engine block with the head gasket... or what is left of it
P1010083640x480.jpg


Nº 1 cylinder - not good humm??? lol
What happened here? the ring around the cylynder broke, this is unusual right? ... i used more time to write this post than taking the head out of the block...

and nº 2 cylinder - ok
P1010085640x480.jpg


Nº 3 - ok ... and nº 4 cylinder - ok...hummm!!! not sure
P1010086640x480.jpg


Head - valve chambers(???) combustion chambers(???) Damn i should have brought the panda manual today...
P1010095640x480.jpg


P1010096640x480.jpg

P1010097640x480.jpg

P1010104640x480.jpg

P1010105640x480.jpg


Can u please help me, i dont know how should the camshaft wheel feel, i mean... i put the head down on a bench and i tryed to turn the wheel by hand and its very difficult to turn it. Maybe it should be like this, but i dont know...

Also:
How can clean the valves without dismantling them? How to remove all the carbon from the valves or combustion chambers (dont know the name) ... where the mixture air/gas explode...lol sorry, i dont know how to explain what i want...lol

To be continued... (I m sure)...
and someday finished (i hope)
Cheers
Alterlego

Well Alterlego, after all you will become Licenced Panda mechanics(y)(y)(y)
As far as I see it`s not so bad. Definitely I think you will have to dismanteled valves, probably lot of residues gets into valve channels, and so on, so this is a reason of heavy rotate........Dismanteling the valves needs some special tools (valve-lifting fork), so be prepared for this...
Naphta or diesel fuel is very good cleaner.......
I will try to find some instructions with pic for you (probably on serbian, but with lot of pic......) It is instruction for Zastava-Yugo, but its very very similar engine........
Also see following links:
https://www.fiatforum.com/panda-guides/160358-panda-timing-belt-replacement-ohc-fire-engine.html

https://www.fiatforum.com/cinquecento-seicento-guides/100553-cam-belt-change.html

Cheers
Aca
 
Hello again
Aca:

A valve-lifting fork - ...well, you re right, i ll try to read material about valves. It shouldnt be much more difficult than the replacement of the head gasket (or is it) lol

I must read some guides about valve tune up and maintenance, cause dont feel comfortable enough to do it right now... i ll do it while the head is at the engineering shop.

Naphta or diesel fuel is very good cleaner - i already bought some diesel for the cleaning.

Thanks a million Aca
u re the best

Everybody here is very nice and helpfull.

I promise u that in "Fiatistas" and "Panda 4x4" foruns (here in portugal) know about u guys, cause i recommended Fiat Forum in there and everybody allready knew about FIAT FORUM being a very good place to learn about Fiat cars.

Cheers
Alterlego
 
Hello again
Aca:

A valve-lifting fork - ...well, you re right, i ll try to read material about valves. It shouldnt be much more difficult than the replacement of the head gasket (or is it) lol
Cheers
Alterlego

Well Alterlego I promise some pic to you (taken from Zastava Yugo manuals) - but I think the most things are the same.....
Here is pic of special tools for valves, and tehnical wiew:

Cheers
Aca
 

Attachments

  • Viljuska ventila.JPG
    Viljuska ventila.JPG
    137 KB · Views: 91
  • Izgradjivanje ventila.JPG
    Izgradjivanje ventila.JPG
    60.7 KB · Views: 77
  • Ventili Panda.JPG
    Ventili Panda.JPG
    161.7 KB · Views: 81
Last edited:
Thanks Aca:

I ve been very busy... with this fella, so i shoot him twice, its done now - for the past 2 days we were fighting endlessly.
P1010178640x480.jpg

P1010173Resoluododesktop.jpg

the head after skimming
P1010133Resoluododesktop.jpg

P1010138Resoluododesktop.jpg

P1010139640x480Resoluododesktop.jpg

Engine block - after cleaning and a bit of sand paper (very carfefully)...
P1010143640x480Resoluododesktop.jpg

a bit of high temp grease (while piston was down) - so i could bring up the dirt inside the cylinder bore
P1010148Resoluododesktop.jpg

P1010153Resoluododesktop.jpg

A bit of sanding - camshaft cover
P1010159Resoluododesktop.jpg

yestarday:
P1010169Resoluododesktop.jpg


Now i got to take off the oil sump, wich is a very difficult task, cause some bolts have a very undesirable location (damn exaust)
Tommorow i ll report back
thans Aca

Alterlego (paulo)
Porto - Portugal
 
It's a while since I've done a major rebuild, but your pictures remind me of the sense of anticipation seeing those lovely clean machined components on the bench. Time to get some of my old bikes in bits I think!

Mike
 
What a shinny, shinny day in Porto!!!!!
Bravisimo, Paulo, bravisimo. You are very close to perfect Panda engine.
As far as I see on pic, skimming is very professionally and – nice worked.

Well lifting fork for valve dismantle - has to be simulated by something similar or DIY work, (i.e. dismantled - wine bottle opening tool, with some added flat metal bar) I put technical drawing for valves, just to make you easy scope to valves composition. If you decide to dismantle the valves you should count to new valves carriers – No 10, 14 and 15 on the pic, and mark all positions of inlet and outlet valves and valves tails – one by one, because you have to turned back each valve and adjusting tail exactly onto same position on engine as before intervention.

Also I think that there is to buy - a special liquid for flushing of engine - used for flushing of mayo from the inside oil tunnels. This liquid has to be putted instead of oil for the first few minutes after new engine start, and then you can change that liquid and put normal engine oil and new oil filter. Same thing counts for coolant liquid.

Cheers mate,
Aca, Belgrade
 
Well done Paulo.

It's all looking good. You've put in a lot of effort.. I hope she starts first time for you!

Cheers,

Plug

LOL
She did...she did!!!
a little gasoline directly in the carb... and she woke up immediately - up, up and away!!!

Thanks everybody for your help during this crises... plug; Arc; dave; 1986uno45S; Gibanitza; Xsparky; Purple Haze...
and Aca thanks a billion for your help.
(hope i didn`t forget a soul)

Cheers
Alterlego
 
I no doubt!- that you will make it Alterlego!

Thats a thrue FIRE- machine, - but if you need sometimes - they could be reborned- by your own hands (without robots)!:worship:

Congrats !!! and wish you confort ride - next 300.000 miles. (Then change the gasket again just to be sure to stay out of mayo!!! and may be check valves then...(y)(y)(y).

Cheers,
Aca
 
LOL
She did...she did!!!
a little gasoline directly in the carb... and she woke up immediately - up, up and away!!!

Brilliant! :woot:

I remember when my 750 broke its cam belt, after several hours of bad language and bleeding knuckles fixing it, it fired up first time. A great feeling :slayer:

Hope you're all good to go now and back on the road! We want pictures of the outside of the car!

Cheers,

Plug
 
Well done! It's a great feeling(y), even when you know you have done everything right, you are never quite sure whether she's going to fire.

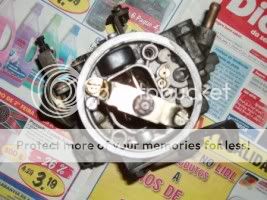
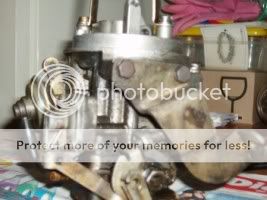
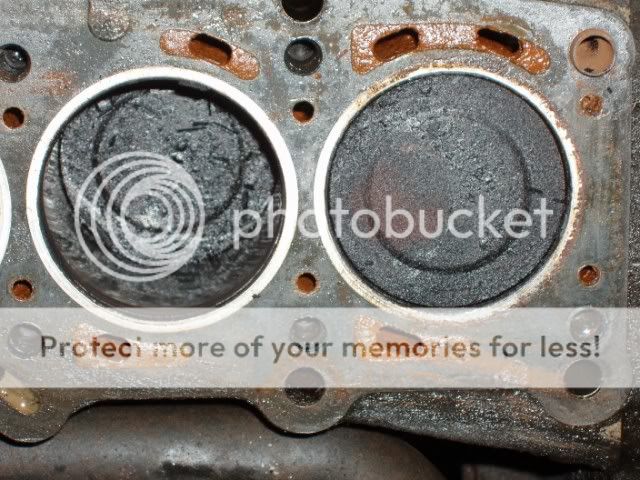
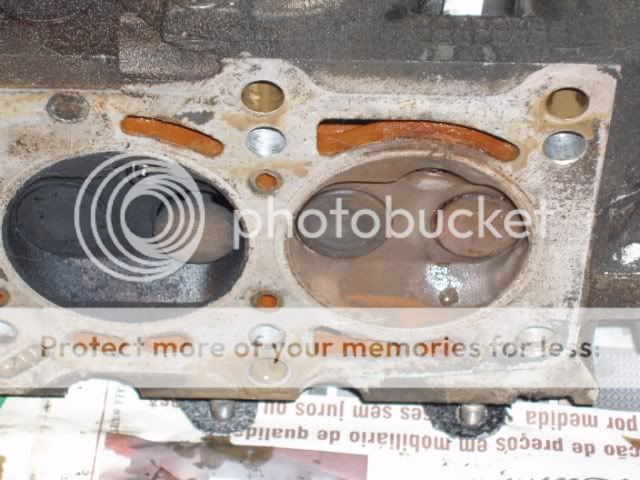
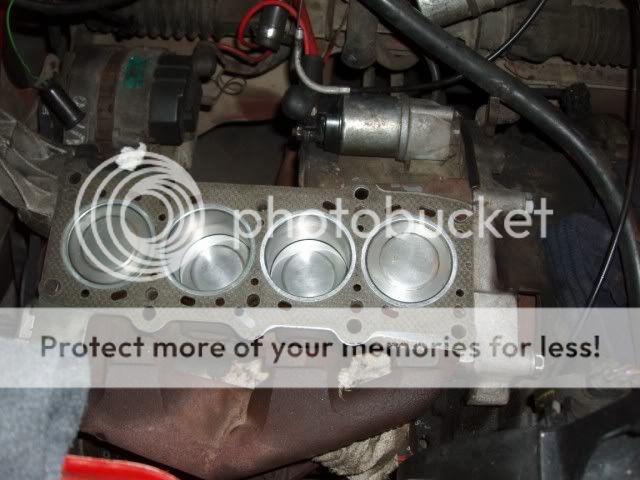
I apologise for boring anyone with a little story, but it is pertinent to starting an engine for the first time after a rebuild. Many years ago I rebuilt a motorcycle engine for money, a friend had a bike workshop, but British bikes were not his speciality so he subbed it out to me. The bike had broken its crank in half [still ran!] so needed a complete rebuild. I did the job as carefully as I could, put the barrels and head back on, timed it up, new plugs, leads and points. Fresh fuel, tickled the carb and kicked it over, expecting to hear the 650 twin burst into life. Nothing. I rechecked everything, I had a spark, fuel was getting there - I kicked it over so many times I broke the cotter pin on the kick start, I replaced the coils, and condenser, stripped the carb , checked the valve timing, compression tested it, changed the fuel, still it wouldn't start. Not only was it bloody frustrating, it was extremely embarassing as I was being paid for it. In desperation I took the head and barrels off to check the camshaft, put everything back together. Nothing. Finally, I took the oily old spark plugs out of the bin refitted them and with a gentle kick she burst into life, and ran like a sewing machine. The brand new Champion spark plugs were faulty, they sparked on the head but broke down under a slight load. I never bought Champion plugs again.
The moral of this story is, when your newly rebuilt engine fails to start, check all the easy things first, don't throw your old parts away until it's running and never assume because something is new it's ok!
Mike
 
Hi there...again!!!

Sorry, but something isn`t right.
Well I used the same timing belt cause it had only a couple of thousand kms.
But the mark on the belt - a yellow line - (that i assume has to stay in between the timing mark of the head/pulley at 9 o`clock, with the arrow pointing to the front of the car).
After installing it if i turn the crankshaft pulley twice by hand, shouldnt the mark (line on the belt) align again in the same place???
But it doesn t, i mean... never (turning it twice or four times and it never aligns again).
The timing belt i am using is the Gates Powergrip 5030XS (96104 x 15HSN) which i supose has 104 teeth.
Can somebody please help me clearing it up...!!!Is this the right belt? i still can hear a knocking sound at idlle...

Fiat Panda 1991 - 750 clx (but only 4 speed...strange hum?)
Engine Code: 156A4000 (FIRE) 769 cc. - carburettor

Thanks guys
Alterlego
 
Doesnt mater how the belt is fitted. on the top wheel(cant think of name) there is usually a small dot of paint. perhaps red. there is a mark on the head to. little chip out of it. line these two up and then fit belt. timing should then be properly adjusted.

If someone has a guide to timing adjustment please upload to help Alterlego.
 
Last edited:
Back
Top