IMG_1874.JPG

Panda (Classic) My Sisley, Panda 4x4 - division north

Introduction

As mentioned before, I'm starting new thread for my recent purchease.
Bought it from forum user, deposit was place without seeing the car first, went all the way down south with rest of the cash and A-frame in boot.

First summary of the car is ( 1 is very poor, 10 is perfect):

  • Originality - 6,
  • Bodywork - 7,
  • Engine - 6,
  • Gearbox - 5,
  • Interior - 5,
  • Structural rust - 8,
  • Visible rust - 8,
  • Previous owners maintain - 7
Plan for the car is to keep it road worthy and in good mechanical nick, join Panda 4x4 UK club and have some play with other Northern forum members.

As it is now, I'm not willing to make any statement what needs to be done as I had only spend about 2h last week by checking and looking at the car in more details way.

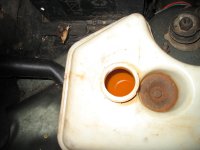
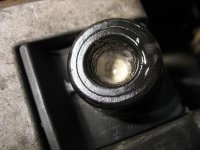
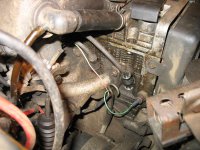
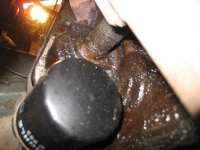
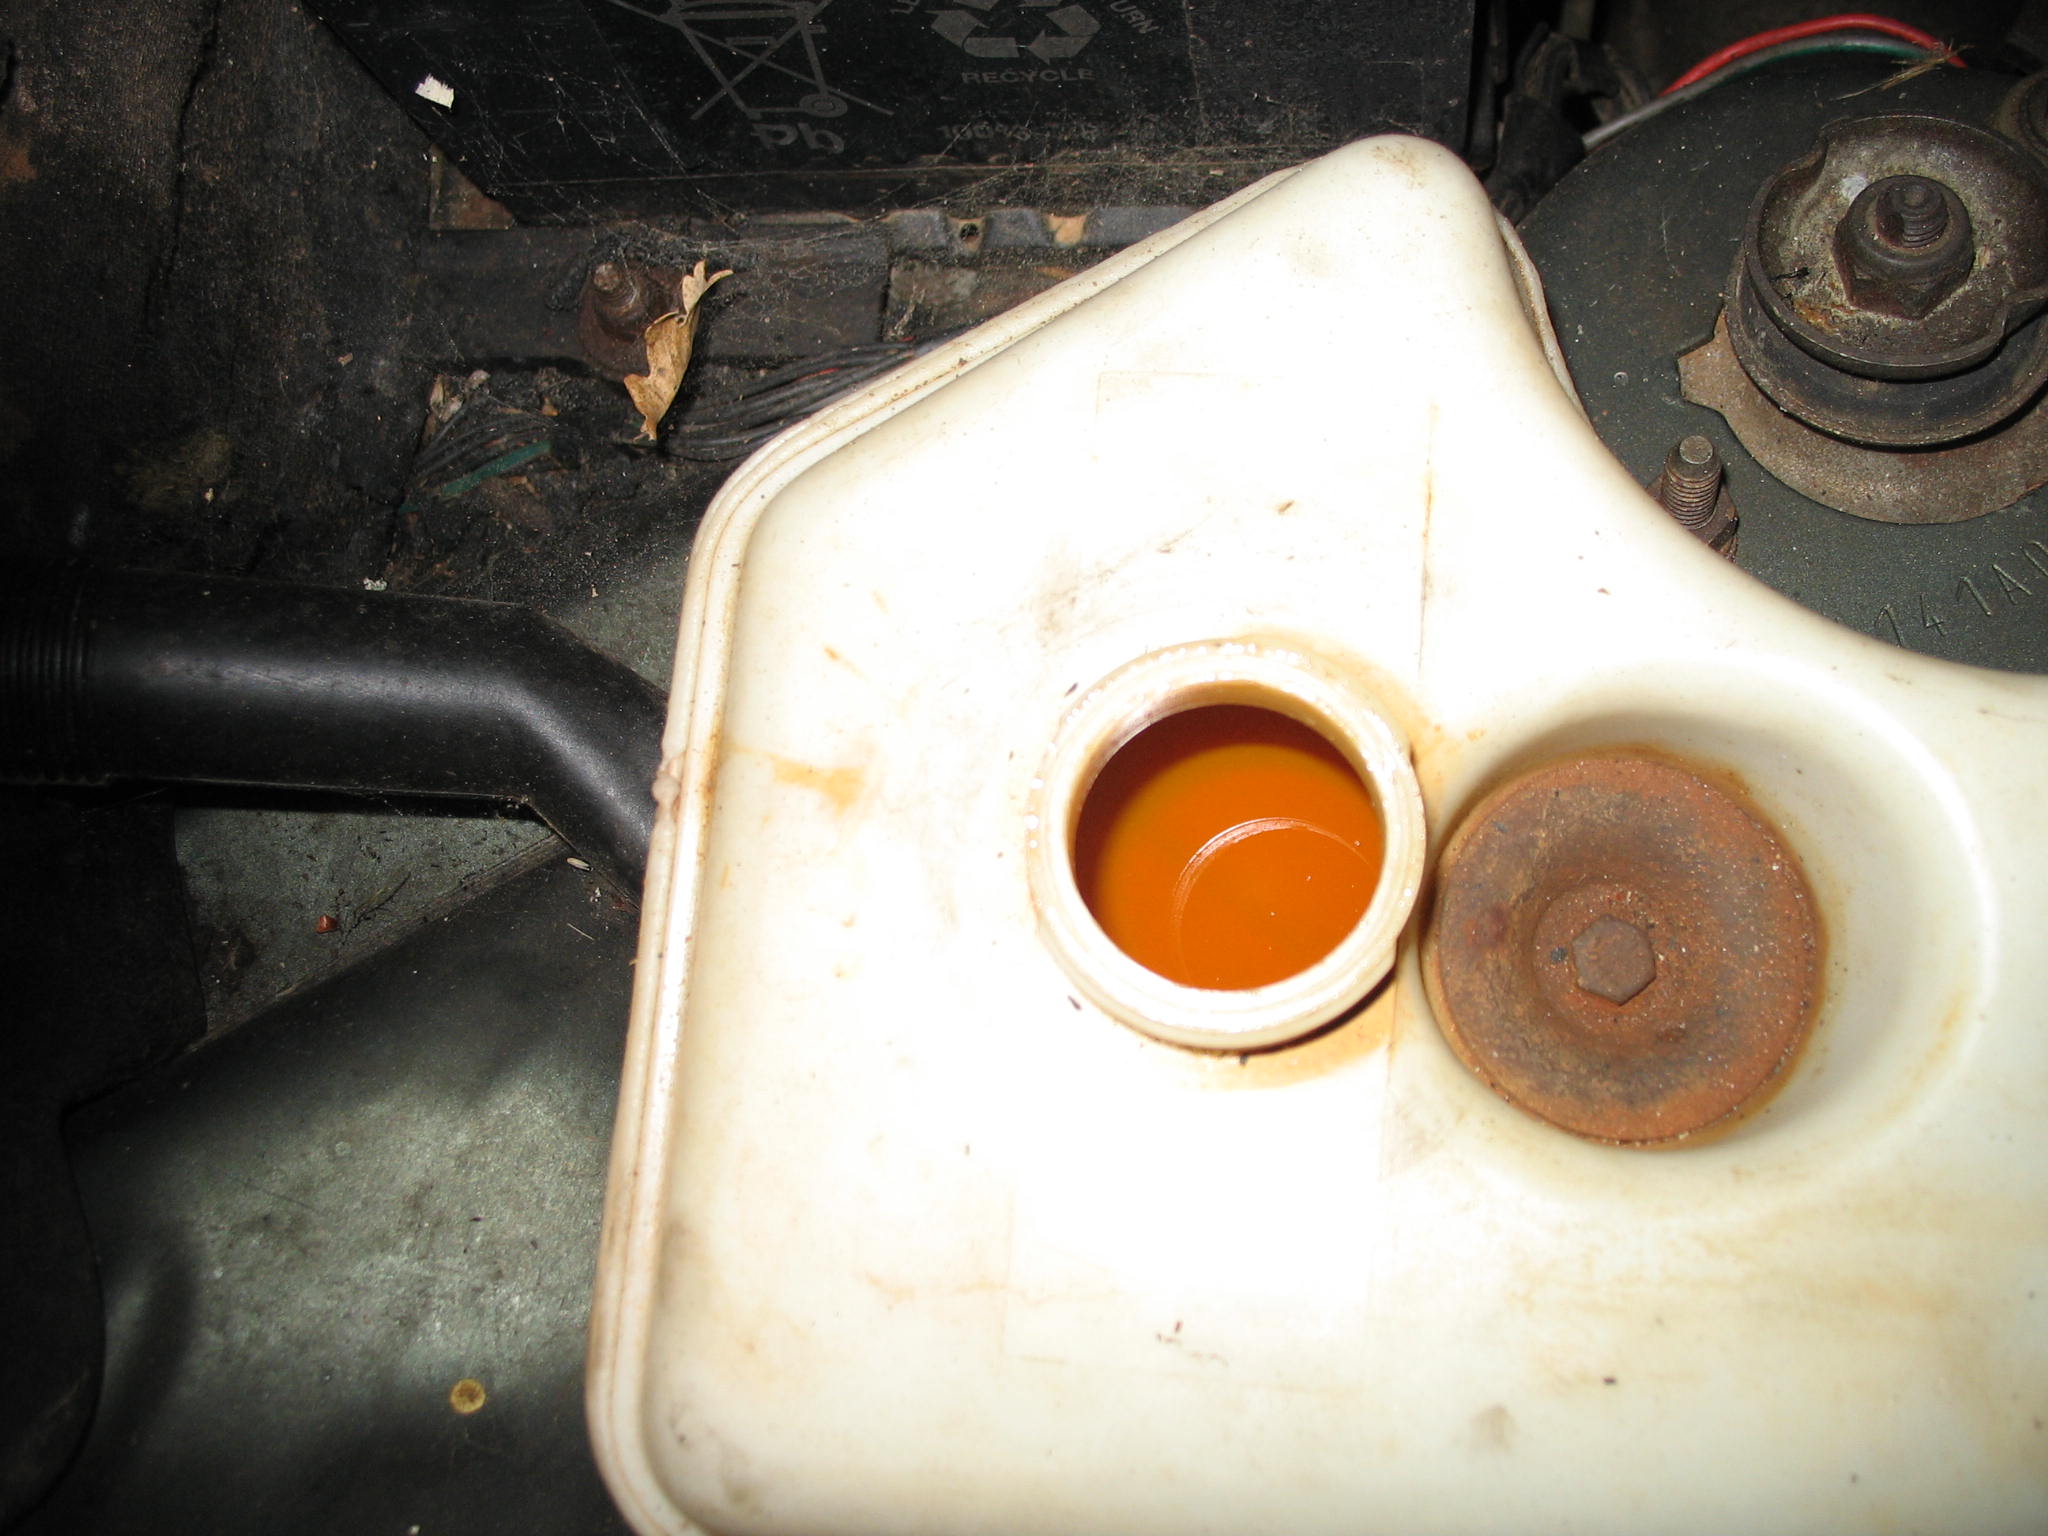
That is my bigger worry for now - bloody milky coolant and a bit of mayo under the oil cap.
IMG_18771.JPG

IMG_18843.JPG


How can I confirm my head gasket theory not having coolant presure test kit???
@CLS - your not the only one - aparently it is bloody hard to buy cheepo 4x4 without blown thru head gasket.

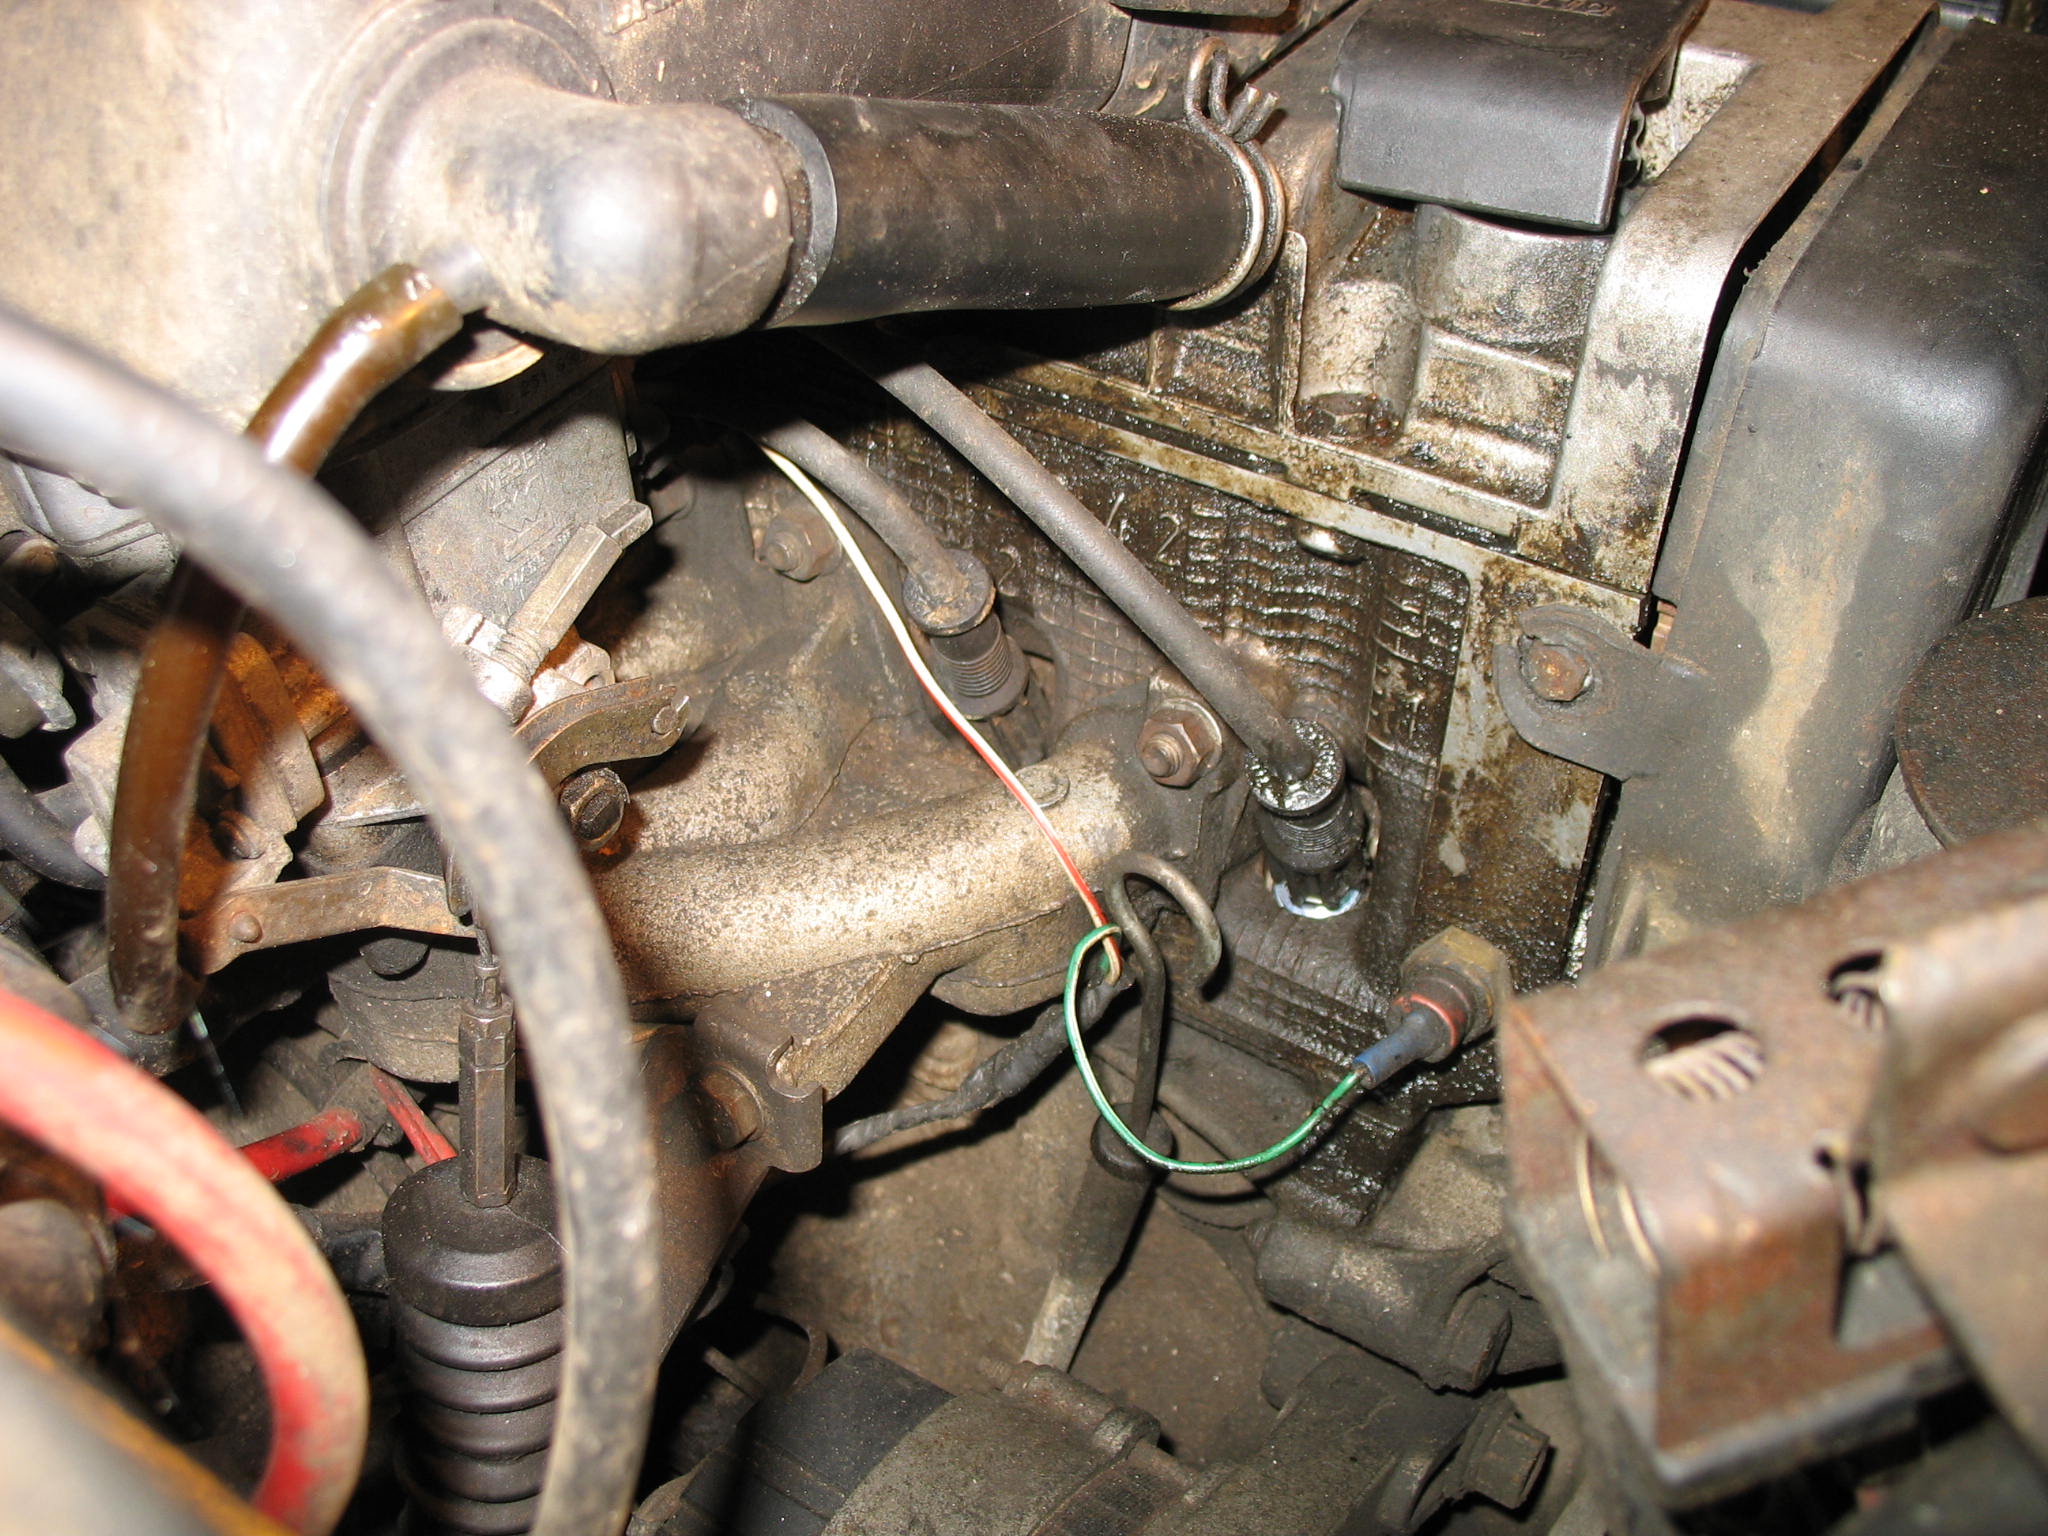
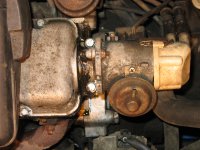
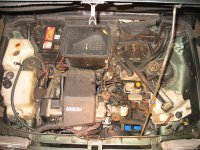
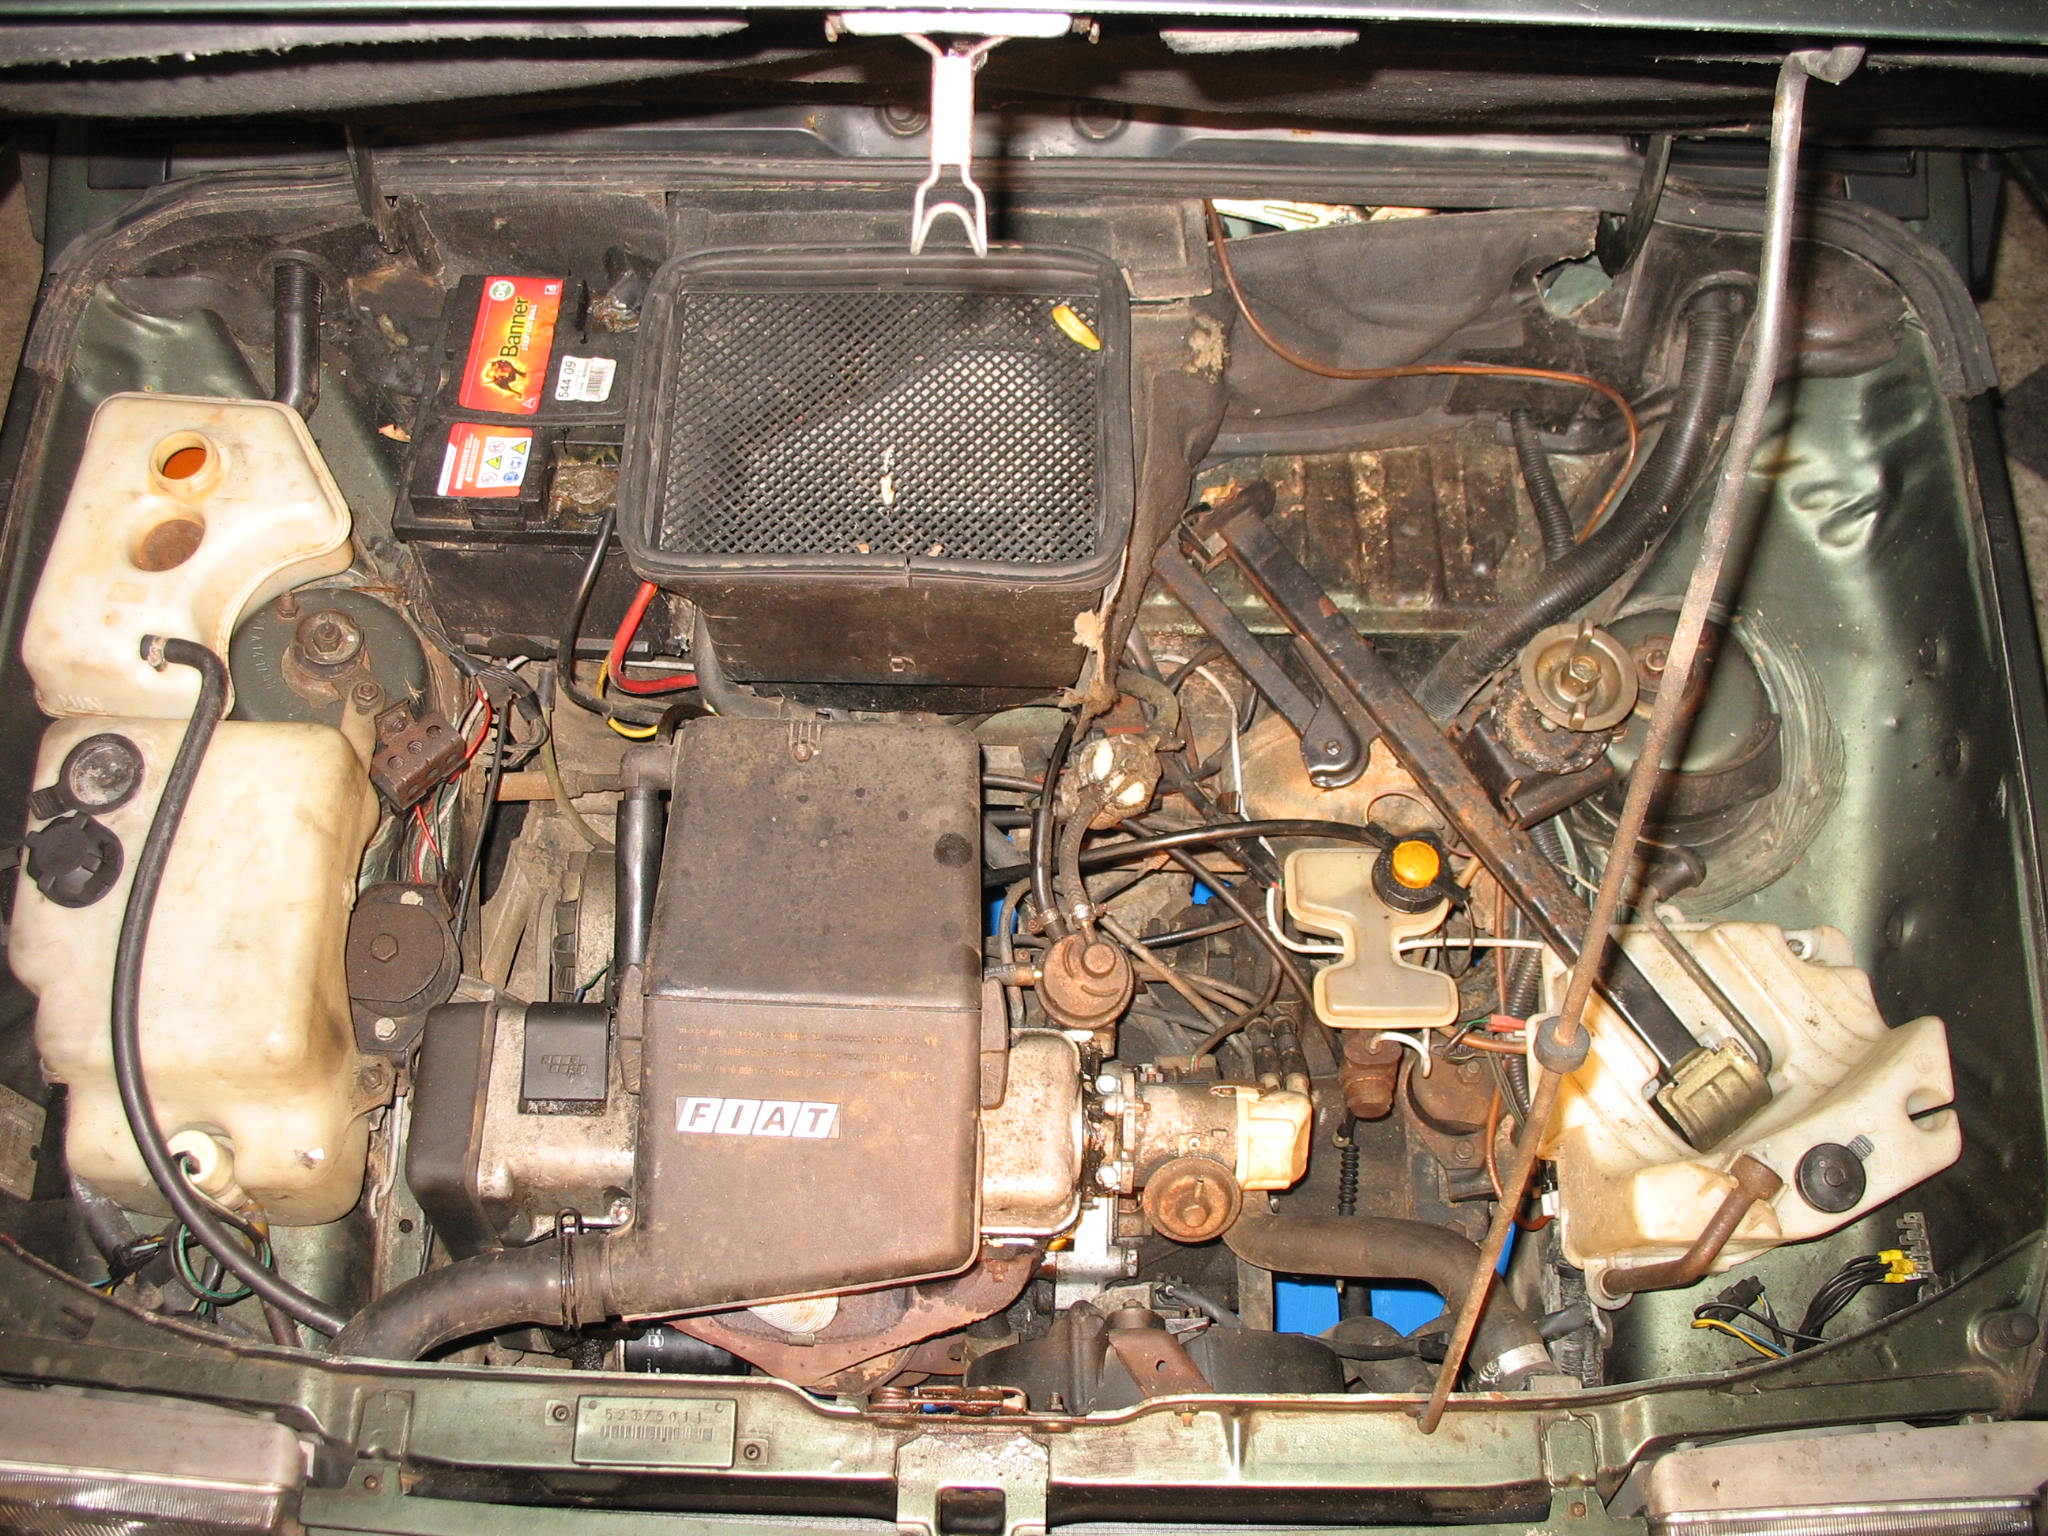
The rest of the engine bay seems to be fine,
IMG_18791.JPG


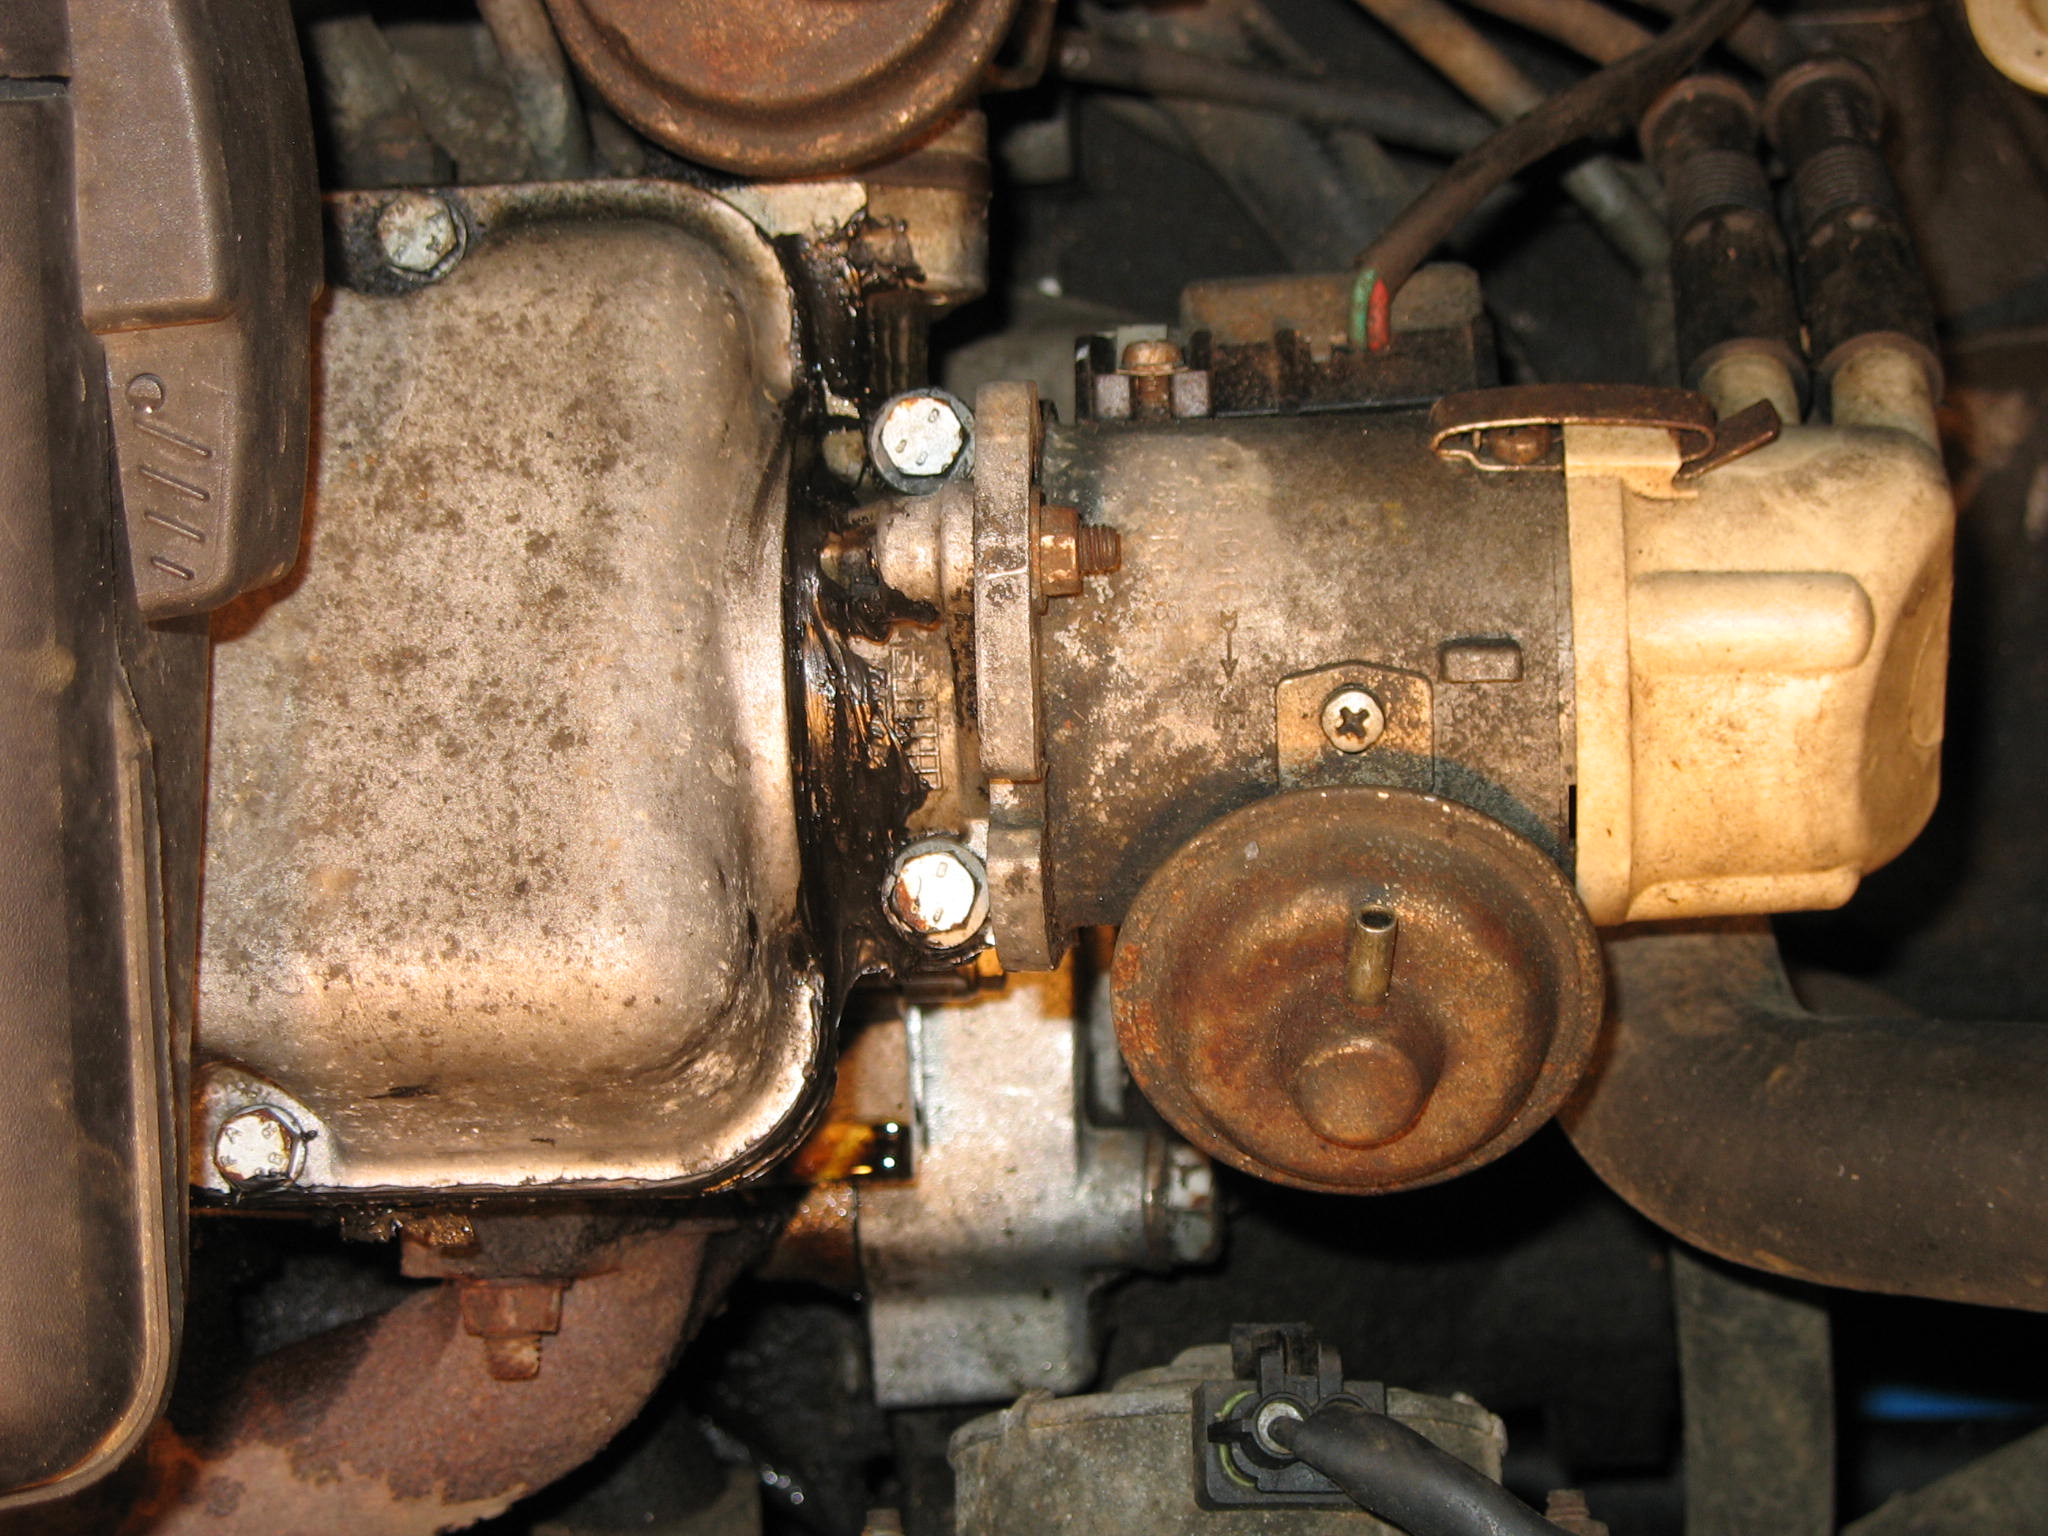
Did somebody in here mentioned a black silicone gunk as a fast repair?
IMG_1878.JPG


IMG_19241.JPG


IMG_18862.JPG


IMG_18821.JPG


IMG_19311.JPG


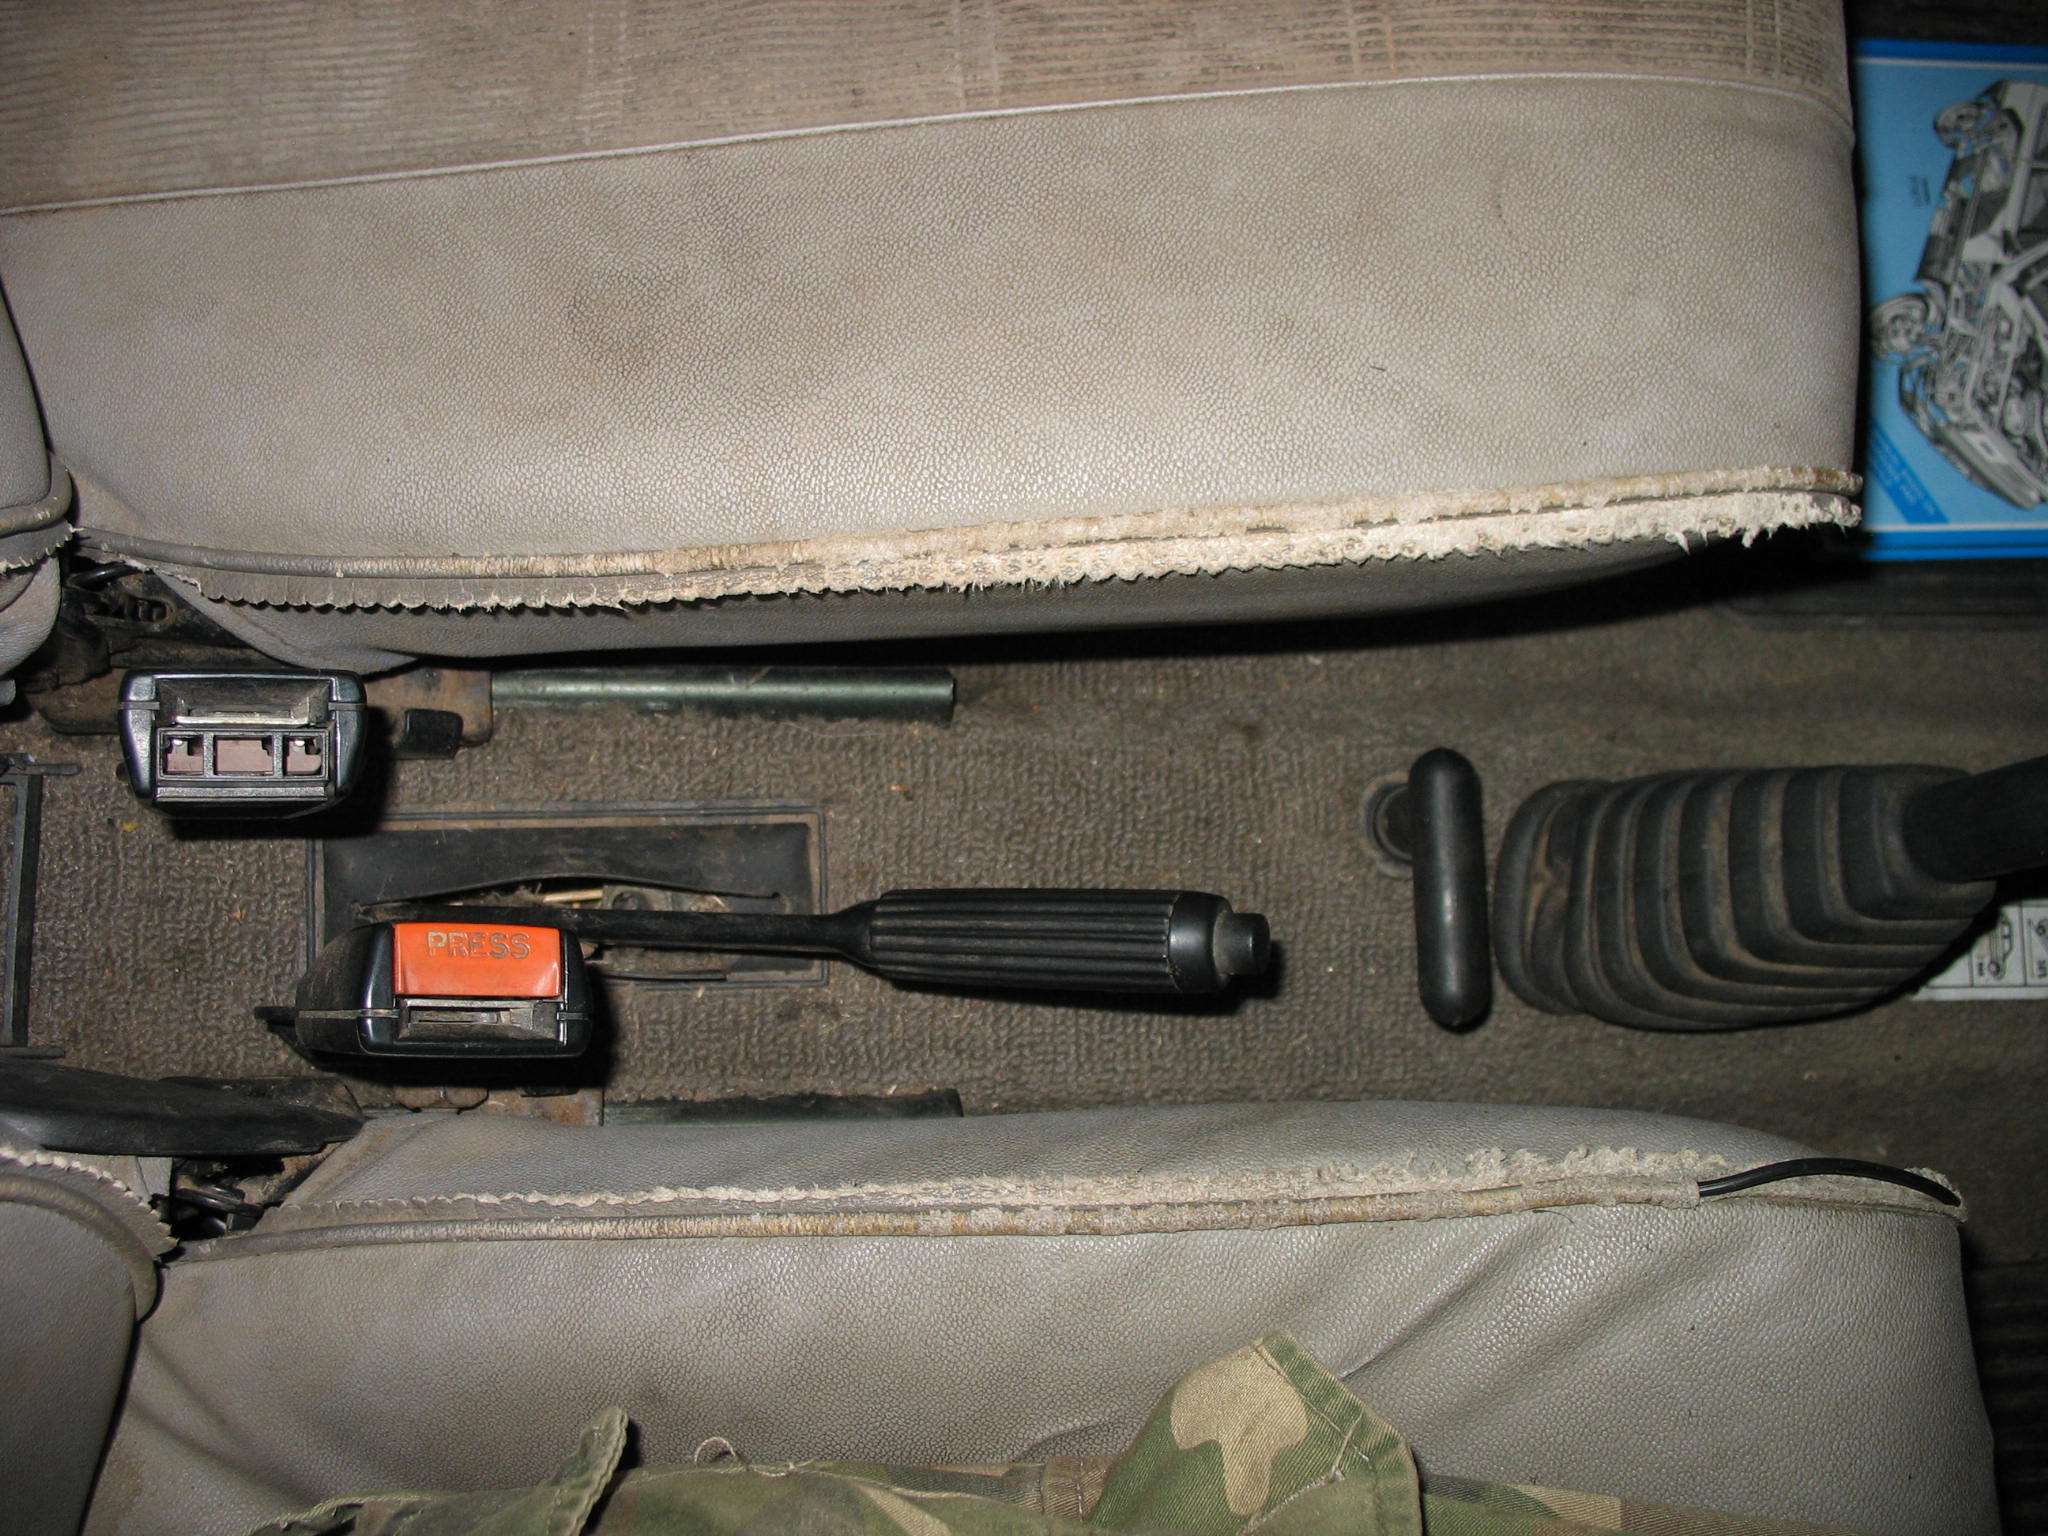
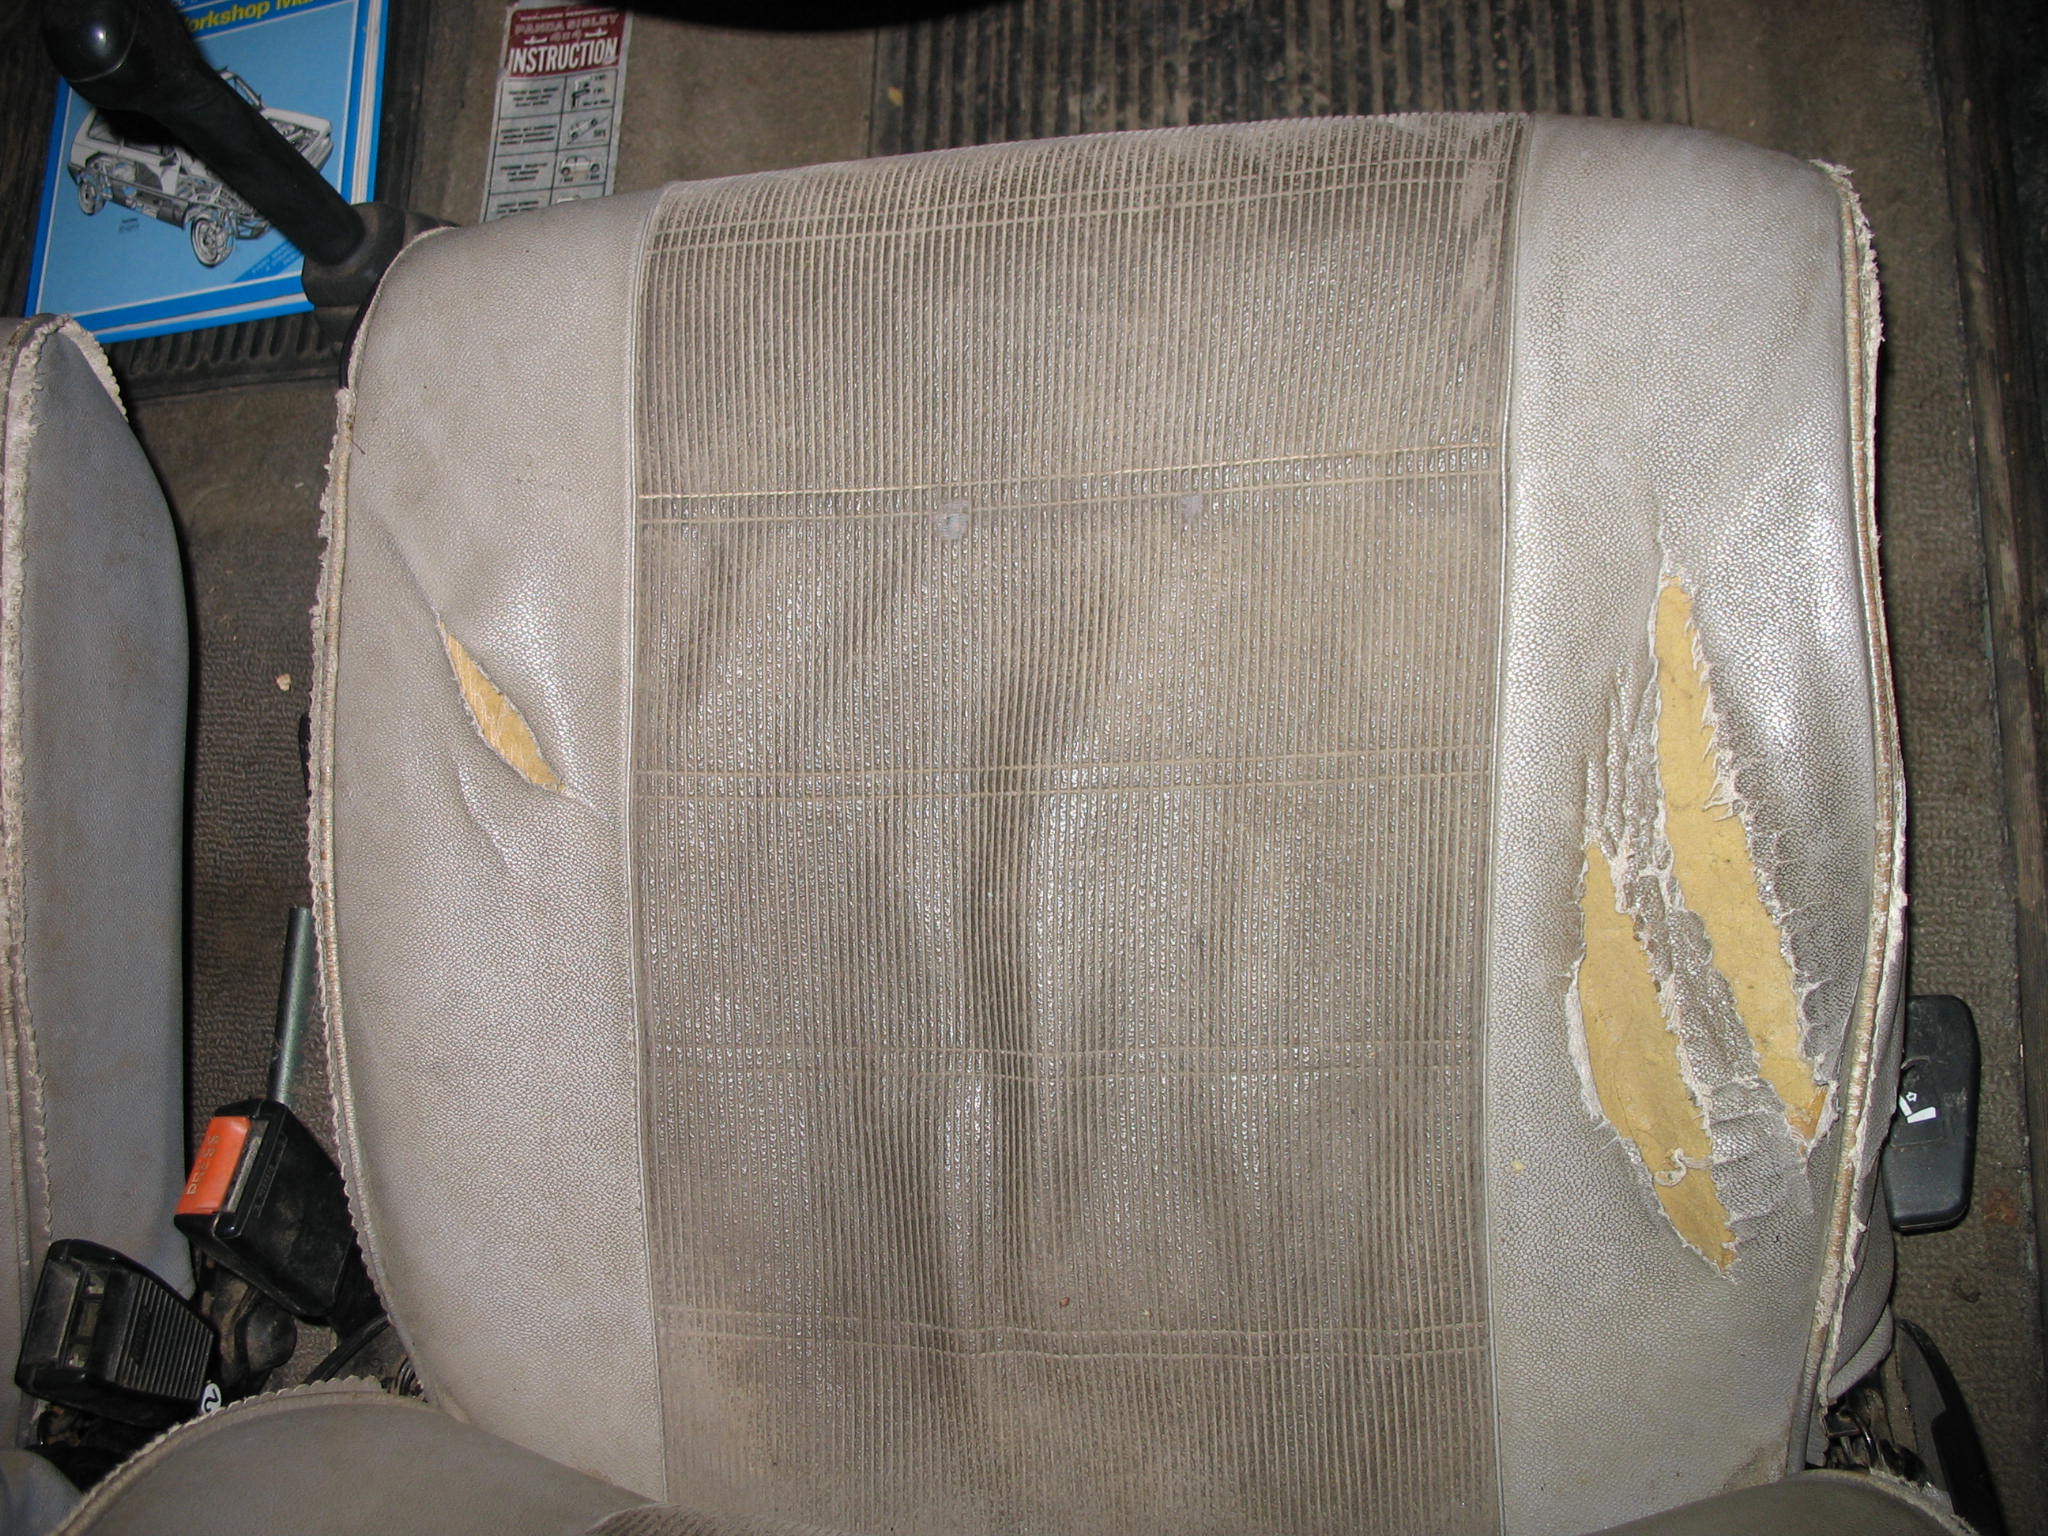
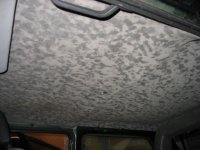
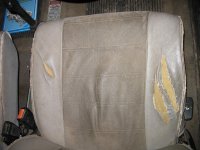
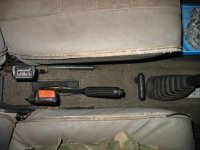
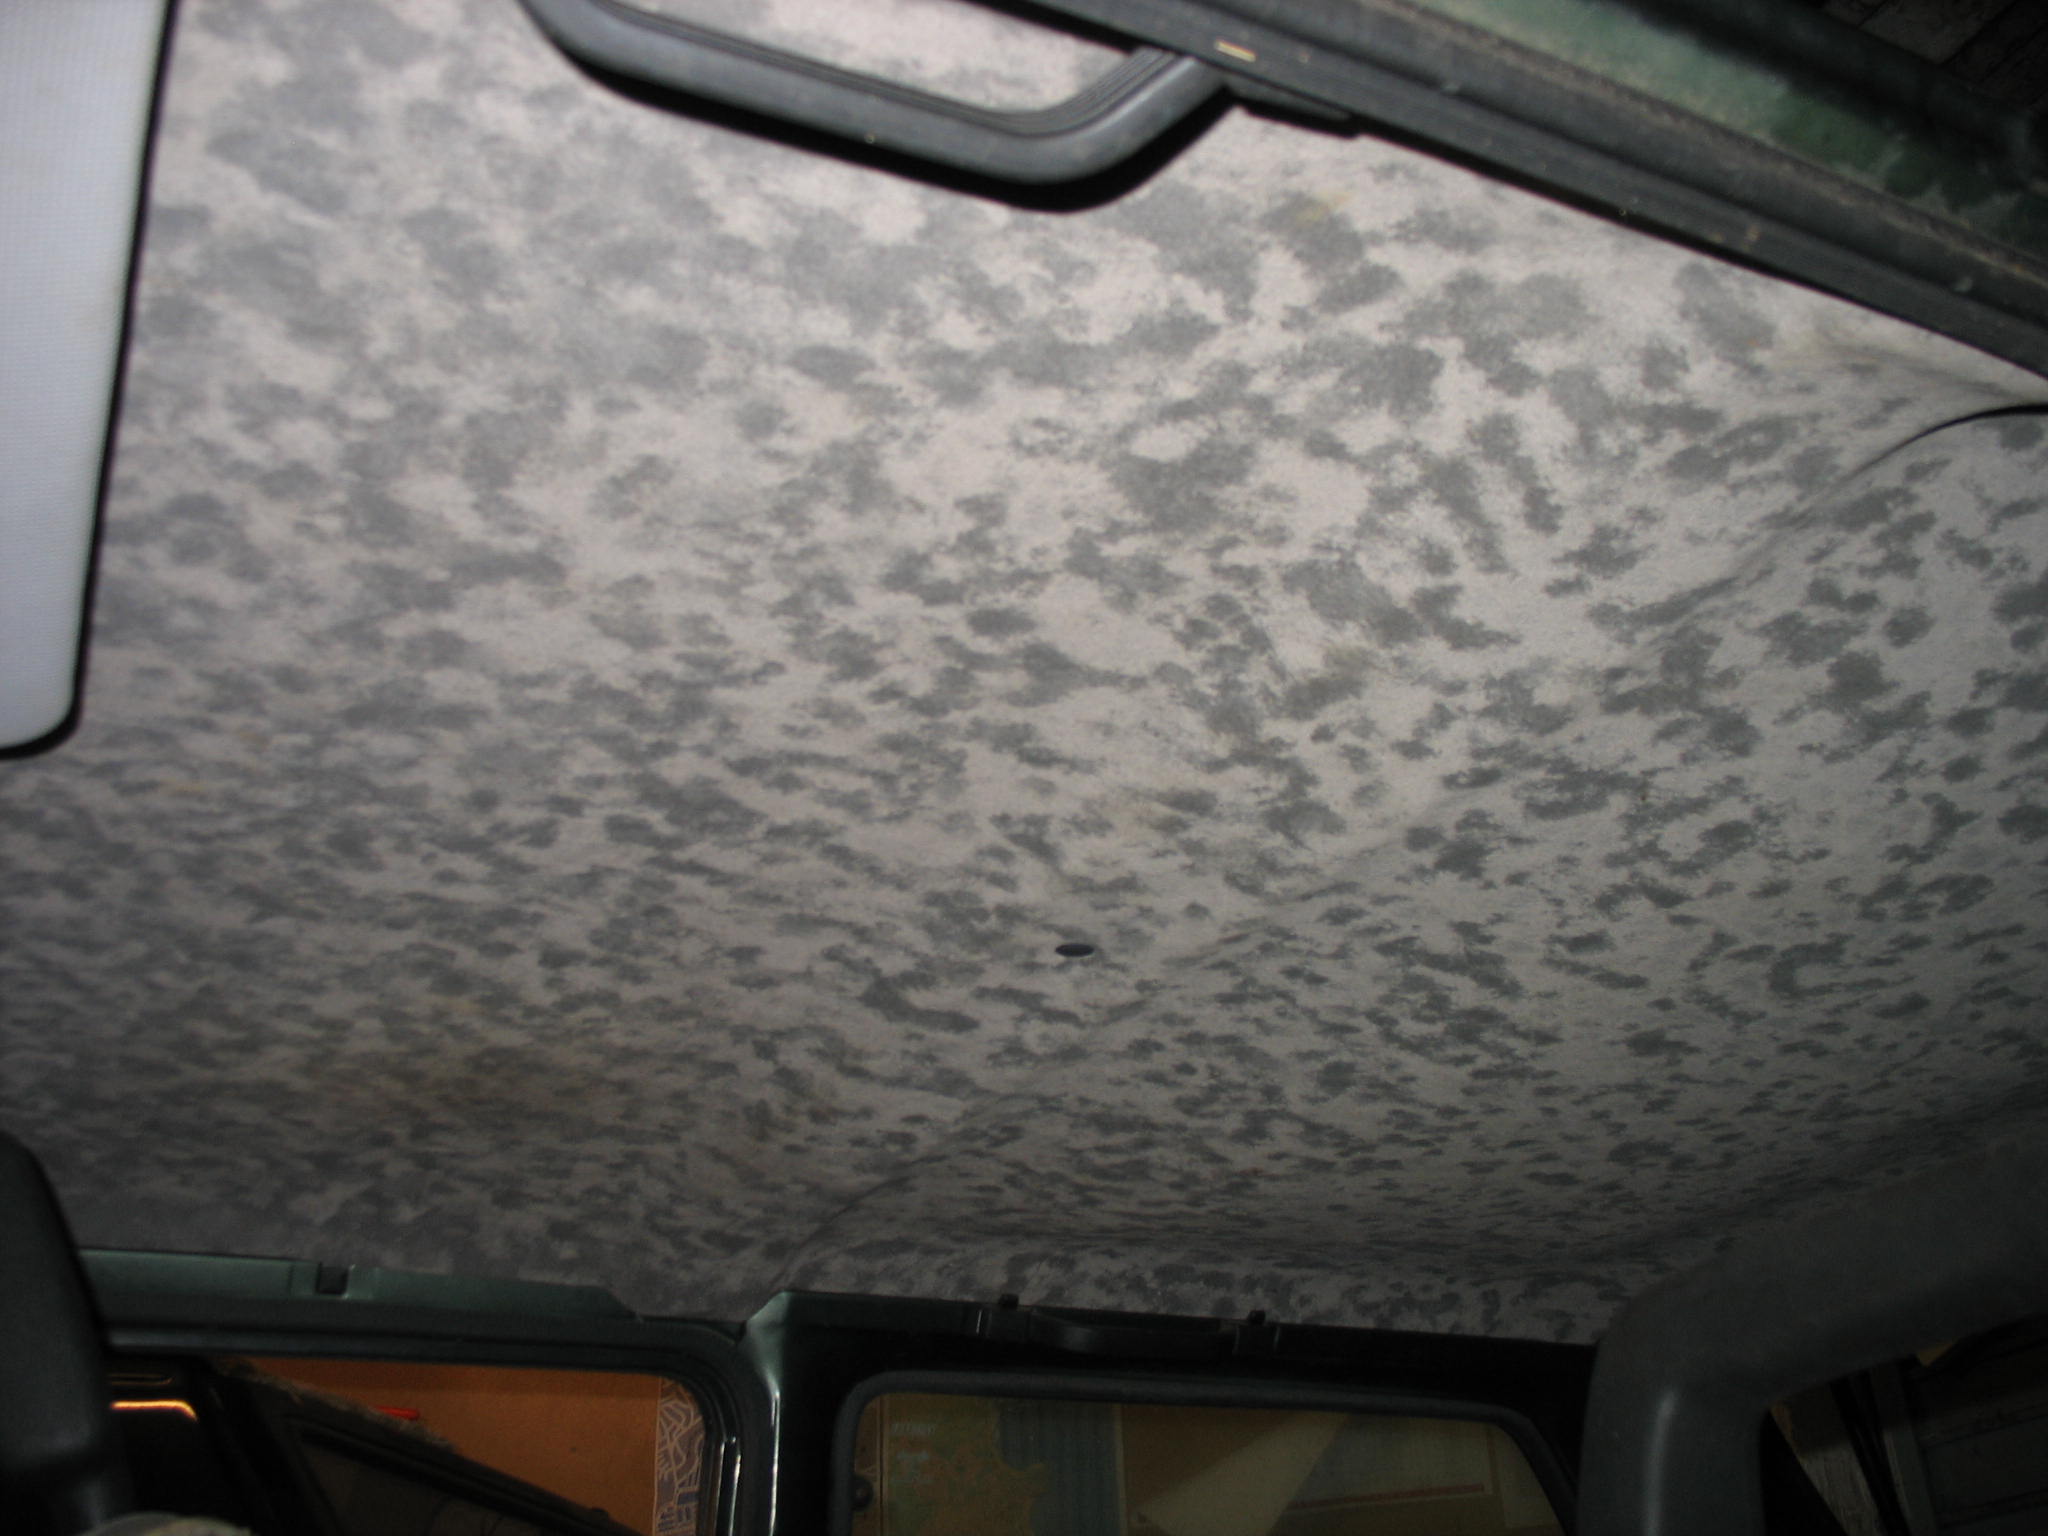
Interior as you can expect from car been used on a farm
IMG_19102.JPG


IMG_18901.JPG


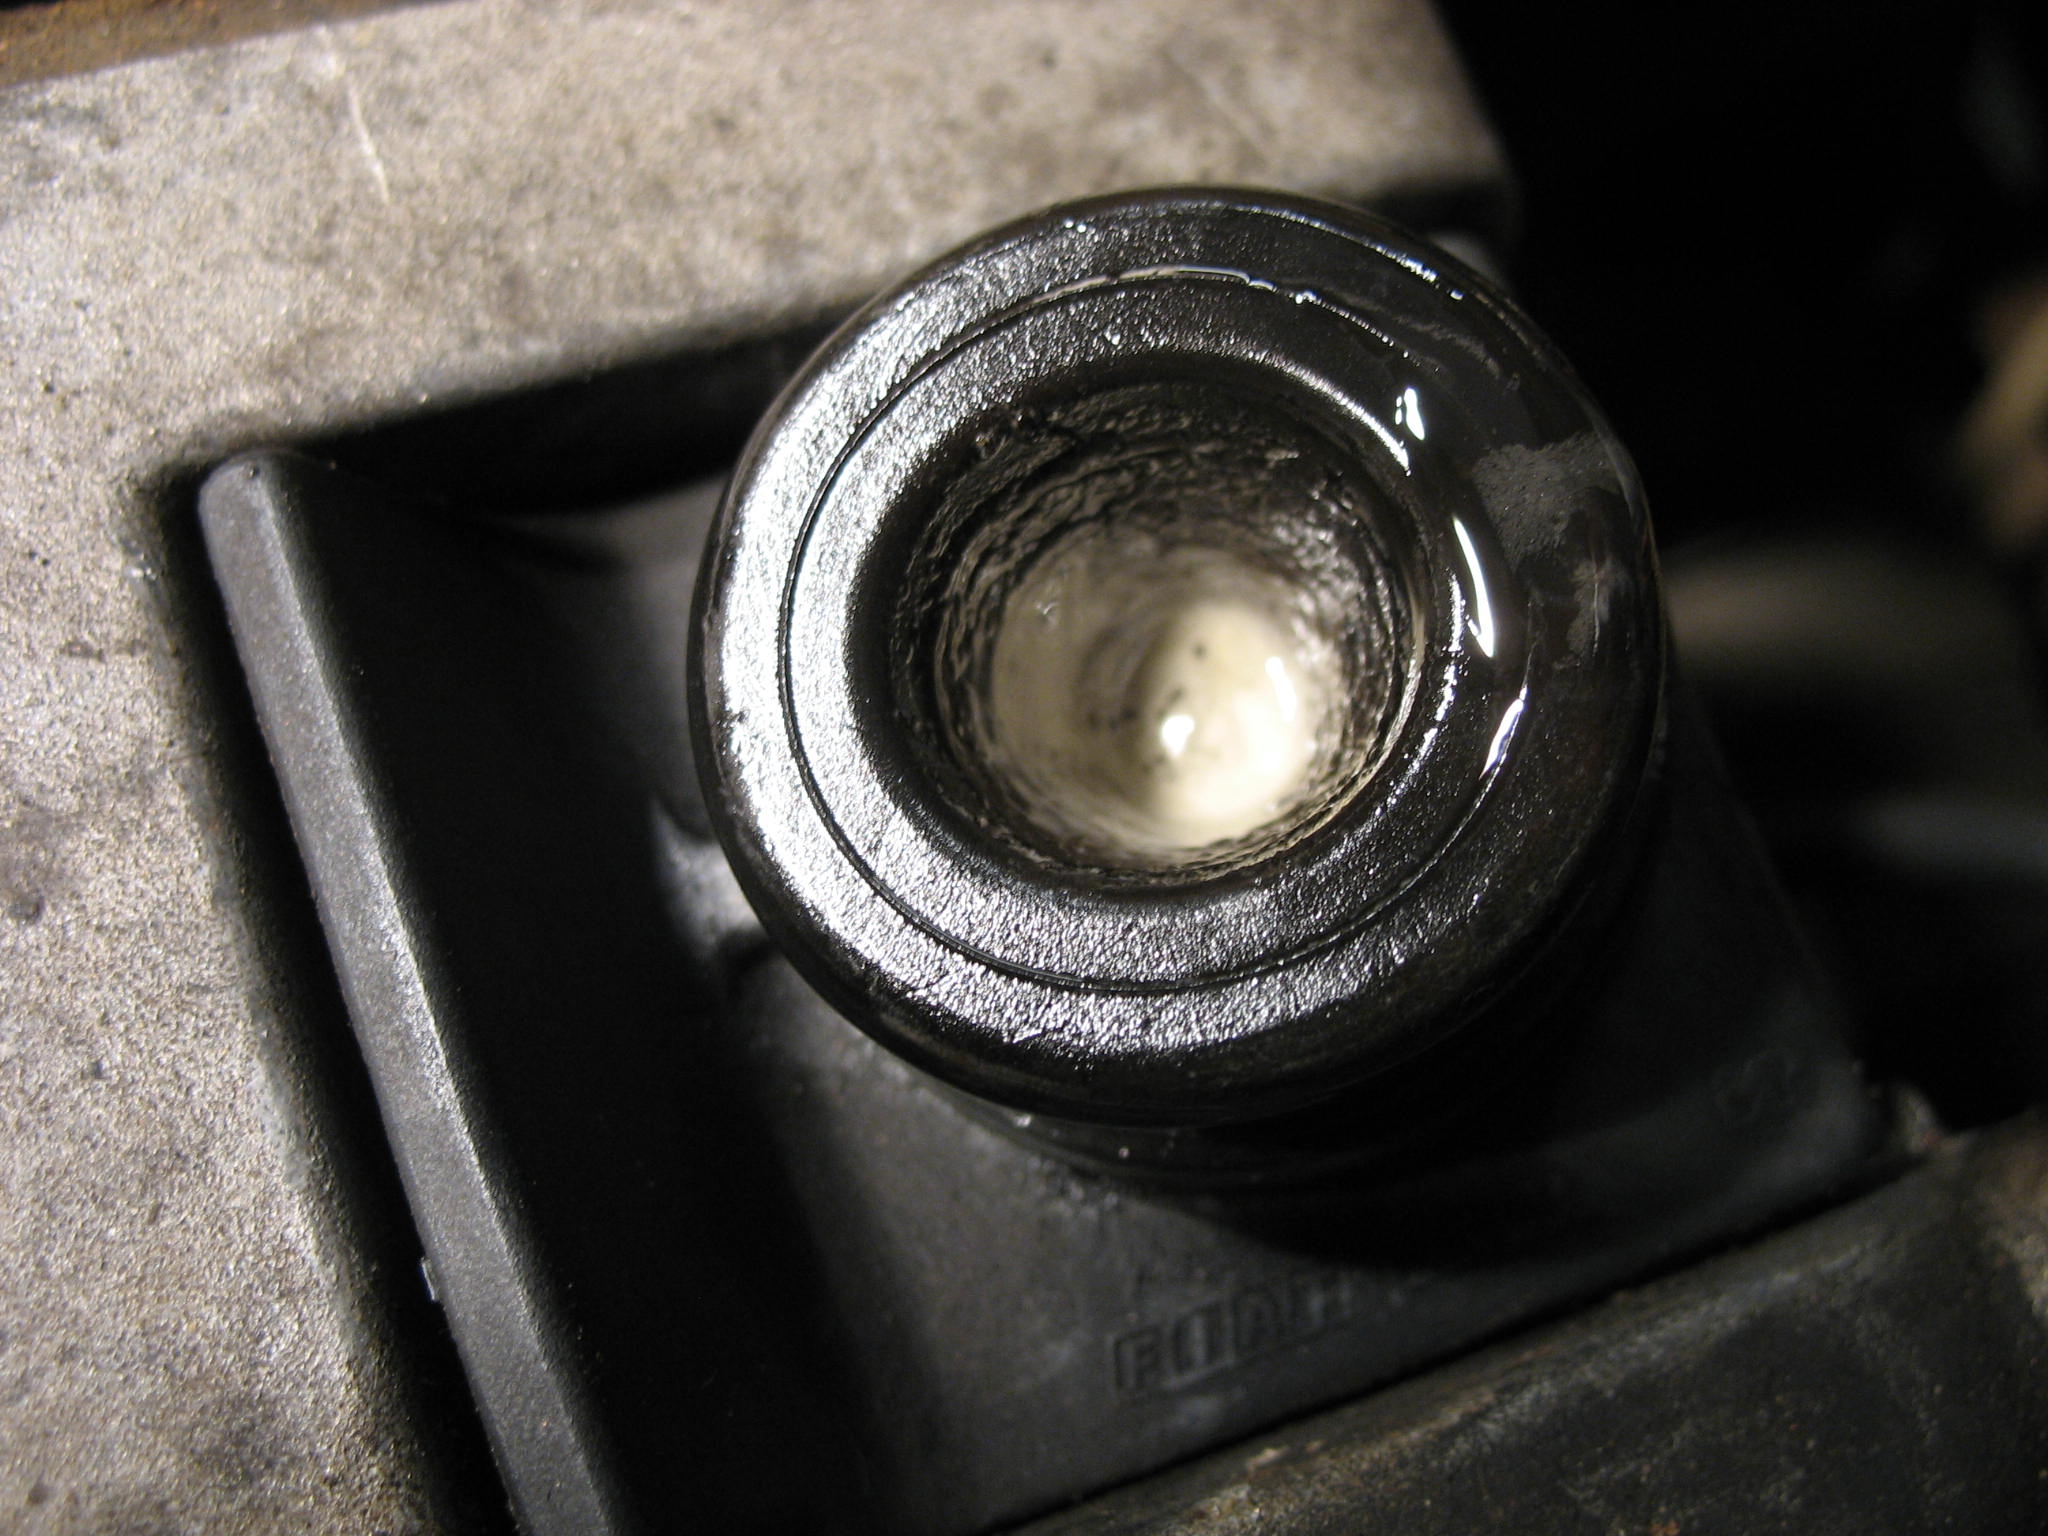
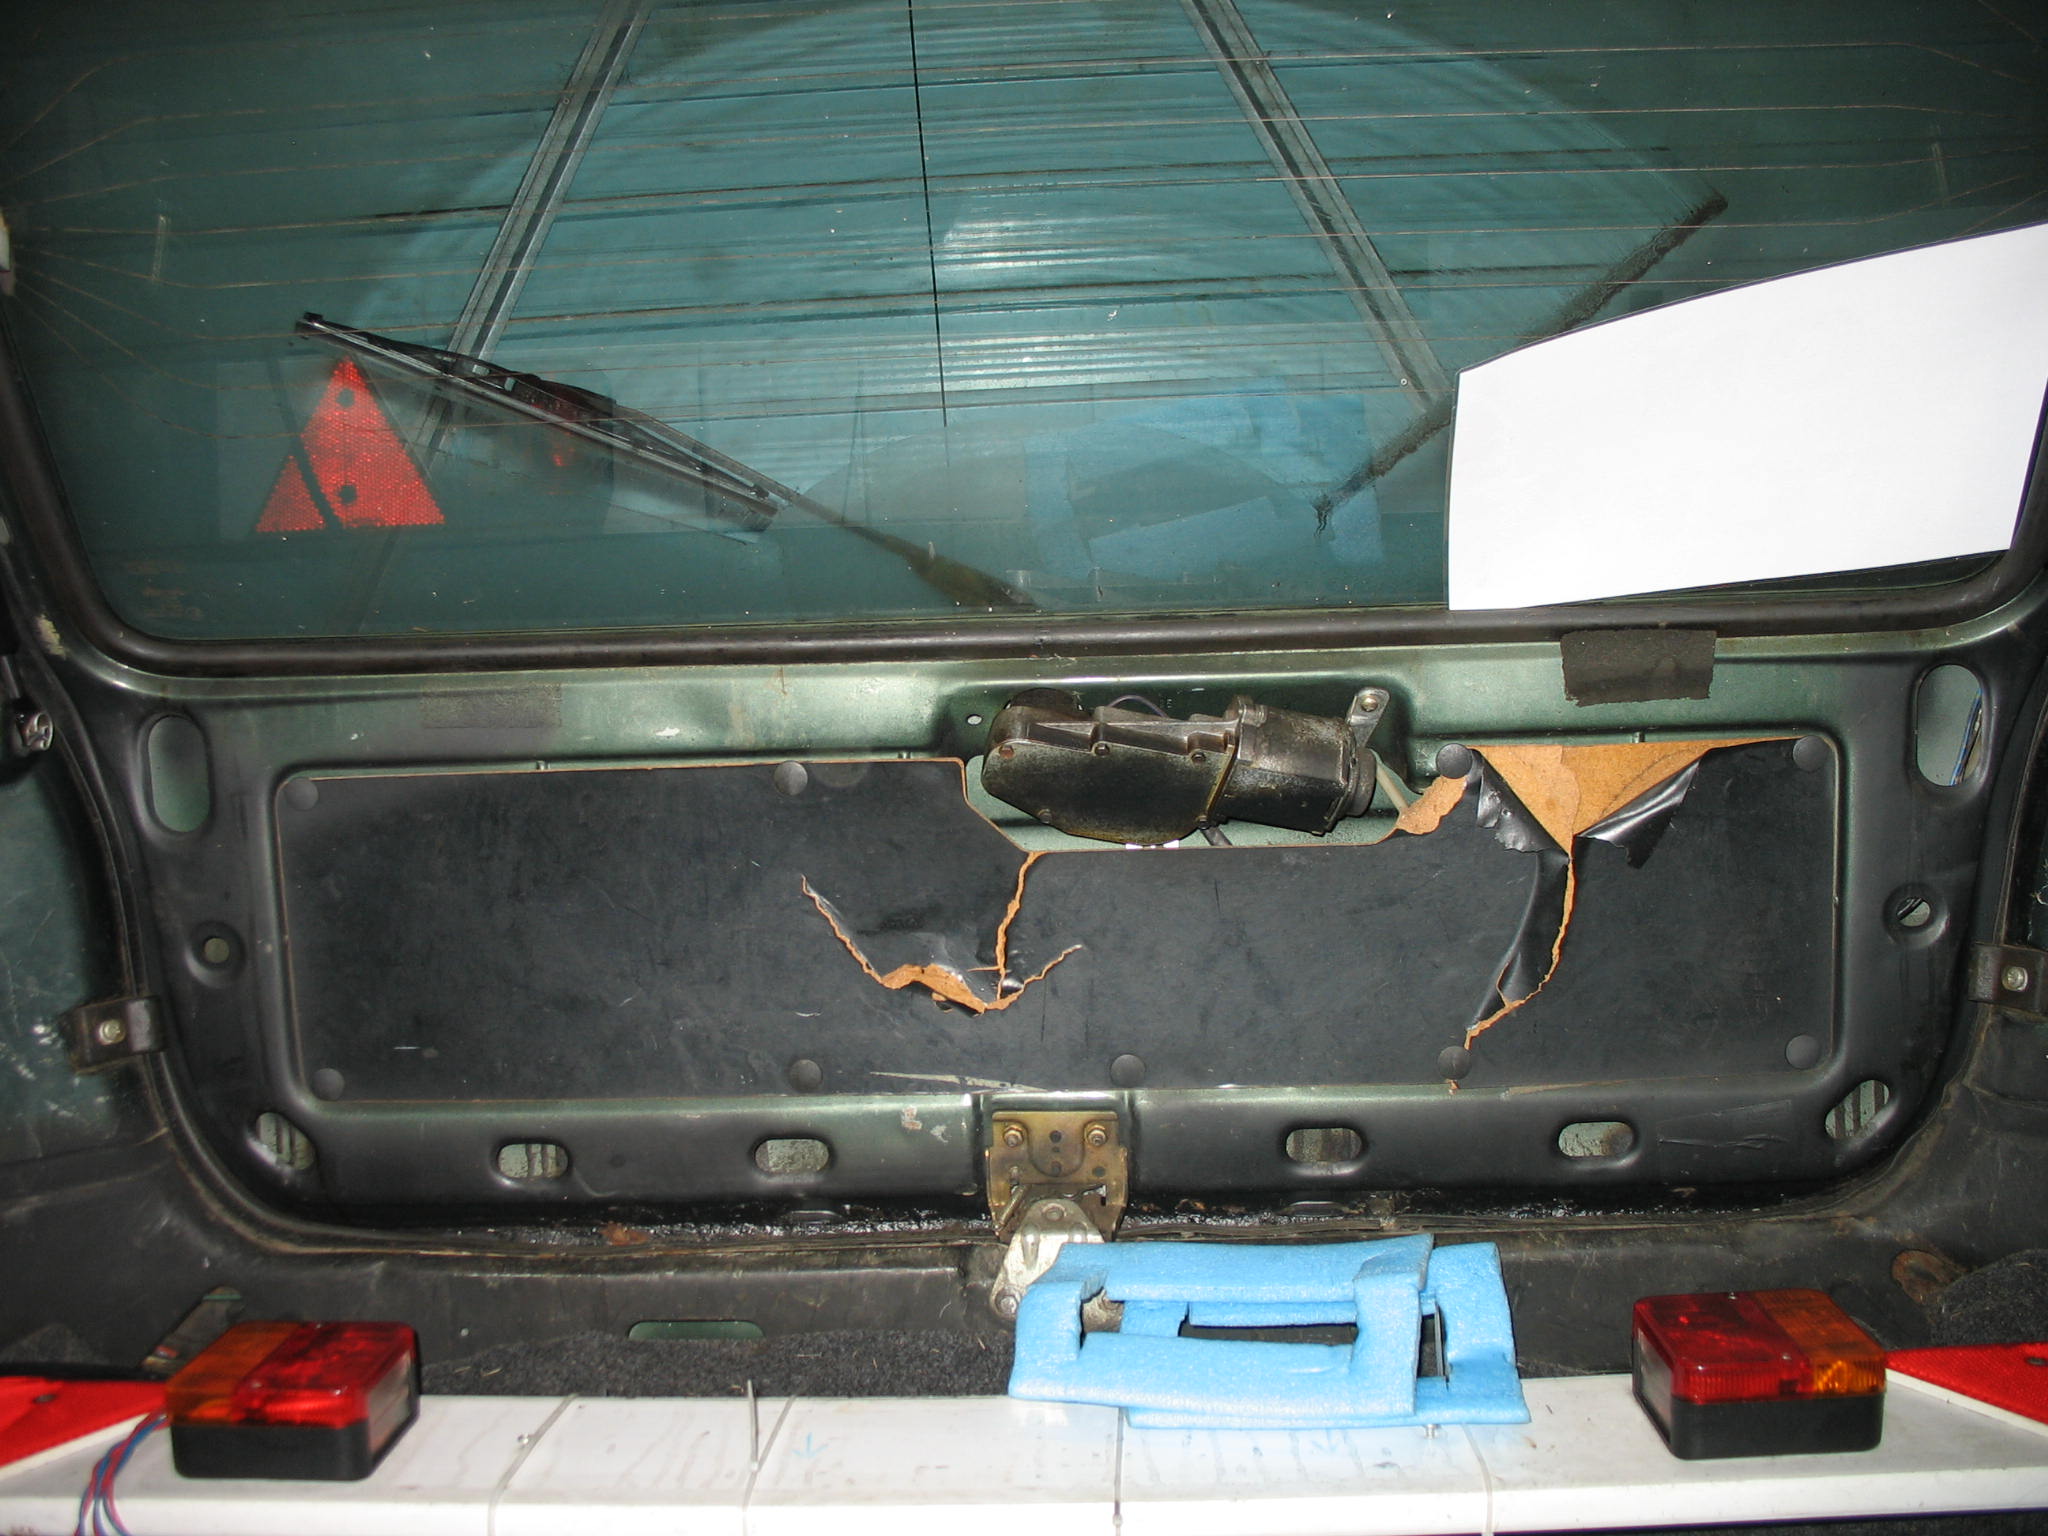
IMG_1874.JPG


IMG_19373.JPG


IMG_19364.JPG


IMG_19384.JPG


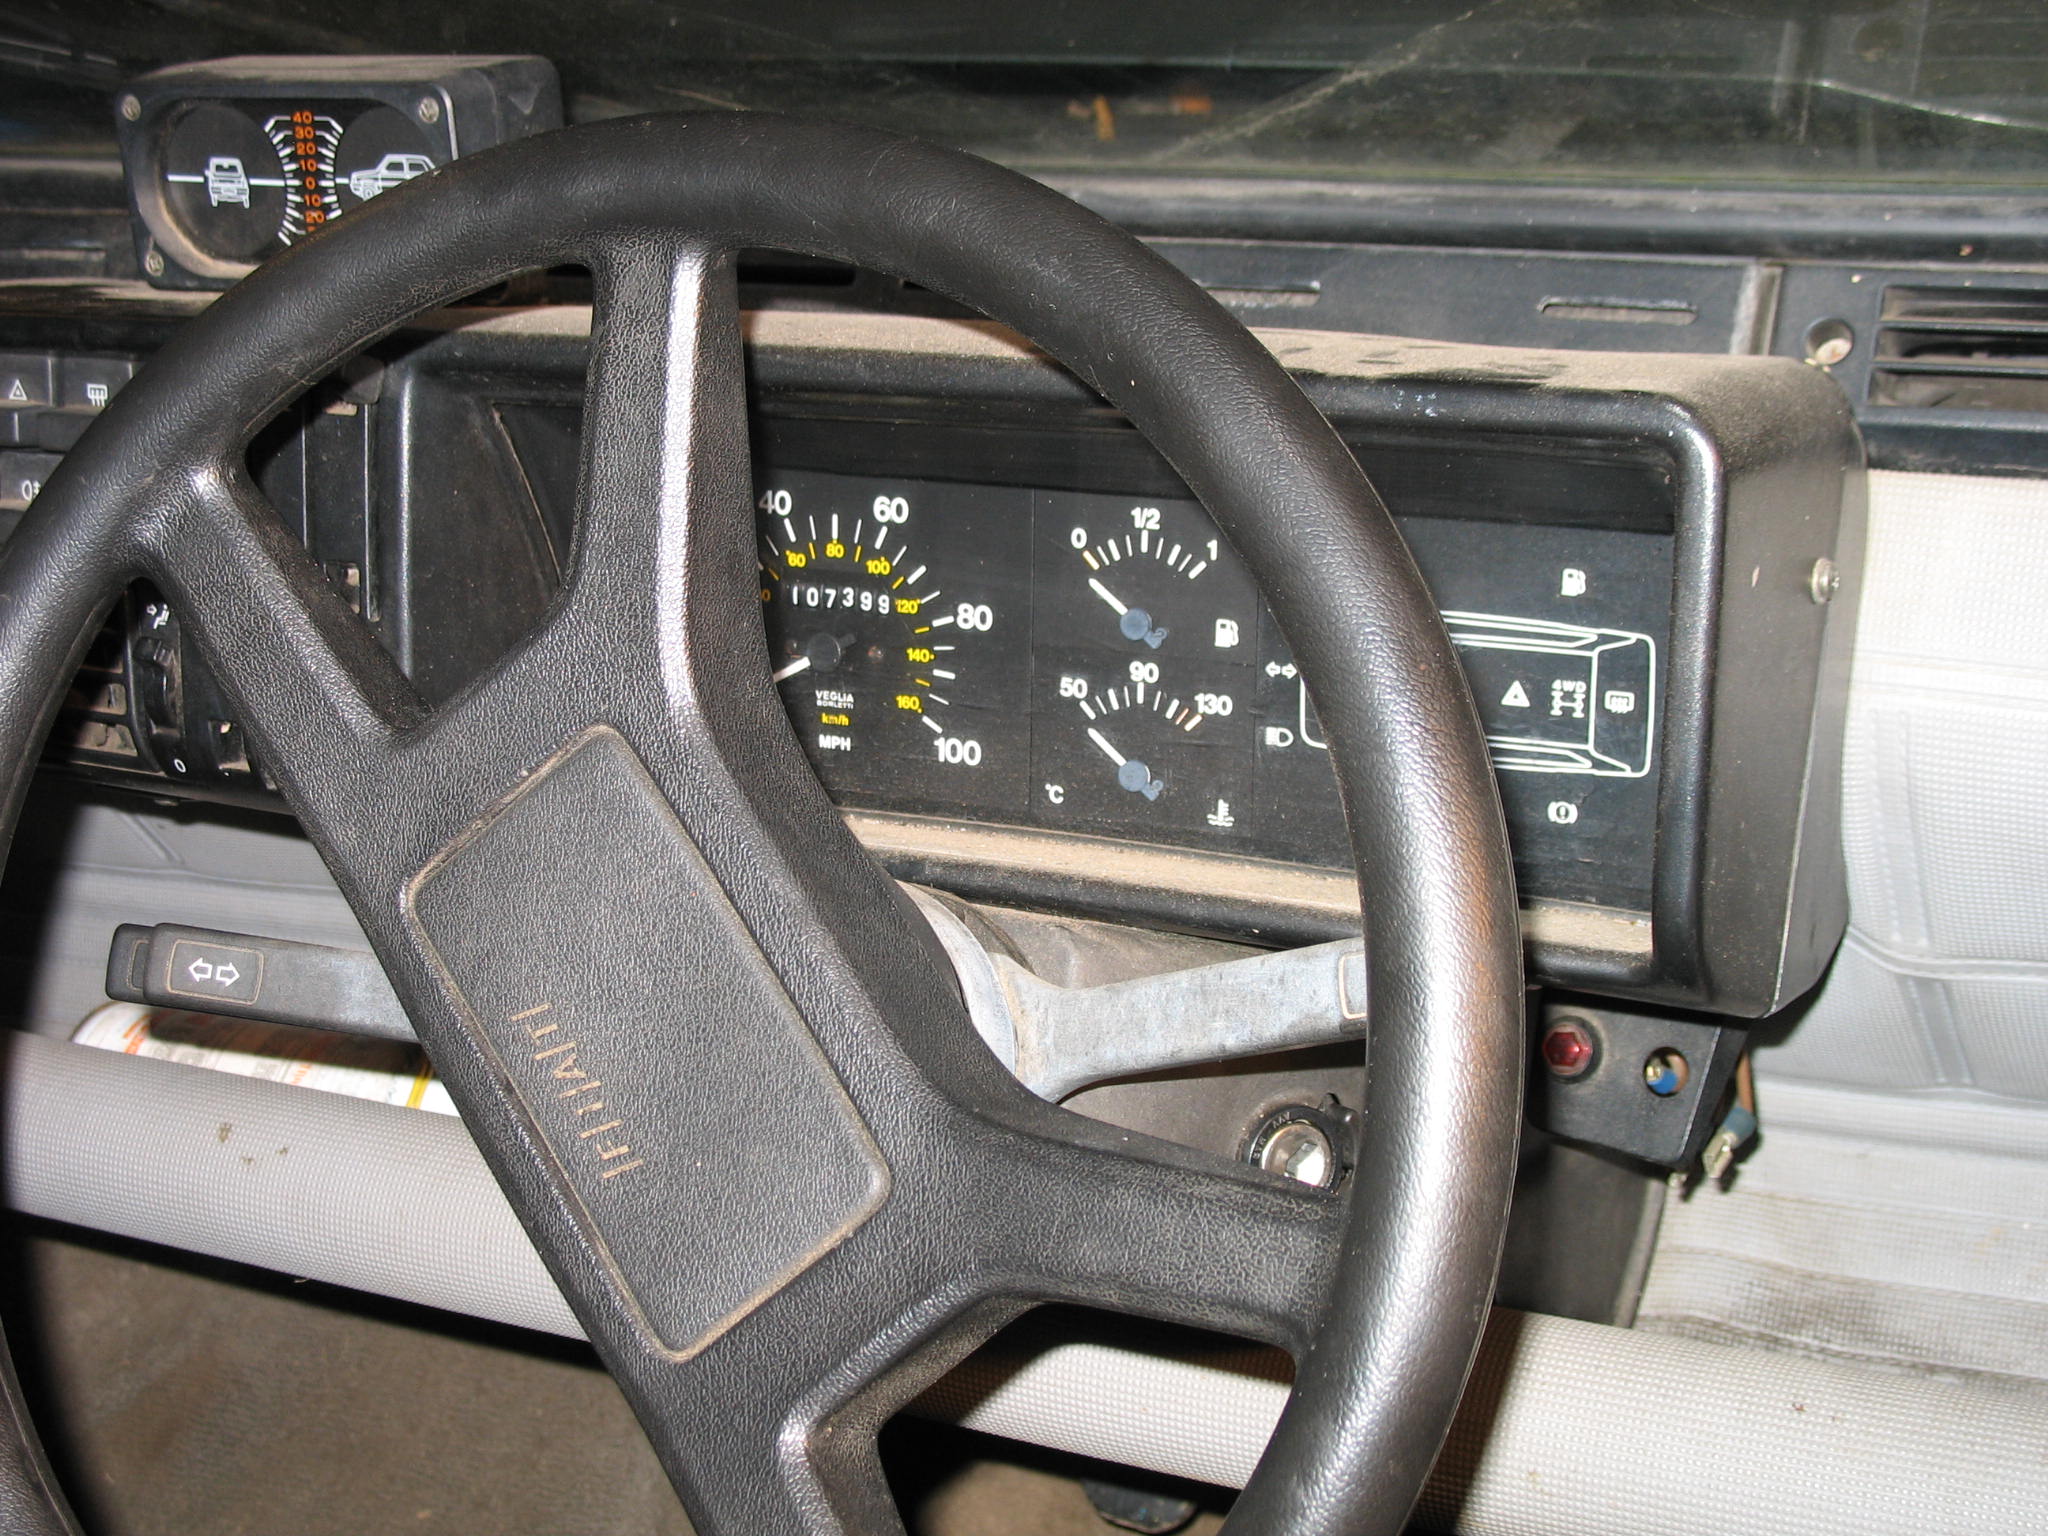
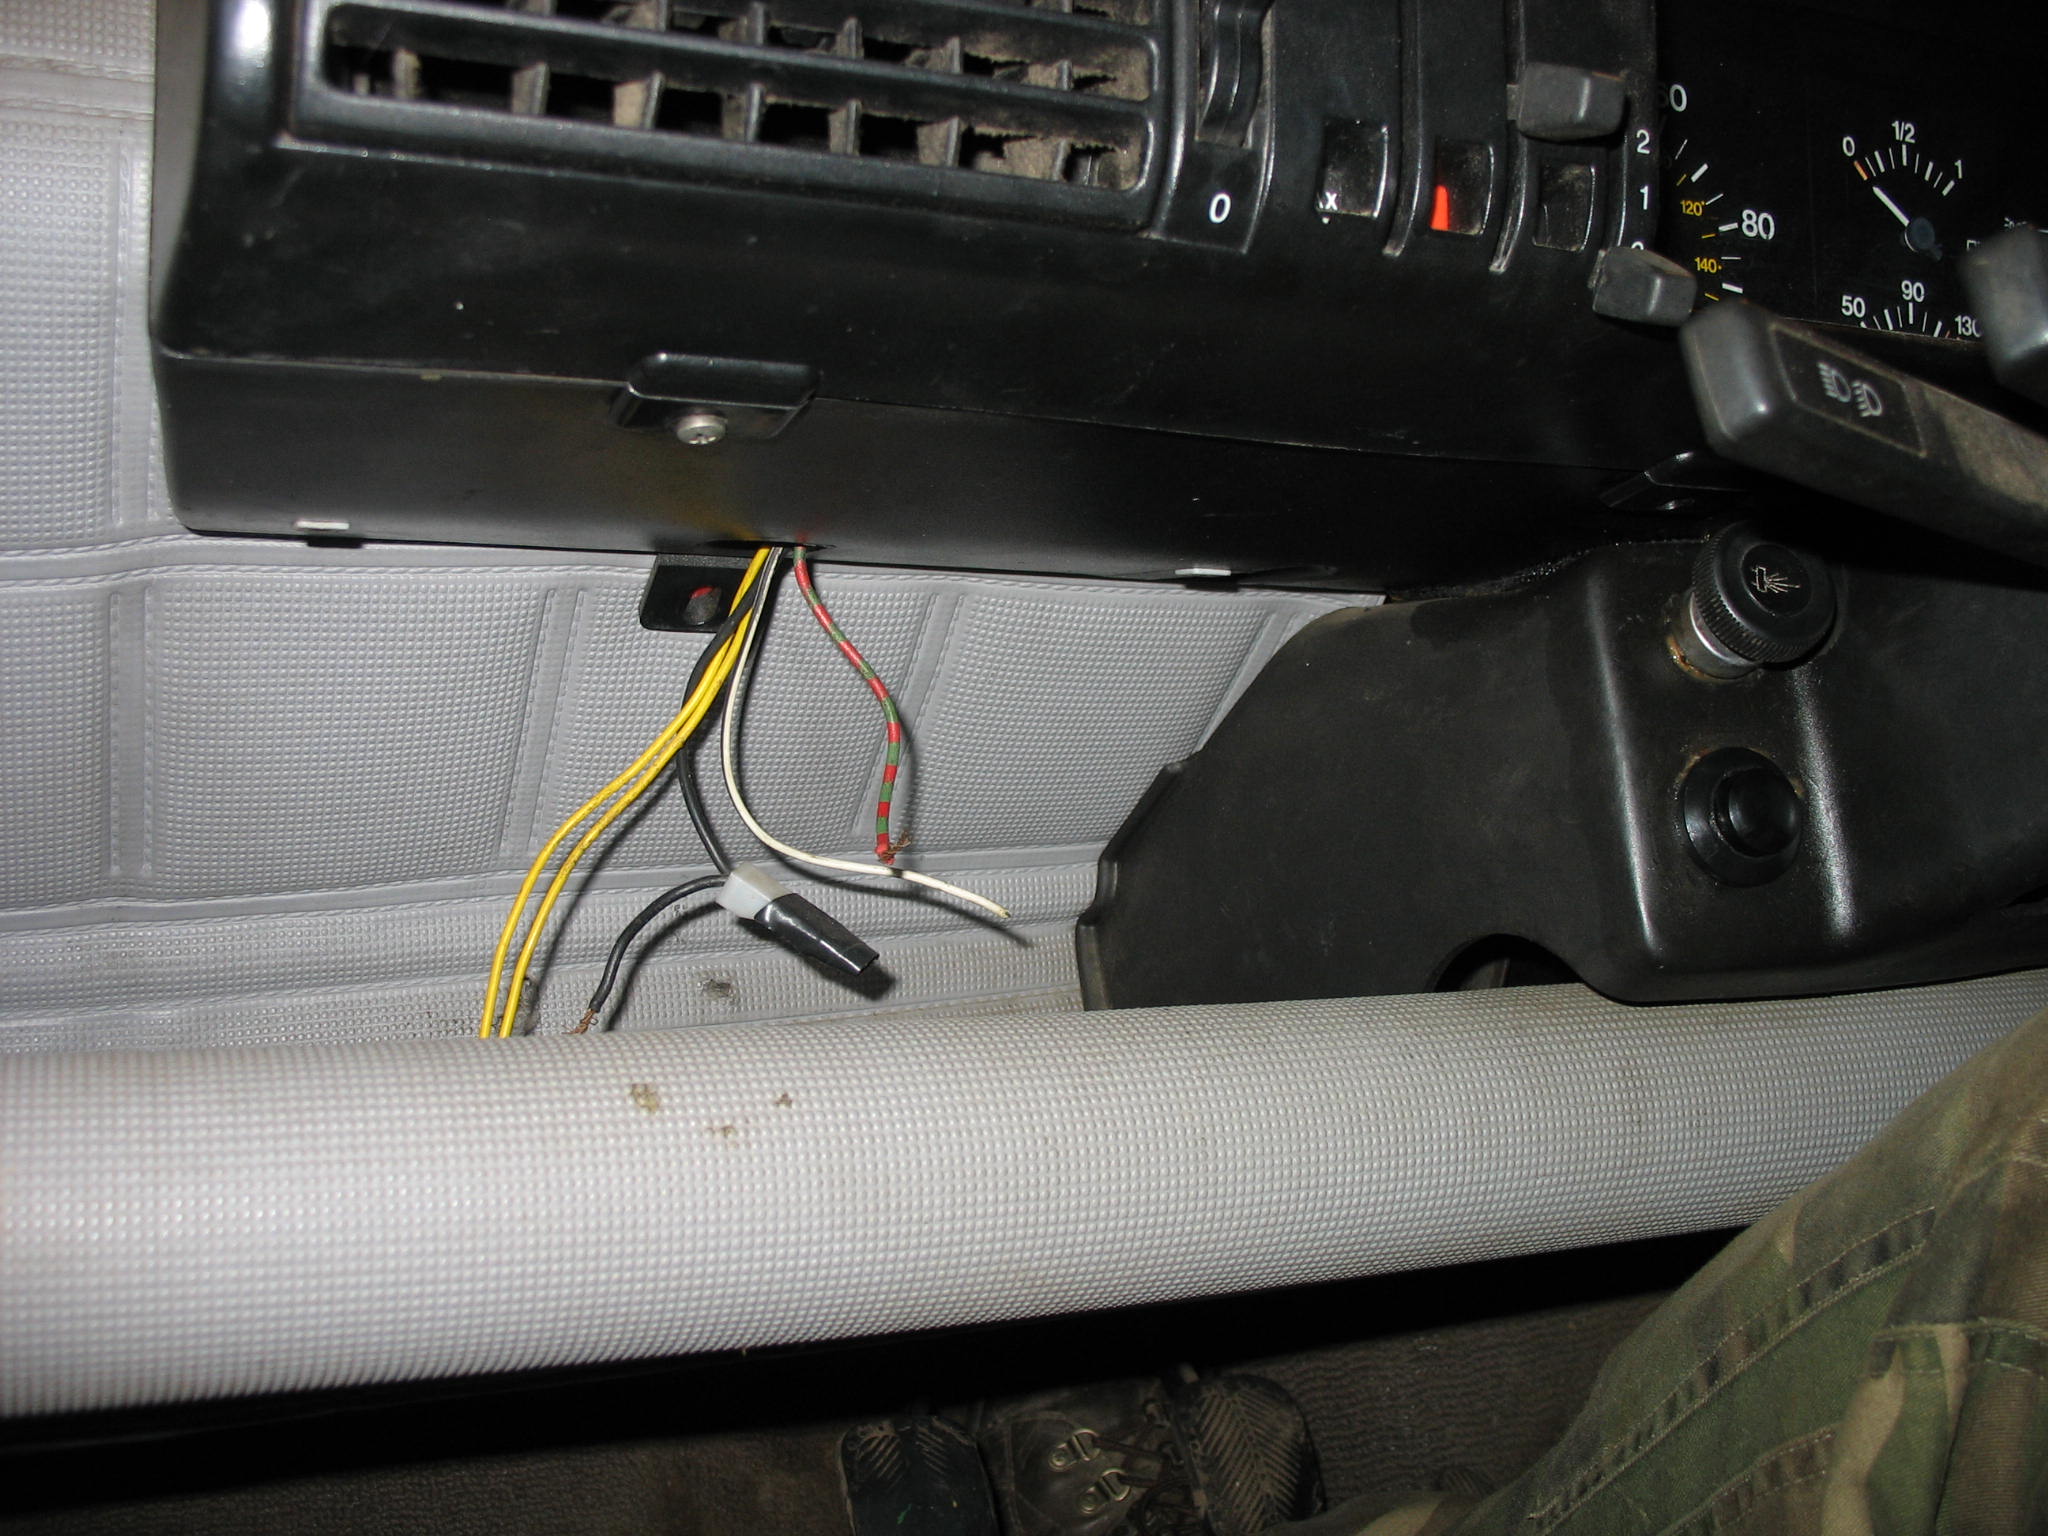
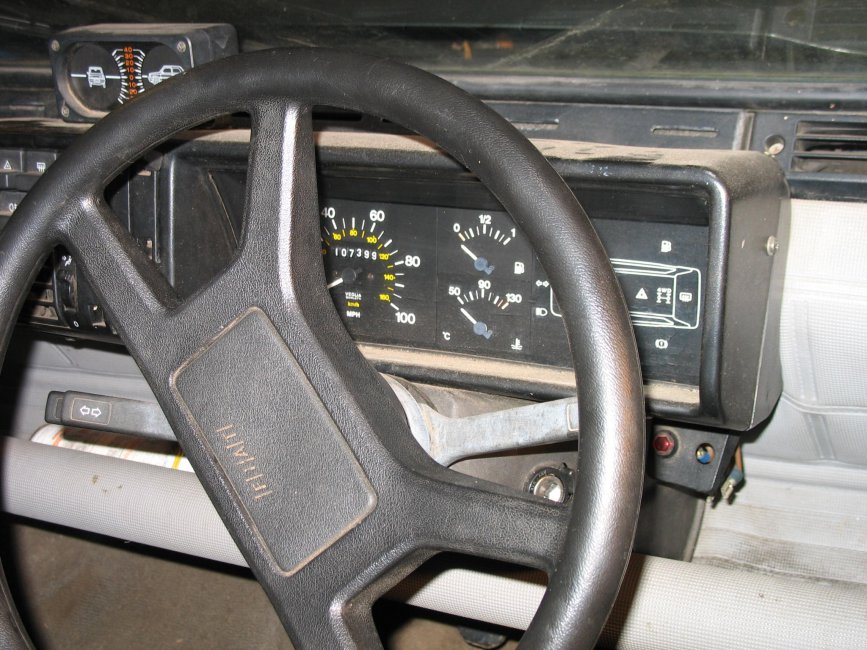
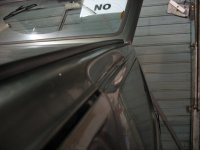
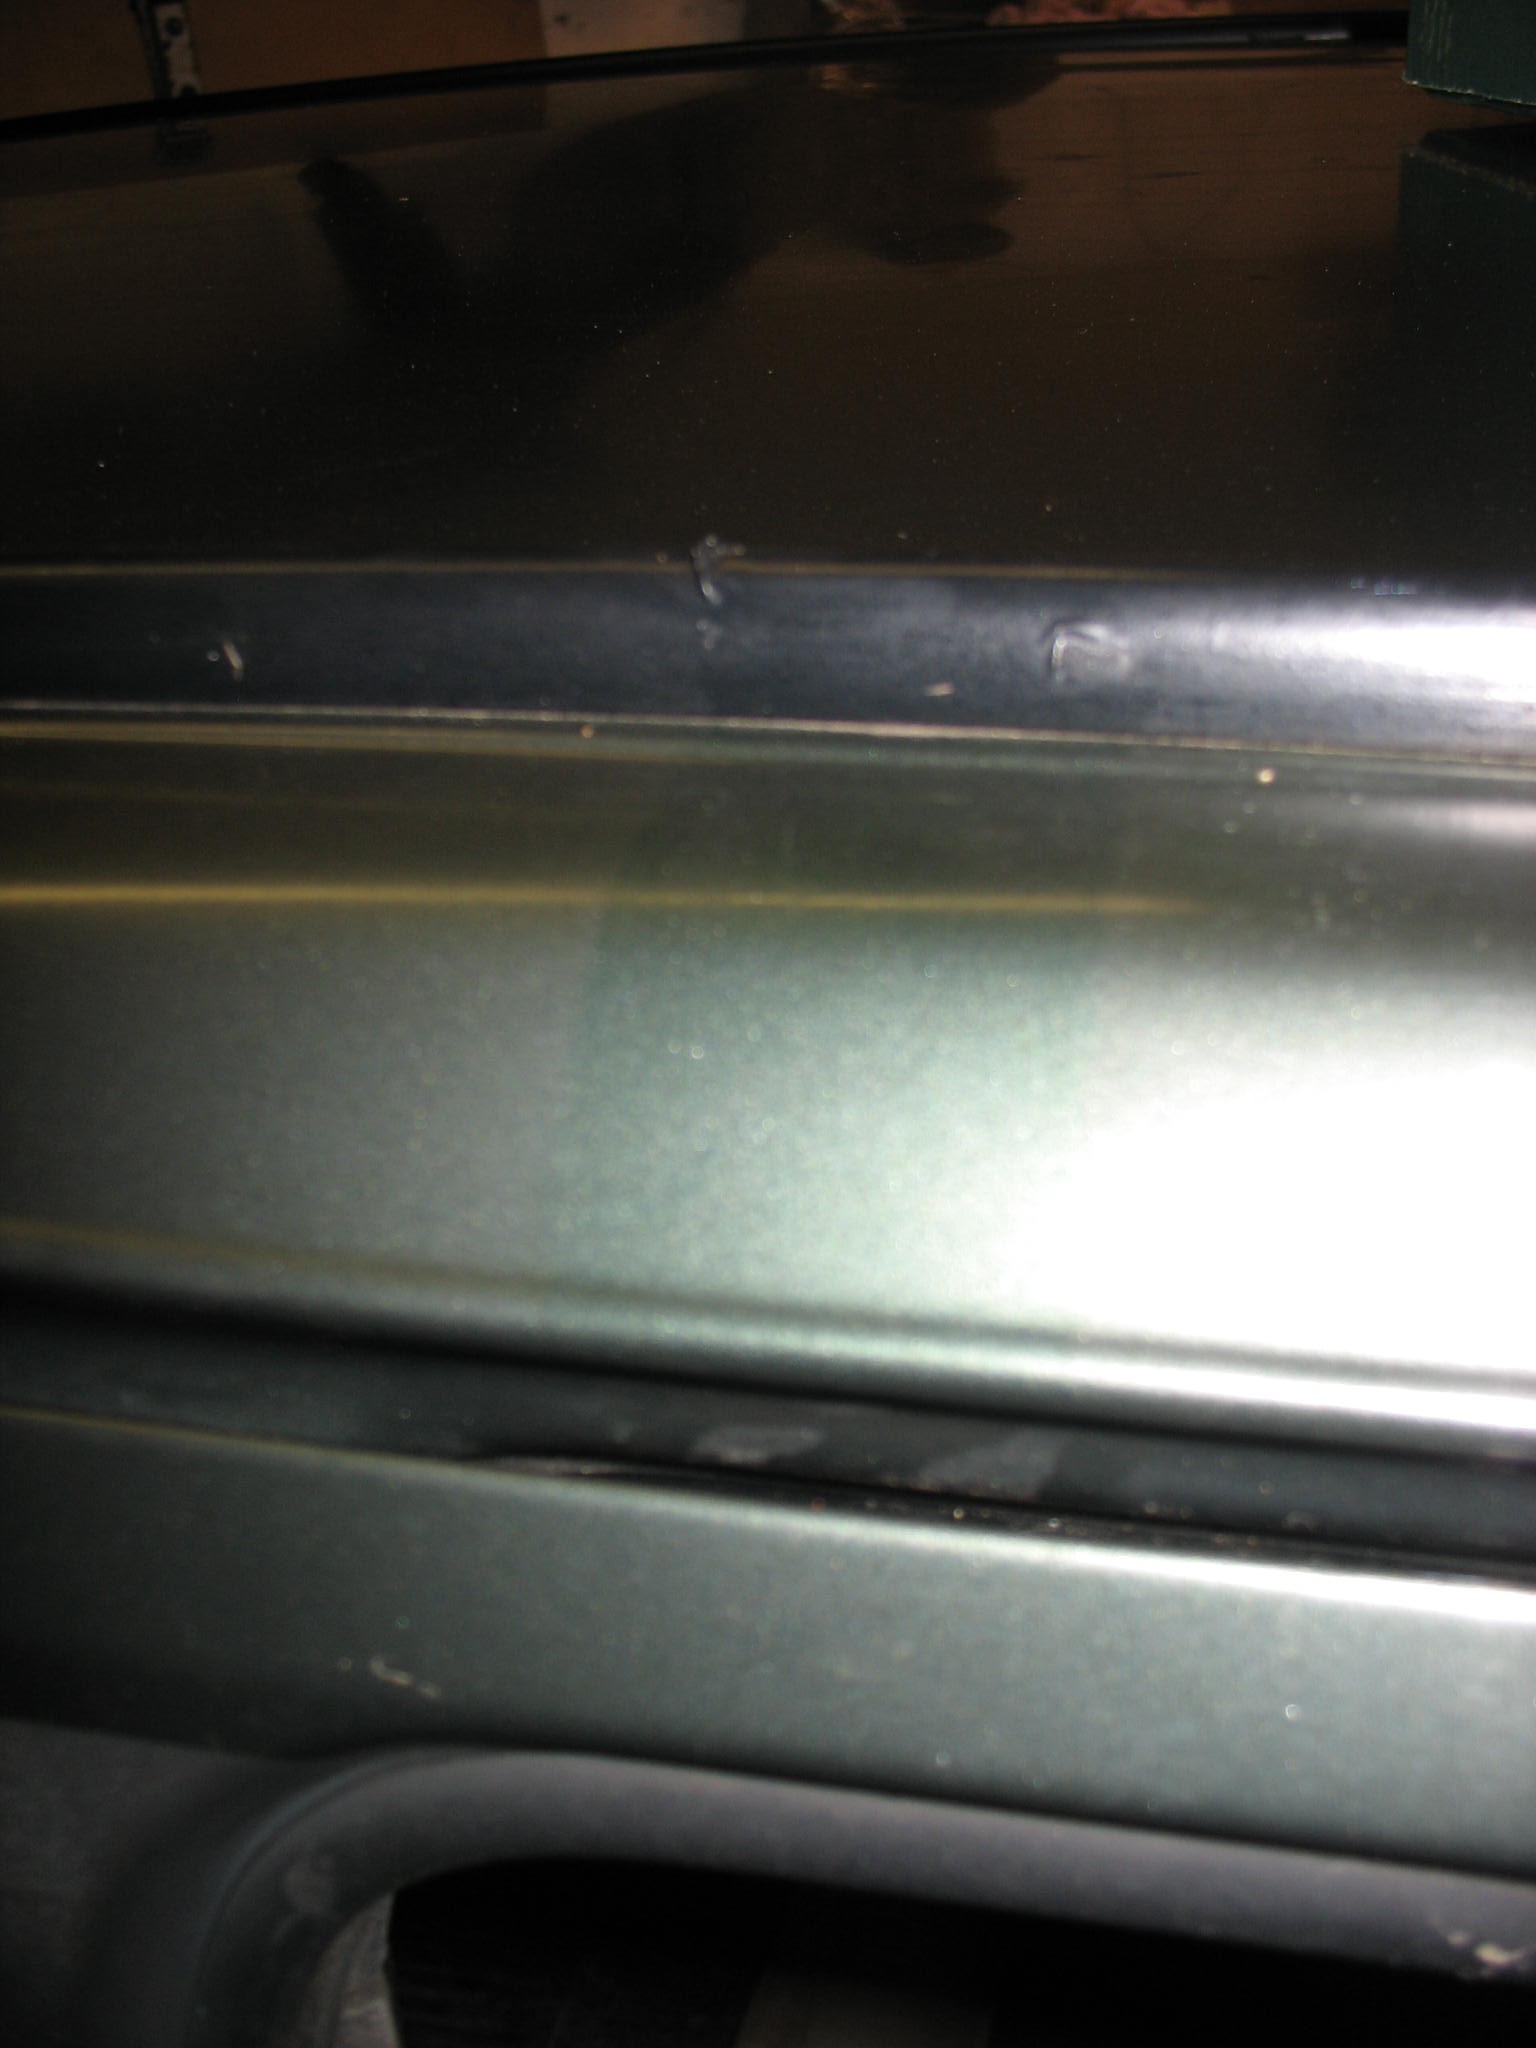
Not the geniune steering wheel and speedo, which does not make much difference to me at all. Roofrack presence evidence
IMG_18931.JPG


IMG_19081.JPG


IMG_1915.JPG


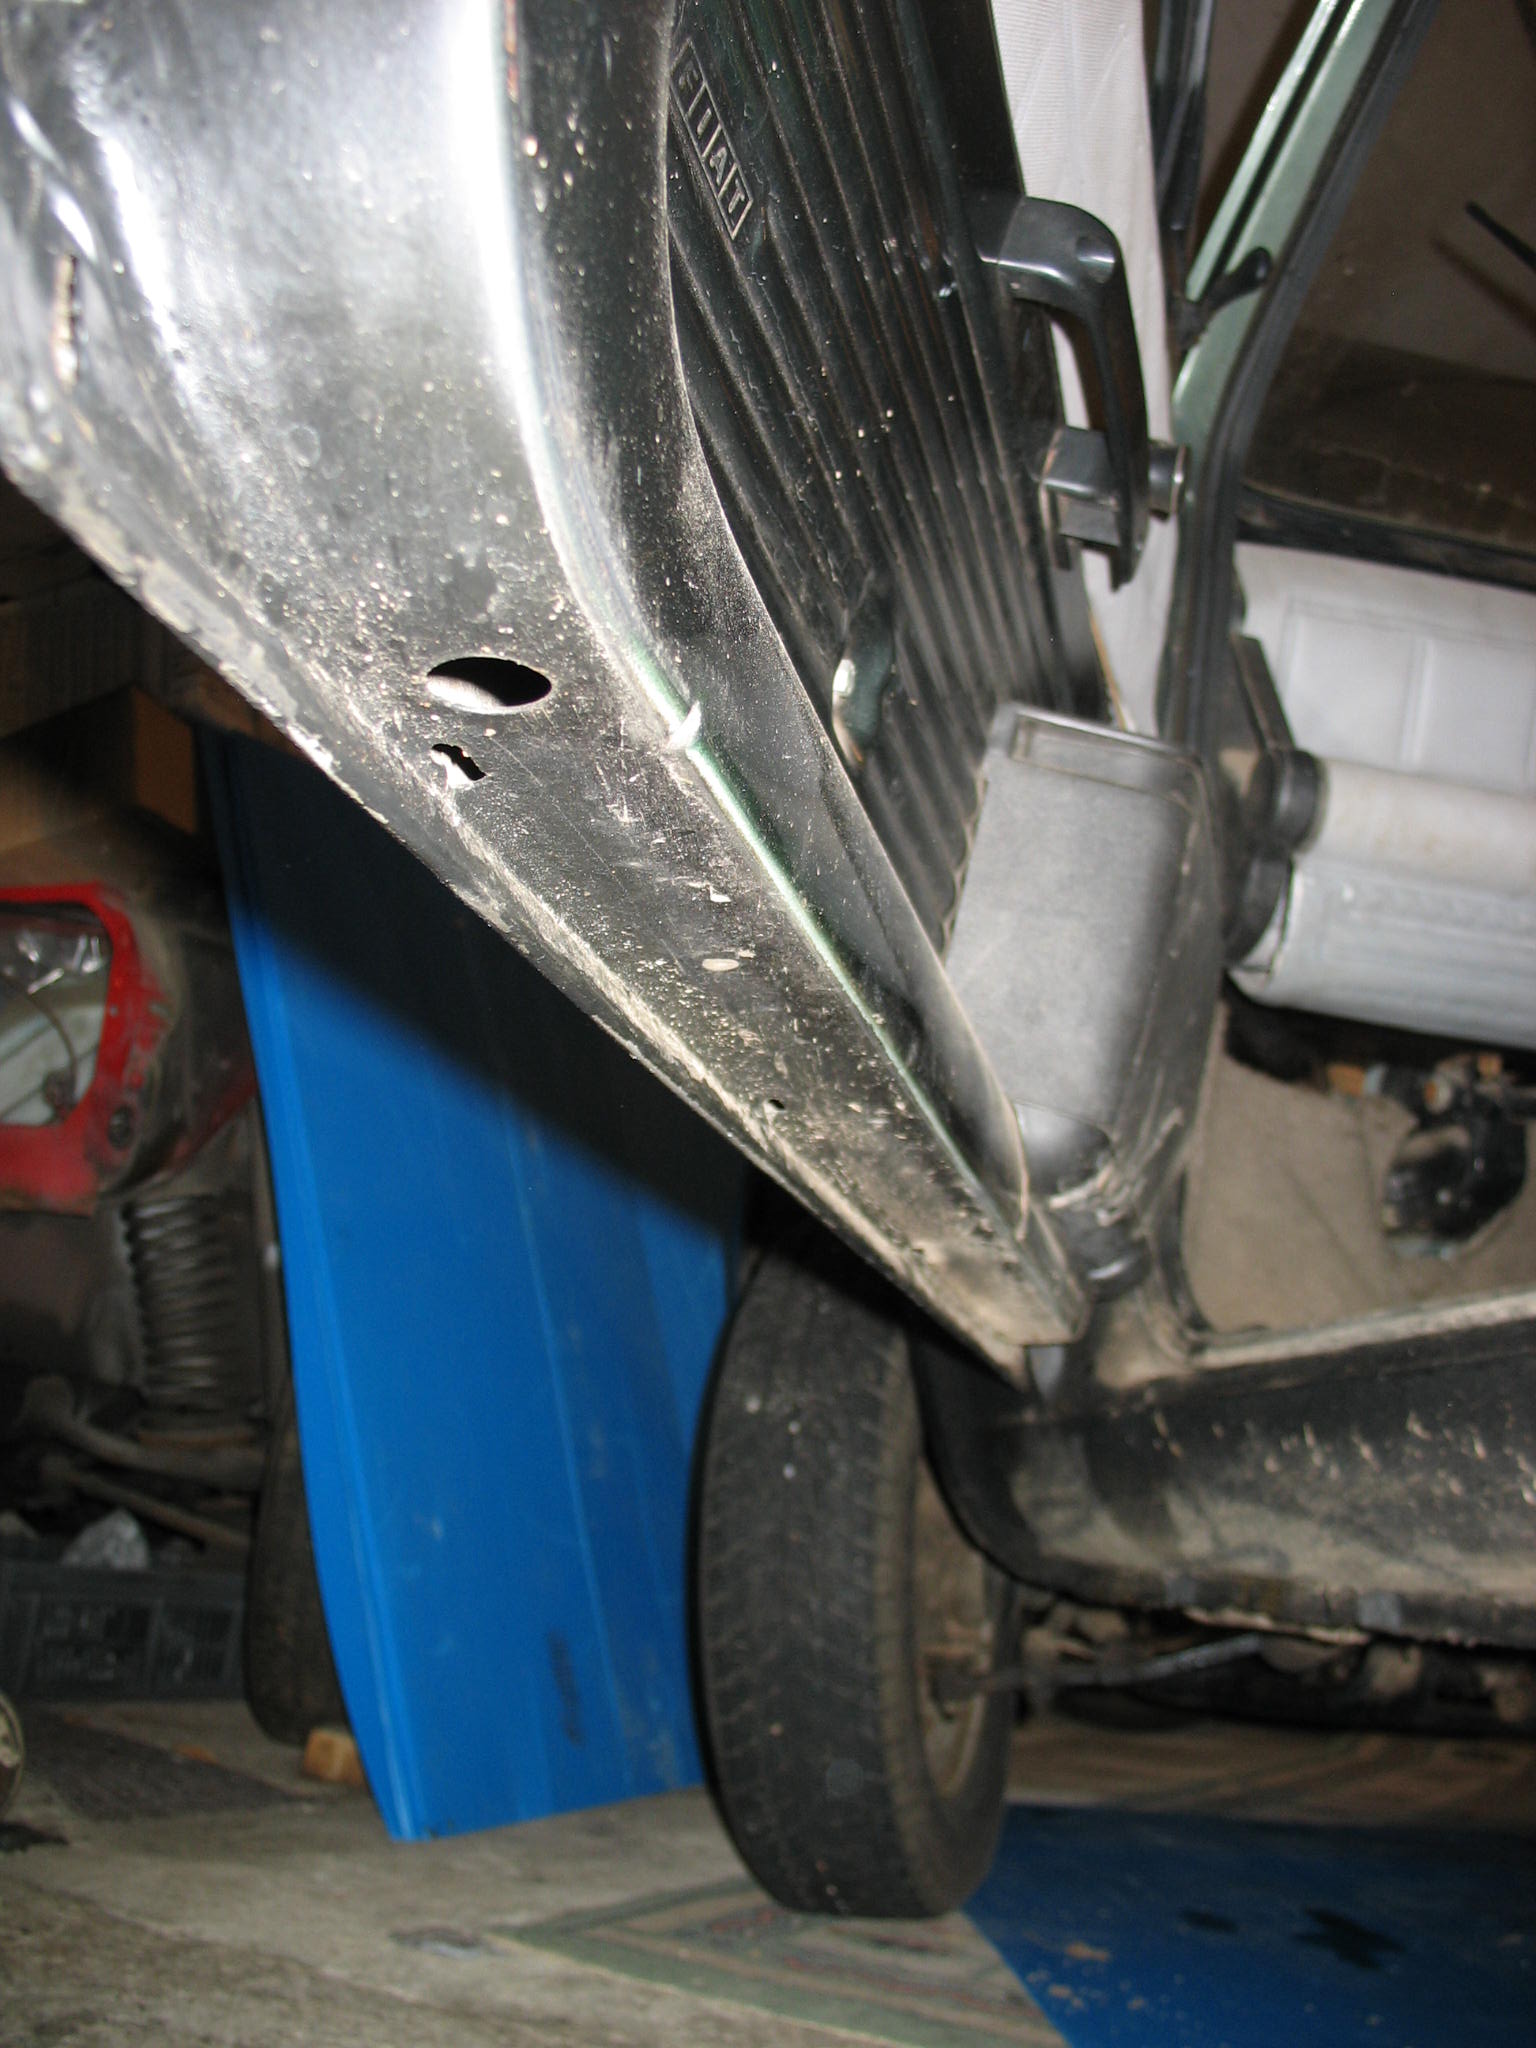
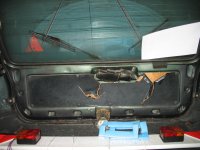
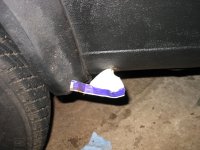
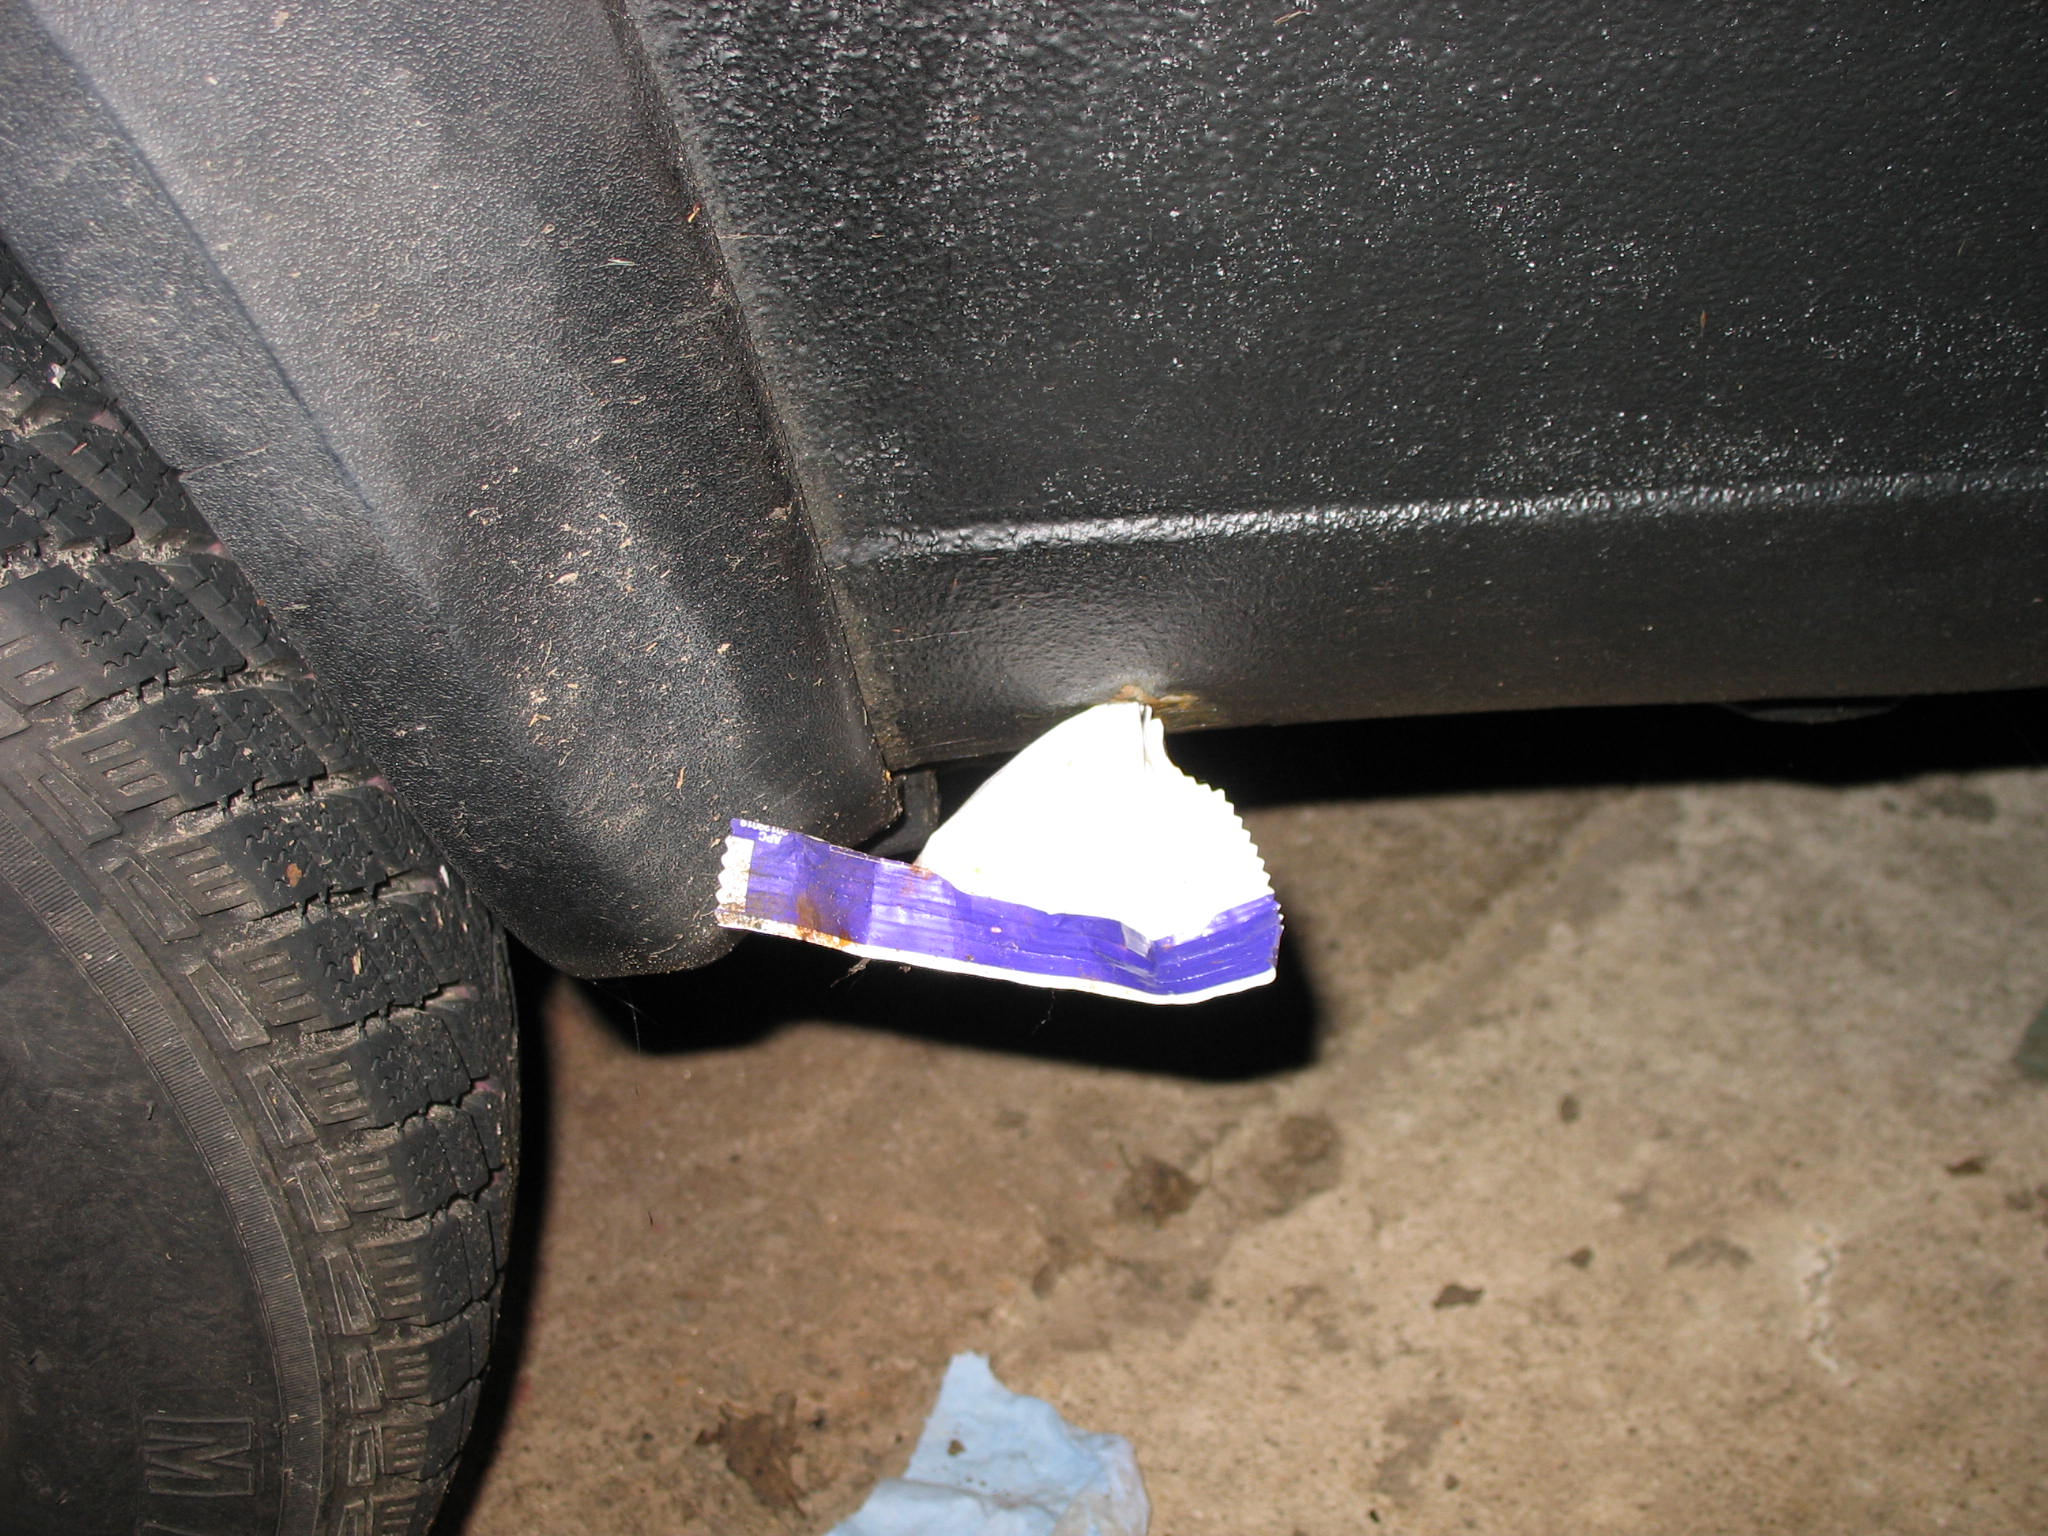
I dont want to know how this happened.
IMG_19191.JPG


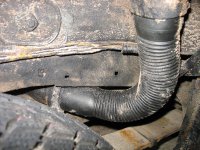
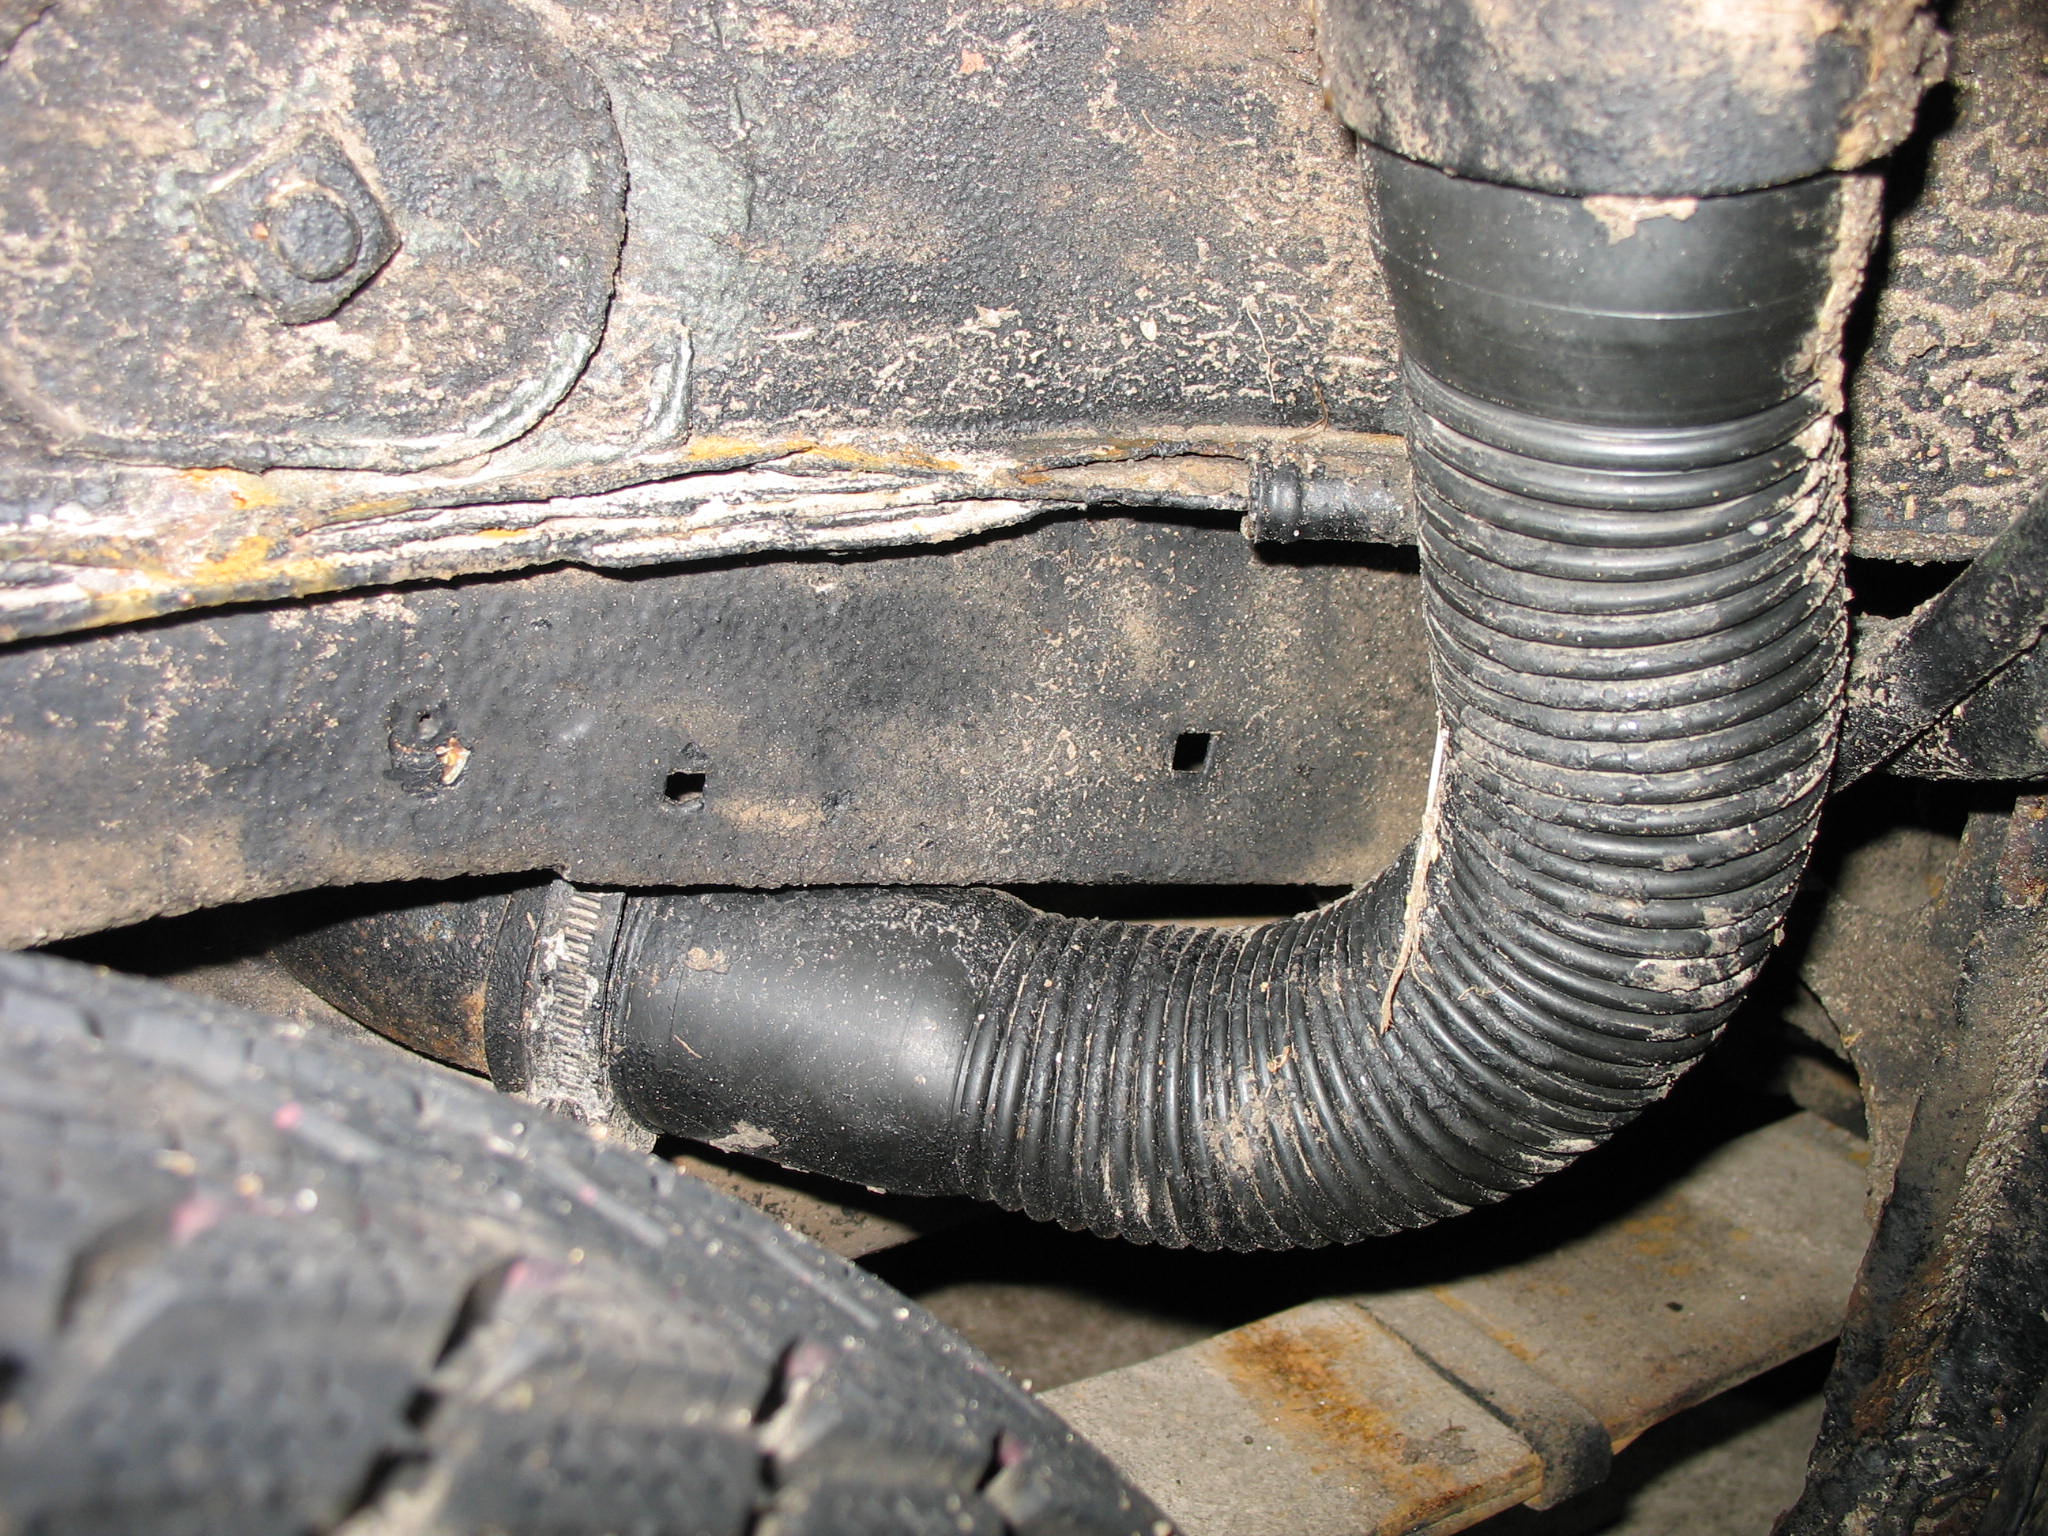
Filler pipe still untouched, what sort of DIY protections do you recon?
IMG_19202.JPG


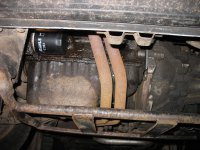
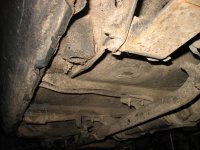
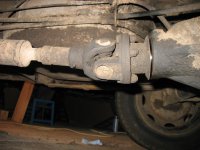
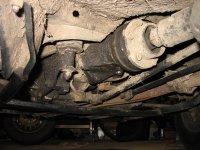
And time for the bad boy
IMG_1946.JPG


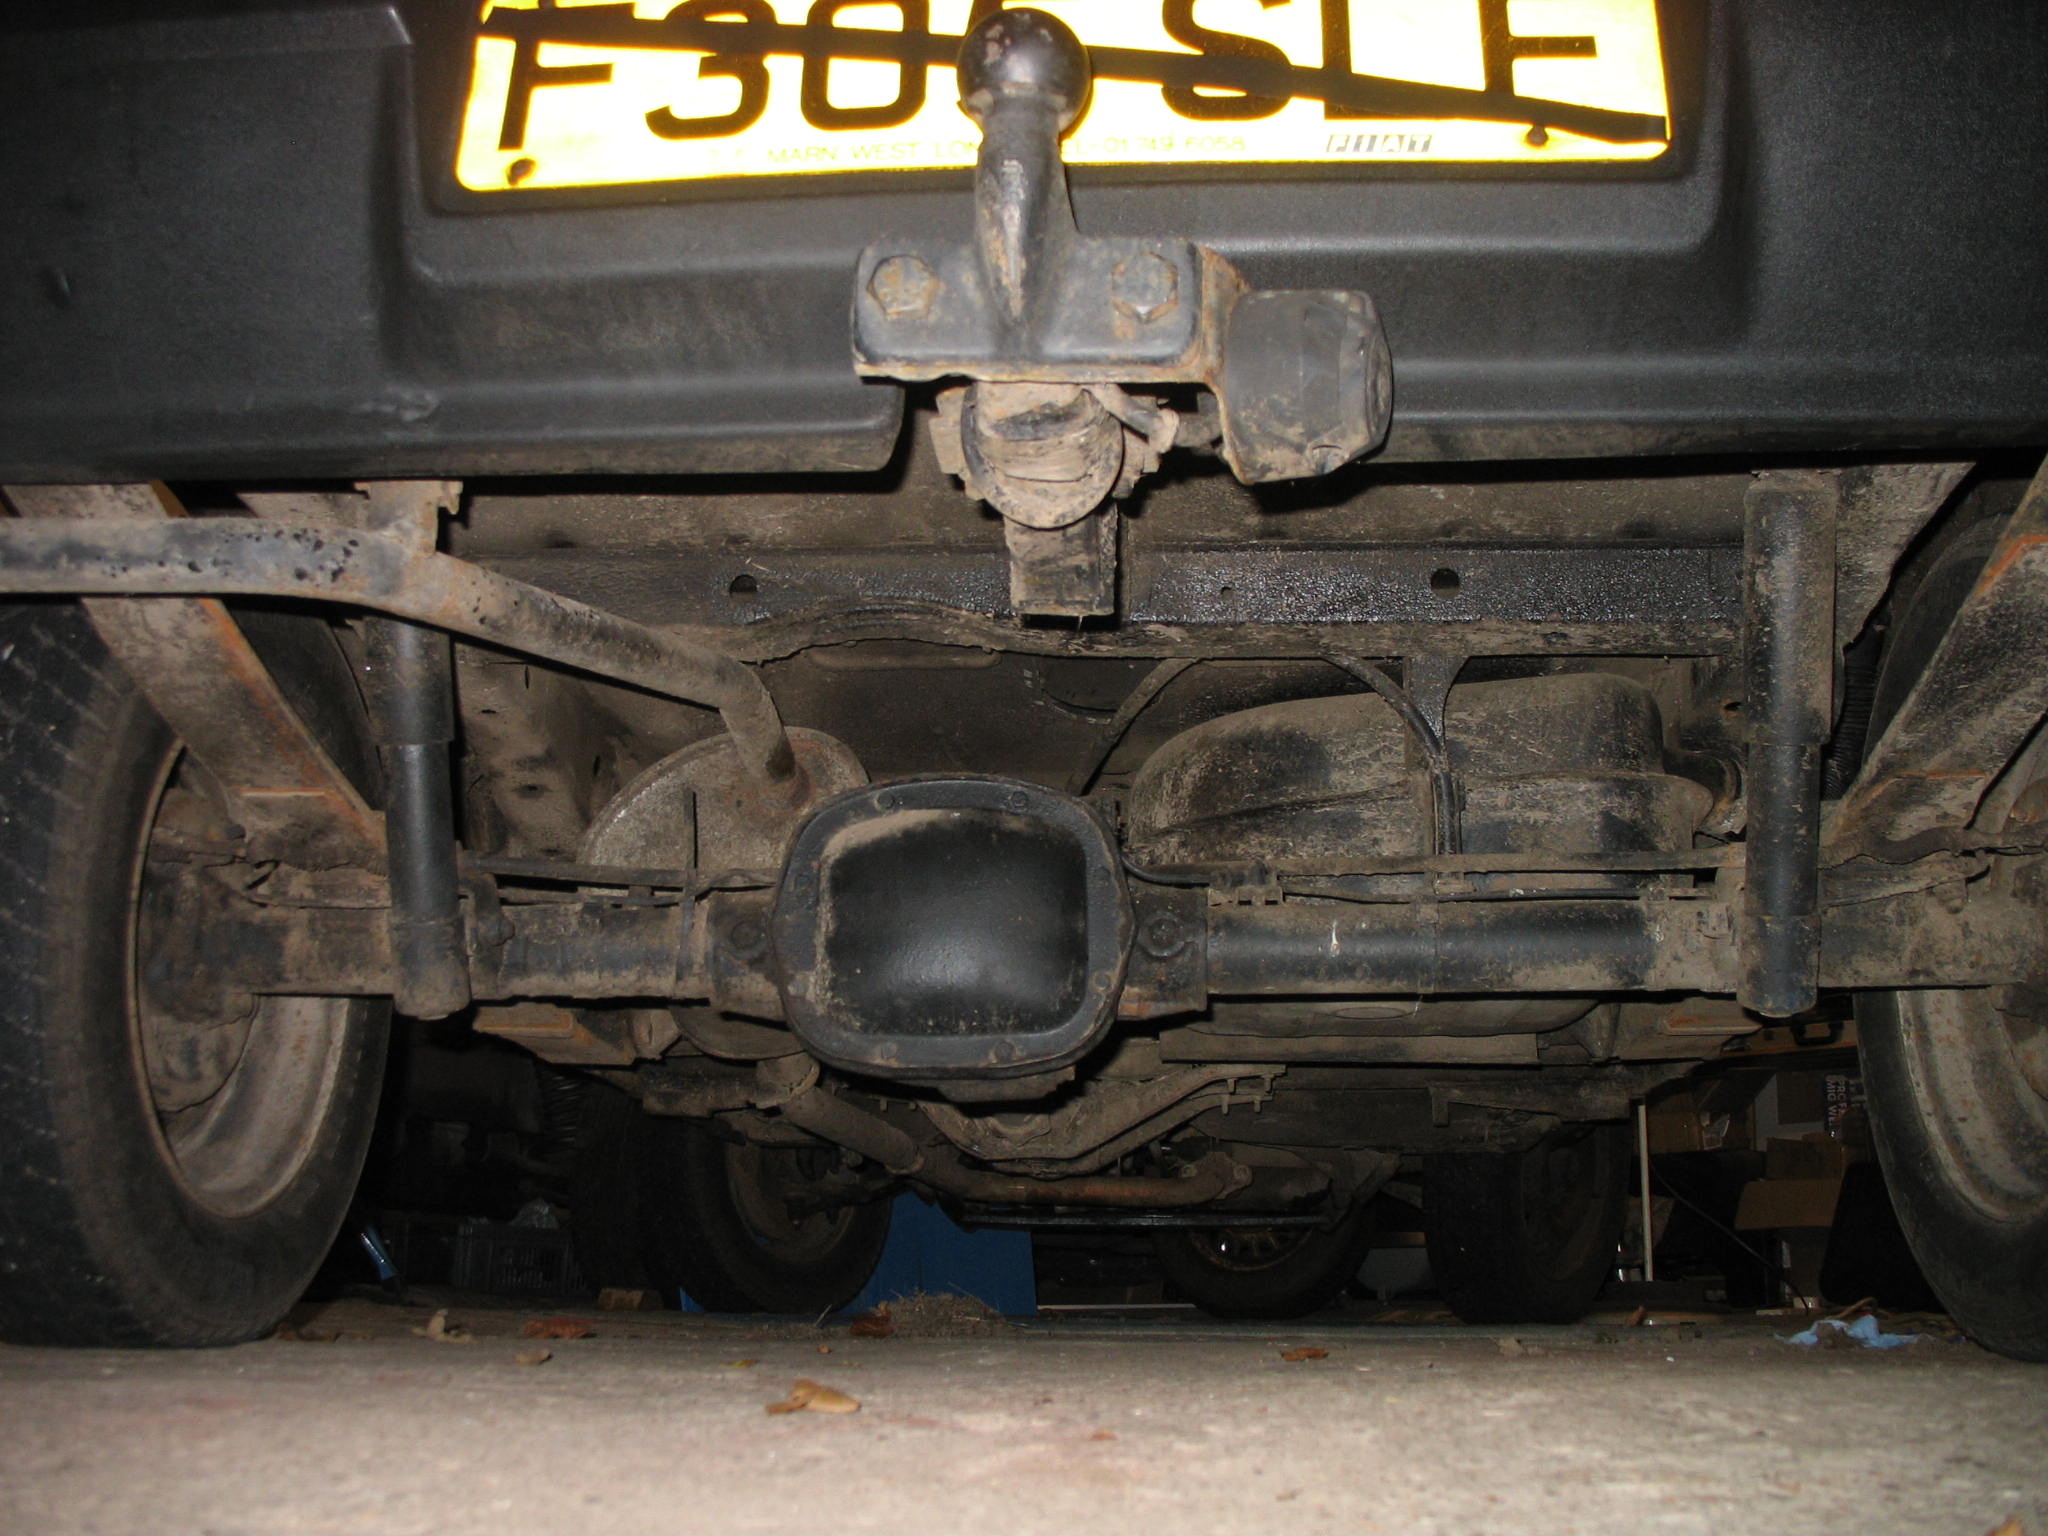
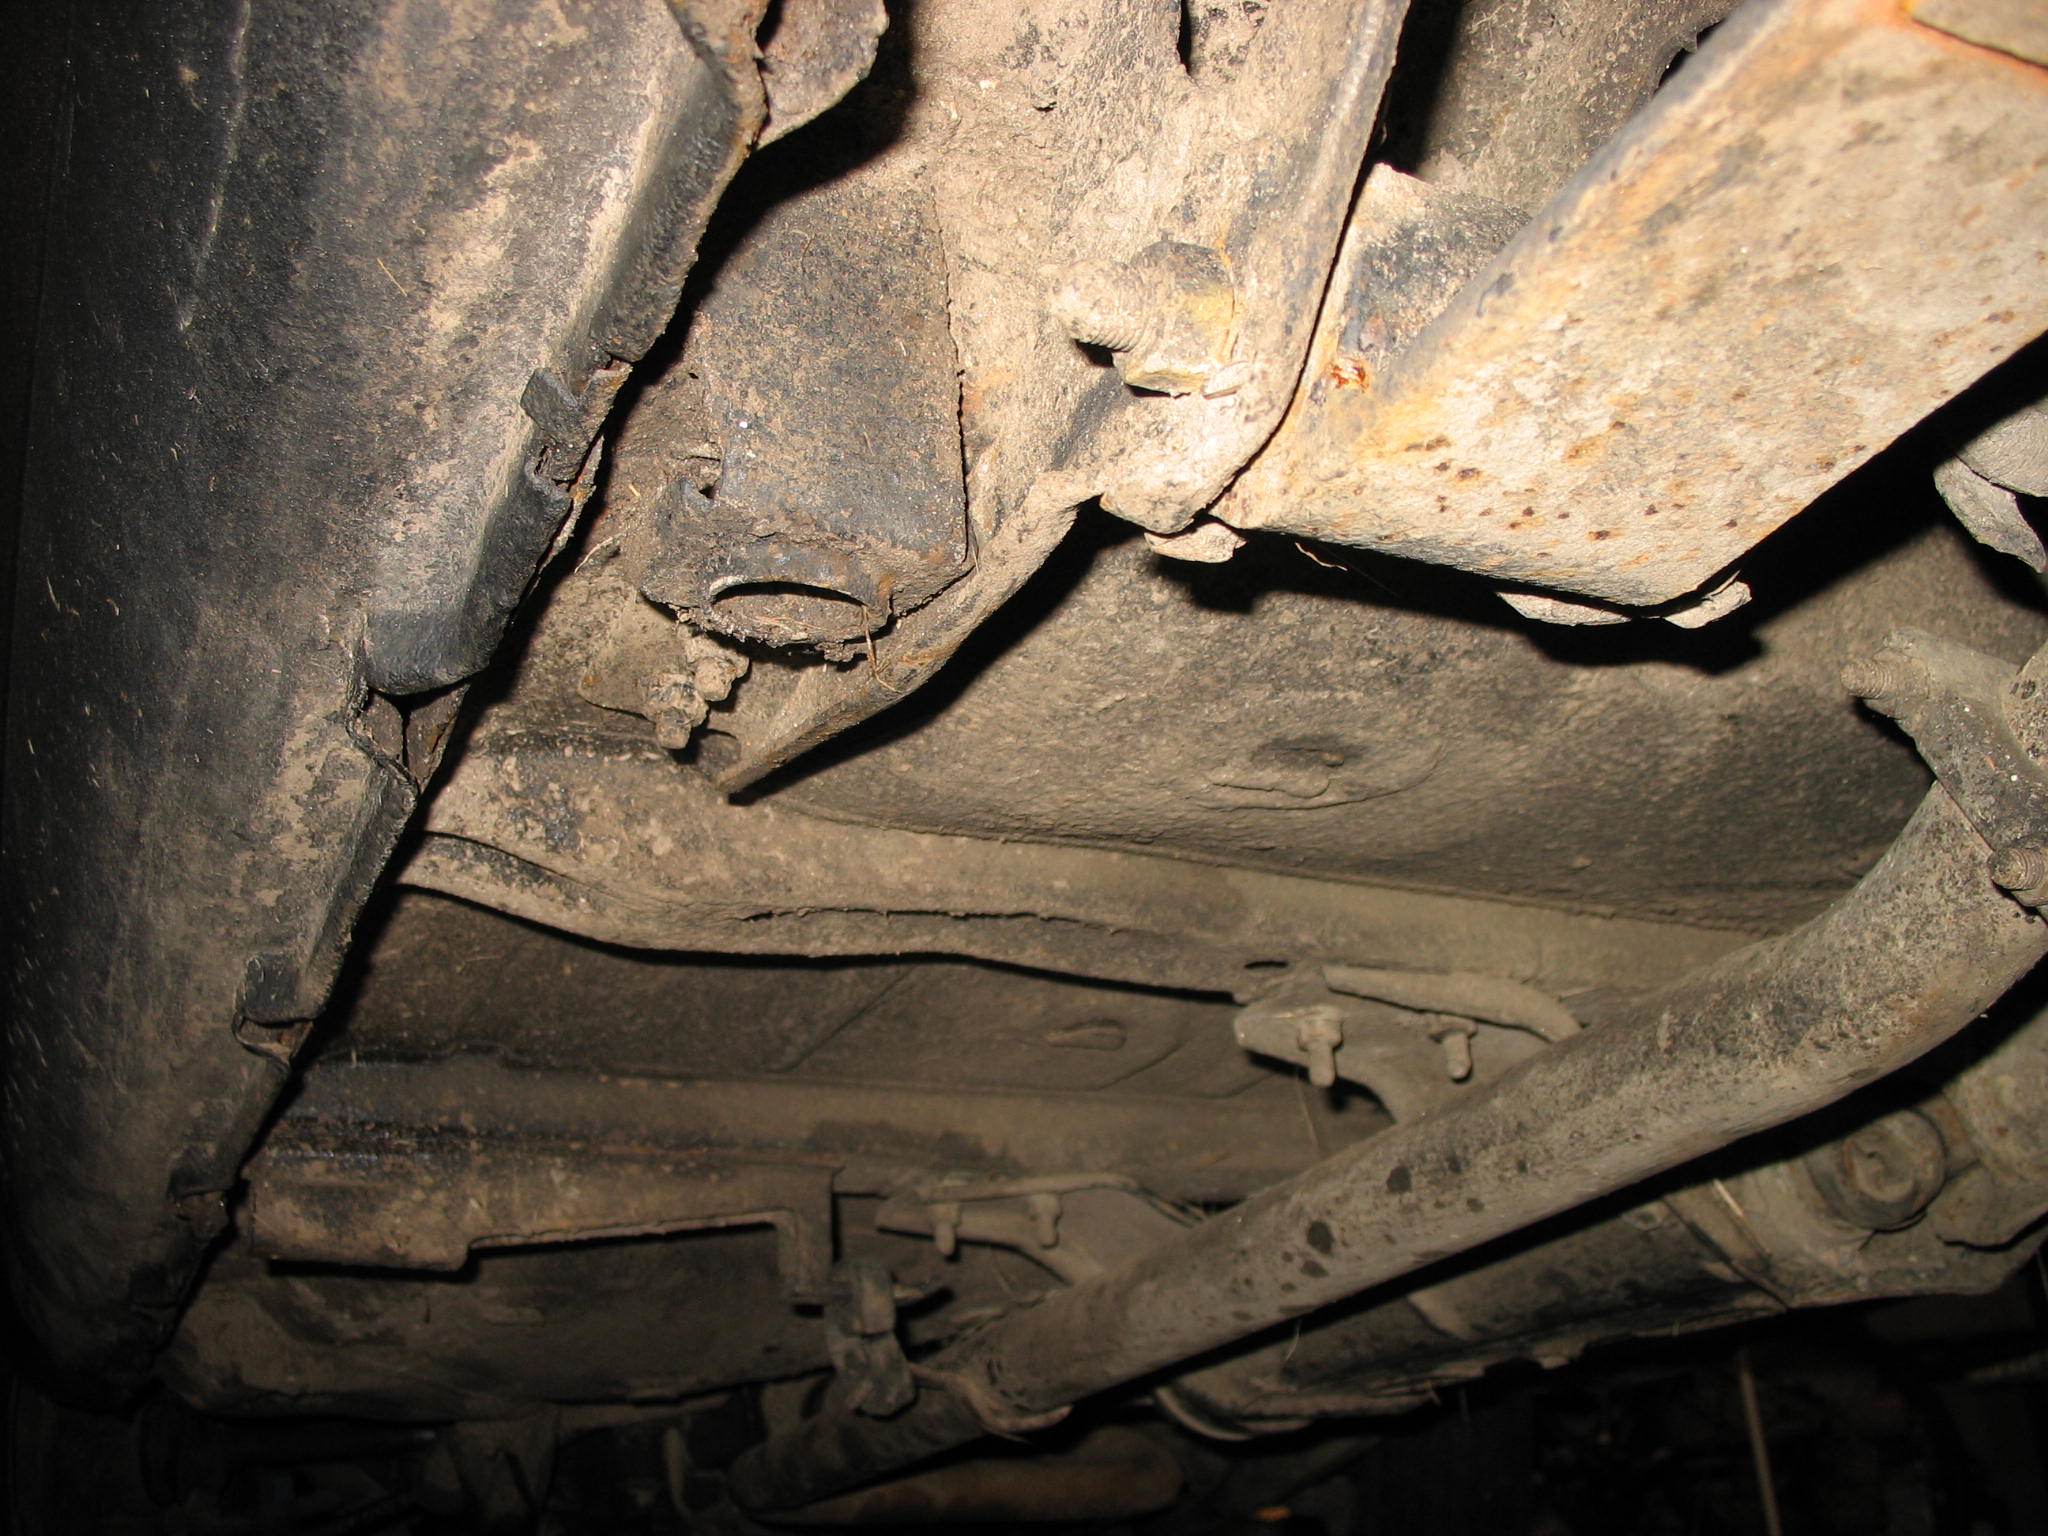
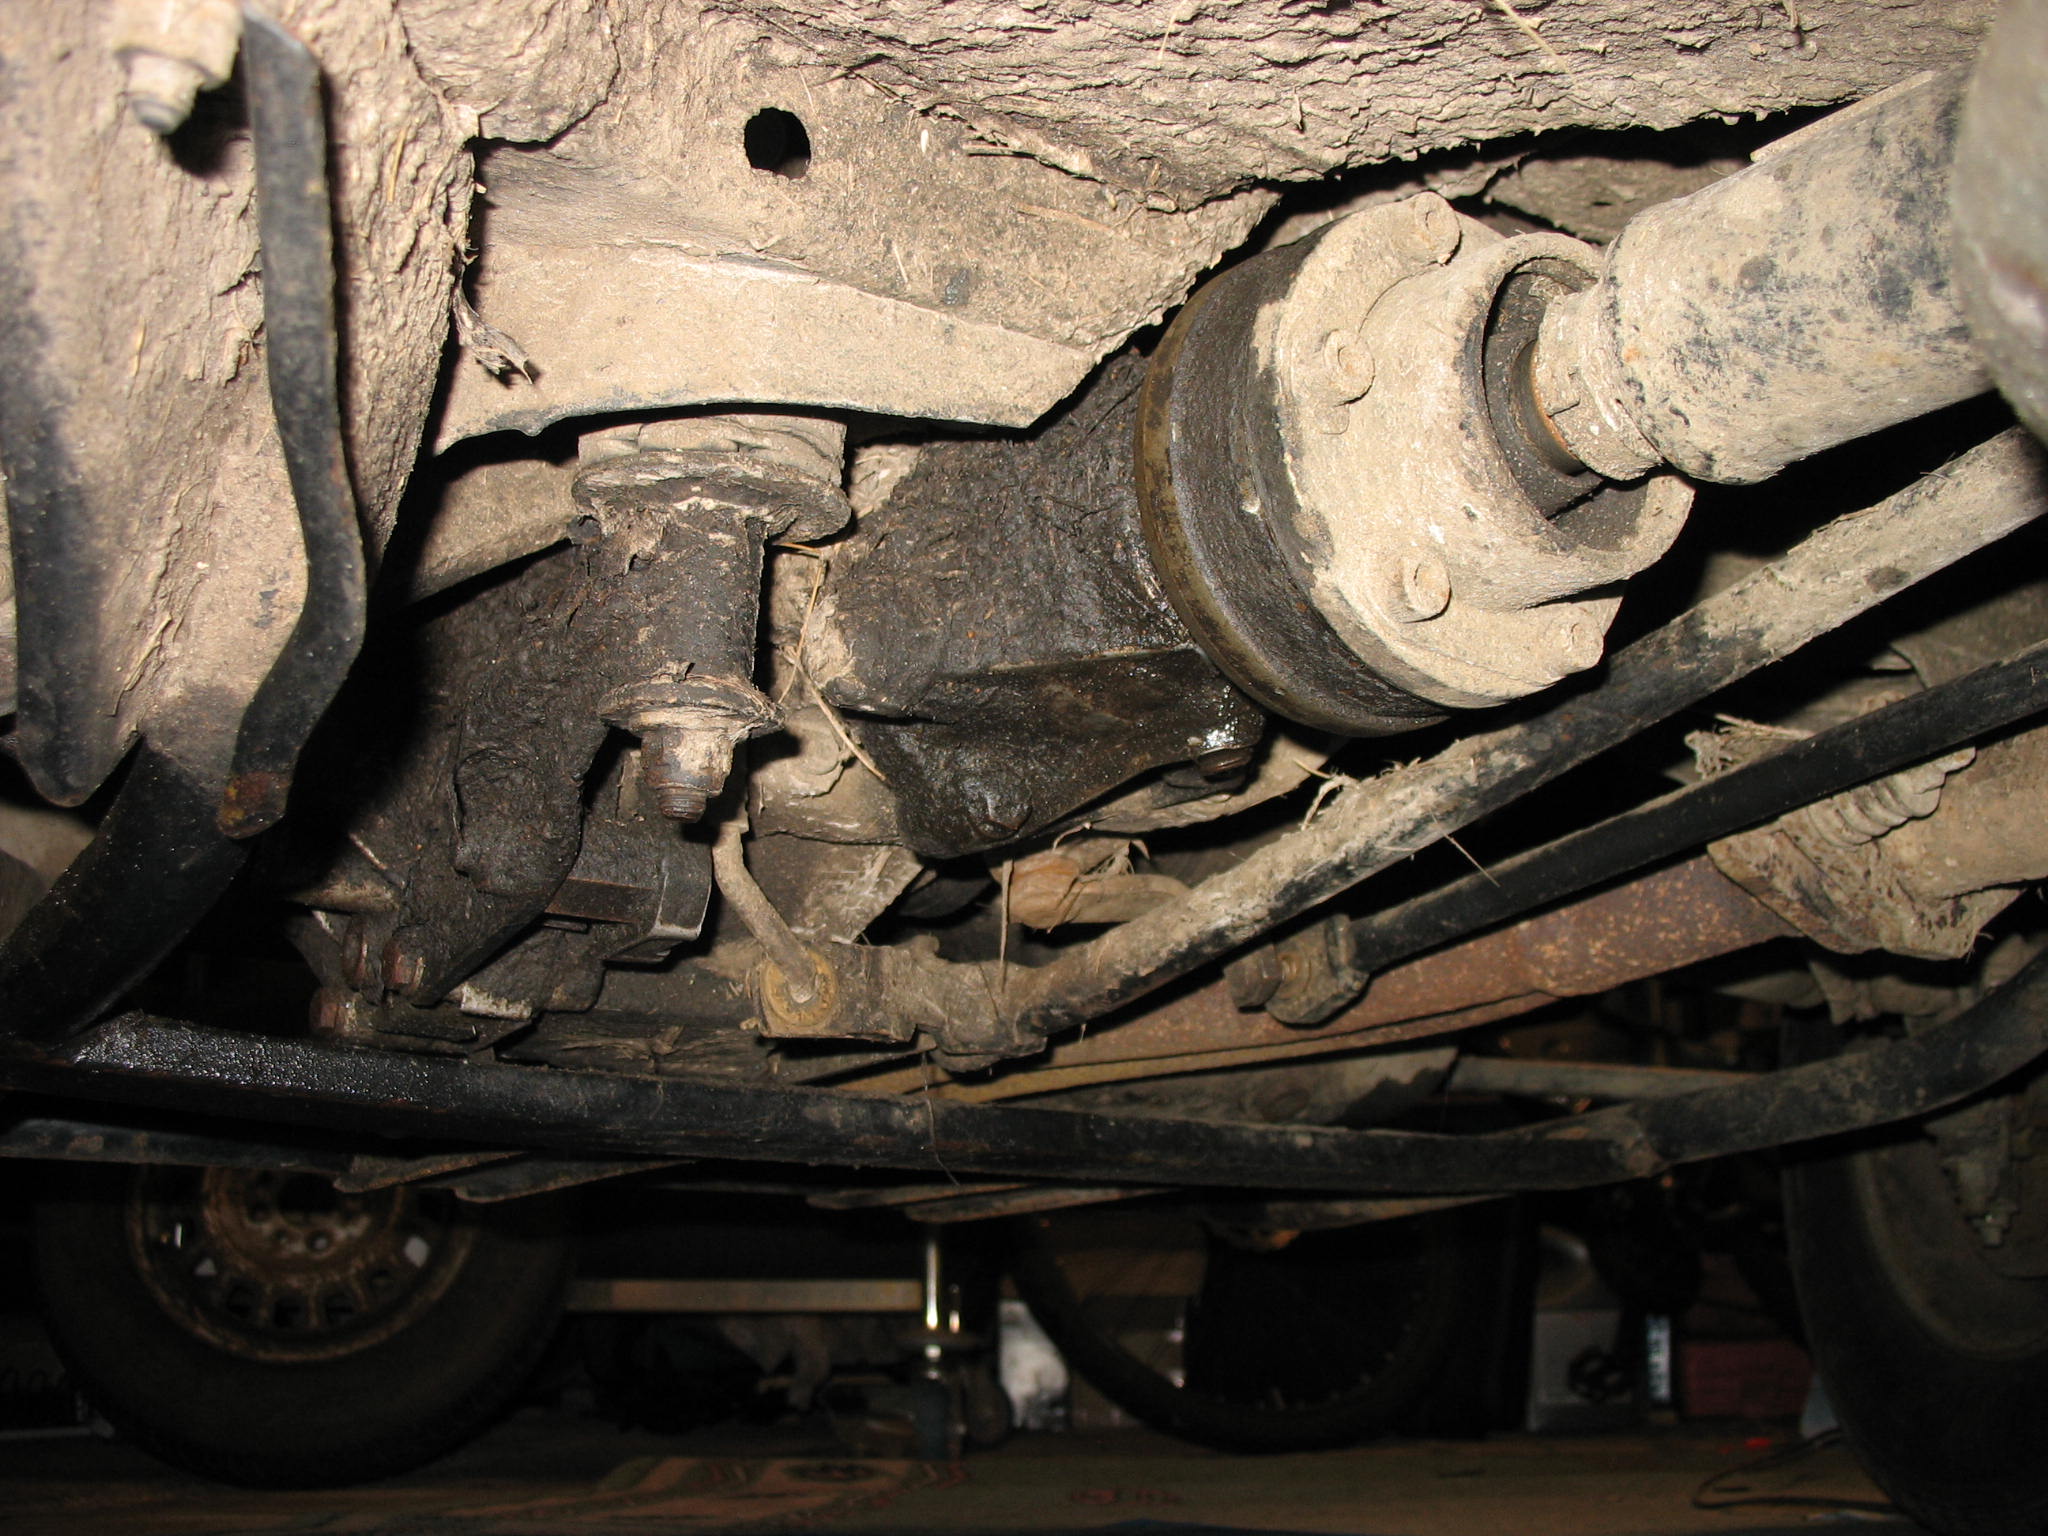
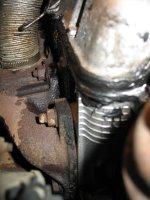
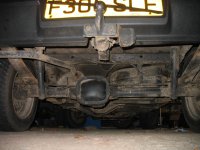
Is that gap between the propshaft and diff is normall?
IMG_19042.JPG


IMG_19022.JPG


IMG_19061.JPG


IMG_19442.JPG


IMG_19353.JPG


Dear FFCP section members, any comments, suggestions and observation are more than welcome, especcialy regards the 4x4 drive train i.e. leaks etc.
Theres a reasonable amount of stuff available in the US that looks like what you found

http://www.speedwaymotors.com/Leaf-Spring-Liner-with-Lip-1-3-4-Inch,2079.html

...and then several references to the same solution

http://forums.roversnorth.com/showthread.php?3588-breaking-into-leaf-spring-packs

http://www.expeditionportal.com/forum/archive/index.php/t-23160.html

...which leads to

http://www.mcmaster.com/#catalog/122/3489/=115rokn

I'll measure my spring width and get some ordered and report back. High-Bond, Wear-Resistant Slippery UHMW Tape lloks good, but I'm not sure how long a roll is, so I'll let you know
 
Scrapman was not able to remove the driveshafts, and he will not put any extra time into it. Good thing is that he agreed to let me do it at my own risk and with my own tools. I'll try to get the short shaft flange as well.
 
Lack of the Uno shaft did not cause massive interruption as the front moded suspension is moving on.

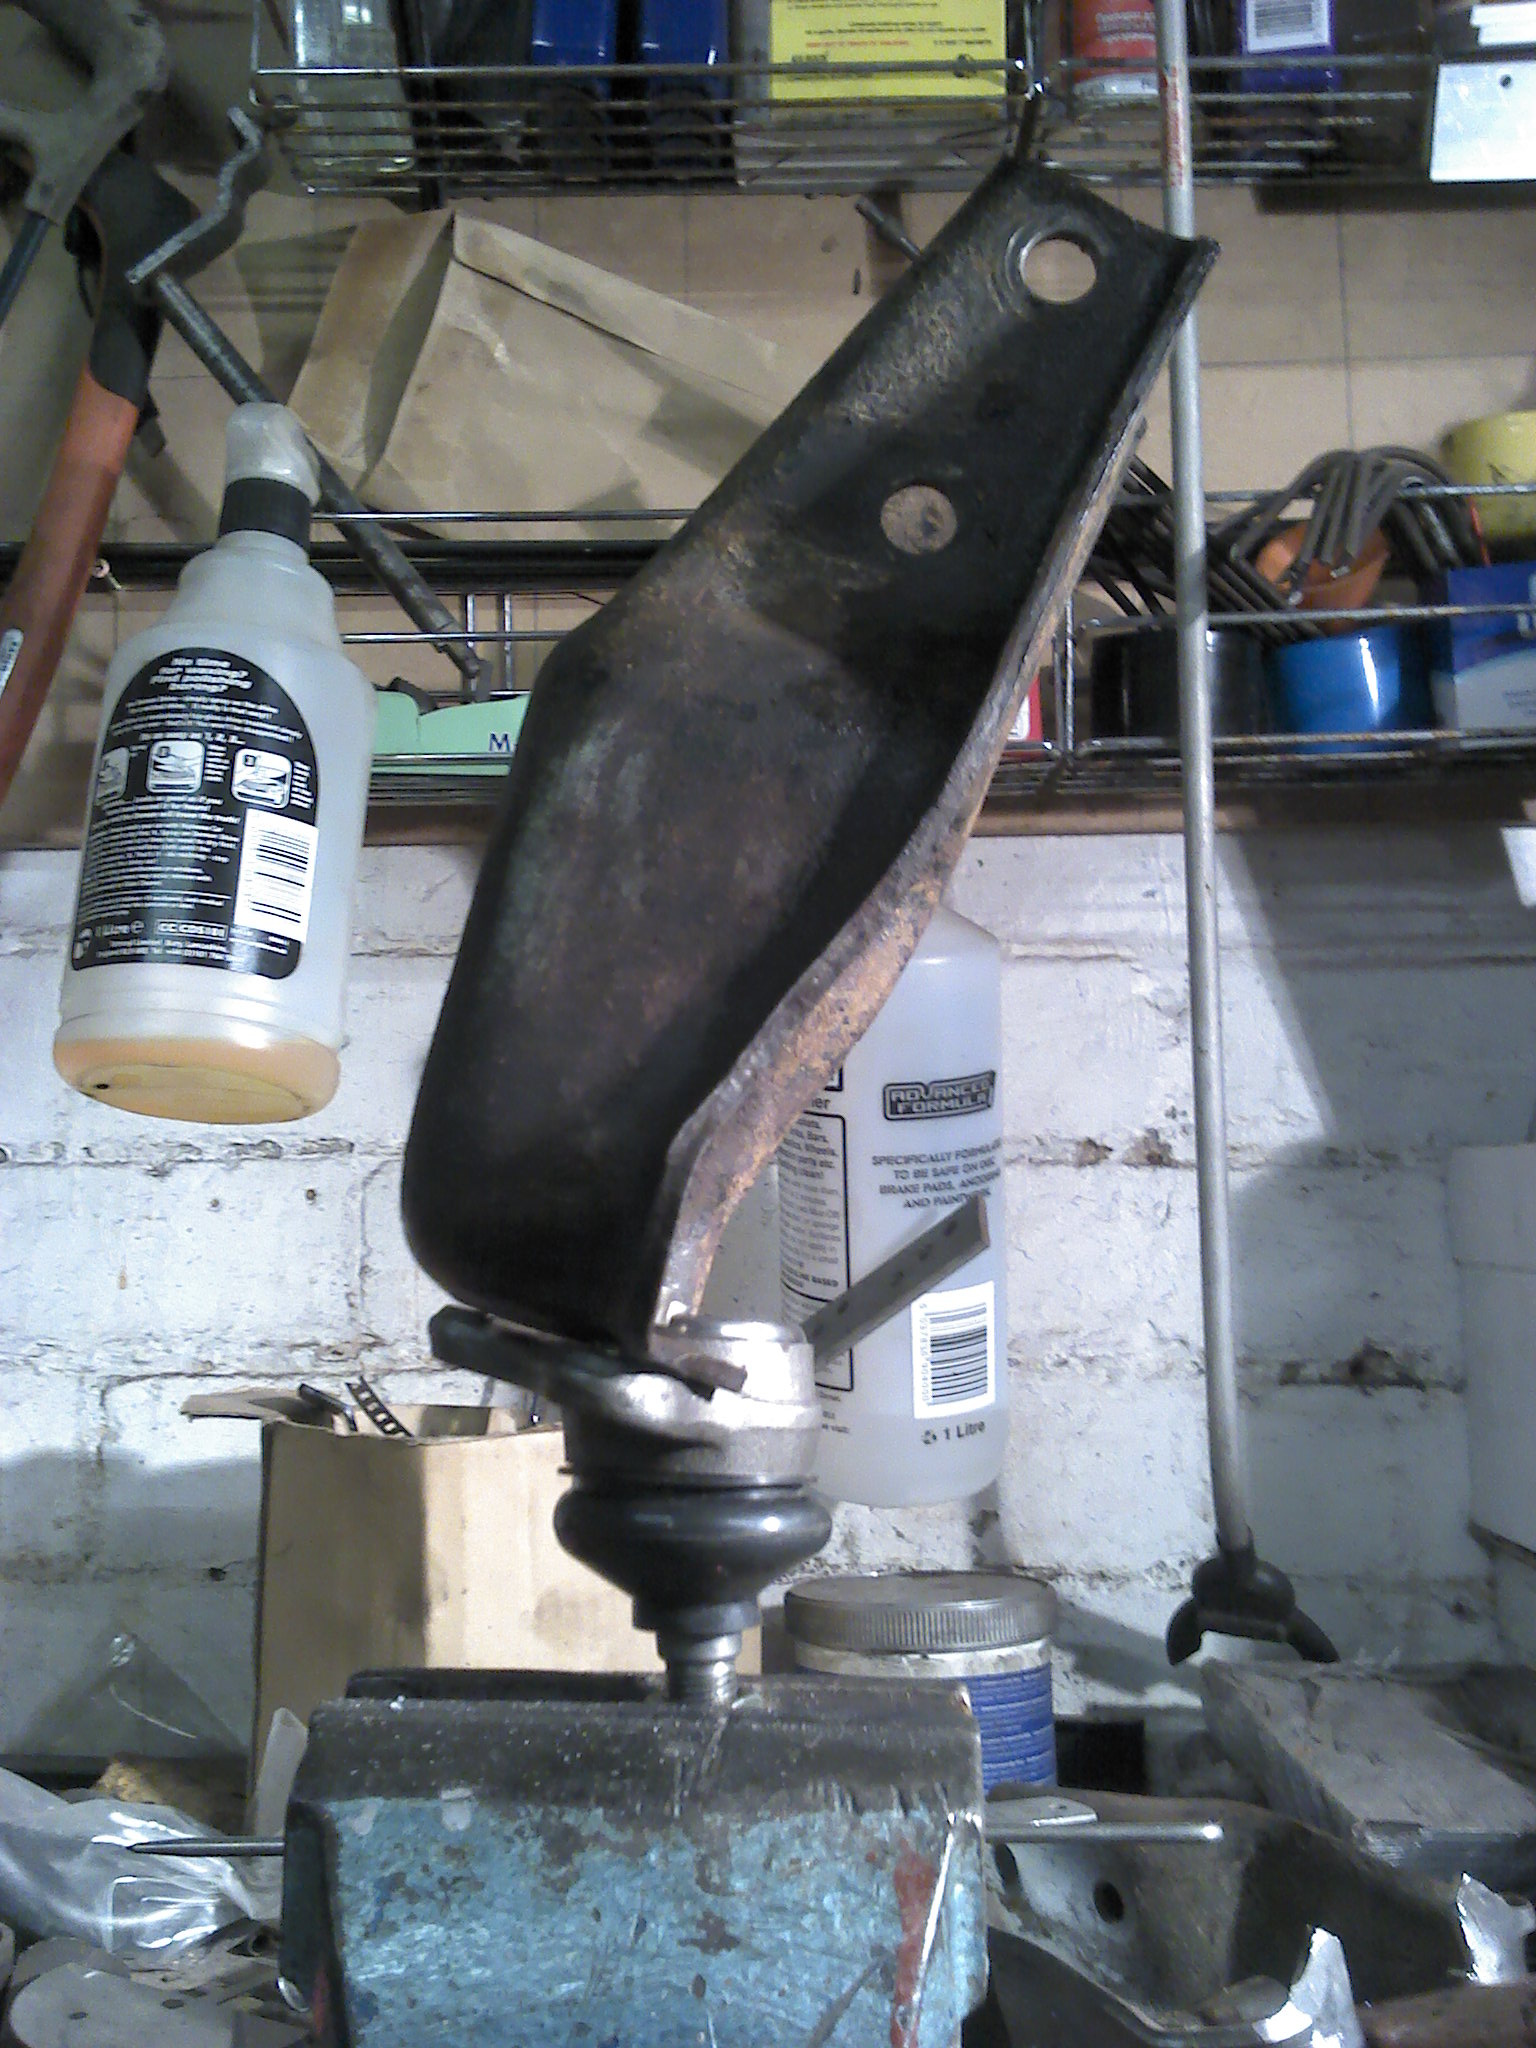
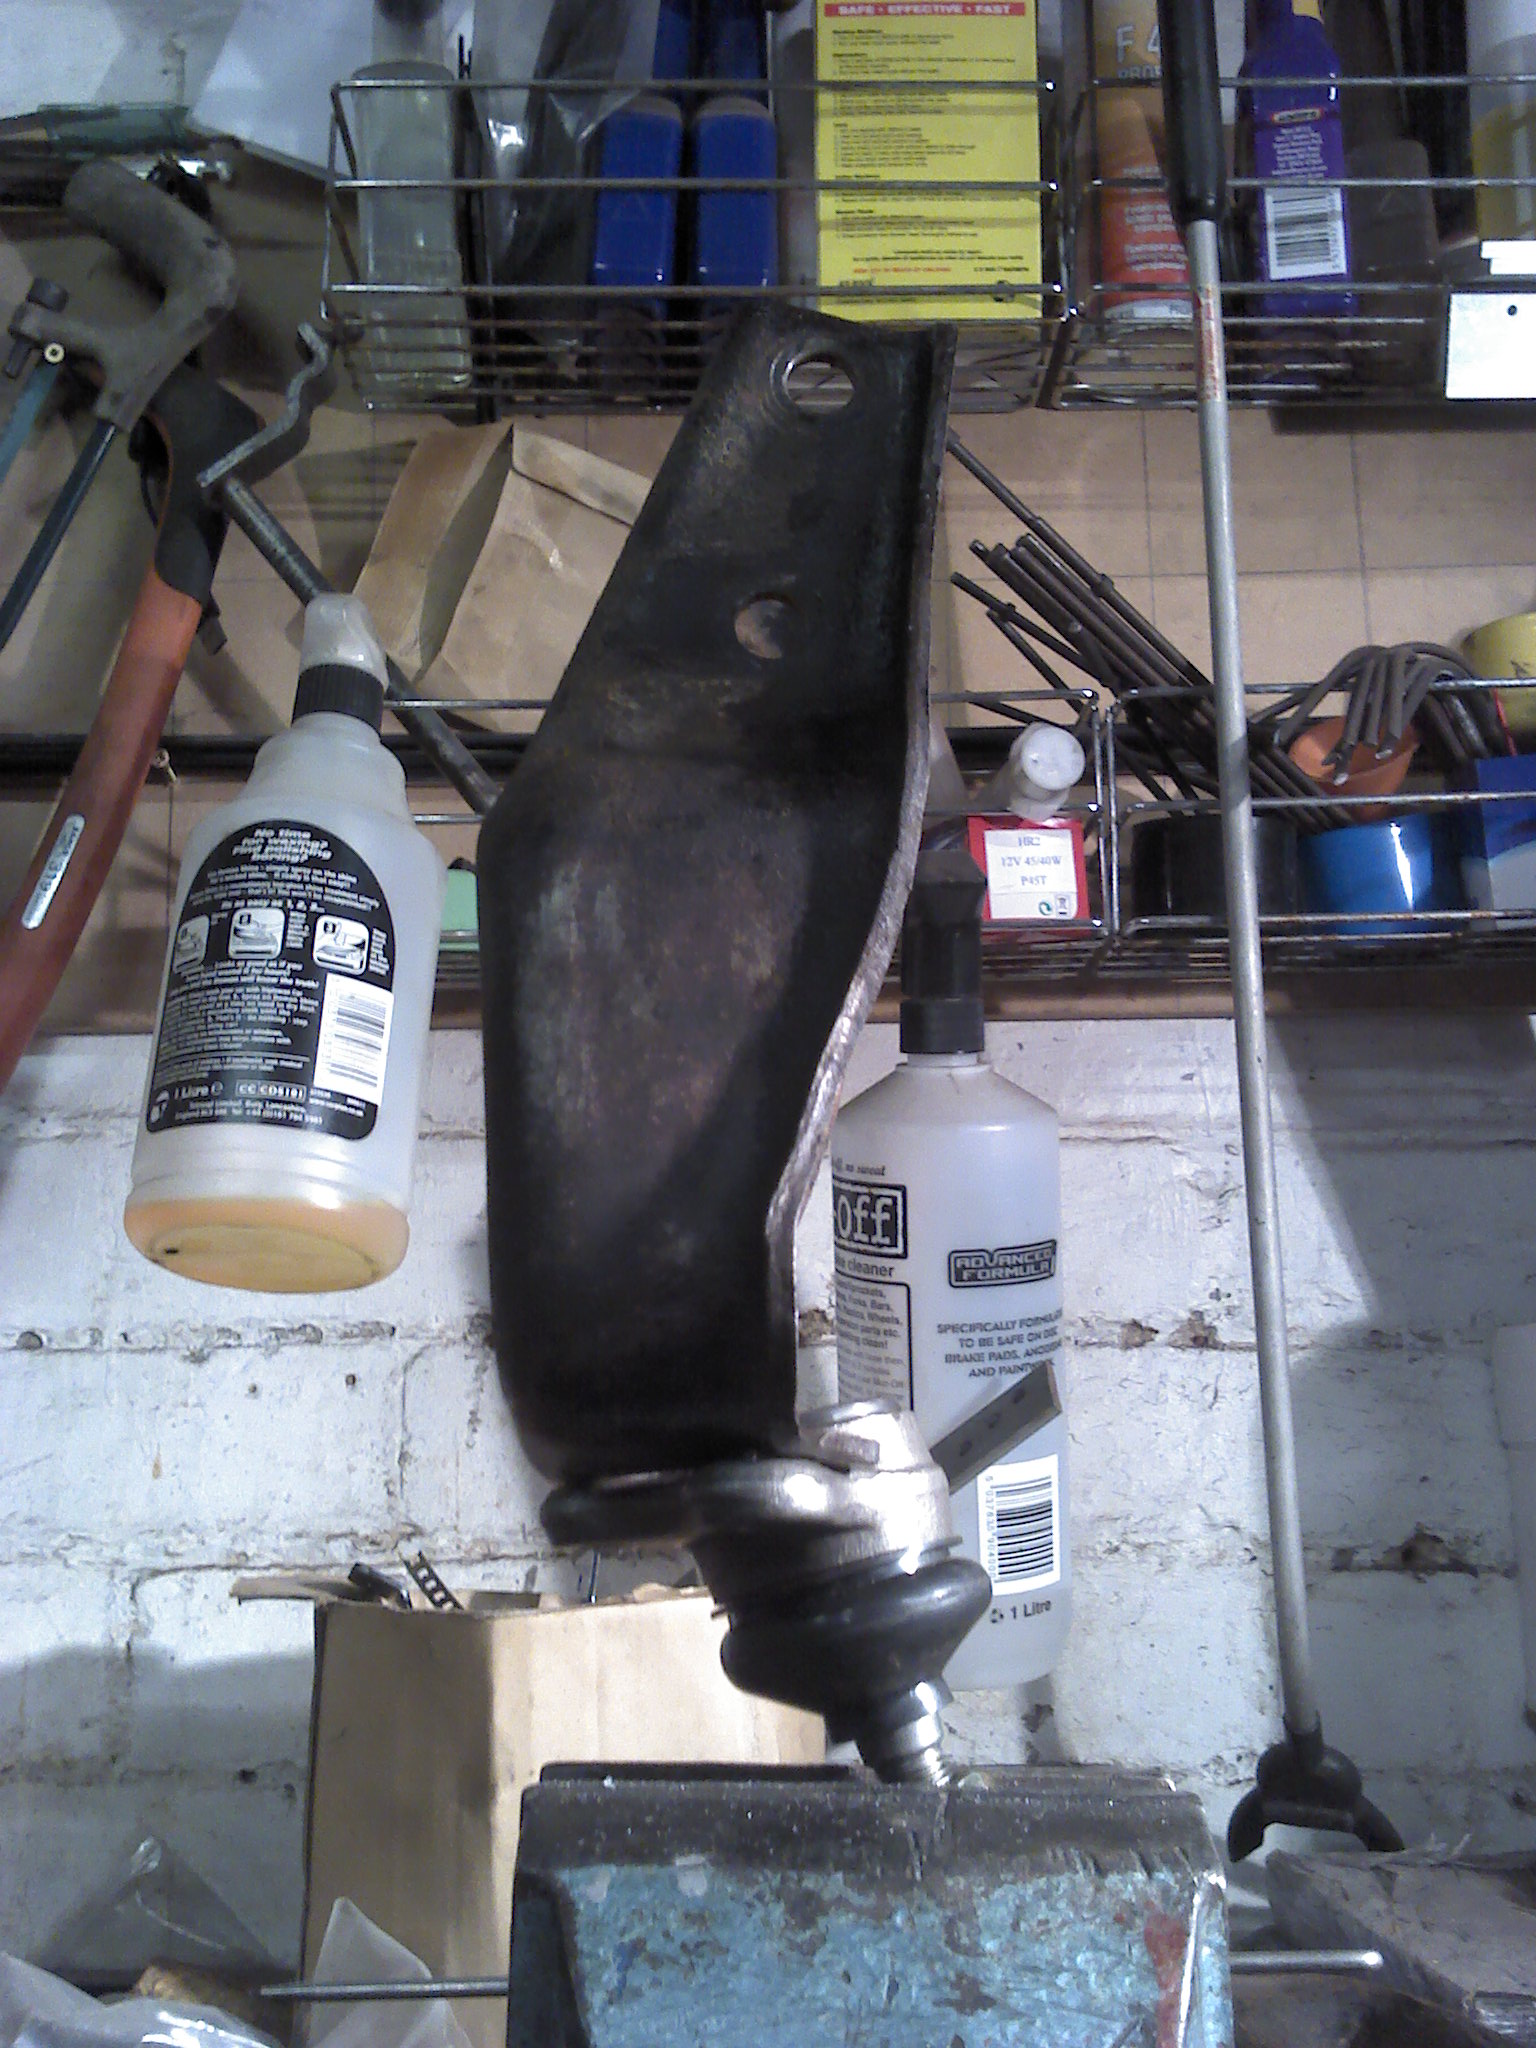
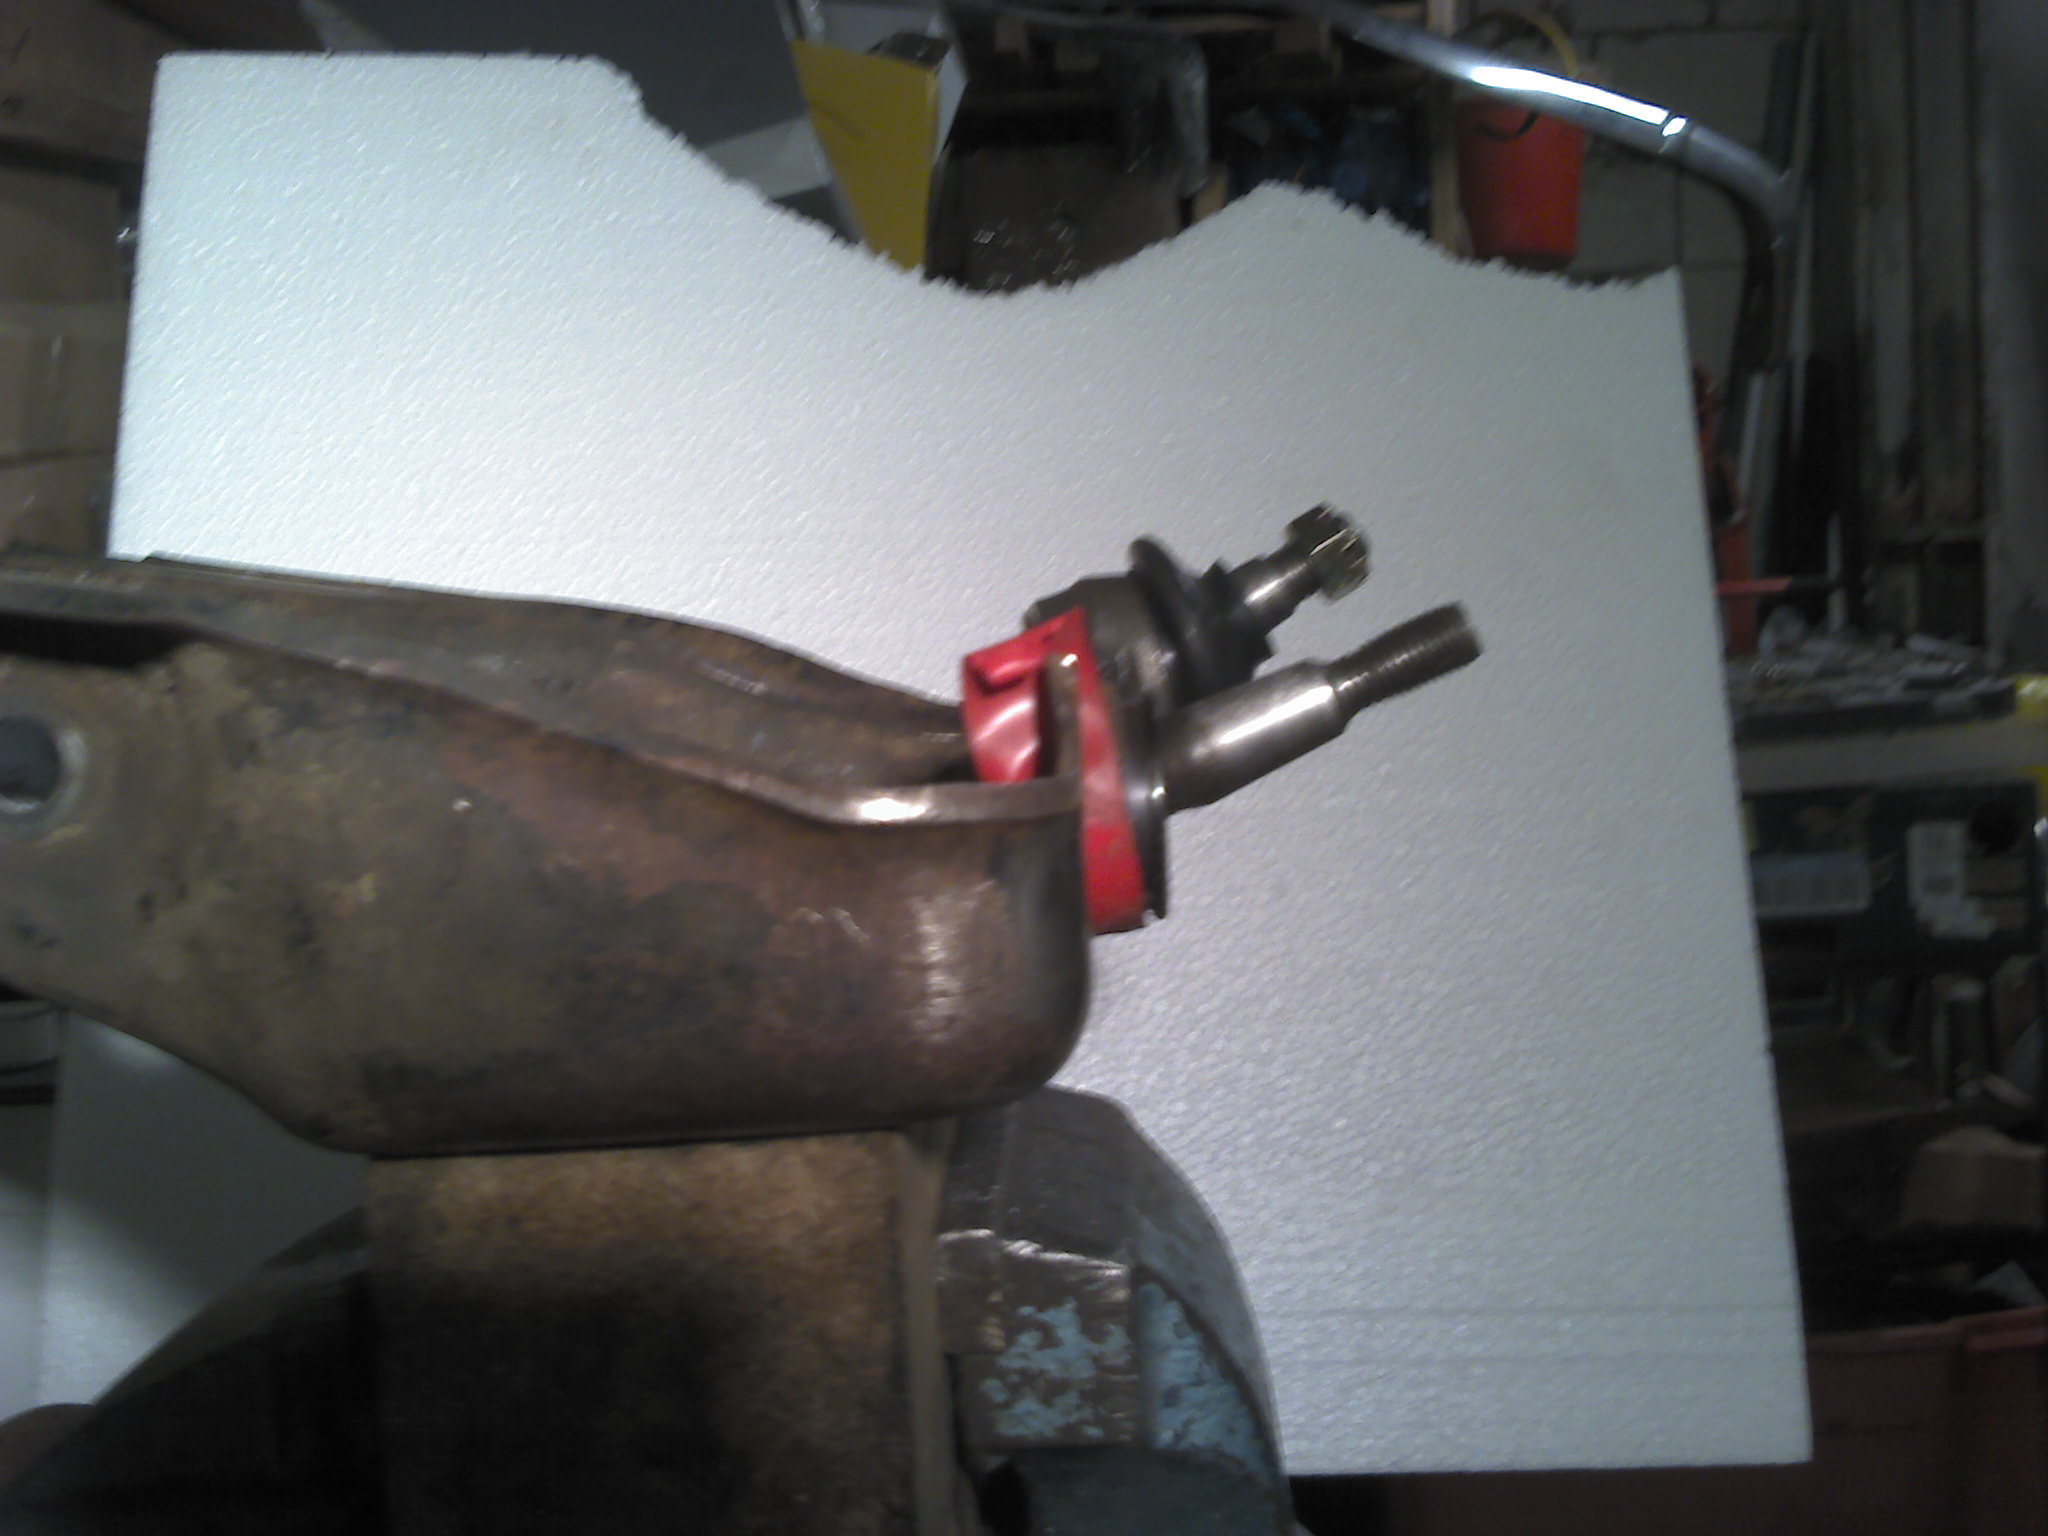
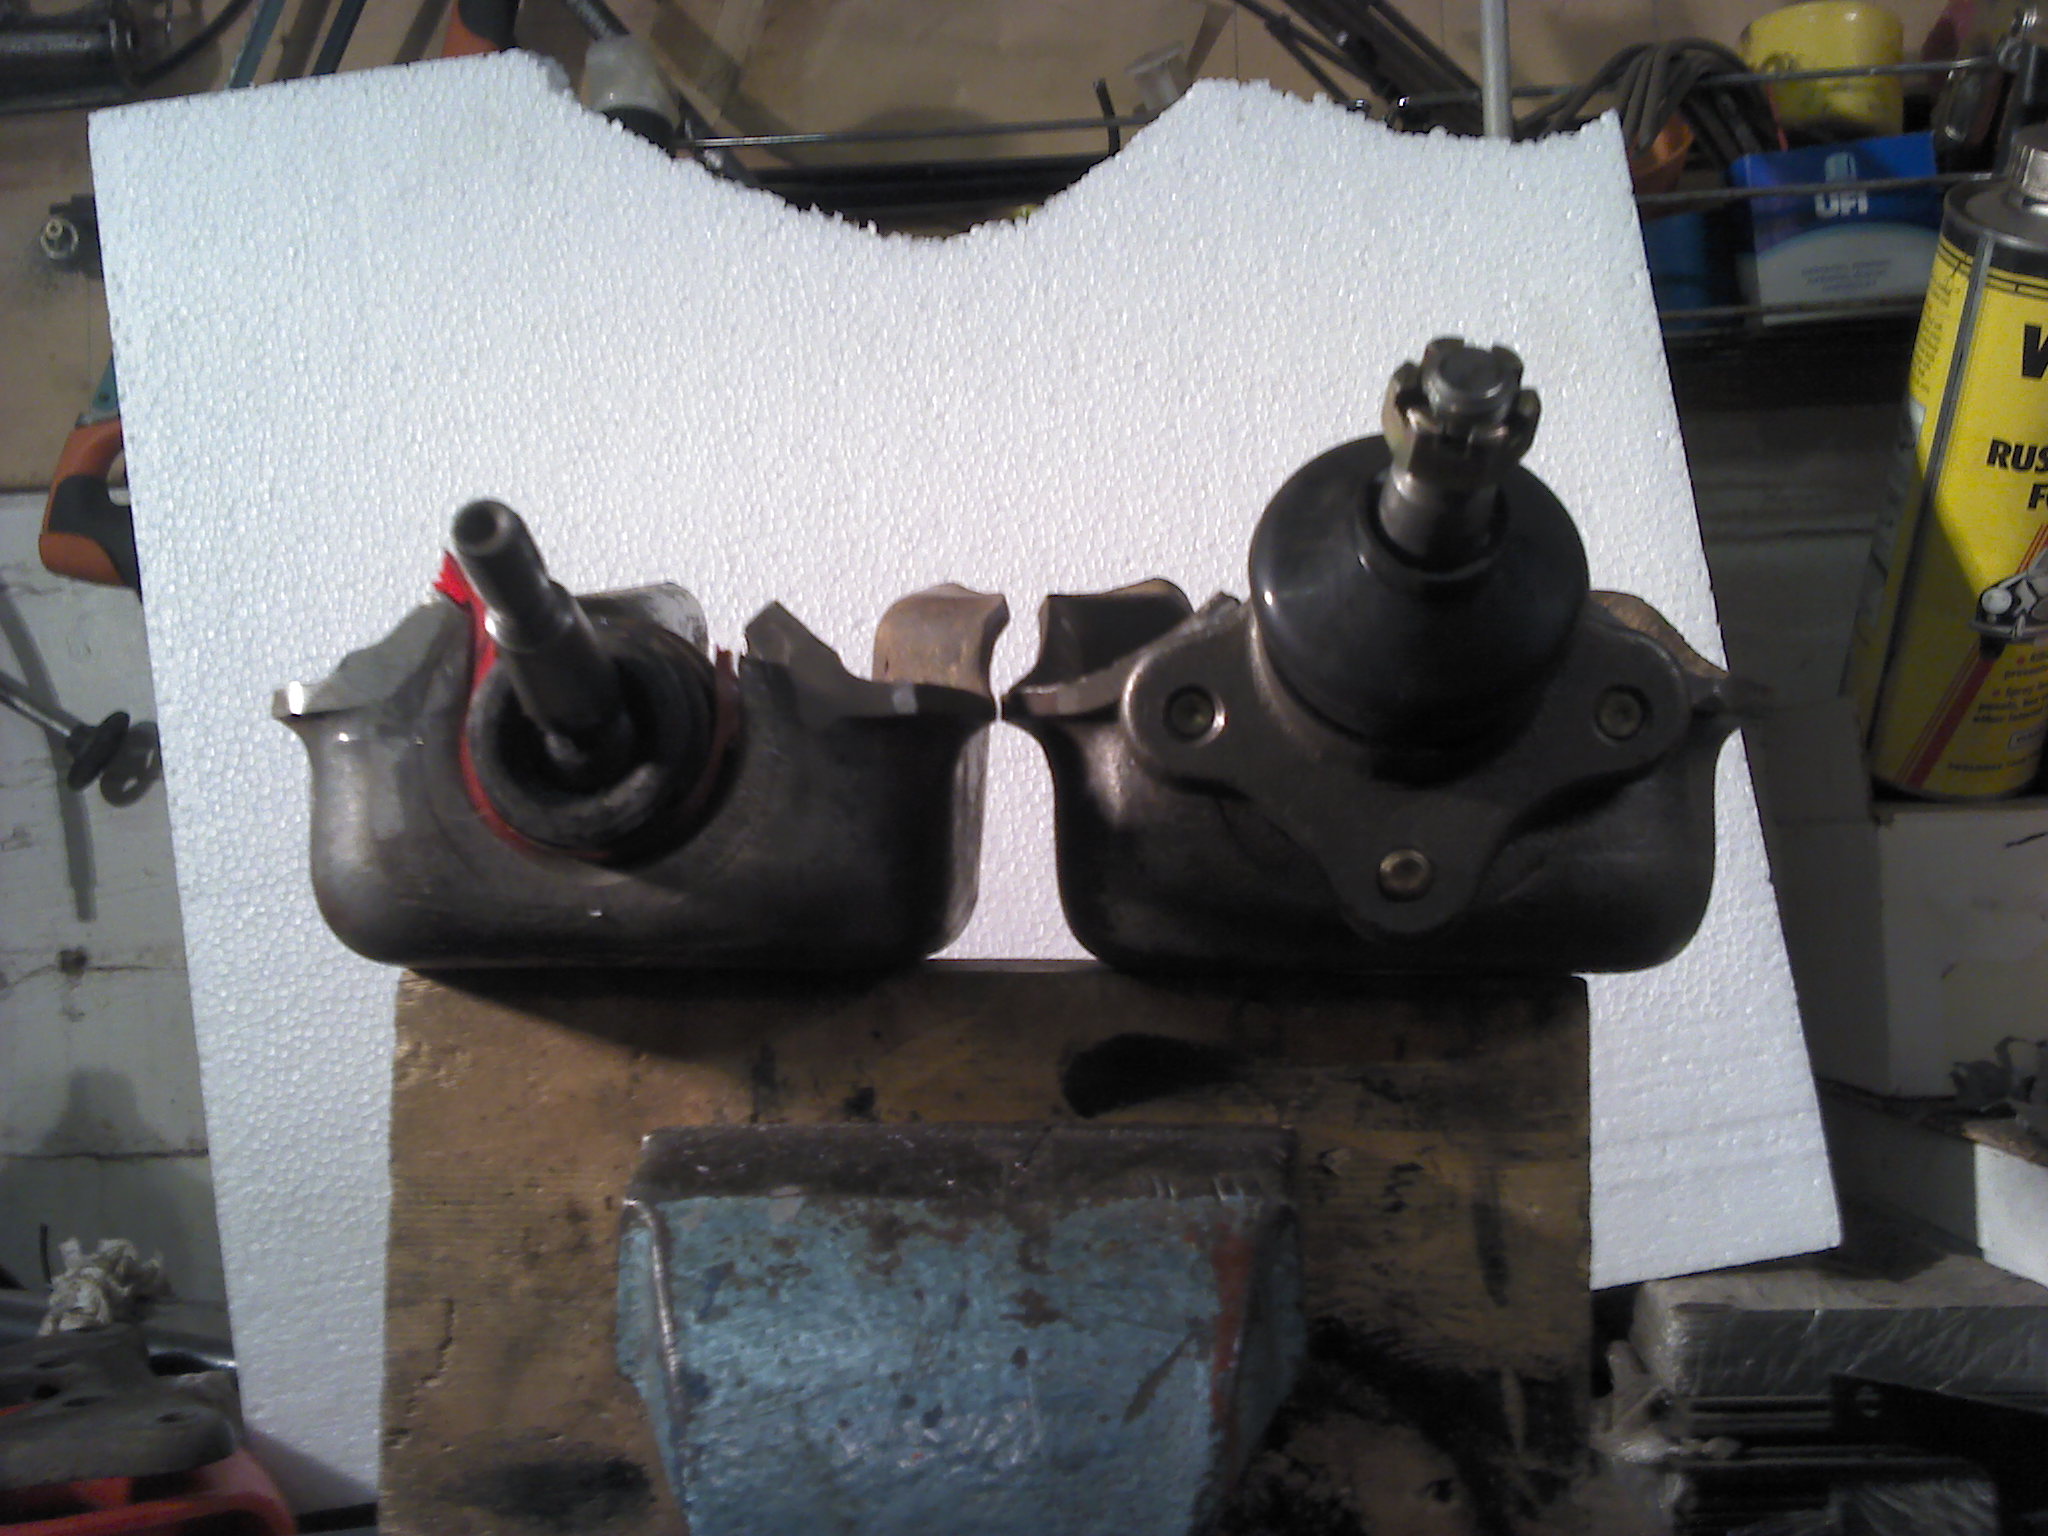
First shots of the modified hub carrier with mazda B2200 top ball joint.
It isn't streigh mod as the ball joint shank if bit thicker therefore the arm will have to be opened by 1.5mm - hope my cnc man will have solution.

New pivoting point is relocated by 20mm in regards to the original position, the actual ball joint housing is on an angle as well adding approx. 12.5 degreess more to the max shank deflection. The old ball joint was pushed out from the hub carrier which indicates that shank was hiting the housing already ( 44mm lift).
With new shock obsorber i'm looking for extra 20mm lift but the articulation of the strut will be greater as well cause the shock tube is extended by 30mm. I'm hoping there will be no need to opening the top hub carier bolt hole.

Additionally the Uno long shaft isn't tube type one, it is solid shaft with rubber bumper therefore with my lift height the long shqaft should still have some clereance above the twin exhast pipe and side of sumpguard.

Biggest advantage of the new ball joint is that they have grease nipples from the top, which means that with sheduled greasing they should last longer.

Hope it all make any sence to you guys.

2016-02-21_18-16-17_814.jpg


2016-02-21_18-16-54_608.jpg


2016-02-21_18-16-34_616.jpg


2016-02-21_18-38-32_61.jpg


2016-02-21_18-38-59_844.jpg
 
Last edited:
Remember I had to cut out a piece of my sump guard when I first fitted my kit, with the settling it's clear now on the flat - but would still foul at full articulation.

I think with the slightly longer shaft this could be avoided, as the angle would be less on full articulation.
 
Remember I had to cut out a piece of my sump guard when I first fitted my kit, with the settling it's clear now on the flat - but would still foul at full articulation.

I think with the slightly longer shaft this could be avoided, as the angle would be less on full articulation.

Yes, you're right. The longer shafts are on slightly less step angle which will benefit in front diff to shaft tripod relation and outer cv joint as well.
The Uno long shaft have 23 mm ish diameter where the panda ones have at leastt 40mm.

Great work J. - can't wait to see your conclusions.

So there are two of us.
 
Been in our toolroom today to talk to my mate about boring out the lower arm ball joint hole, he did not had correct size of taper pin reamer so one is on order now.

I've just refurbished one gear linkage for 4x4 gearbox, two new OE bushes were used and my modification which hopefully will make them last for ever.

This actual one is for sale, let my know if interested.
Discounts available if you ex change old one.

IMG_35201.JPG


IMG_3523.JPG


IMG_35251.JPG


IMG_3526.JPG


IMG_35322.JPG


As you folks probably have noticed, midway between bushes on the outer tube there is grease nipple.
Just add that greasing point to your scheduled service list or after any wadding/off-road session.
Simple, just top-up using grease gun until grease will come out through both end.
 
Last edited:
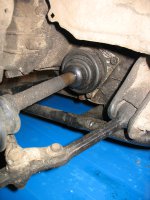
Been at that scapyard again, complete waste of time and petrol. Shafts on that Uno were 'dry' type one. Looks like photograps suplied by myself to the scarap man did not meant much to him. Back to plan B.
 
Plan B is to find different pair of Uno wet drive shafts. Unless one of forum member is willing to sell me his pair :worship:.

Other observation are:

It look likes lifted suspension does not cooperate well with bottom ball joint rubber boots. As ball joint spindle goes up to the maximum rubber was probably trapped inbetween. Just wonder how much improvement the polyboots ( polyurethane ball joint boots) can gives with their higher tear resistance.
This one barelly done 1k miles, let's hope mazda b2200 ball joint conversion will do the job. Currently still waiting for the tapered reamer as it is comming from China.

IMG_3599.JPG


On the other subject, after seeing Bart and his front shock oil change/ upgrade I have noticed that the Delphi shocks does have some potencial as well. The brake flexi hose mounting point isn't the tab type one it is full size weld on boss which potencially can by used to drill hole, and plug it with bolt when ready.
Current delphi shocks are gas twin tube, so the only one disadvantage of opening them would by loosing the Nitrogen ( is it explosive?).

IMG_35961.JPG


IMG_3597.JPG
 
Last edited:
It look likes lifted suspension does not cooperate well with bottom ball joint rubber boots

my own observaton, had MOOG ball jonts before, the rubber boots, both, were damaged after assembling , even before wheels touched the ground. Why? because the small upper rings were too small in diameter, and there was not enough space for the rubber between the ring and the conical peg of the ball joint,the lower the wider the peg, and after assembling with control arms rubber with ring is pushed down.The small rings did the same damage as on your picture kolza.I have notced that,bought new boots with slightly bigger rings and all worked well .


Current delphi shocks are gas twin tube, so the only one disadvantage of opening them would by loosing the Nitrogen ( is it explosive?).
If they feel like they are in need of changing oil there is probably no gas inside anyway, nitrogen is not explosive,but can theoretically depressurize with loud "pssst", the one gray spare y10 shock I used for "tests" was gas type, but it did not "psssst" after drilling a hole in it. :)In twin tube design gas is not at the base of the shock imho
 
Last edited:
The small rings did the same damage as on your picture kolza.I have noticed that,bought new boots with slightly bigger rings and all worked well .

If they feel like they are in need of changing oil there is probably no gas inside anyway, nitrogen is not explosive,but can theoretically depressurize with loud "pssst", the one gray spare y10 shock I used for "tests" was gas type, but it did not "psssst" after drilling a hole in it. :)In twin tube design gas is not at the base of the shock imho

It looked a bit that the ring rubbed thru actually, I've still got few spare boot so will give a go.

Shocks are currently in good condition so will keep that option on back burner.
Yes, in twin tube the low presure gas is in pocket at the top of reservoir tube but there is still a chance that small amount of oil from reservoir tube can be pushed of through the hole.
 
Finally!!!!

The 1:10 taper reamer came in via China Post, it was bloody long two weeks but the tool does the job.
So far well spend £4.

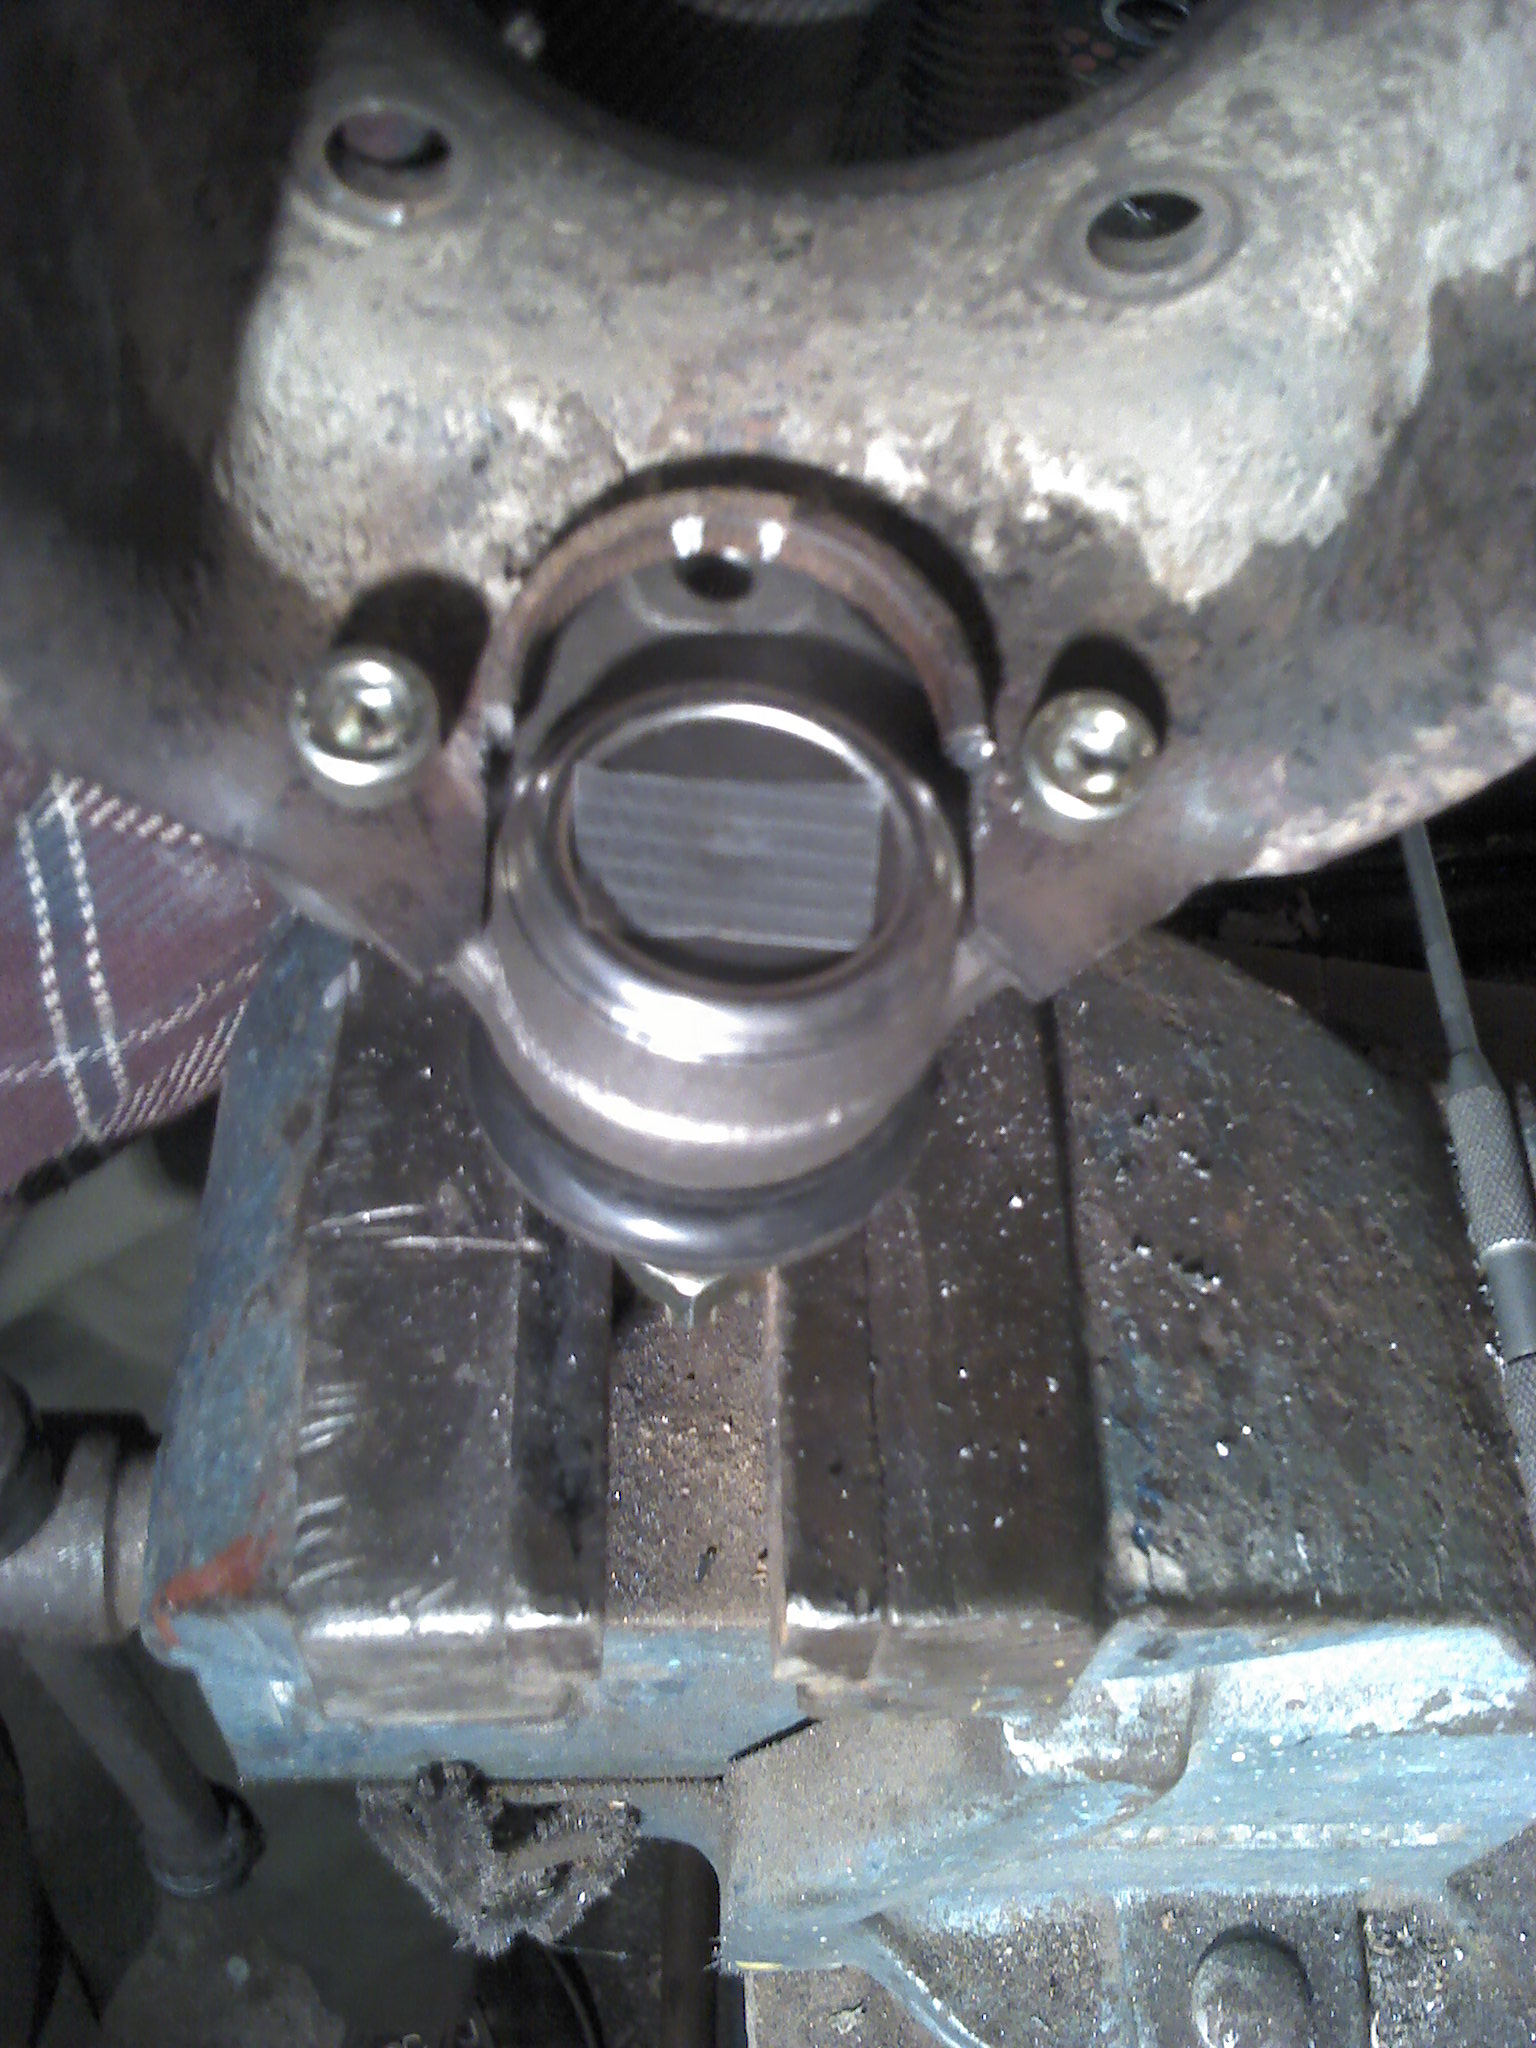
I've done one old arm to see is it ok with hand only, not to bad but for the correct arm i'll leave them with my CNC man to use the reamer in milling machine and have the tapered hole exactly same and perfect colical shape.

IMG_3603.JPG


IMG_36041.JPG


And the Mazda B2200 ball joint already in, to get the crown nut to desire position allowing the split pin to be applied 2 mm from the bottom face will be removed.

Hope this photo clearly show the advantage of b2200 ball joint and all that hassle.
Finger crossed it will work.
IMG_3605.JPG
 
Last edited:
If all will go as planed I should be doing lanes round L@ngdale Forest over the Easter weekend.


Lower arms modified already (big thanks to Alan - cnc guy), tomorrow i'll be getting the hub carriers finished, thanks to DragonMan Uno shafts should be here by mid next week. Rear spacers will be fitted tomorrow as well, just hoping the flexi brake hoses will be long enough as the longer ones still to be ordered.
 
Shafts are here John. Watch this space now!


Fitting rear spacers took much longer then anticipated as I've decided to dismantle leaf springs and give them a fresh coat while I'm here.
Meanwhile I've realized that I've got some real of premium polyethylene tape which will be used as wrap-a-round individual leafs.


Rear shock mount/ hand brake cable will have to be lightly threated with grinder as currently bottom of the tube falls on the handbrake sleeve resting plate. If I only knew that earlier I would space out the bottom eyelet while they were welded on.
 
Results of today's work

IMG_36252.JPG


Uno shafts will have to wait for next revision on lower arms, they were too long even with the b2200 ball joint.

Lots of " try and check" was involved, including outer track/tie rod end had to be wound out by 5,5 turns. Used hub carrier does not have open/sloted top hole as I dont like them, 2mm magic bolts can adjust the camber between -1.5* to 3,5*.
Inner tripod in max down susp travel still seems to be in correct position.
IMG_36203.JPG


B2200 ball joint itself, here in max down susp travel - still some clearance before bottoming out.

IMG_36192.JPG


Tie rod bushes have been renewed, 1,5mm shim was added but removed later as the castor was too close to 0*.
So far just one side done, curently a bt more lift than expected, other side hill be not that streight forward as I'm expecting long half shaft to fall on the exhaust, lucky my have few spare down pipe so if needed 10mm spacer will be done from top flange.
After closer measurents to the new Riazli shock again they are not what i've been told the spring saddle is 20mm higher, tube is 20mm longer - so simply #f @u&c$k them.
 
Last edited:
Back
Top