


Introduction
As mentioned before, I'm starting new thread for my recent purchease.
Bought it from forum user, deposit was place without seeing the car first, went all the way down south with rest of the cash and A-frame in boot.
First summary of the car is ( 1 is very poor, 10 is perfect):
As it is now, I'm not willing to make any statement what needs to be done as I had only spend about 2h last week by checking and looking at the car in more details way.
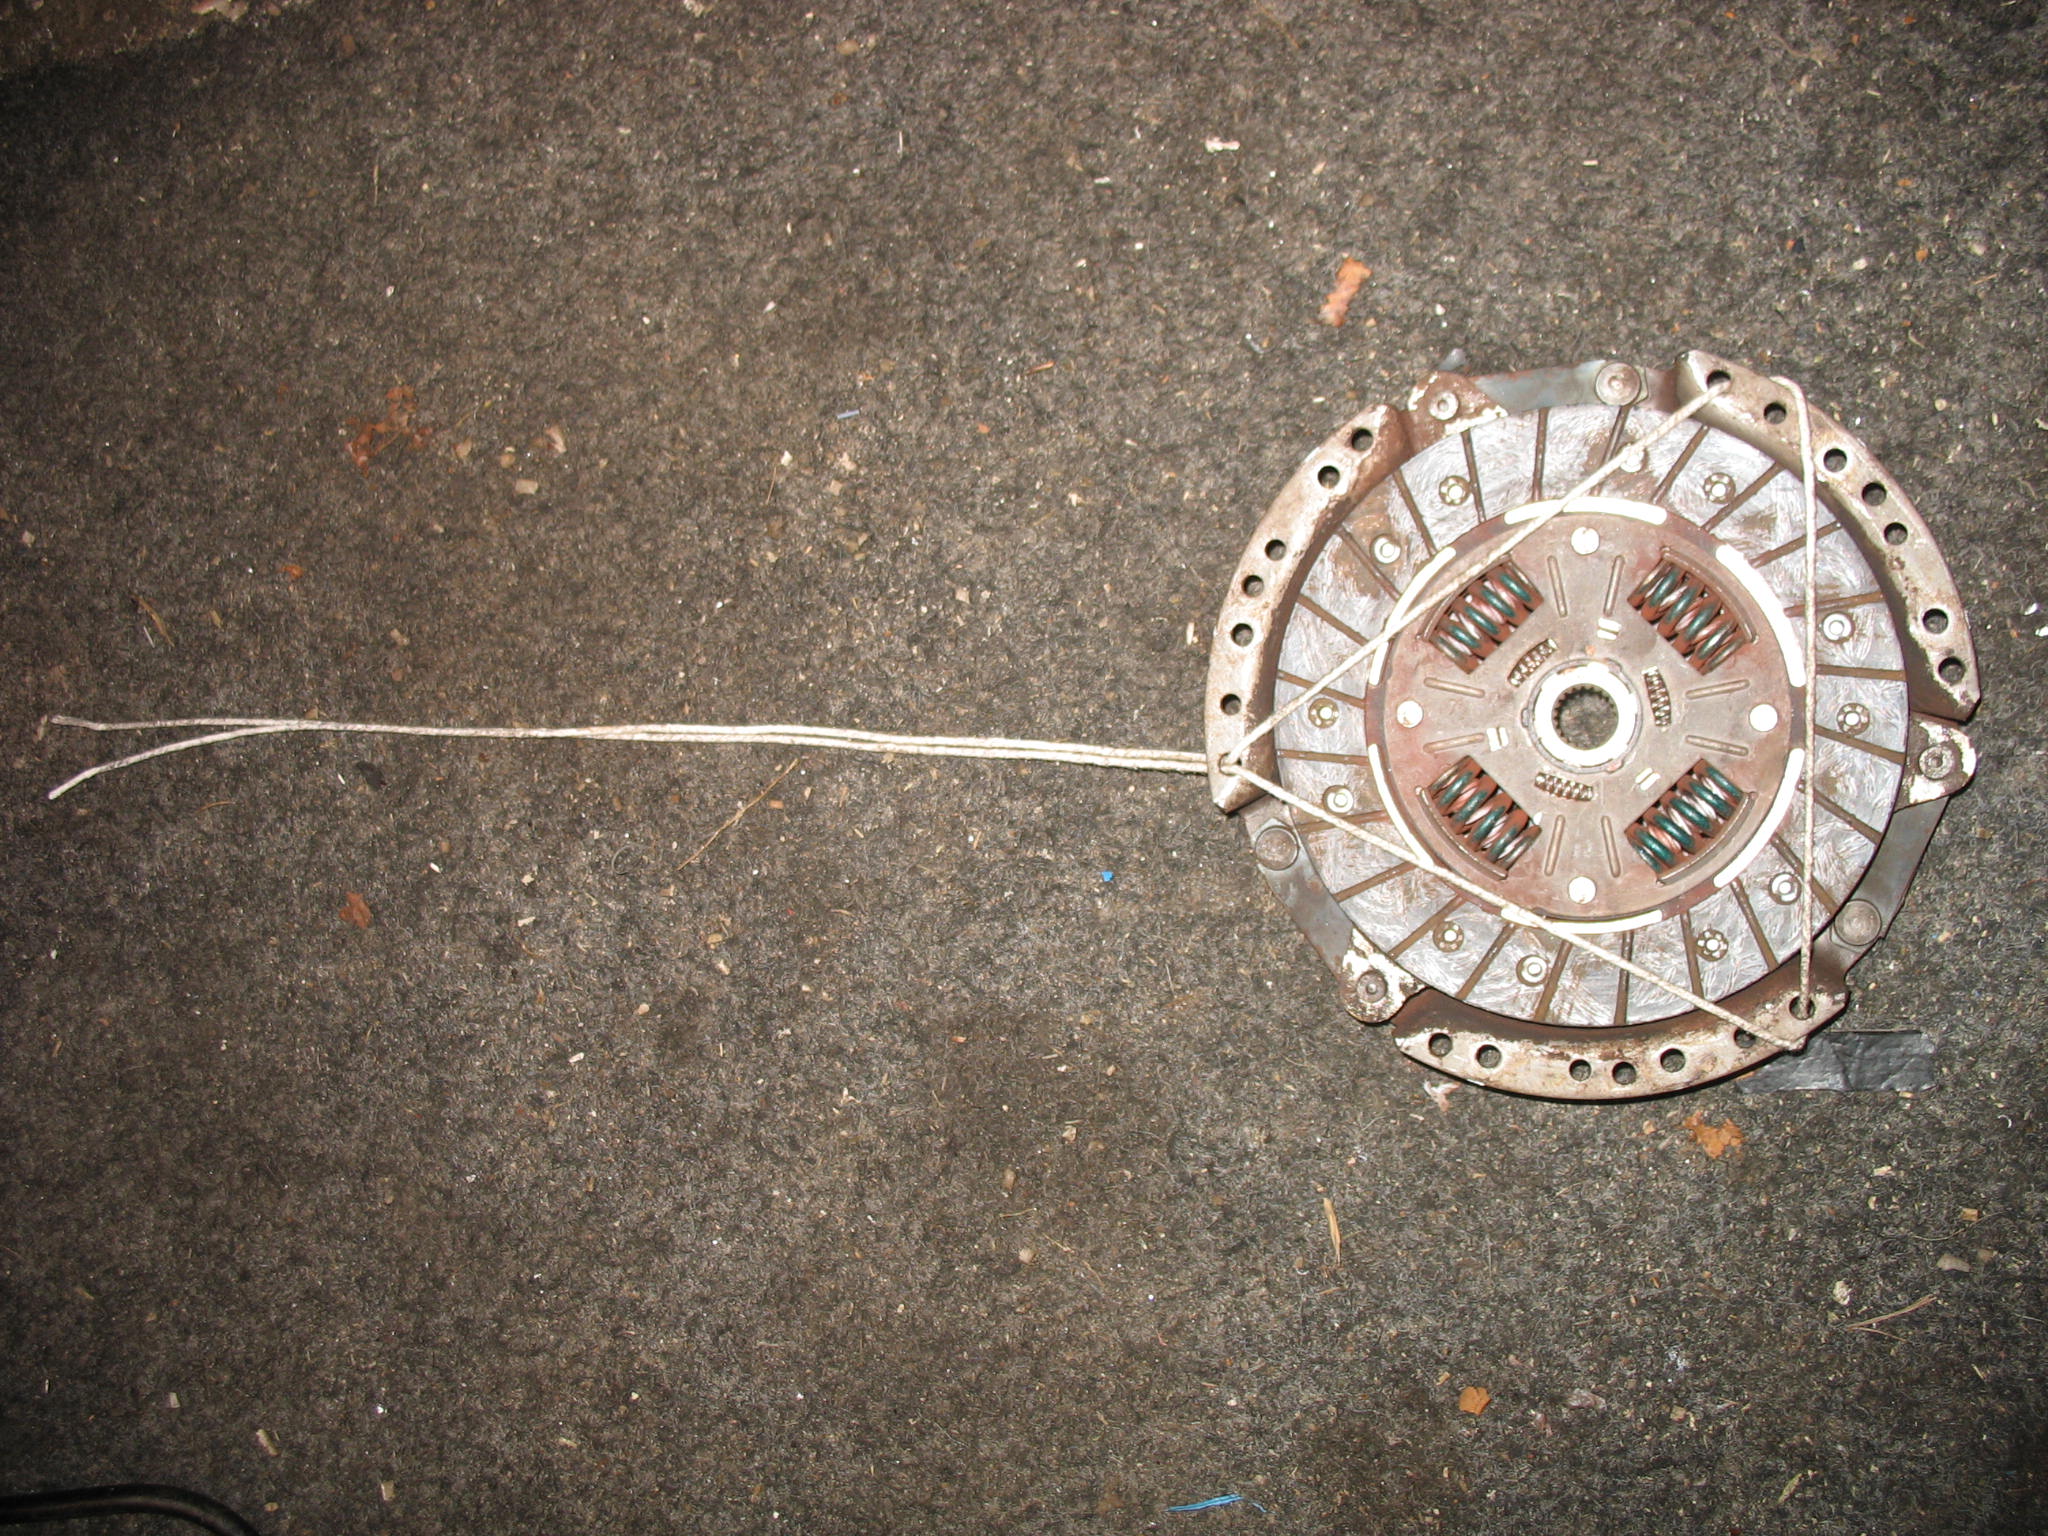
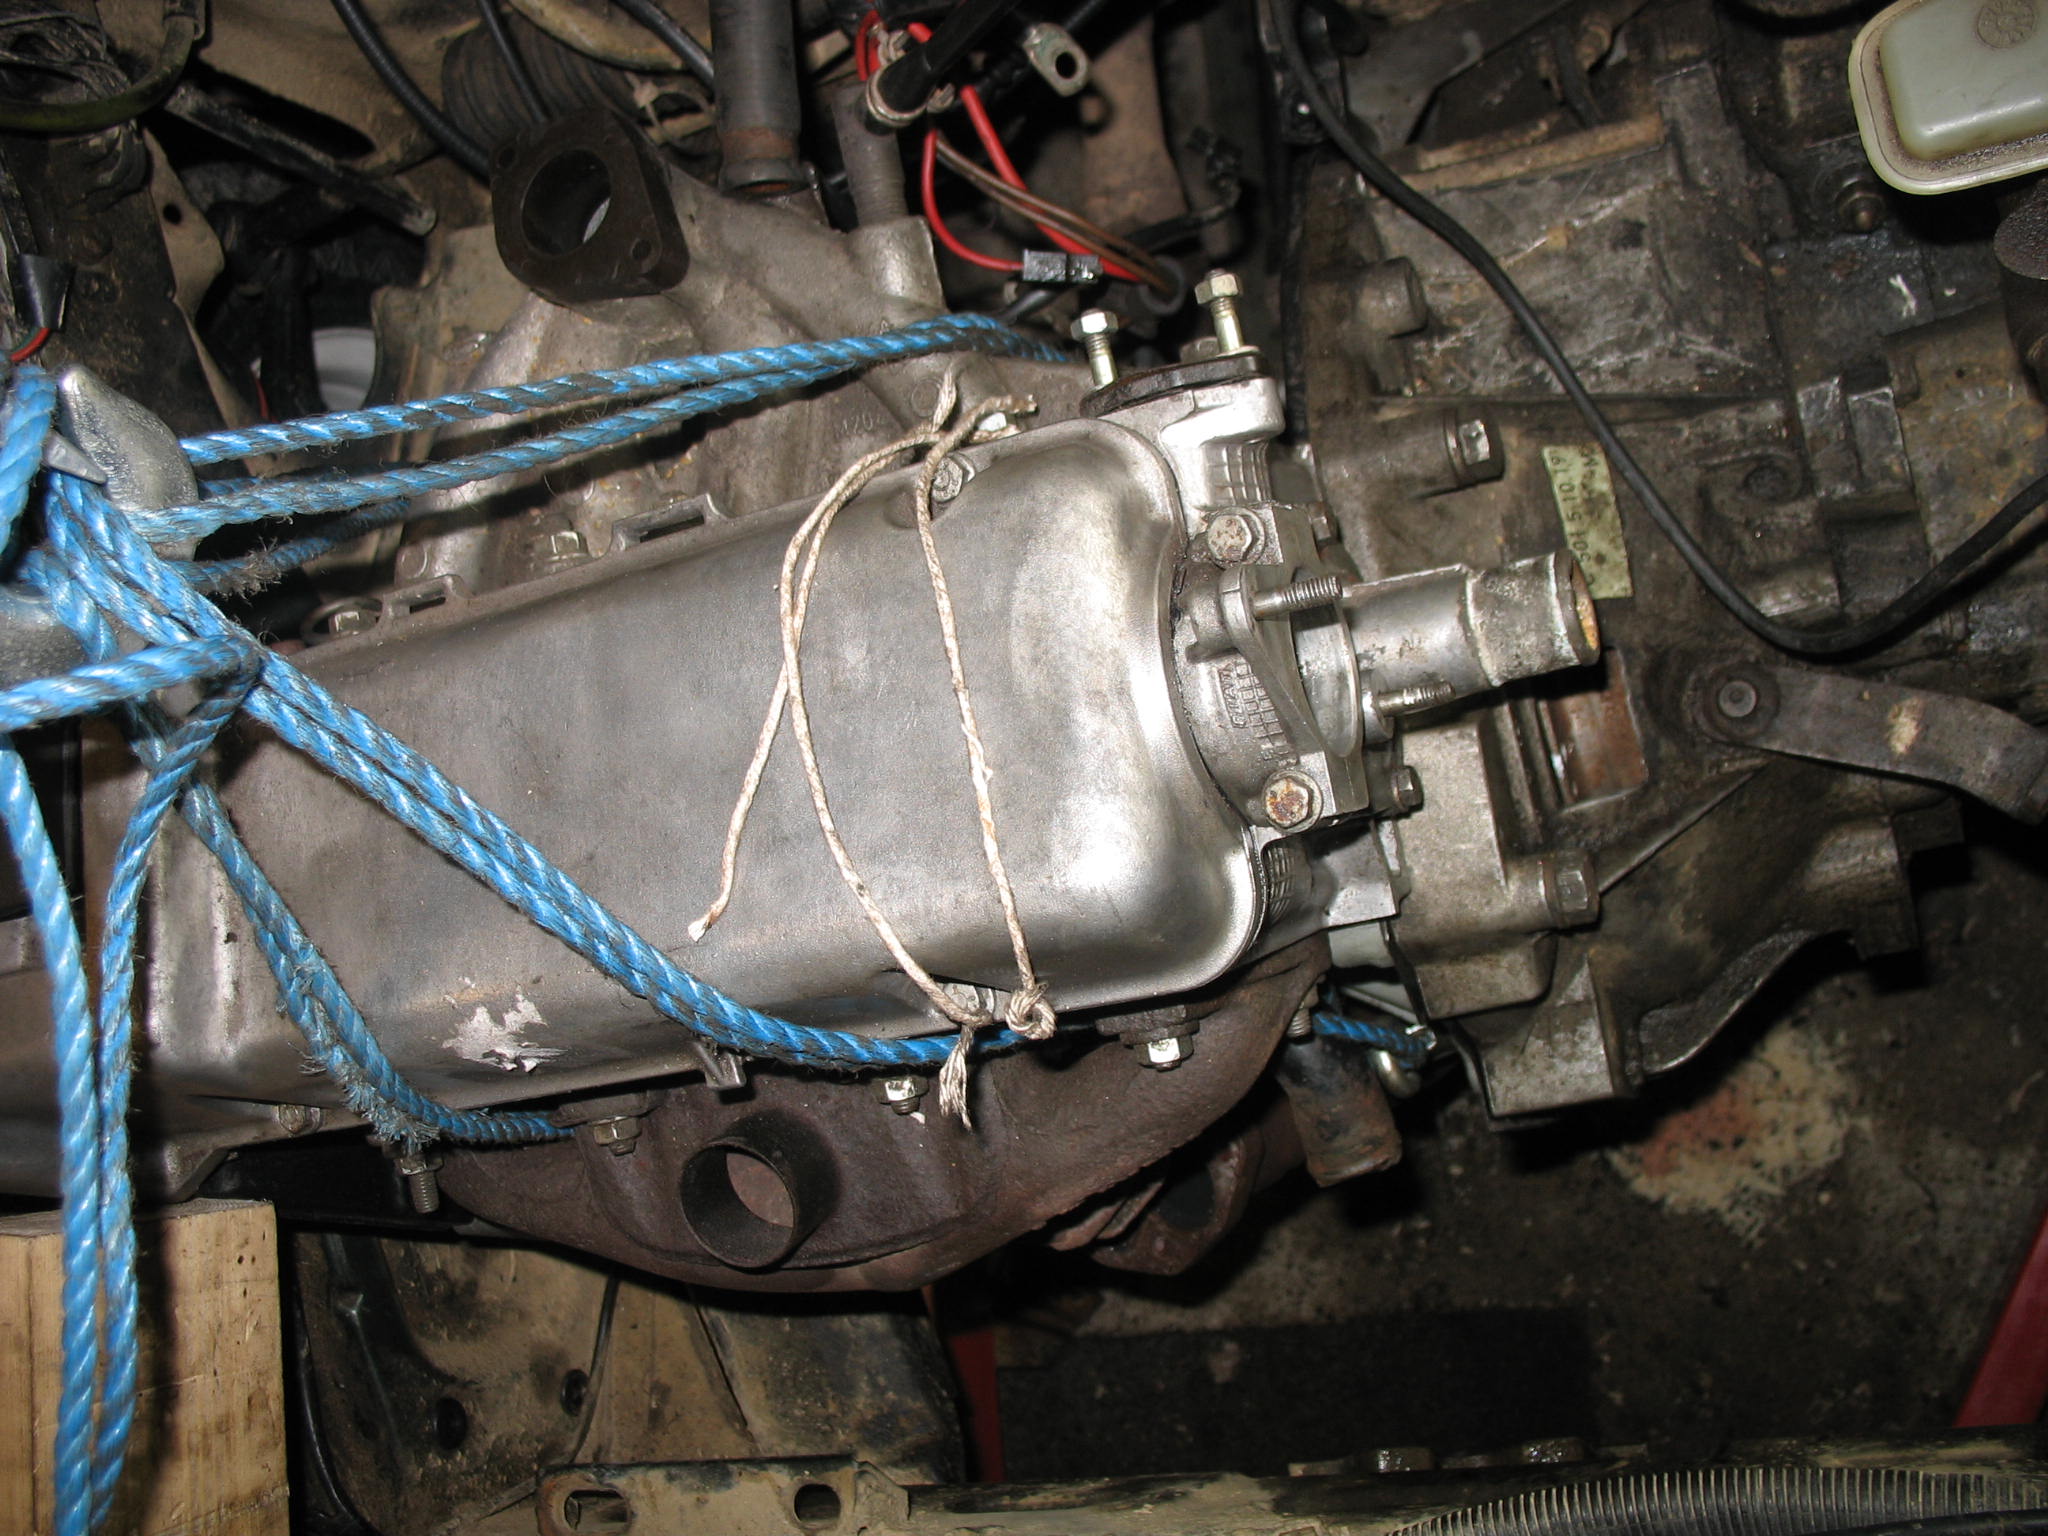
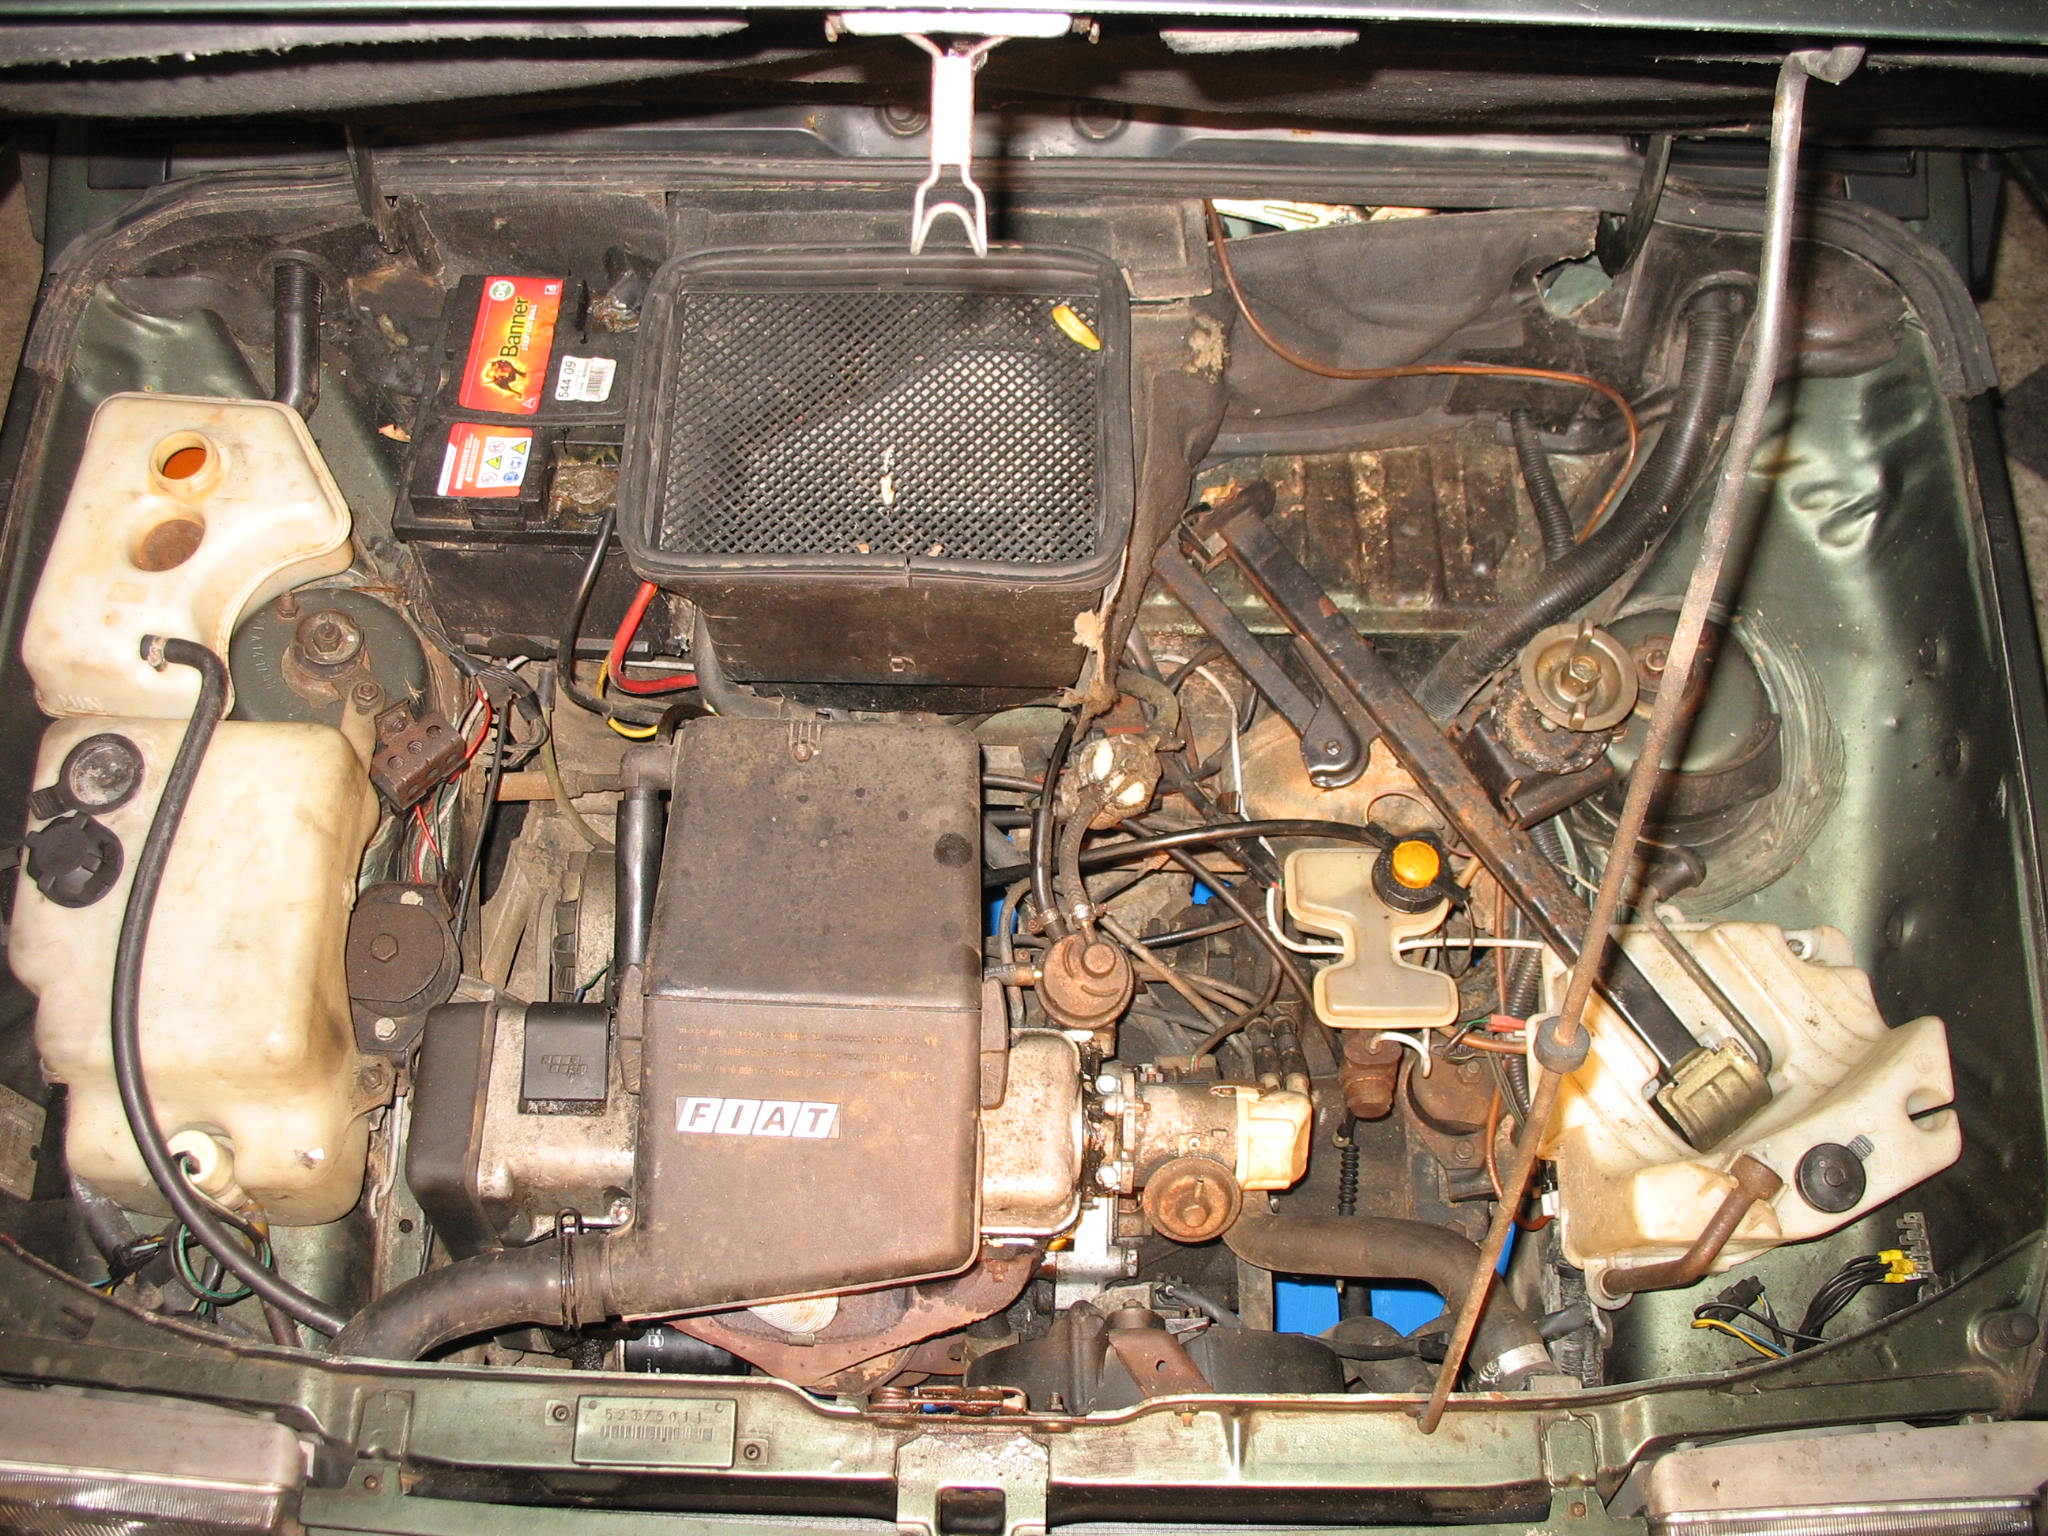
That is my bigger worry for now - bloody milky coolant and a bit of mayo under the oil cap.

How can I confirm my head gasket theory not having coolant presure test kit???
@CLS - your not the only one - aparently it is bloody hard to buy cheepo 4x4 without blown thru head gasket.
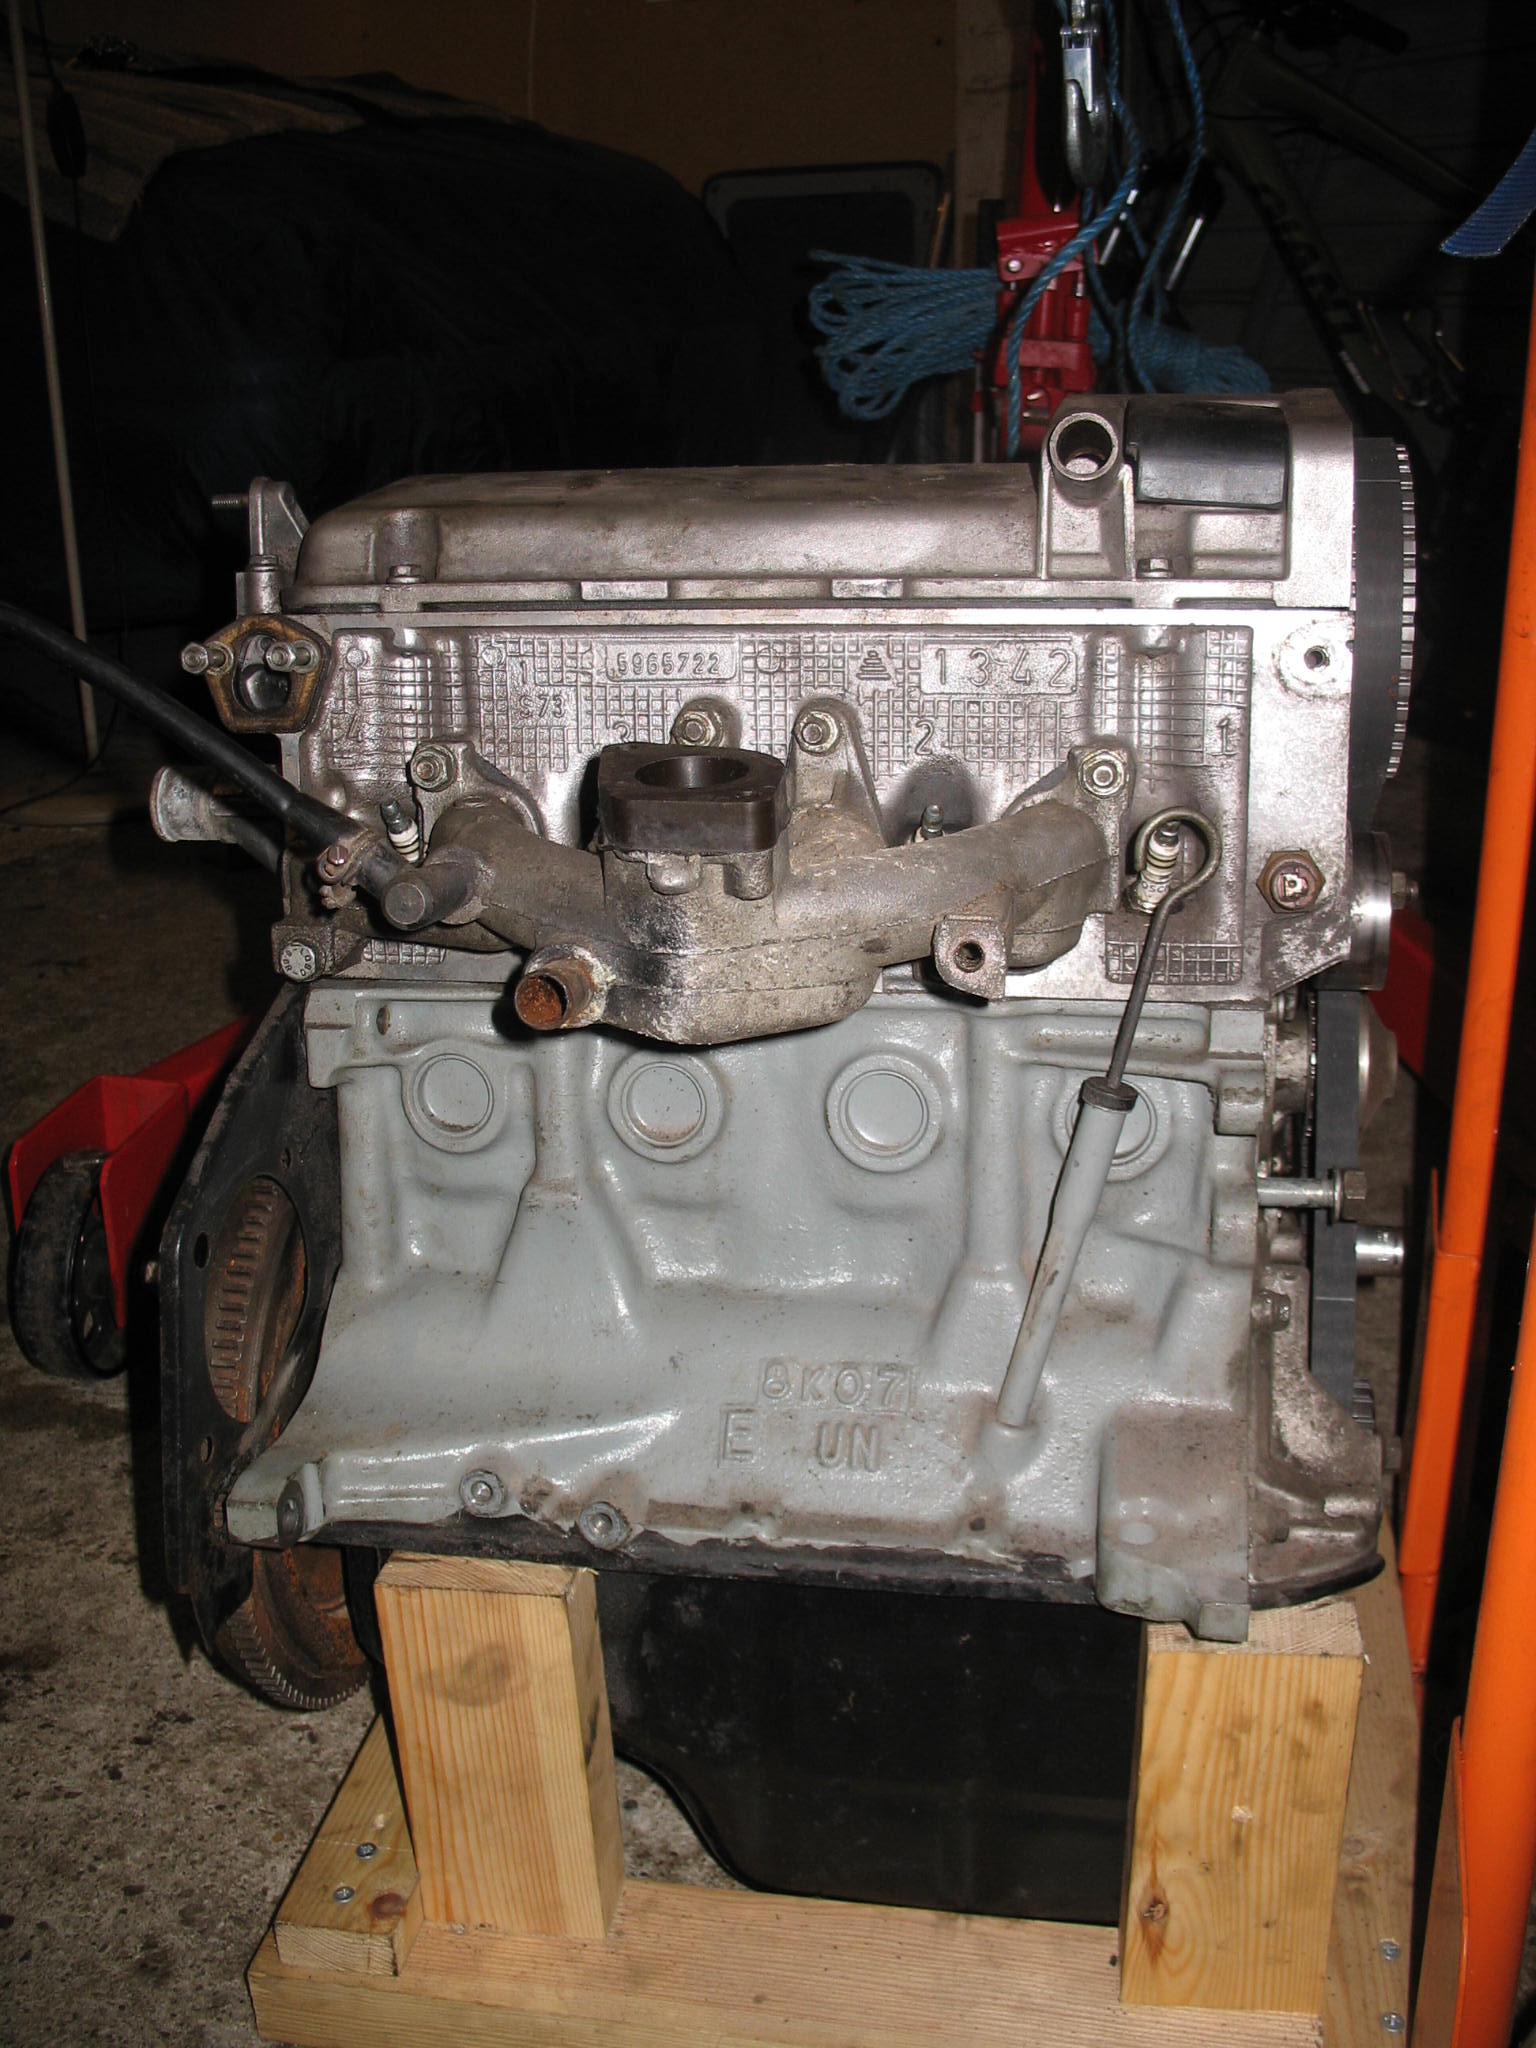
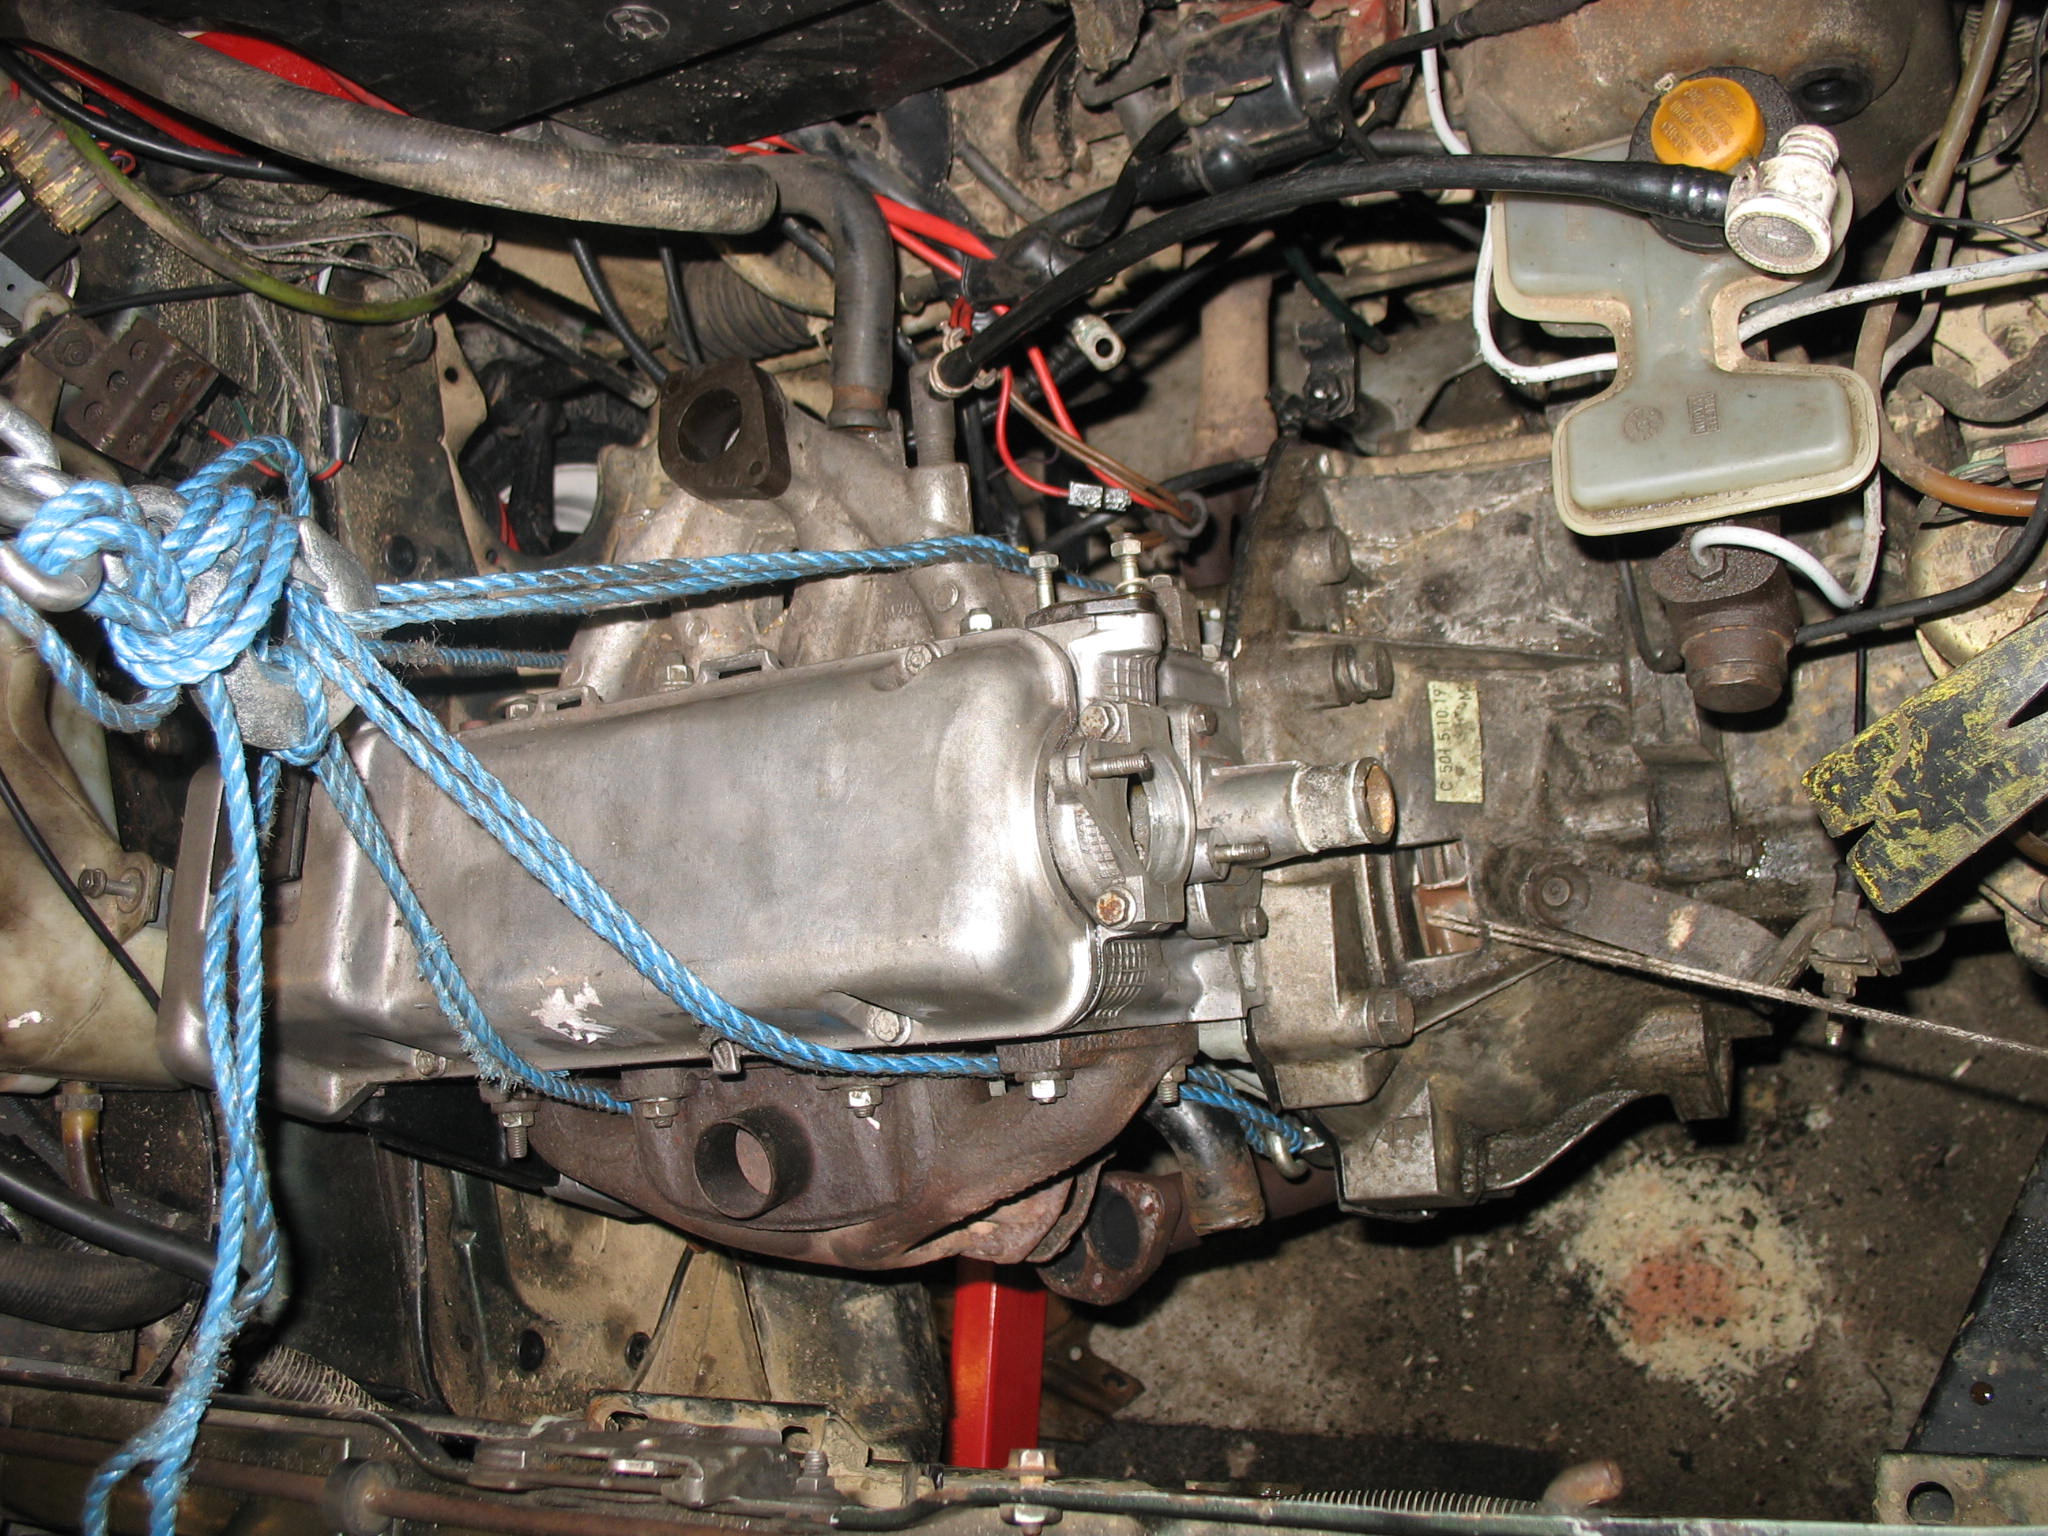
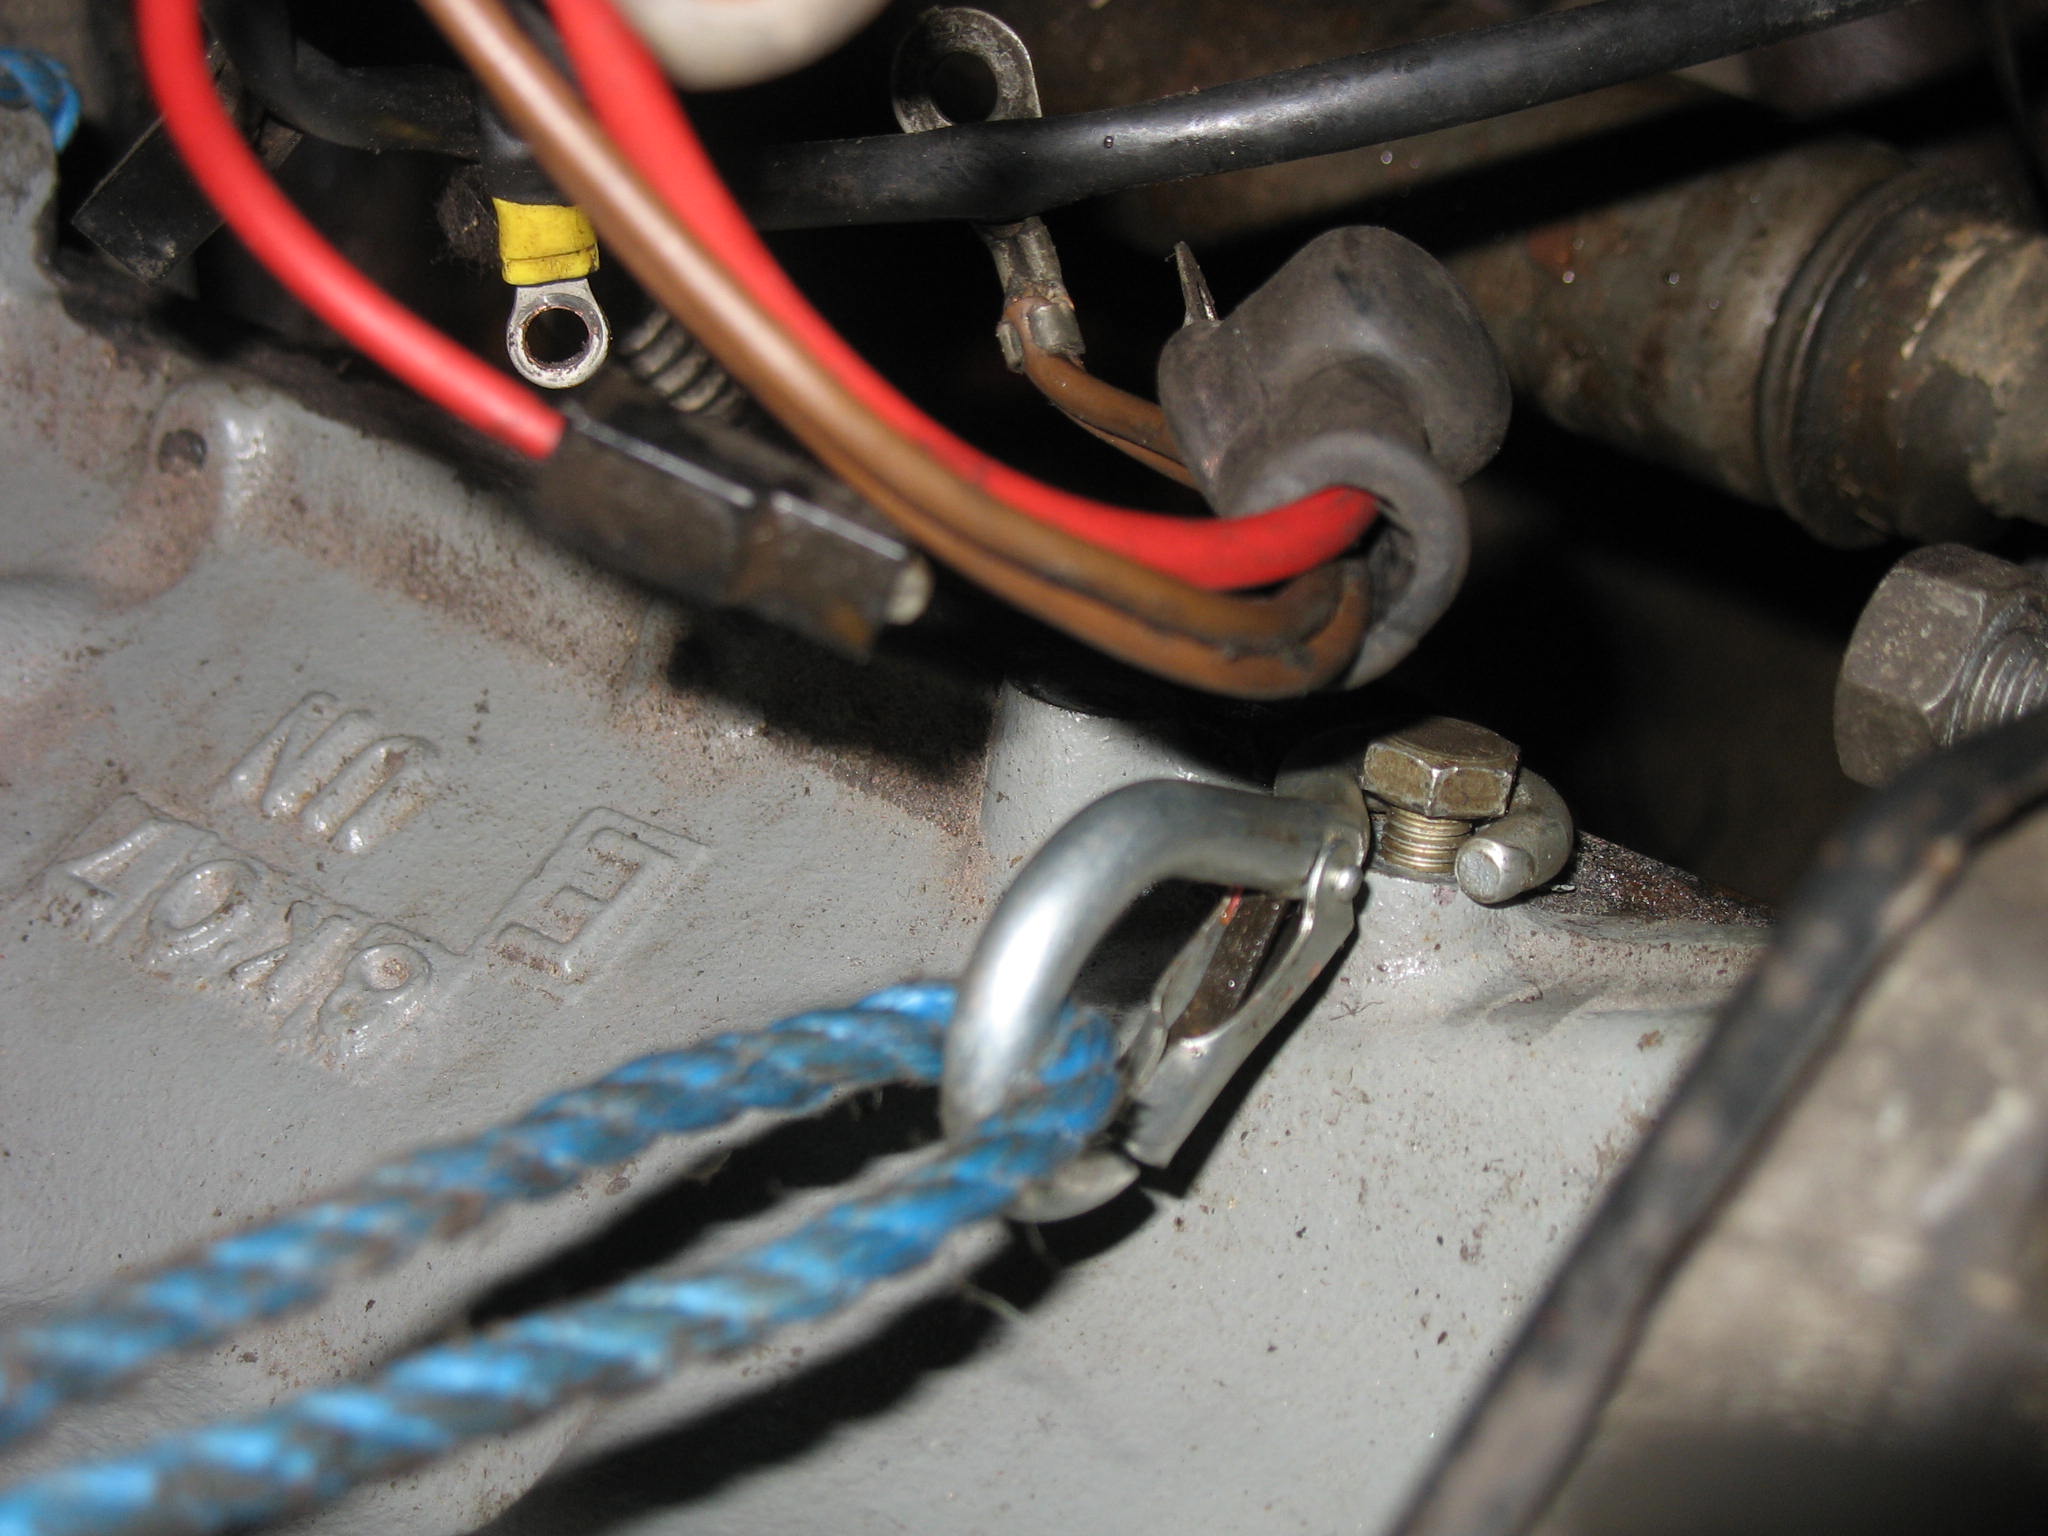
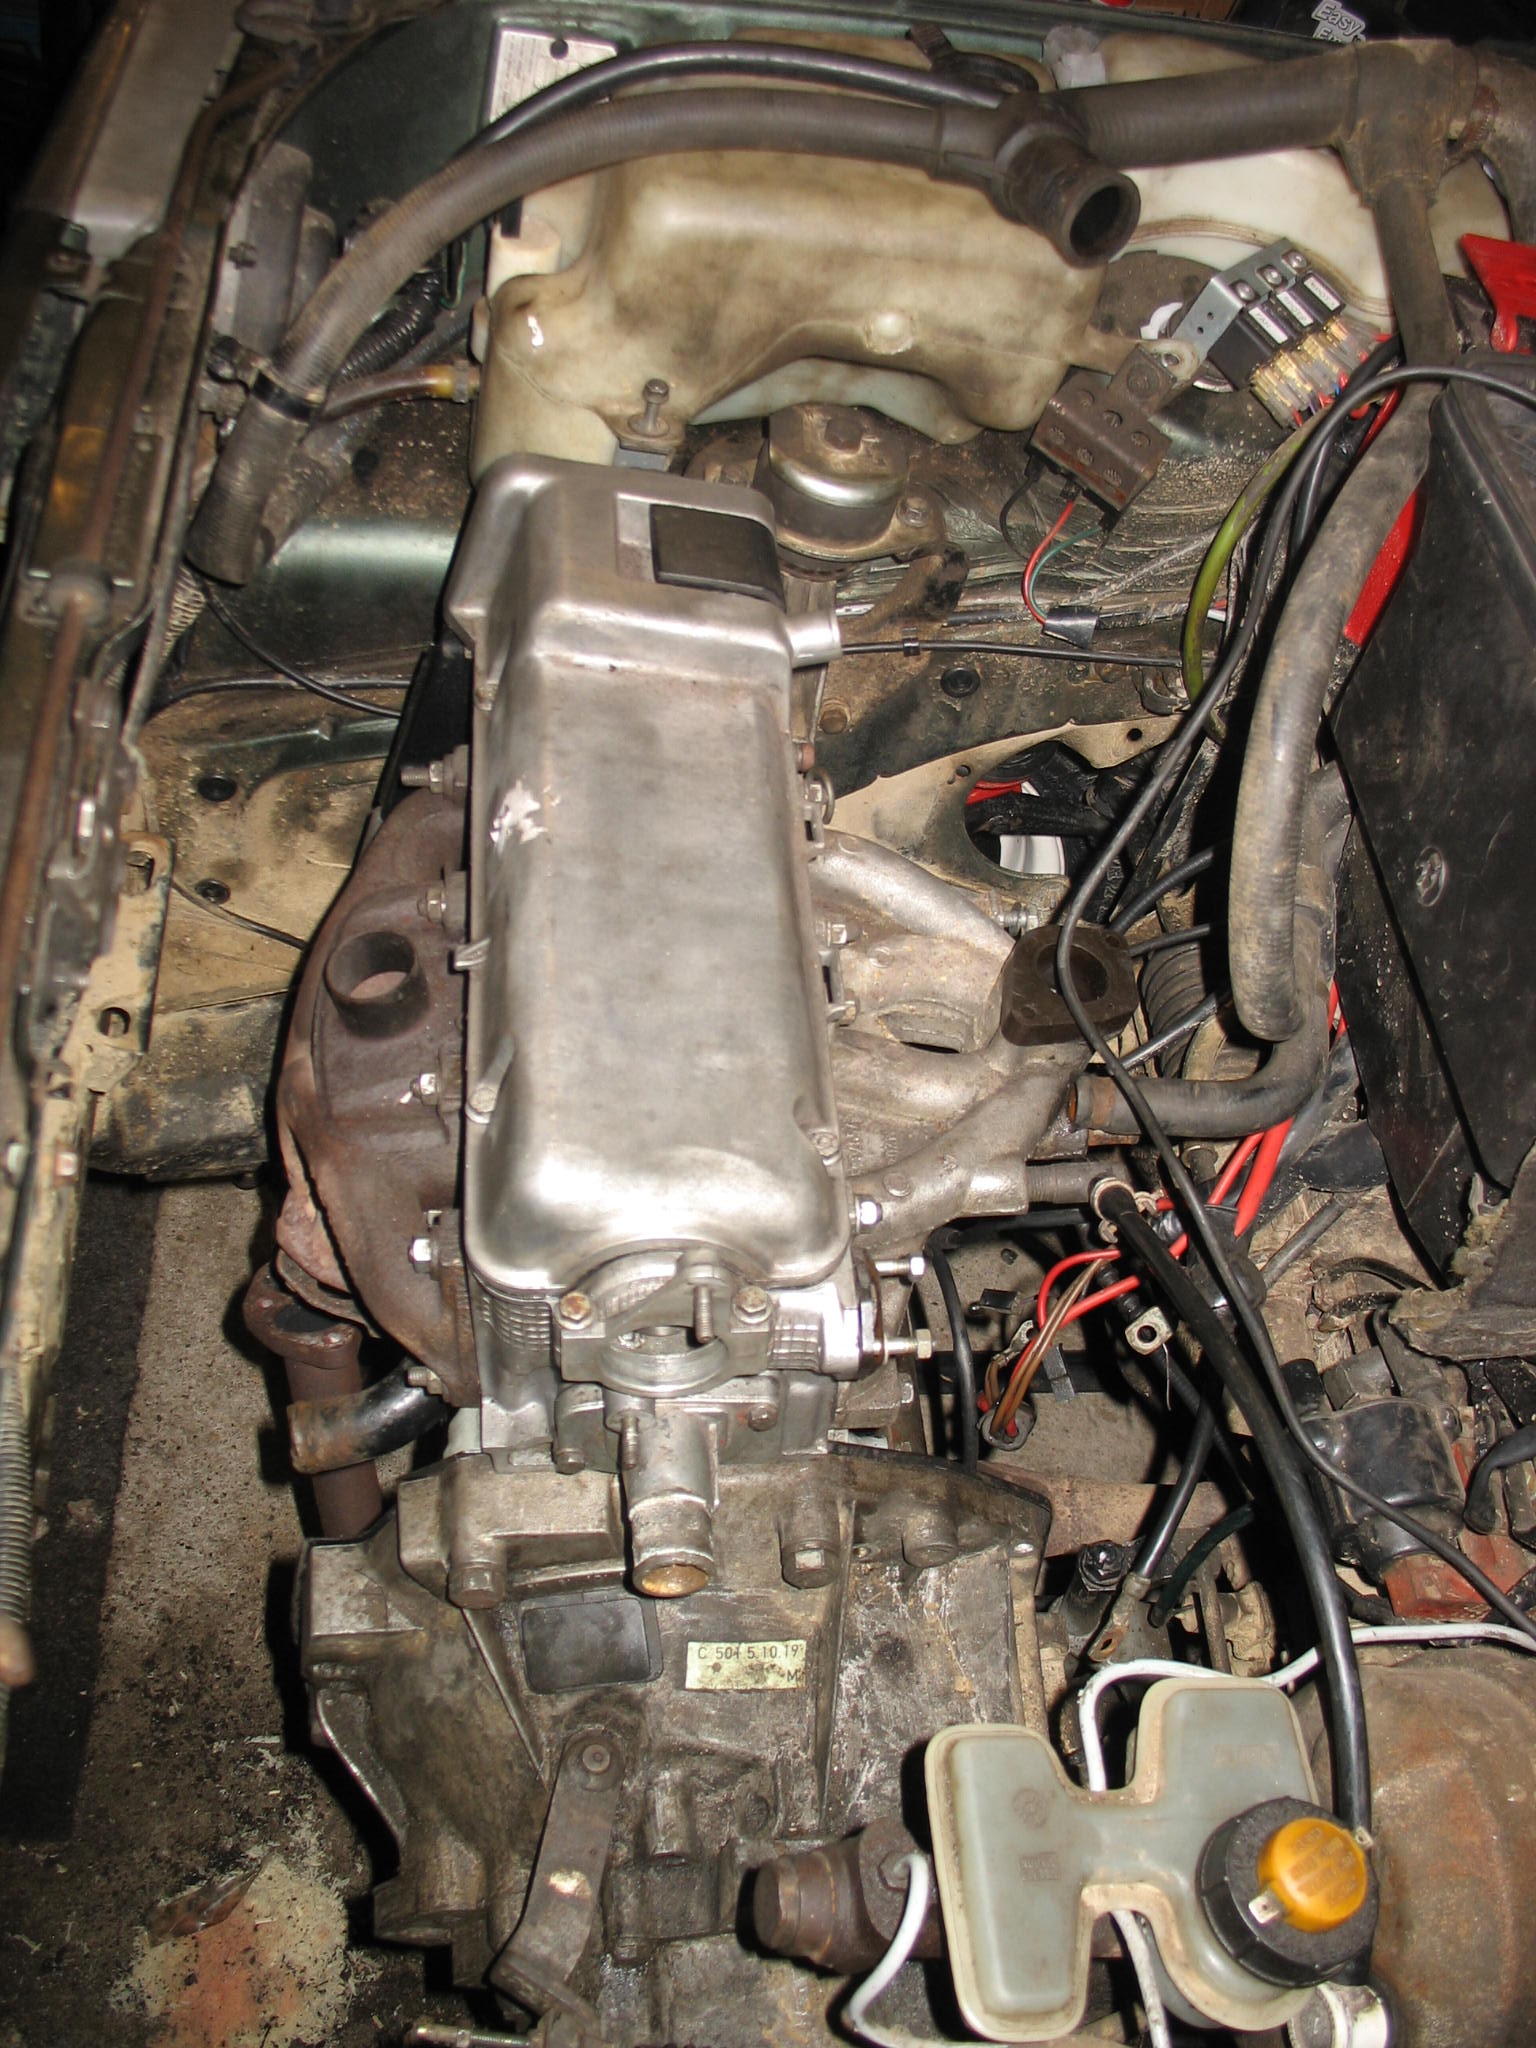
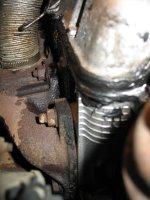
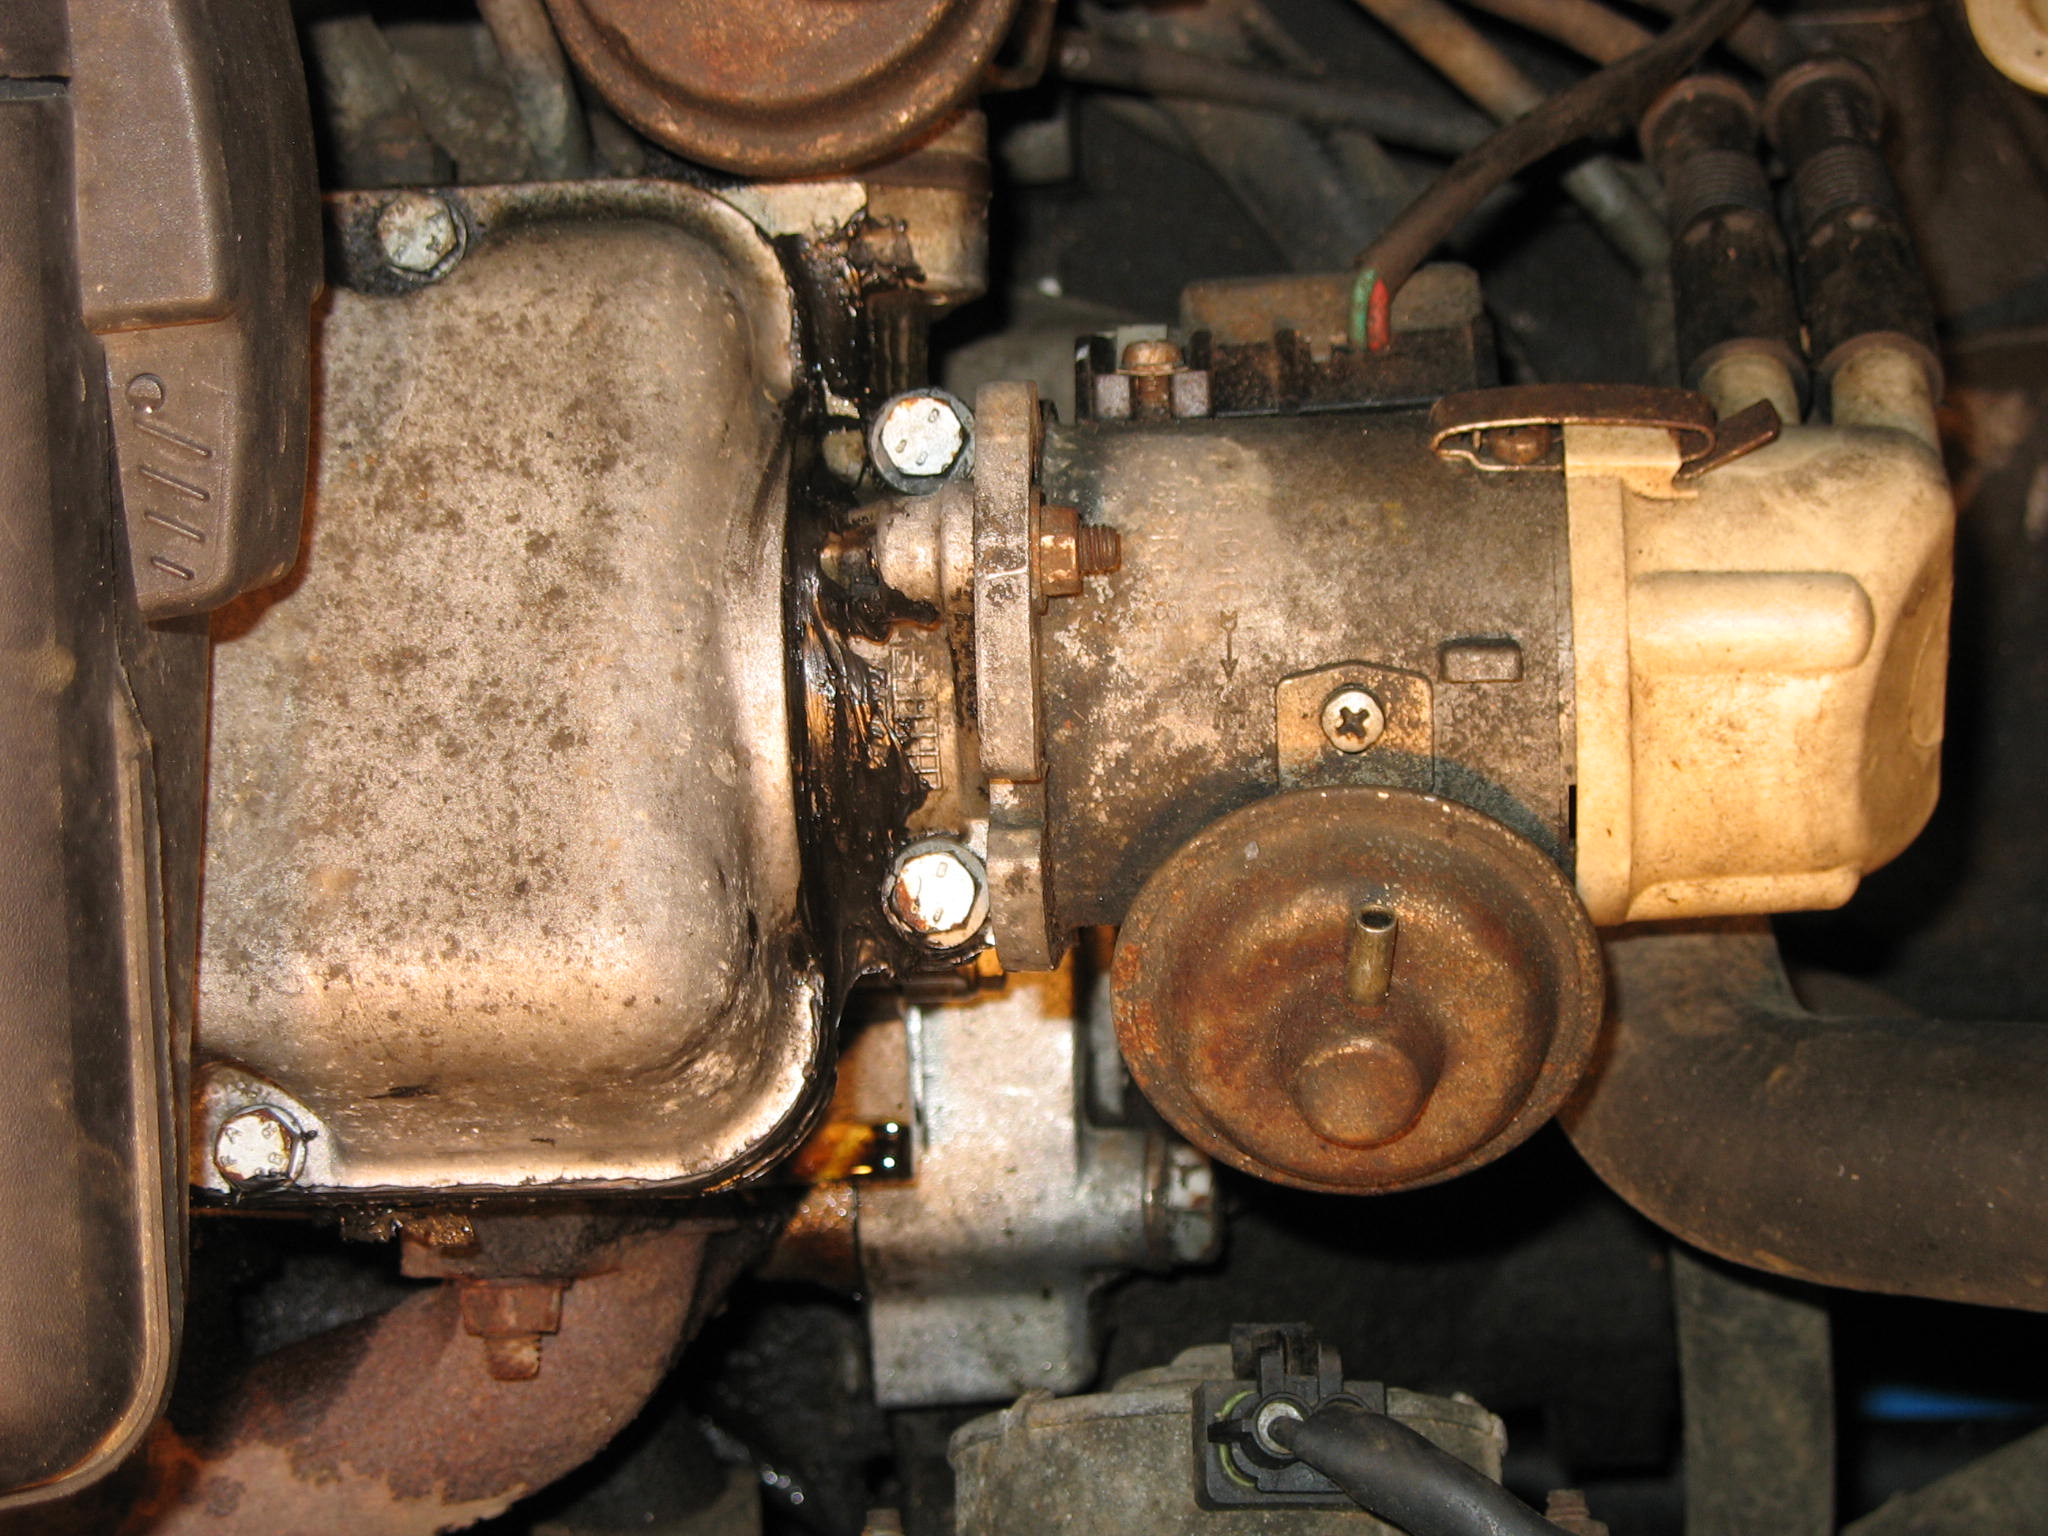
The rest of the engine bay seems to be fine,
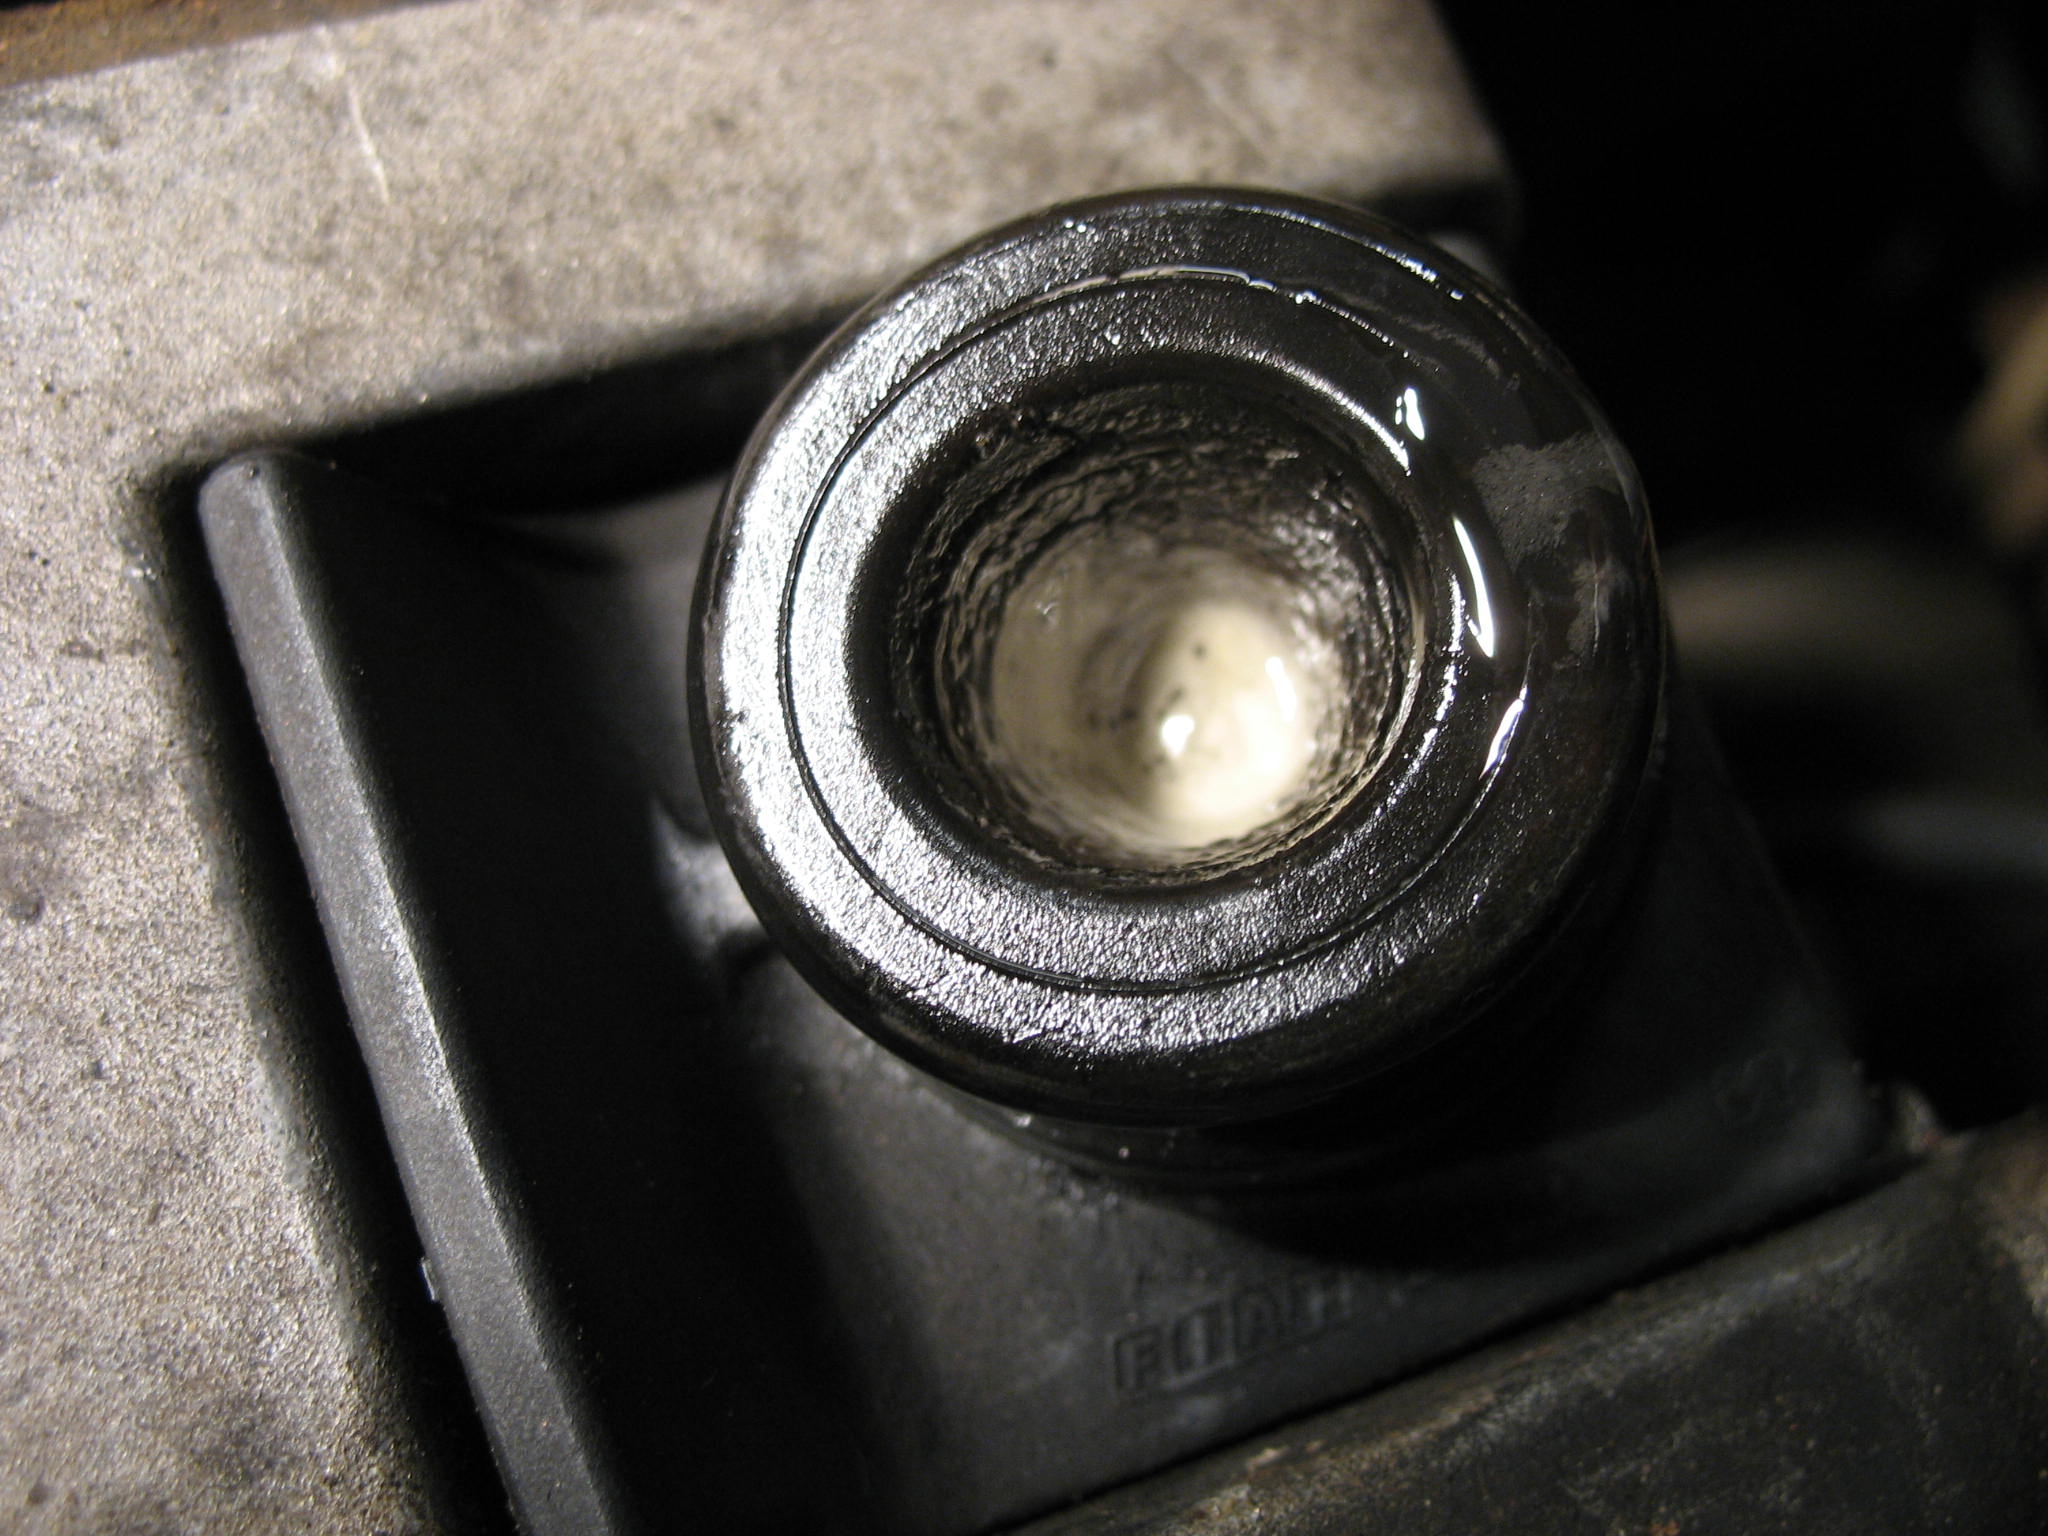
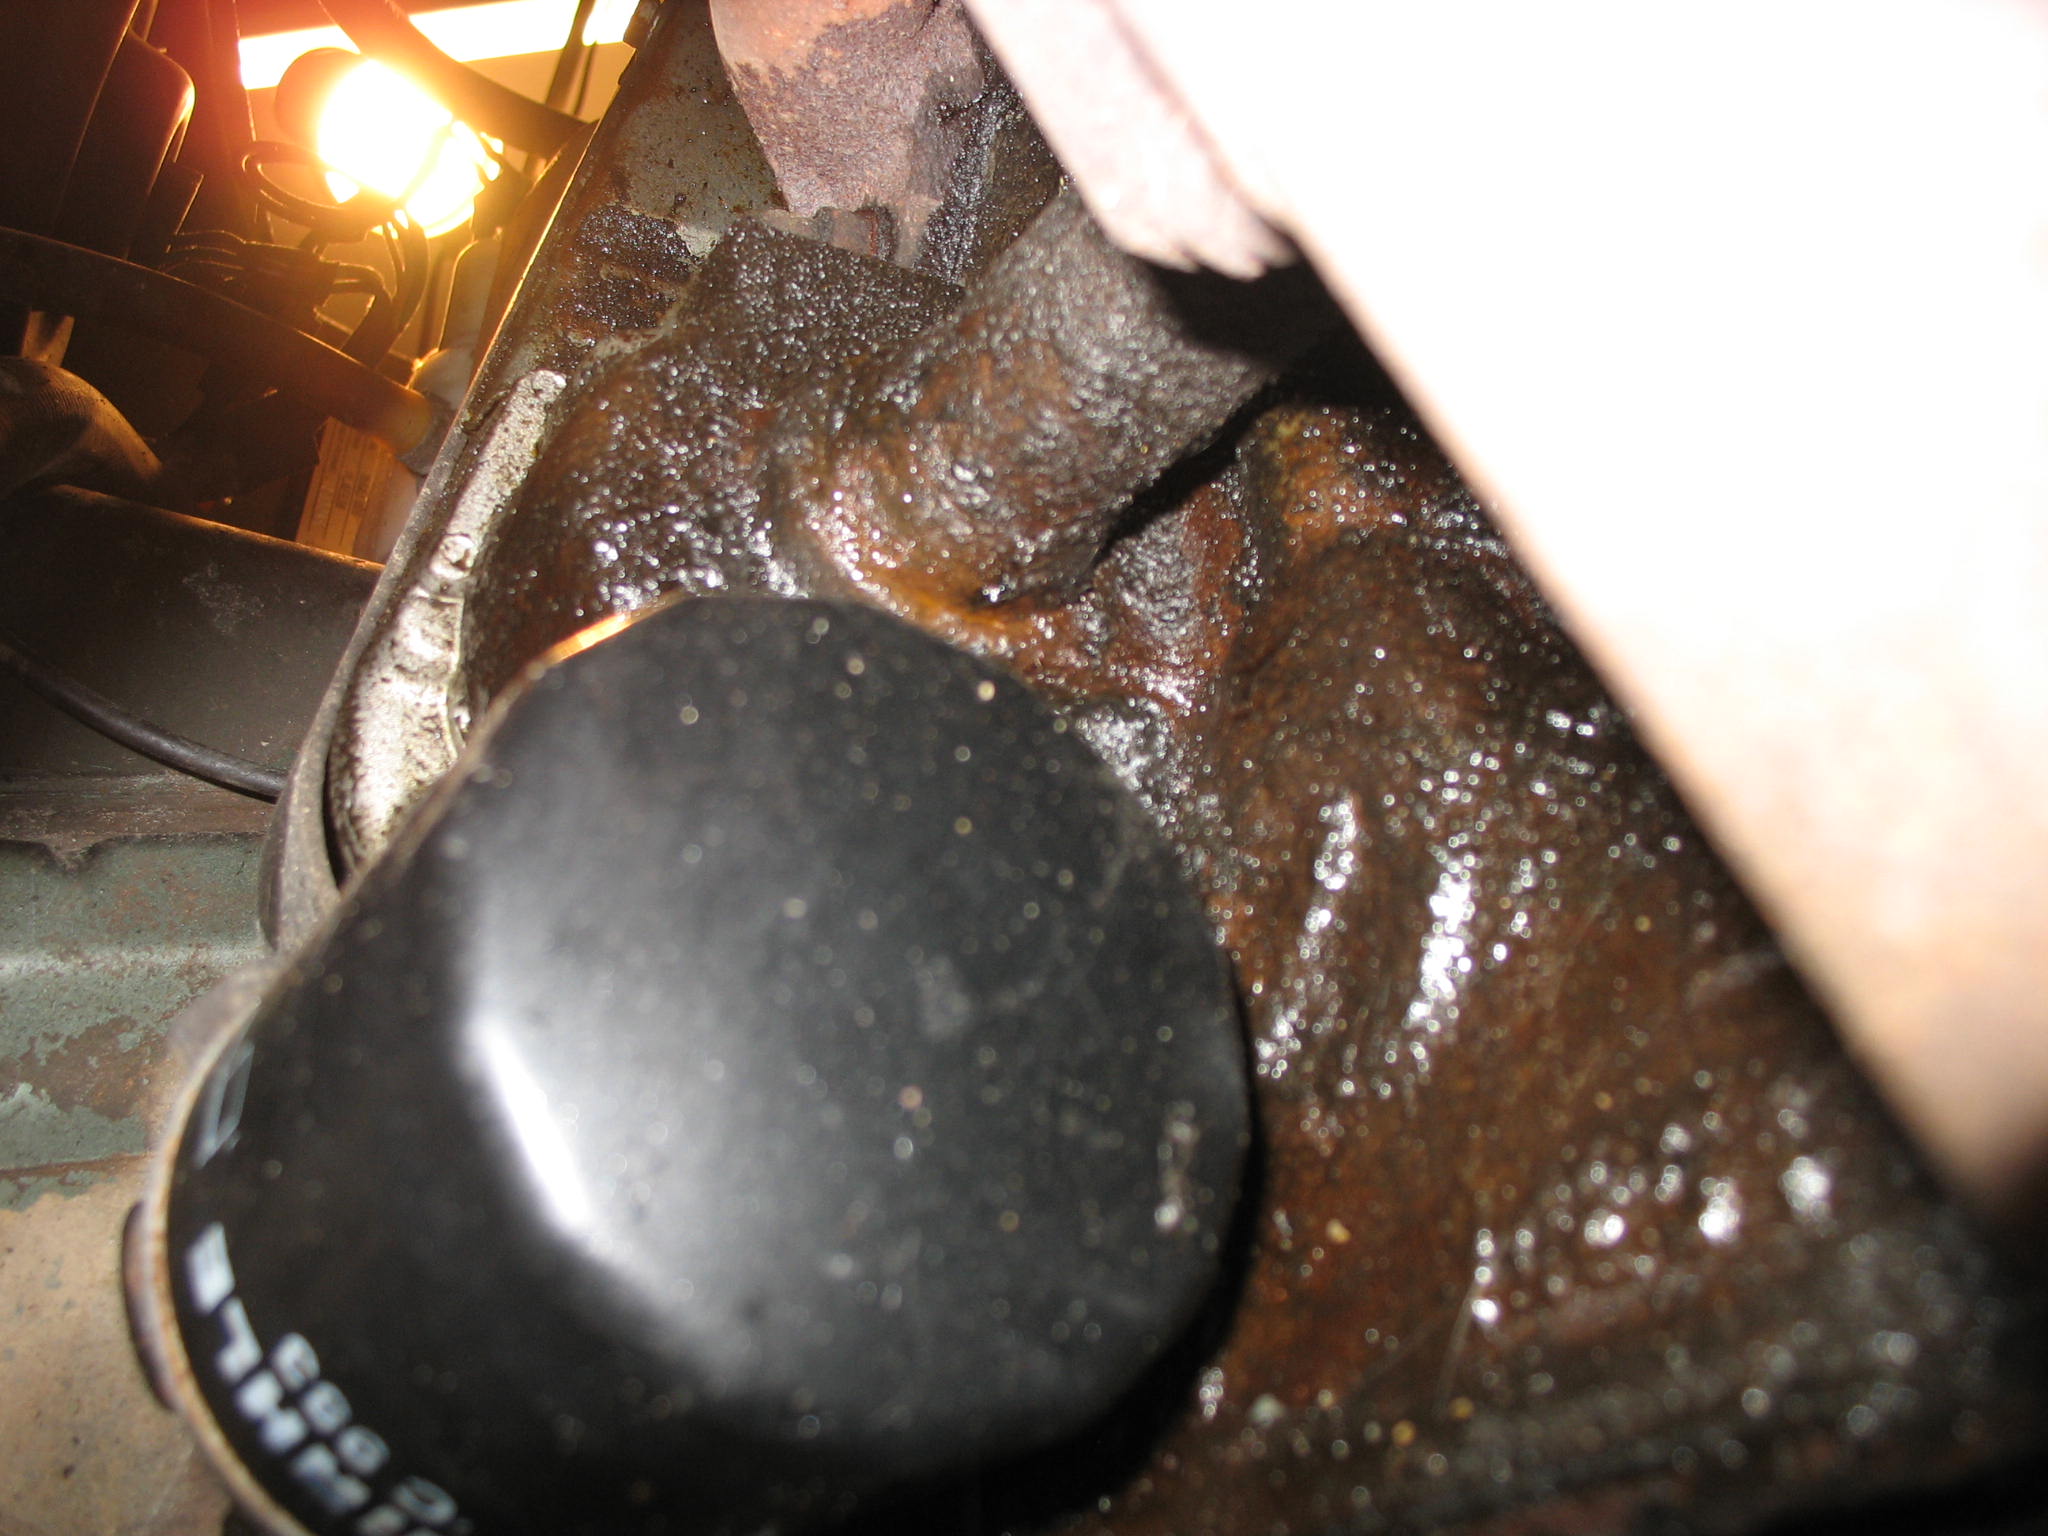
Did somebody in here mentioned a black silicone gunk as a fast repair?


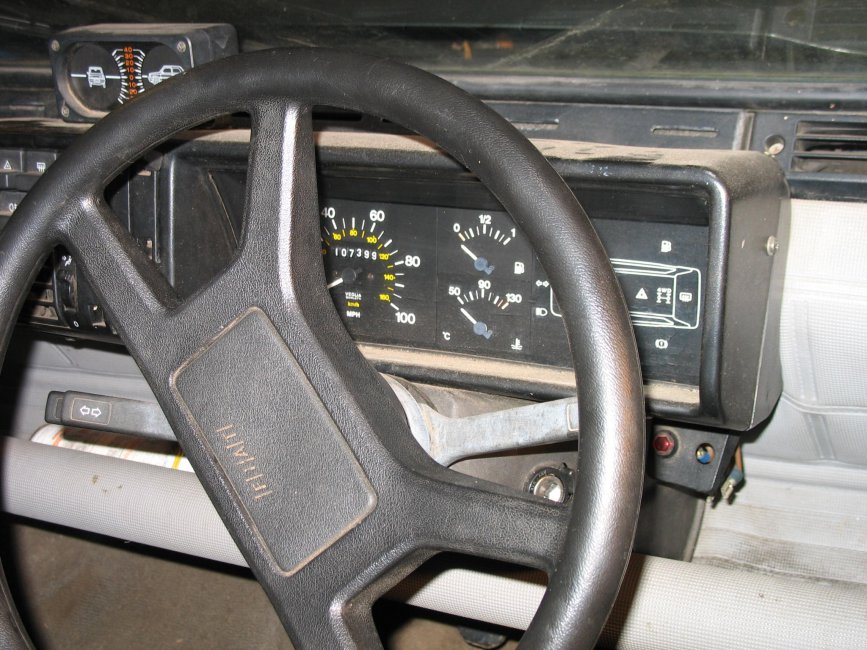
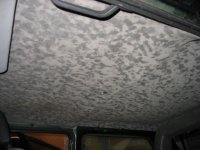
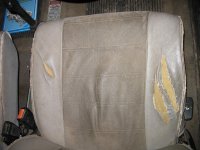
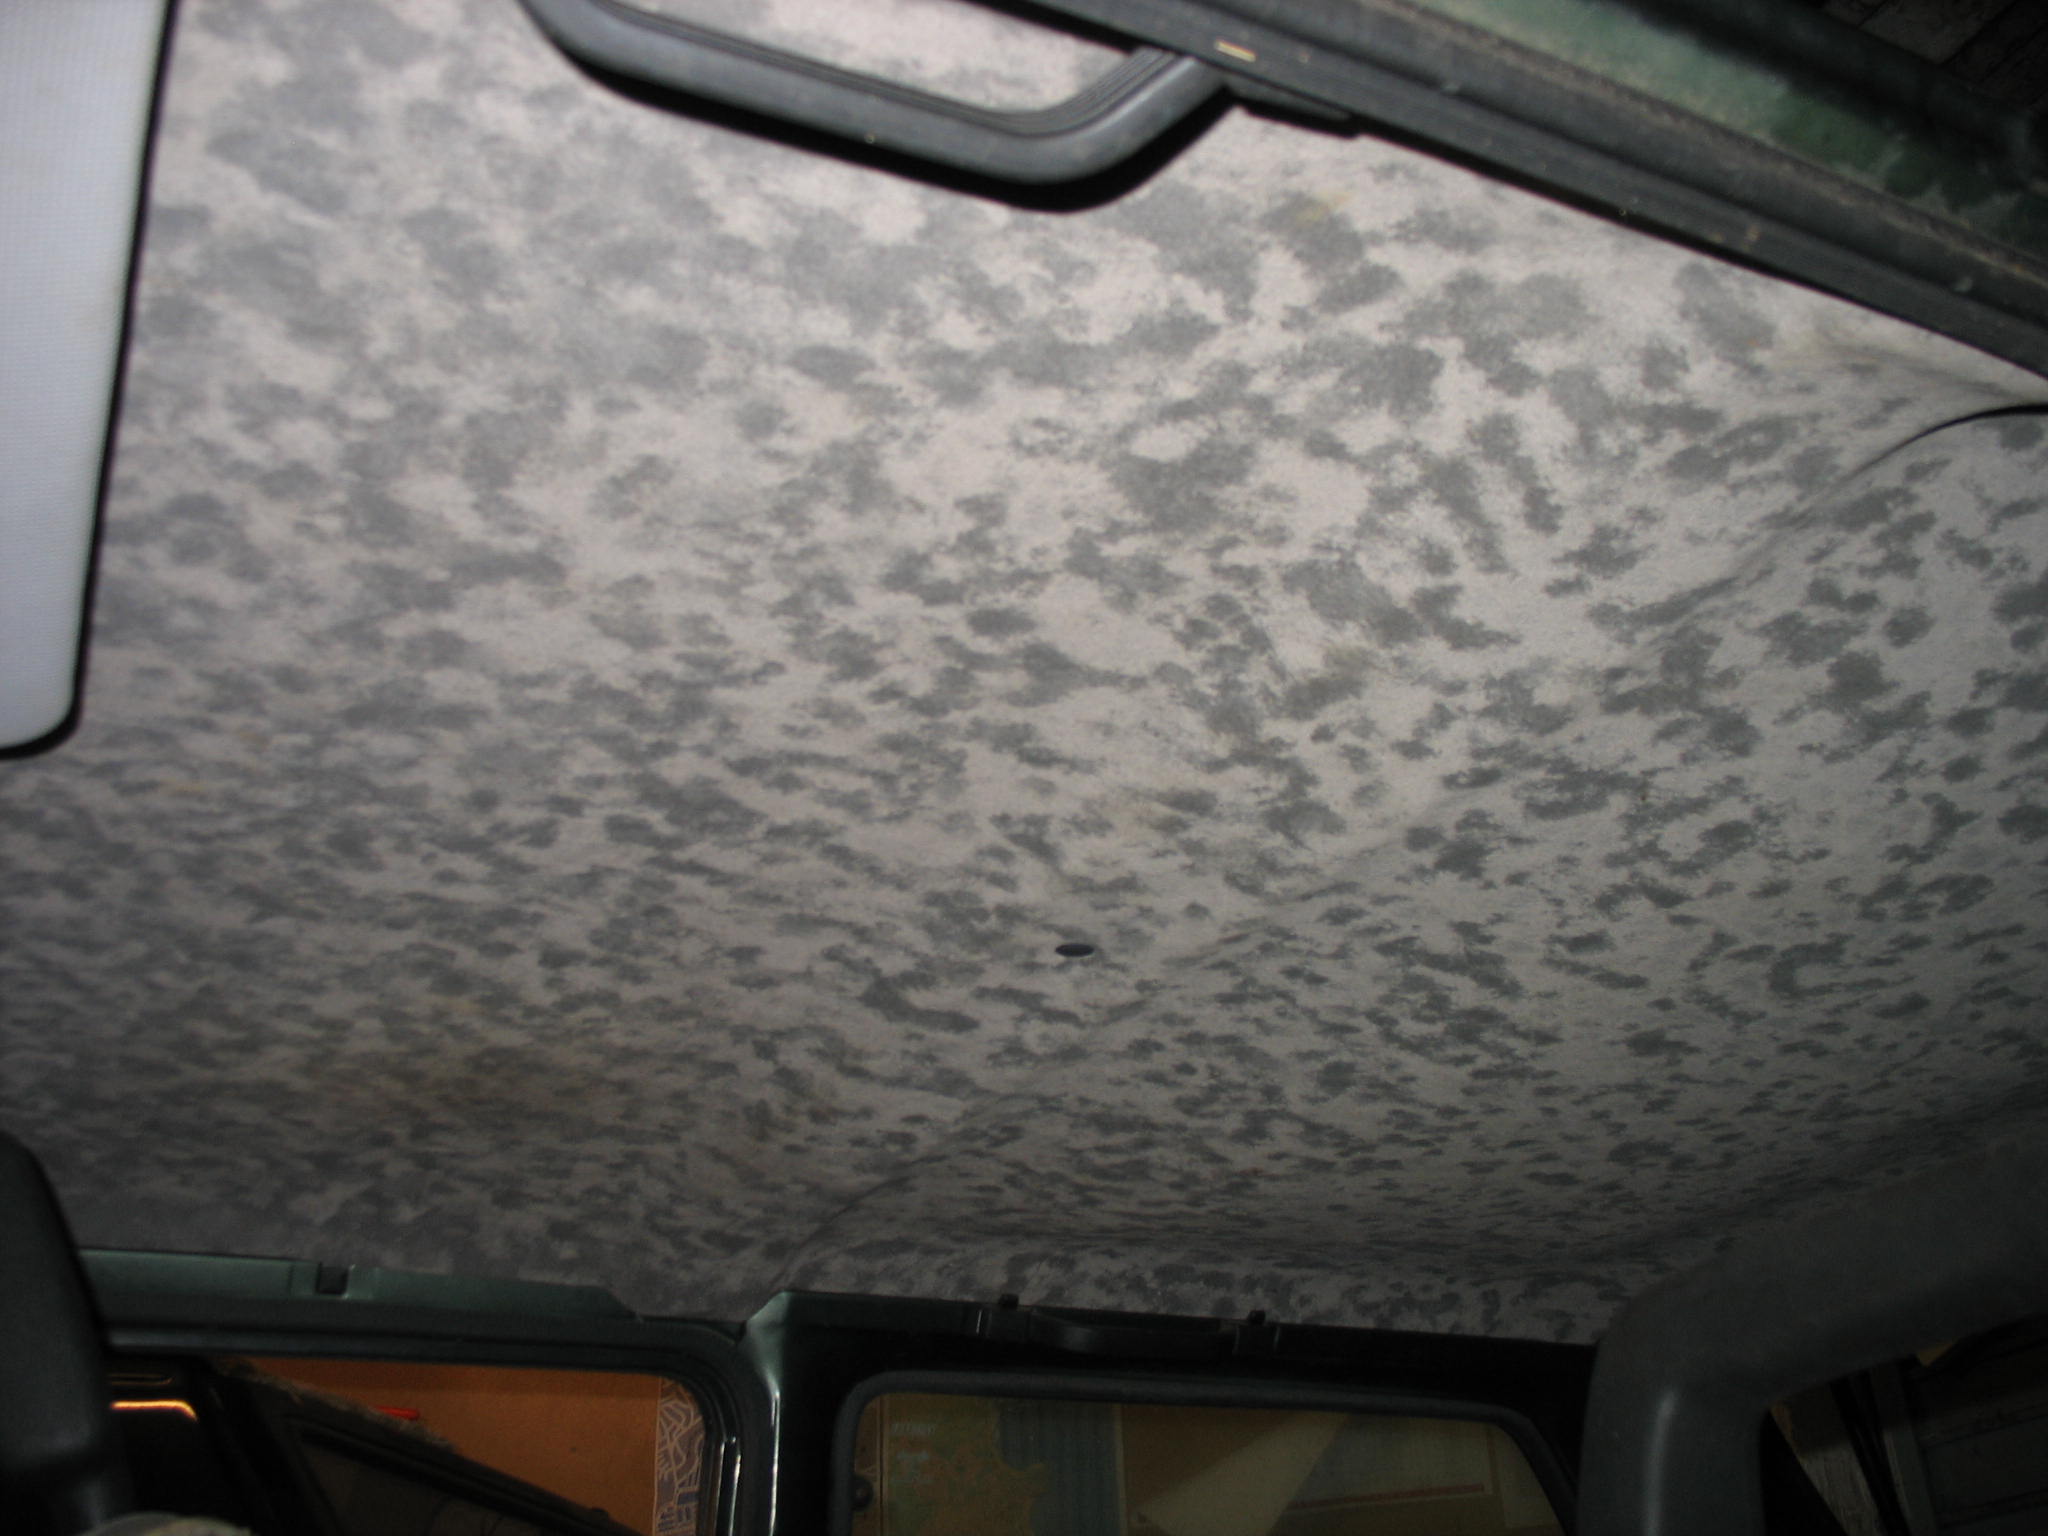
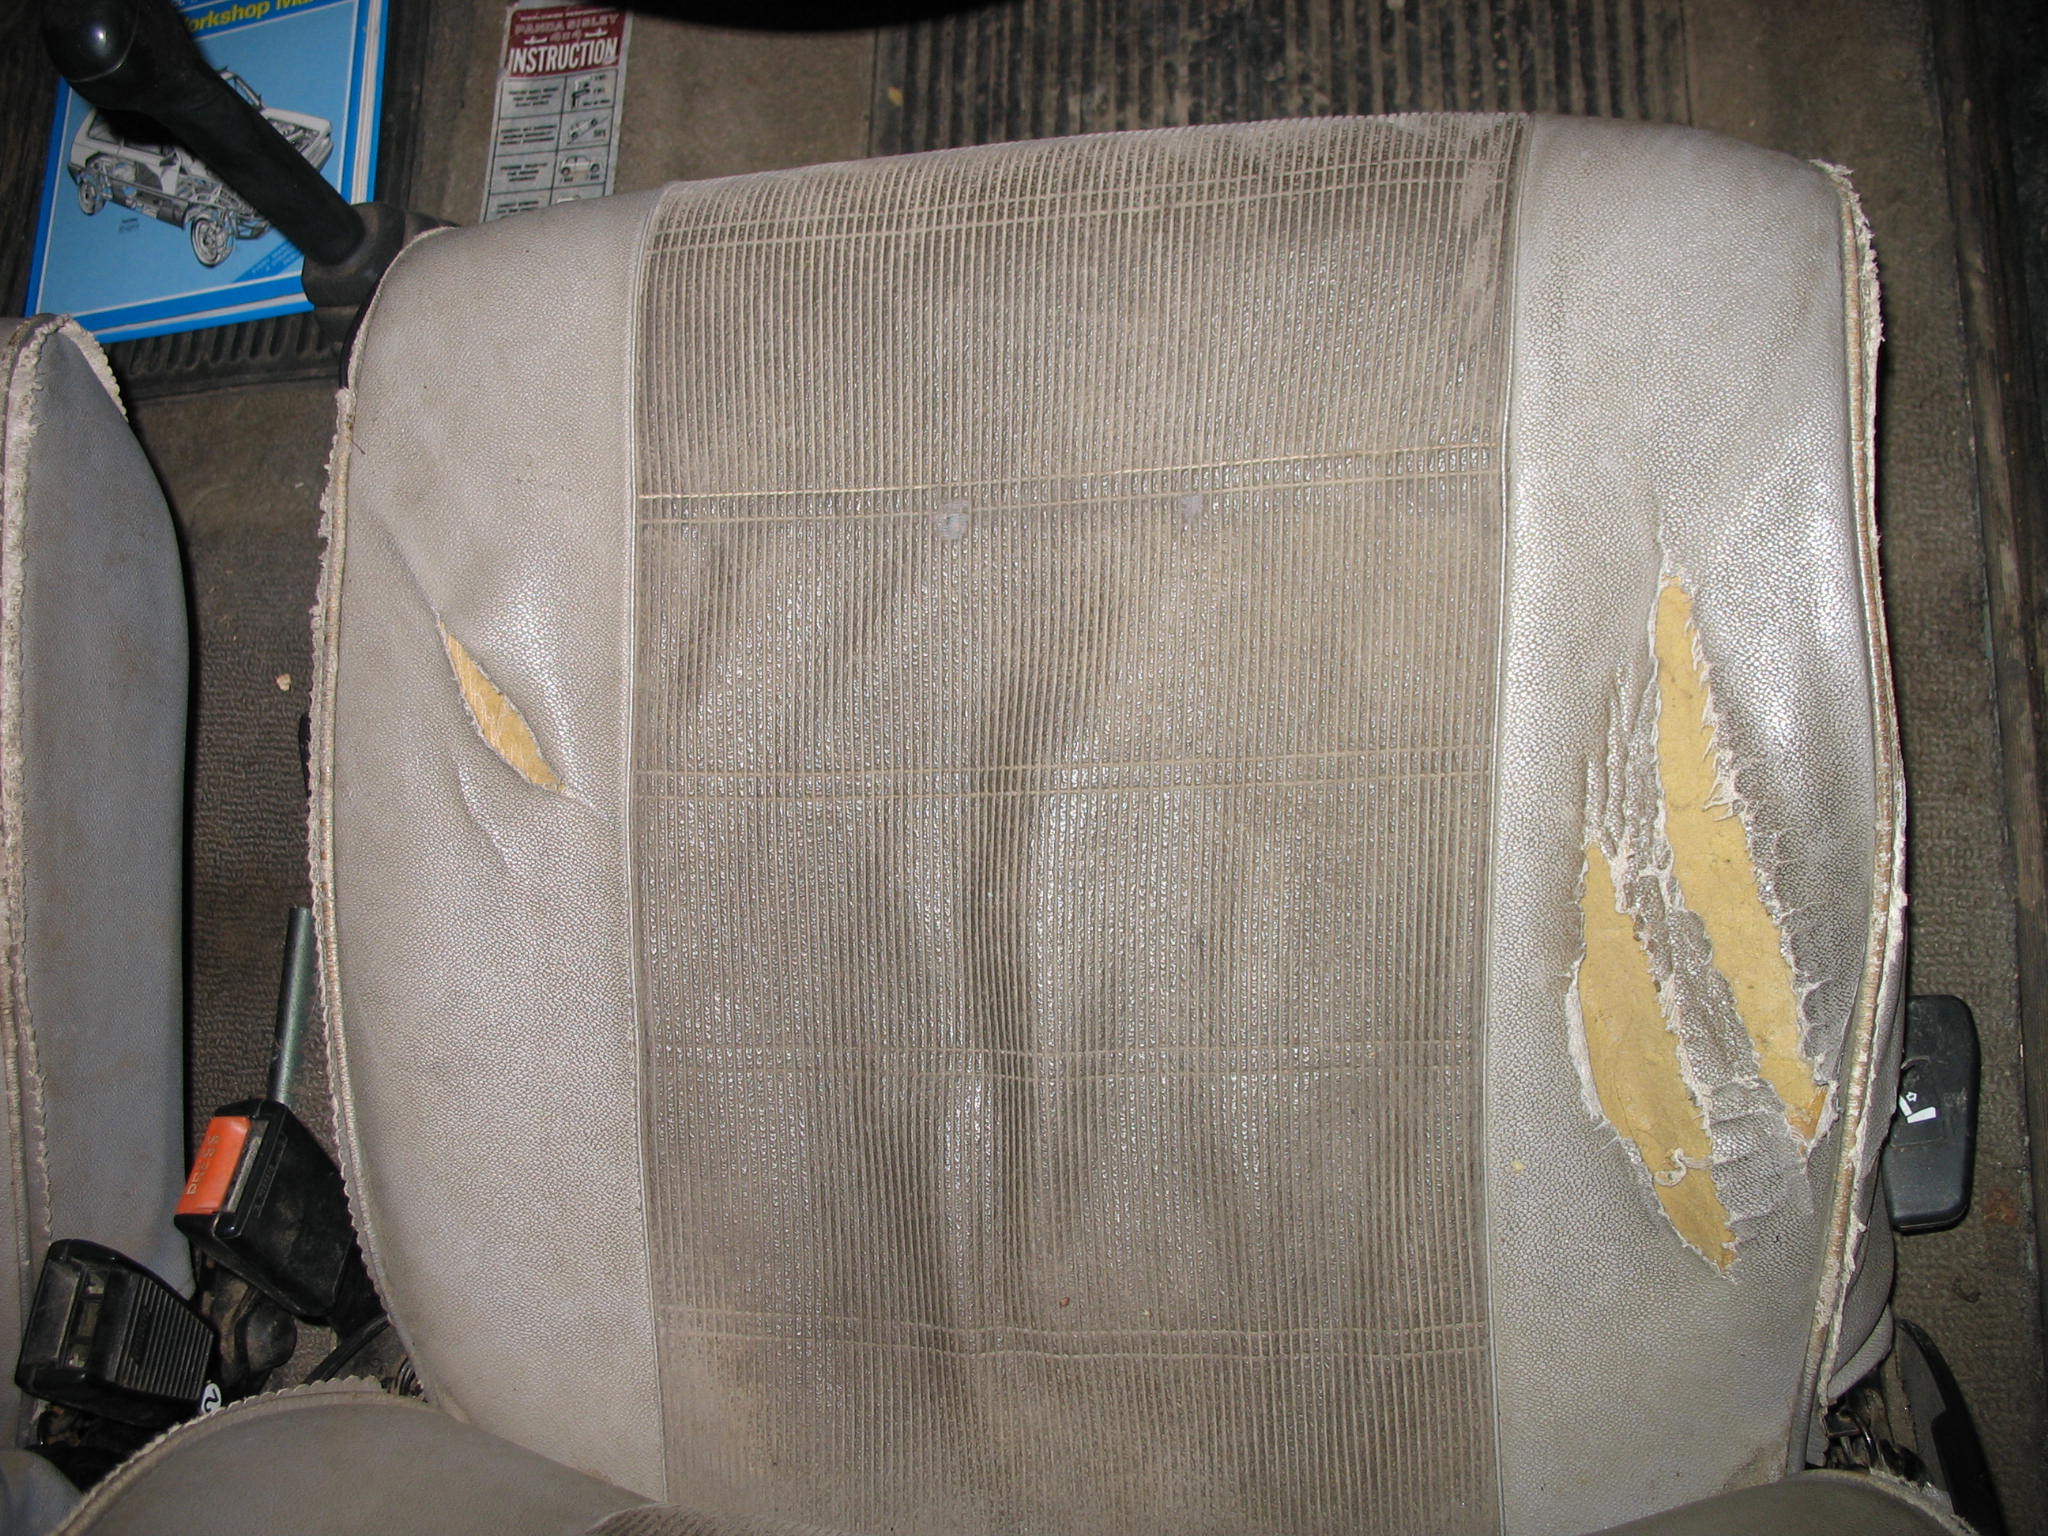
Interior as you can expect from car been used on a farm


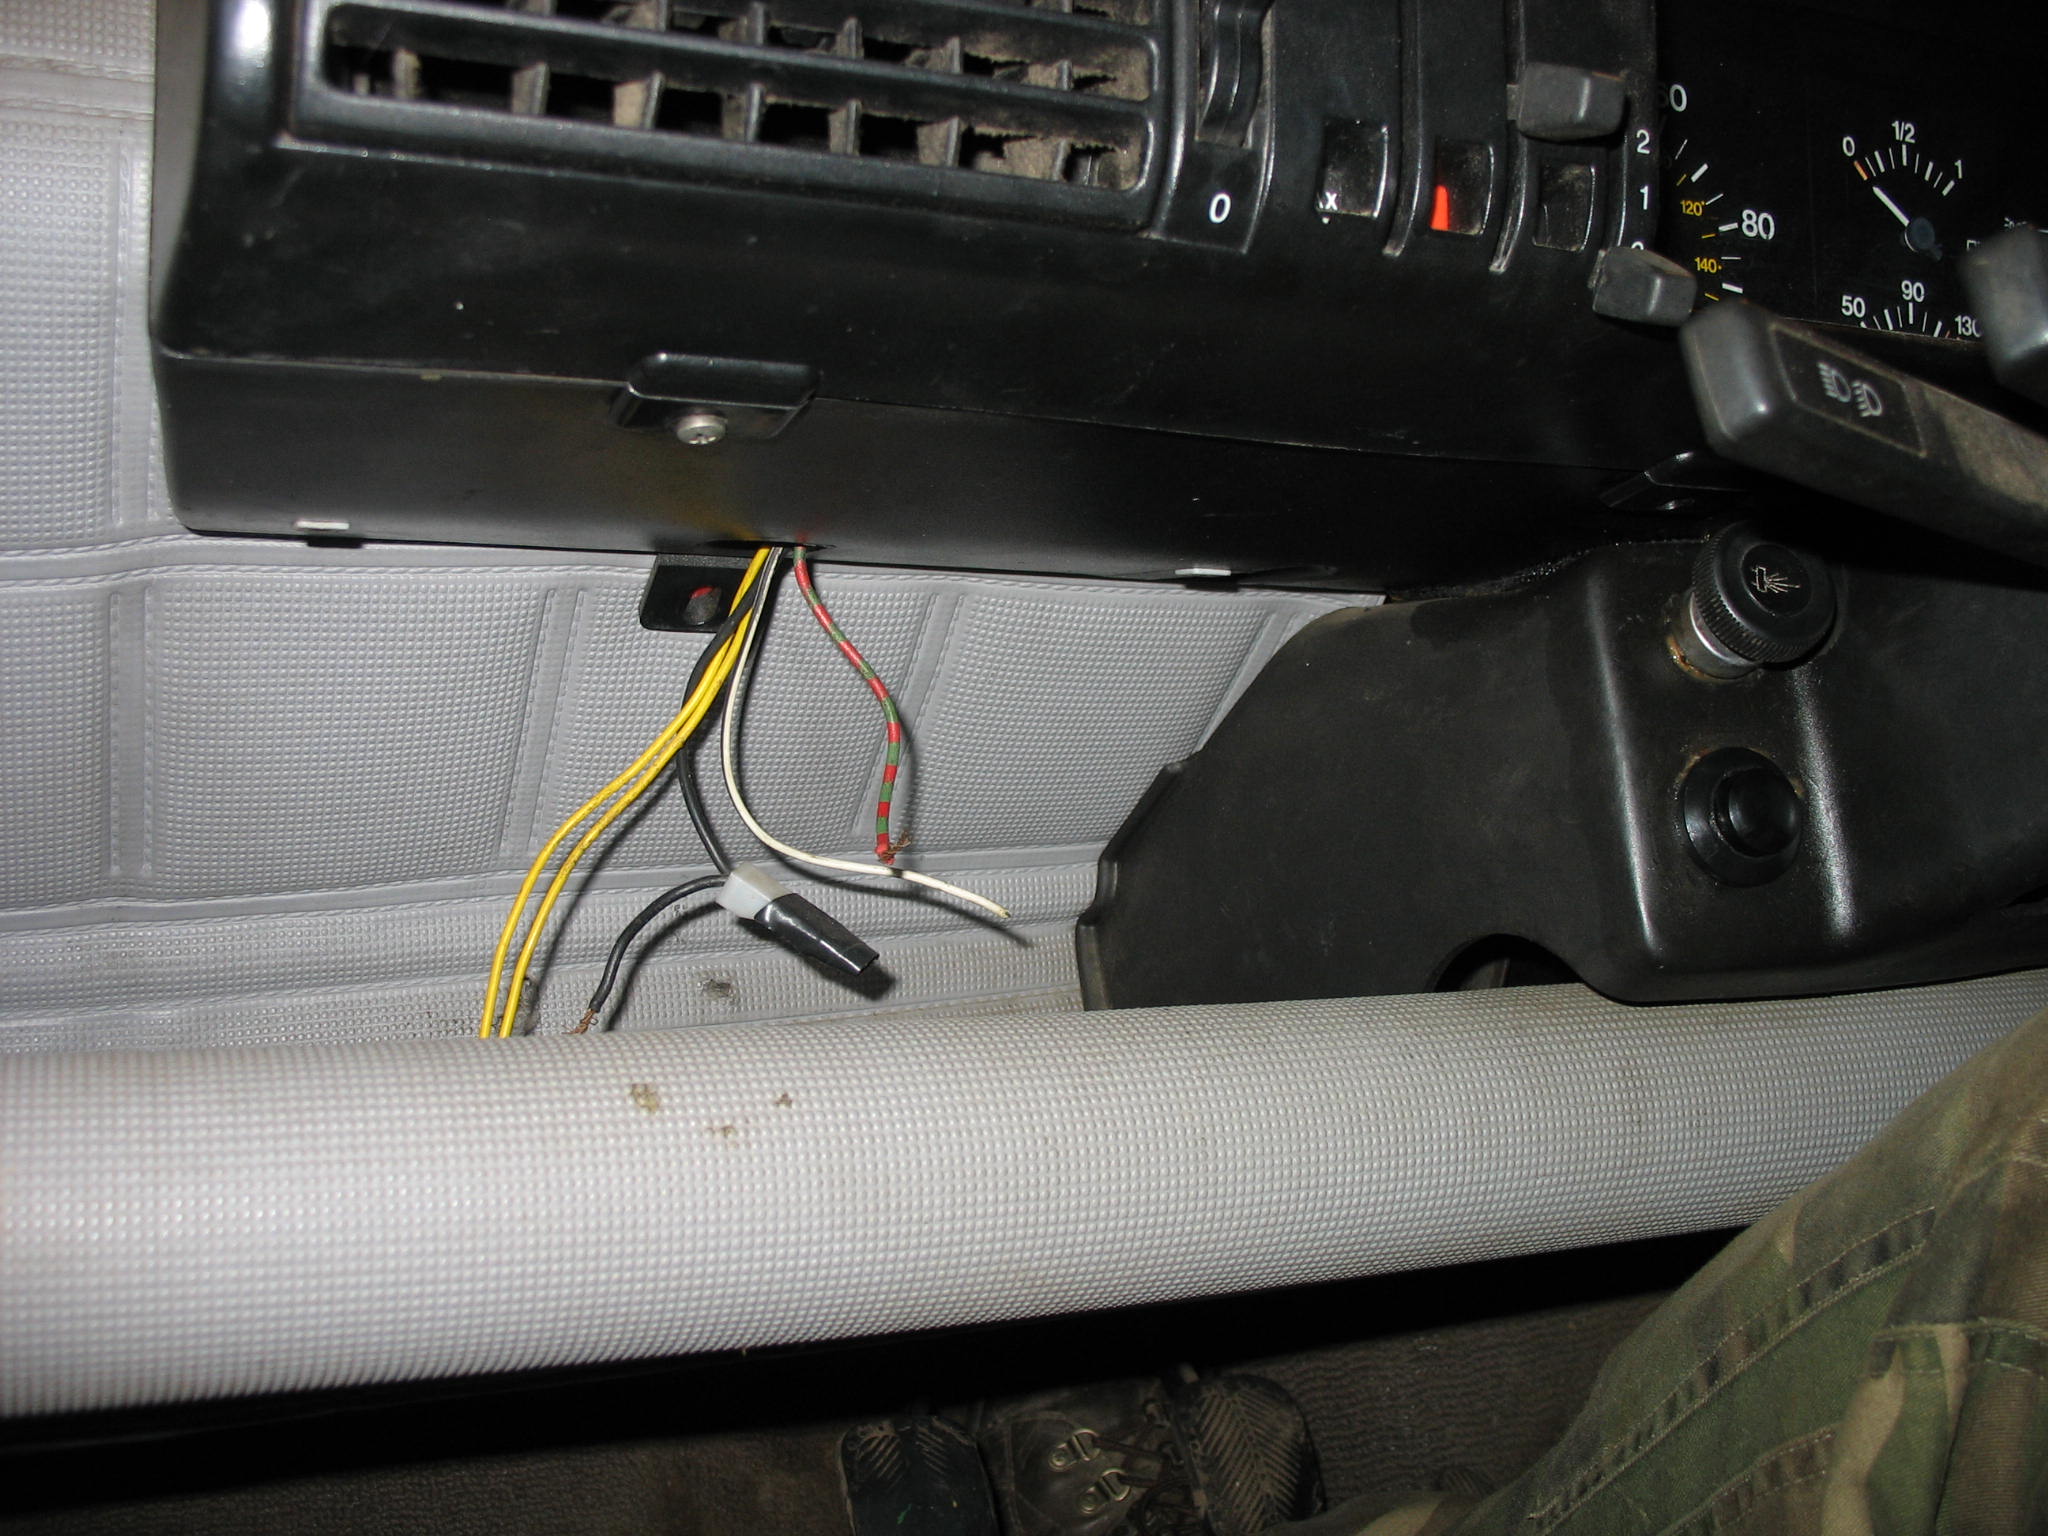
Not the geniune steering wheel and speedo, which does not make much difference to me at all. Roofrack presence evidence


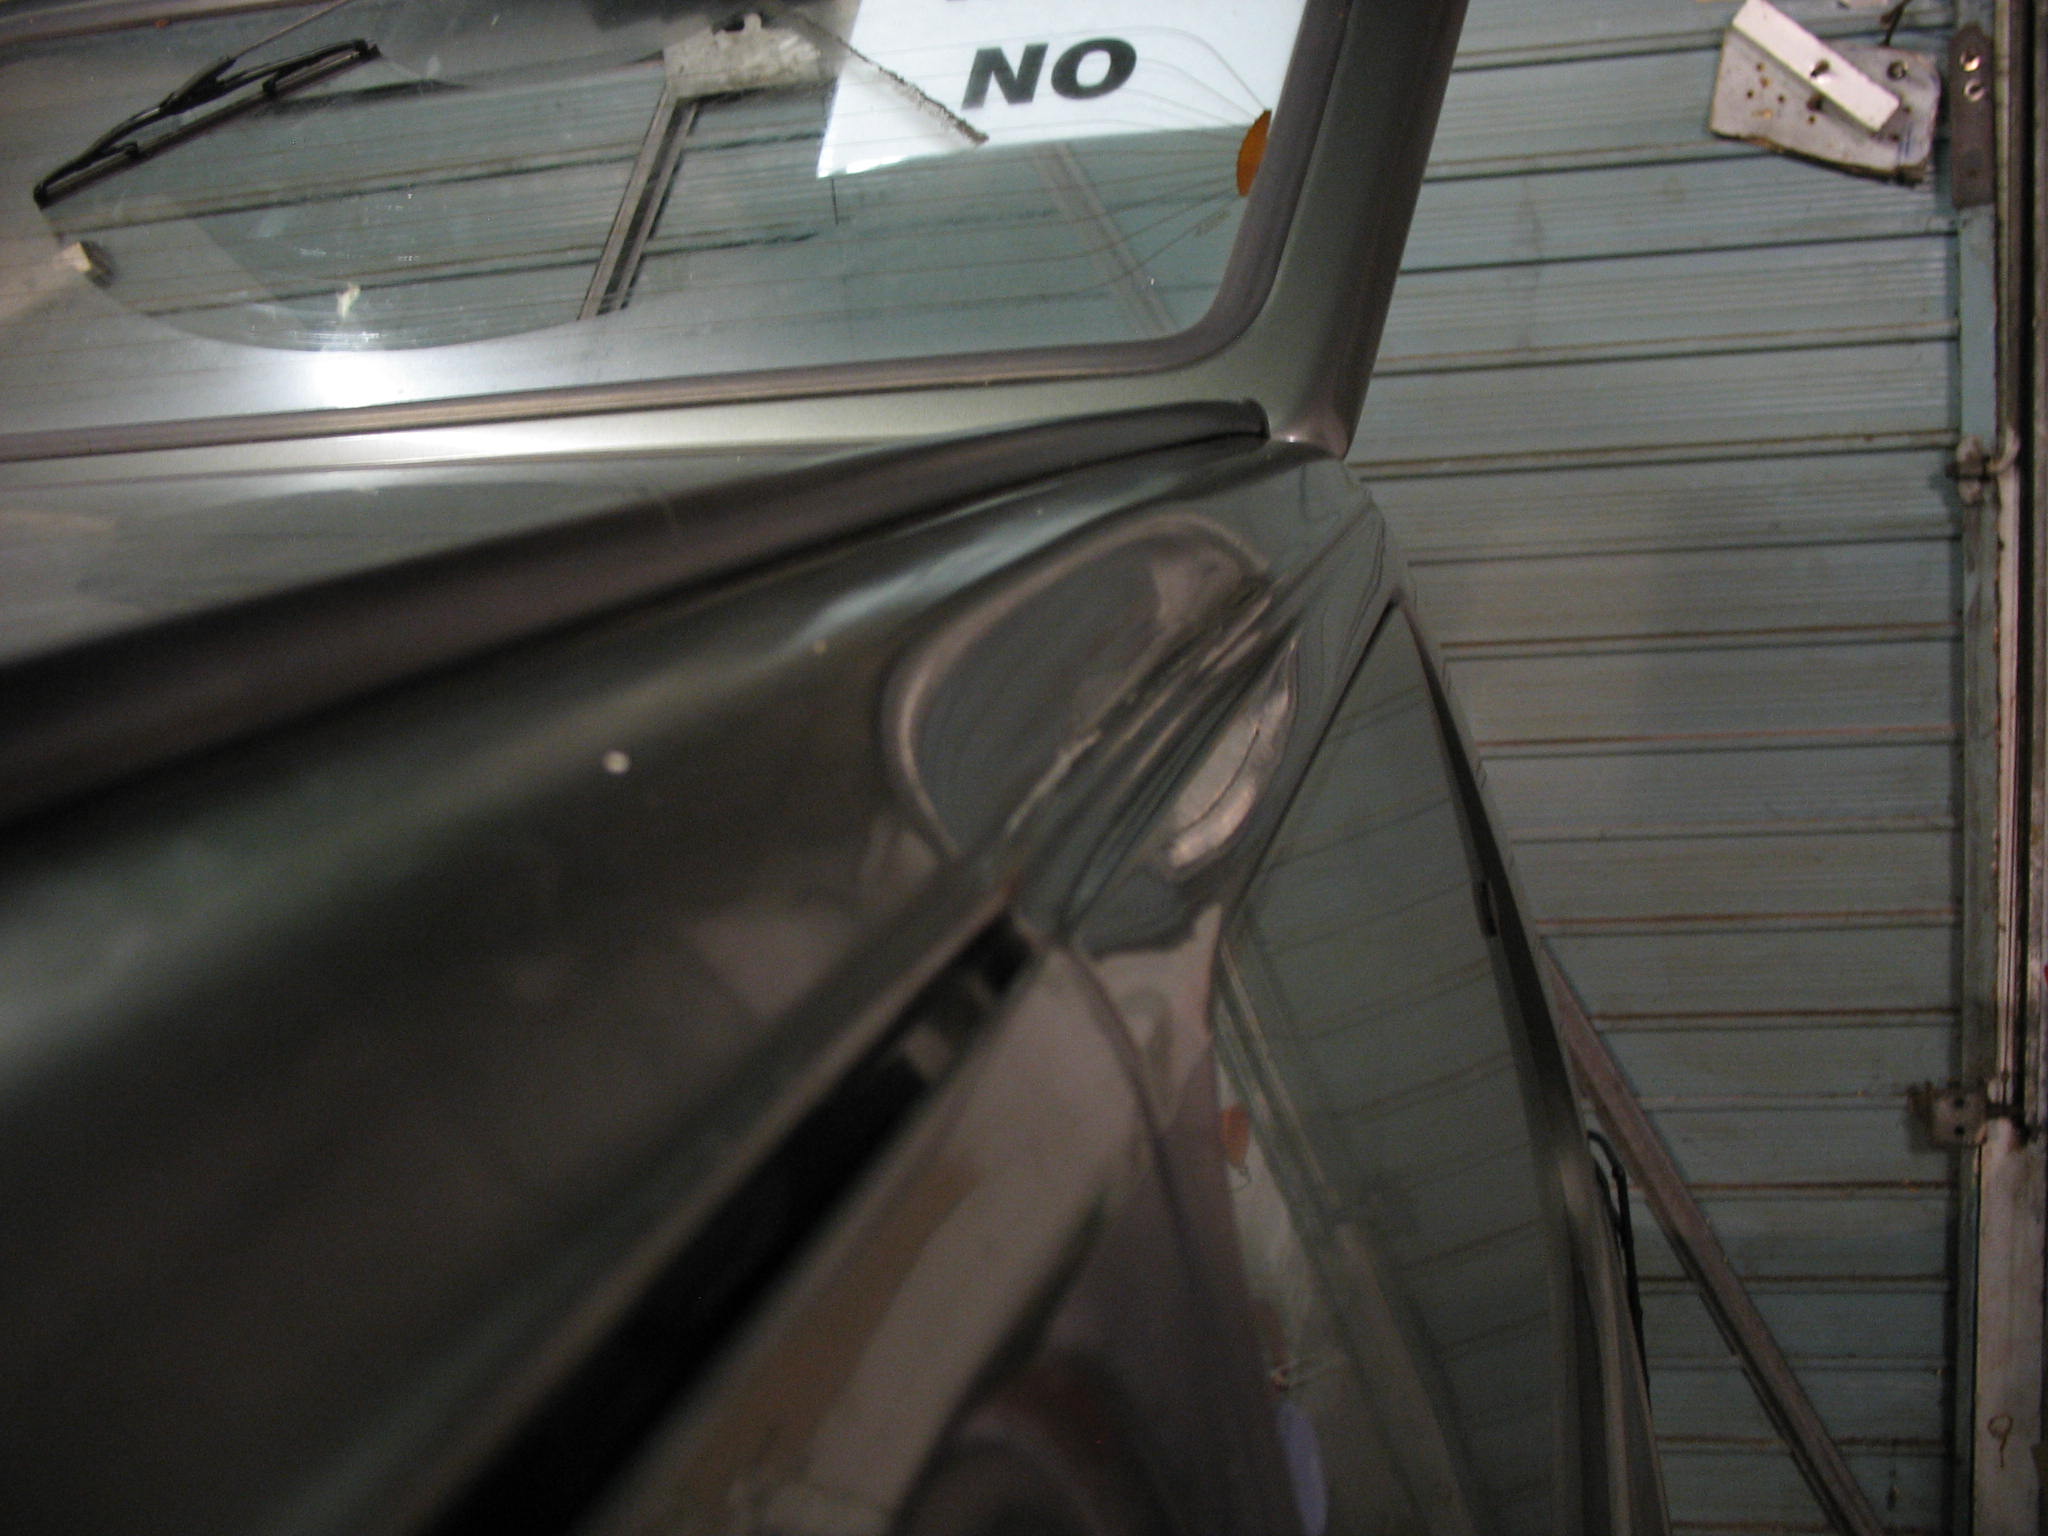
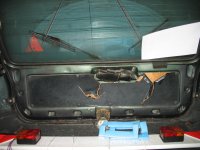
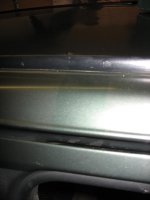
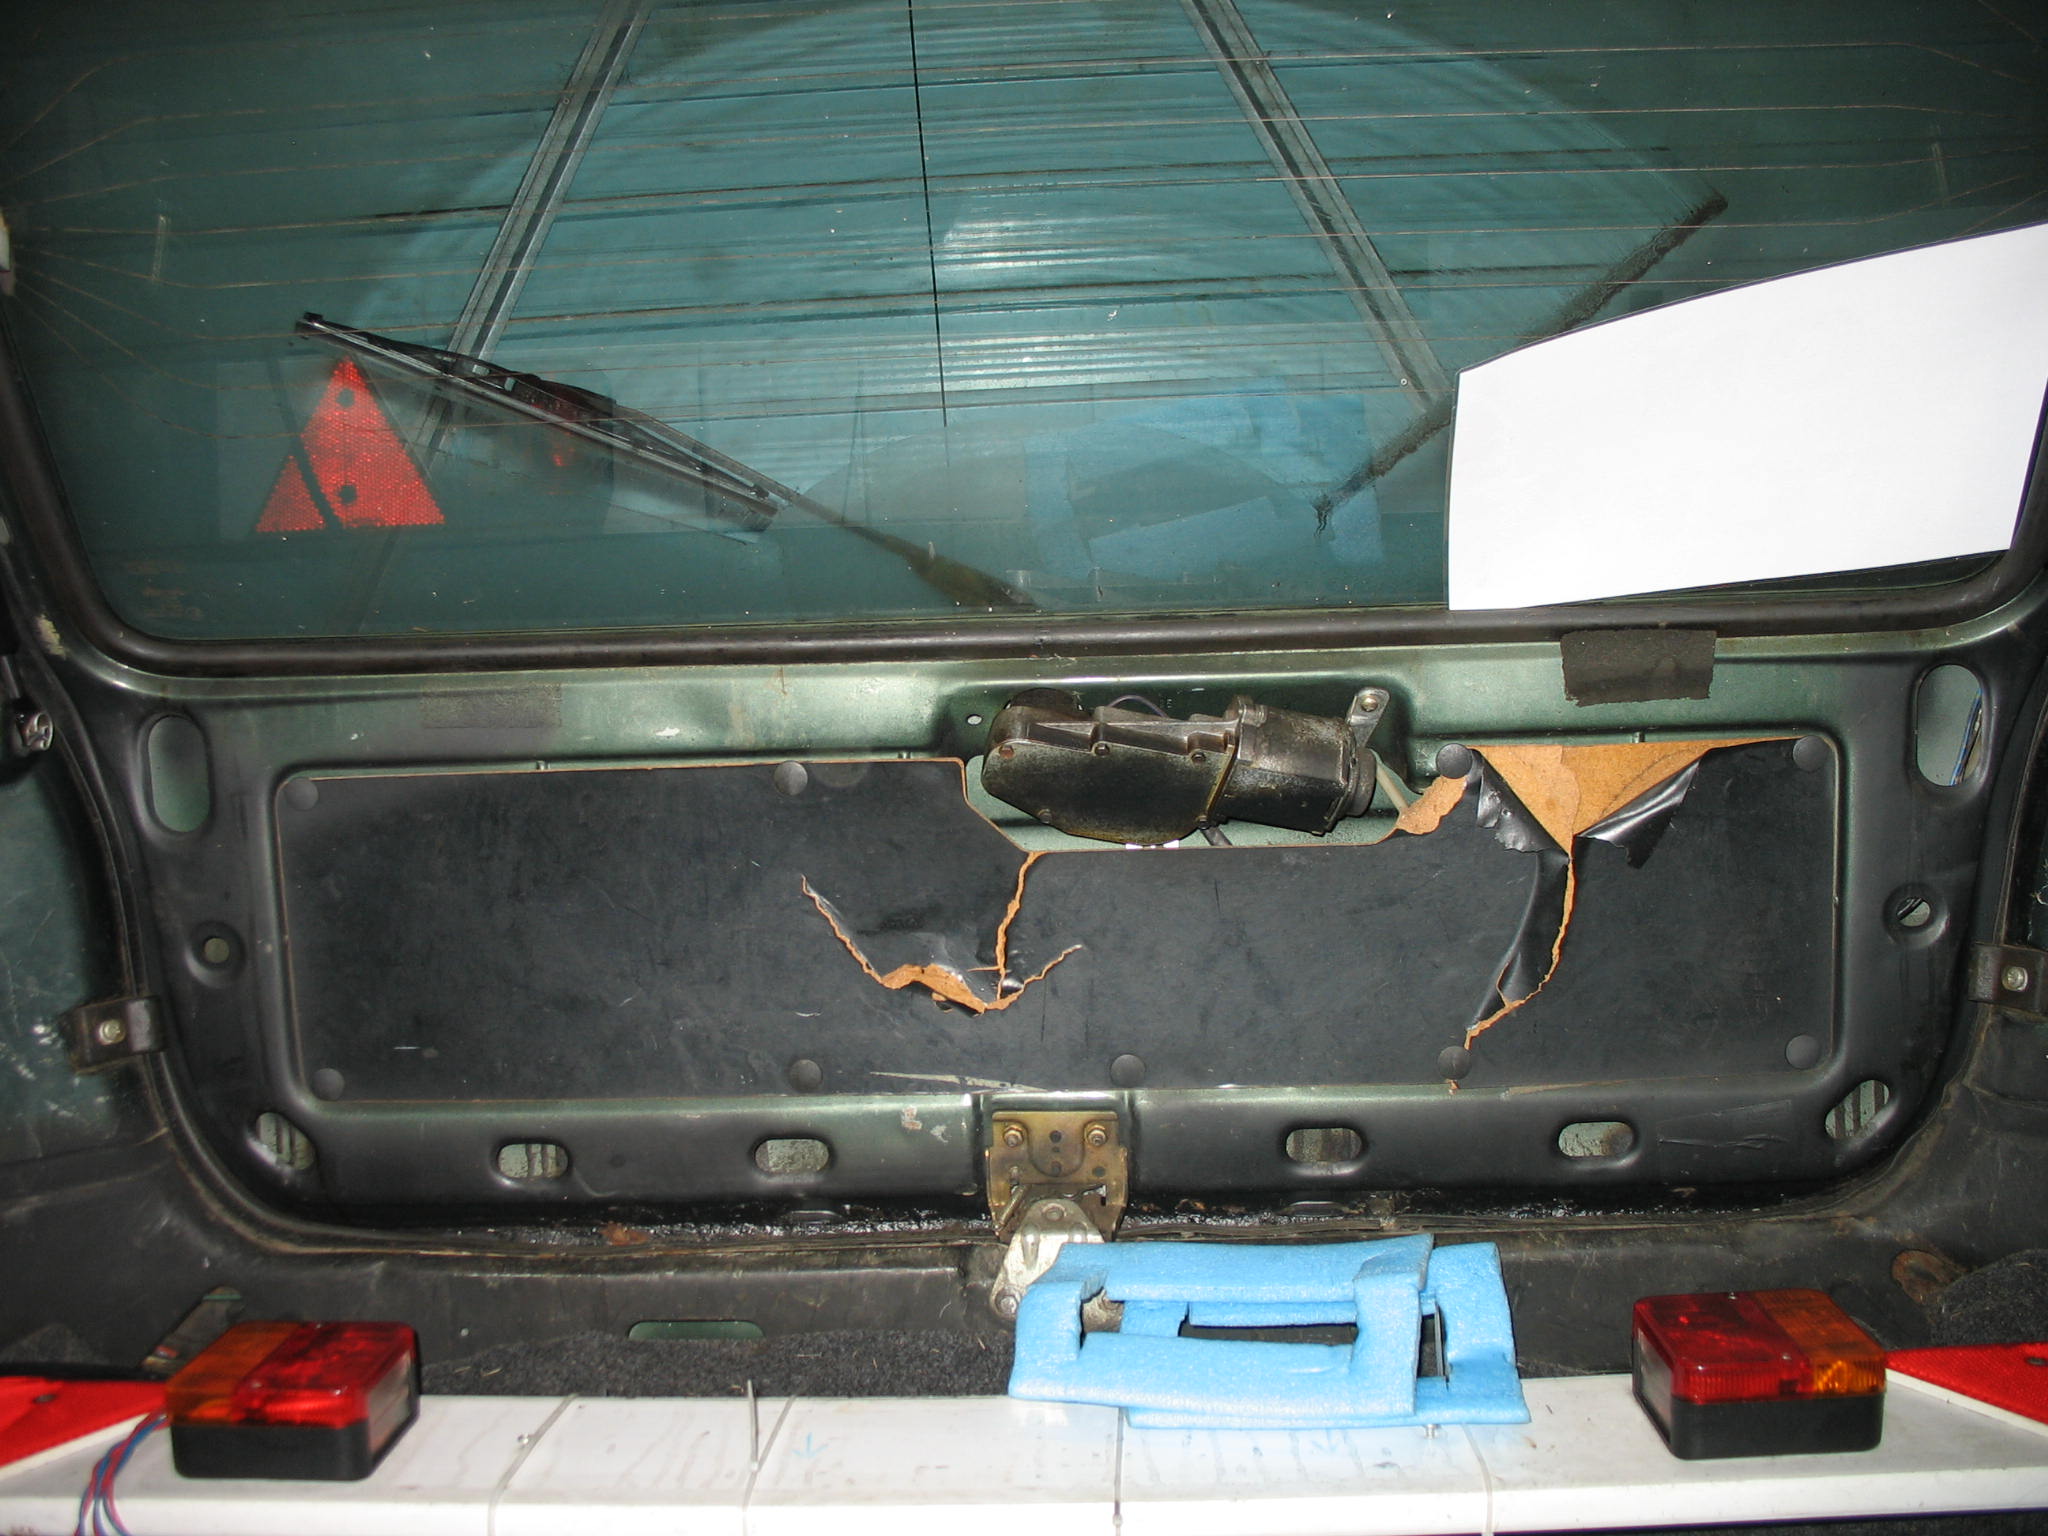
I dont want to know how this happened.
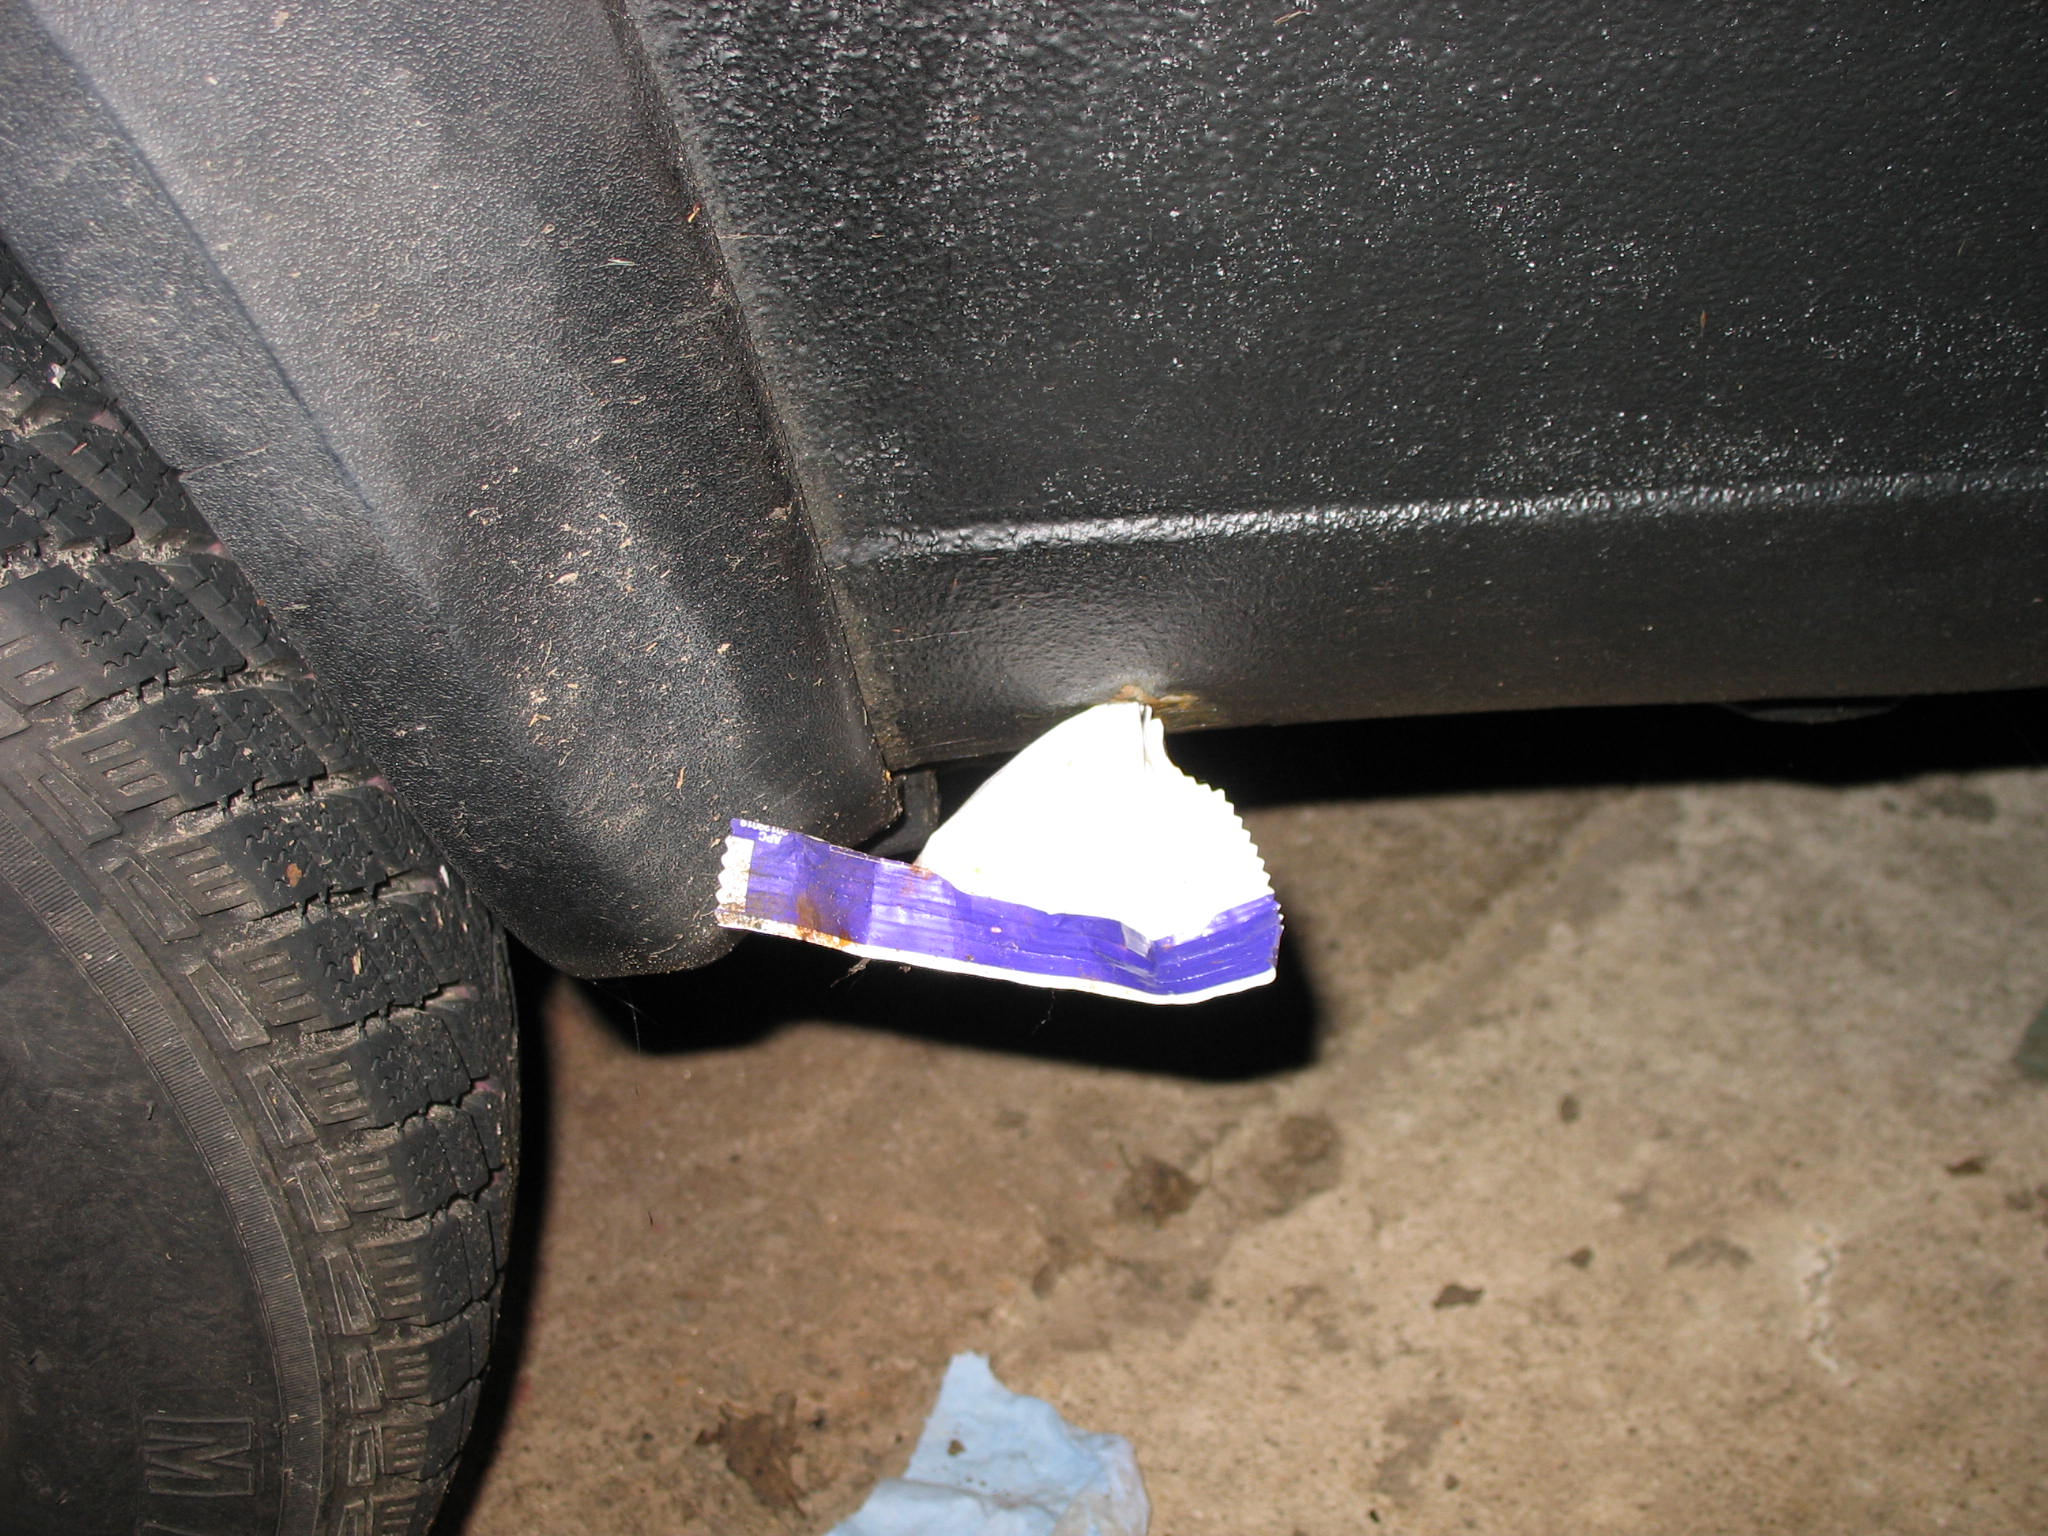
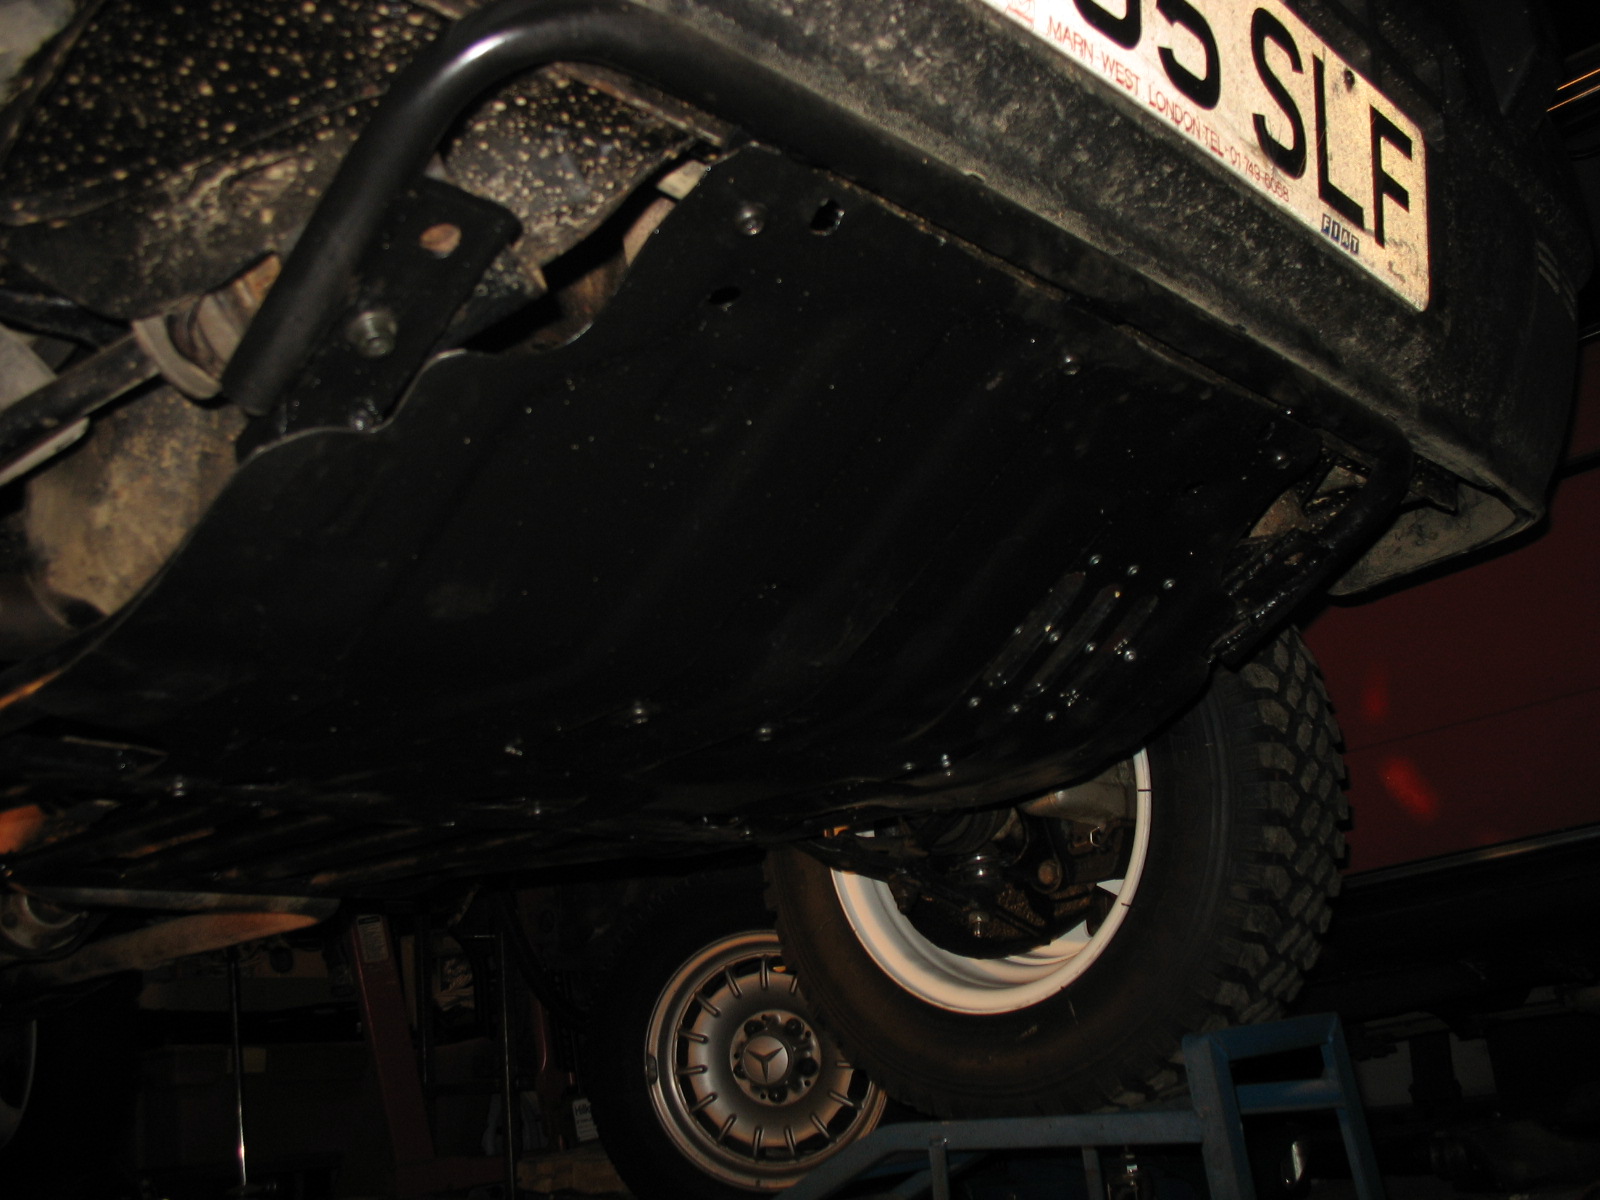
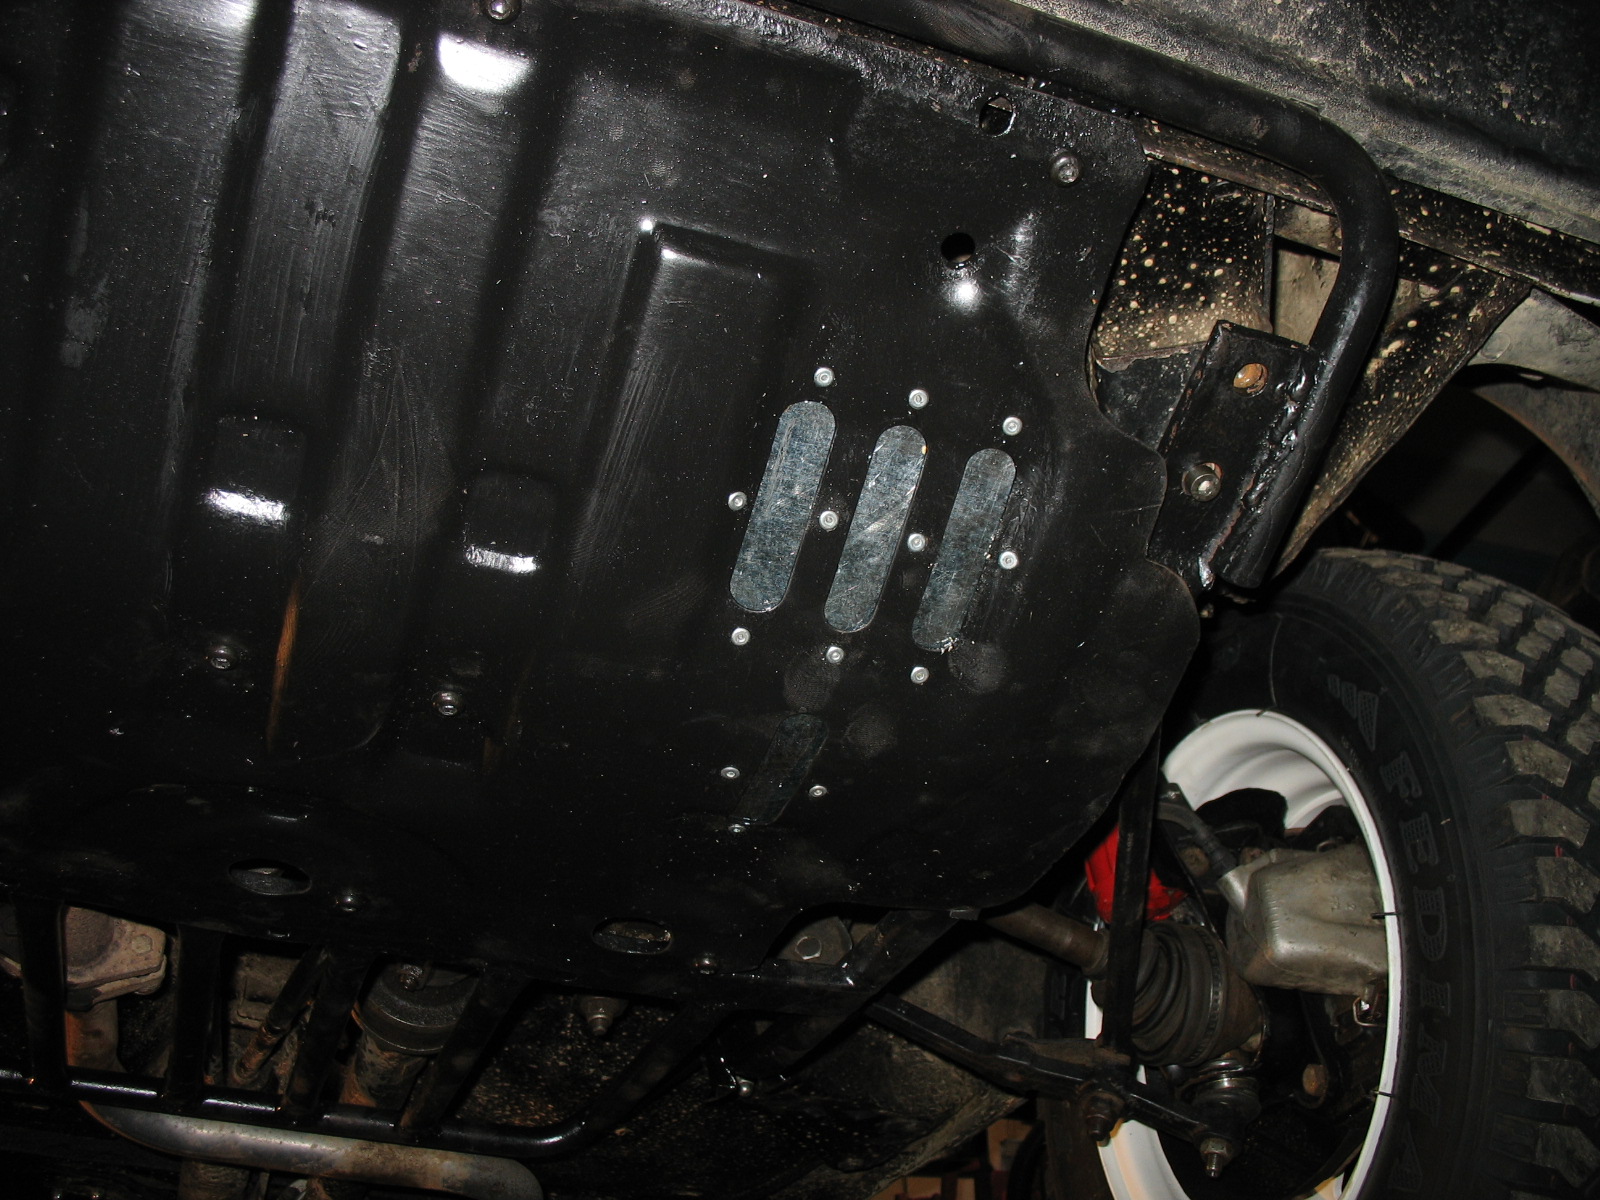
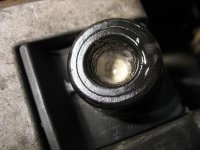
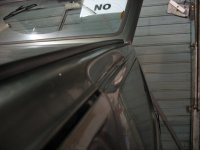
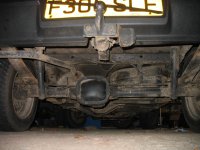
Filler pipe still untouched, what sort of DIY protections do you recon?
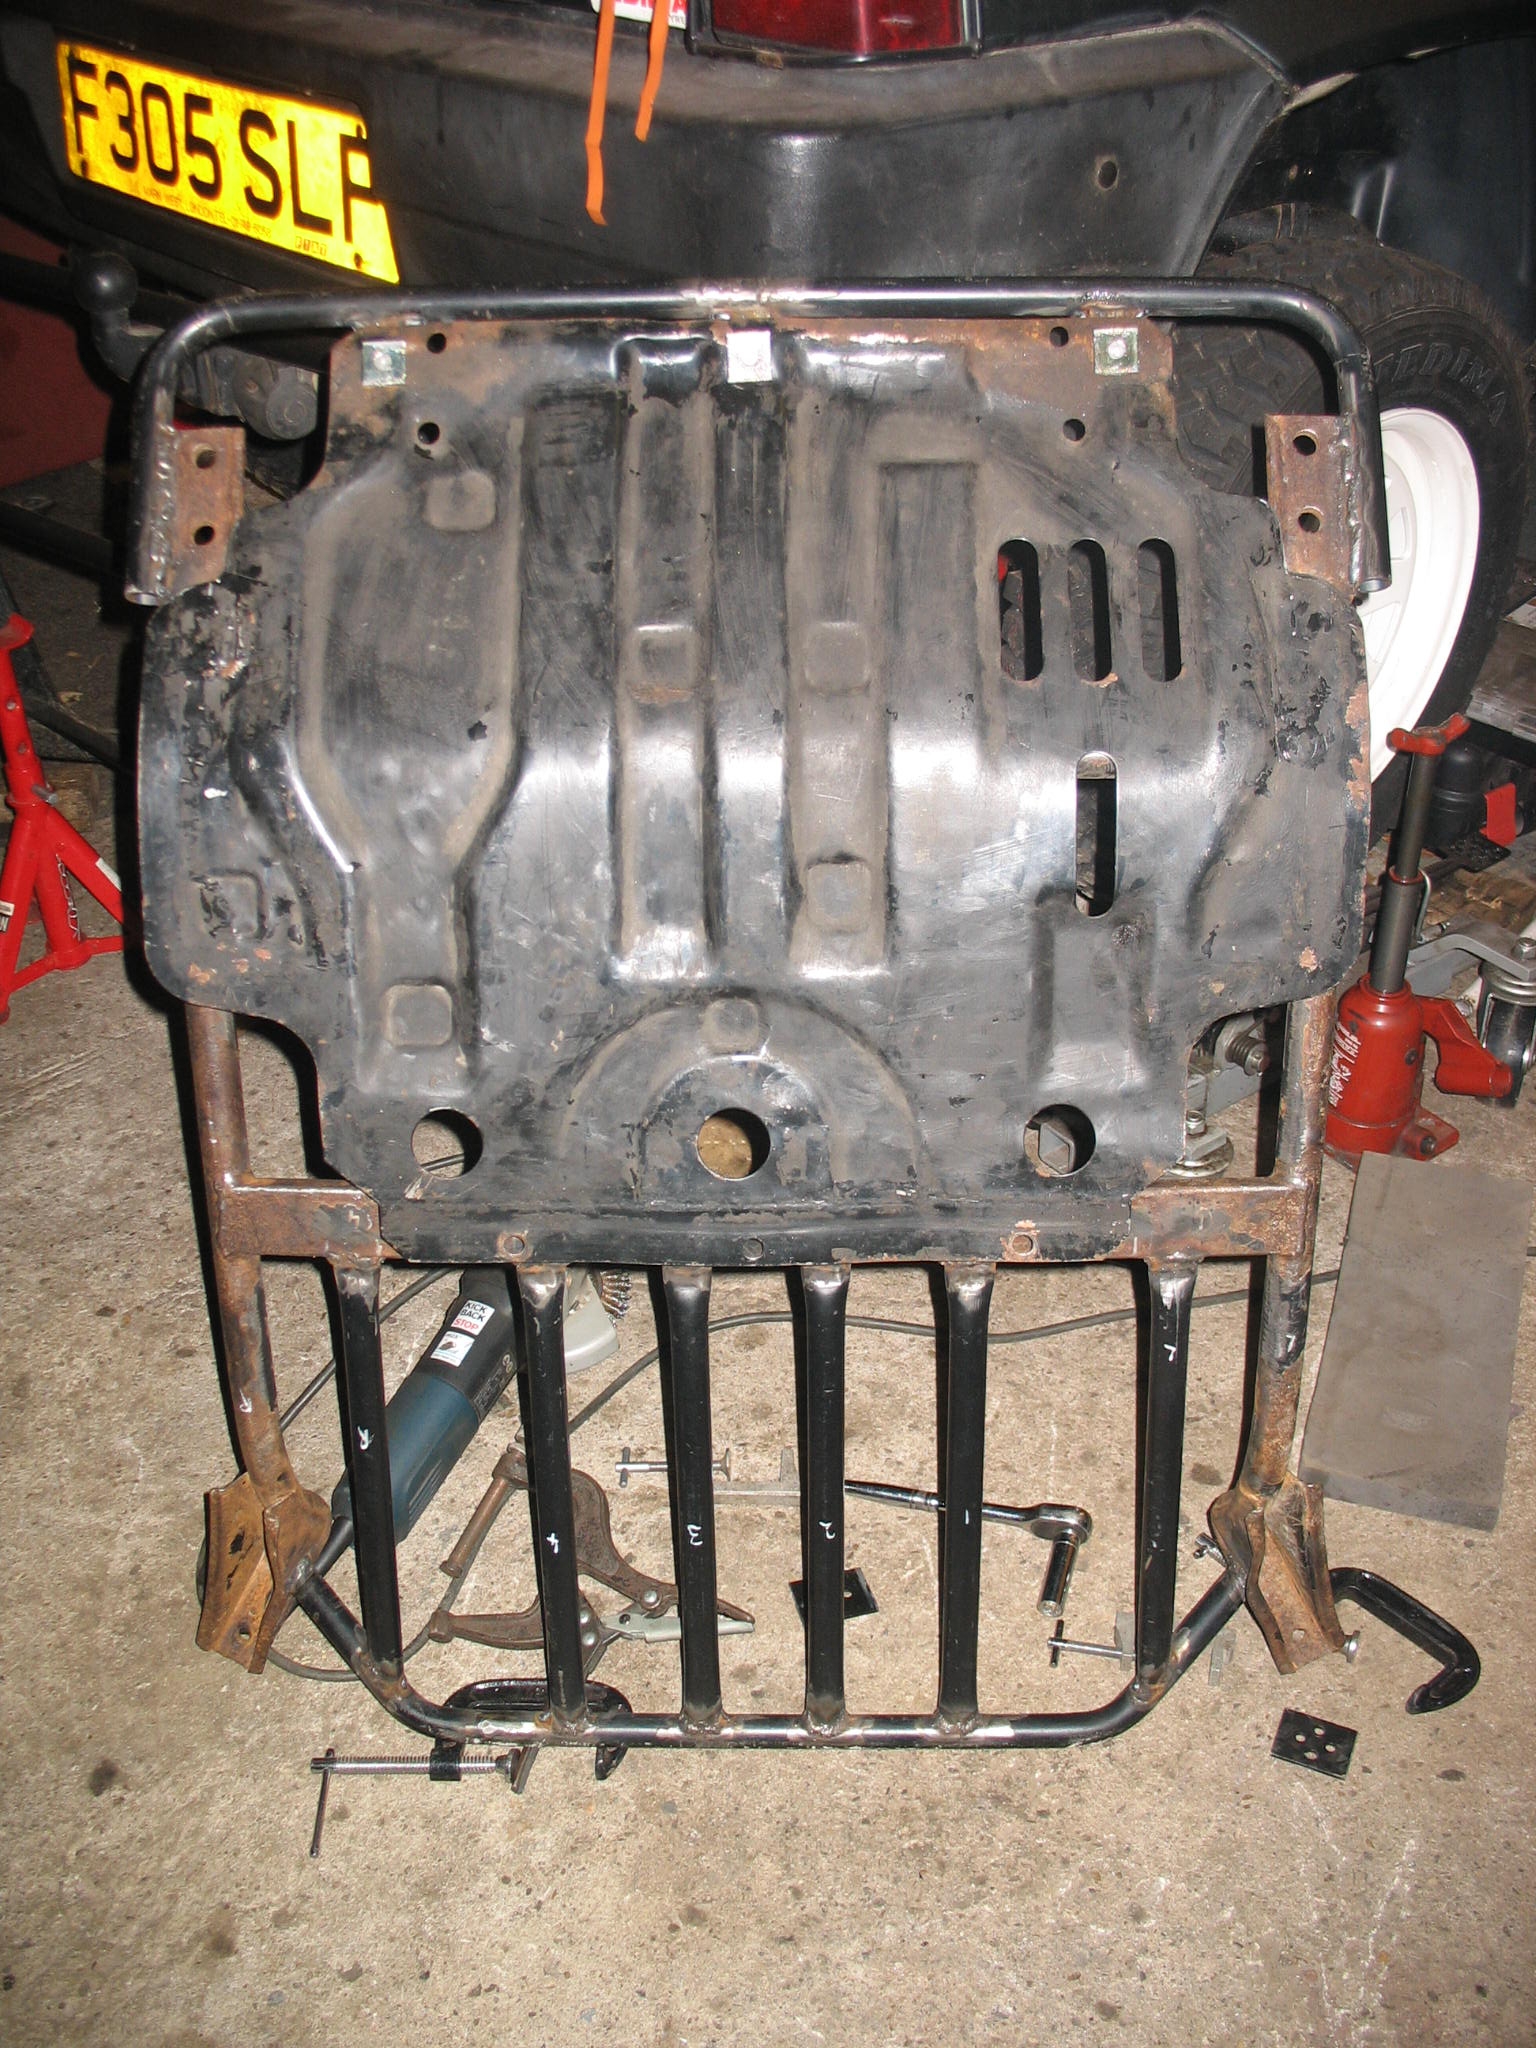
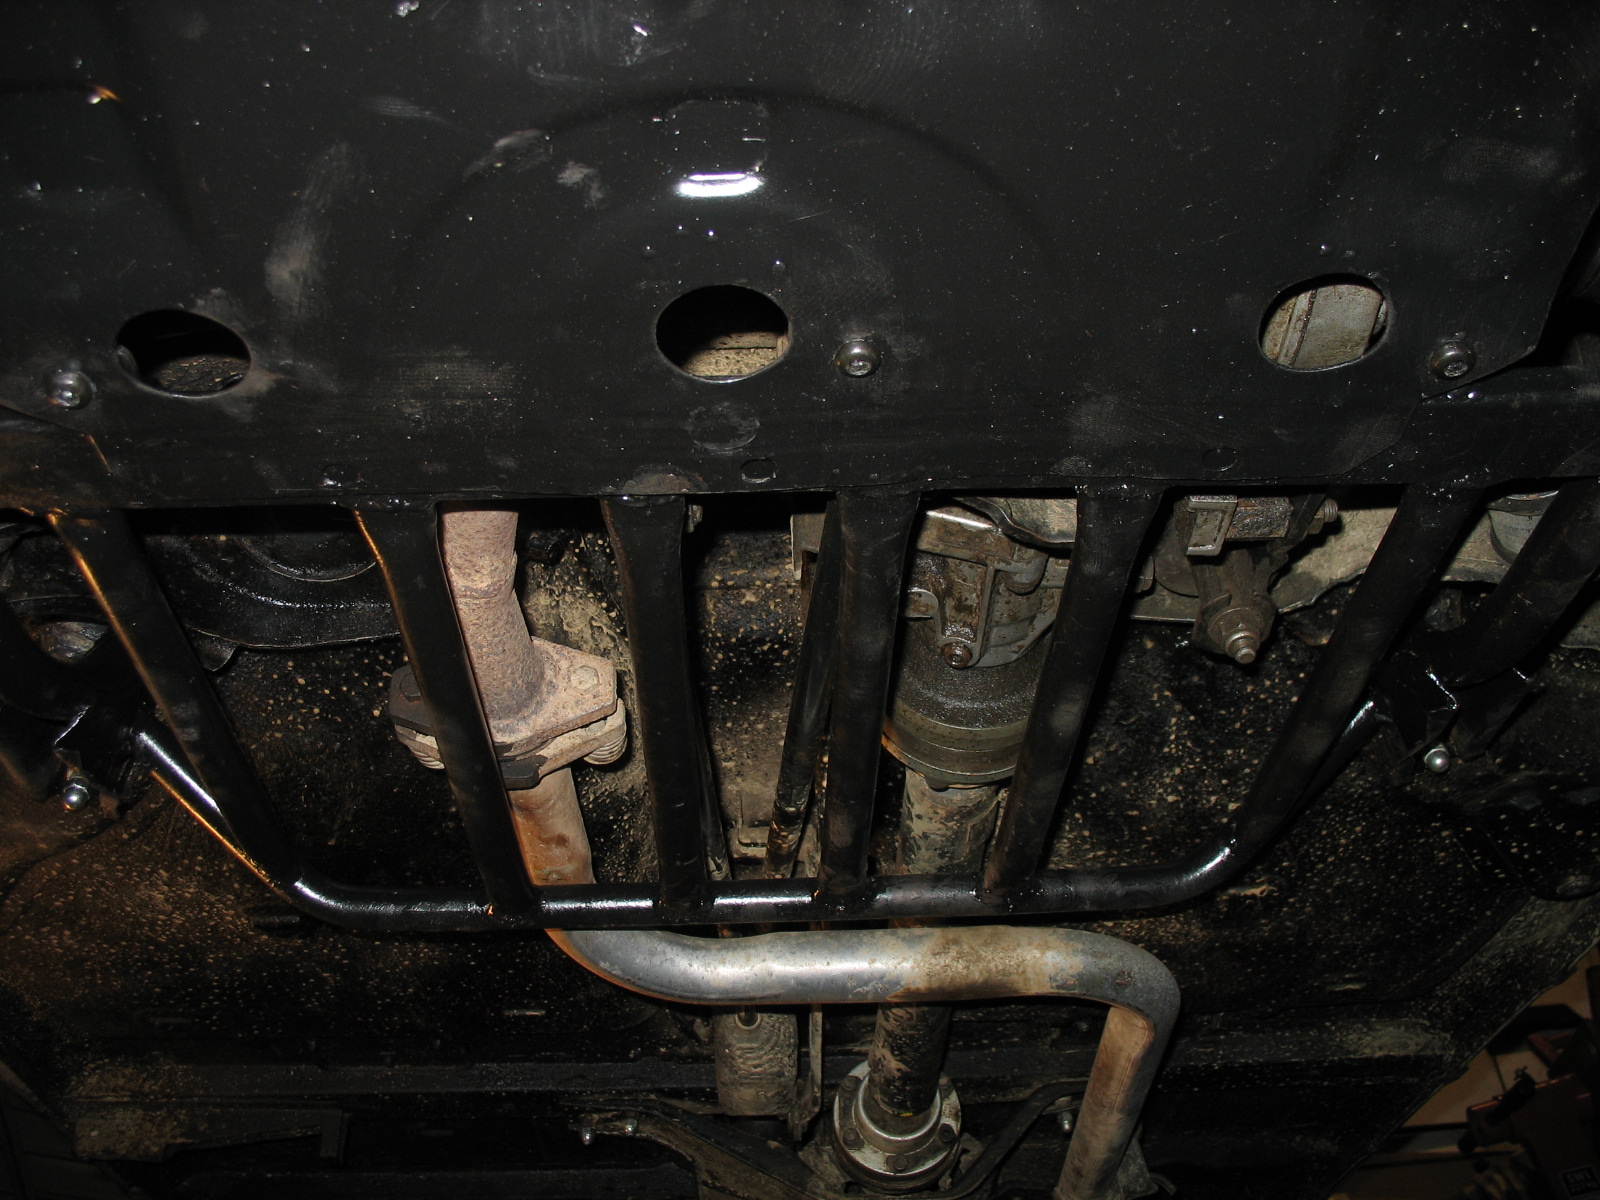
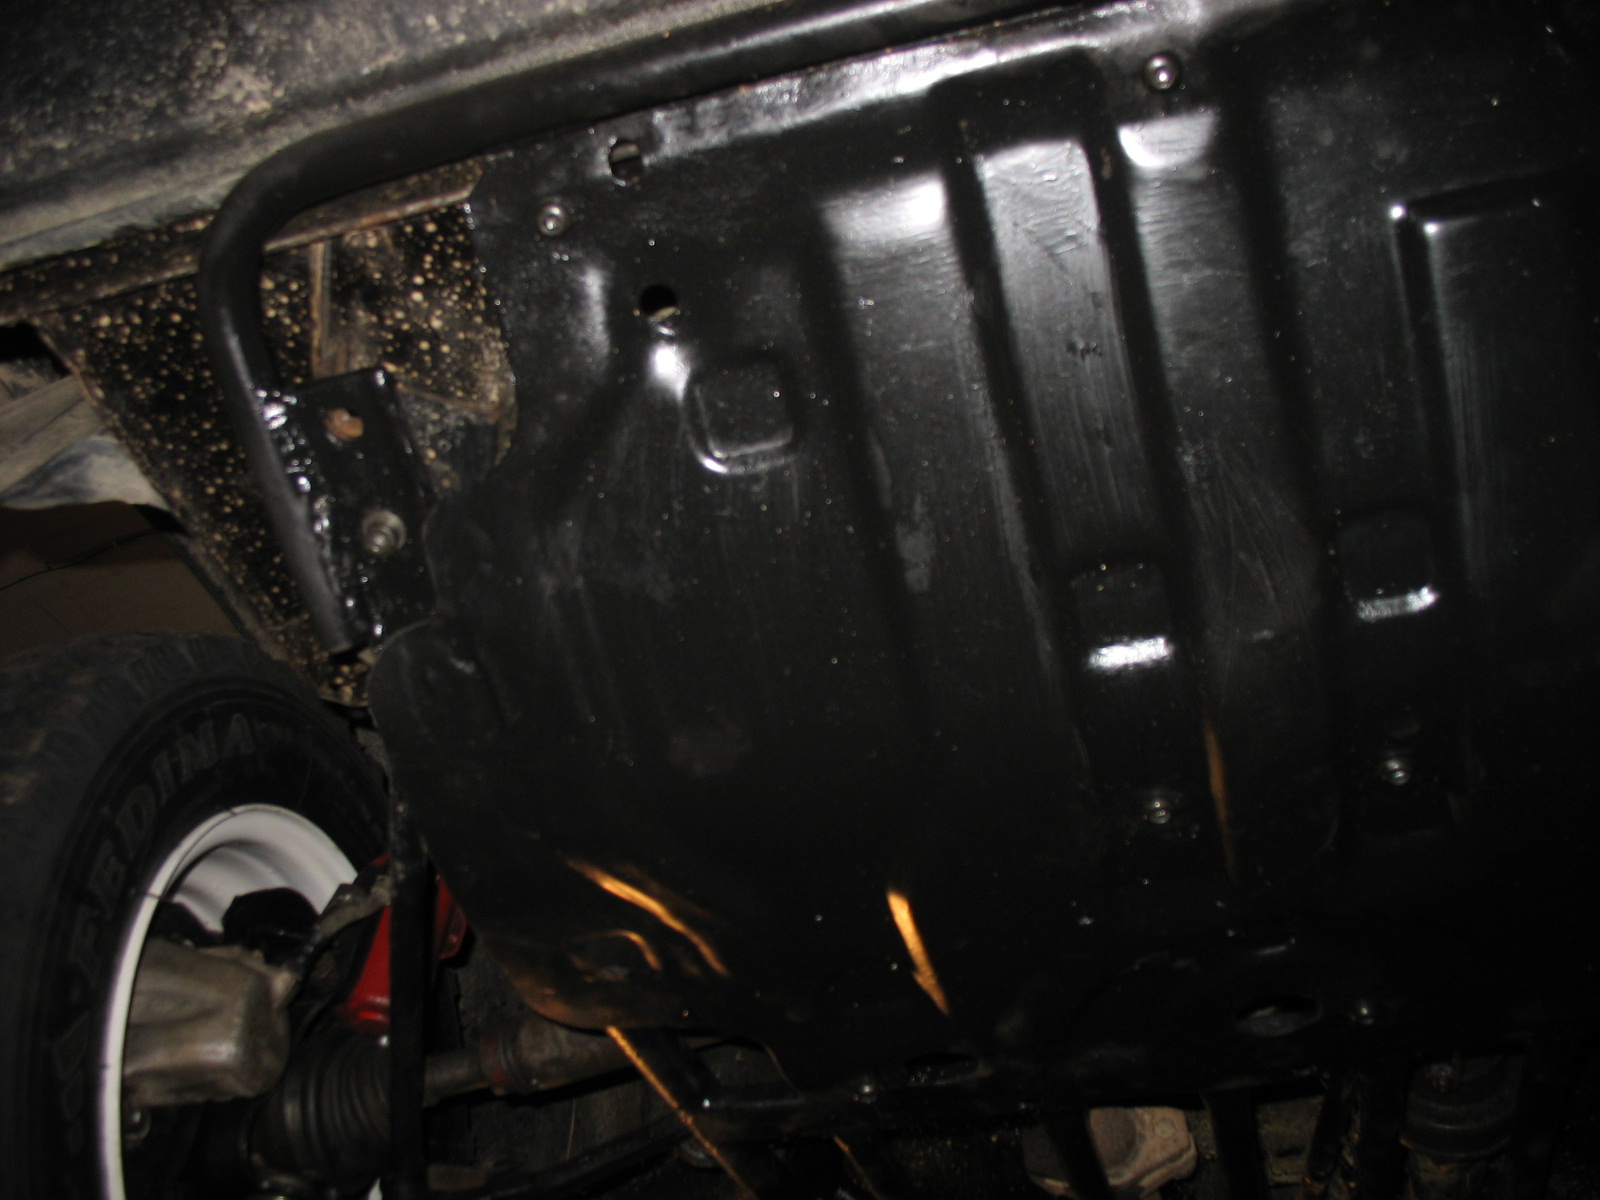
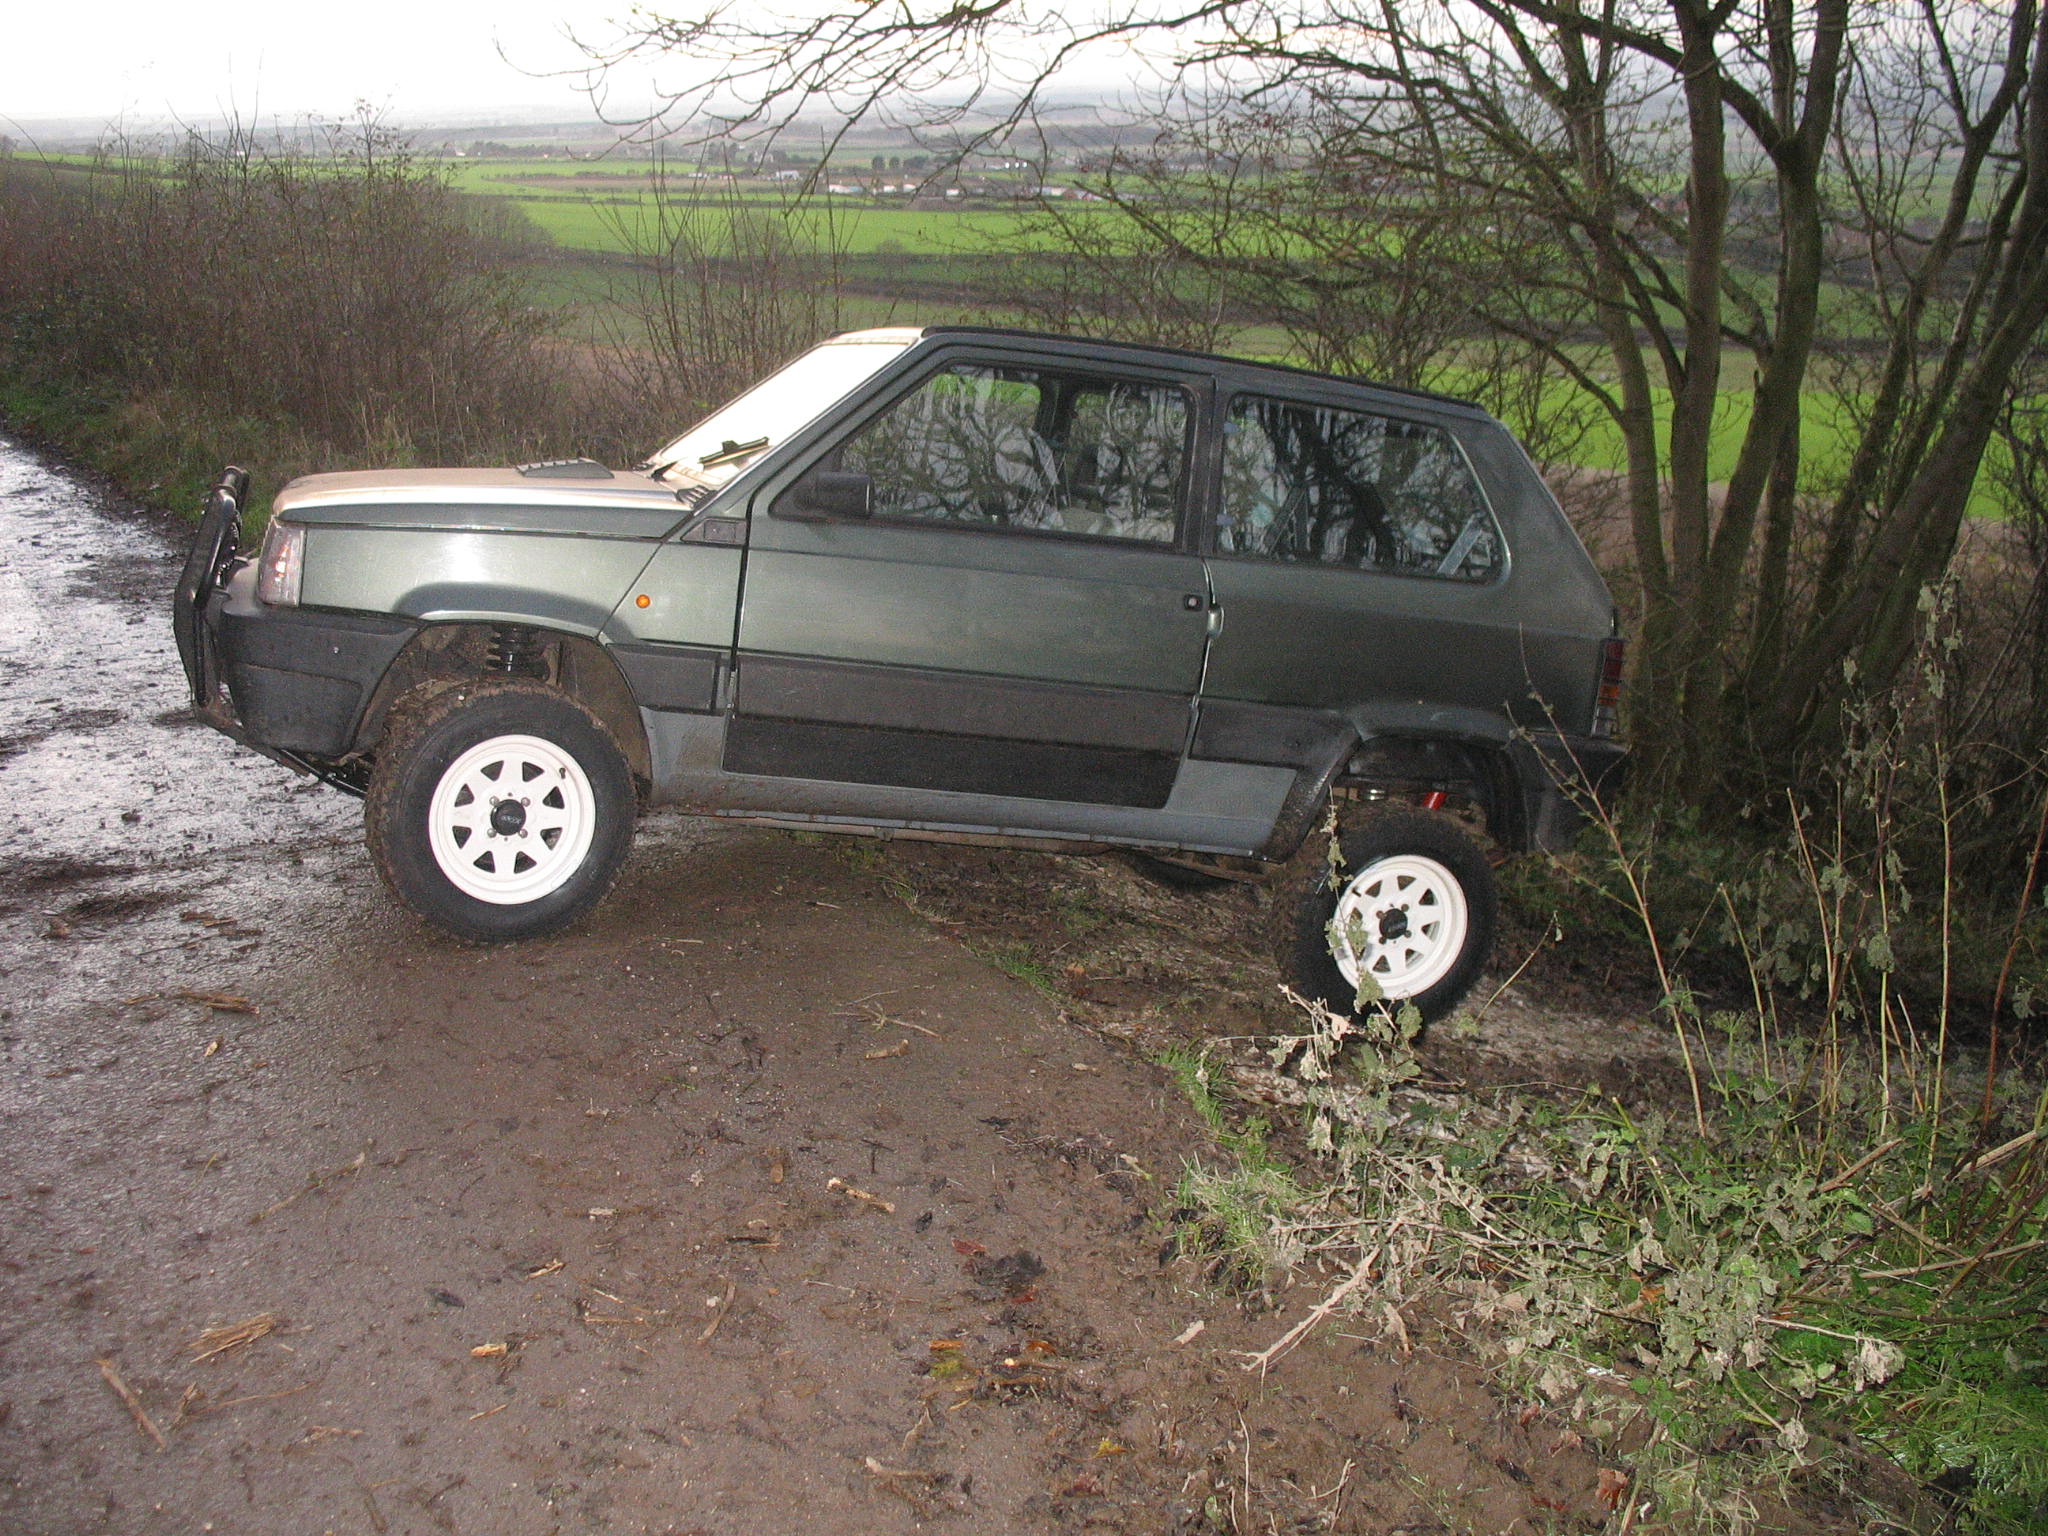
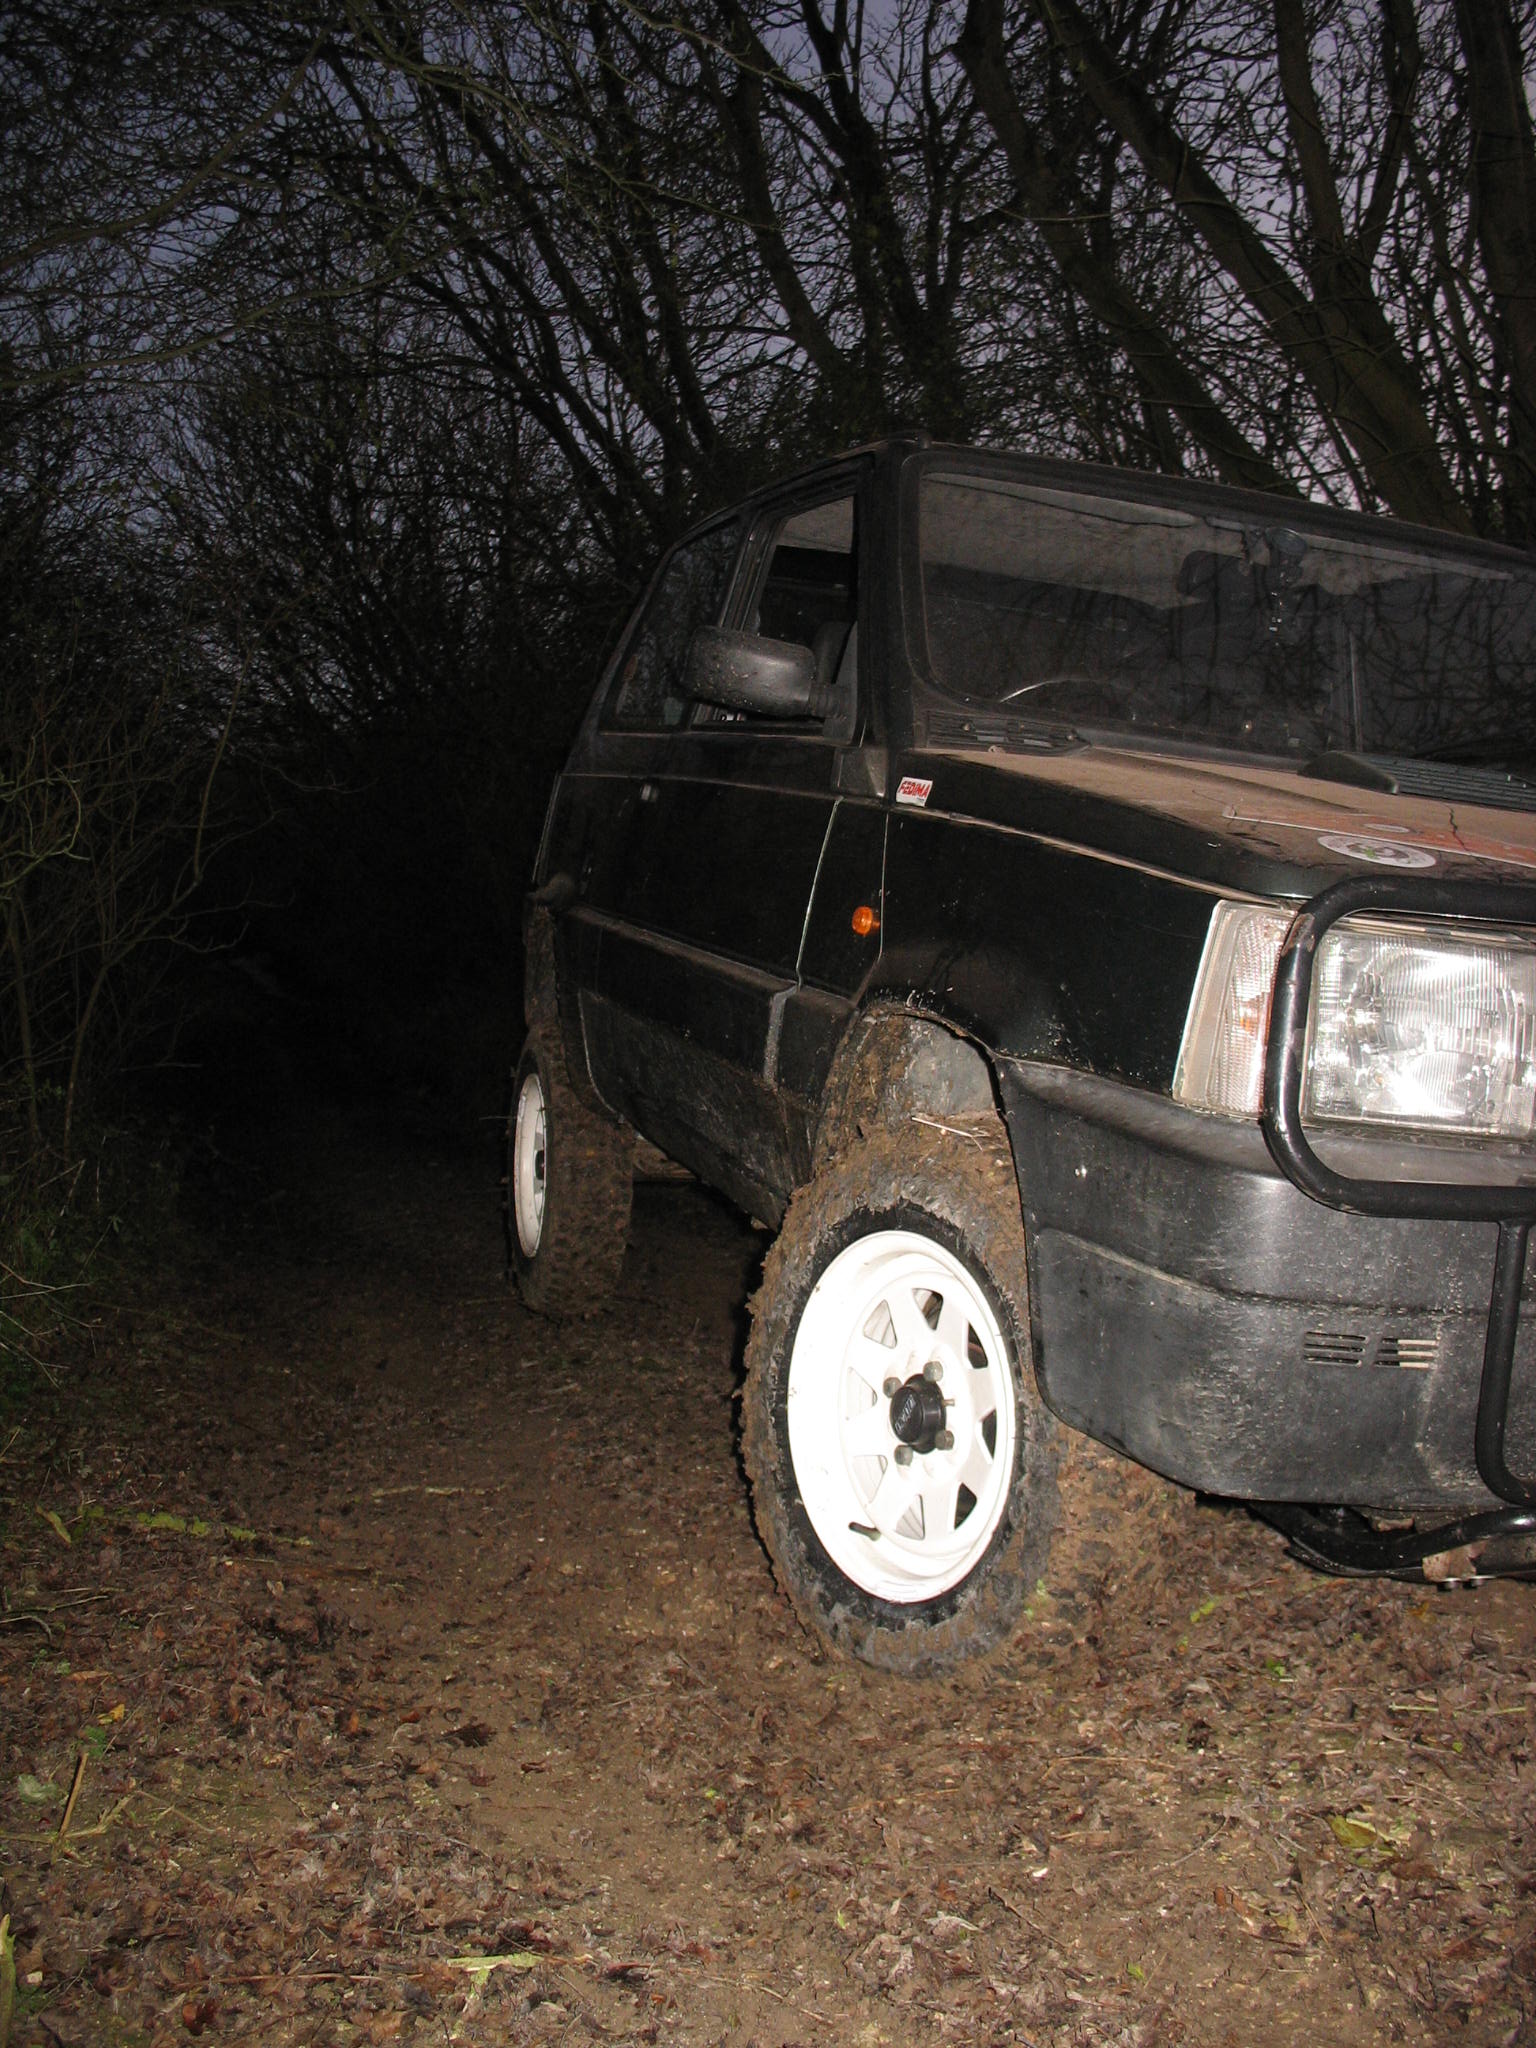
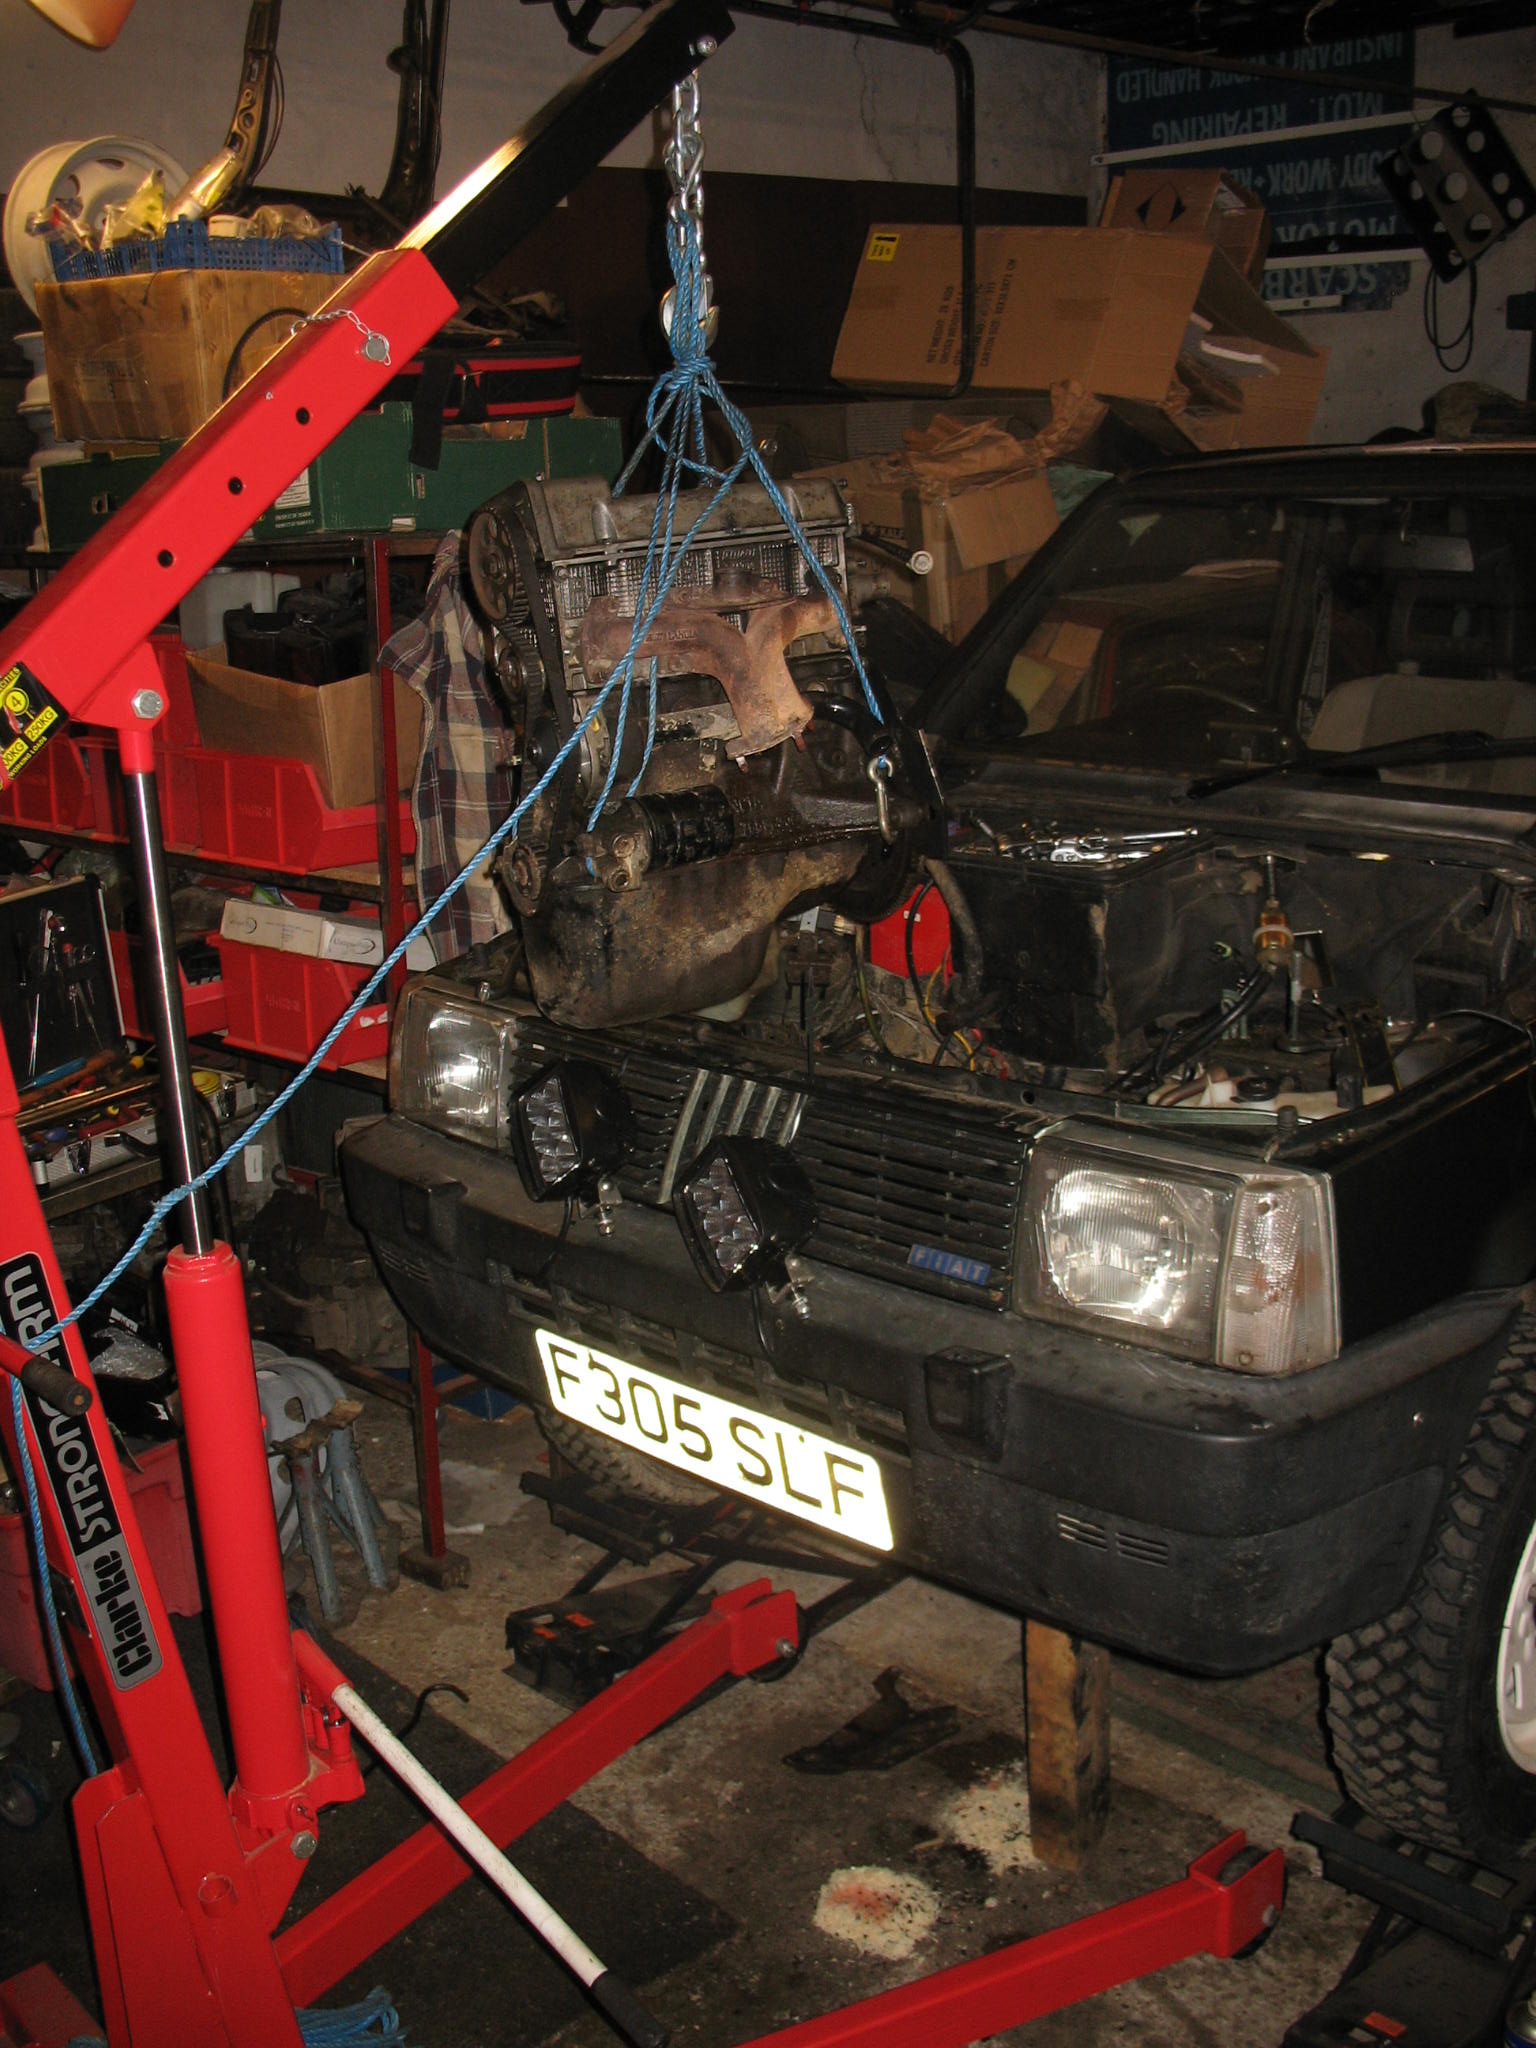
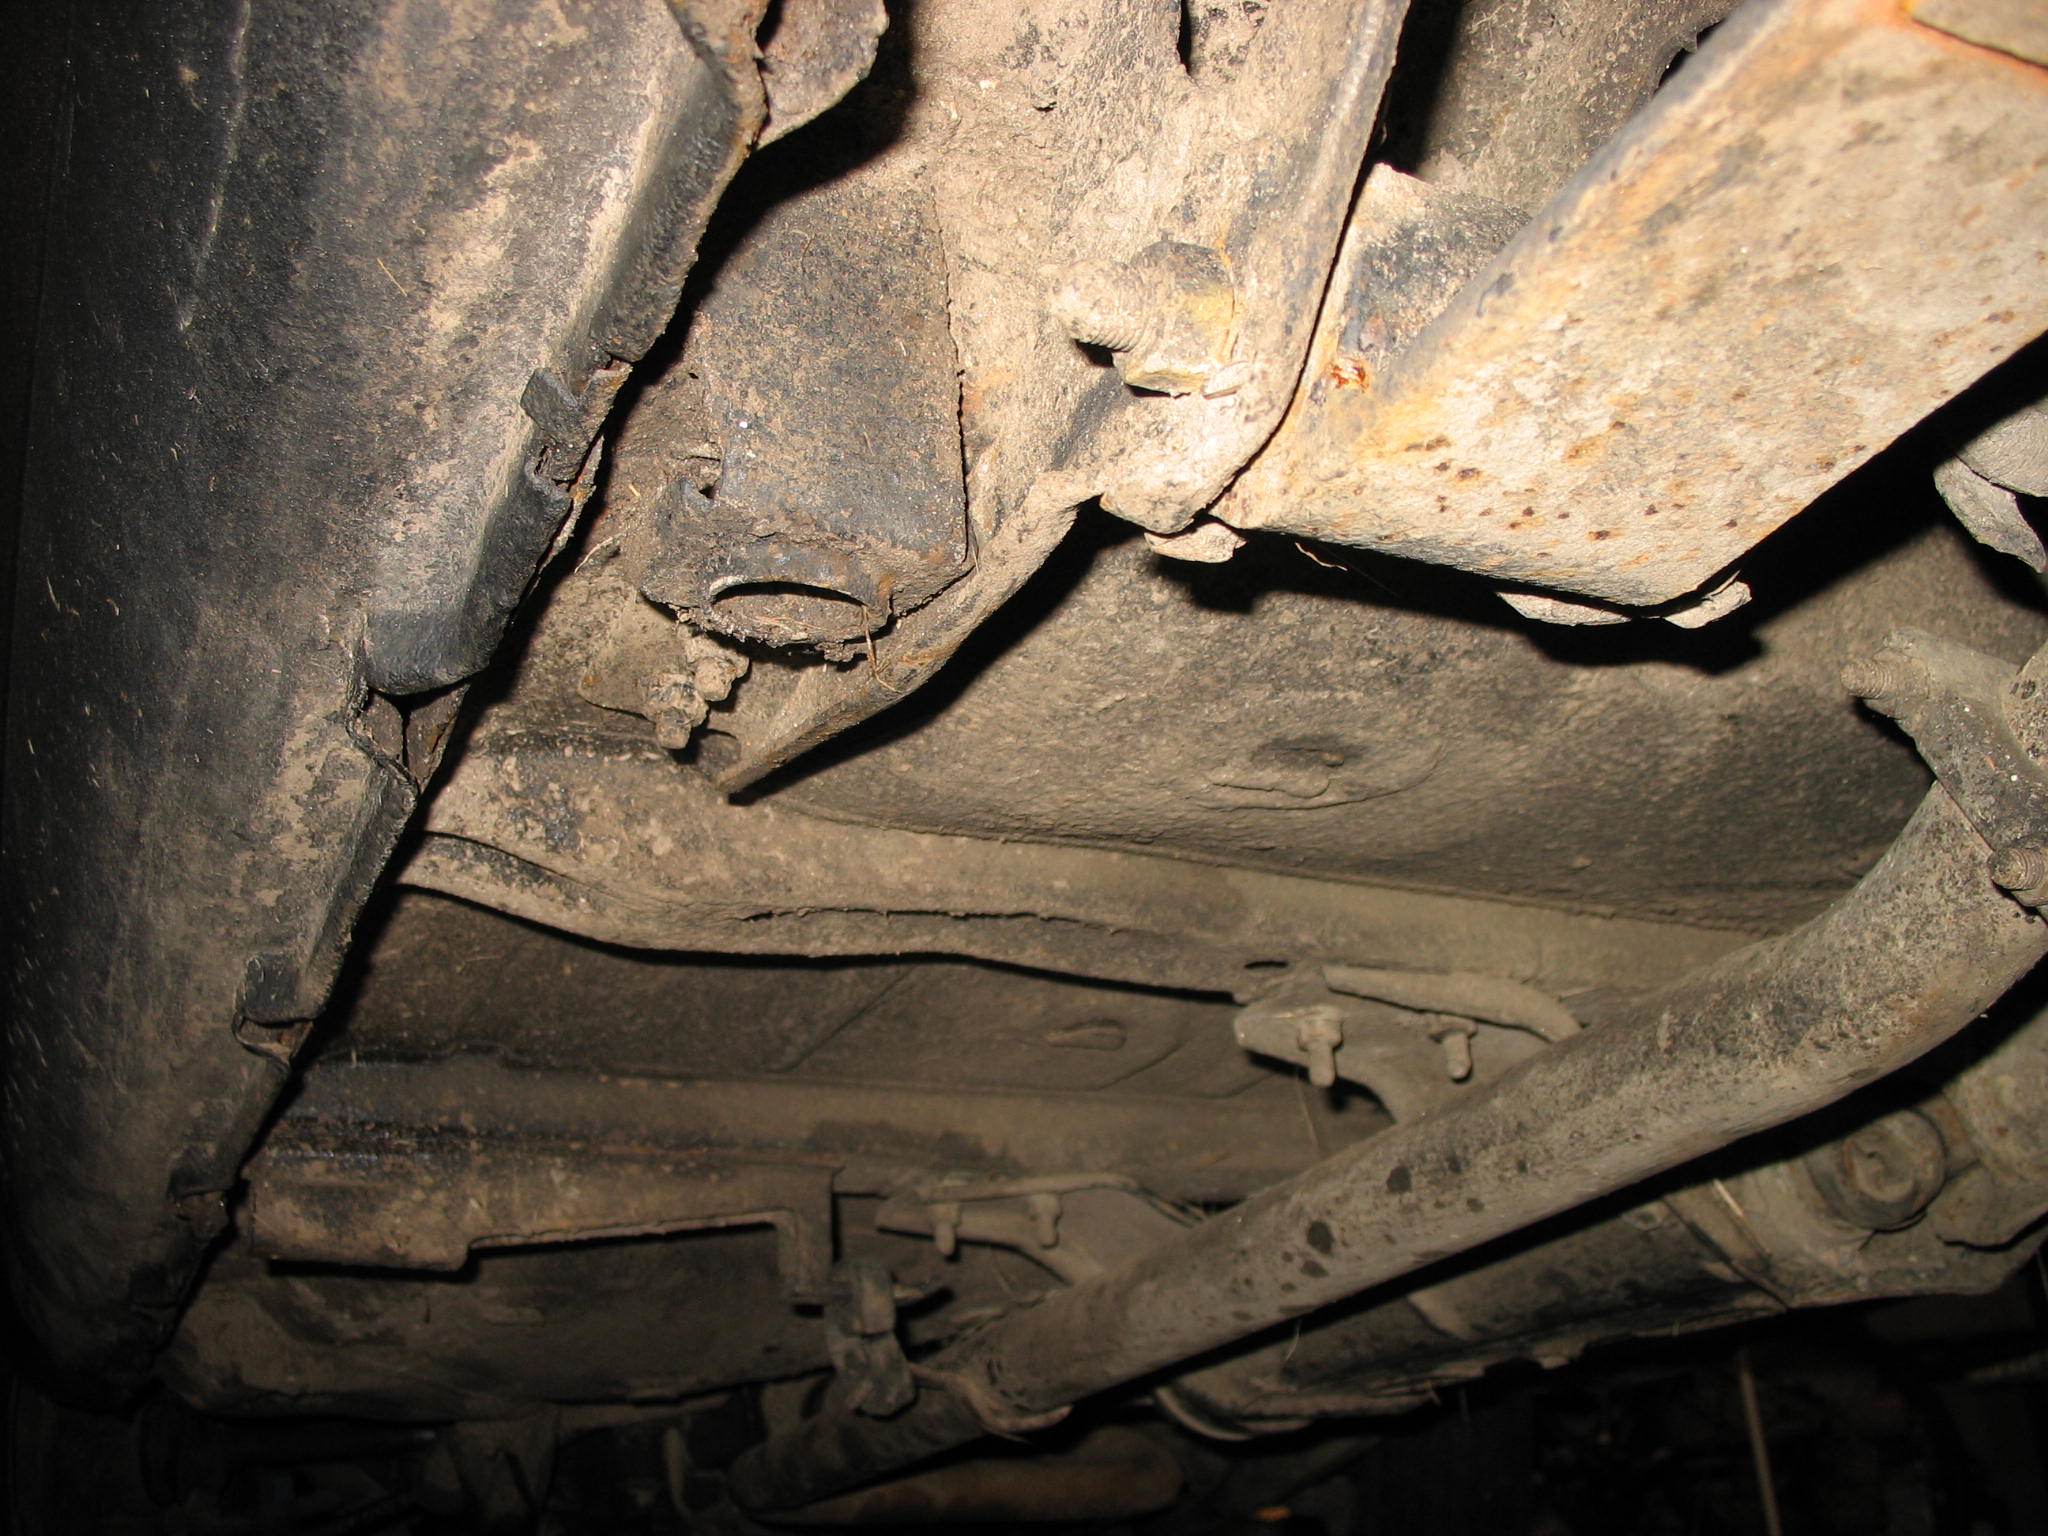
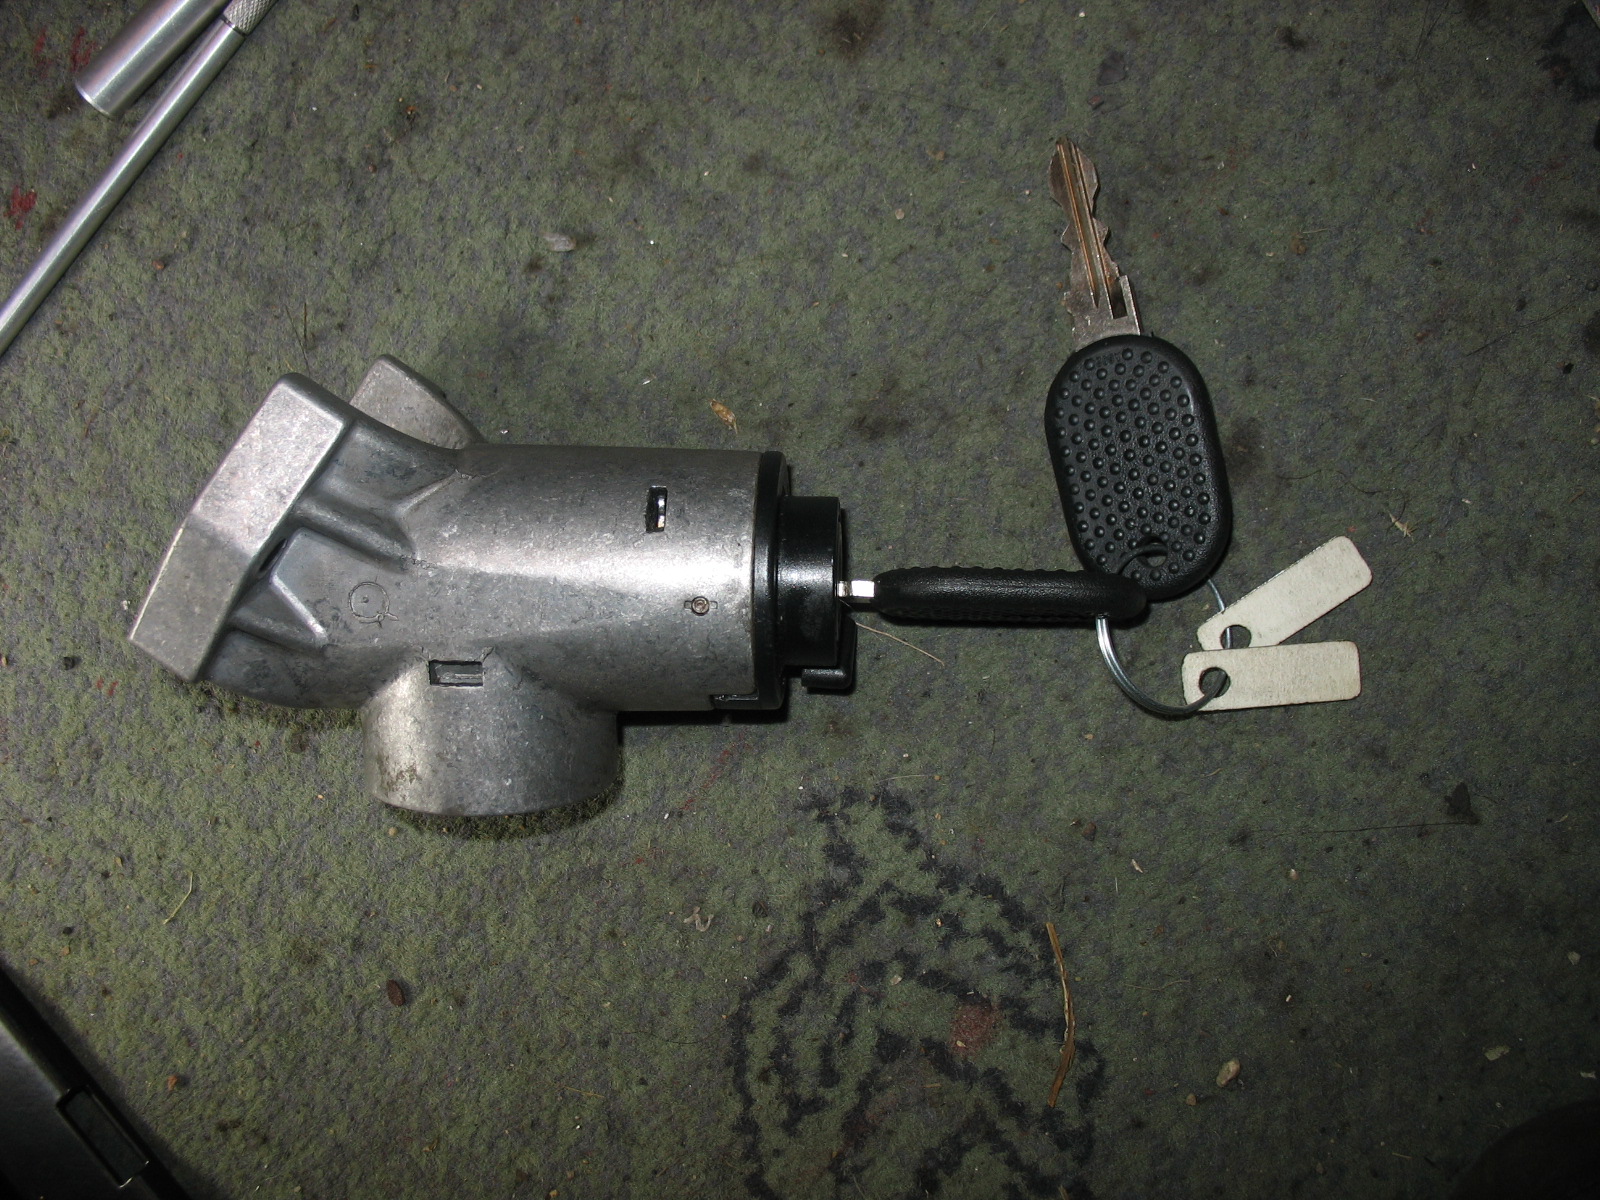
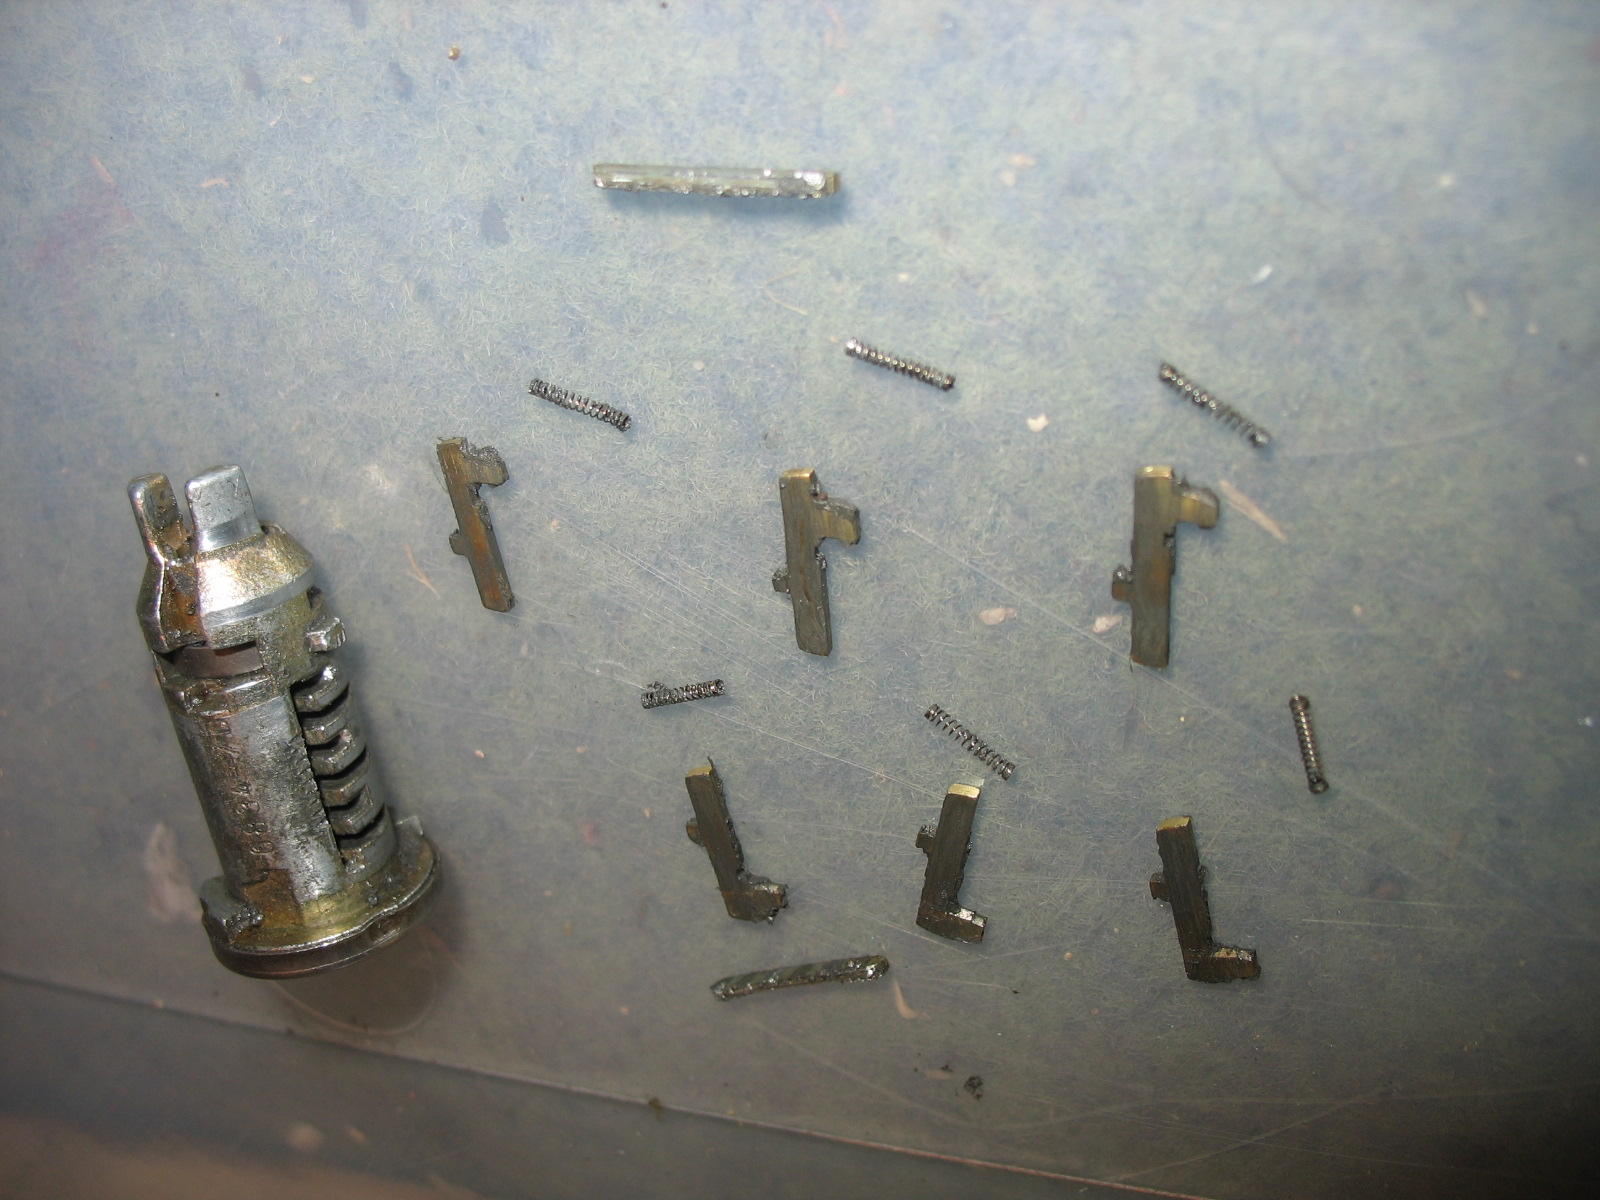
And time for the bad boy
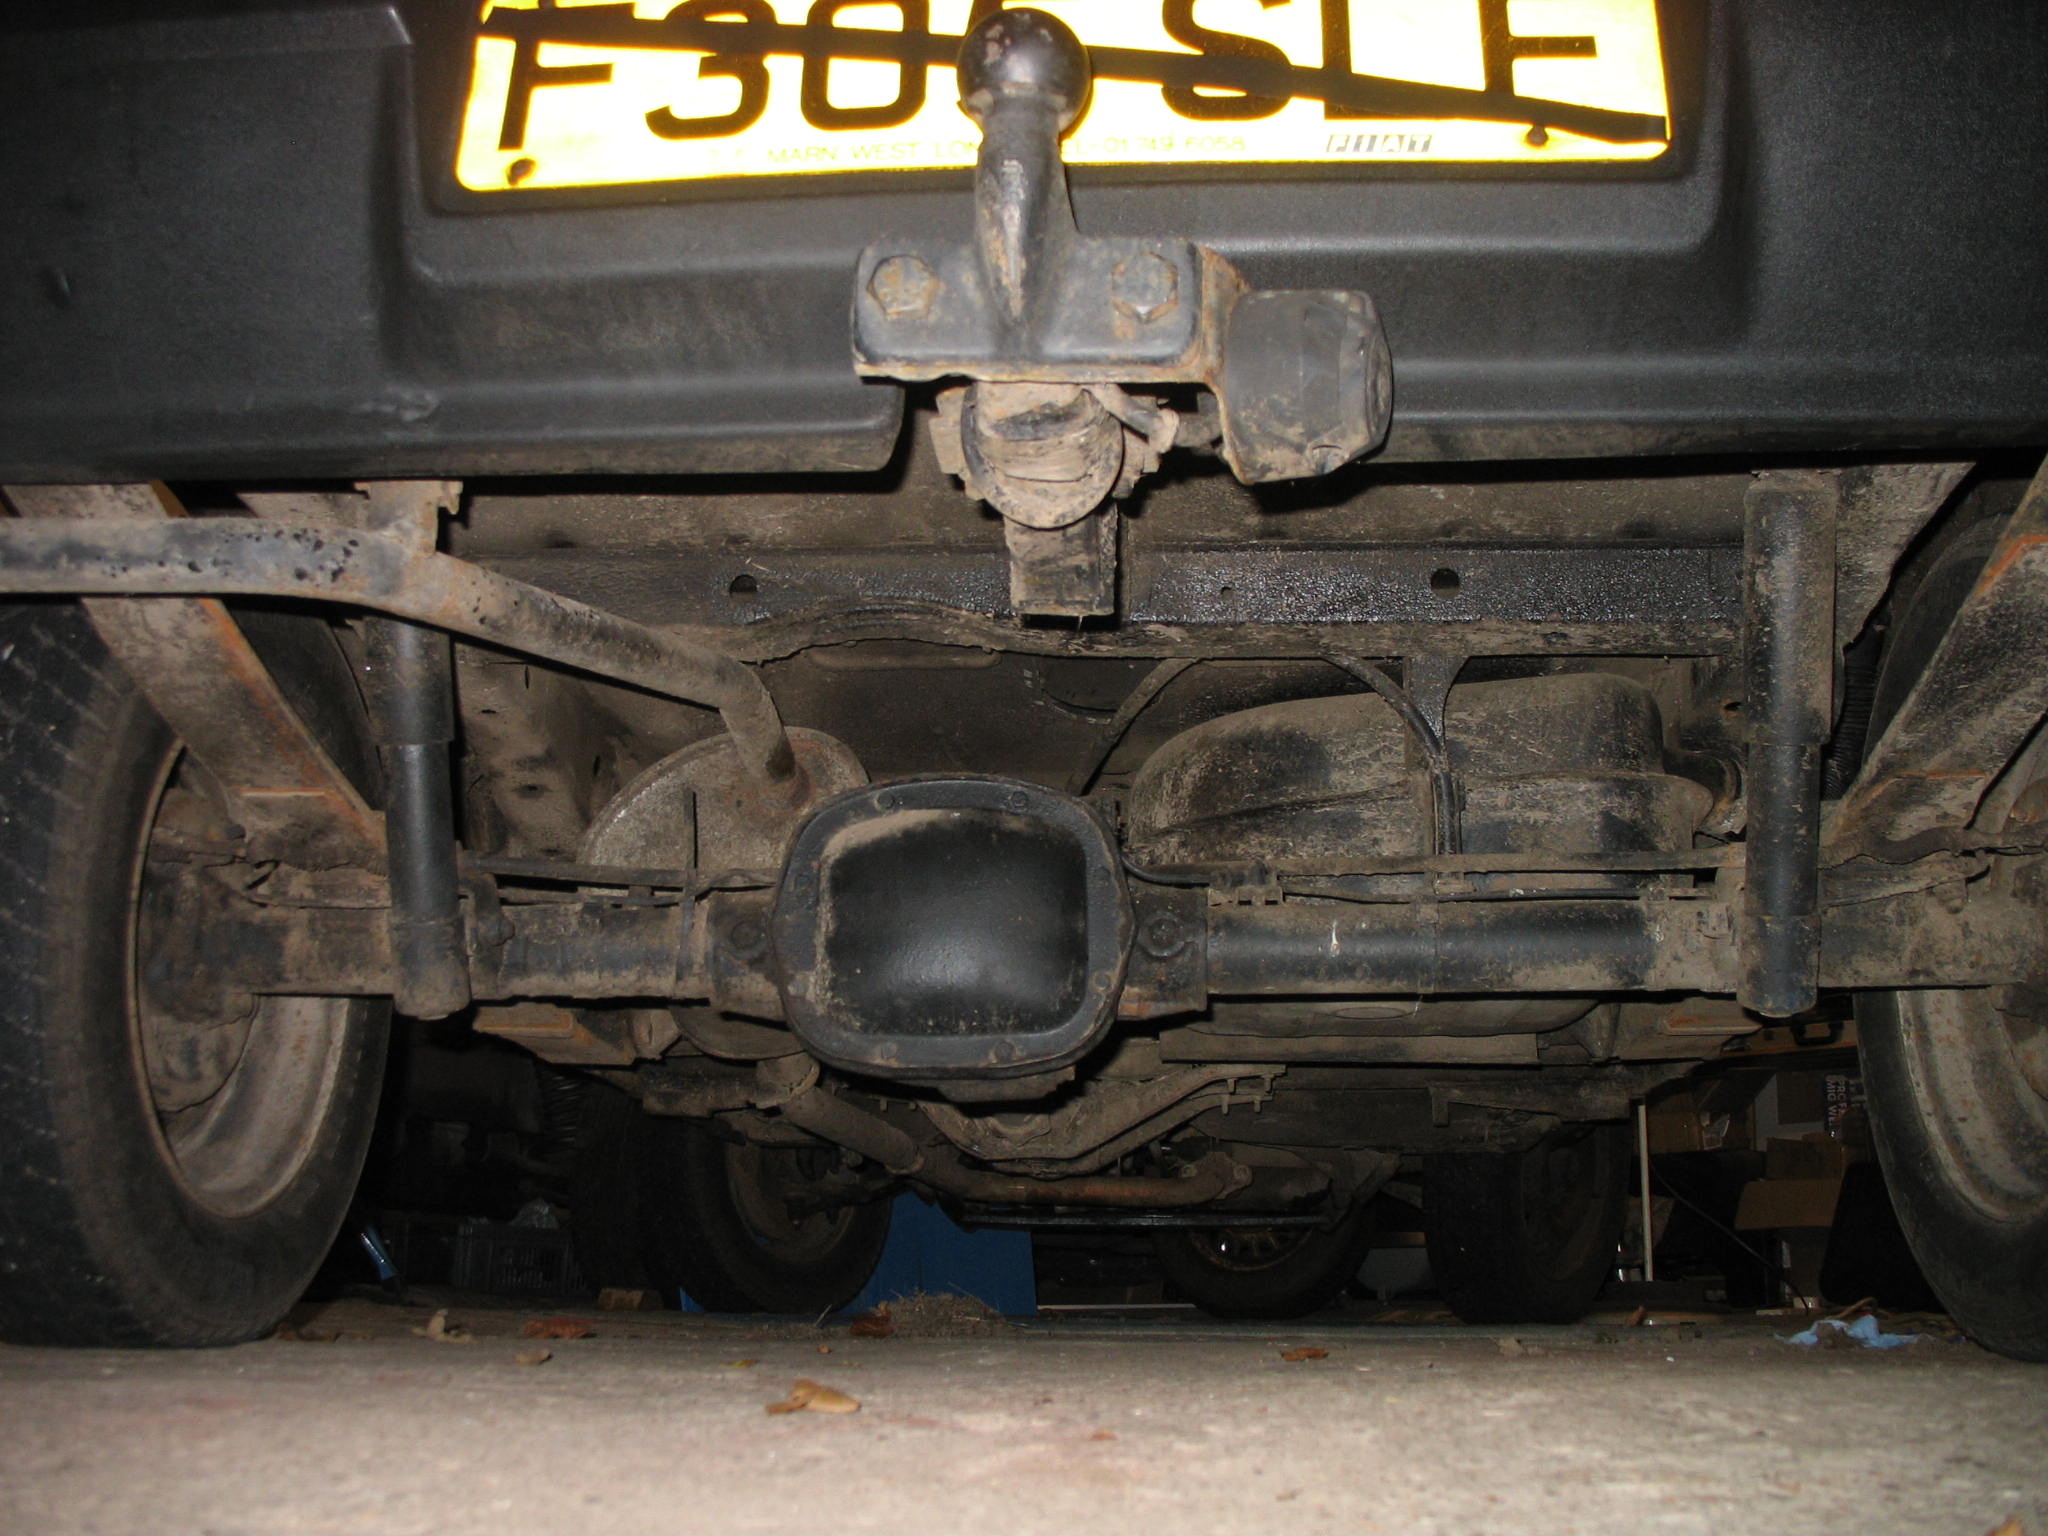
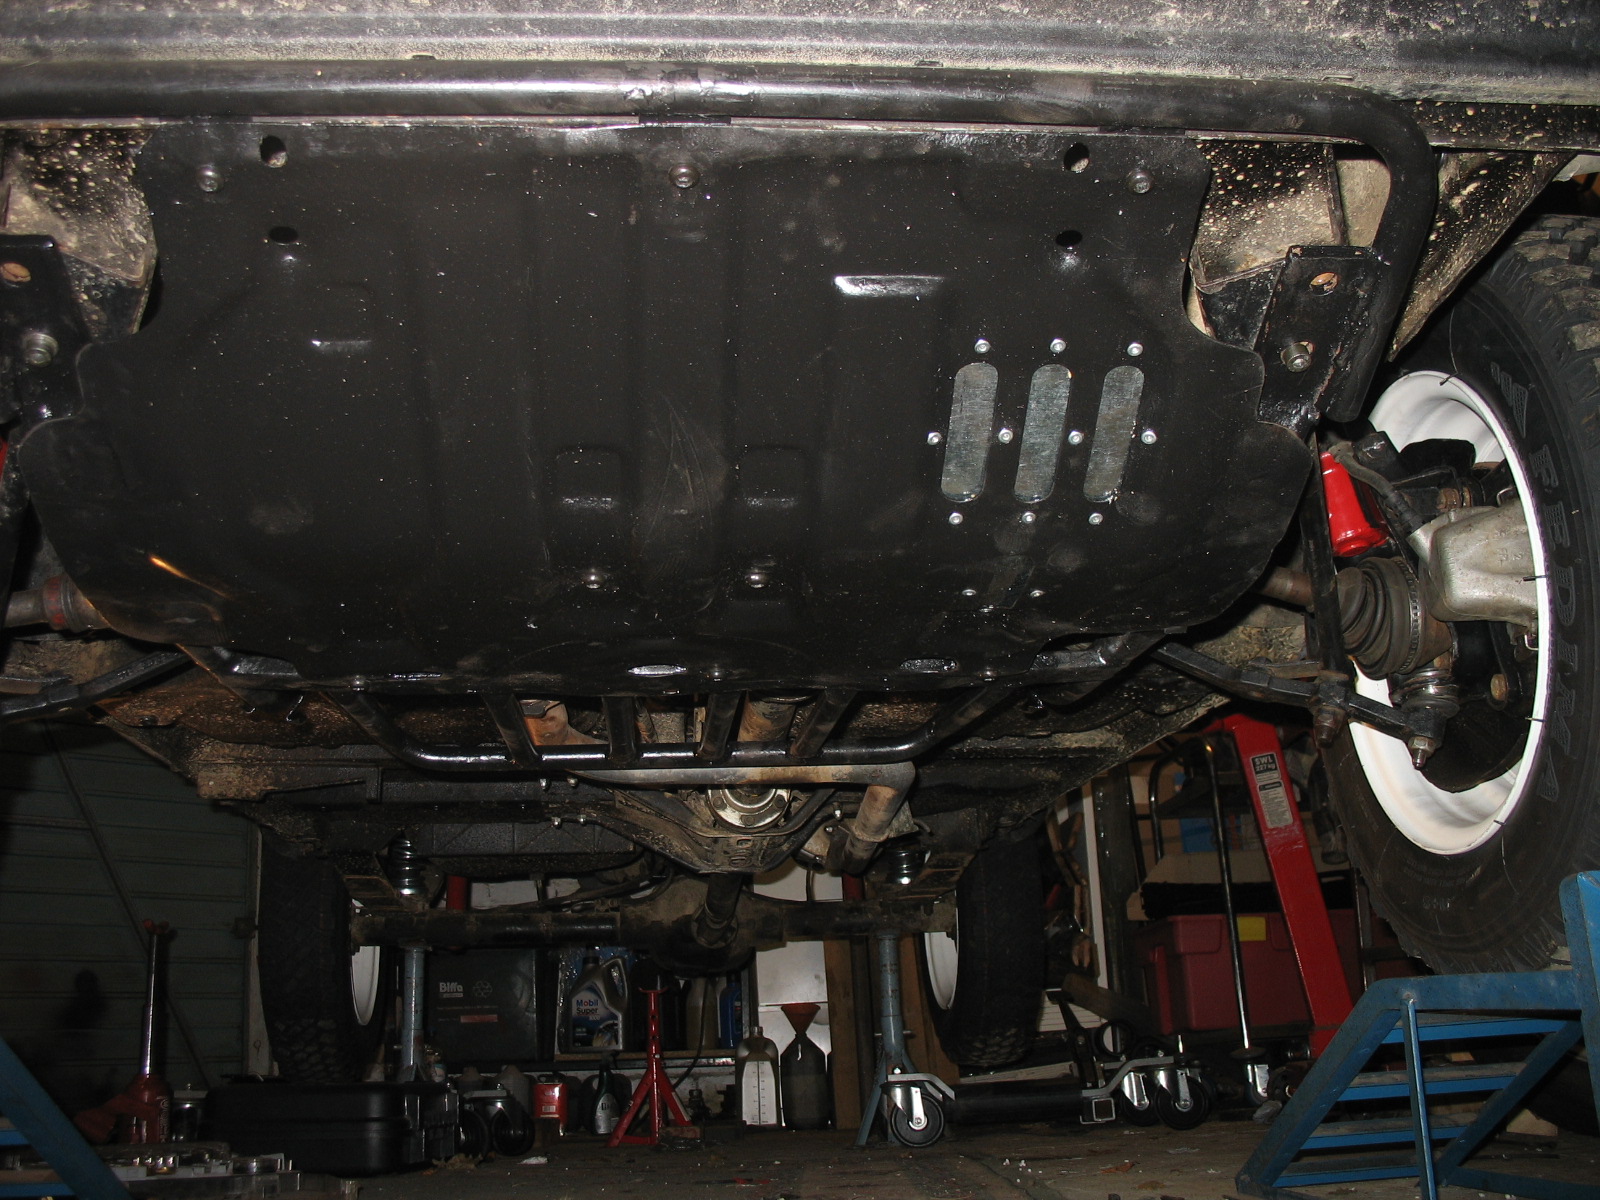
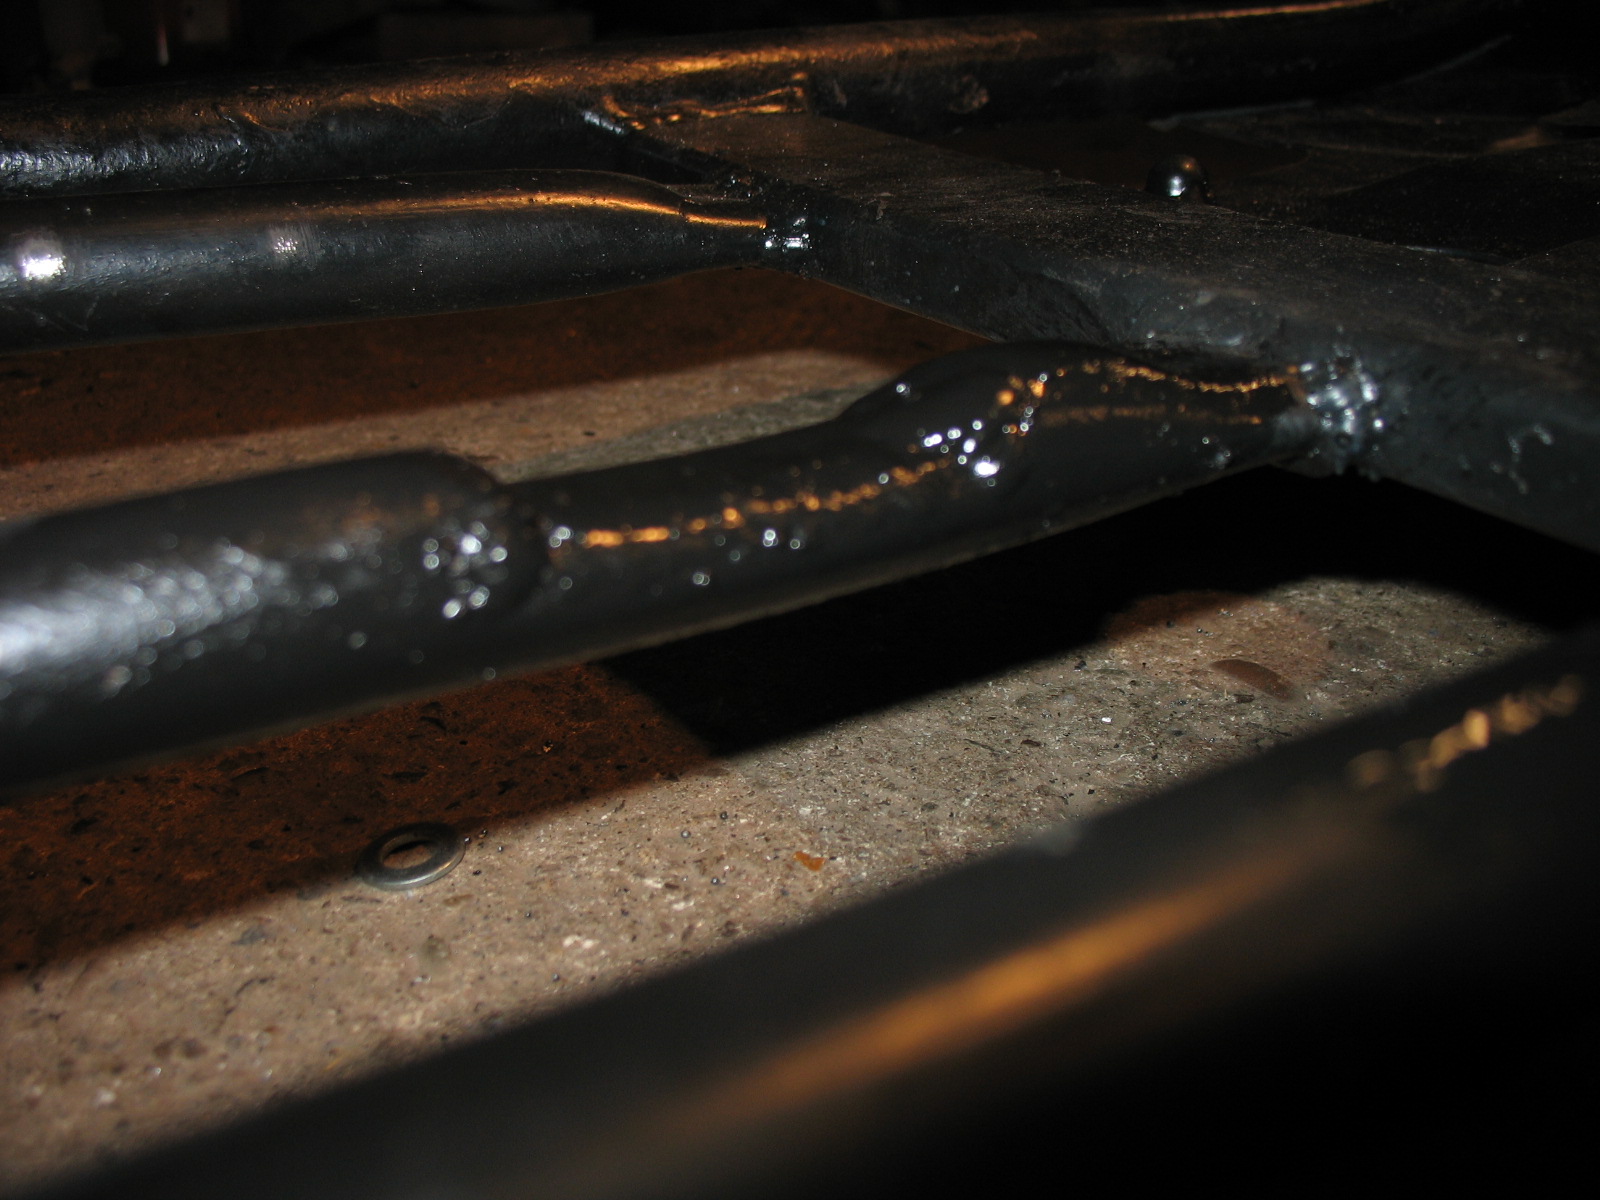
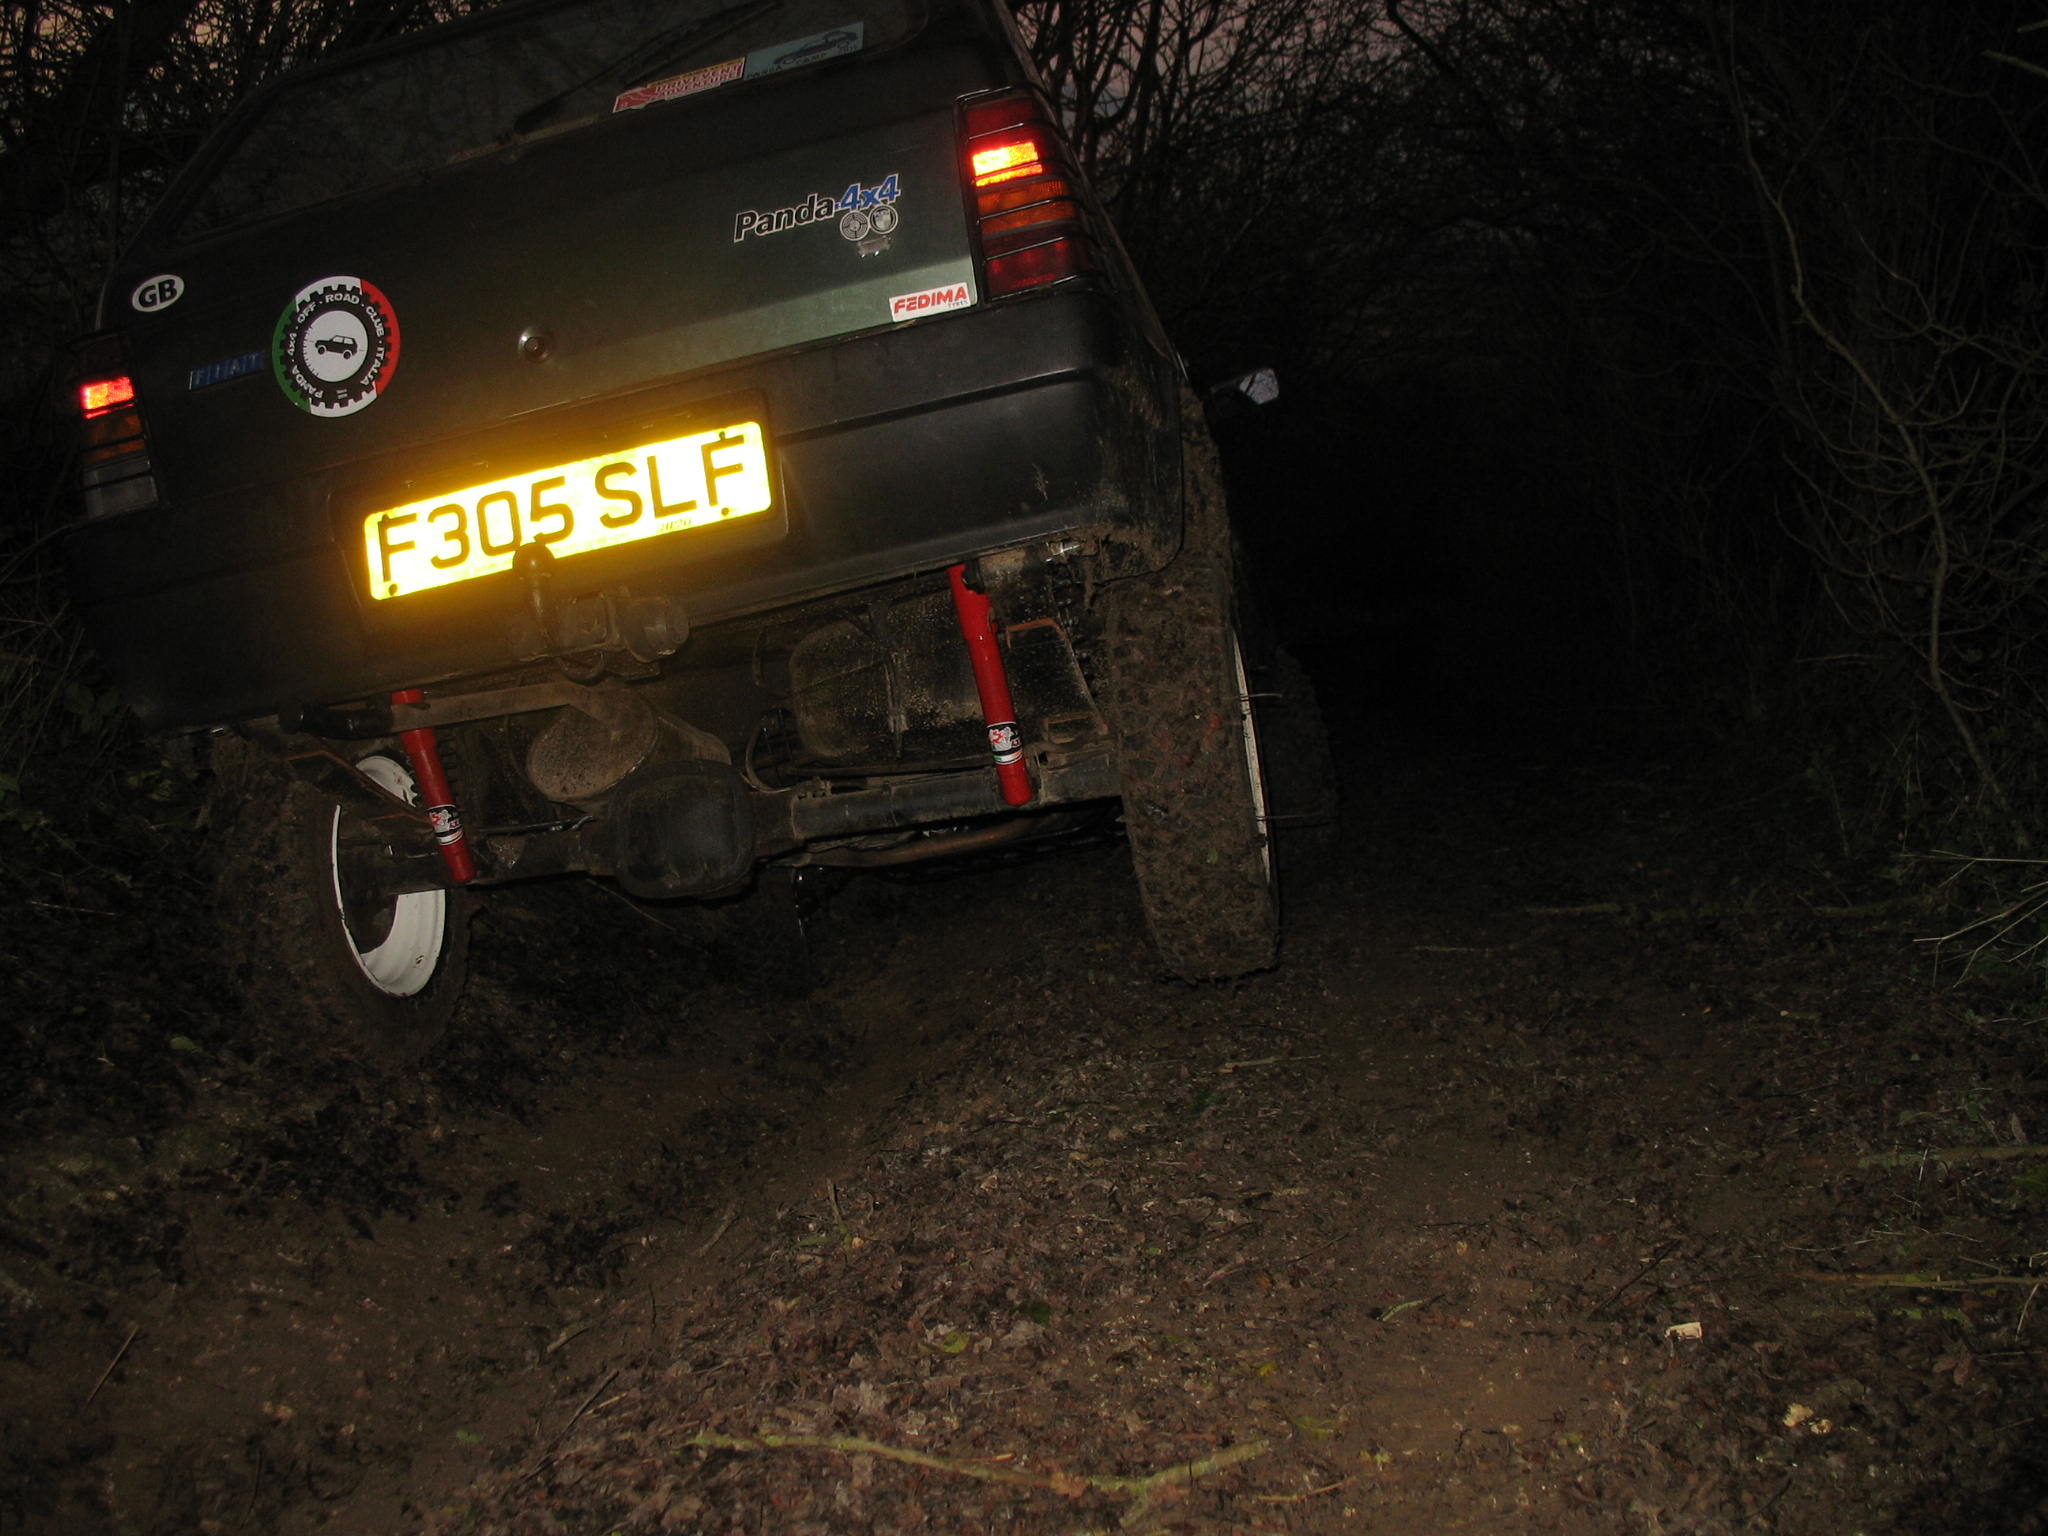
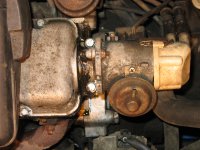
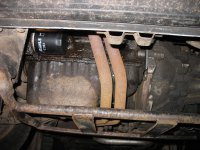
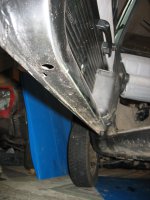
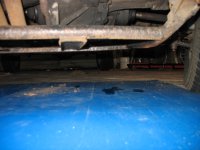
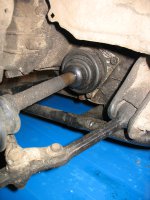
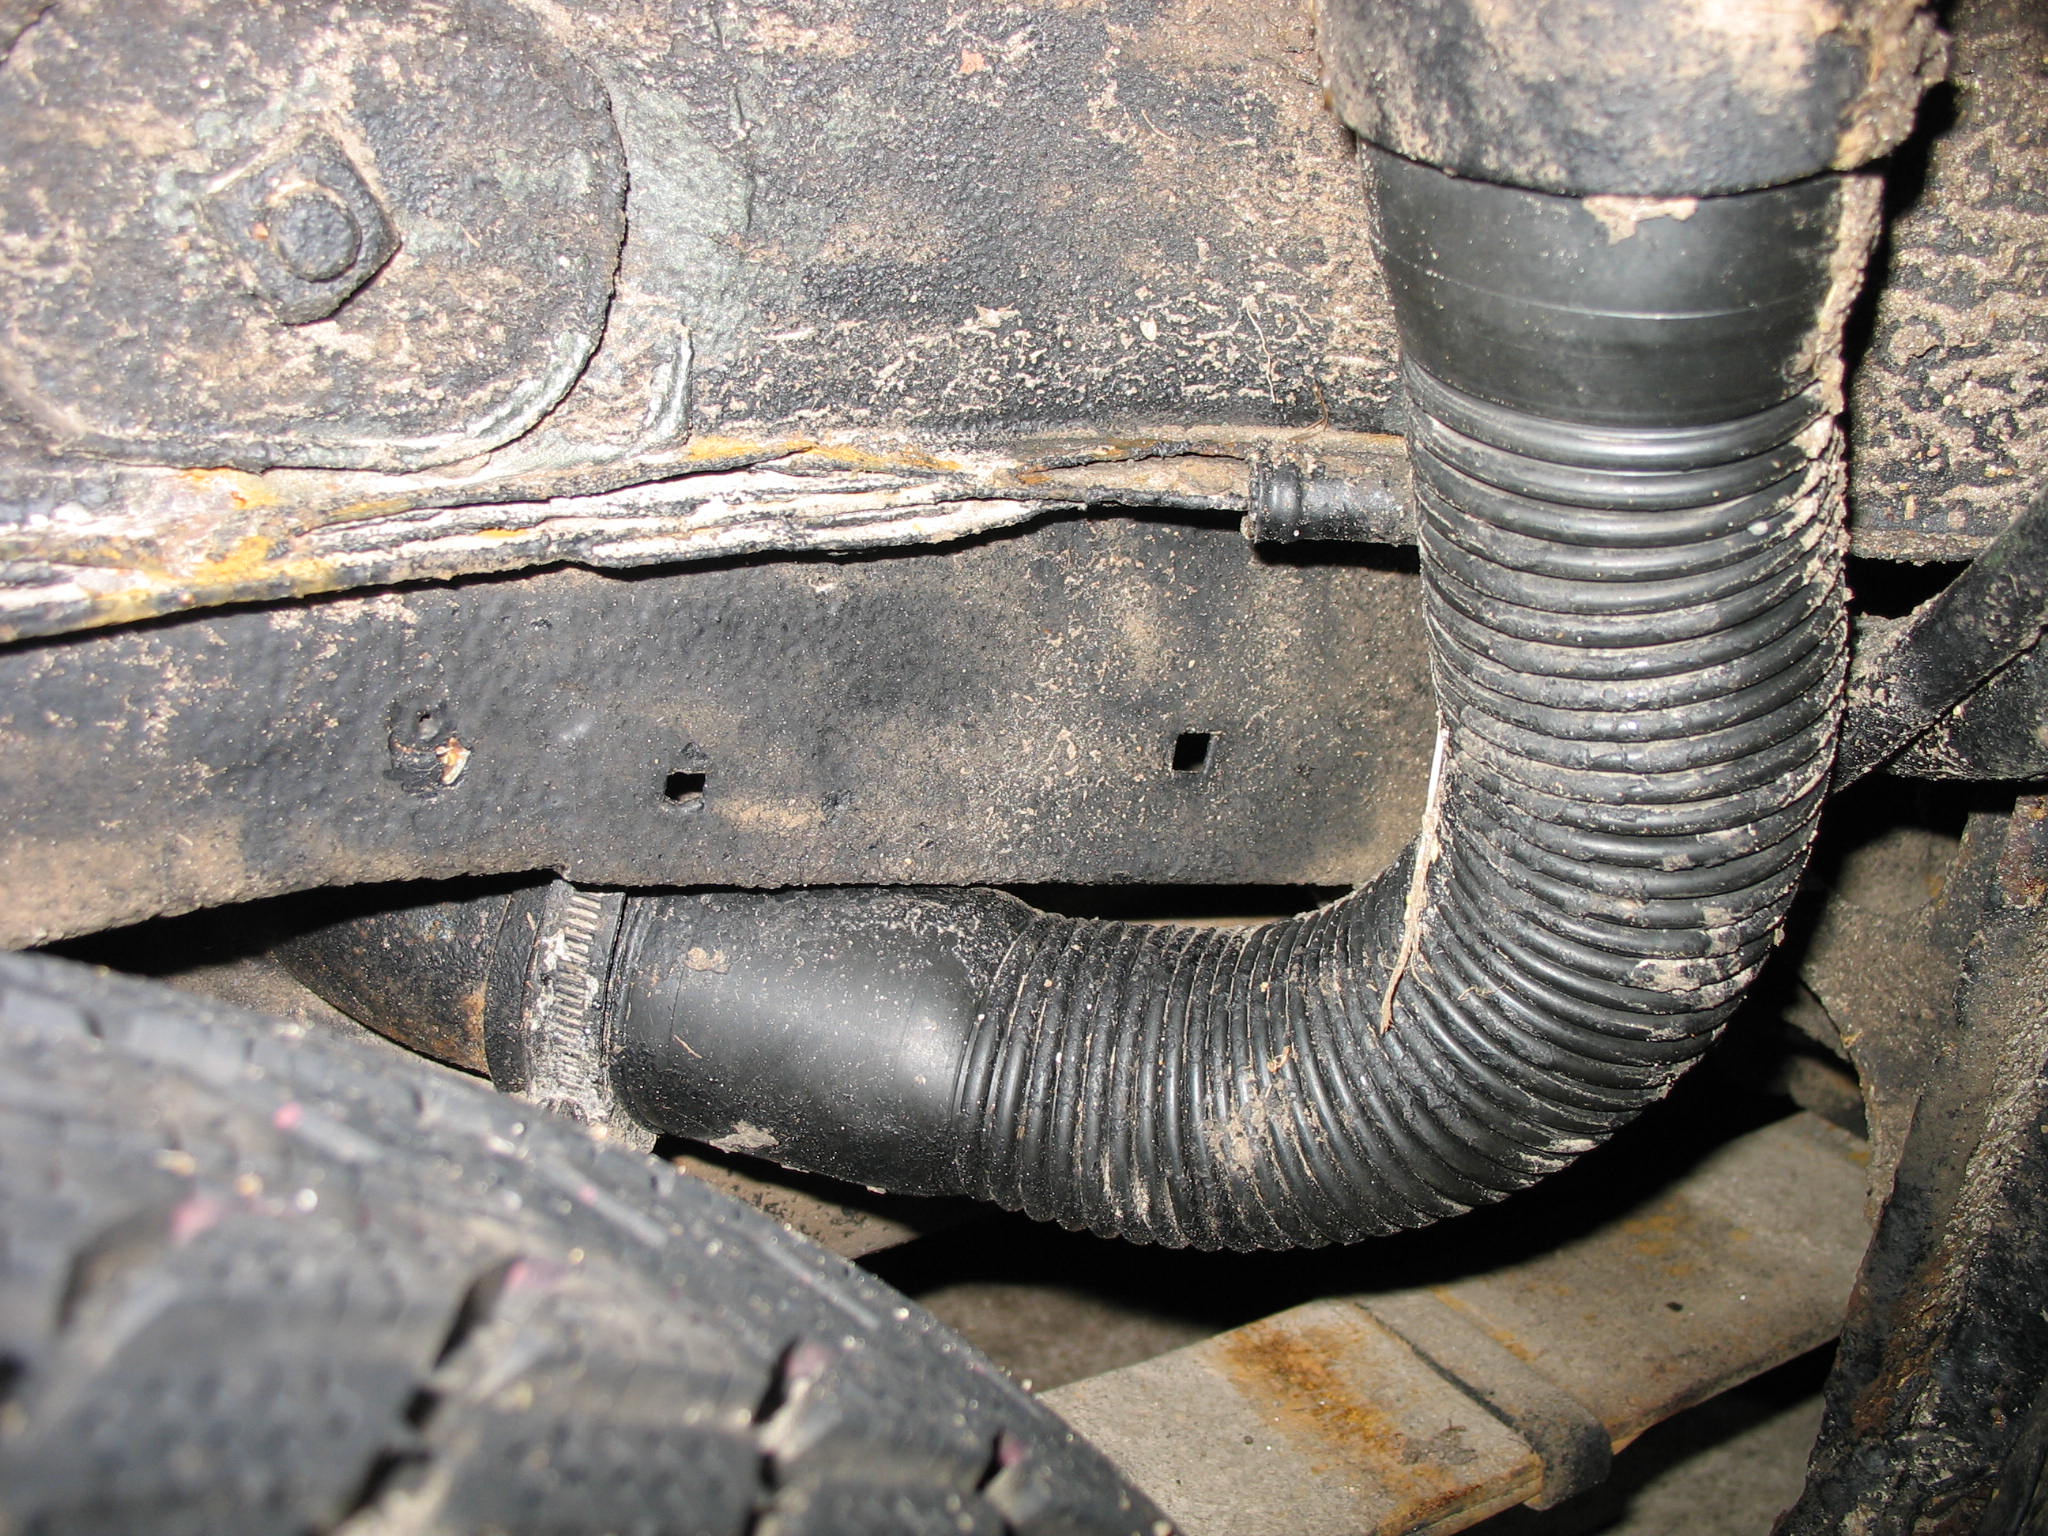
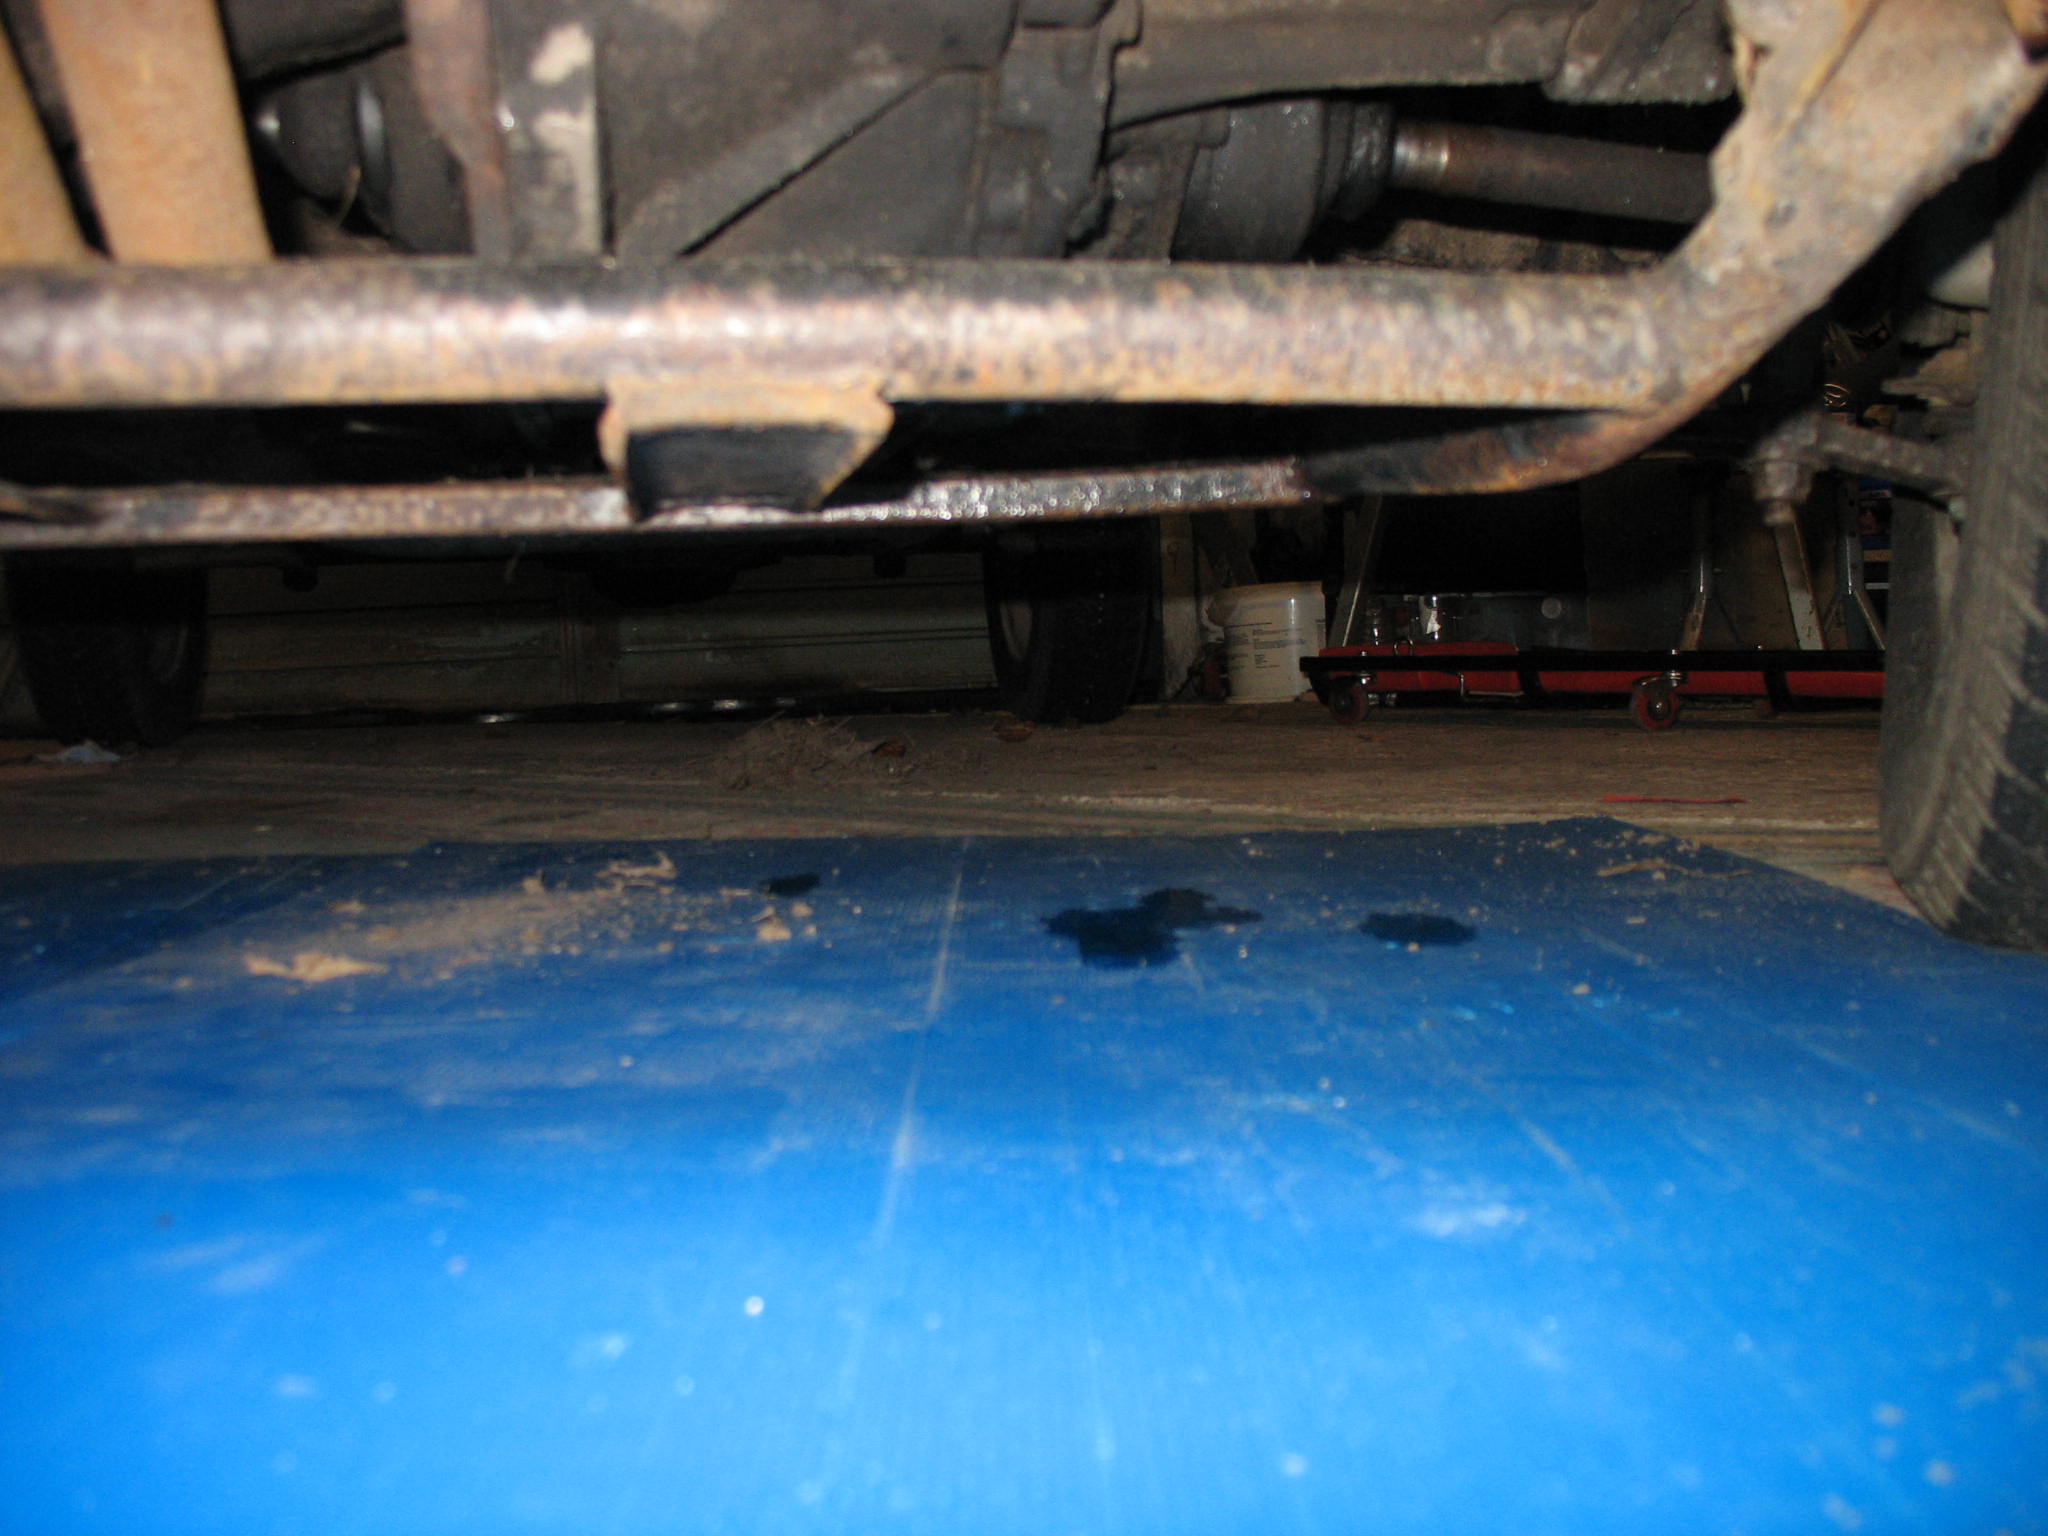
Is that gap between the propshaft and diff is normall?

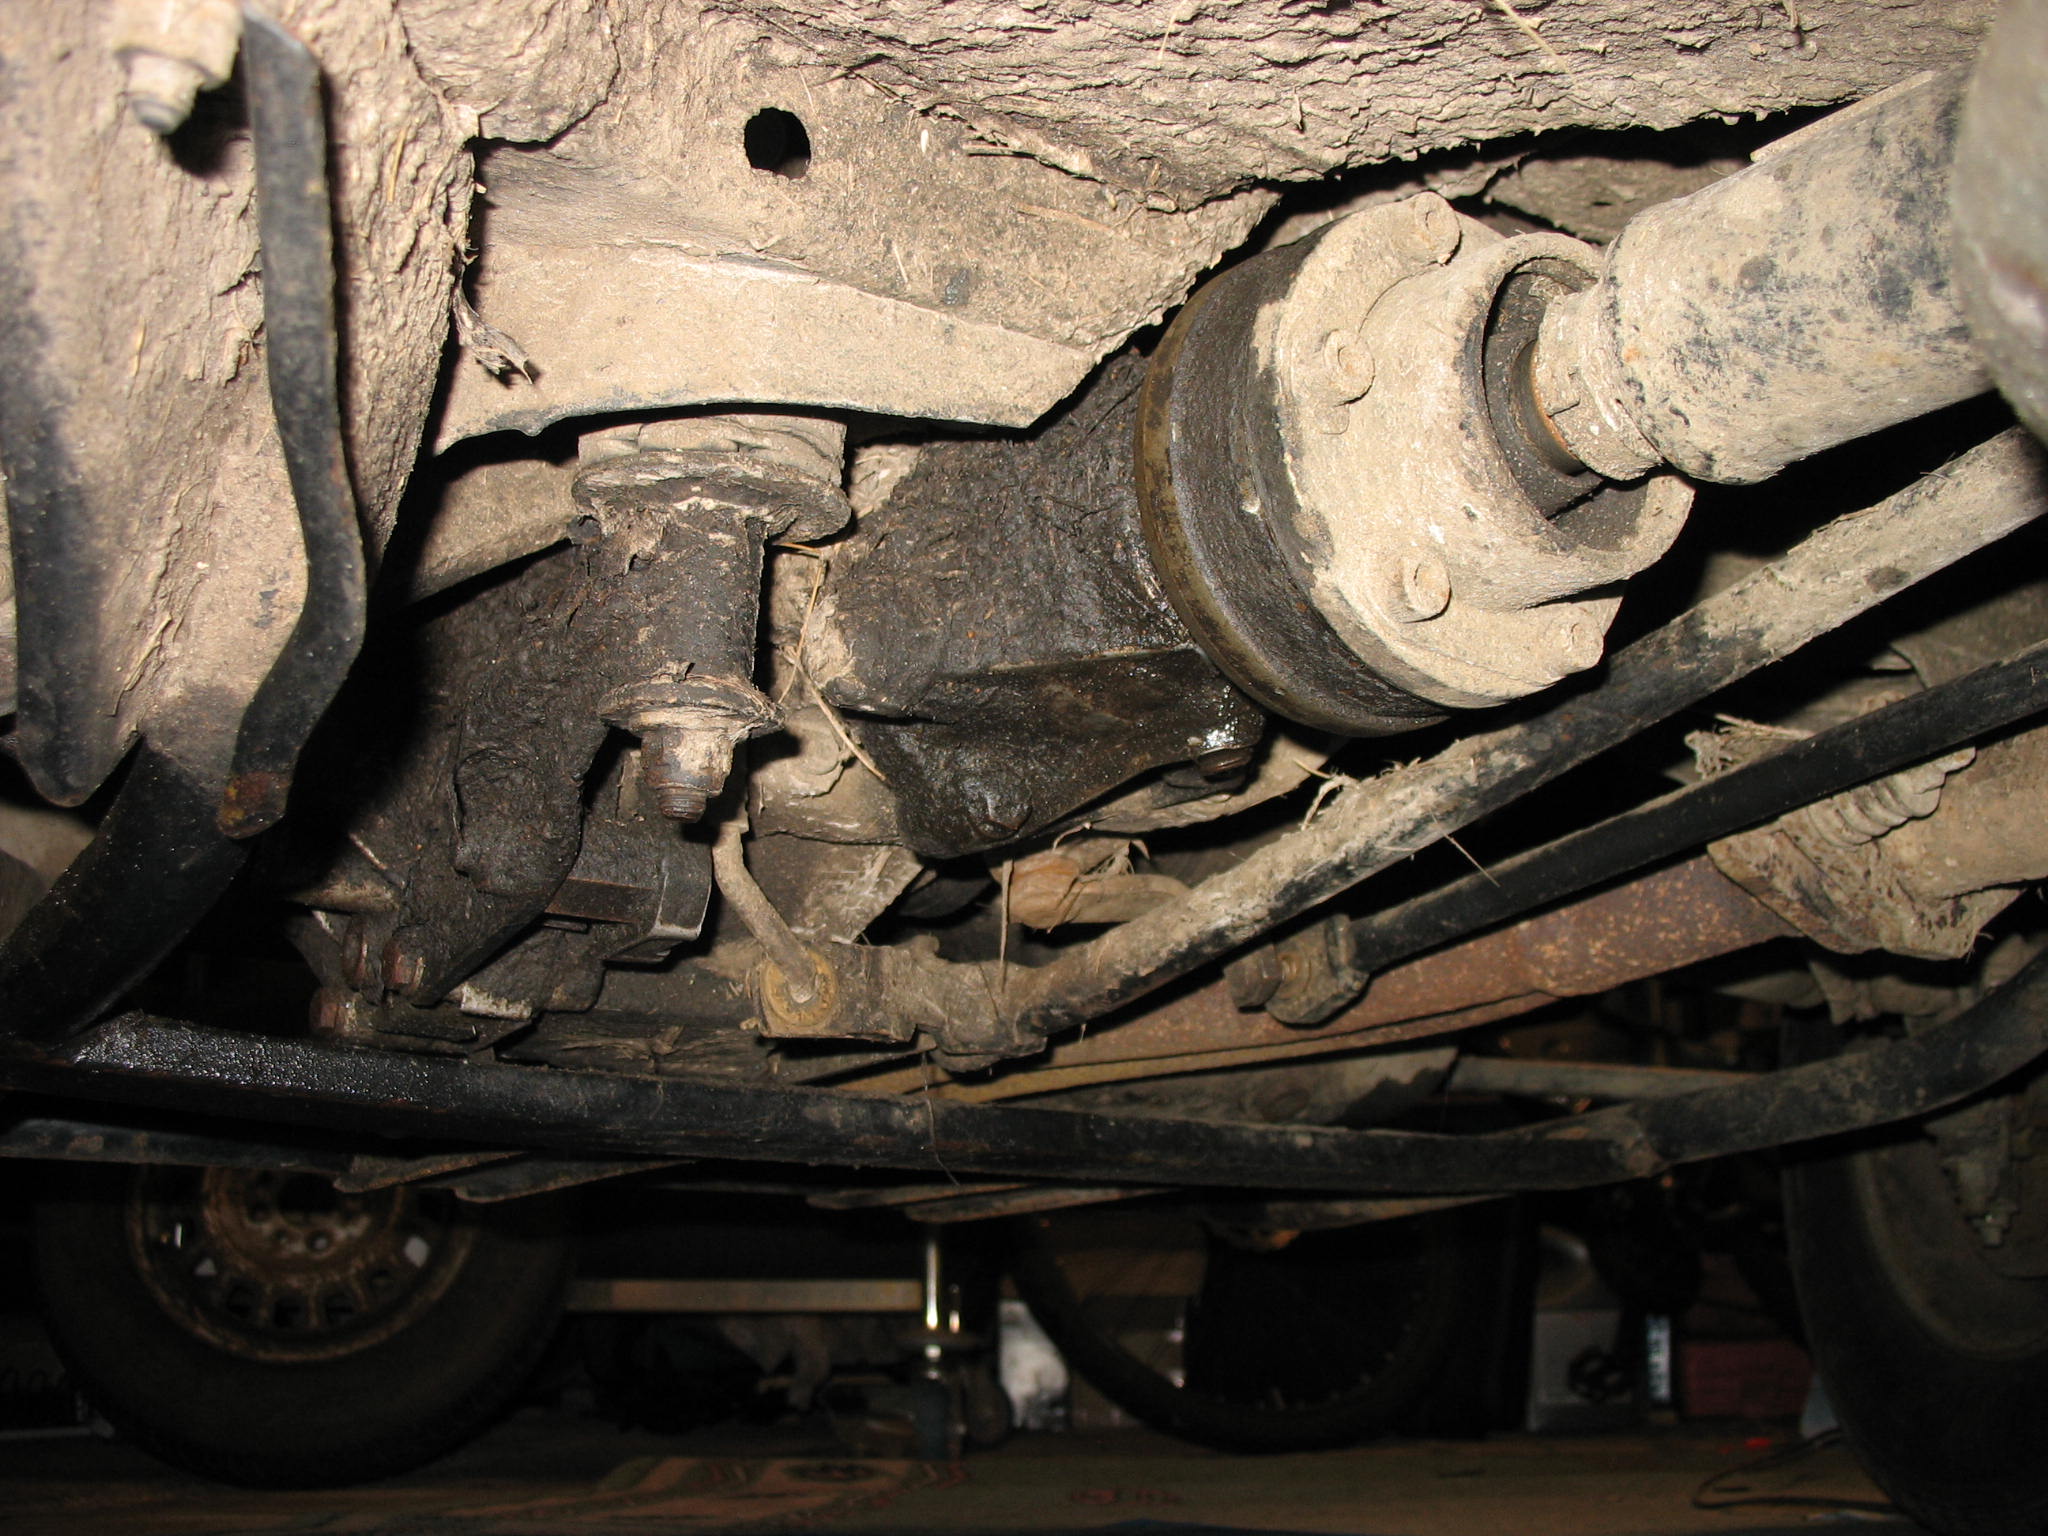

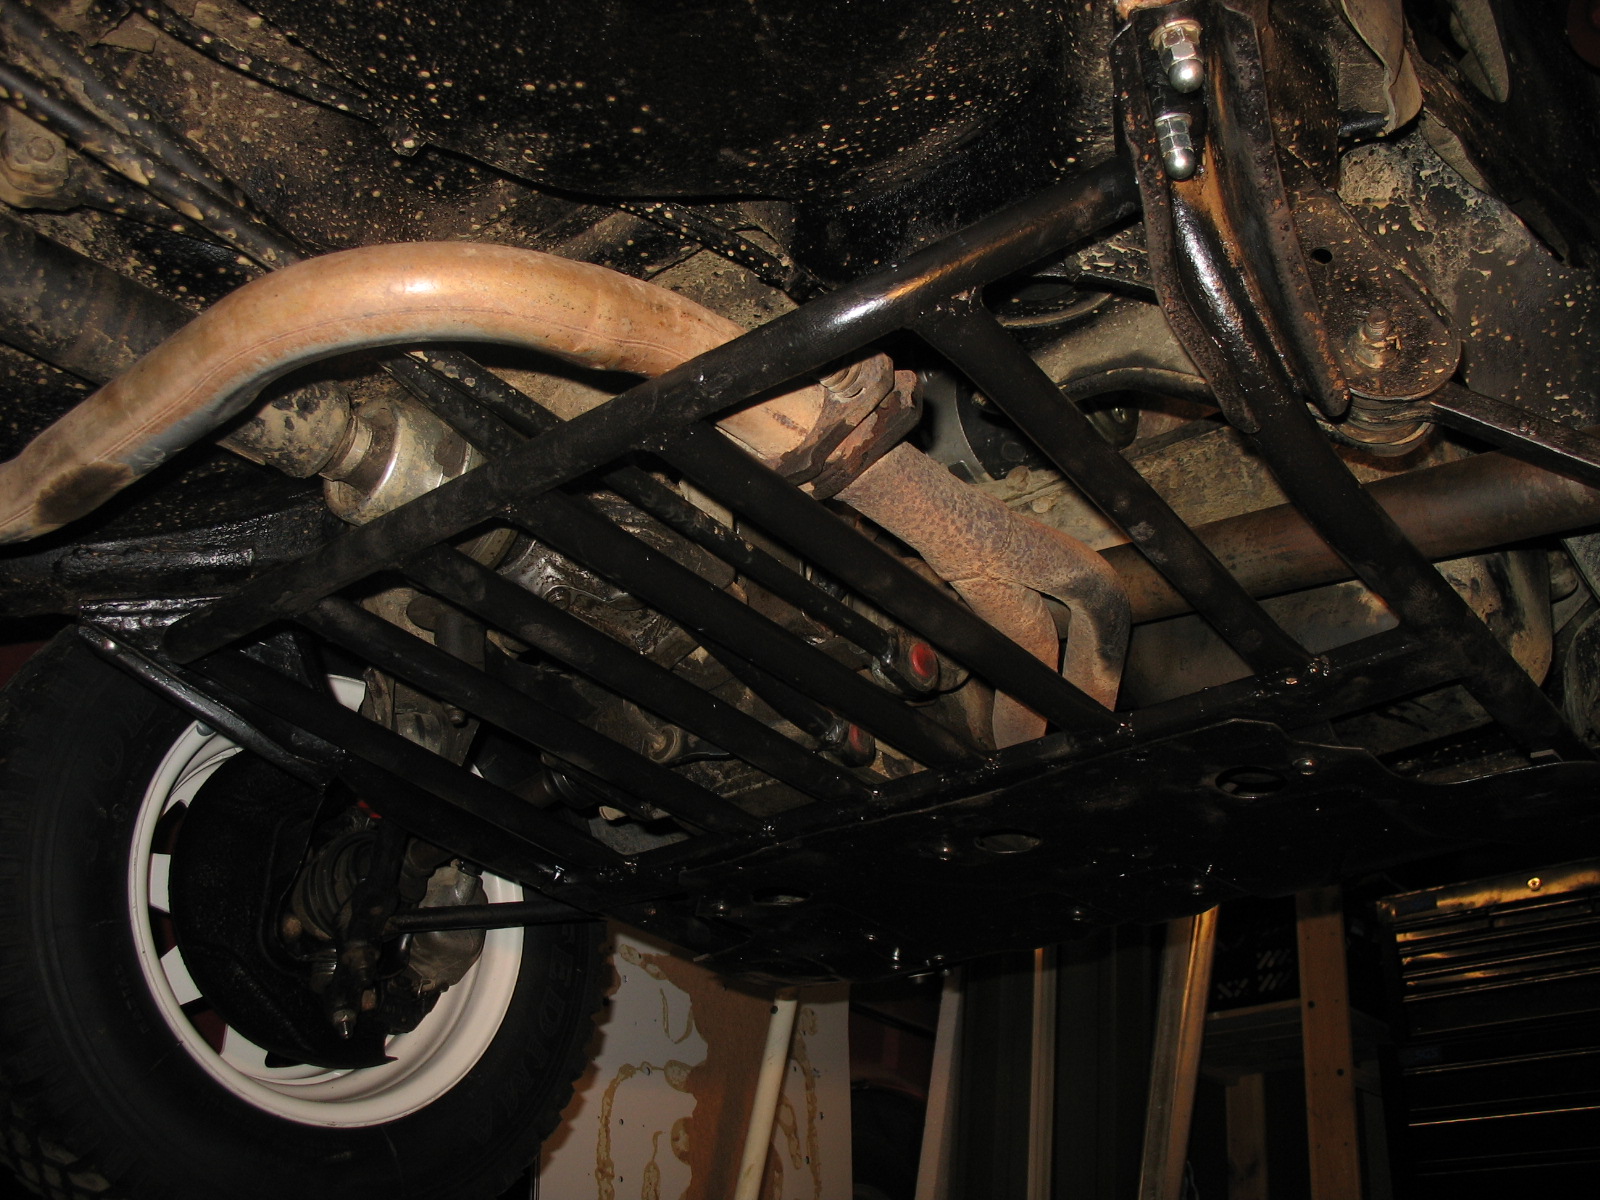
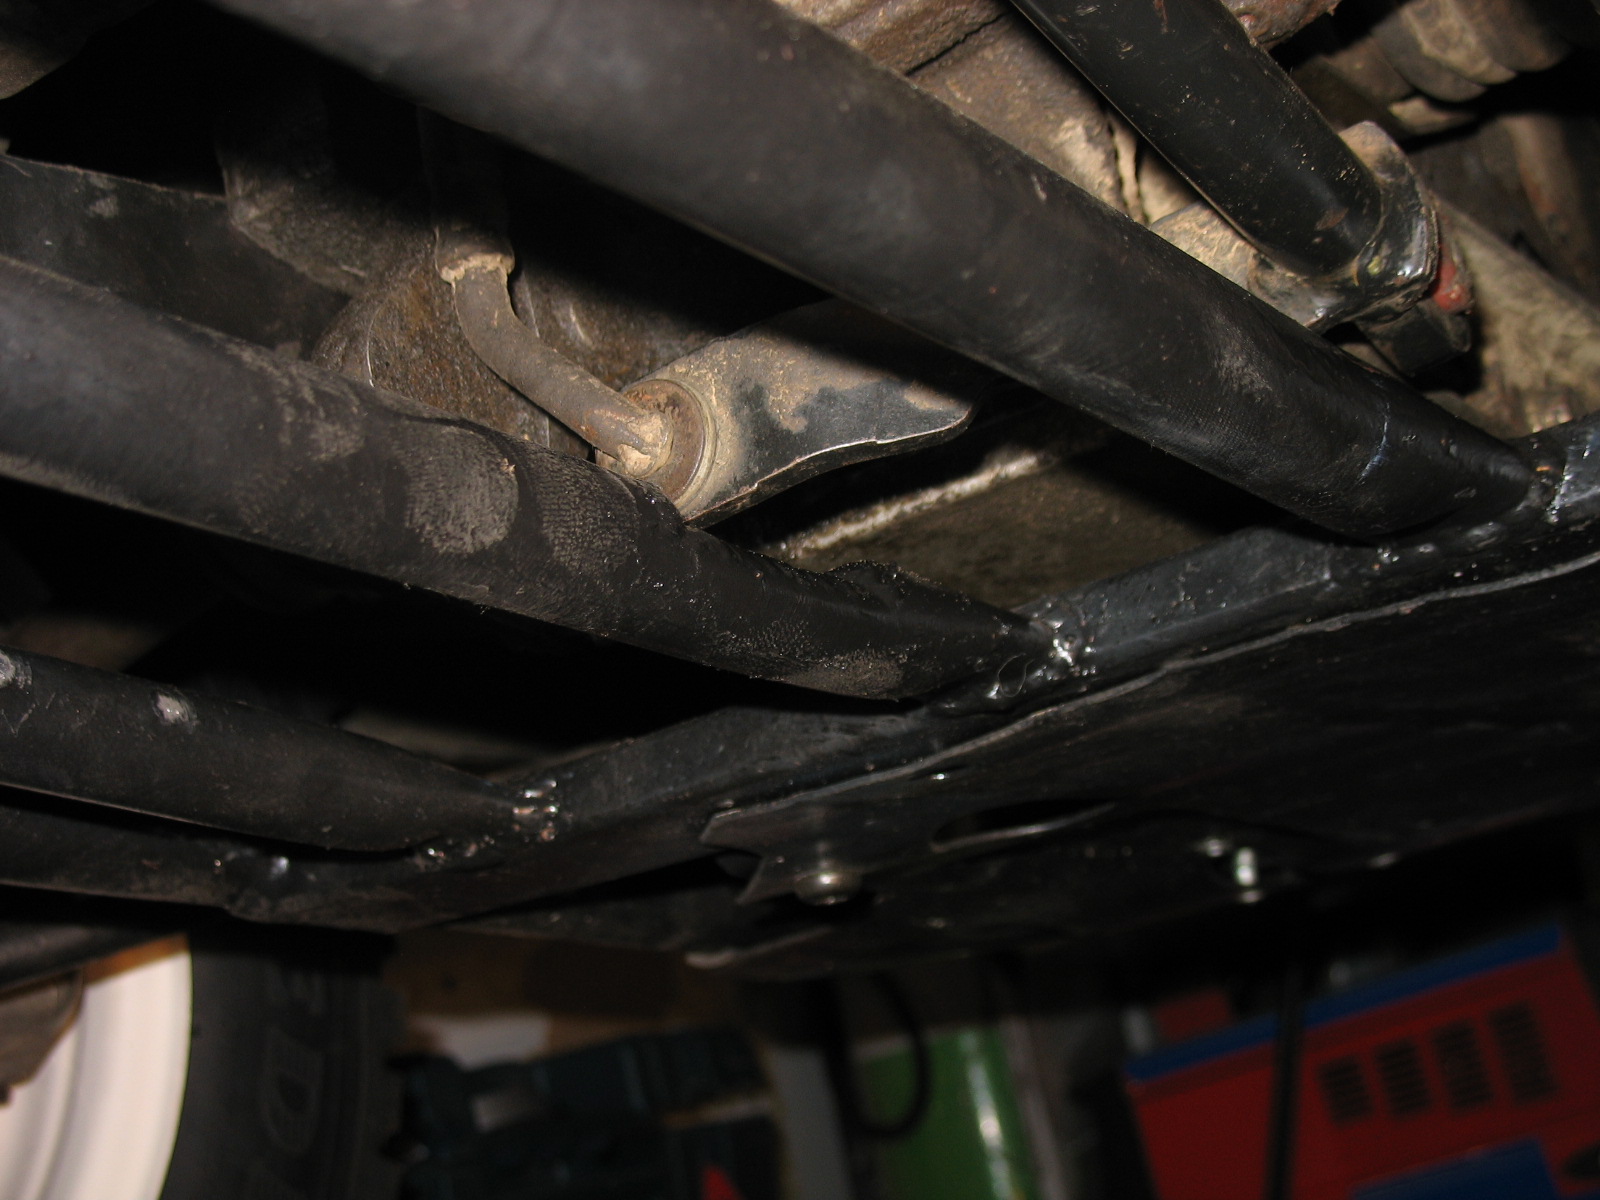
Dear FFCP section members, any comments, suggestions and observation are more than welcome, especcialy regards the 4x4 drive train i.e. leaks etc.
Bought it from forum user, deposit was place without seeing the car first, went all the way down south with rest of the cash and A-frame in boot.
First summary of the car is ( 1 is very poor, 10 is perfect):
- Originality - 6,
- Bodywork - 7,
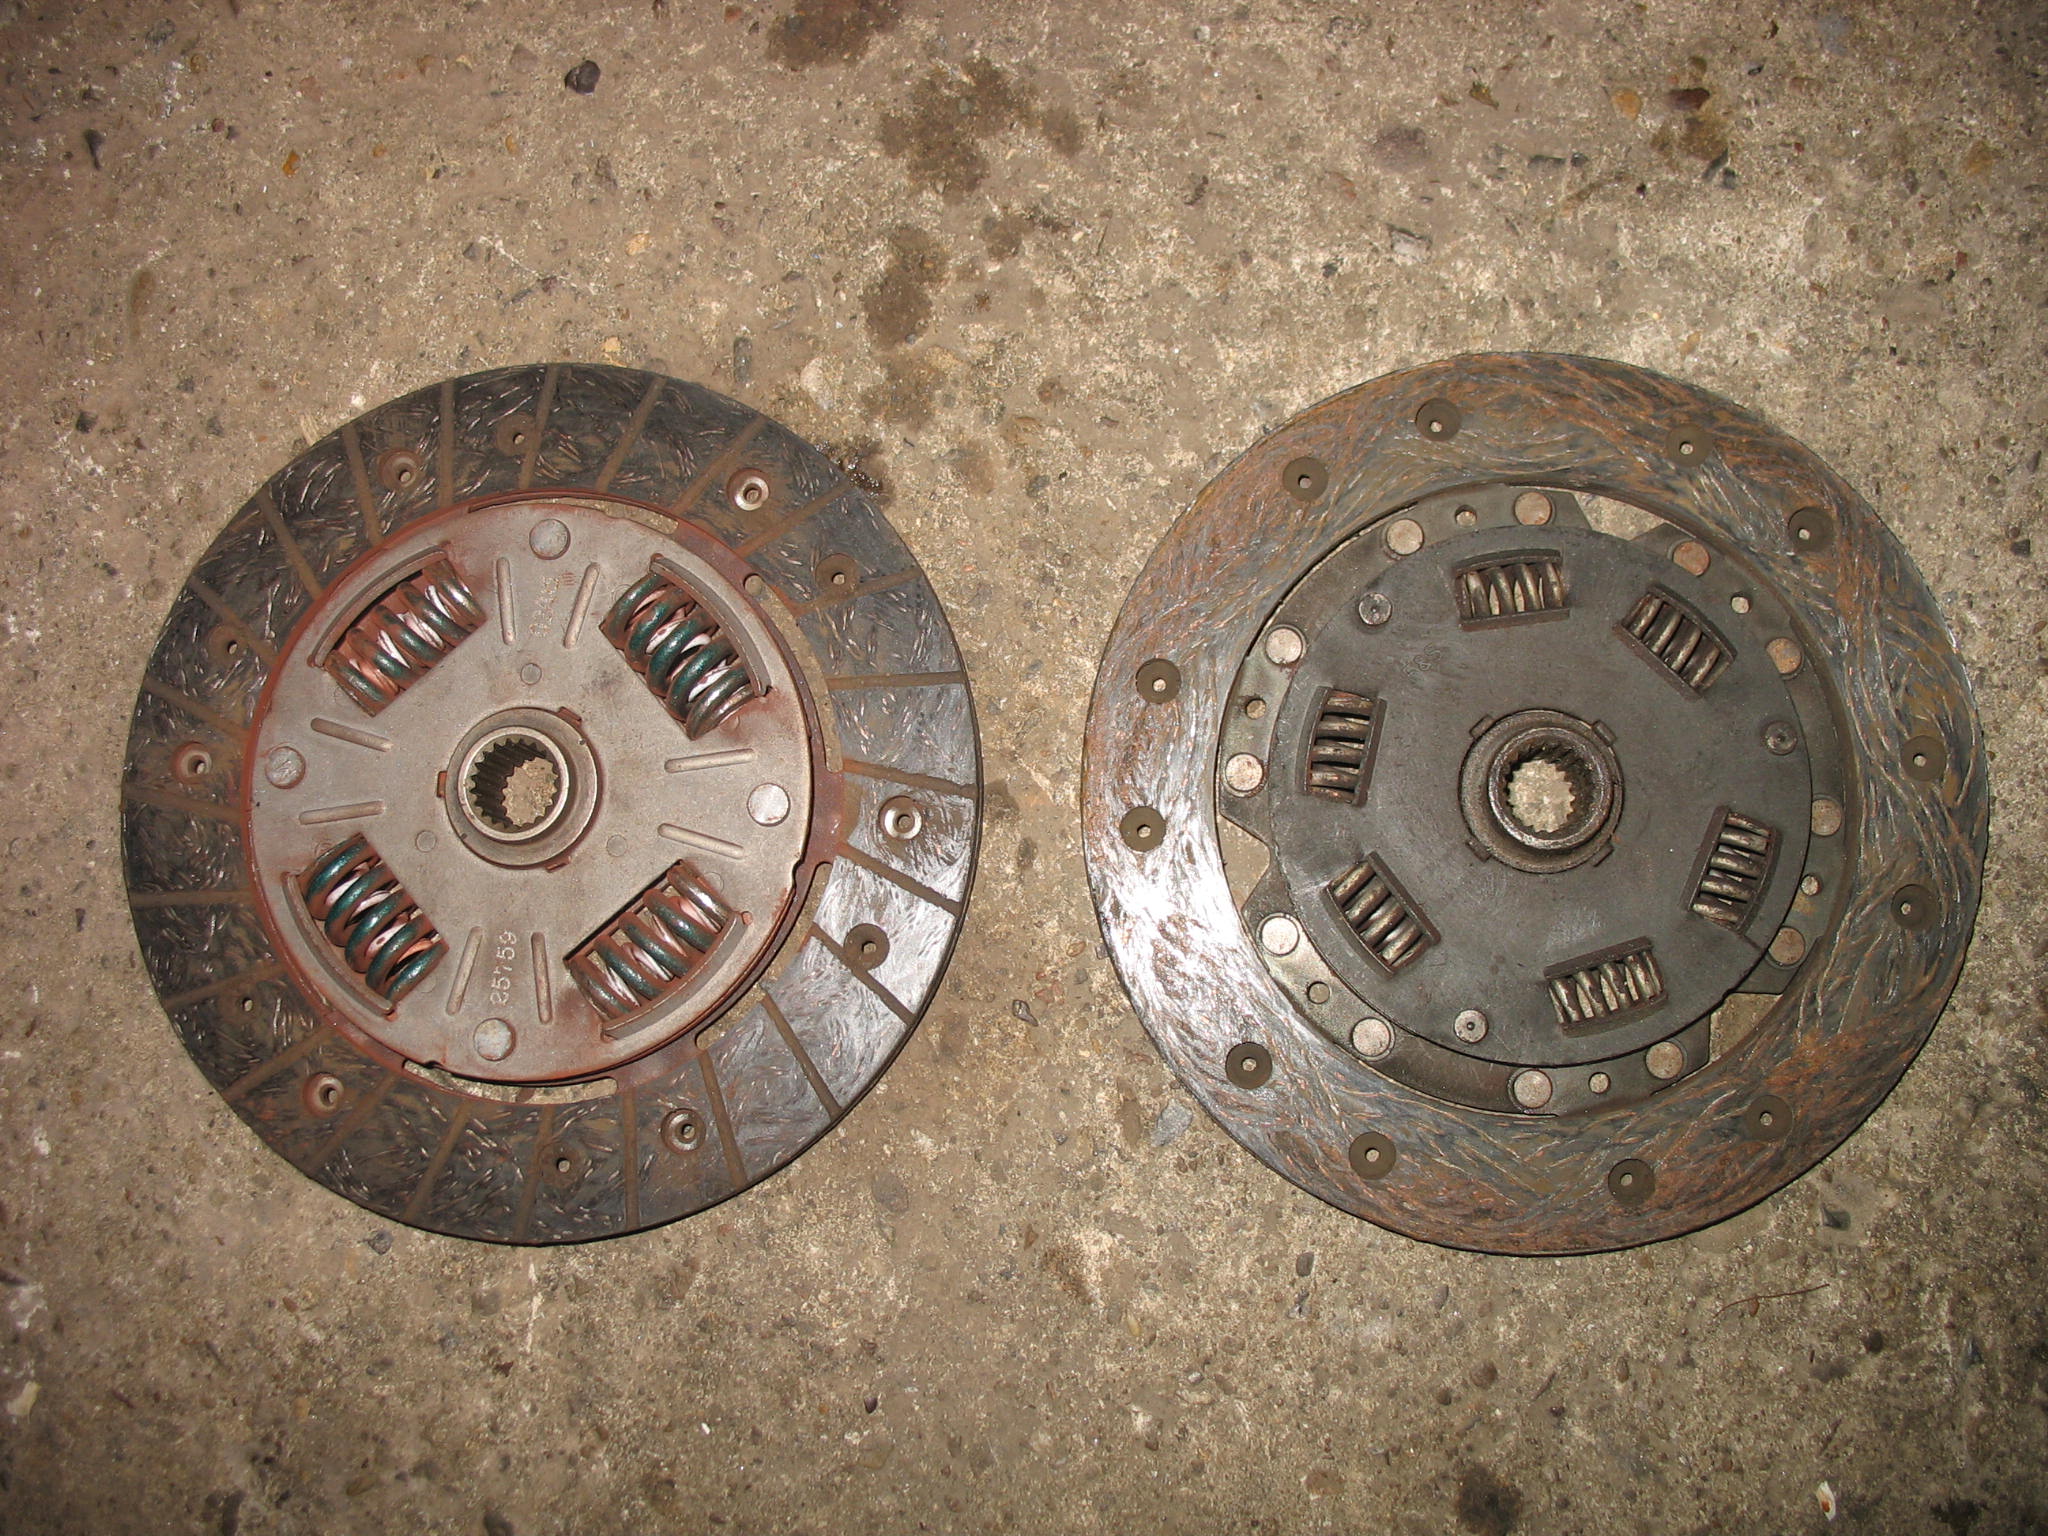
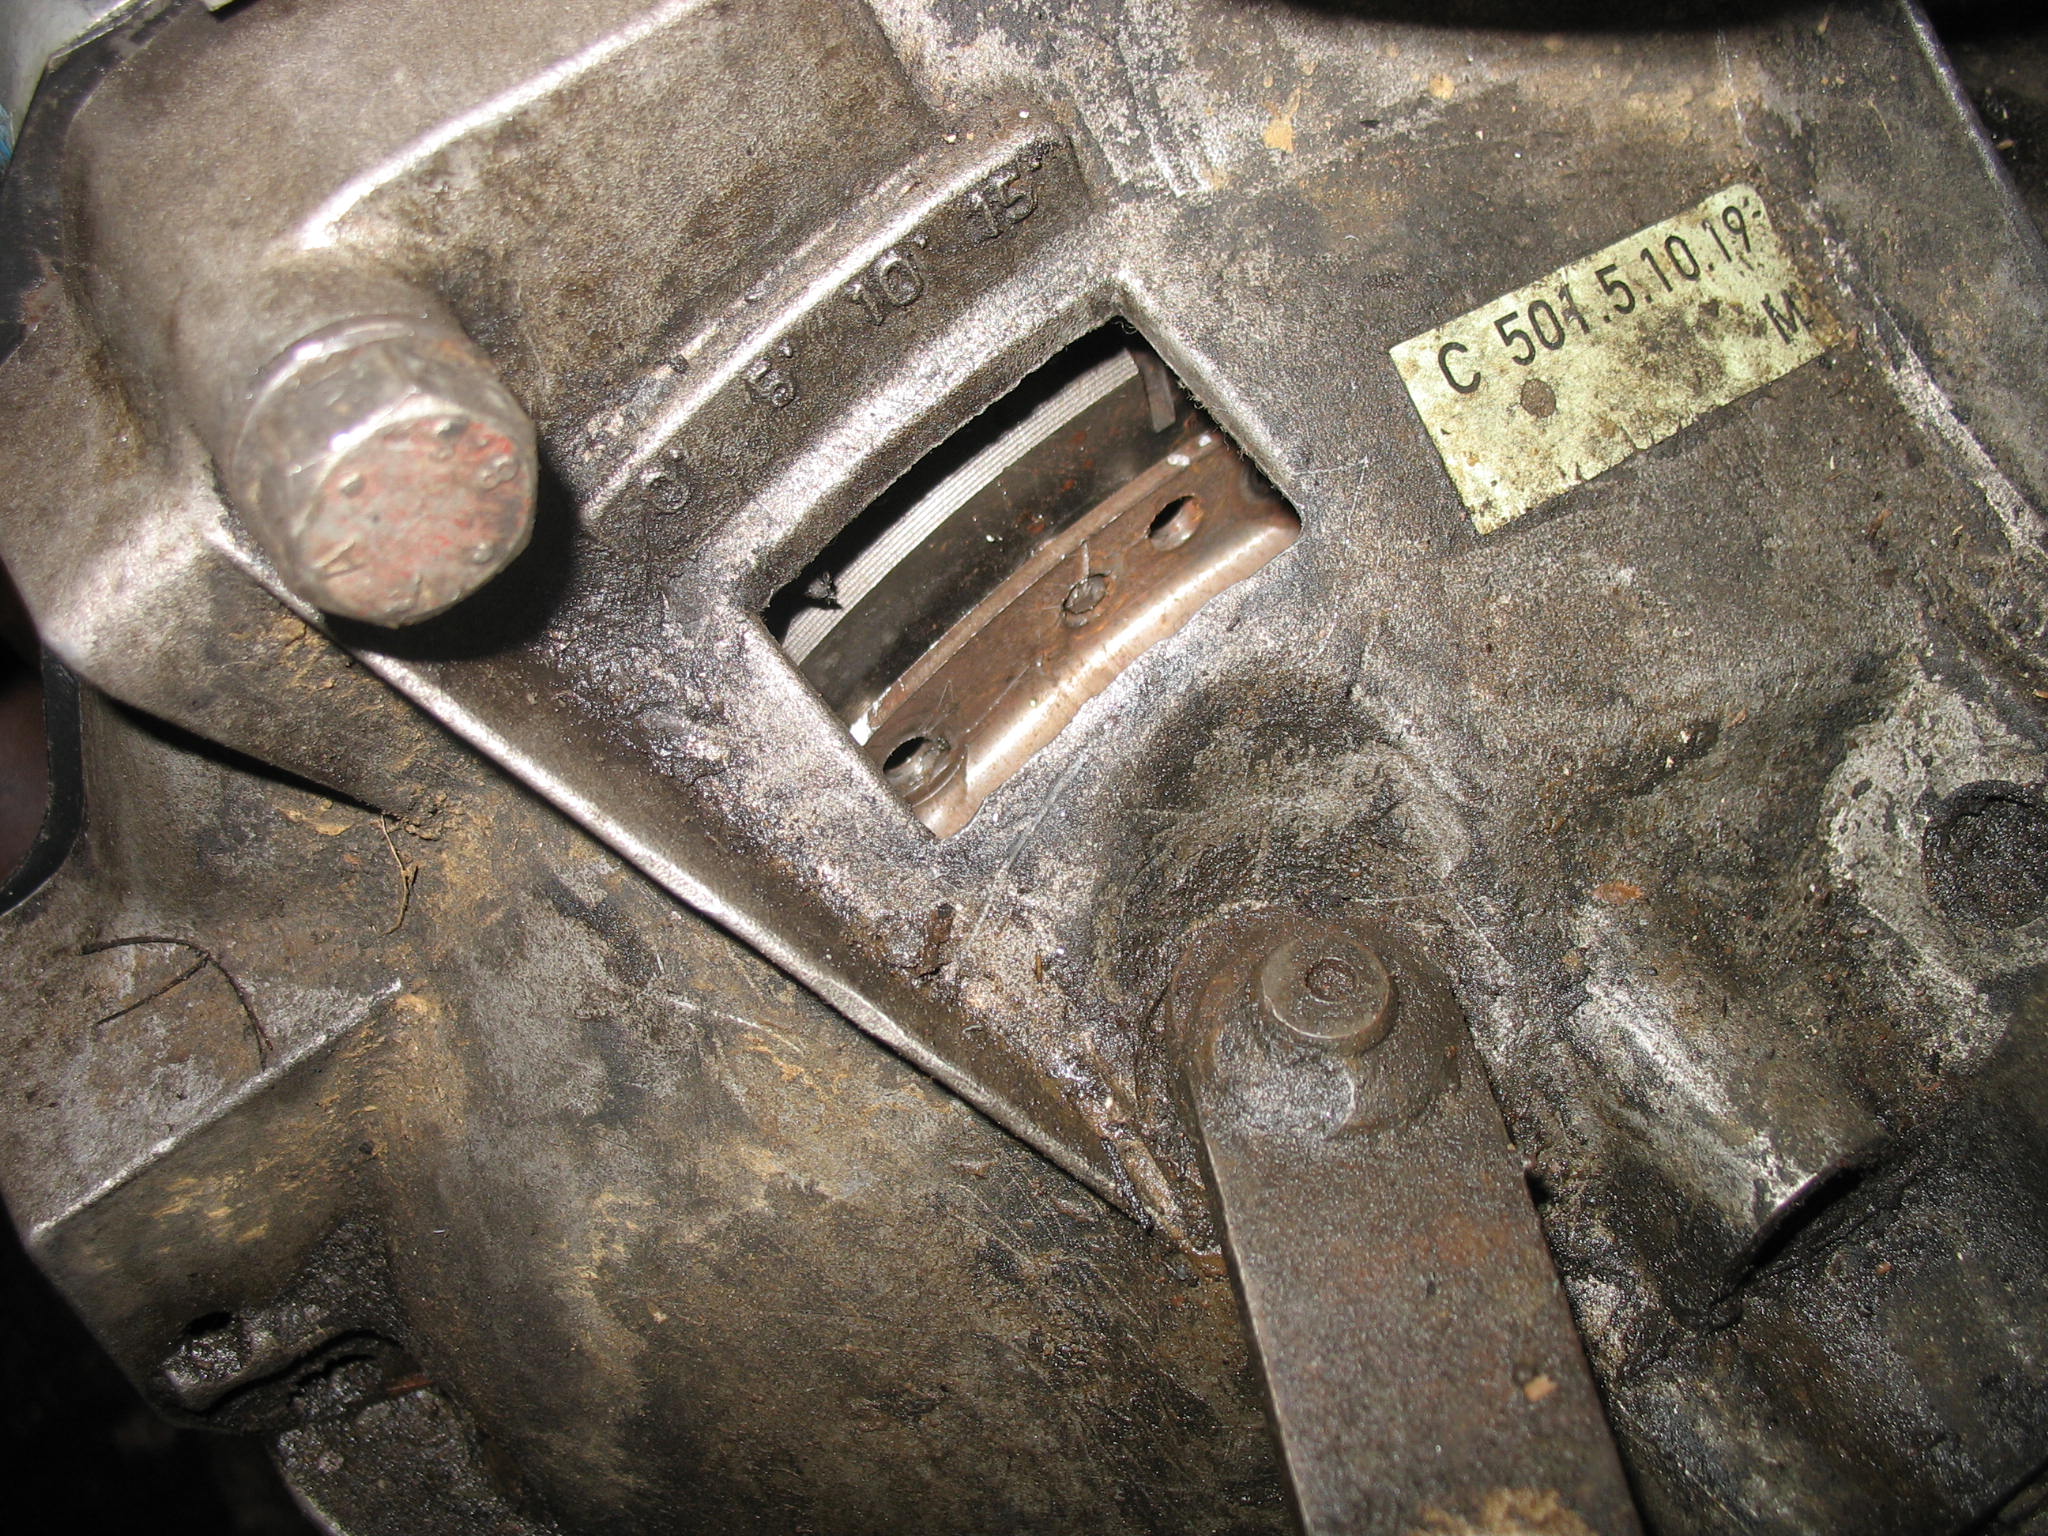
- Engine - 6,
- Gearbox - 5,
- Interior - 5,
- Structural rust - 8,
- Visible rust - 8,
- Previous owners maintain - 7
As it is now, I'm not willing to make any statement what needs to be done as I had only spend about 2h last week by checking and looking at the car in more details way.
That is my bigger worry for now - bloody milky coolant and a bit of mayo under the oil cap.
How can I confirm my head gasket theory not having coolant presure test kit???
@CLS - your not the only one - aparently it is bloody hard to buy cheepo 4x4 without blown thru head gasket.
The rest of the engine bay seems to be fine,
Did somebody in here mentioned a black silicone gunk as a fast repair?
Interior as you can expect from car been used on a farm
Not the geniune steering wheel and speedo, which does not make much difference to me at all. Roofrack presence evidence
I dont want to know how this happened.
Filler pipe still untouched, what sort of DIY protections do you recon?
And time for the bad boy
Is that gap between the propshaft and diff is normall?
Dear FFCP section members, any comments, suggestions and observation are more than welcome, especcialy regards the 4x4 drive train i.e. leaks etc.
")