

Lift Kit
So I have opted for the Italian Job Lift Kit time and capability (Ghetto garage) being the main reasons.
So this weekend was a plan to drop the rest of the interior and tear down the engine and trans. A management 'up cock' at the hospital peeled 7 hours off the day so did a bit of night work.
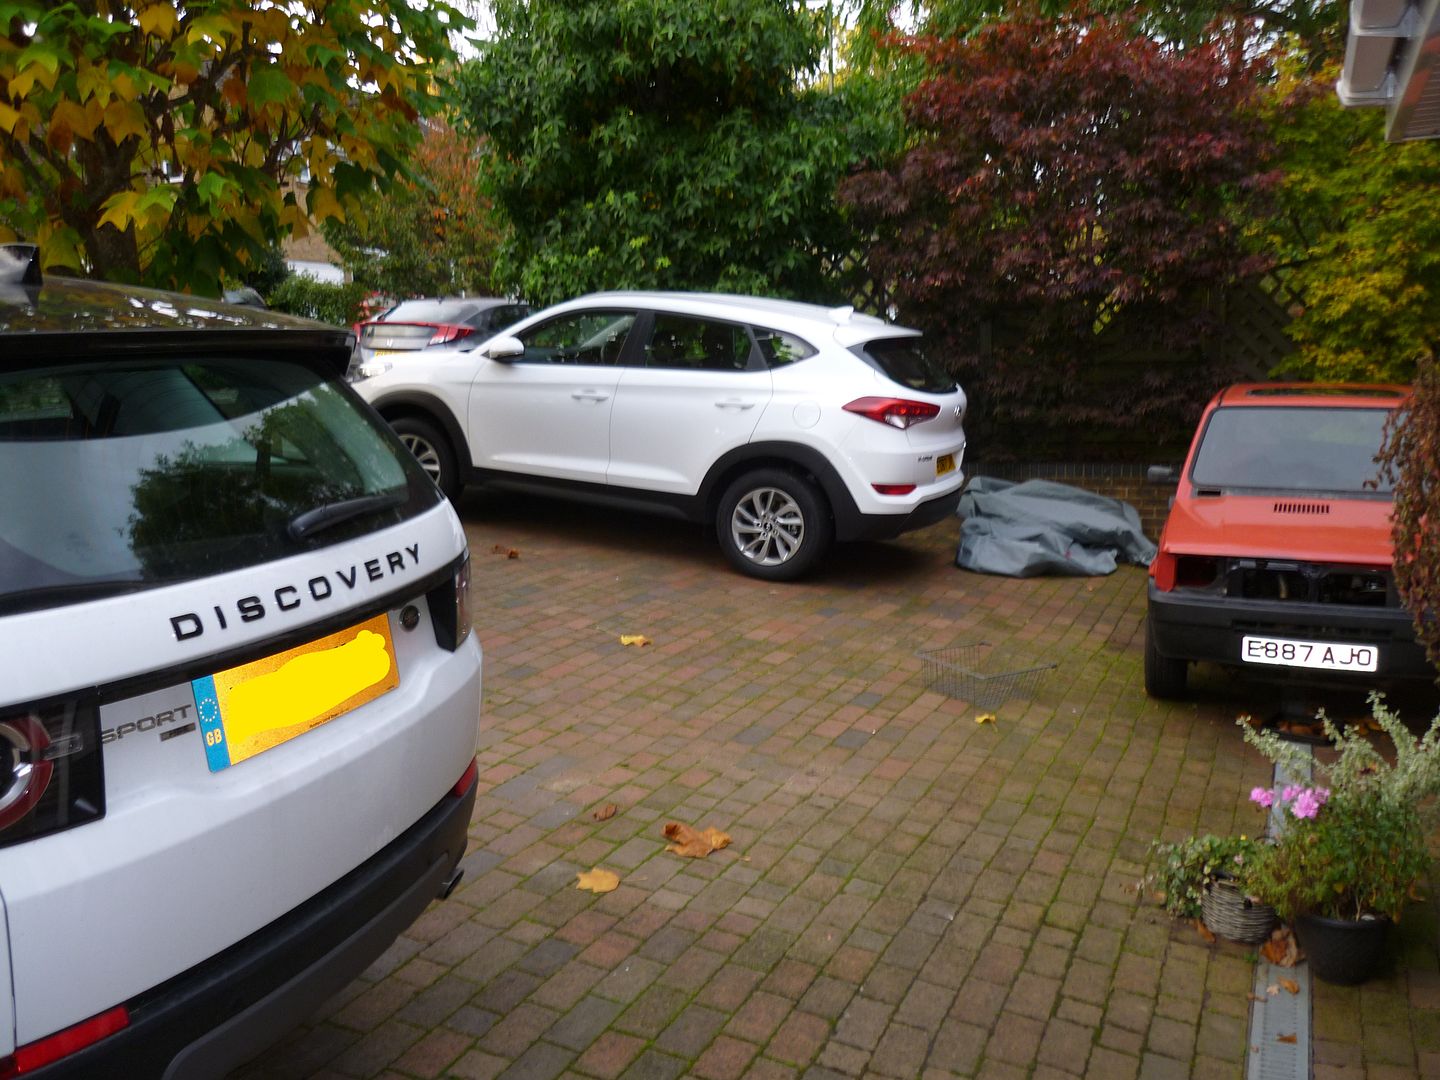
Driveway a bit full and the Panda is in good company and a Hyundai which is real crap") Had a i40 rental last week and this was worse if that is possible. Felt like I pushed it everywhere when I got out. Cruddy electric handbrake that didn't and seats that are for torture use only.
Had a i40 rental last week and this was worse if that is possible. Felt like I pushed it everywhere when I got out. Cruddy electric handbrake that didn't and seats that are for torture use only.
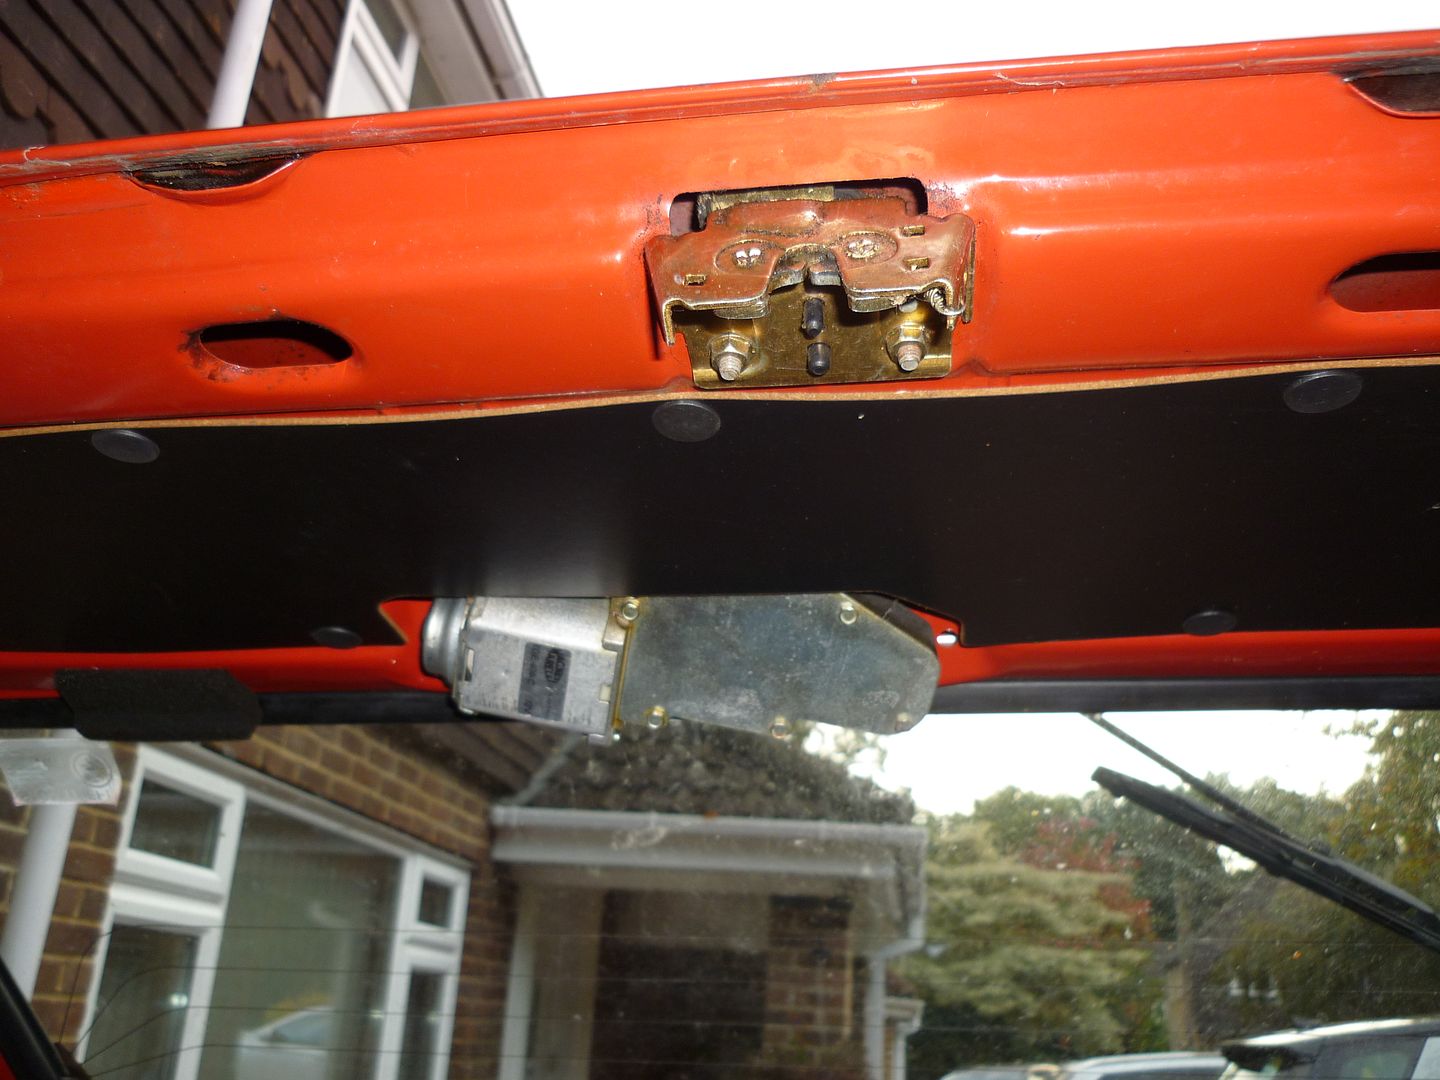
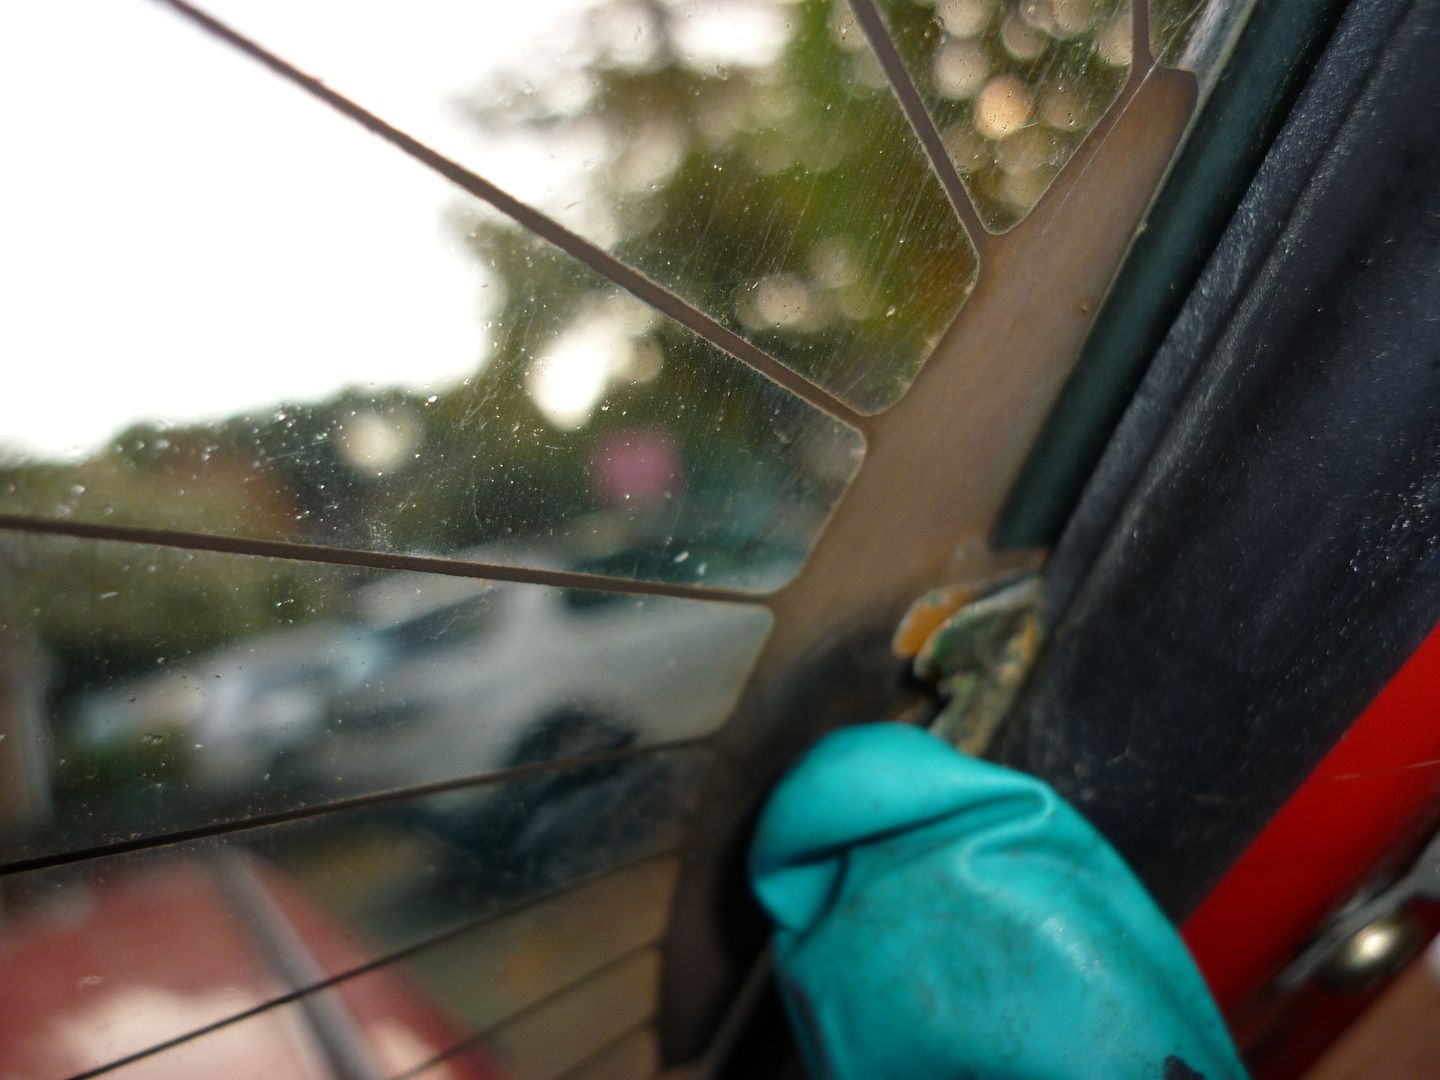
Stripping the tailgate.
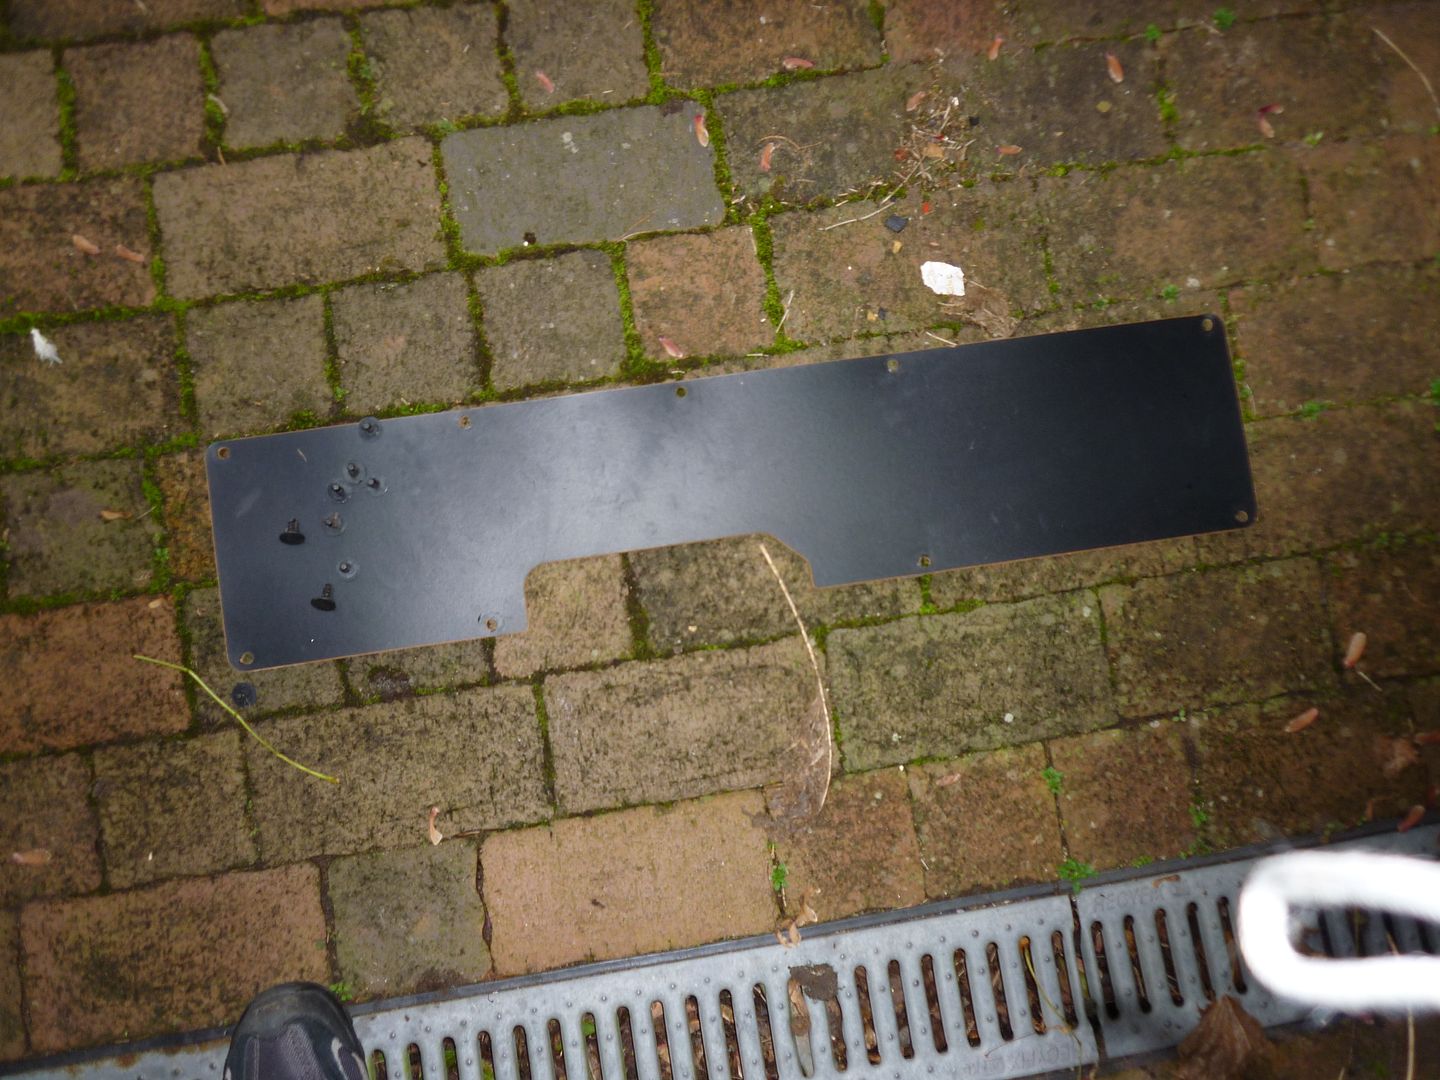
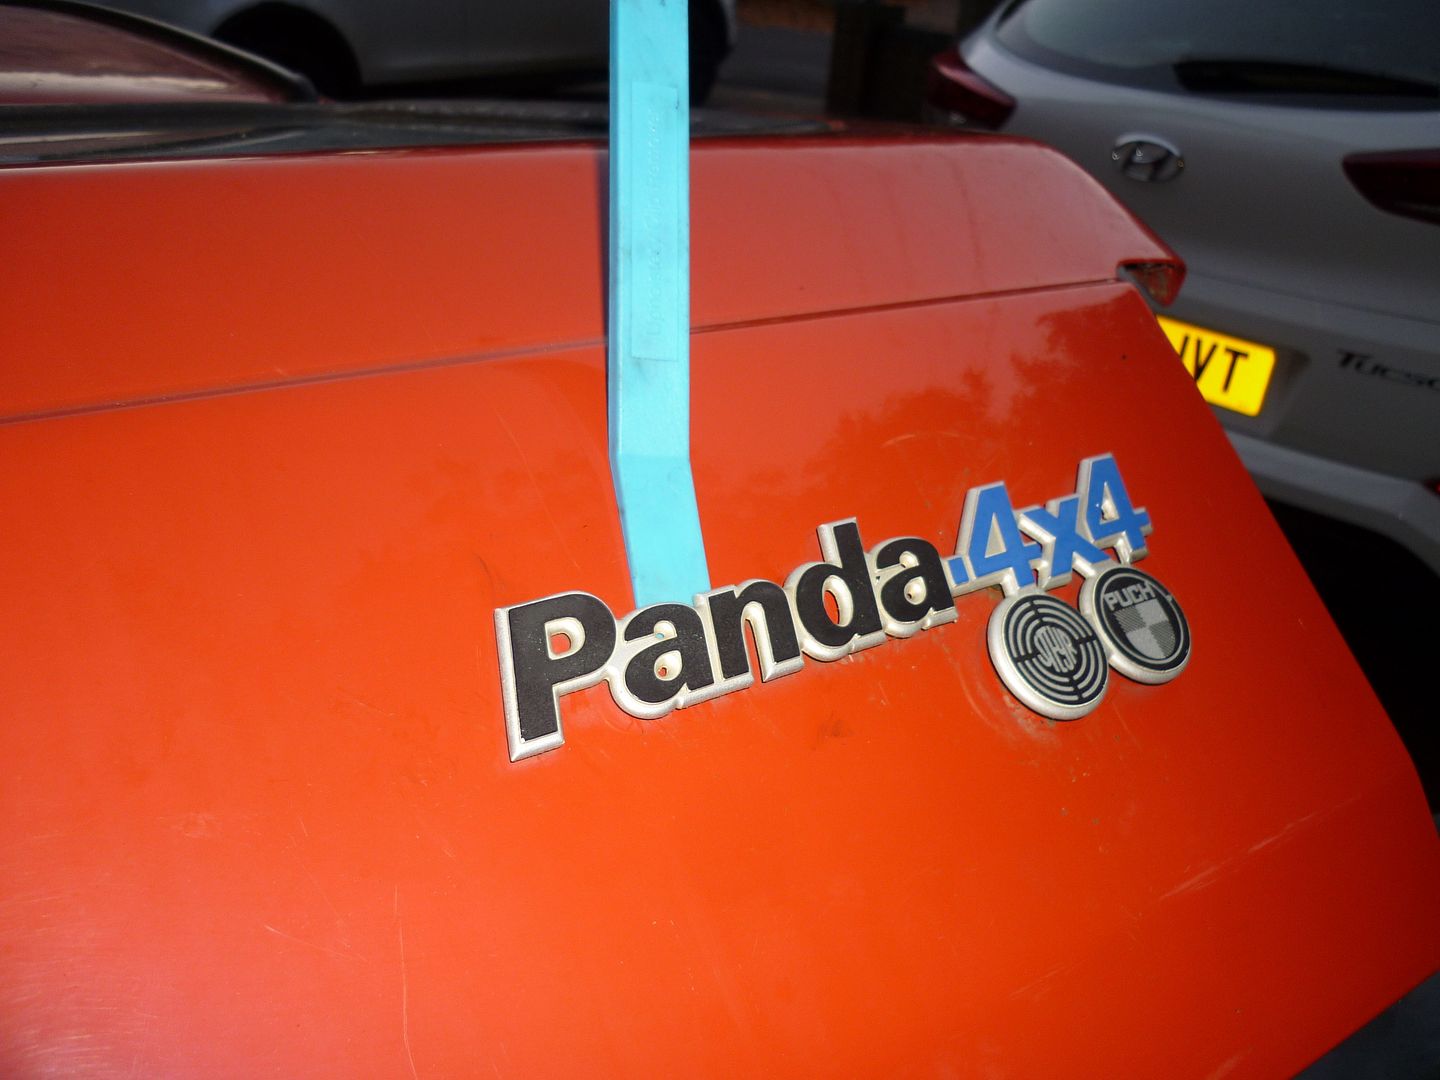
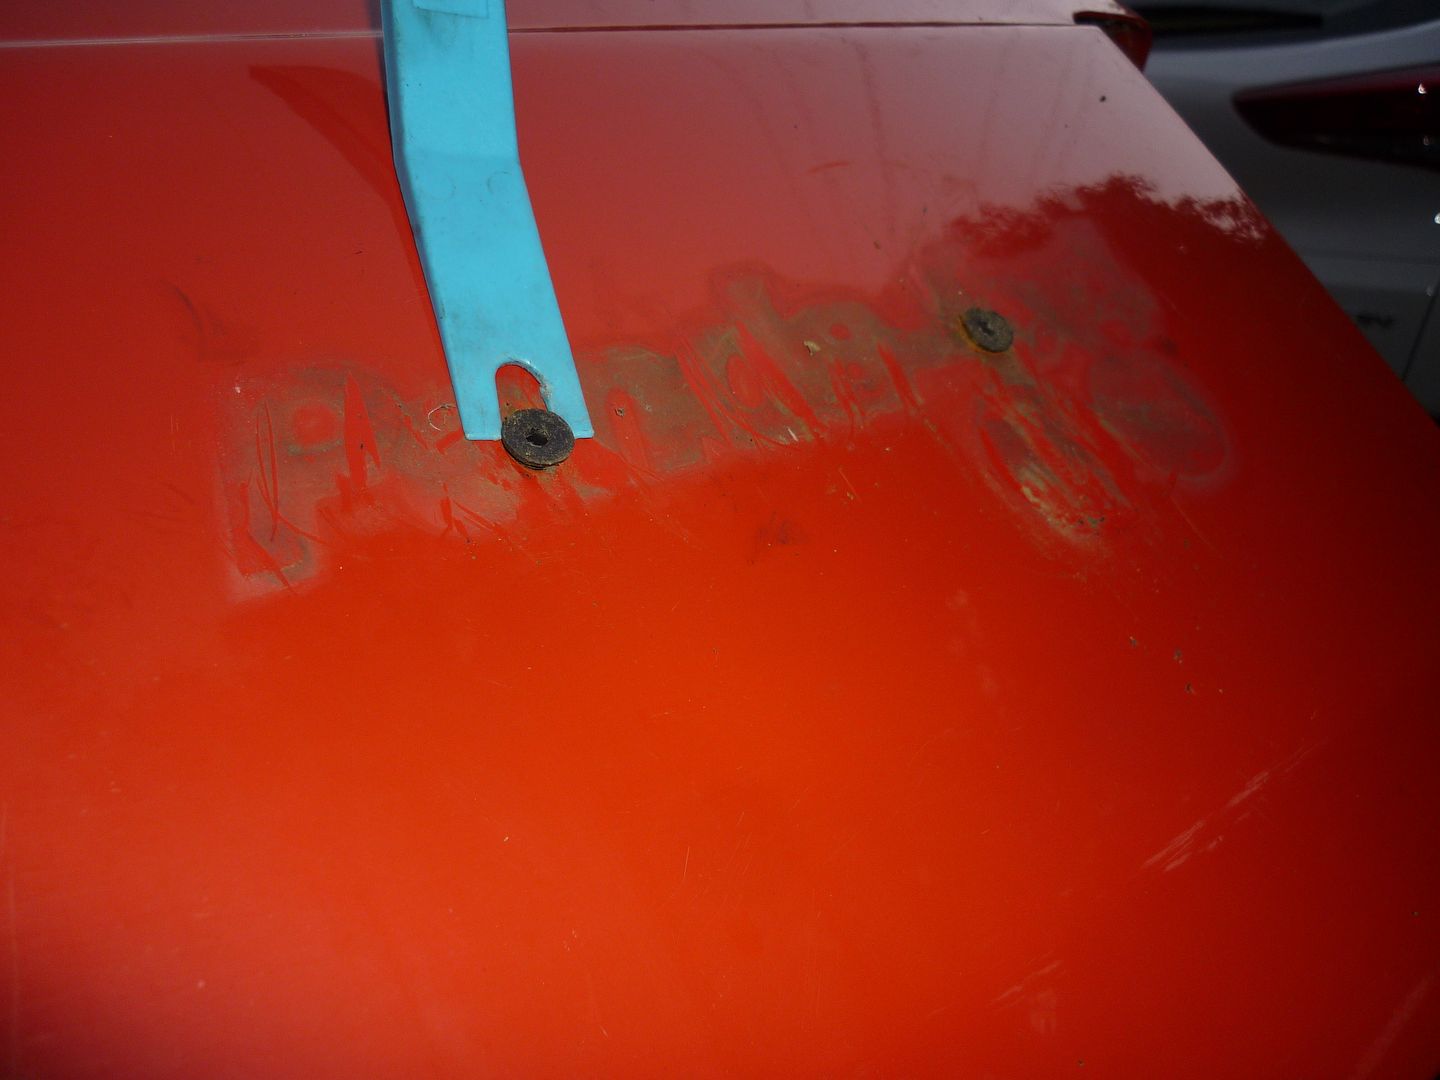
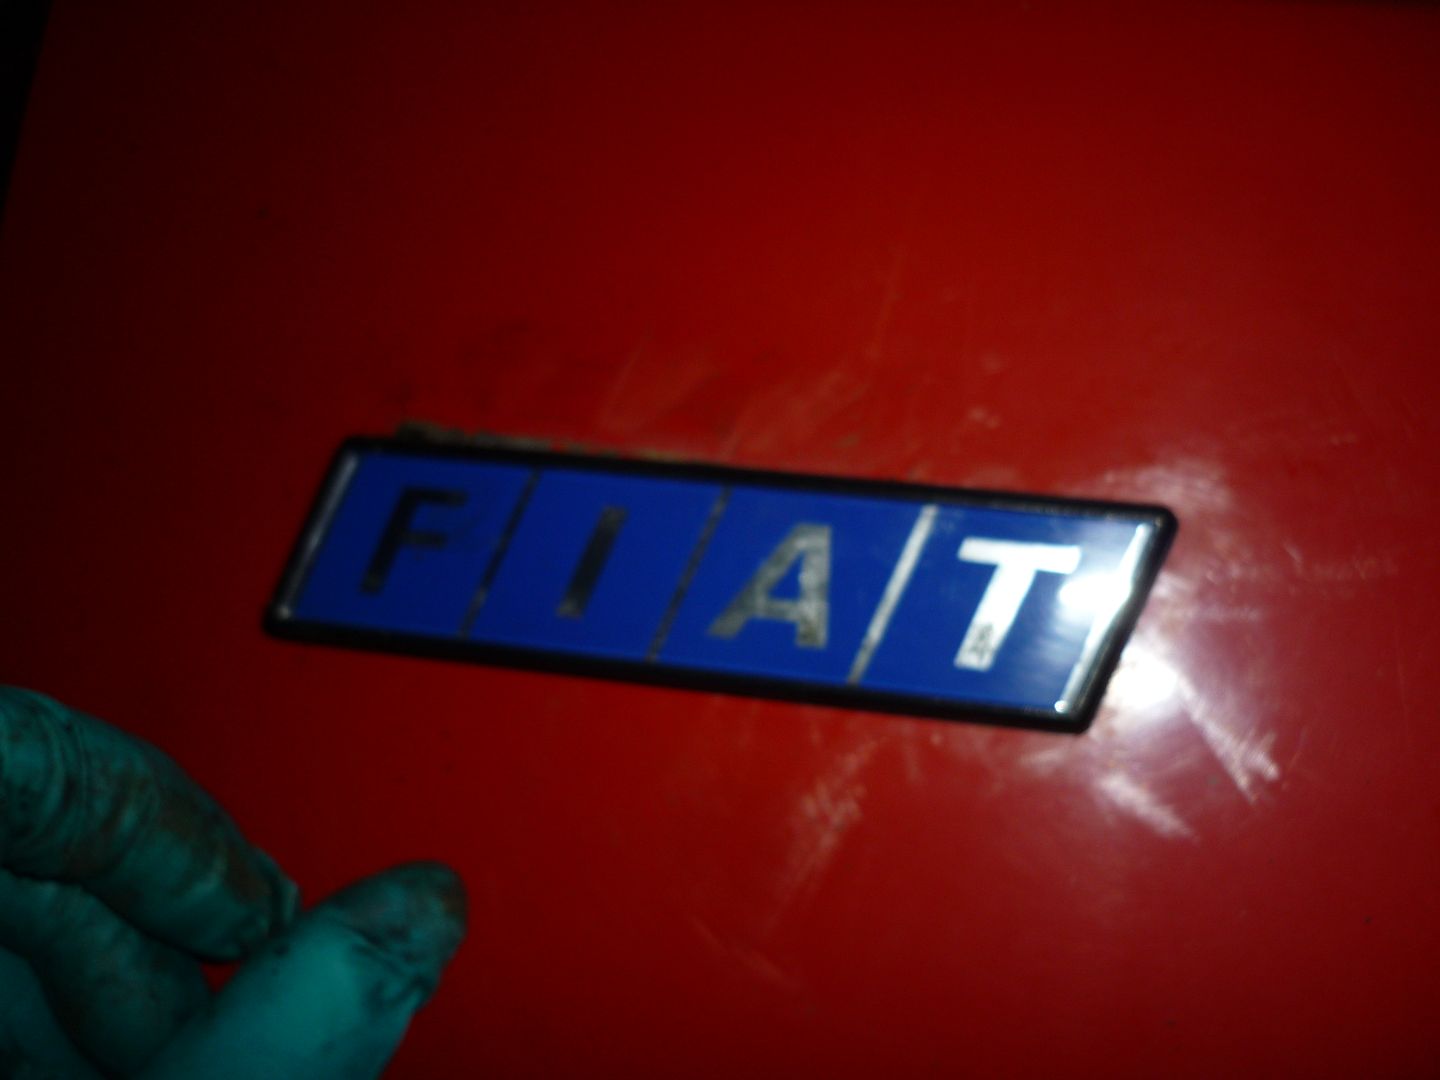
Panel came off intact and all clips unbroken. Lovin' Panda build.
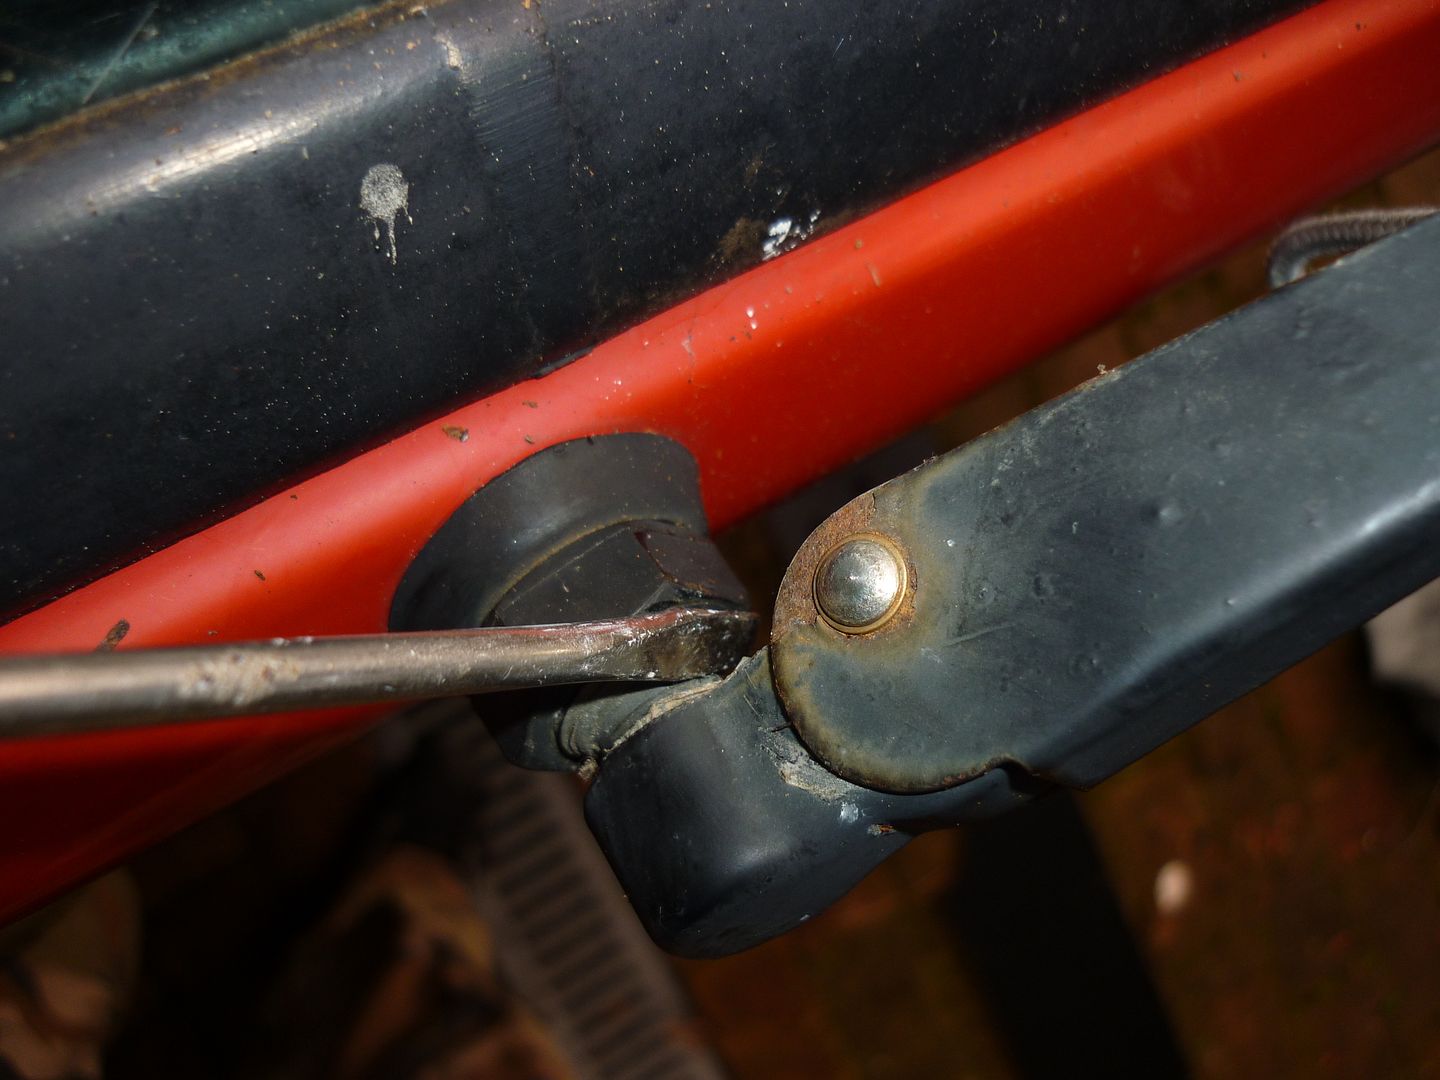
Wiper clip fought back but brute force won over.
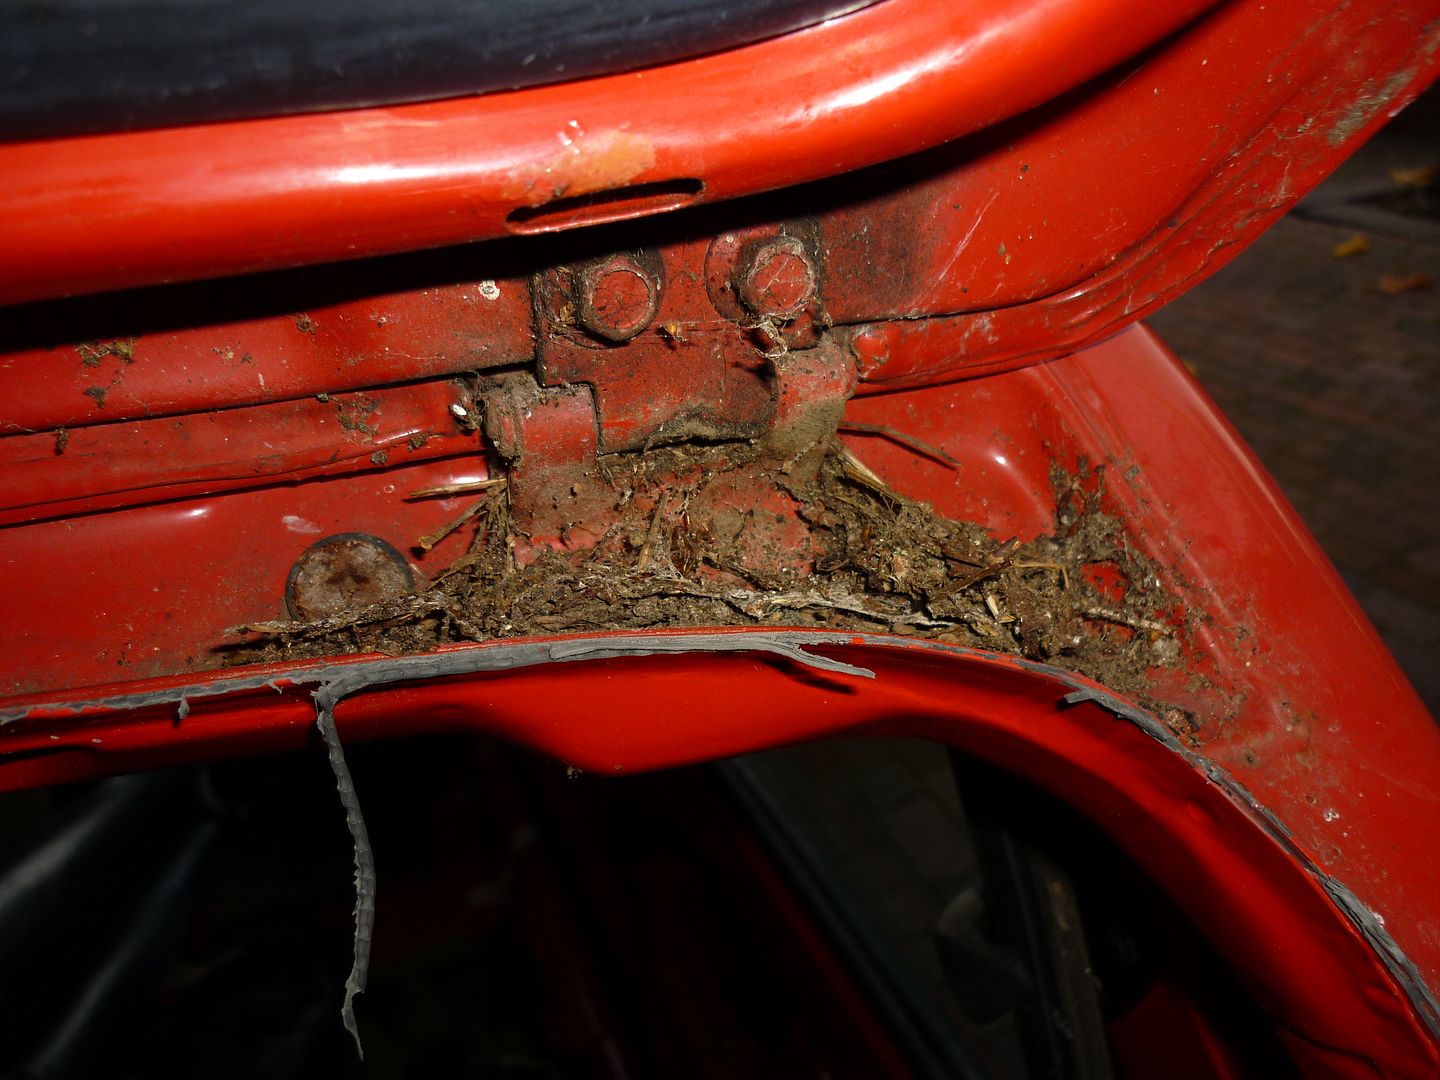
Took all the muck?
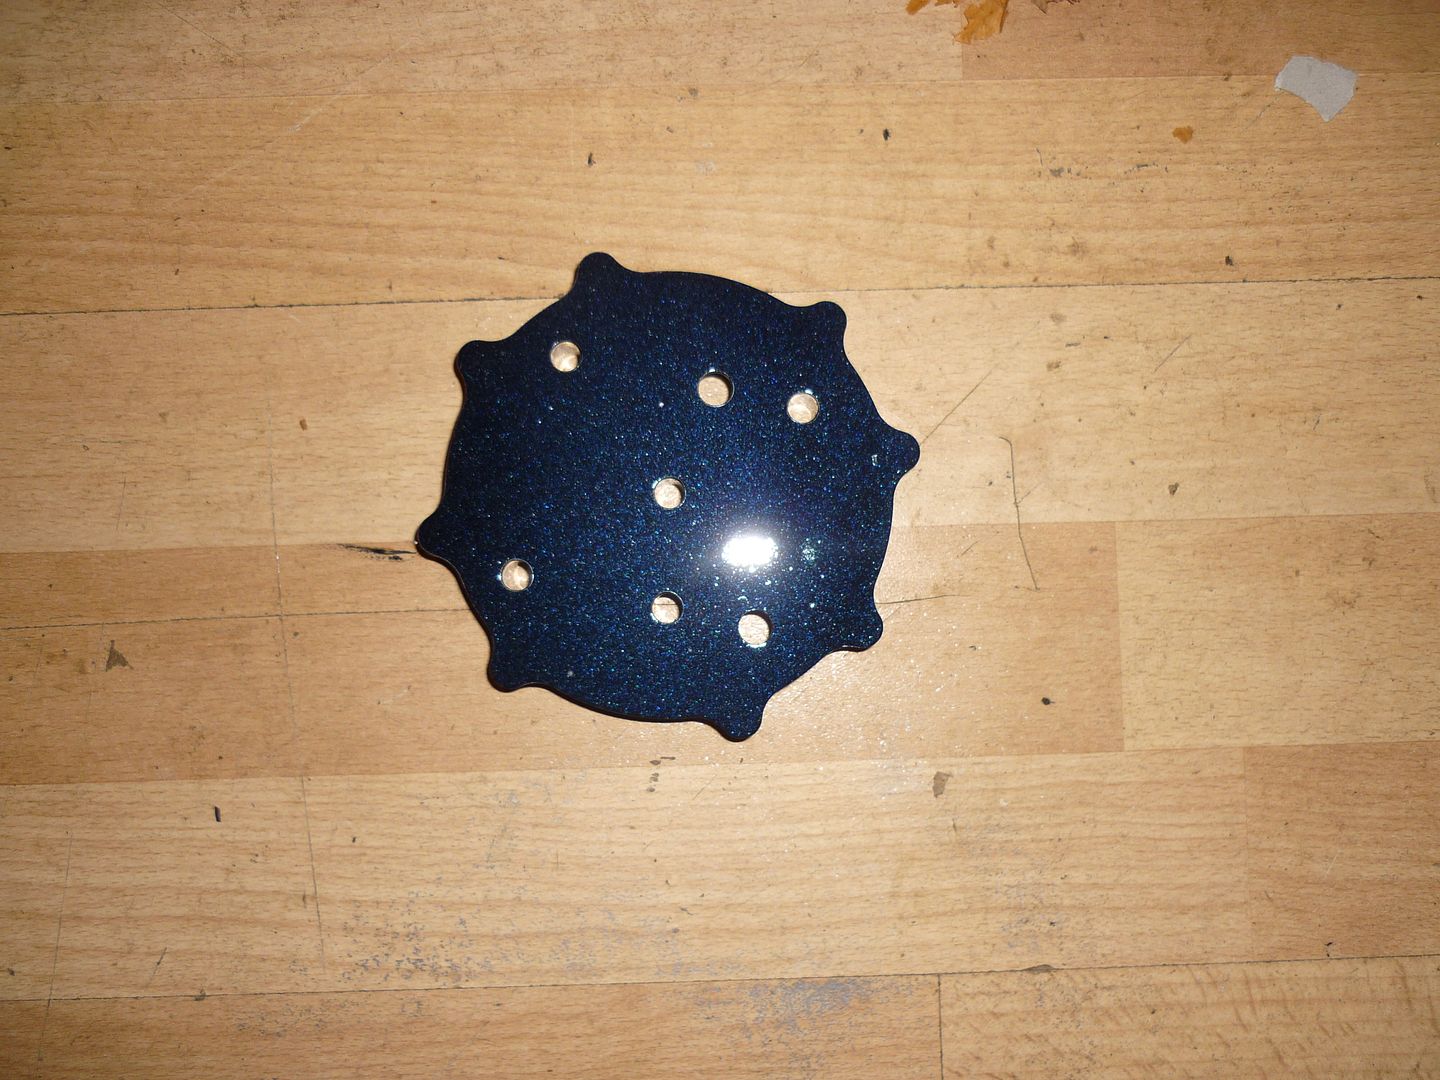
Saved these.
Heater rear intact this side
But here...
Might be fixable?:bang:
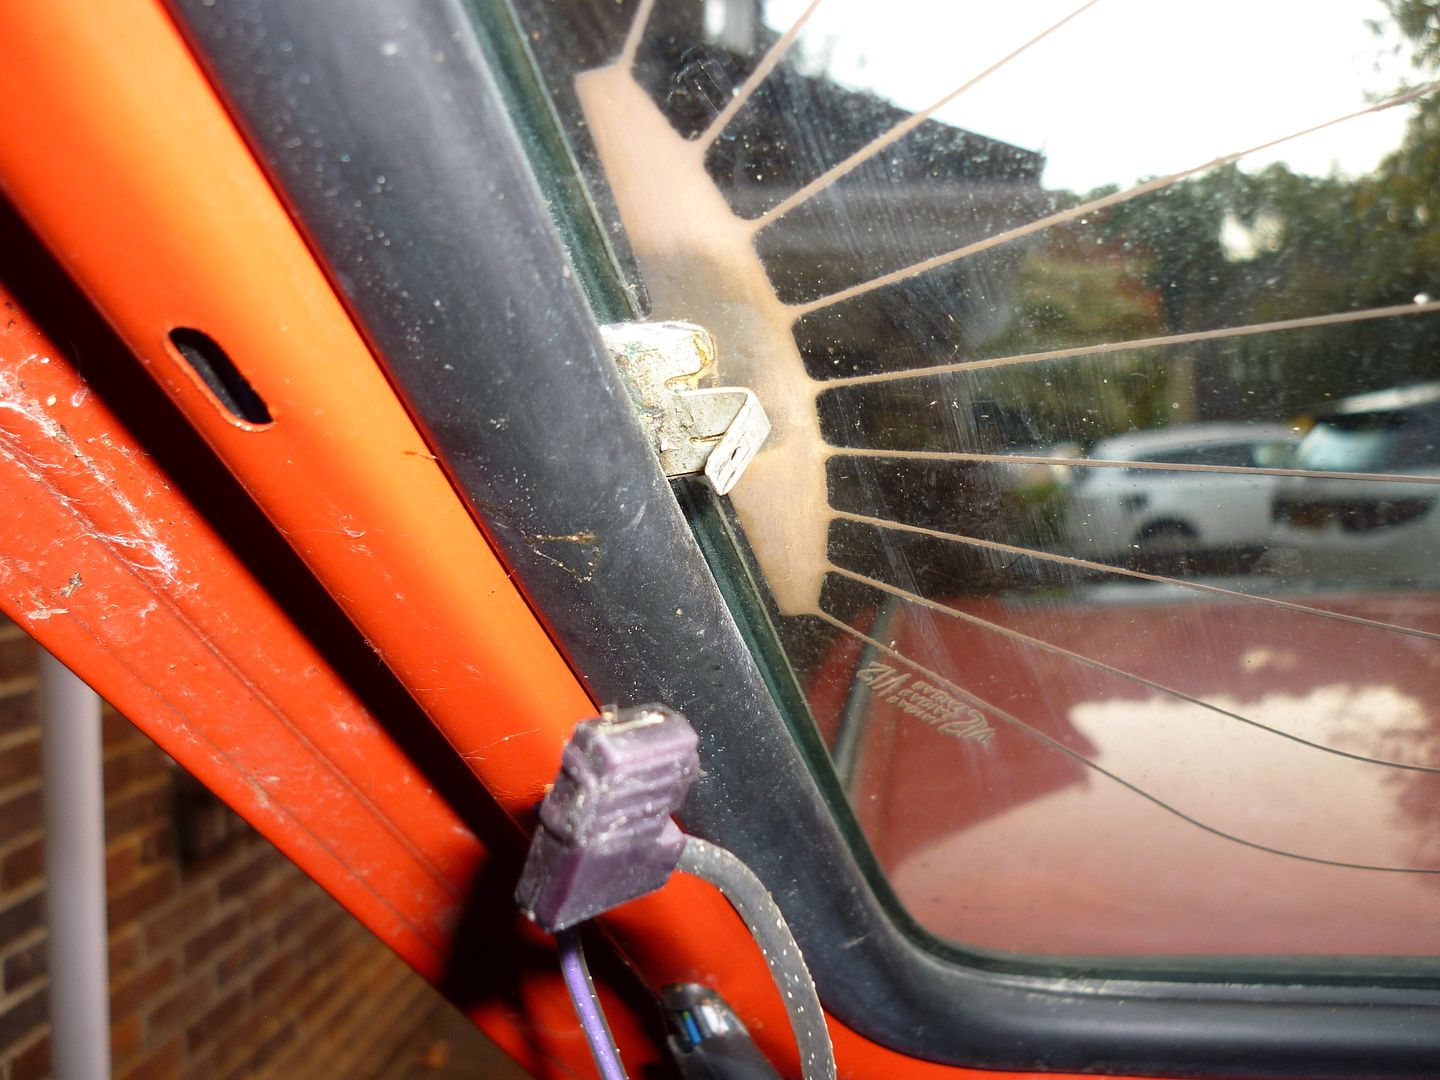
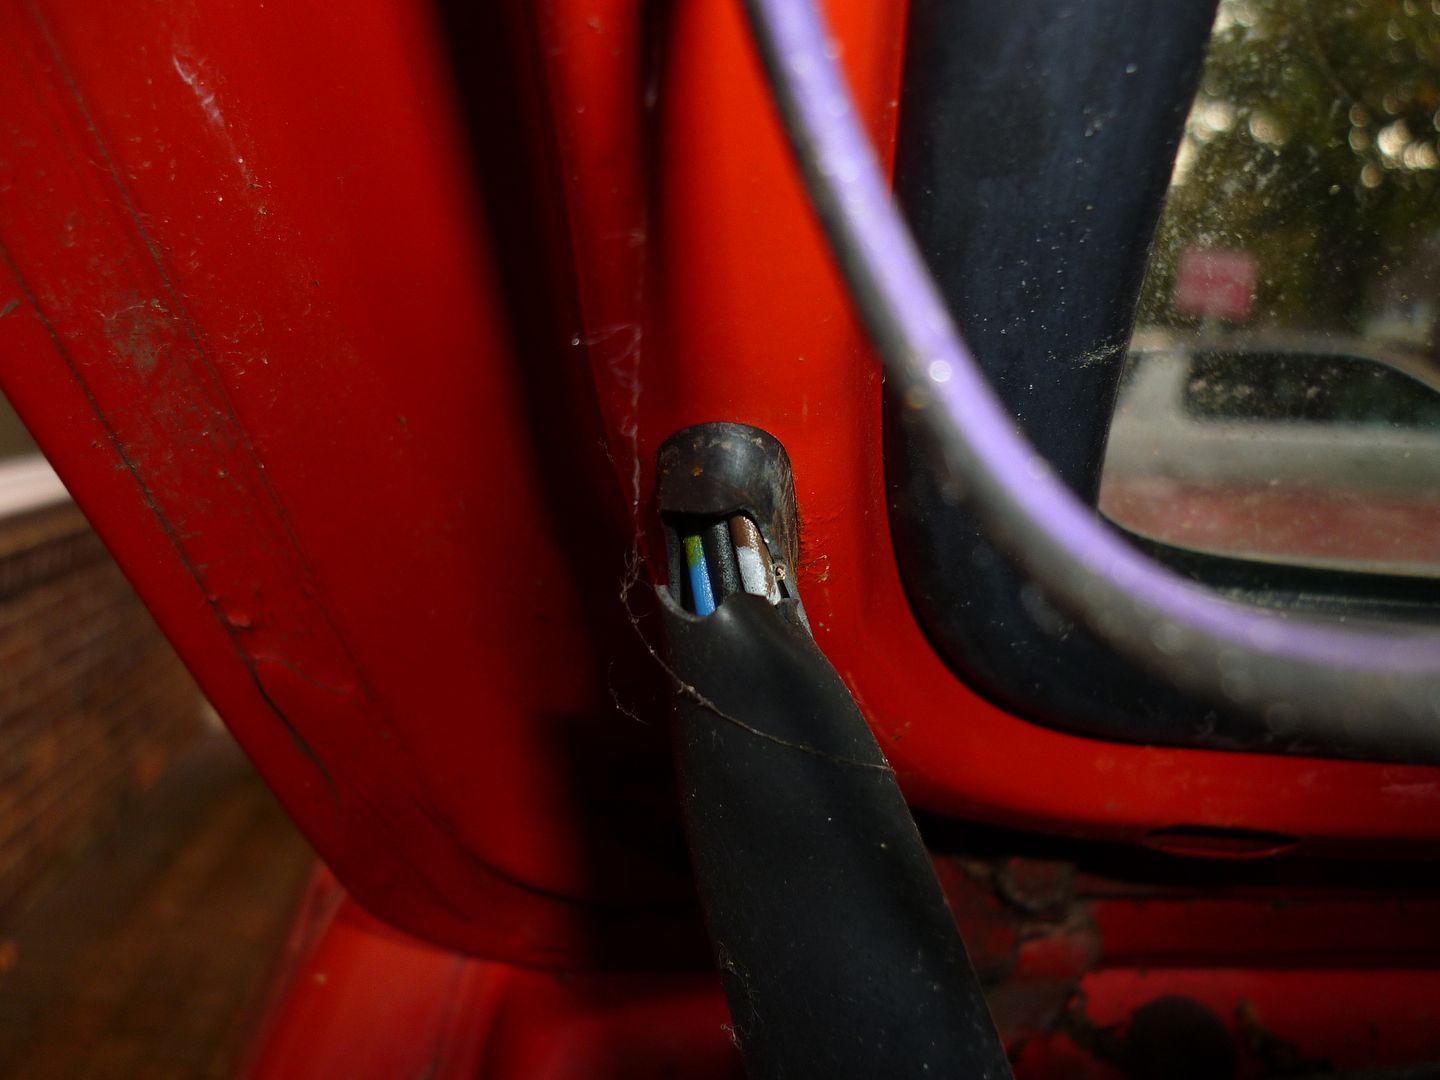
Tailgate cable frayed.
Tom Cat removal a quick pull

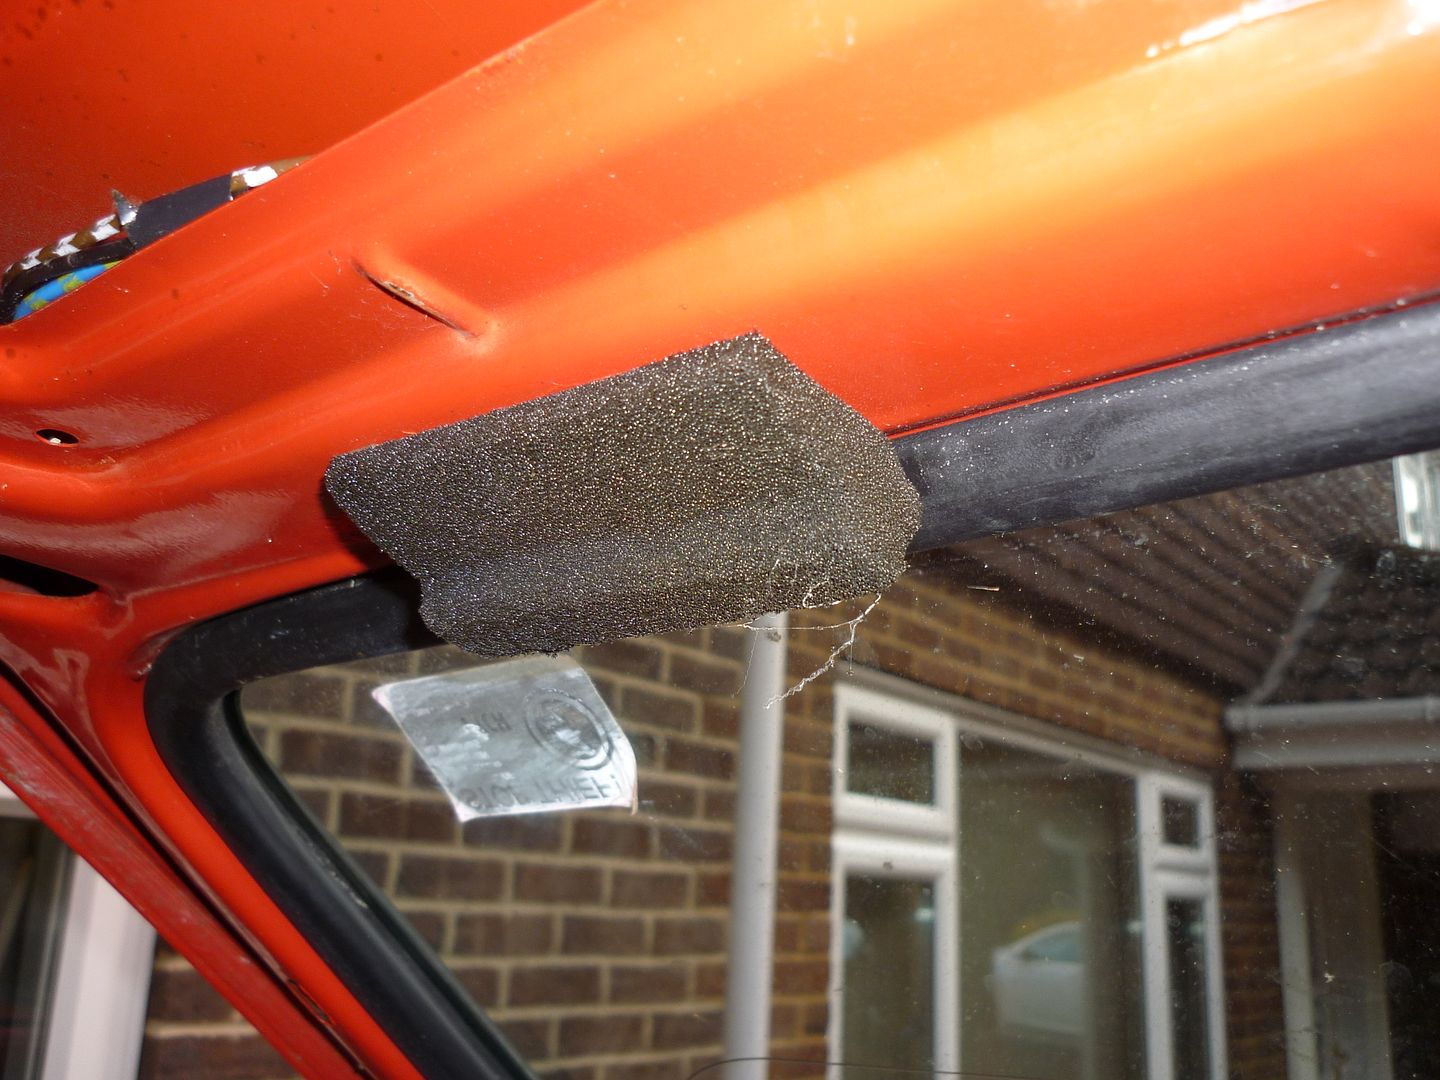
More muck hiding
Rear tailgate seal lifted and......no rot
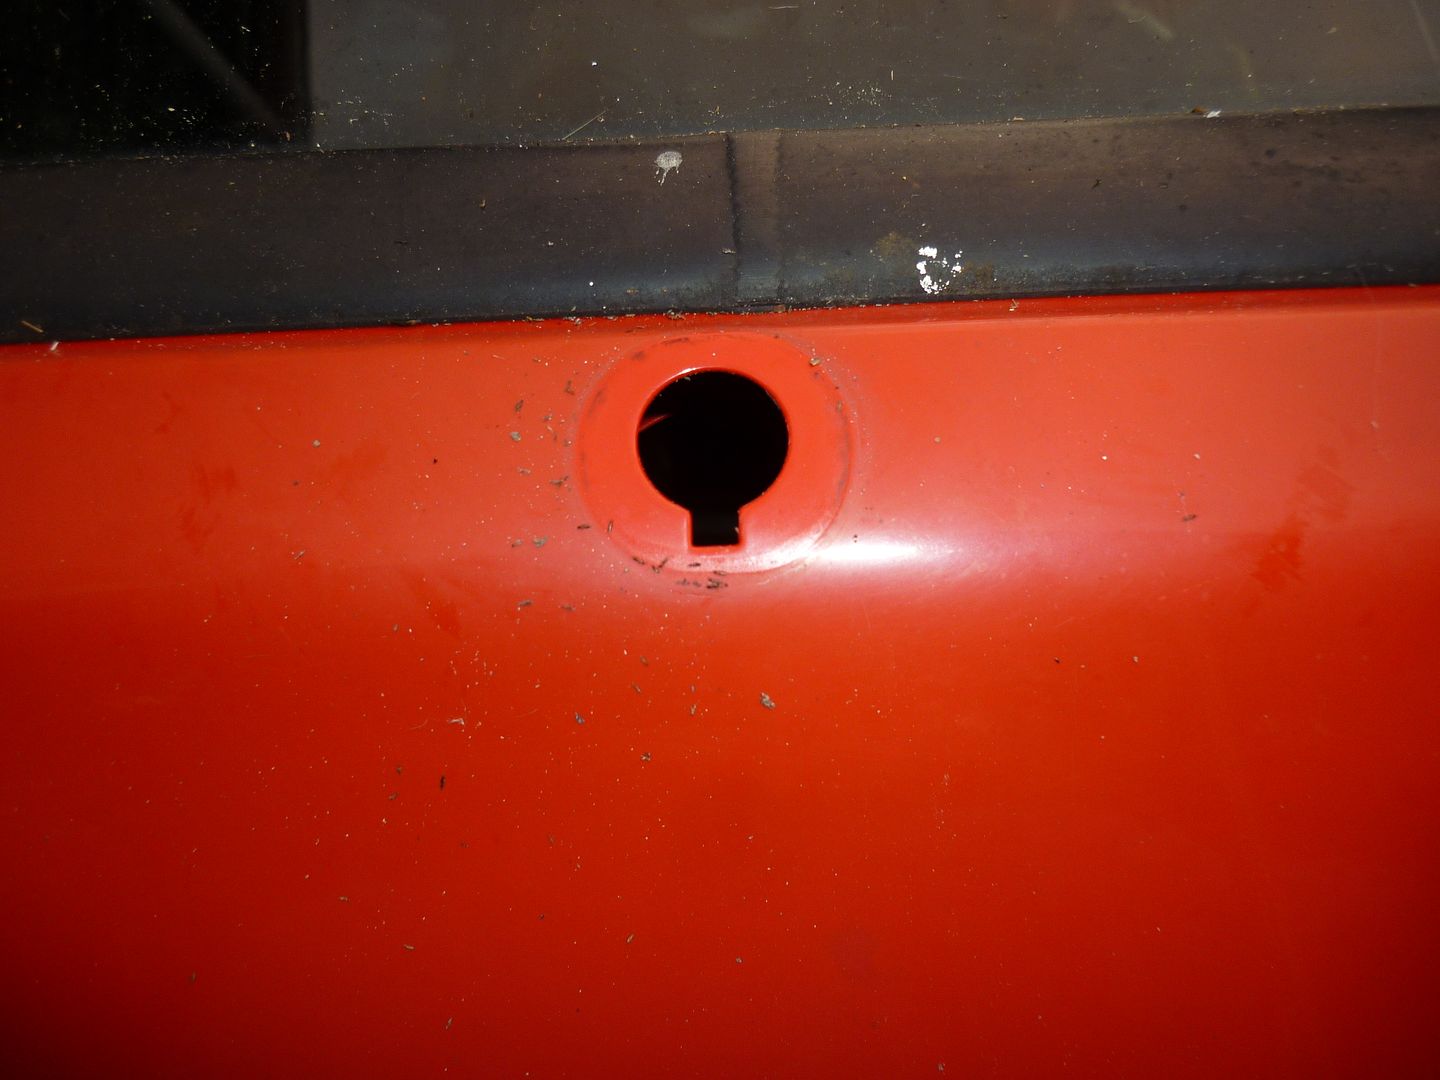
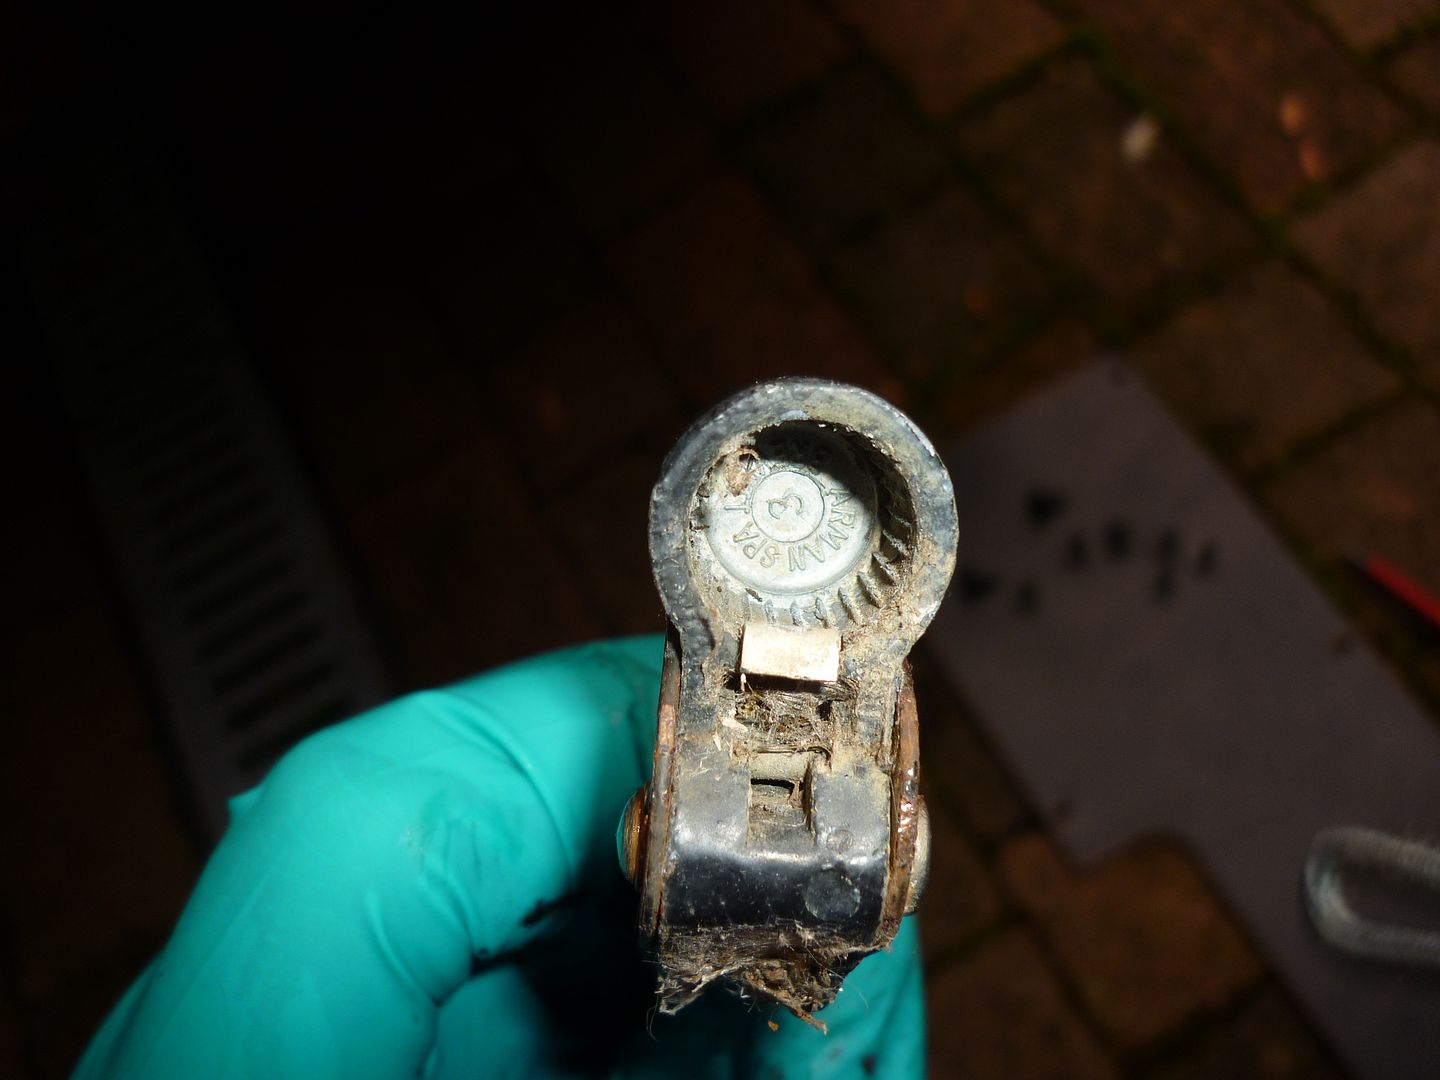
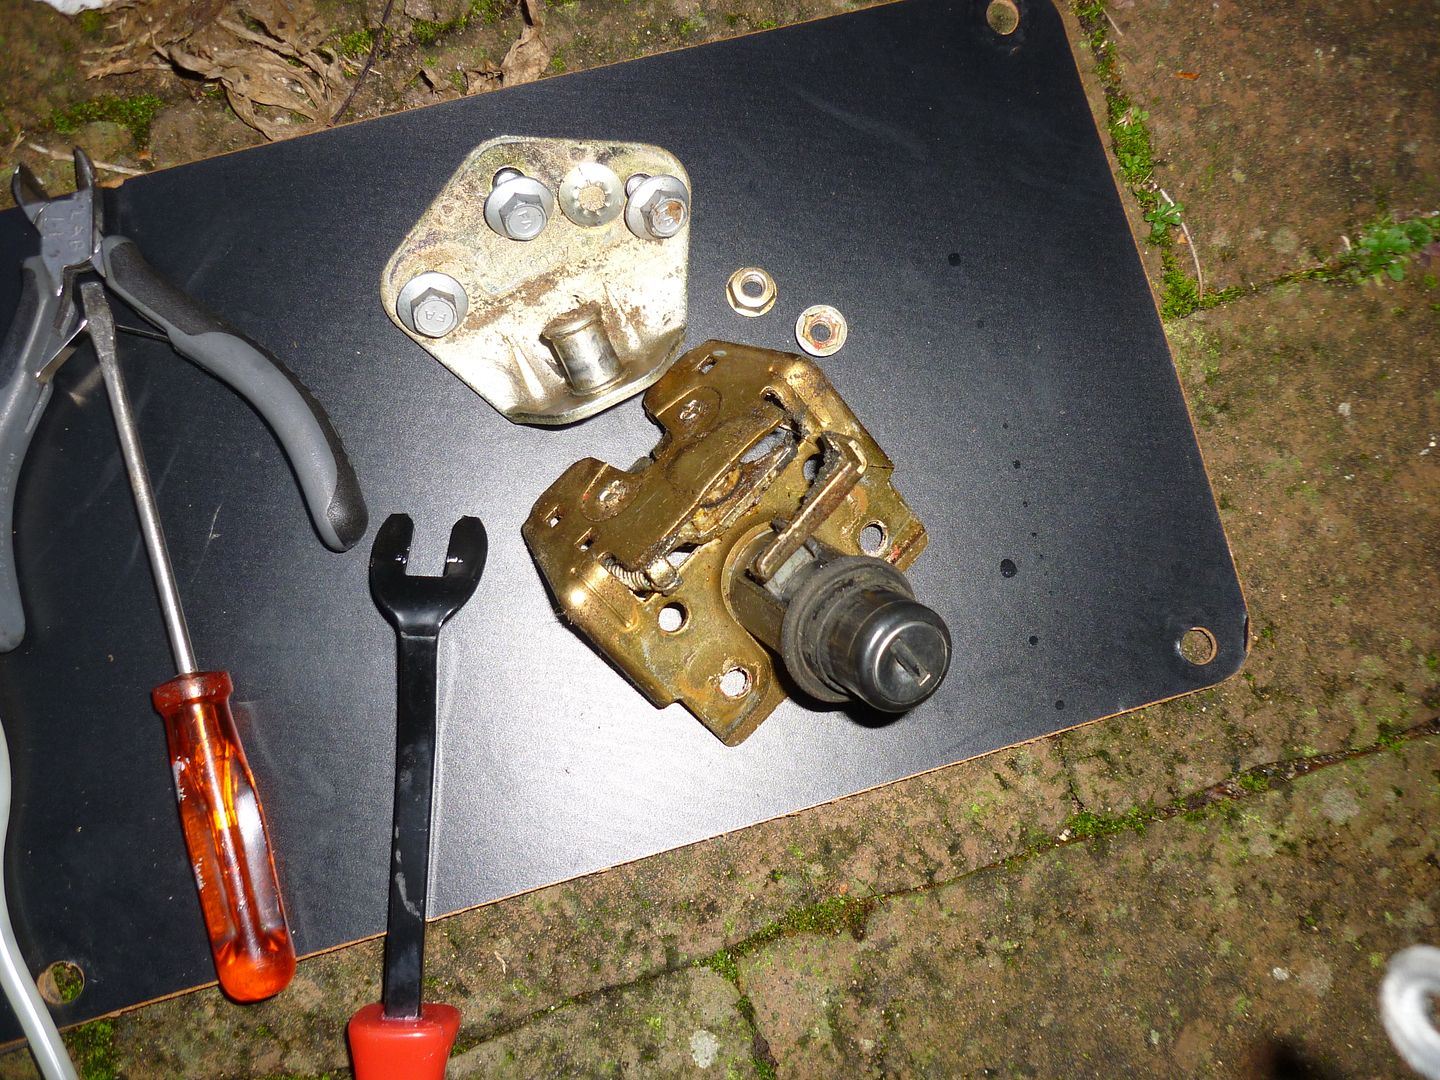
Locks out
Need a full set as currently have 3 keys
Bit of careful trim extraction.
Quick heat and dental floss pull.
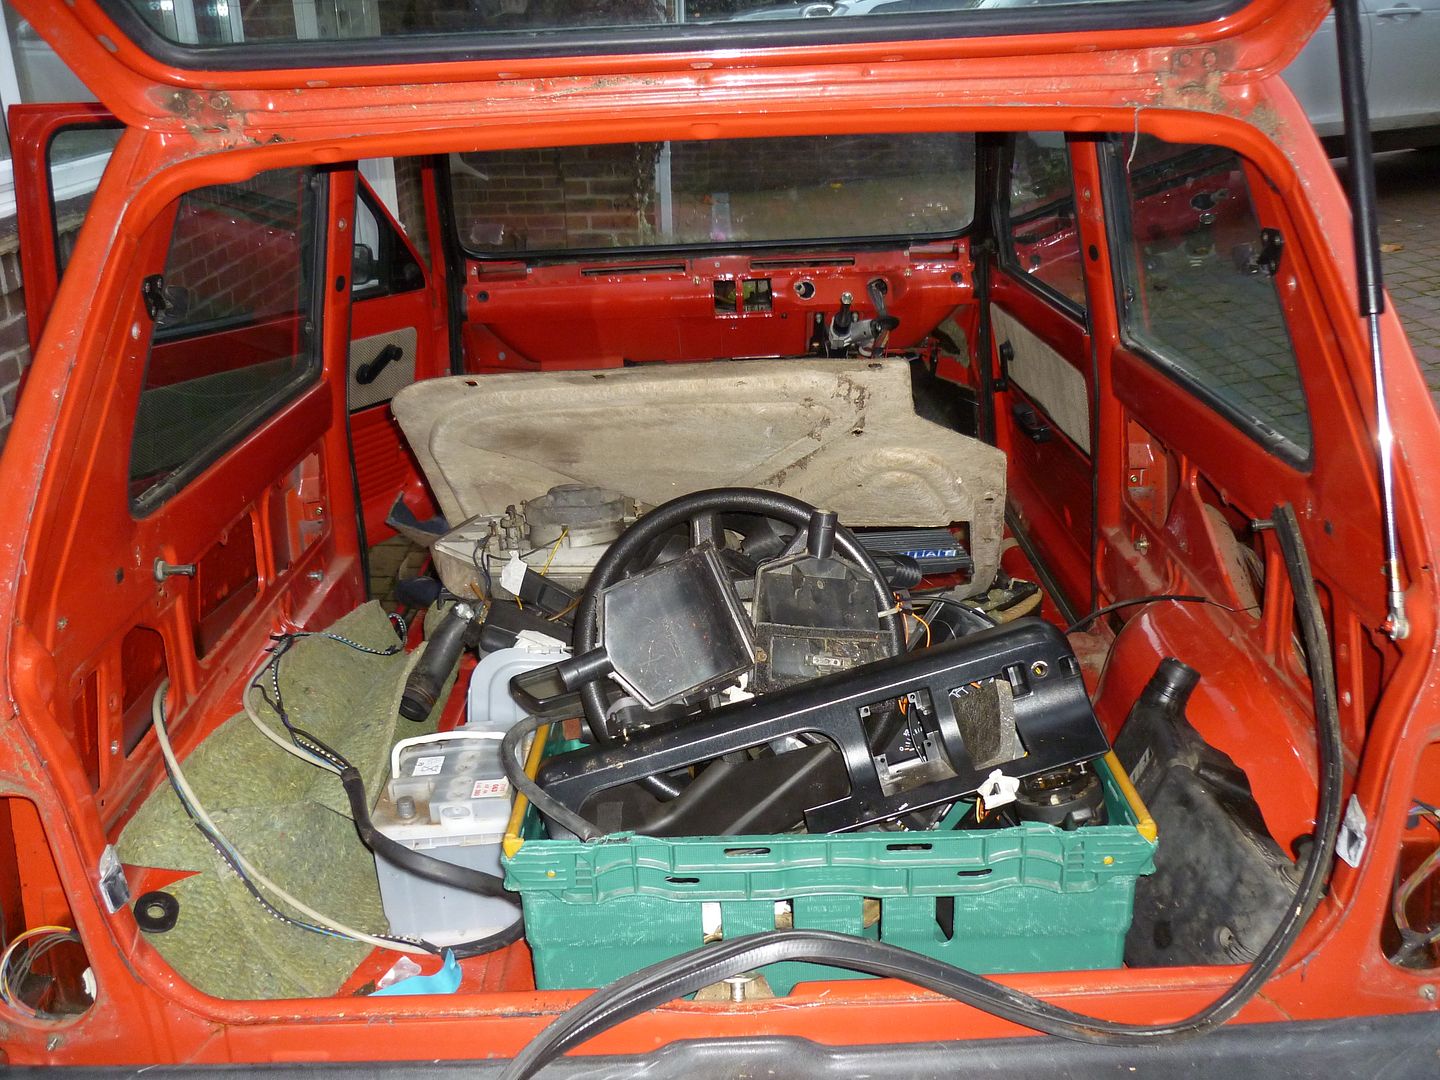
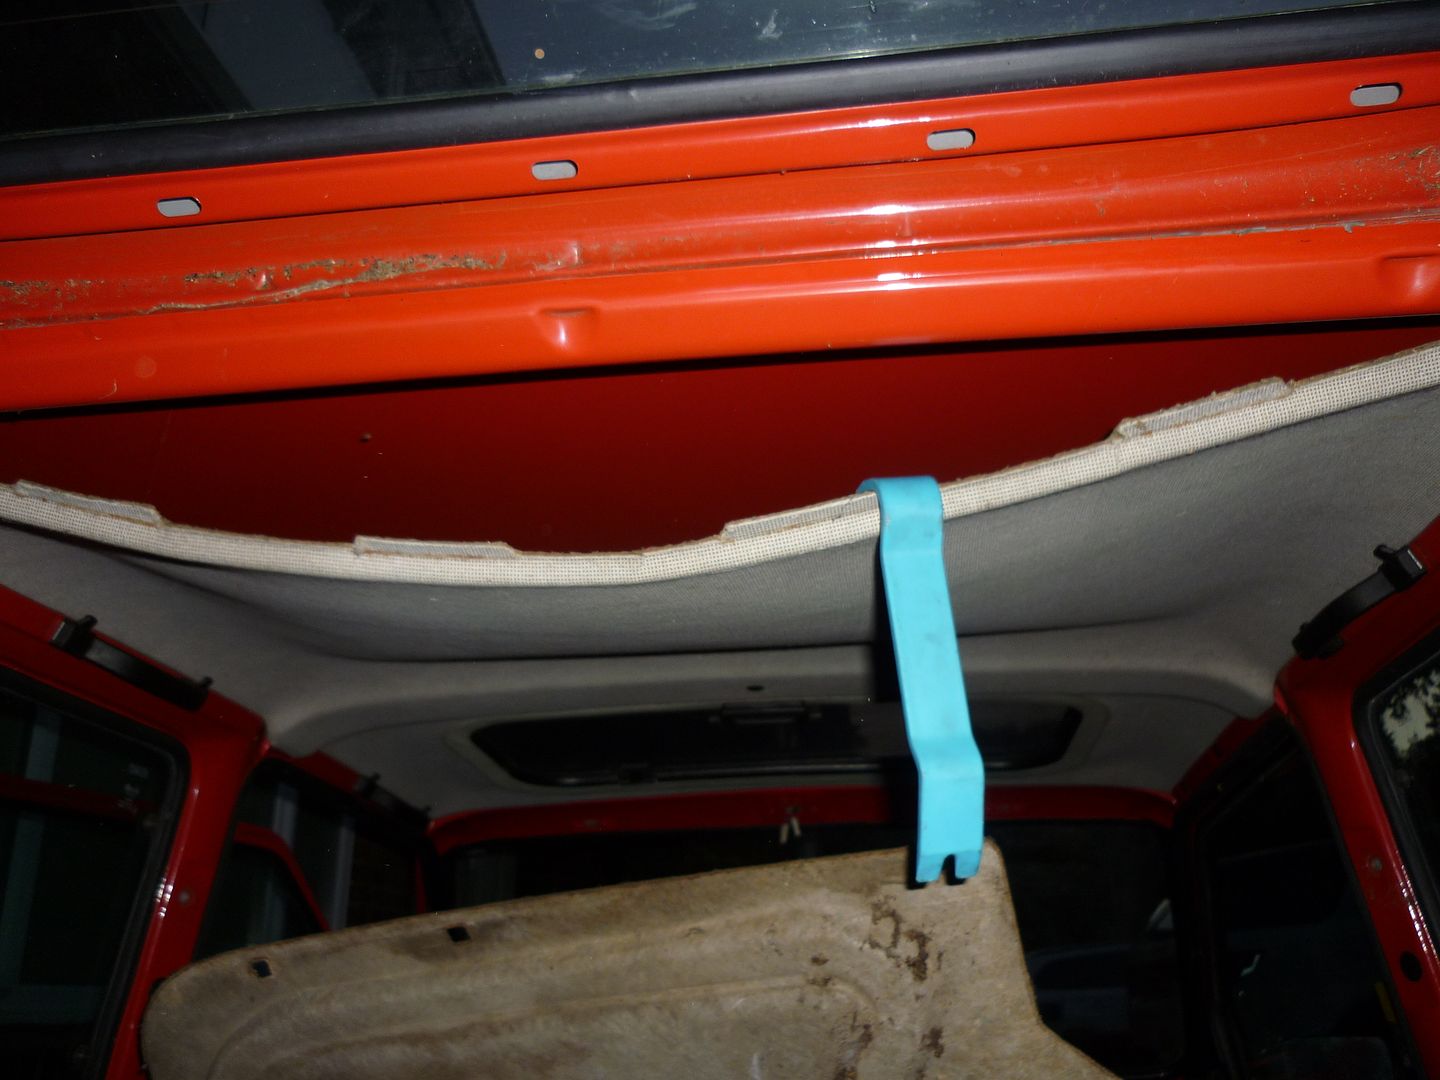
Almost done so pulling the headlining.
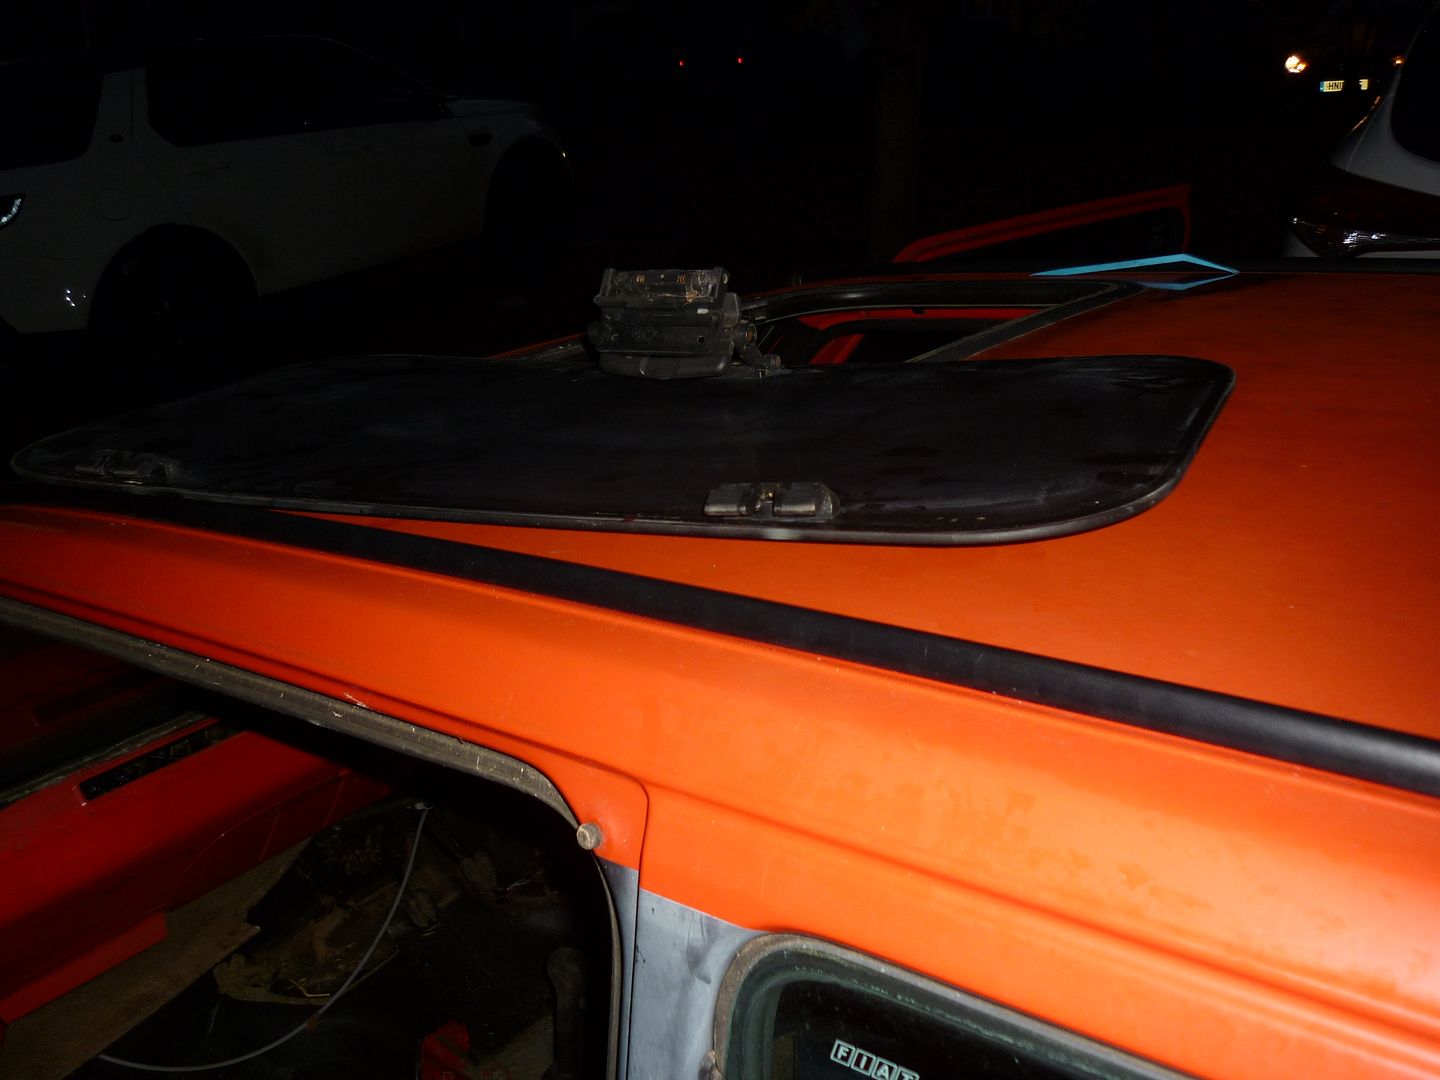
and the sun roof.

Lost the light and someone has borrowed my halogens (again)
So some inside stuff.
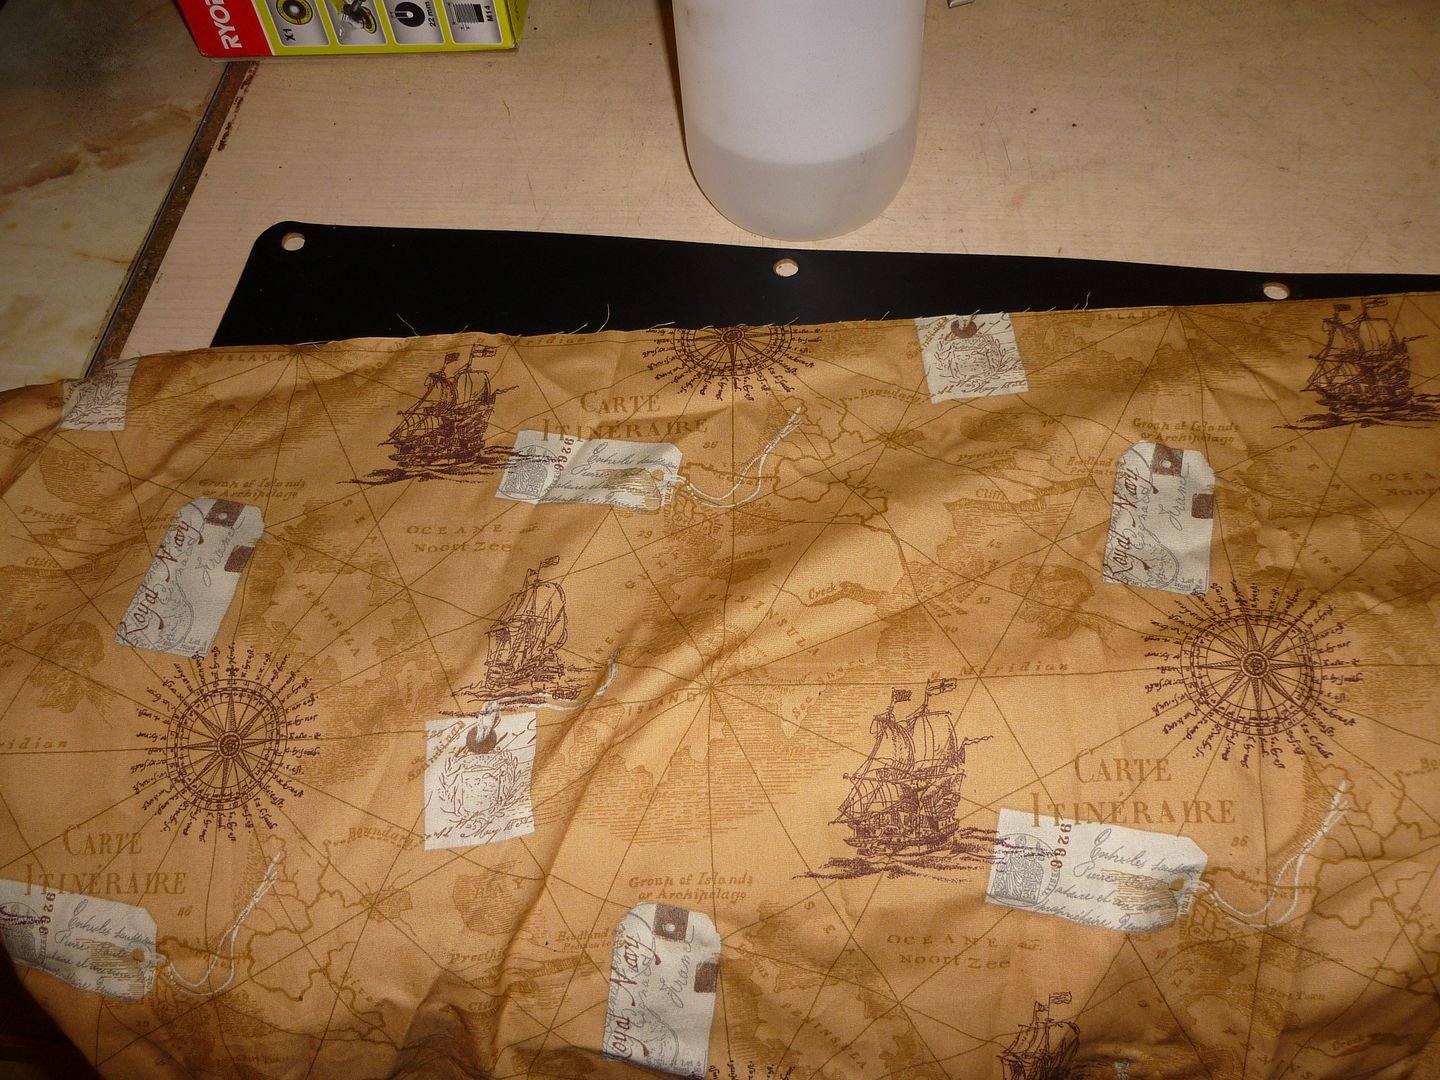
Hit of the interior fabric.
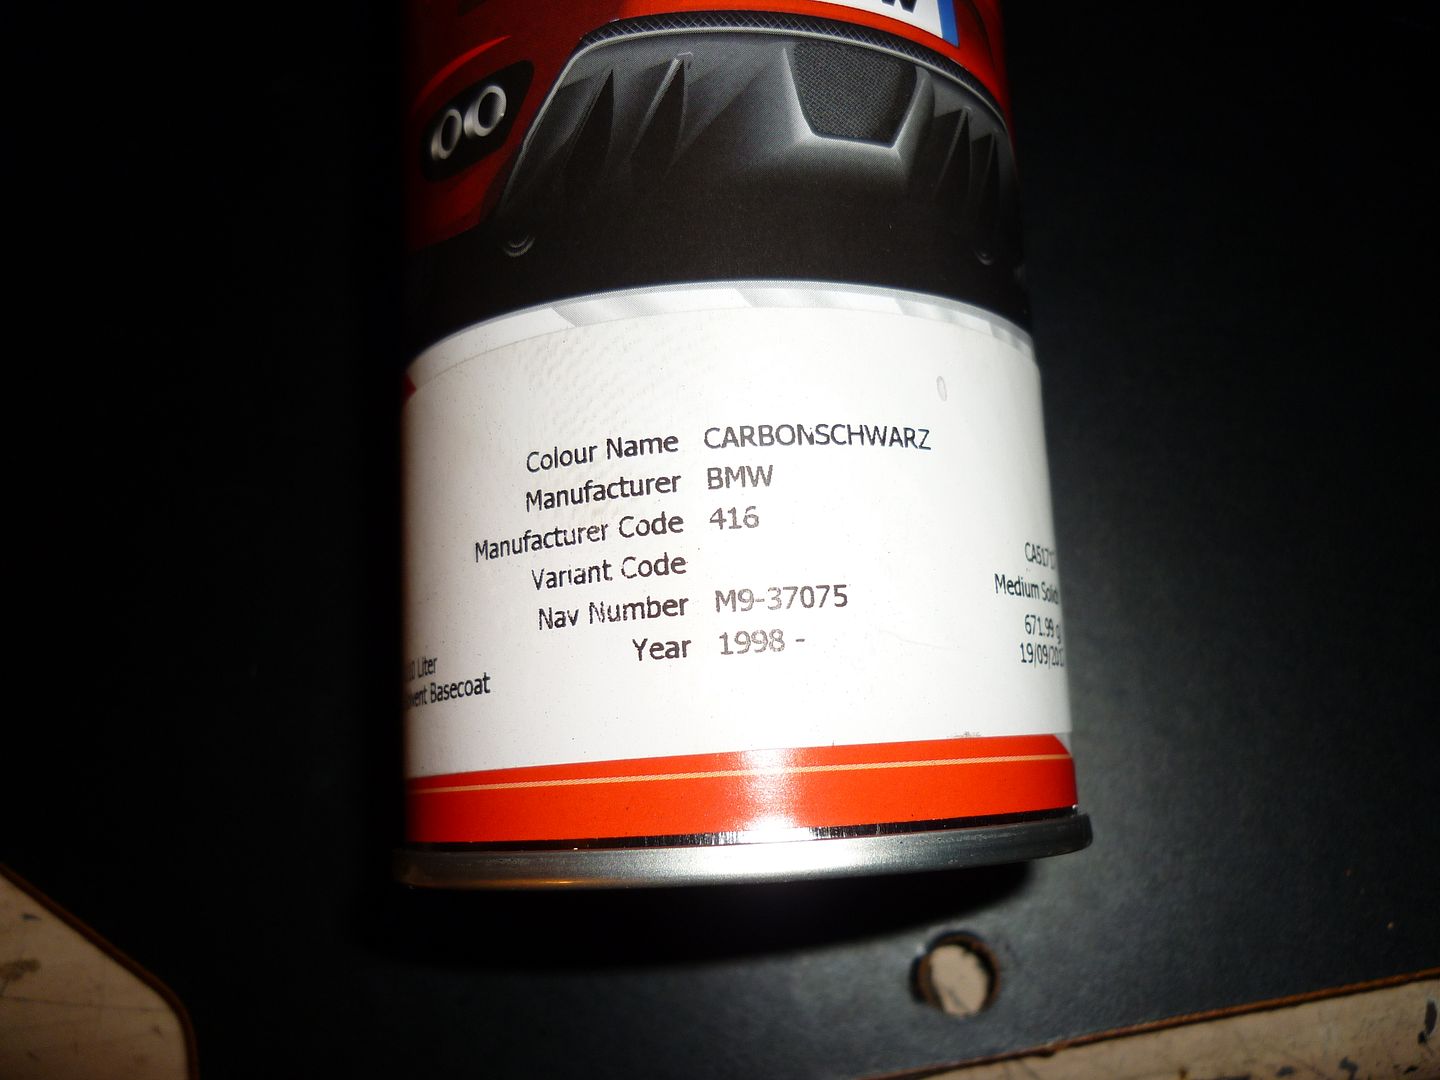
Paint samples..rattle can for trial.
Think its going to work.
So a day or so behind.
Trimmers reviewing my plans for the seats ....
Powder coaters waiting for the wheels and stuff ....
Need to take donuts to the body shop and talk prep ....
So I have opted for the Italian Job Lift Kit time and capability (Ghetto garage) being the main reasons.
So this weekend was a plan to drop the rest of the interior and tear down the engine and trans. A management 'up cock' at the hospital peeled 7 hours off the day so did a bit of night work.
Driveway a bit full and the Panda is in good company and a Hyundai which is real crap
Had a i40 rental last week and this was worse if that is possible. Felt like I pushed it everywhere when I got out. Cruddy electric handbrake that didn't and seats that are for torture use only.
Stripping the tailgate.

Panel came off intact and all clips unbroken. Lovin' Panda build.

Wiper clip fought back but brute force won over.


Took all the muck?

Saved these.

Heater rear intact this side

But here...

Might be fixable?:bang:
Tailgate cable frayed.

Tom Cat removal a quick pull

More muck hiding

Rear tailgate seal lifted and......no rot

Locks out
Need a full set as currently have 3 keys

Bit of careful trim extraction.


Quick heat and dental floss pull.

Almost done so pulling the headlining.

and the sun roof.


Lost the light and someone has borrowed my halogens (again)
So some inside stuff.
Hit of the interior fabric.

Paint samples..rattle can for trial.


Think its going to work.
So a day or so behind.
Trimmers reviewing my plans for the seats ....
Powder coaters waiting for the wheels and stuff ....
Need to take donuts to the body shop and talk prep ....
Last edited:
 [emoji375][emoji374]


