OP
OP
one for the picture junkies 
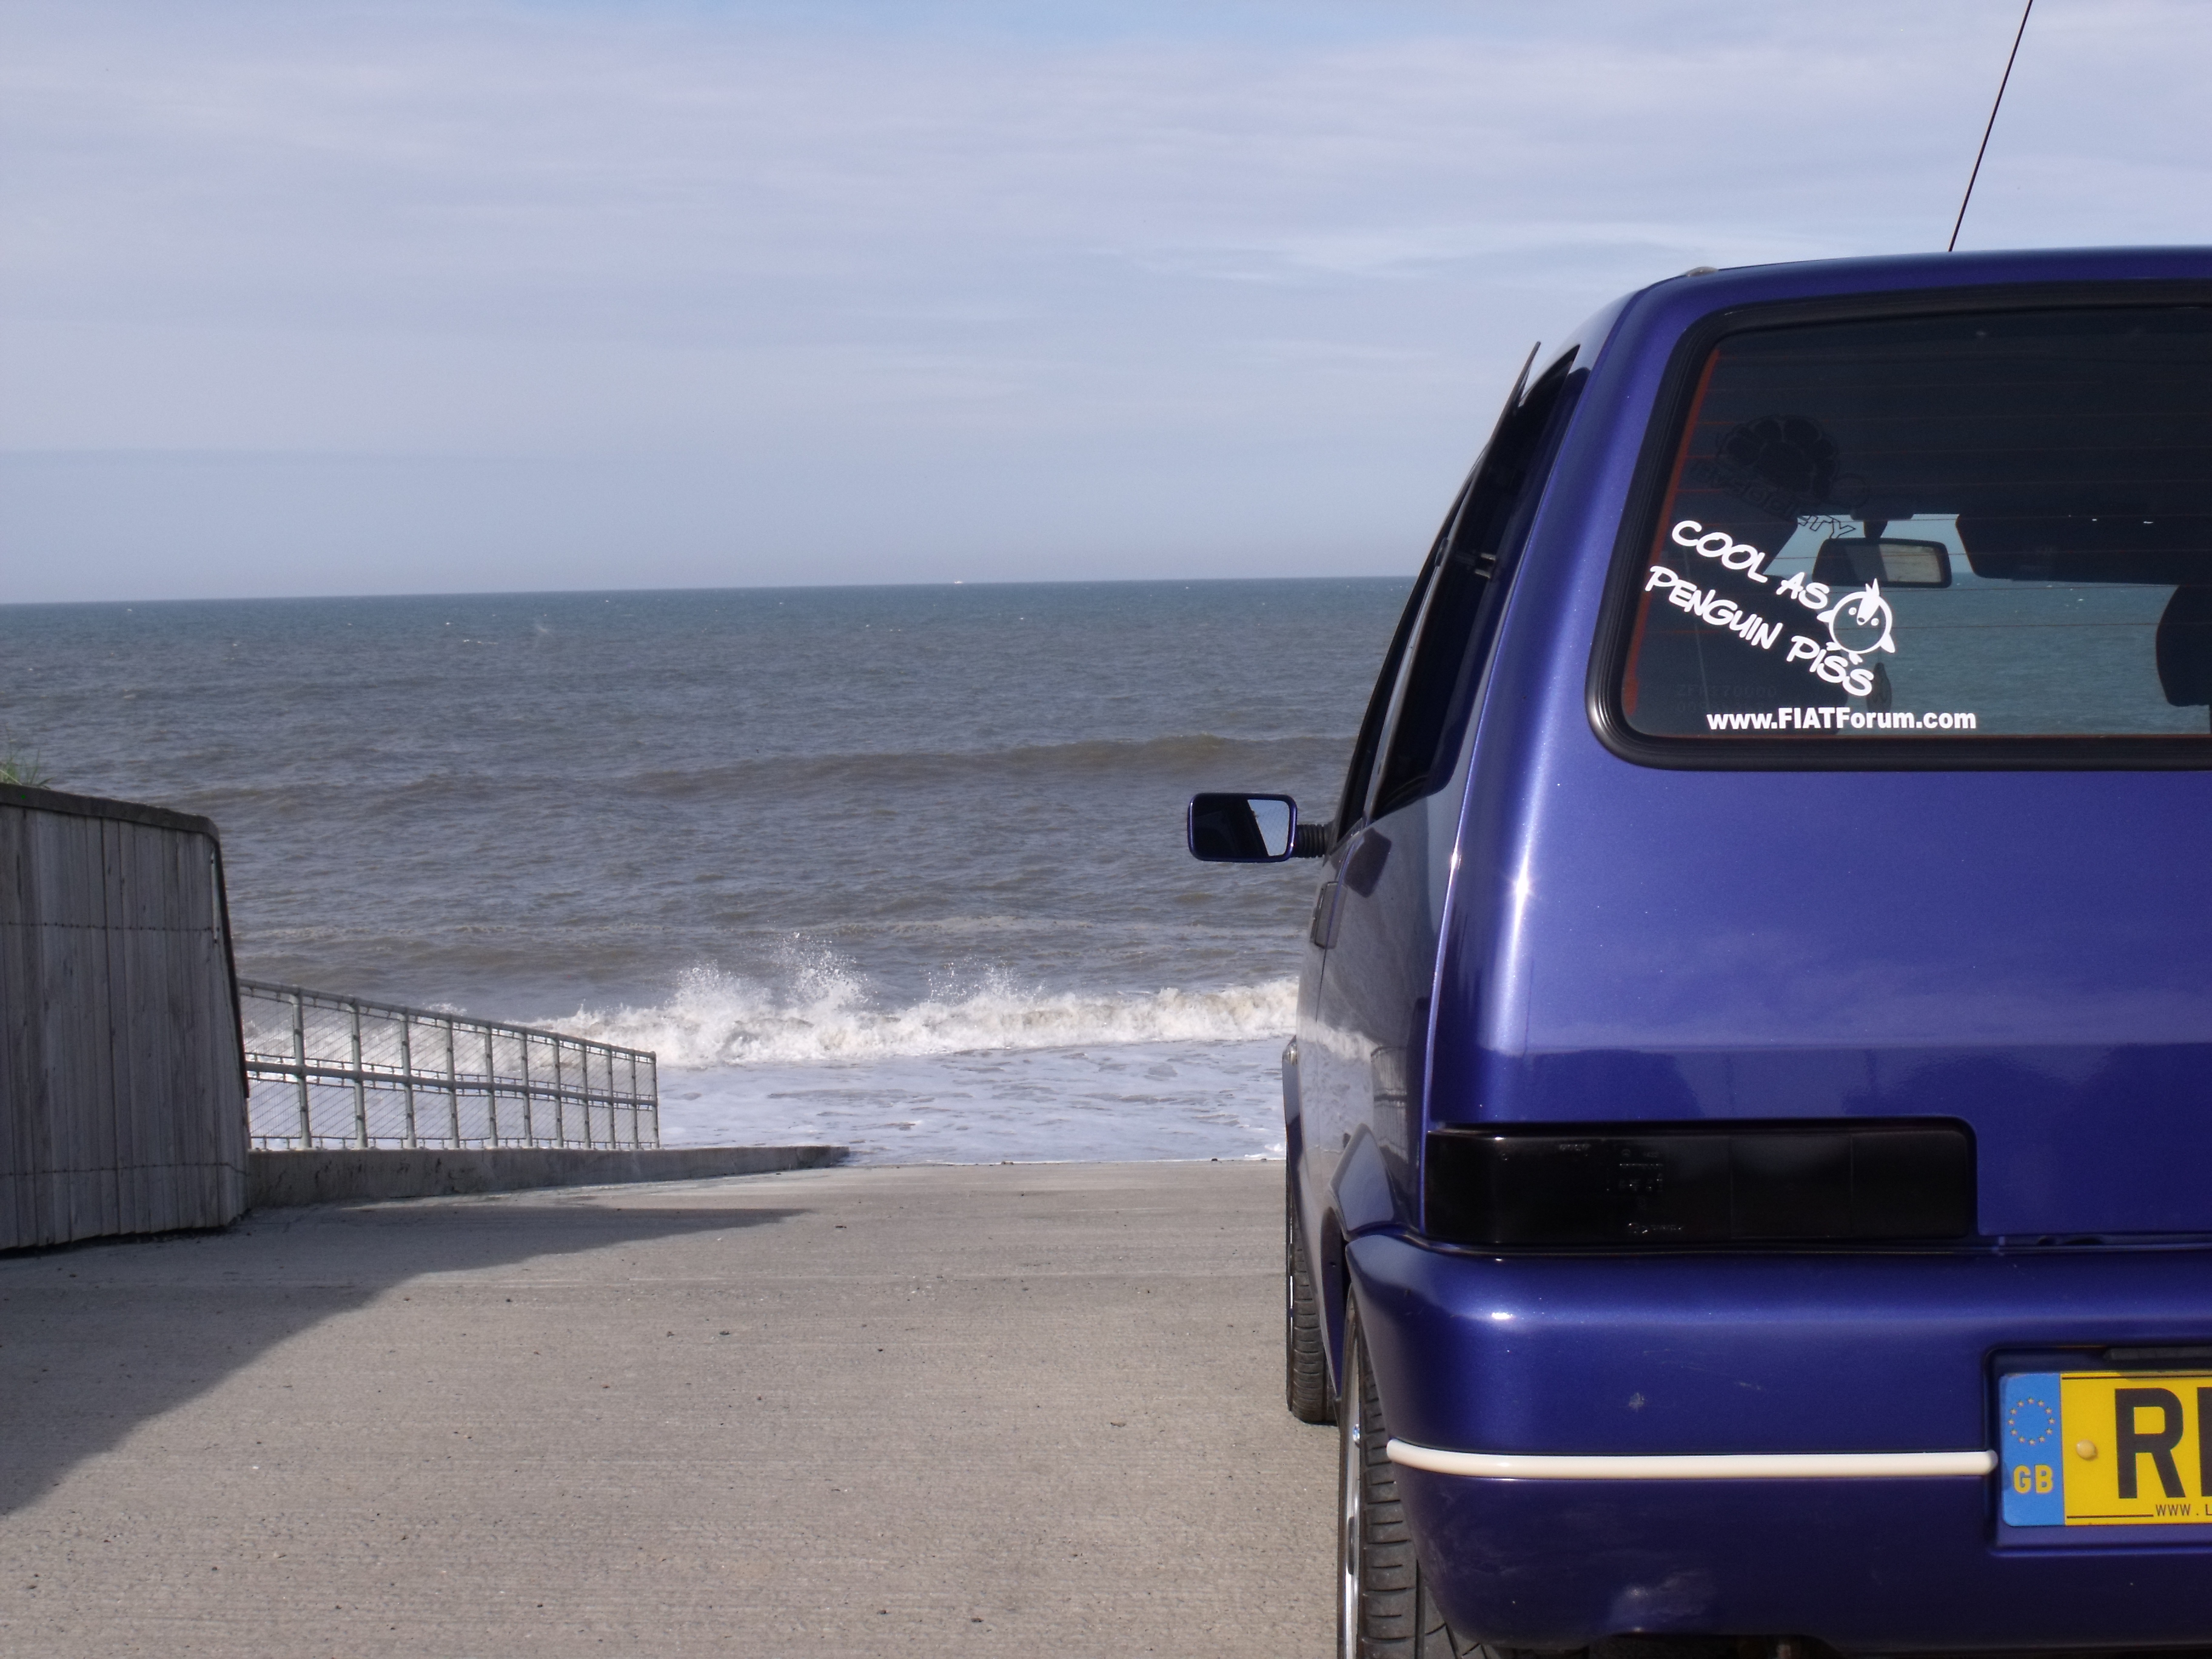
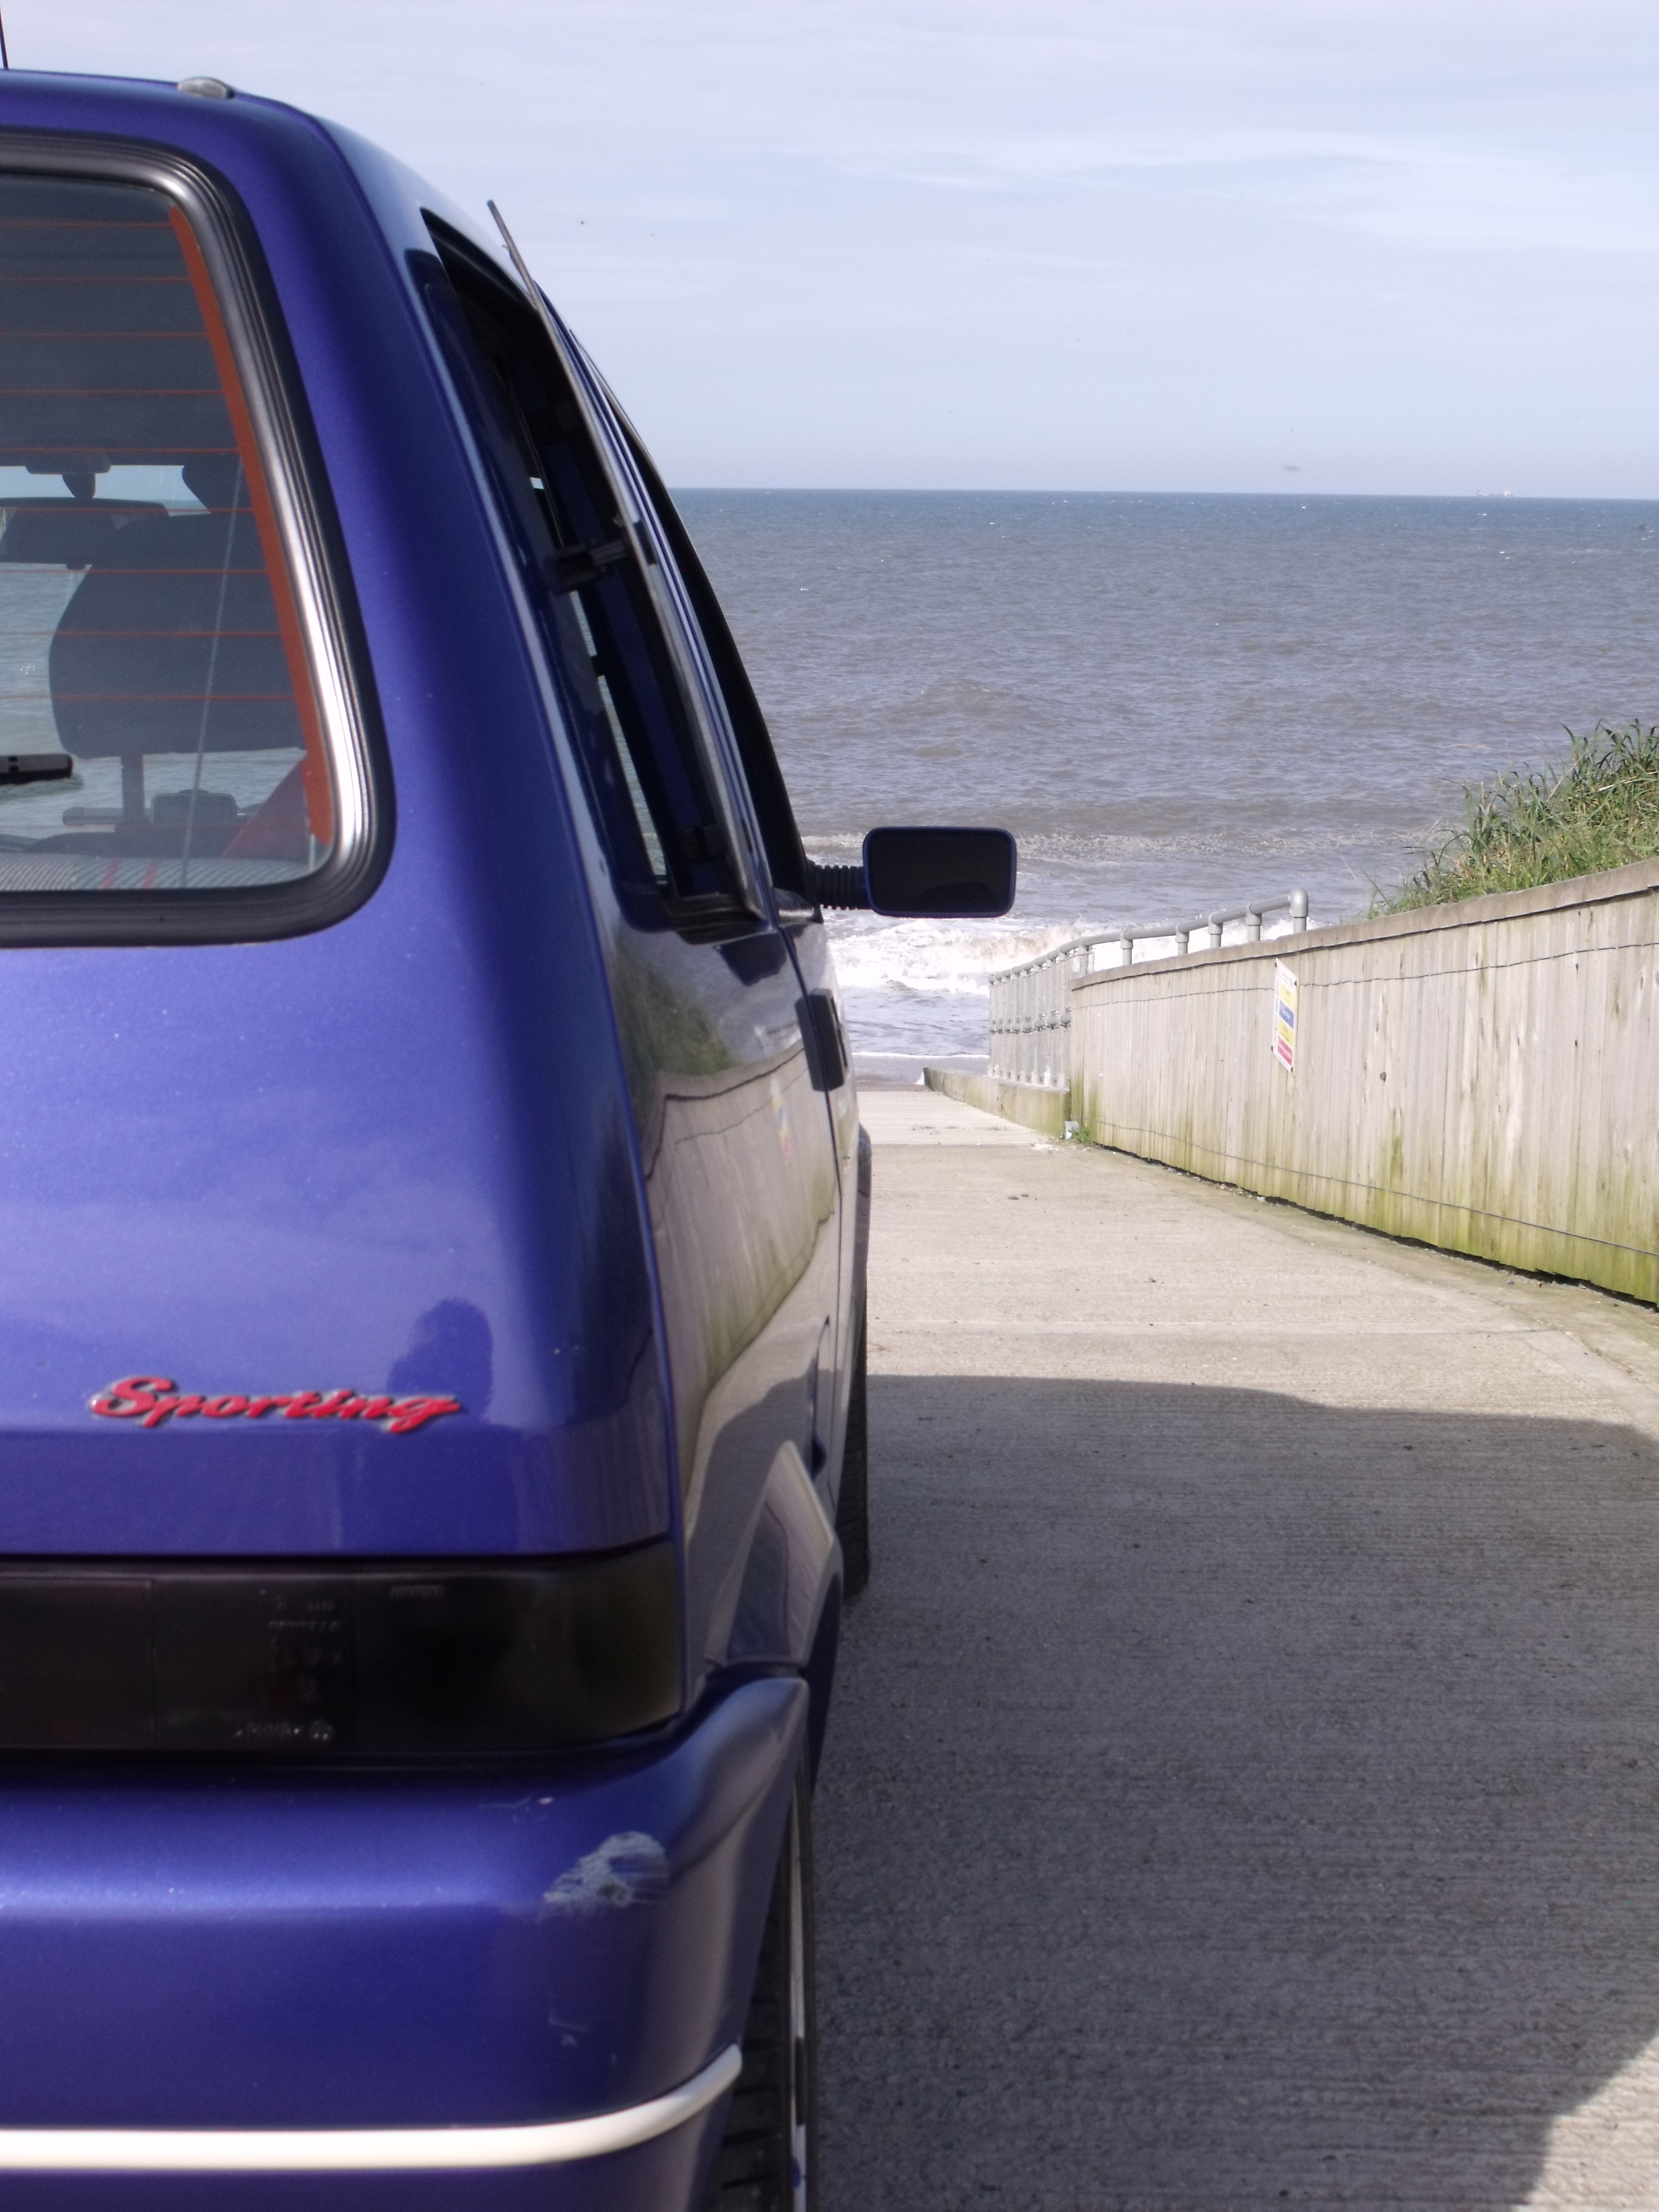


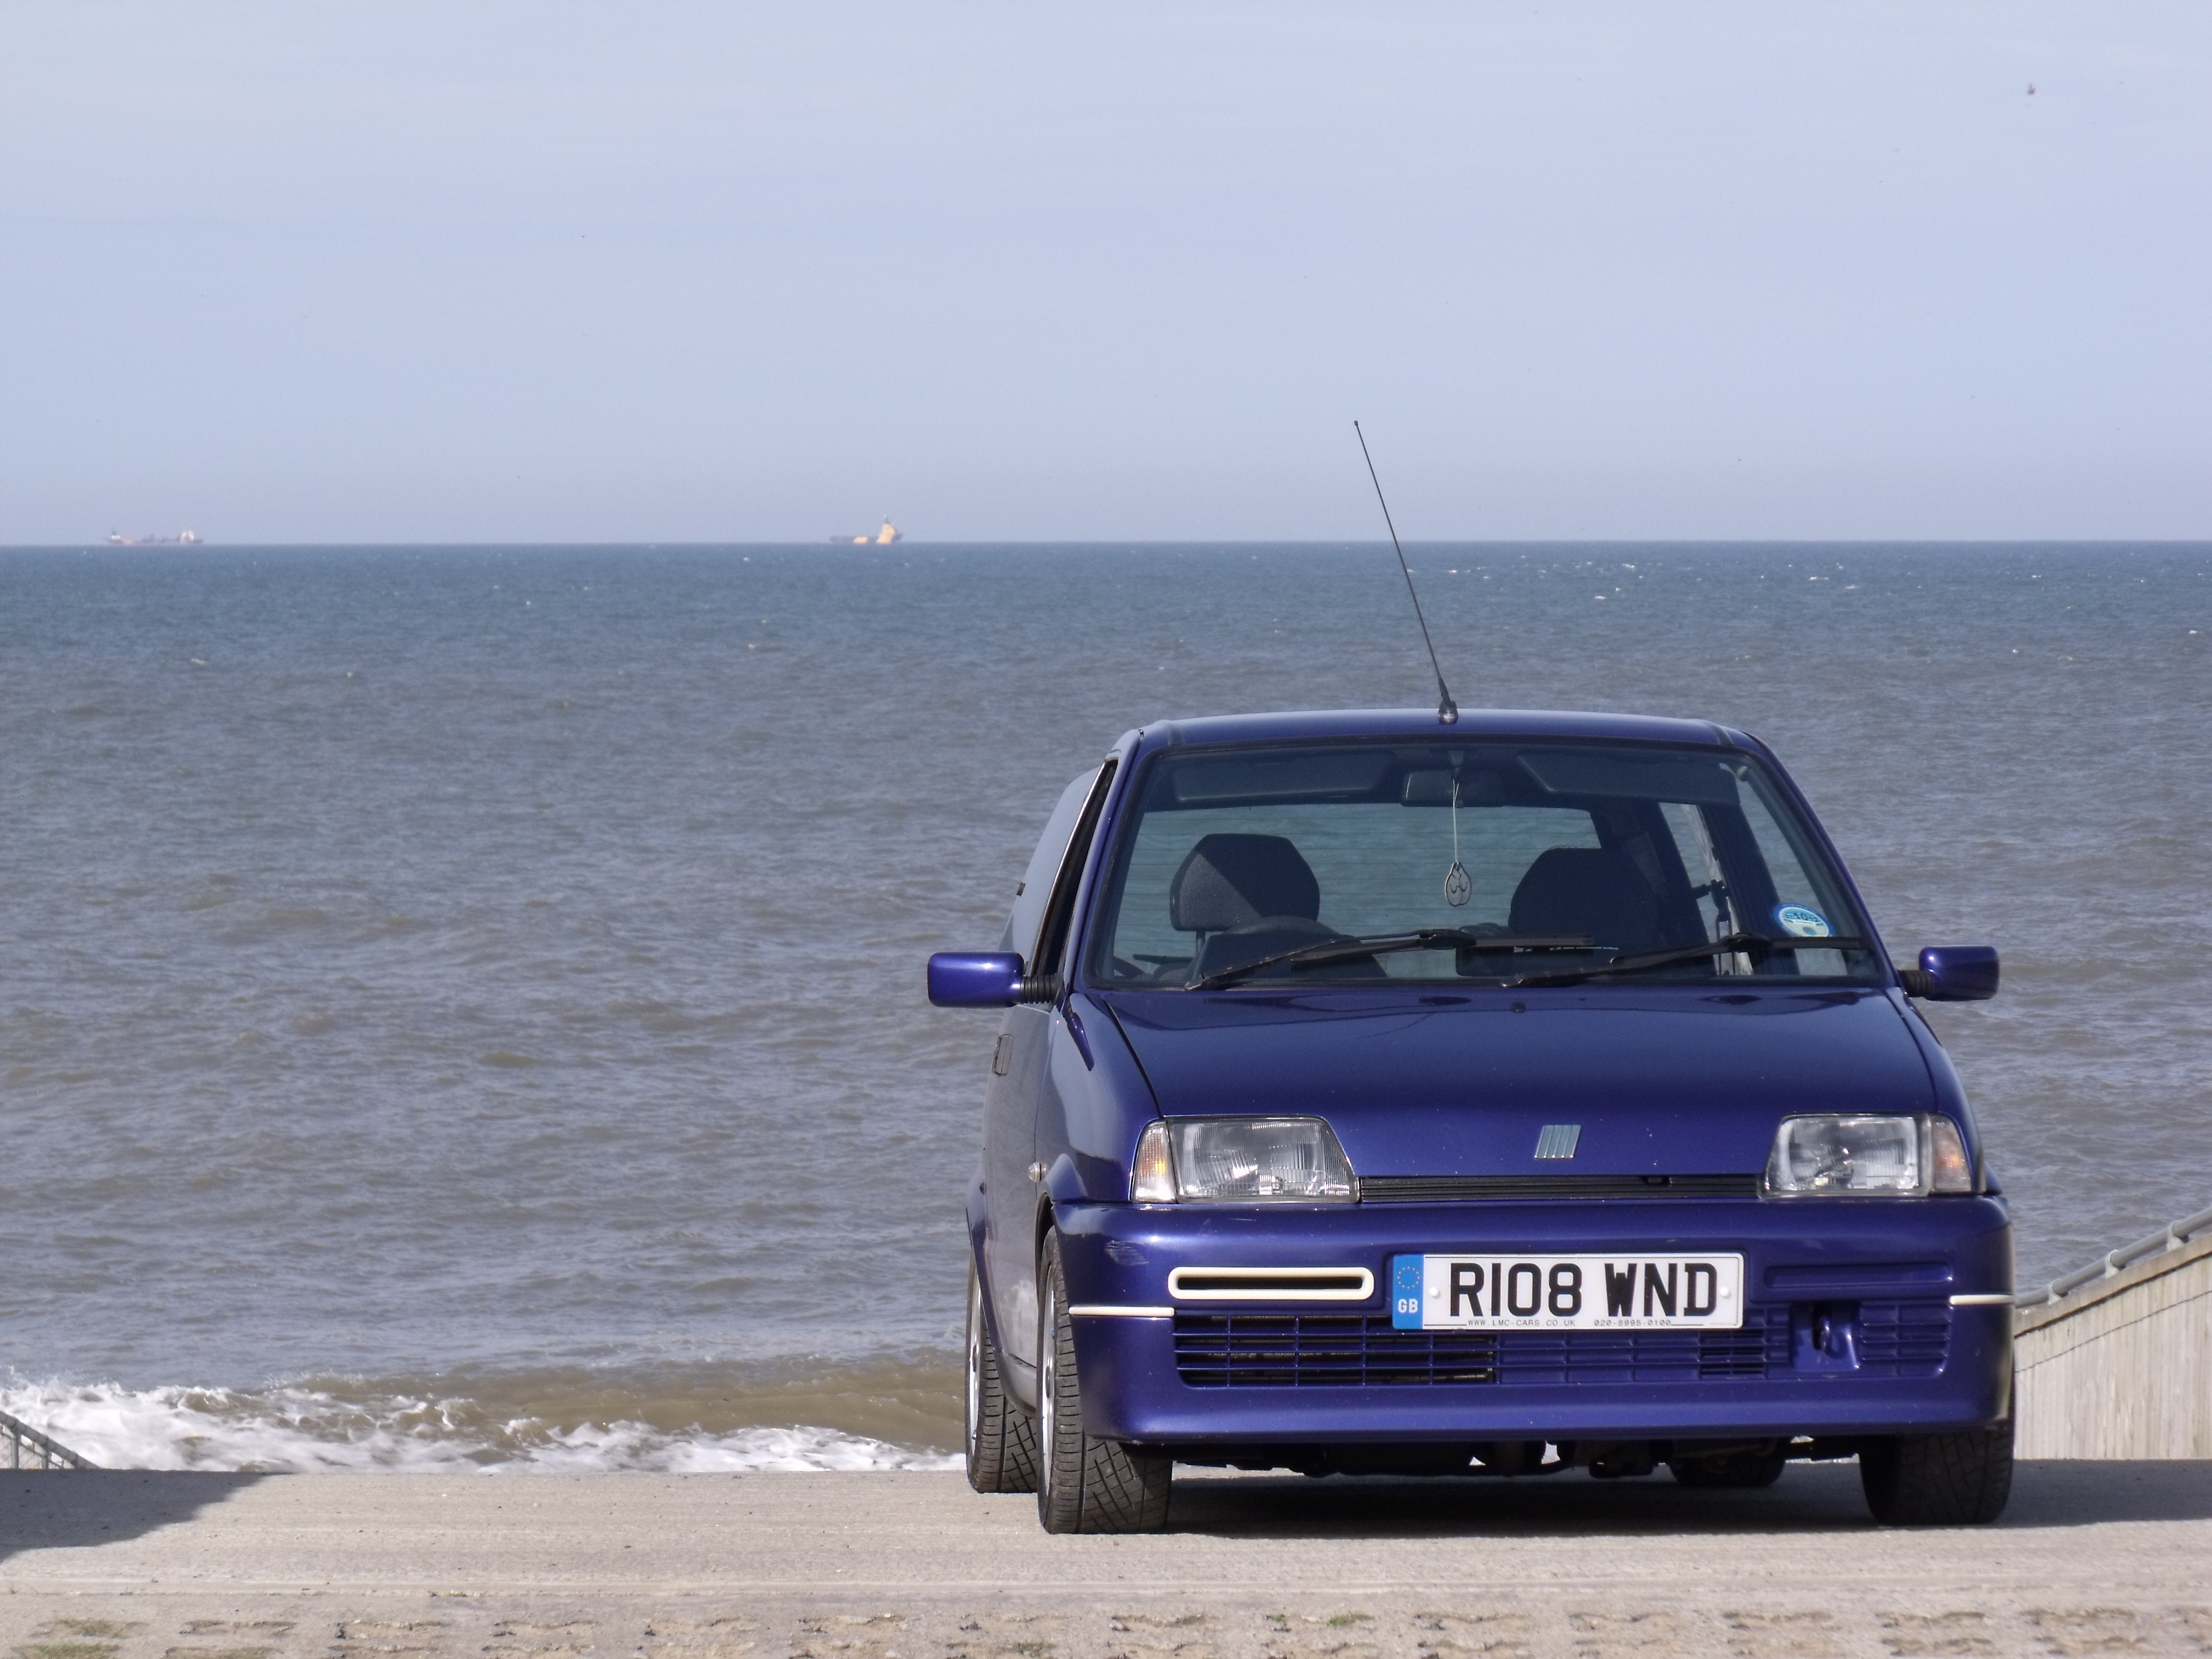

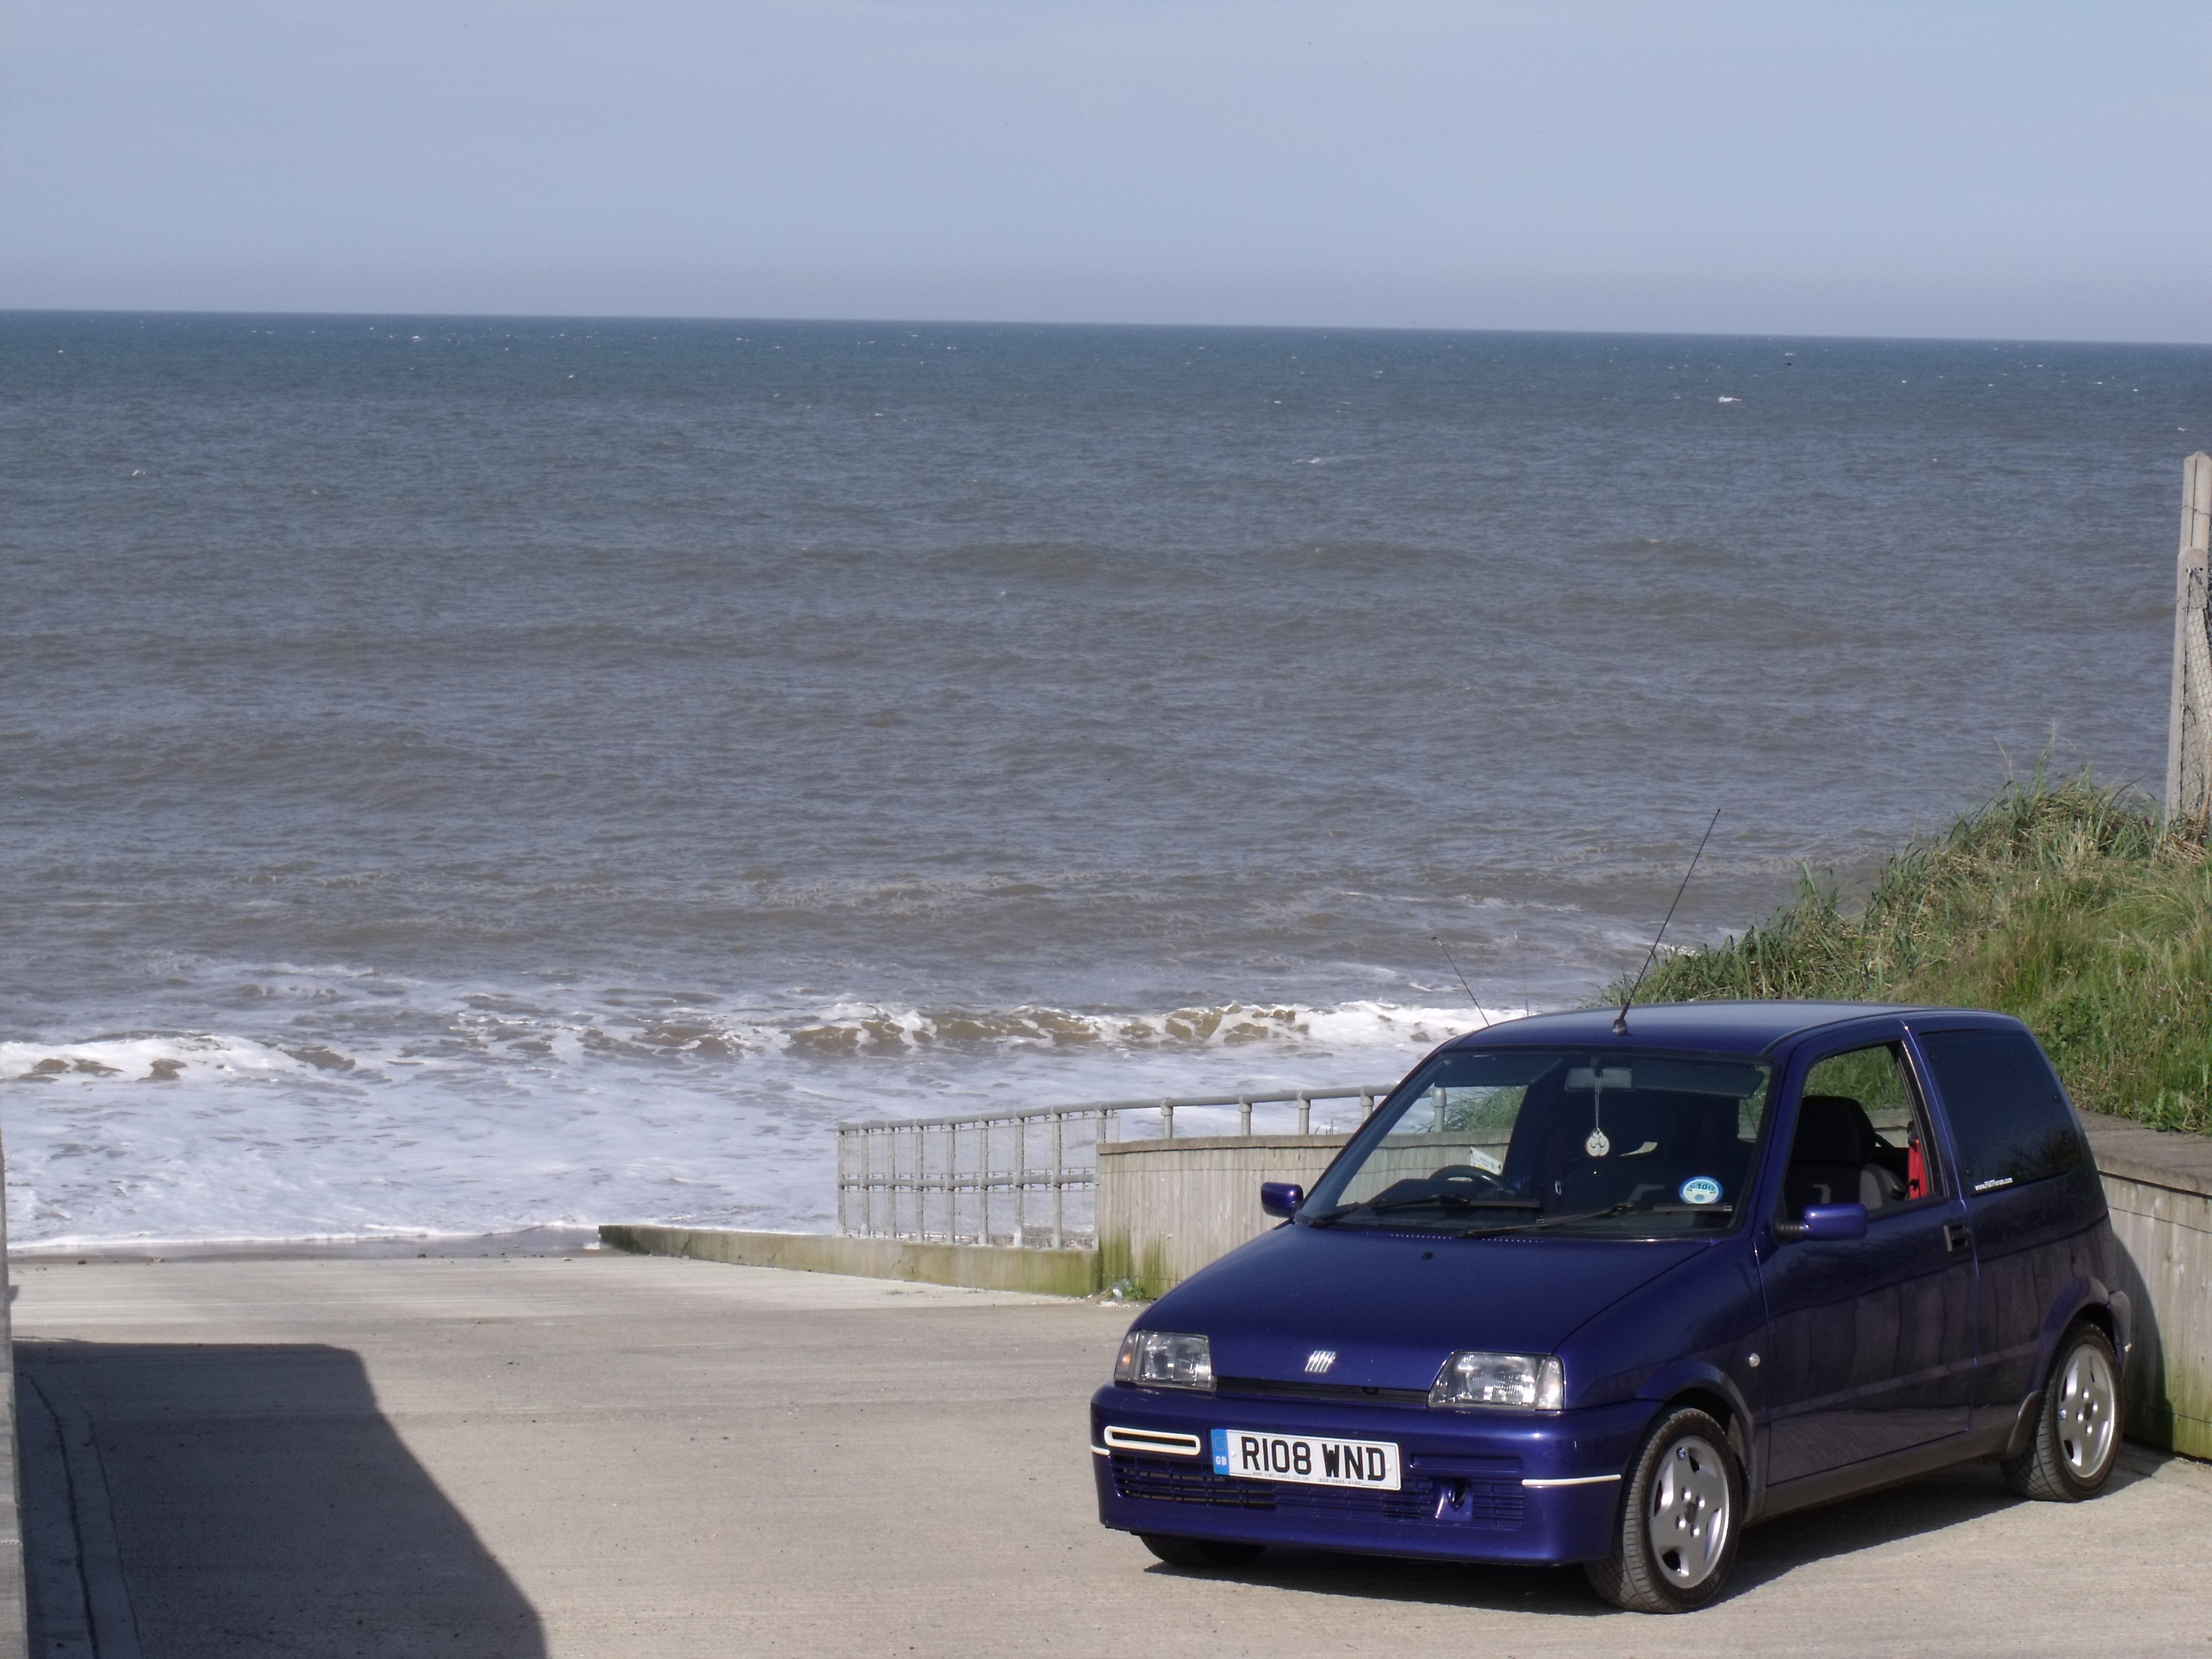
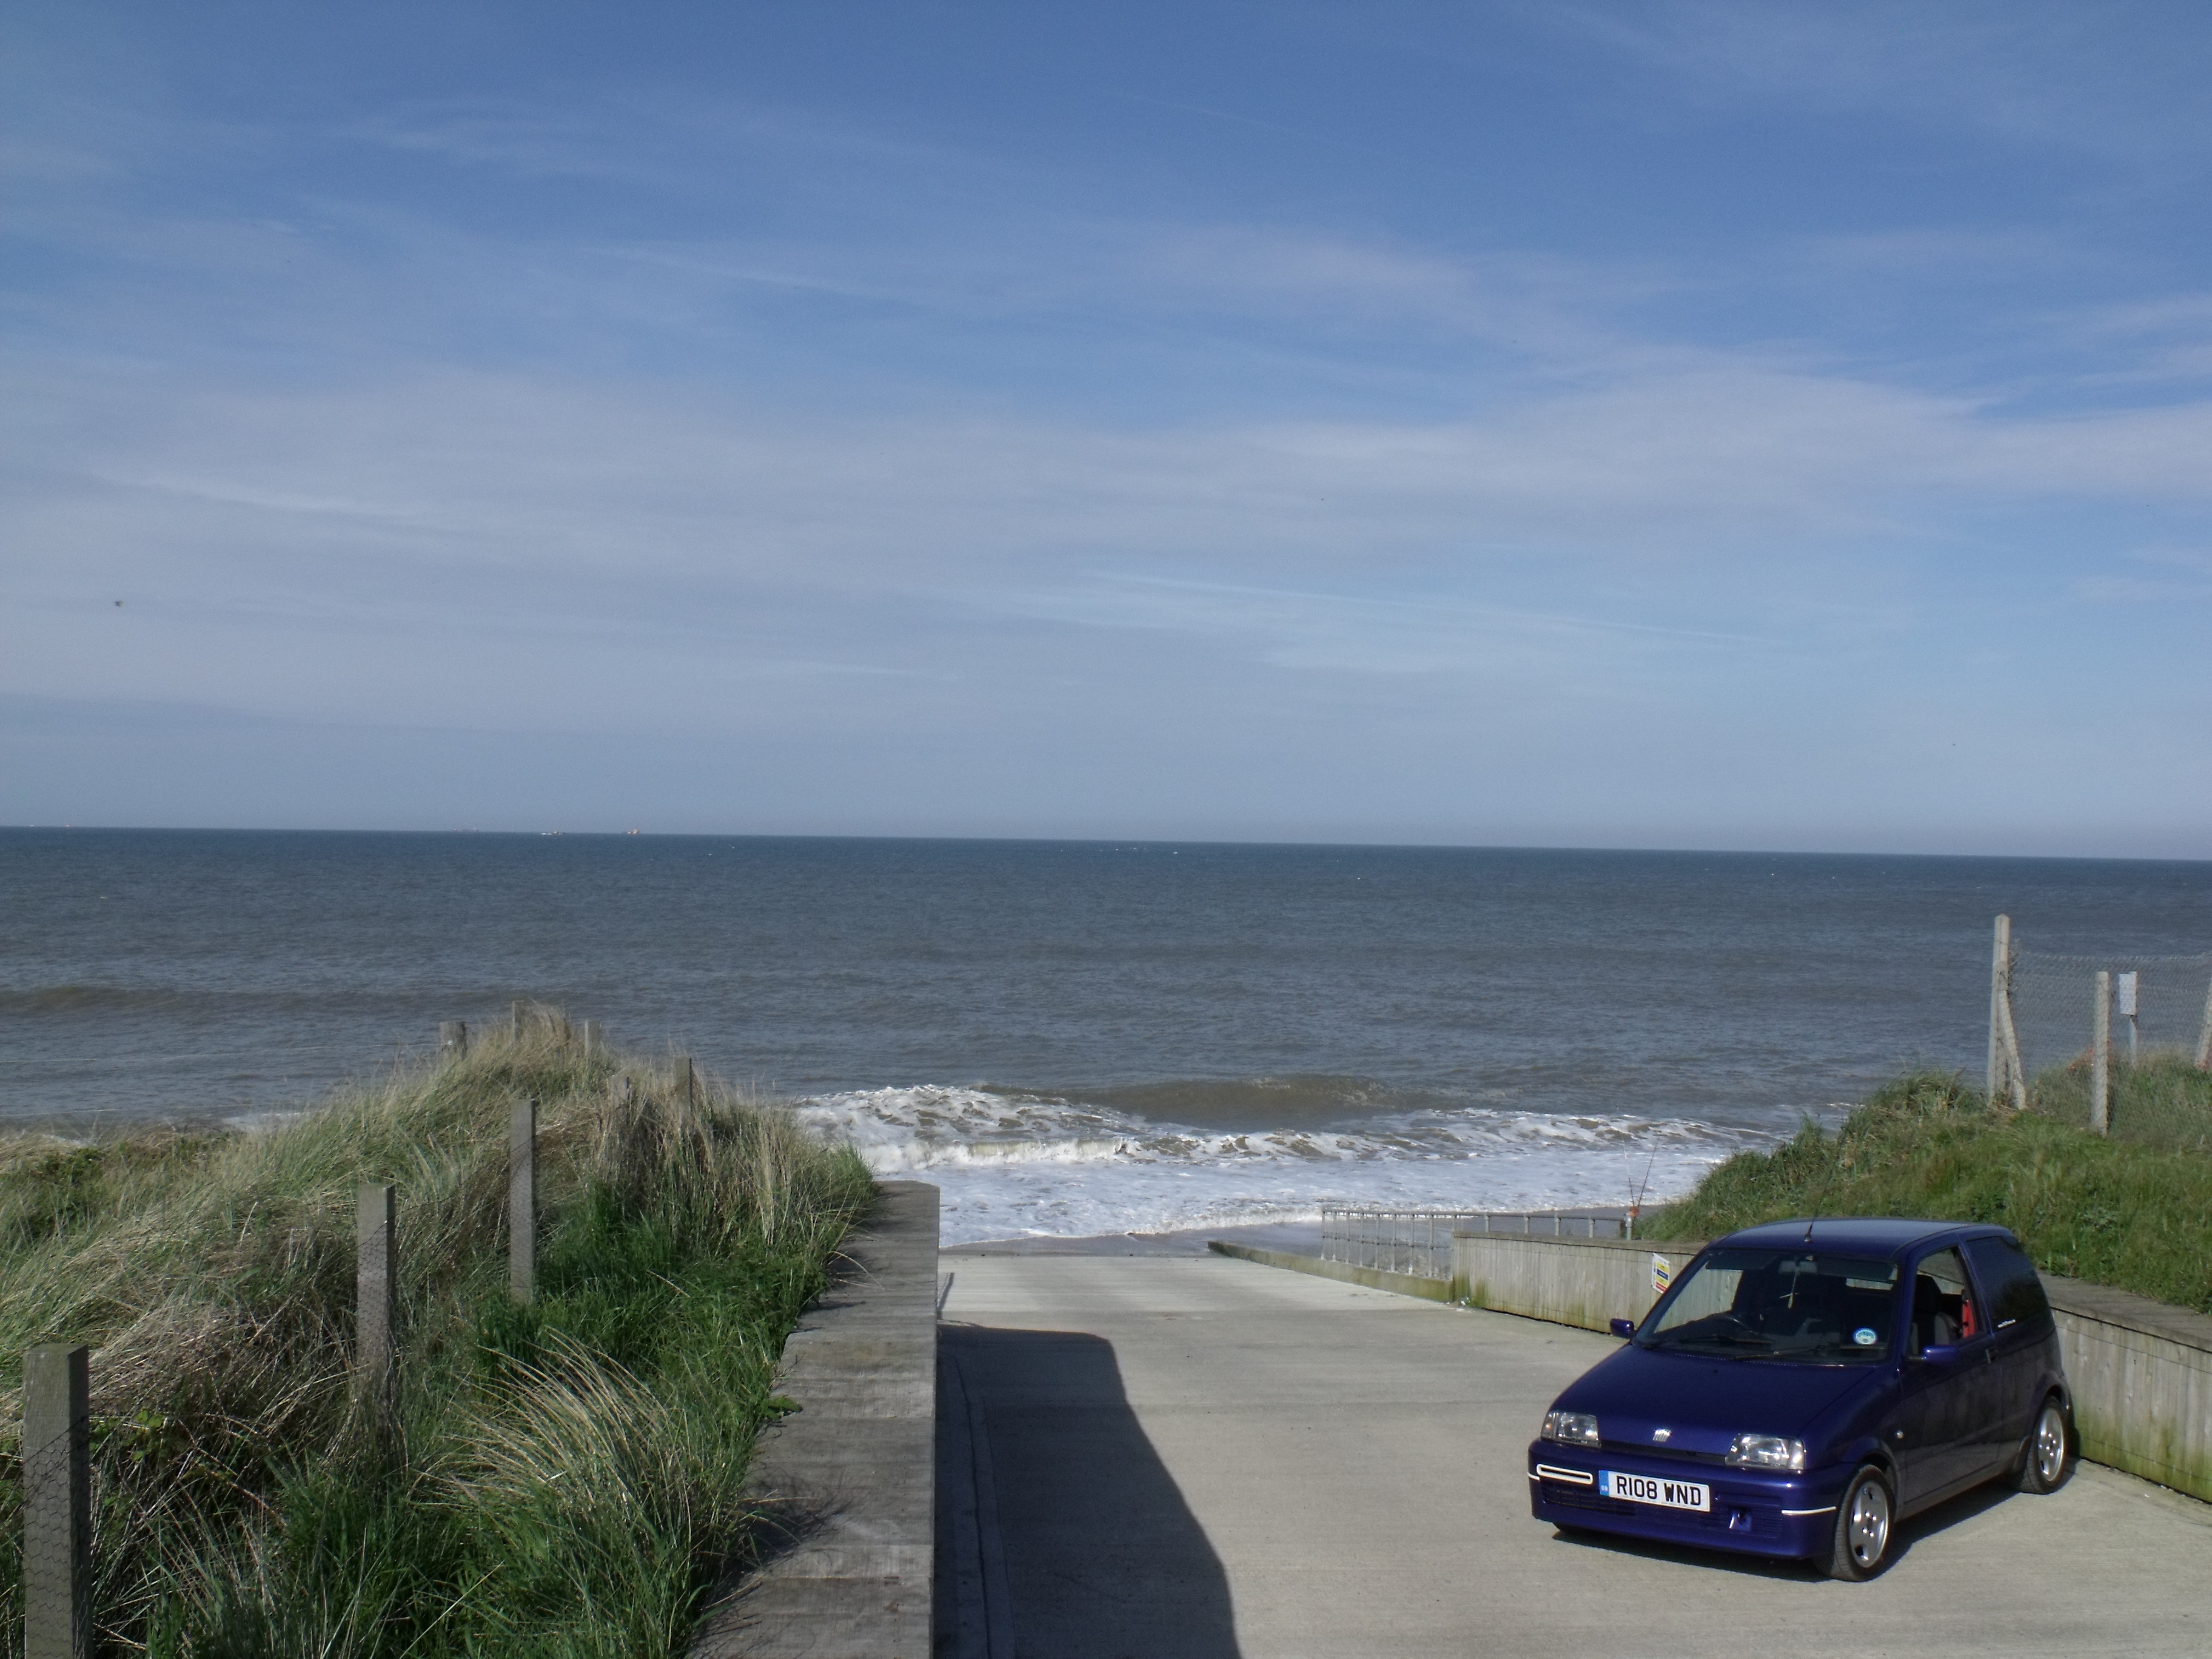
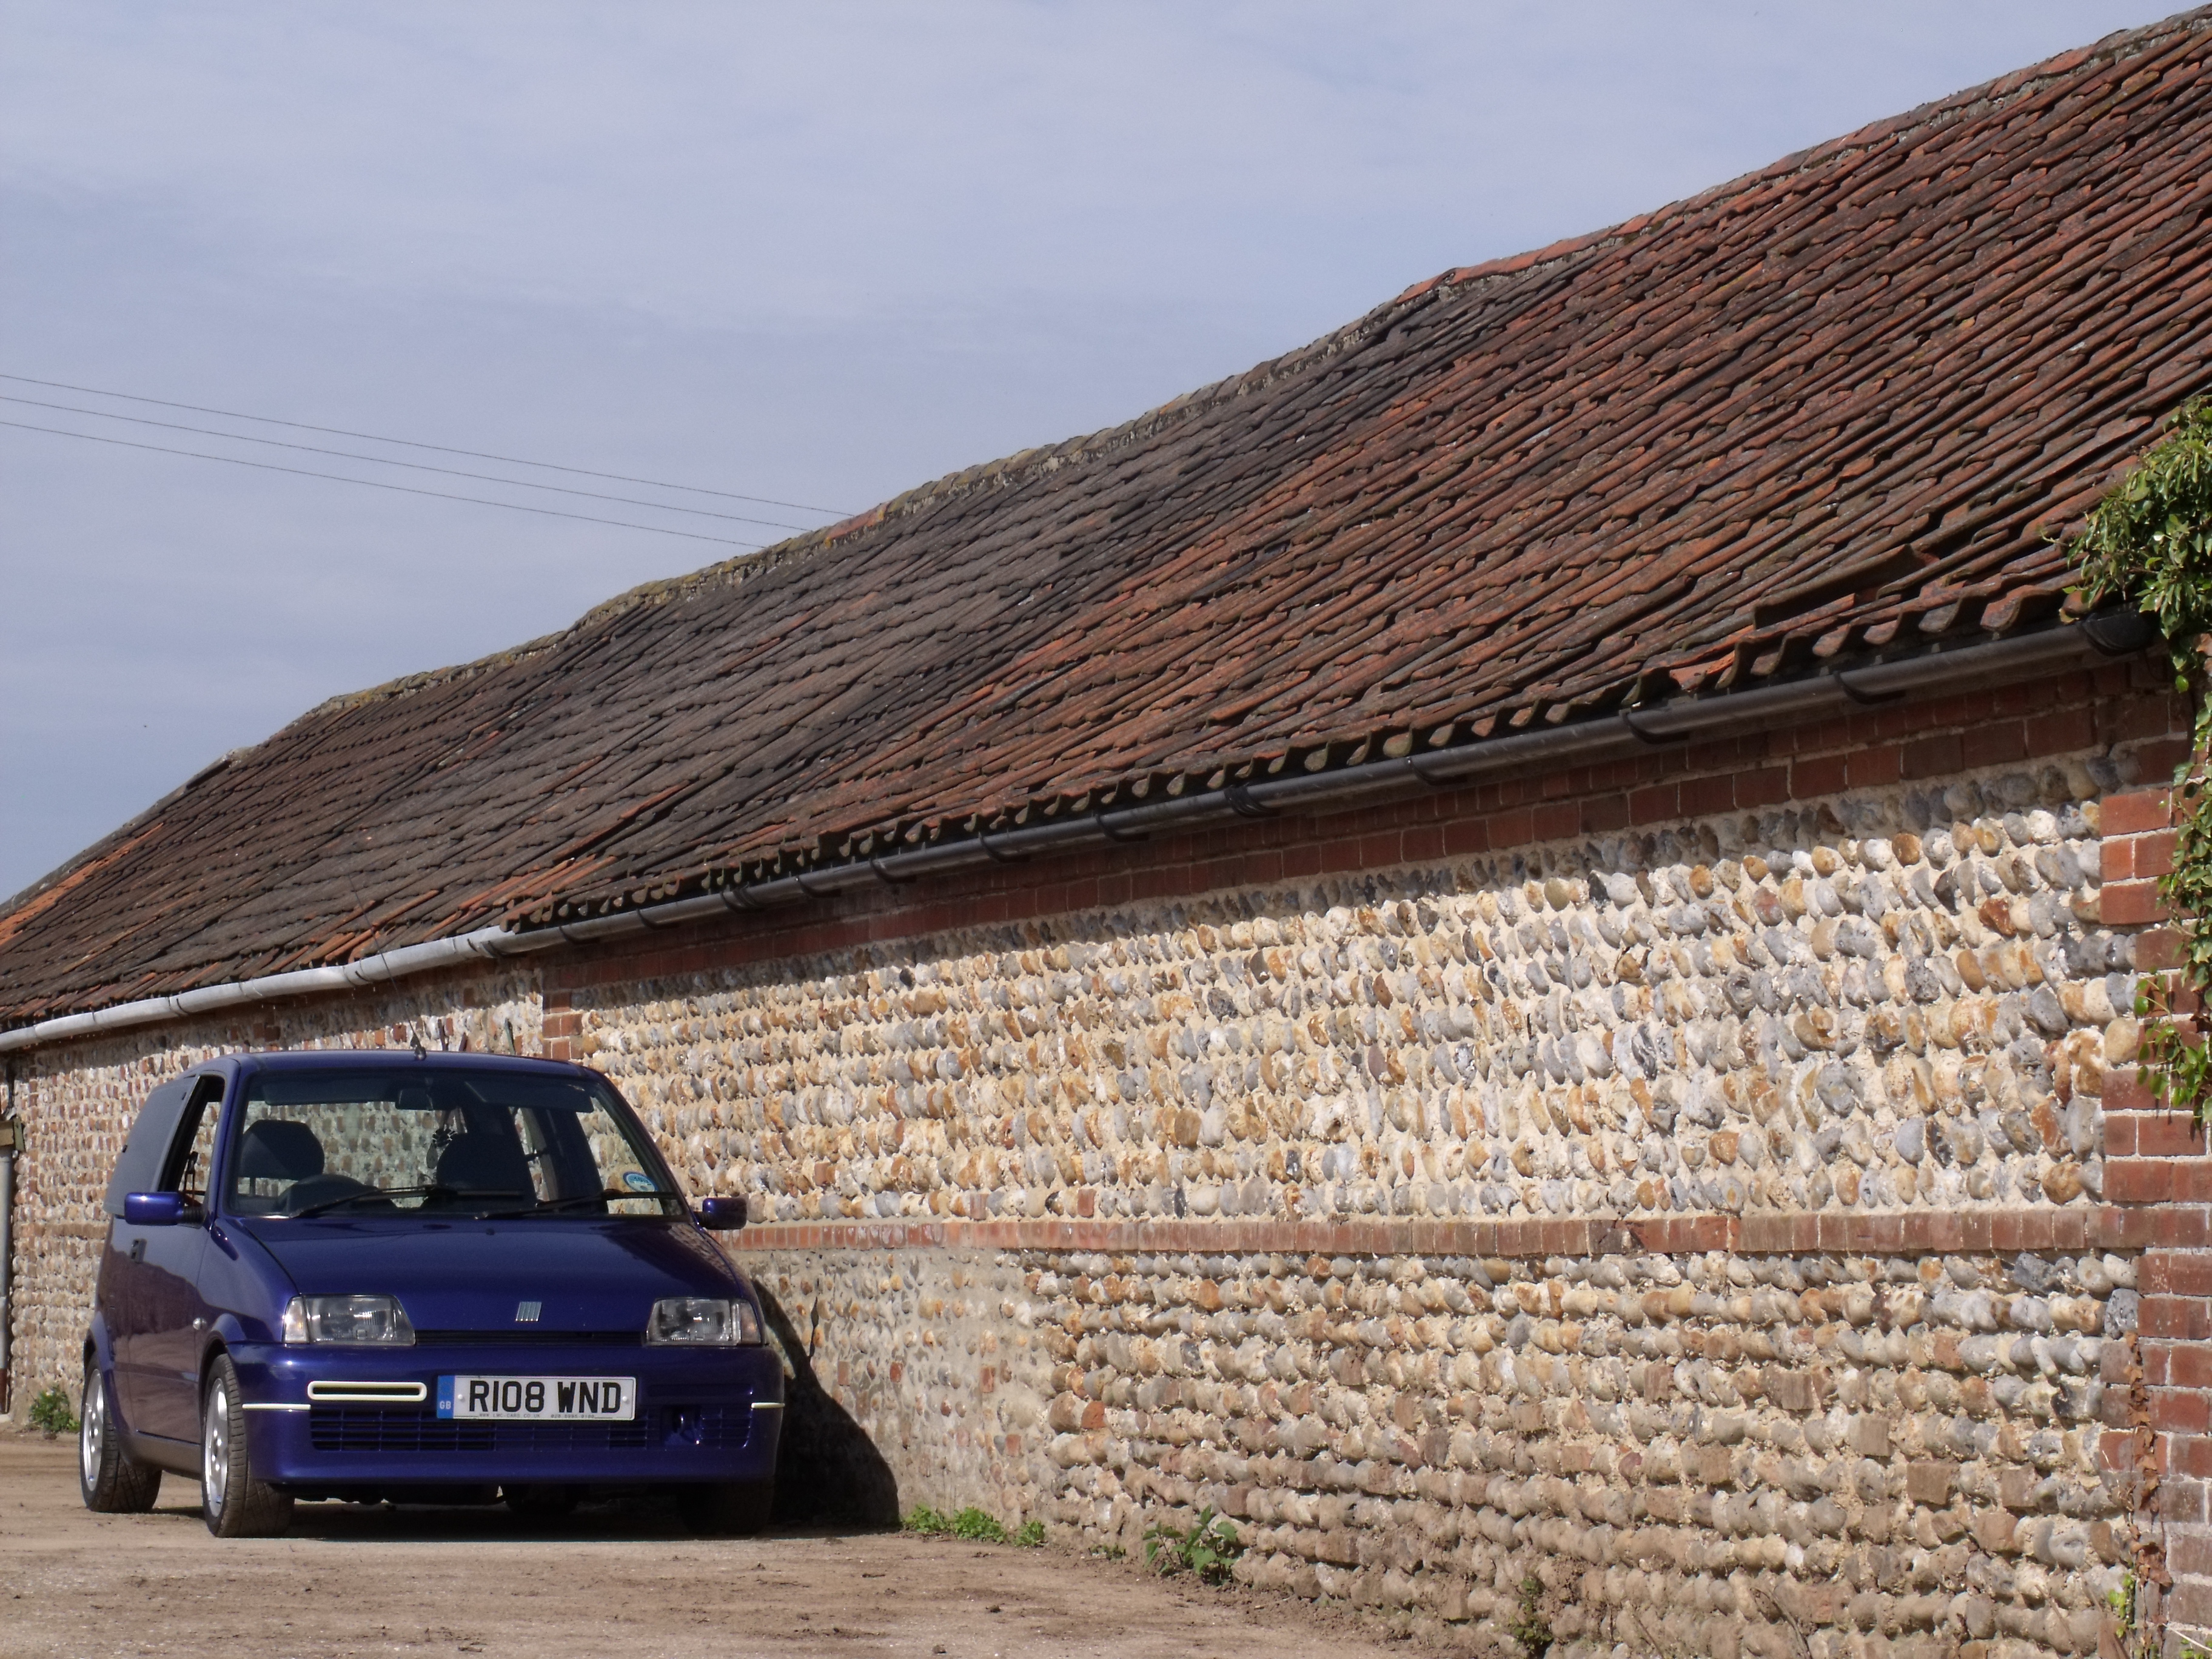
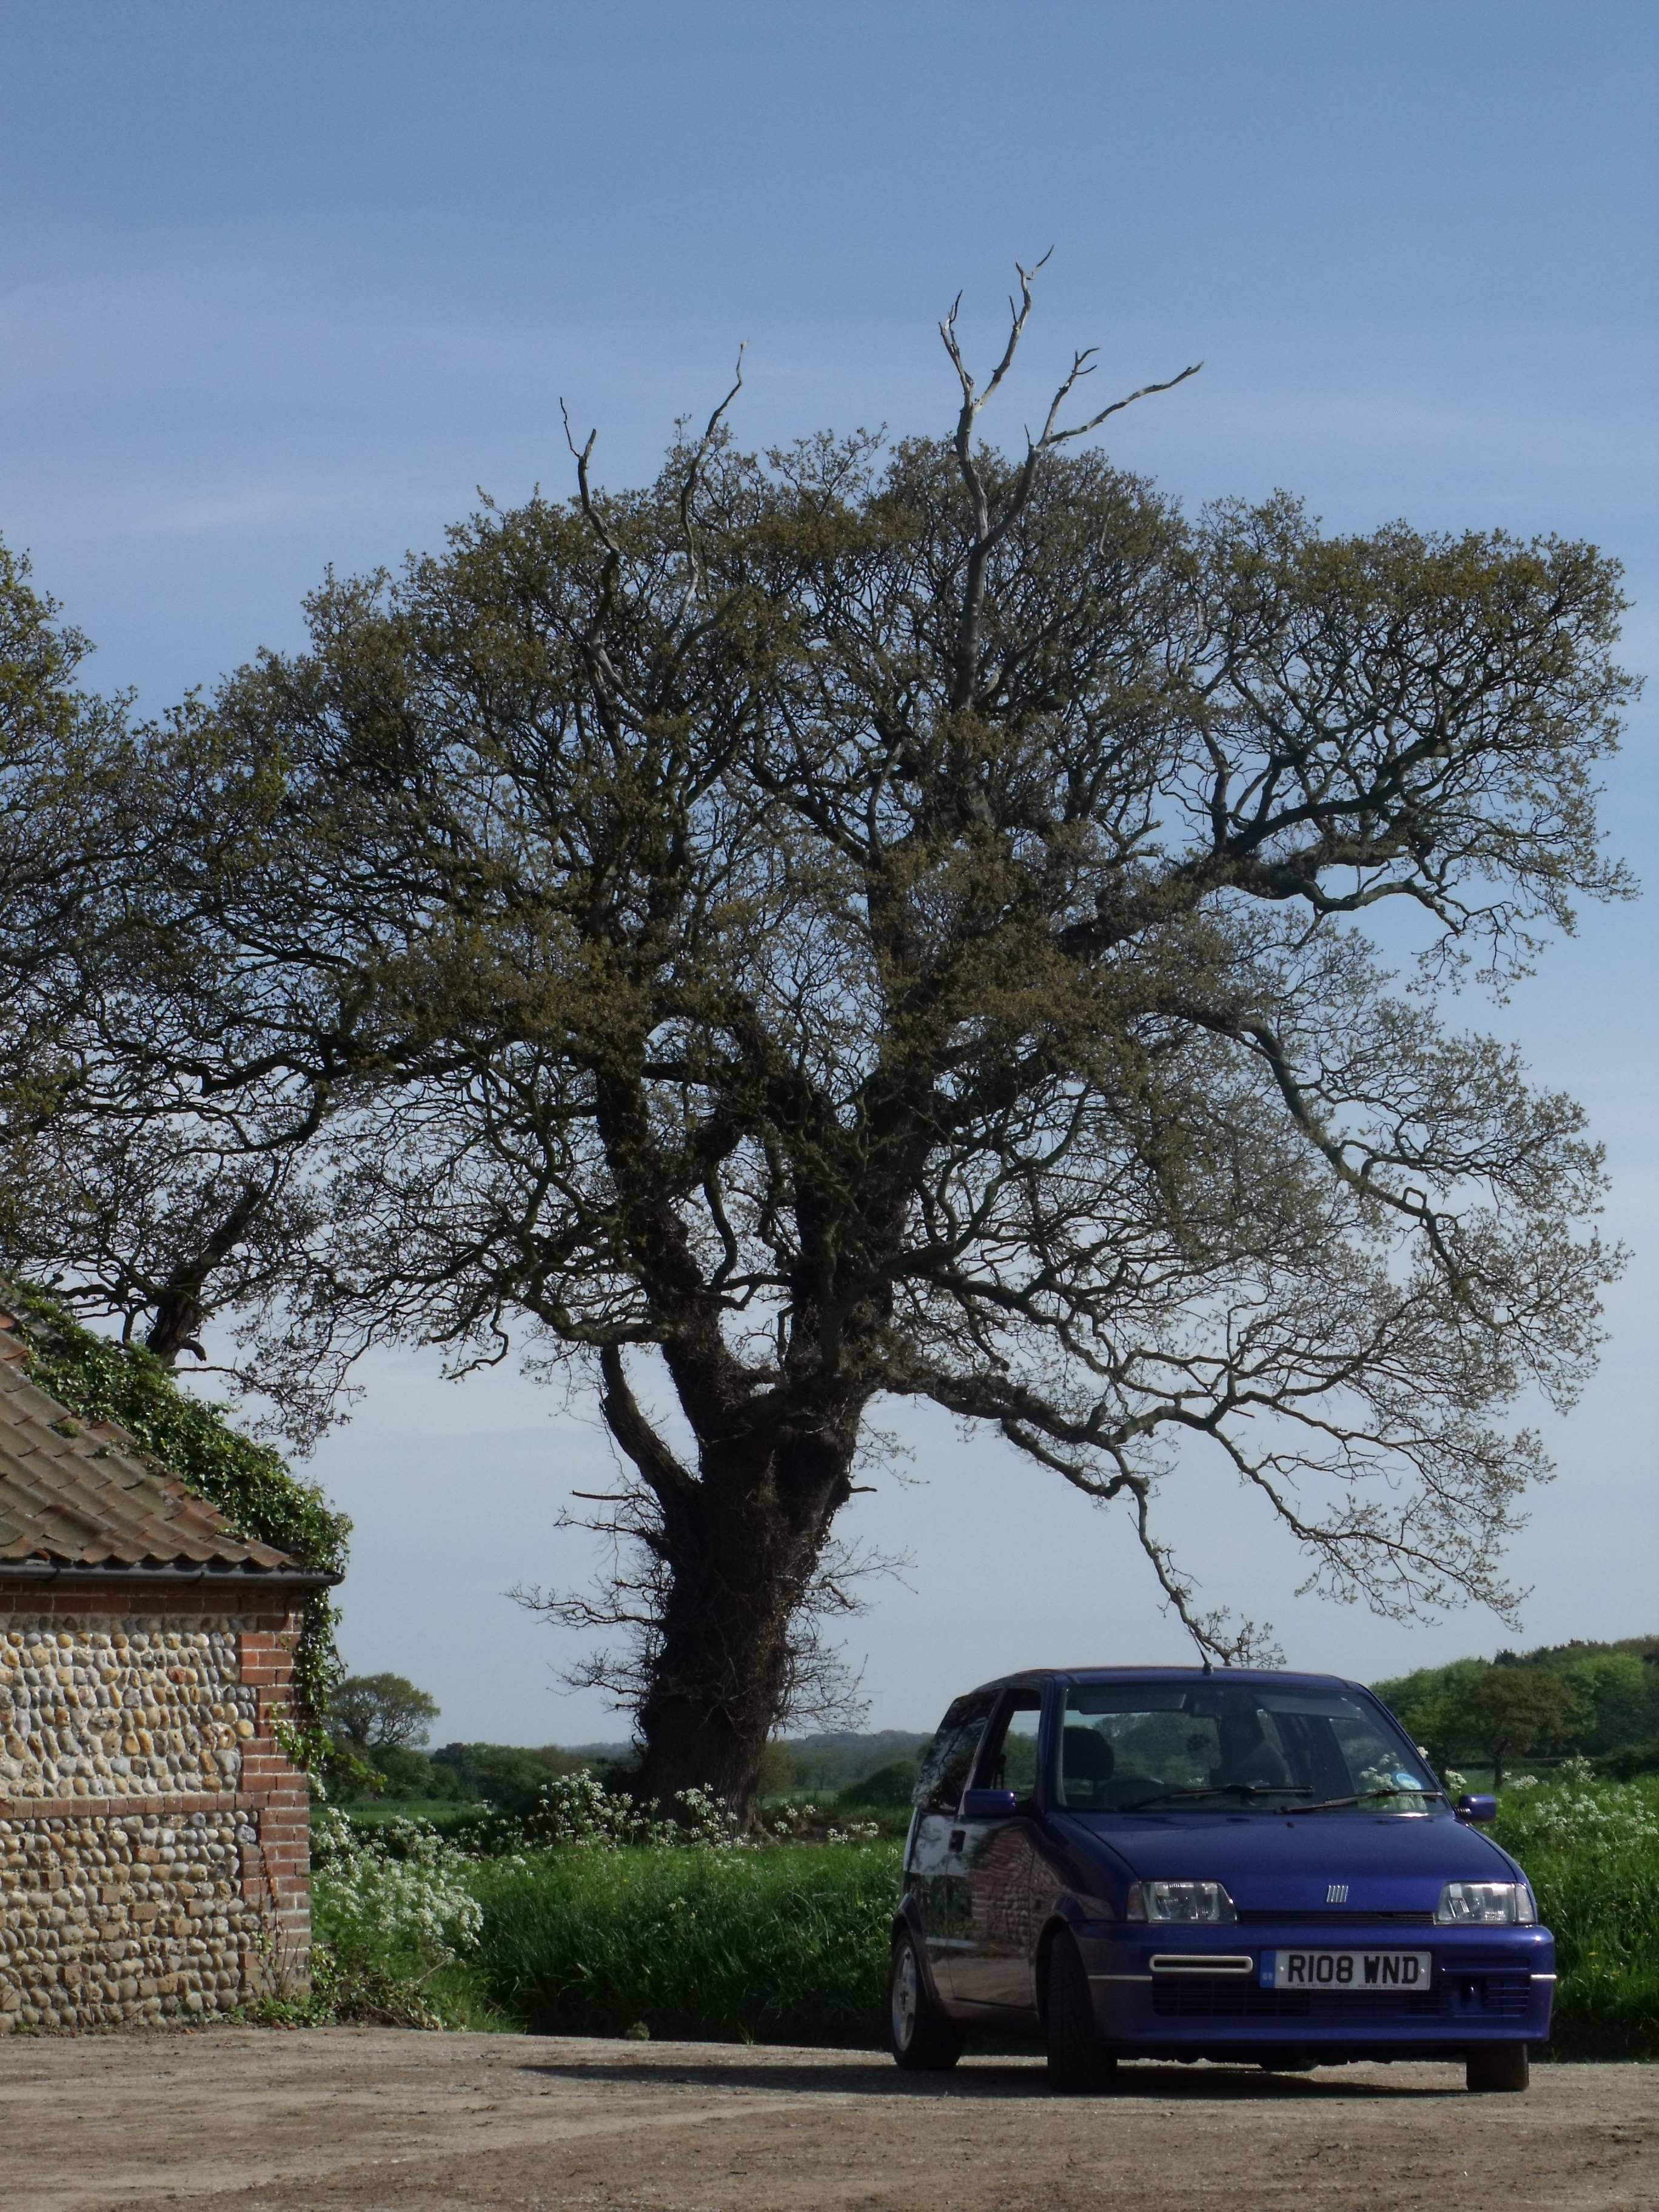
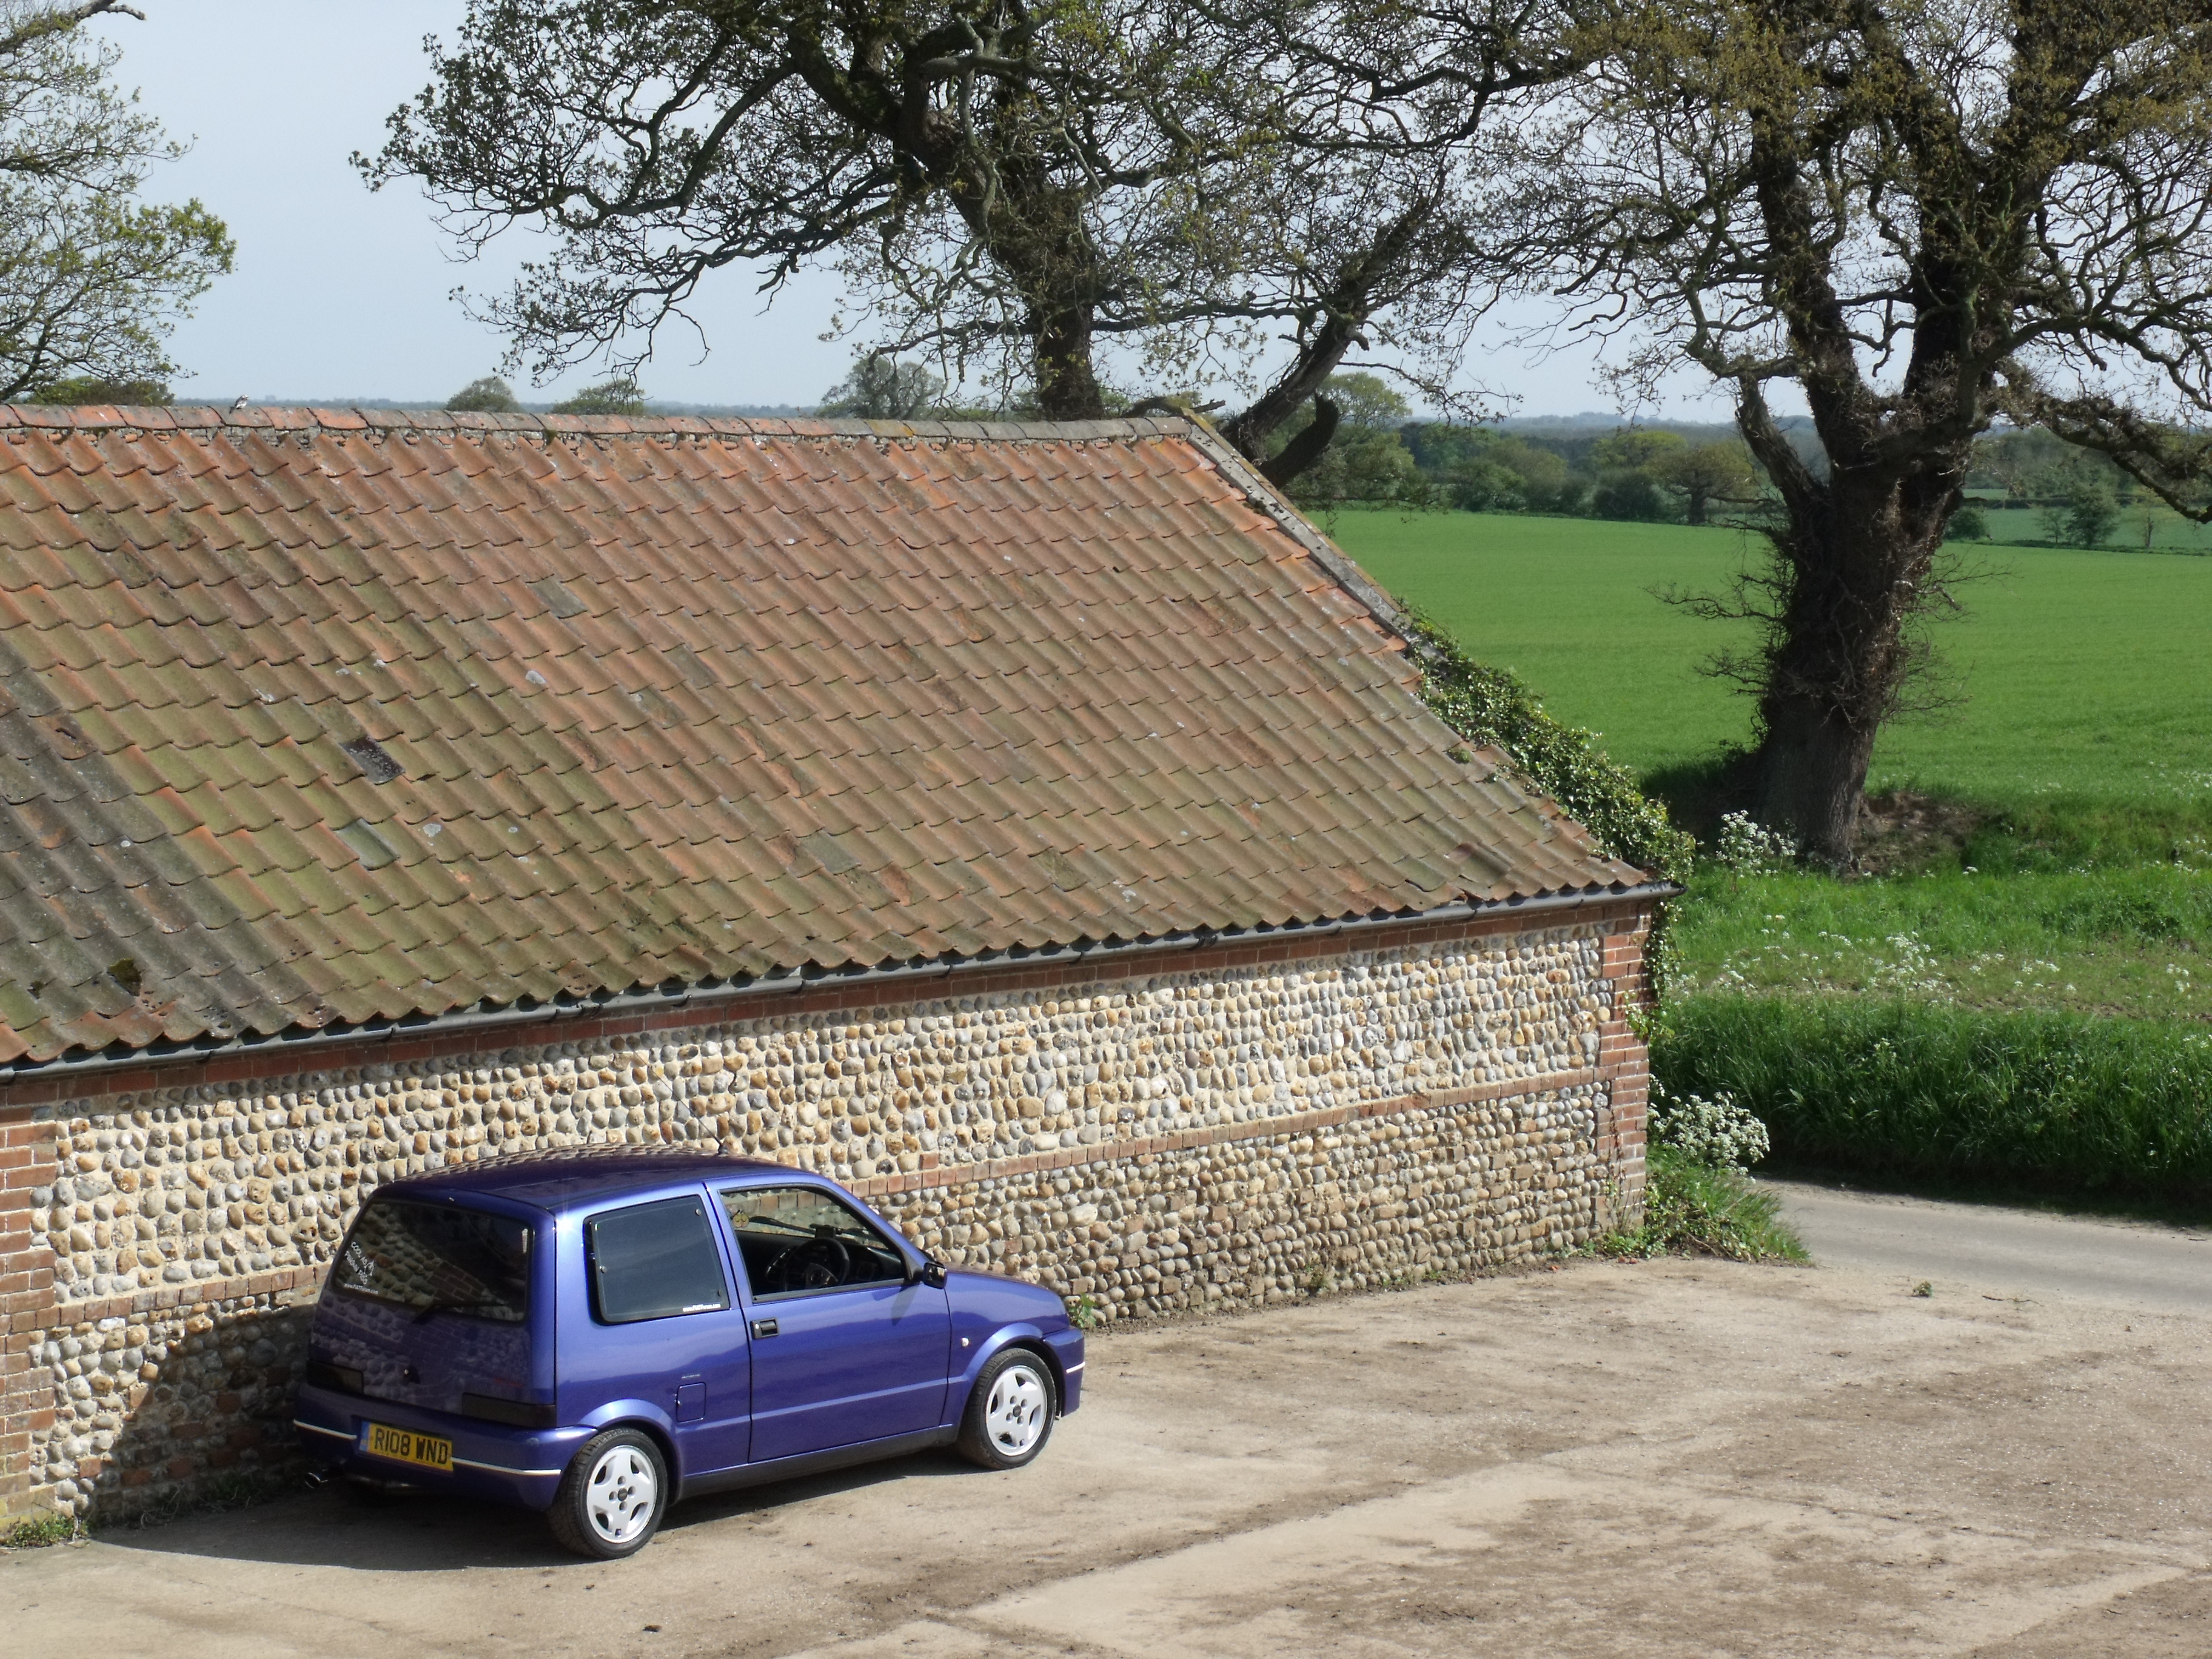

had a bit of a cleaning session and thought 'its a lush day i may aswell go for a random bod
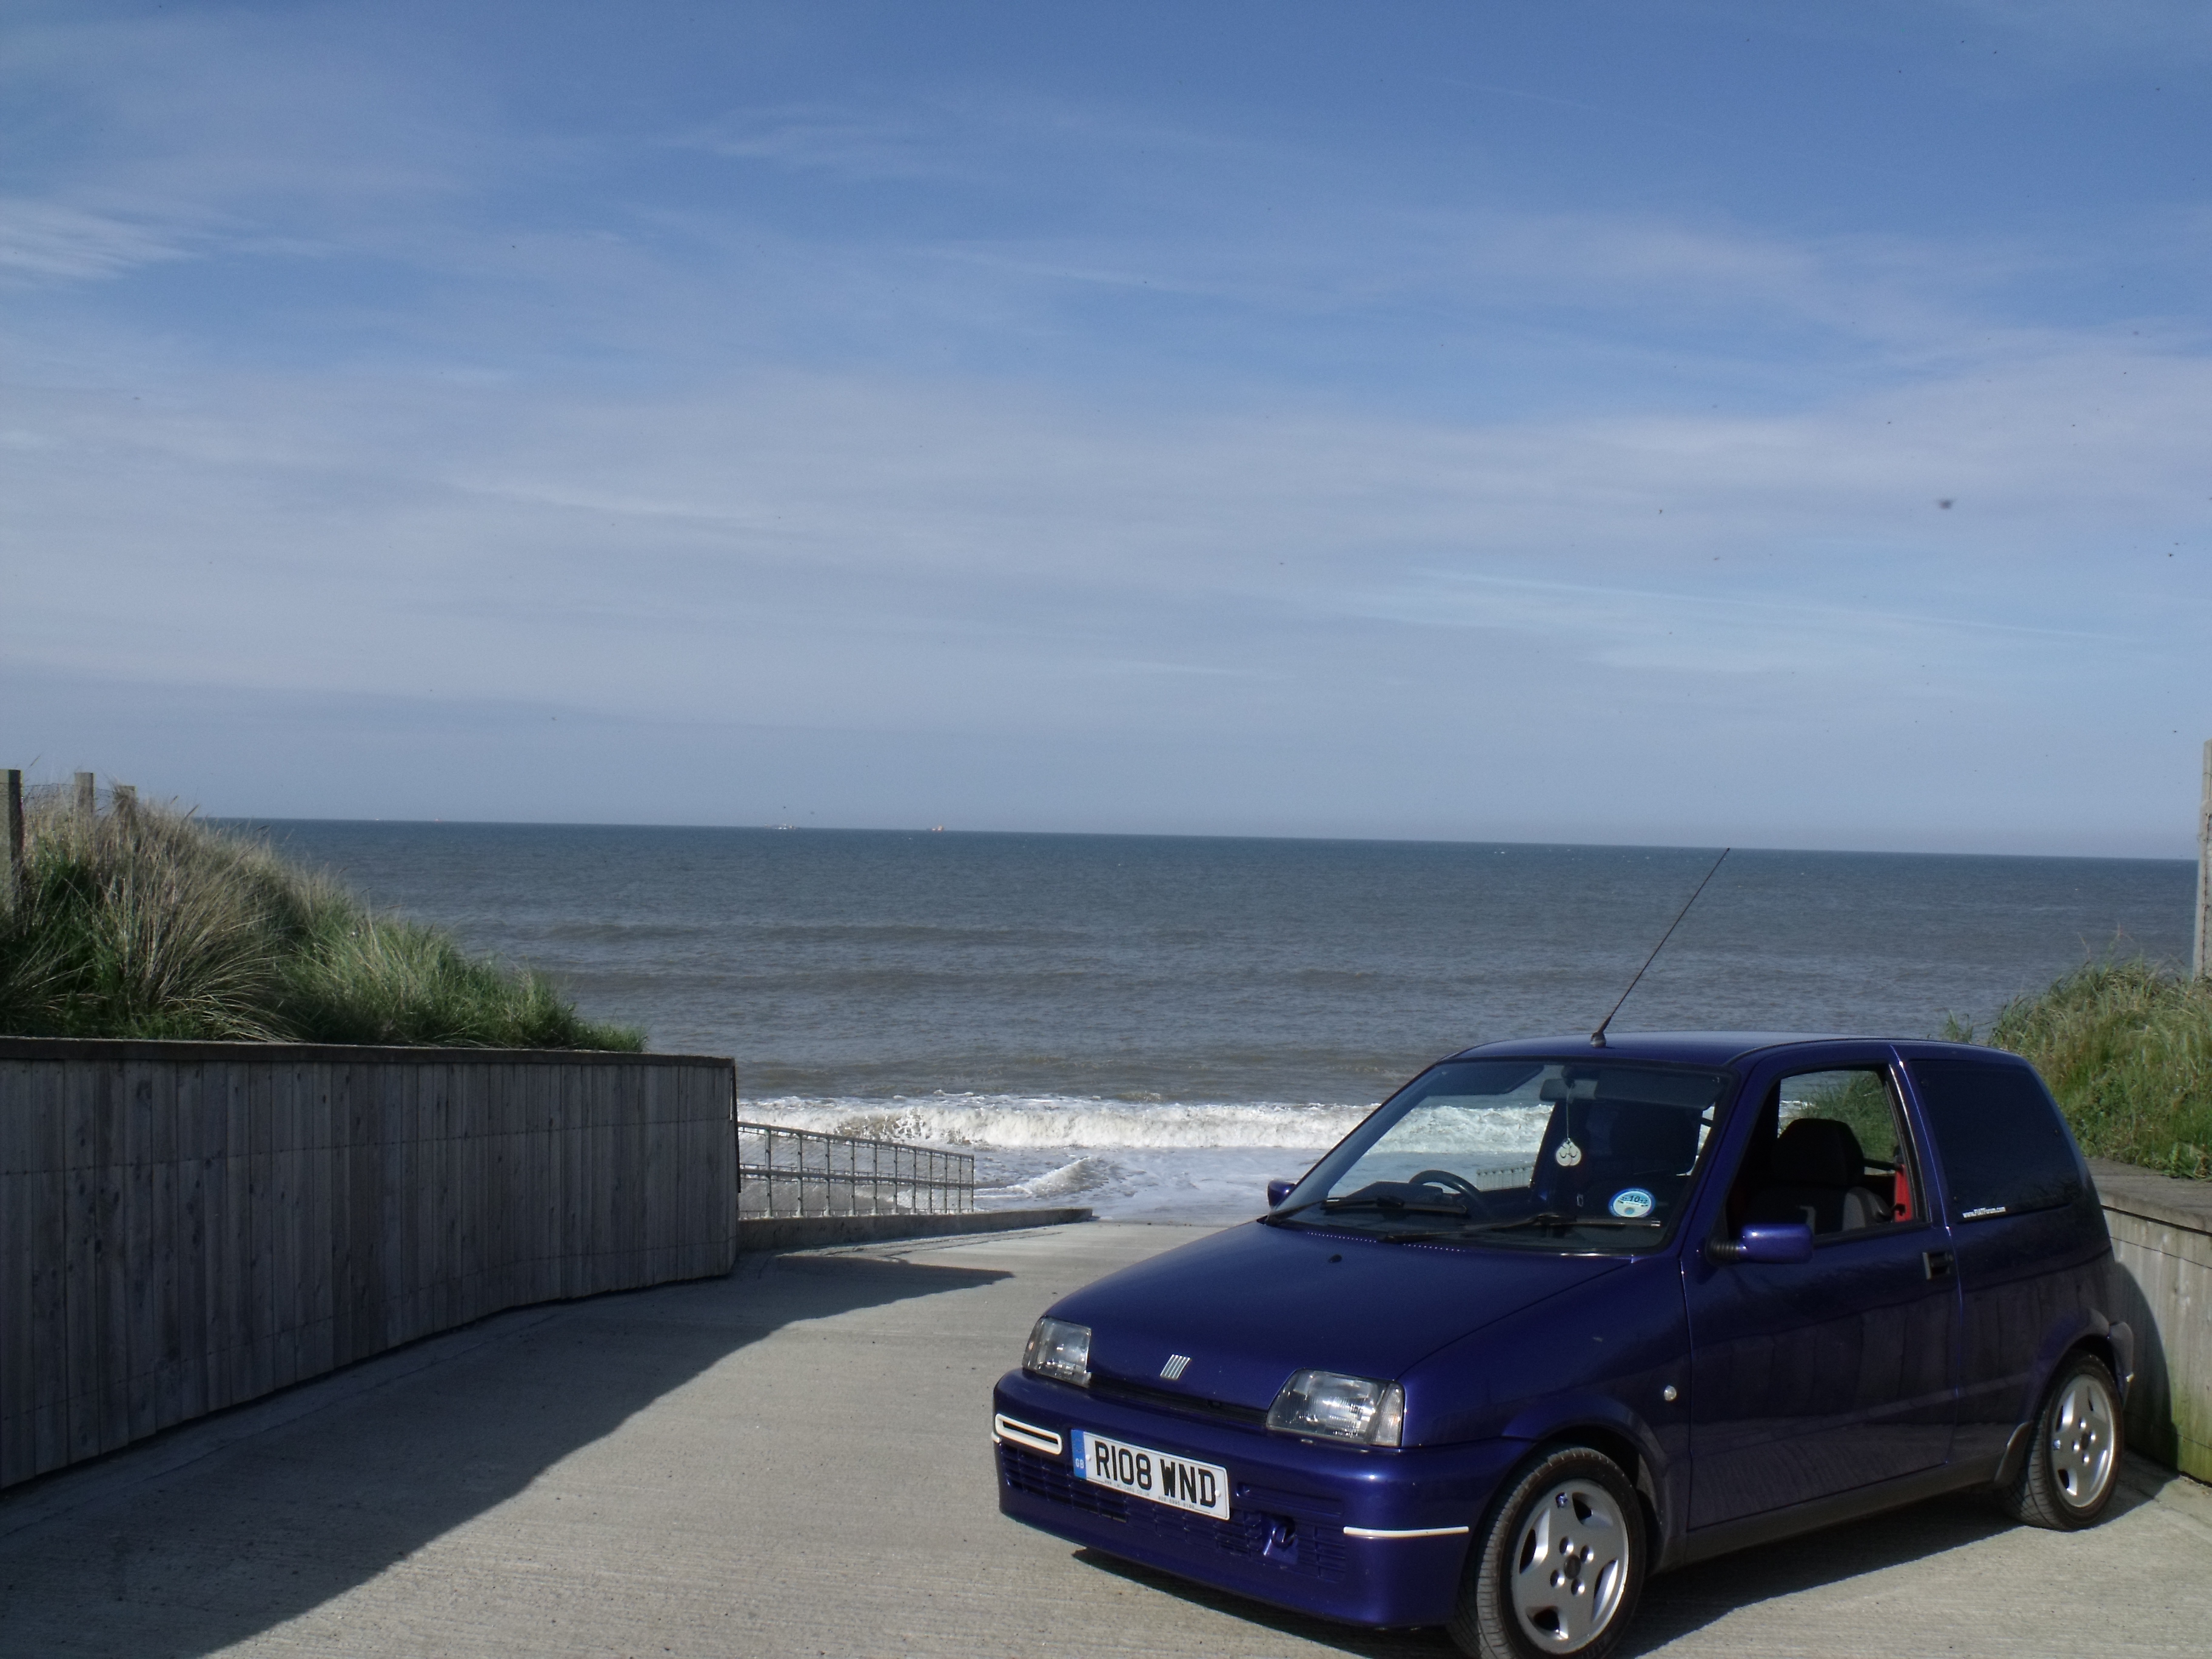
im now going to upload some pics of brooklands too if anyones interested
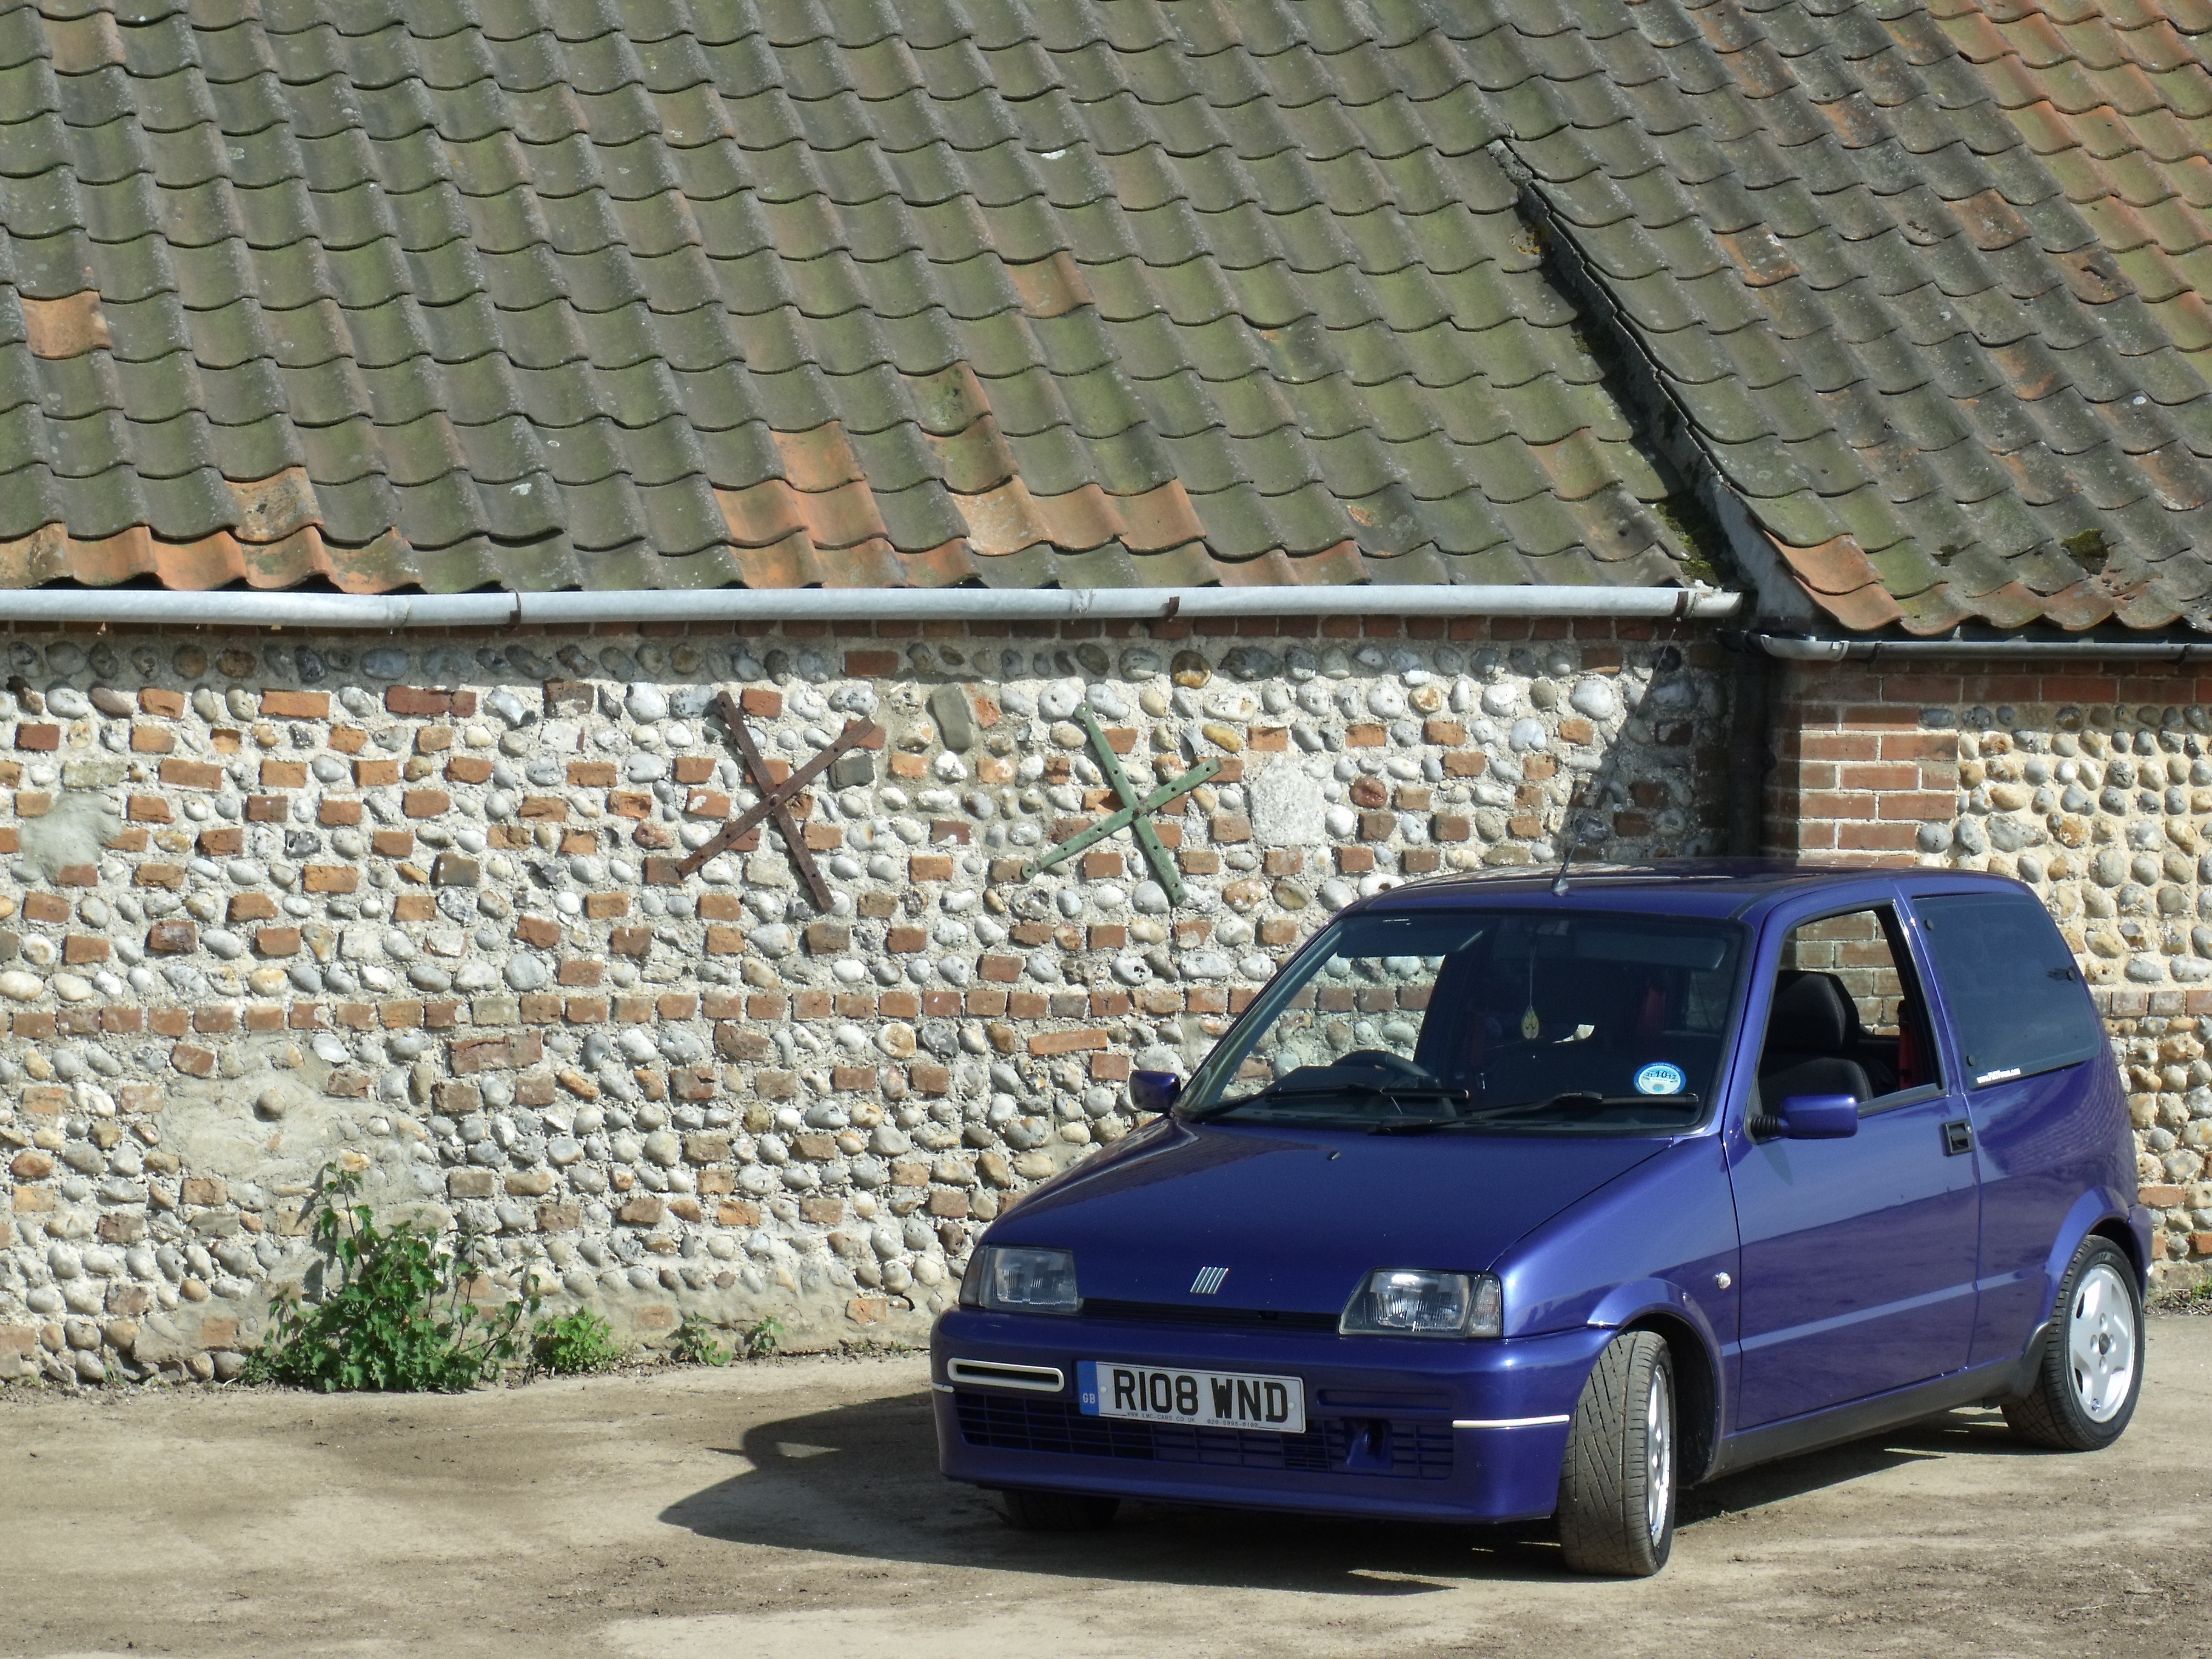
what do you guys think ???? am i looking after her well enough for ya andy
lee
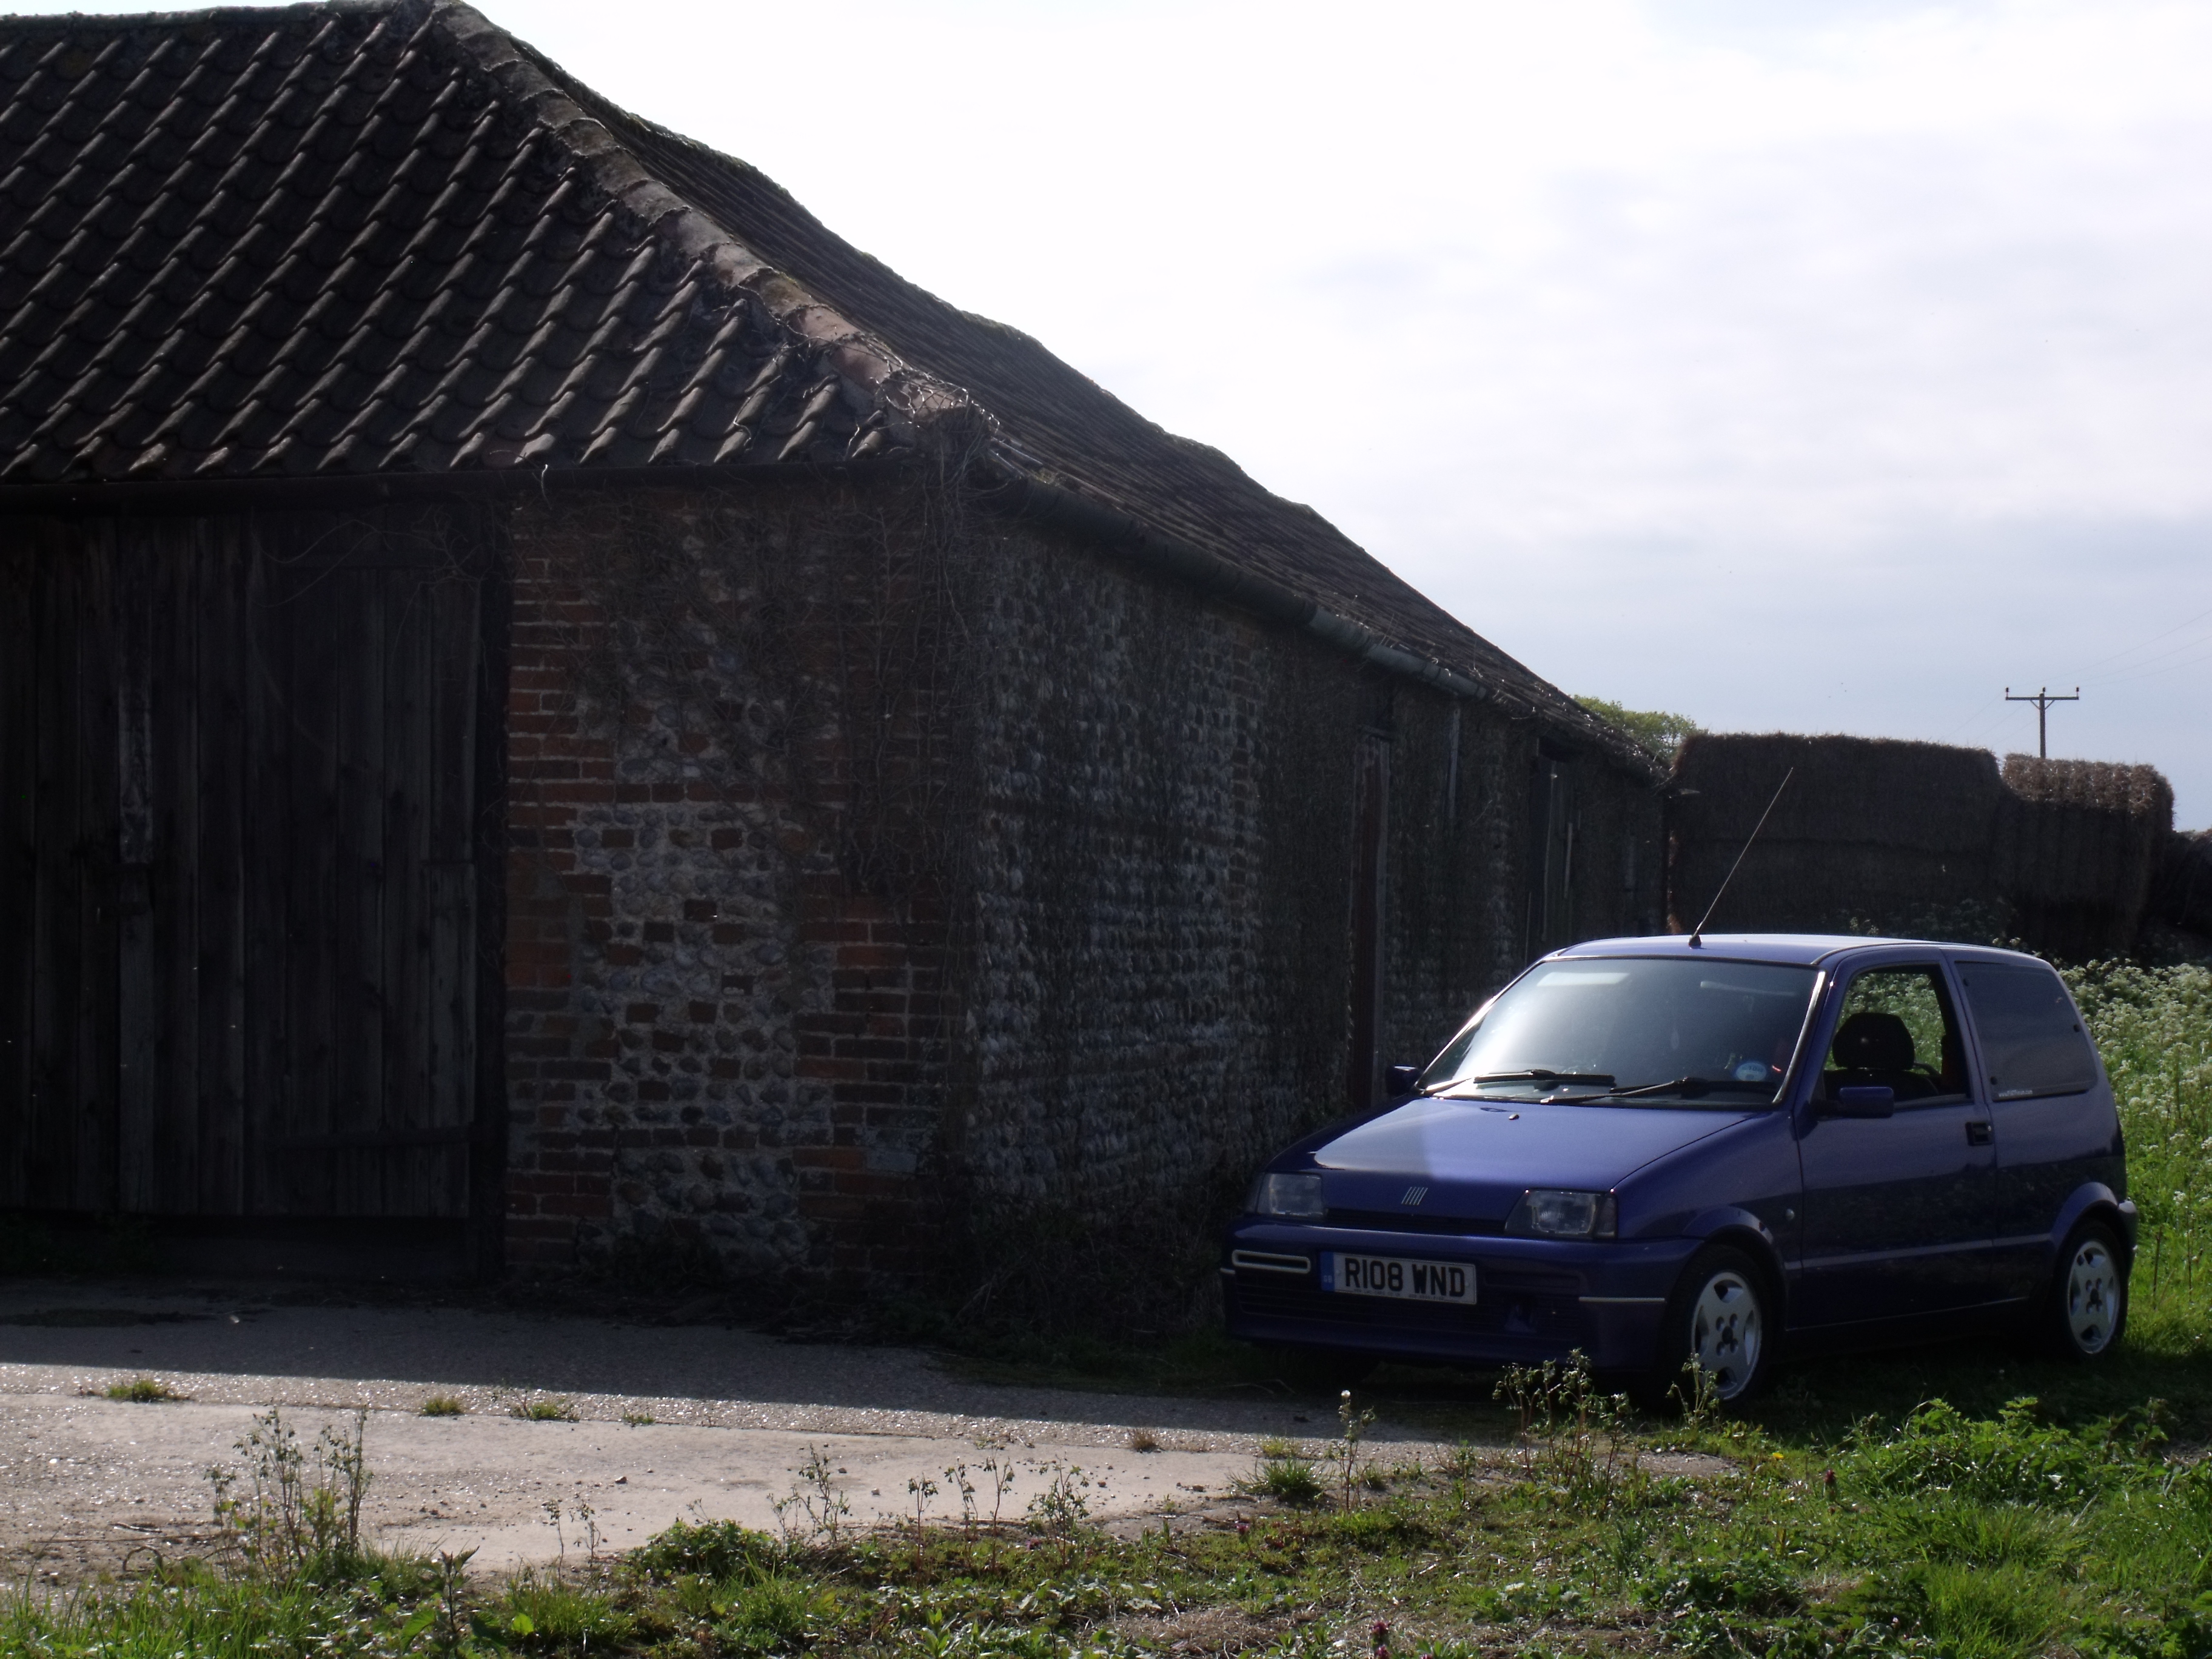
had a bit of a cleaning session and thought 'its a lush day i may aswell go for a random bod
im now going to upload some pics of brooklands too if anyones interested
what do you guys think ???? am i looking after her well enough for ya andy
lee