Technical Fiat abarth 600 ( Replica )

Currently reading:
Technical Fiat abarth 600 ( Replica )

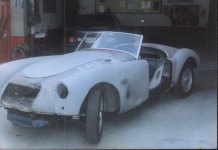
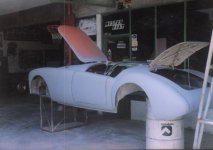
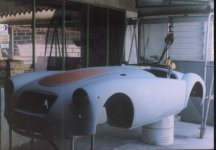
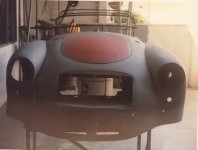
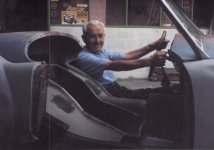
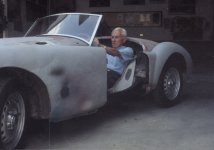
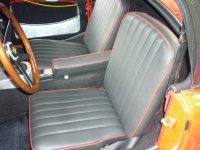
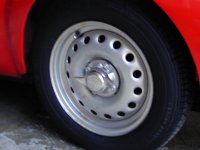
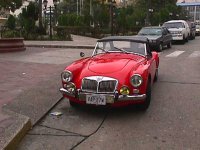
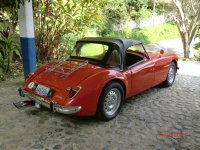
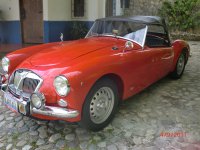
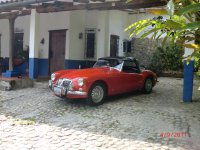
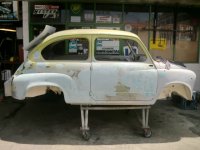
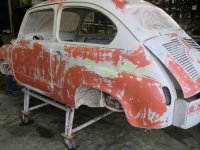
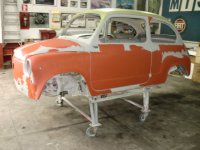
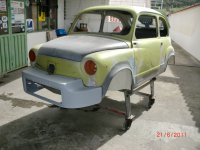
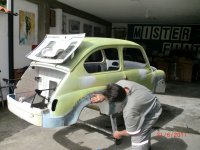
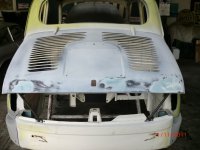
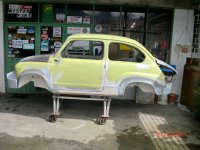
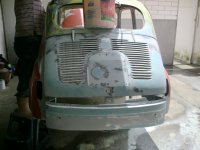
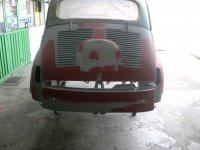
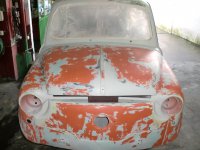
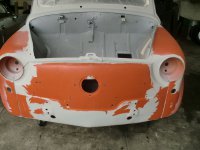
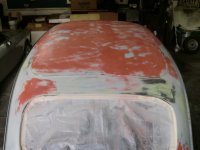
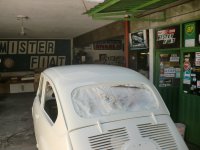
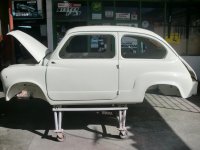
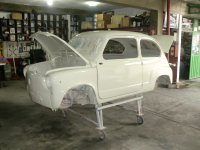
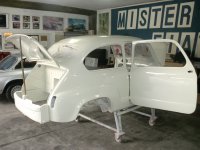
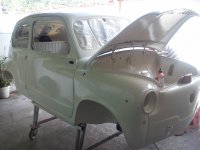
hard process nearly six years of hard work is one of my first jobs but stay pretty well not completely original but save him from the hands of the junkyard
 

Attachments

  • FIL2096.JPG
    FIL2096.JPG
    248 KB · Views: 33
  • MG Latonería 004 a.jpg
    MG Latonería 004 a.jpg
    250.3 KB · Views: 38
  • FIL3366.JPG
    FIL3366.JPG
    256 KB · Views: 33
  • MG Latonería 005.jpg
    MG Latonería 005.jpg
    326.3 KB · Views: 37
this is my father who achieved thanks to the finish and locate partsthis is my father who achieved thanks to the finish and locate parts
 

Attachments

  • FIL2095.JPG
    FIL2095.JPG
    444 KB · Views: 38
  • MG Latonería 001.jpg
    MG Latonería 001.jpg
    408.1 KB · Views: 36
these finished car
 

Attachments

  • P1000844.JPG
    P1000844.JPG
    2.9 MB · Views: 36
  • DSCN0067.JPG
    DSCN0067.JPG
    341.3 KB · Views: 39
  • DSCN0074.JPG
    DSCN0074.JPG
    345.6 KB · Views: 38
  • DSCN0042.JPG
    DSCN0042.JPG
    420.1 KB · Views: 32
and these
 

Attachments

  • VEHICULO DEPORTIVO 2.JPG
    VEHICULO DEPORTIVO 2.JPG
    85 KB · Views: 35
  • CIMG2278.JPG
    CIMG2278.JPG
    2.4 MB · Views: 28
  • CIMG2276.JPG
    CIMG2276.JPG
    1.9 MB · Views: 29
  • CIMG2273.JPG
    CIMG2273.JPG
    2.1 MB · Views: 33
thanks friend
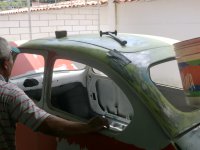
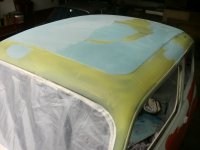
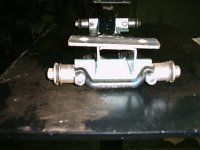
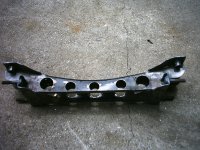
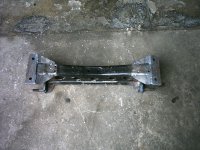
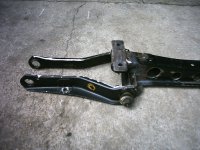
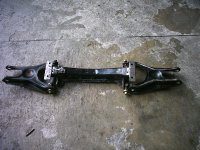
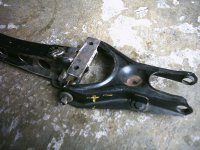
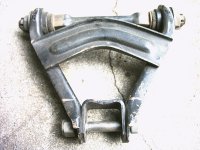
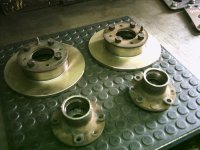
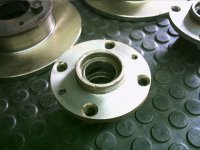
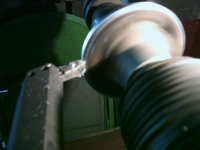
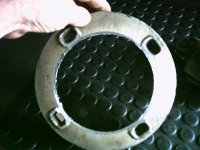
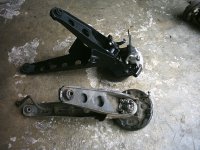
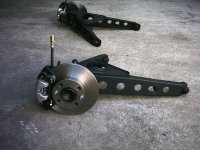
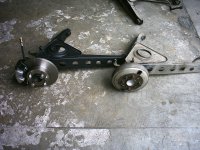
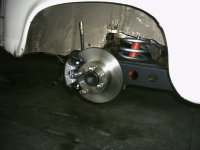
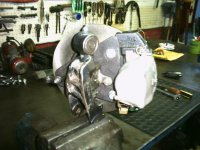
these pictures are the project MG-A
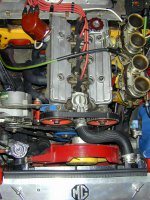
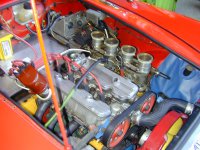
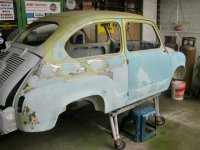
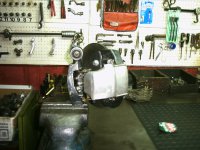
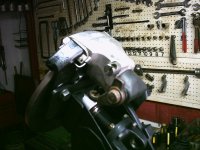
Friend F123C this car had no engine and being a difficult Twincamse I did locate another
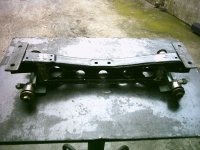
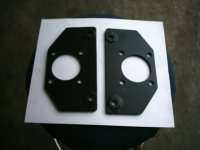
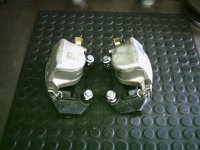
decided to adapt him one of Fiat twincam 1600 works very well and is reliable plus I locate parts
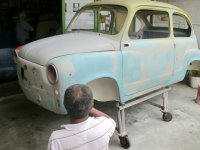
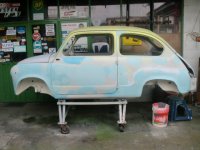
this is the beginning
Sr diluppo, friend,
I am very familiar with the Fiat twin cam engine, I worked as a mechanic in a Fiat dealership and own a 1972 Fiat 124 Sport Coupe which has 2x twin-choke carbs same as your engine. I agree that the original twin cam engine fitted in the MGA was not reliable but the Fiat twin cam is almost indestructable provided the timing belt is changed at the correct mileage.

Once again thank you for posting all the pictures, you truely are a master craftsman and are an inspiration to us all.

Best Wishes,

Al.
 
Last edited:
Sr
F123C thanks
my name is Diego Lupparelli
I am also Fiat mechanic and I have a small workshop
I make this work for my hobby
I use this motor in my country ffat Ritmo 105 TC but for introduction last year he was placed on the fiat 131 called corsa.
this engine has 1595 cc piston diameter 84 mm x 71.5 mm stroke crankshaft.
the 124 is 80 mm x 80 mm for me but I like this setup, but it was what I had
the original motor MG-A TWINCAM I could never get, and in British car restorer profesinal said it was unreliable as you say.
and if I had had to locate the parts is very difficult
thanks for the comment and welcome to me you liked pictures
GREETINGS
 
Hello
Returning to the transformation of my replica abarth
and ending with the theme of the Body

preparation for painting
 

Attachments

  • CIMG7673.JPG
    CIMG7673.JPG
    326.7 KB · Views: 41
  • CIMG7683.JPG
    CIMG7683.JPG
    337.4 KB · Views: 39
  • CIMG7629.JPG
    CIMG7629.JPG
    332.3 KB · Views: 42
  • CIMG7646.JPG
    CIMG7646.JPG
    349 KB · Views: 42
Continuing the preparation putty is fine now
 

Attachments

  • CIMG7751.JPG
    CIMG7751.JPG
    3.2 MB · Views: 43
  • CIMG7668.JPG
    CIMG7668.JPG
    332.2 KB · Views: 36
  • CIMG7765.JPG
    CIMG7765.JPG
    3.2 MB · Views: 40
  • CIMG7713.JPG
    CIMG7713.JPG
    340.9 KB · Views: 40
Hello
one of the jobs I do not like is to prepare the Body
it's pretty dirty
 

Attachments

  • CIMG1845.JPG
    CIMG1845.JPG
    1.5 MB · Views: 34
  • CIMG1847.JPG
    CIMG1847.JPG
    1.5 MB · Views: 34
  • CIMG2702.JPG
    CIMG2702.JPG
    1.4 MB · Views: 34
  • CIMG1852.JPG
    CIMG1852.JPG
    1.5 MB · Views: 28
I apologize to the people I work this job
Luckily it's not my daily work
 

Attachments

  • CIMG7718.JPG
    CIMG7718.JPG
    2.9 MB · Views: 28
  • CIMG7728.JPG
    CIMG7728.JPG
    2.9 MB · Views: 23
  • CIMG7763.JPG
    CIMG7763.JPG
    3.1 MB · Views: 23
  • CIMG7738.JPG
    CIMG7738.JPG
    2.9 MB · Views: 26
hello friends
following and almost ready to paint the bodywork
 

Attachments

  • CIMG7719.JPG
    CIMG7719.JPG
    2.6 MB · Views: 25
  • CIMG7731.JPG
    CIMG7731.JPG
    2.4 MB · Views: 30
  • CIMG7759.JPG
    CIMG7759.JPG
    2.8 MB · Views: 24
  • CIMG7843.JPG
    CIMG7843.JPG
    2.8 MB · Views: 23
now painted
 

Attachments

  • CIMG7856.JPG
    CIMG7856.JPG
    2.6 MB · Views: 30
  • CIMG7852.JPG
    CIMG7852.JPG
    3.2 MB · Views: 30
  • CIMG7847.JPG
    CIMG7847.JPG
    3.1 MB · Views: 29
  • DSC_0066.jpg
    DSC_0066.jpg
    663.9 KB · Views: 30
HELLO FRIENDS
already finished repairing the bodywork and paint
will work on adaptation and mechanical parts, such as brakes, rear axle, gearbox, cooling system and front axle

I start at the front axle
this is the idea and the original design
 

Attachments

  • 31.gif
    31.gif
    15.2 KB · Views: 46
  • puente (7).JPG
    puente (7).JPG
    171 KB · Views: 46
  • puente (4).JPG
    puente (4).JPG
    122.4 KB · Views: 44
  • puente (10).JPG
    puente (10).JPG
    724.2 KB · Views: 40
  • puente (9).JPG
    puente (9).JPG
    703.6 KB · Views: 38
Hello
Continuing work
the lower arms using some fiat I had used in the rear suspension
and tailored cut and welded to the required distance
 

Attachments

  • tijeras inferiores (18).jpg
    tijeras inferiores (18).jpg
    478.6 KB · Views: 38
  • tijeras inferiores (17).jpg
    tijeras inferiores (17).jpg
    486.9 KB · Views: 36
  • tijeras inferiores (11).JPG
    tijeras inferiores (11).JPG
    644.8 KB · Views: 38
  • tijeras inferiores (4).JPG
    tijeras inferiores (4).JPG
    744.8 KB · Views: 36
  • tijeras inferiores (8).JPG
    tijeras inferiores (8).JPG
    608.2 KB · Views: 40
in the upper arms only makes the cut for the new shock spring to pass without problem
 

Attachments

  • tijeras superiores (2).jpg
    tijeras superiores (2).jpg
    489.8 KB · Views: 32
  • tijeras superiores (4).jpg
    tijeras superiores (4).jpg
    480.1 KB · Views: 42
  • tijeras superiores (6).jpg
    tijeras superiores (6).jpg
    489.8 KB · Views: 36
hello friends
retaking forum

Now the adaptation to disc brakes
 

Attachments

  • bocina y discos (18).jpg
    bocina y discos (18).jpg
    311.2 KB · Views: 29
  • bocina y discos (16).jpg
    bocina y discos (16).jpg
    317 KB · Views: 26
  • bocina y discos (14).jpg
    bocina y discos (14).jpg
    323.7 KB · Views: 29
  • bocina y discos (6).jpg
    bocina y discos (6).jpg
    473.3 KB · Views: 27
  • bocina y discos (3).jpg
    bocina y discos (3).jpg
    483.1 KB · Views: 28
rear brakes
 

Attachments

  • frenos traseros (13).jpg
    frenos traseros (13).jpg
    481.6 KB · Views: 40
  • frenos traseros (9).jpg
    frenos traseros (9).jpg
    478.8 KB · Views: 39
  • frenos traseros (17).jpg
    frenos traseros (17).jpg
    478.5 KB · Views: 45
  • frenos traseros (21).jpg
    frenos traseros (21).jpg
    475 KB · Views: 42
adaptations plates front caliper
 

Attachments

  • soporte caliper (10).jpg
    soporte caliper (10).jpg
    318.9 KB · Views: 34
  • soporte caliper (11).jpg
    soporte caliper (11).jpg
    315.7 KB · Views: 36
  • soporte caliper (8).jpg
    soporte caliper (8).jpg
    309.5 KB · Views: 33
  • soporte caliper.jpg
    soporte caliper.jpg
    305.2 KB · Views: 34
plates adaptations rear caliper
 

Attachments

  • soporte caliper.jpg
    soporte caliper.jpg
    475.2 KB · Views: 40
  • soporte caliper (2).jpg
    soporte caliper (2).jpg
    485.4 KB · Views: 32
  • soporte caliper (6).jpg
    soporte caliper (6).jpg
    480.9 KB · Views: 33
  • soporte caliper (9).jpg
    soporte caliper (9).jpg
    481 KB · Views: 36
hello friends


continuing with the brakes

the caliper are fiat 124 front and rear
 

Attachments

  • caliper freno (4).jpg
    caliper freno (4).jpg
    310.5 KB · Views: 32
  • frenos traseros (3).jpg
    frenos traseros (3).jpg
    481.8 KB · Views: 24
Back
Top