Weissmuller
New member
- Joined
- Dec 13, 2020
- Messages
- 5
- Points
- 2
Hello to the forum,
Since English is not my mother tongue, please, excuse any mistakes.
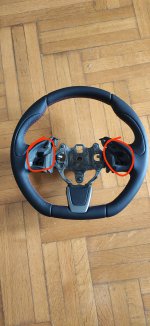
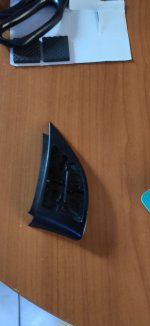
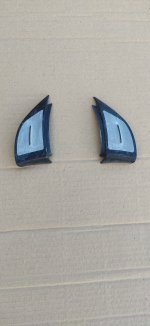
Recently i bought a Fiat 500 abarth steering wheel to fit in my Stilo ( i've seen it here and it can be done....so, why not?), my problem though is that i don't want the steering wheel controls for the radio so....i was wondering... is there a cover that i could use instead of the controls? Any plastic cover like the biposto edition has? Any ideas would be appreciated.
Thank you, in advance, for your answers.
Since English is not my mother tongue, please, excuse any mistakes.
Recently i bought a Fiat 500 abarth steering wheel to fit in my Stilo ( i've seen it here and it can be done....so, why not?), my problem though is that i don't want the steering wheel controls for the radio so....i was wondering... is there a cover that i could use instead of the controls? Any plastic cover like the biposto edition has? Any ideas would be appreciated.
Thank you, in advance, for your answers.