
Introduction
Hi all,
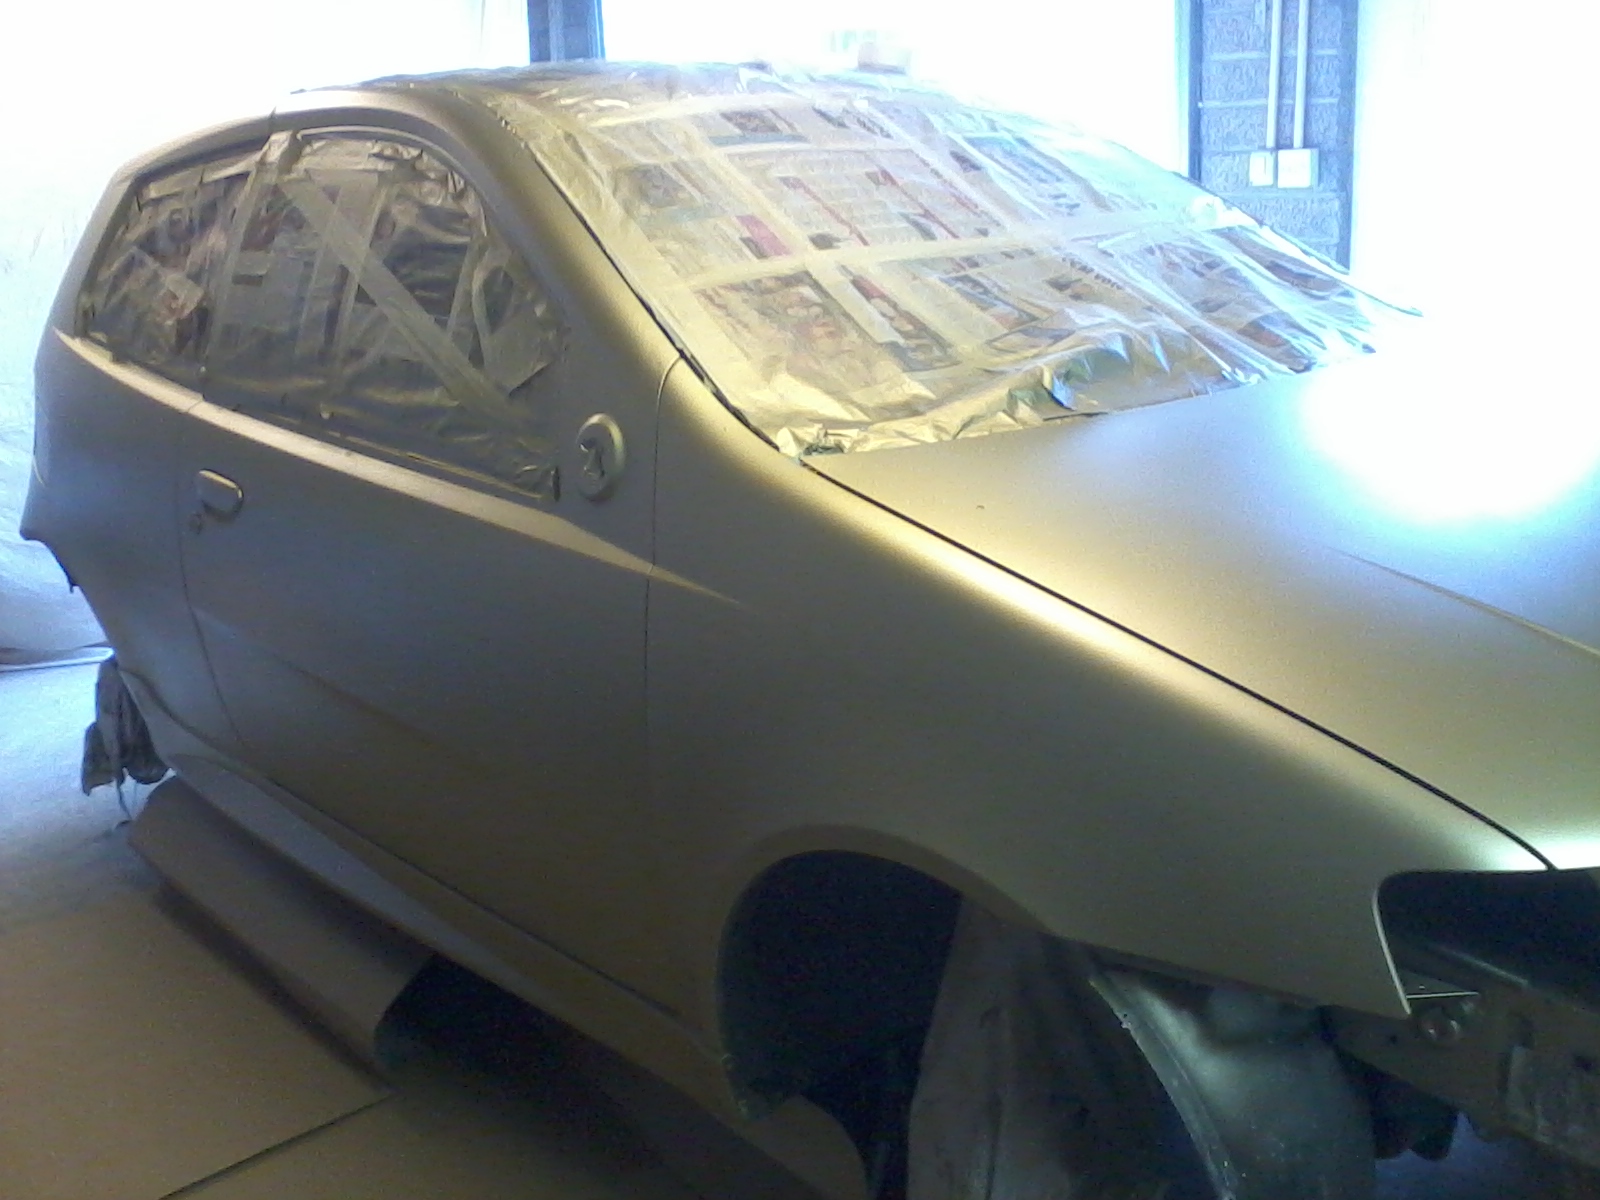
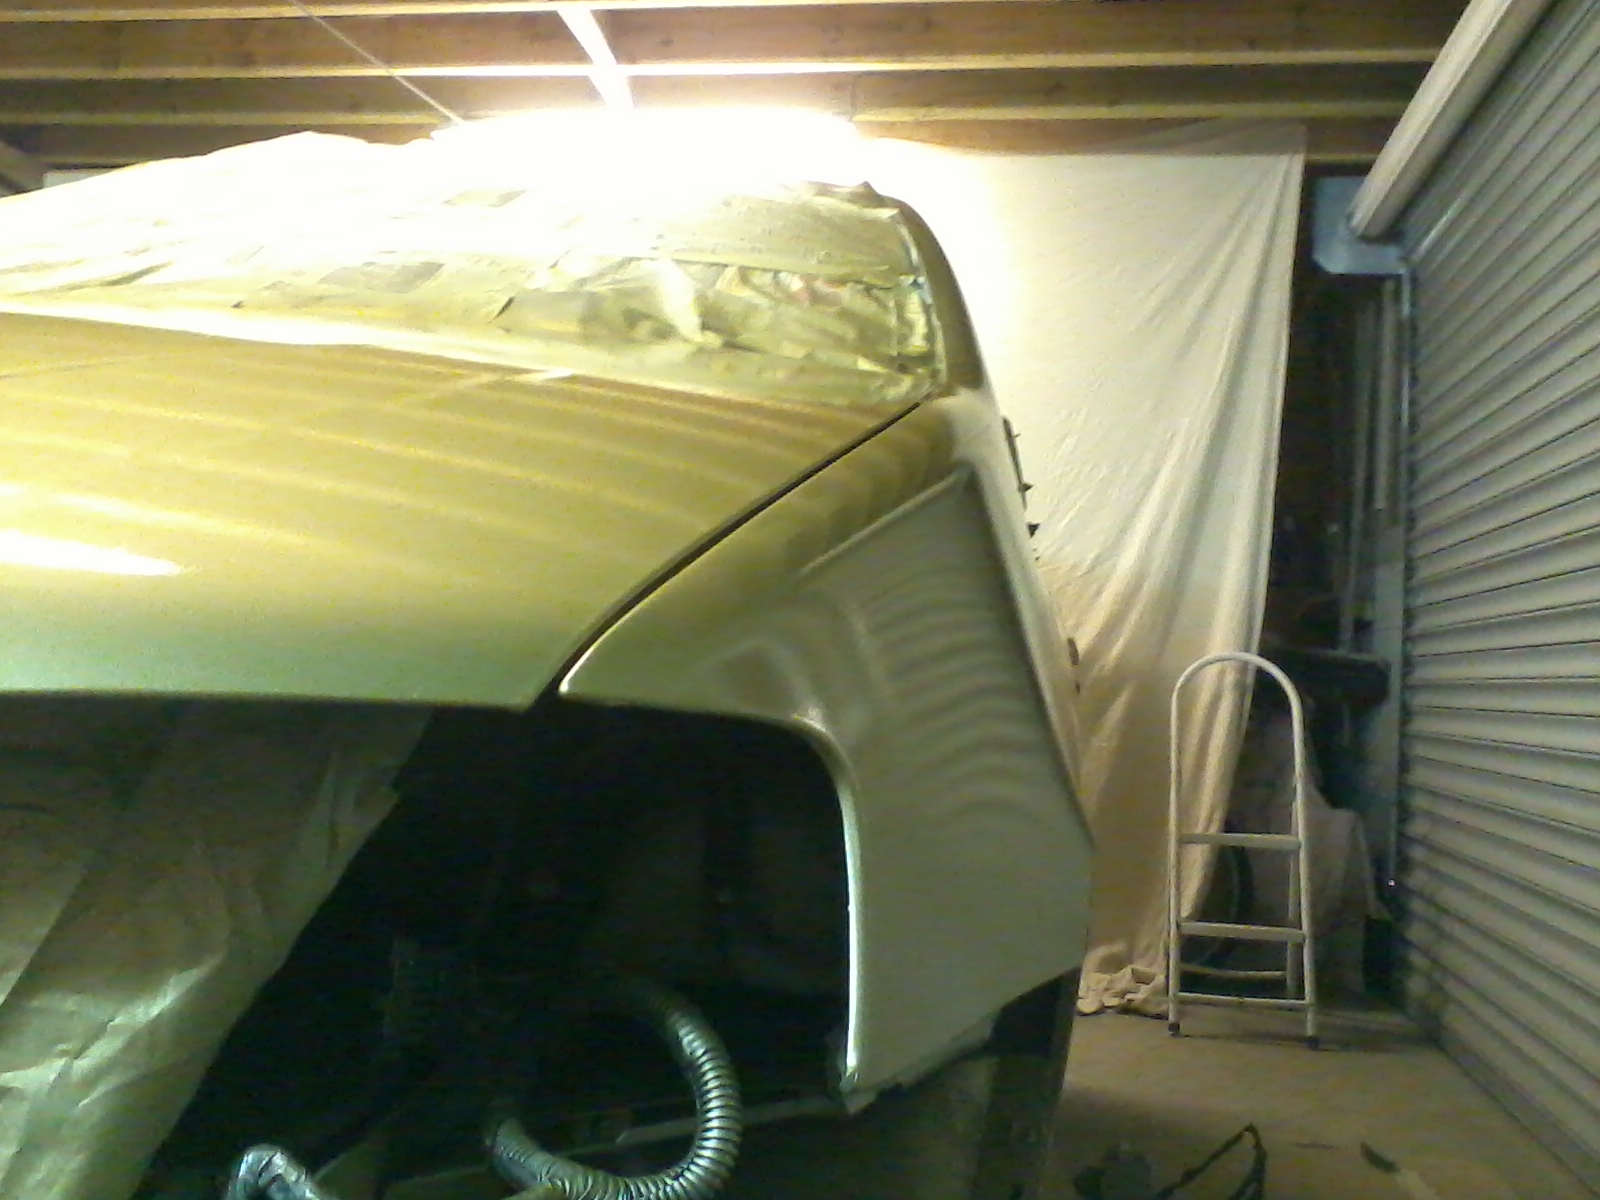
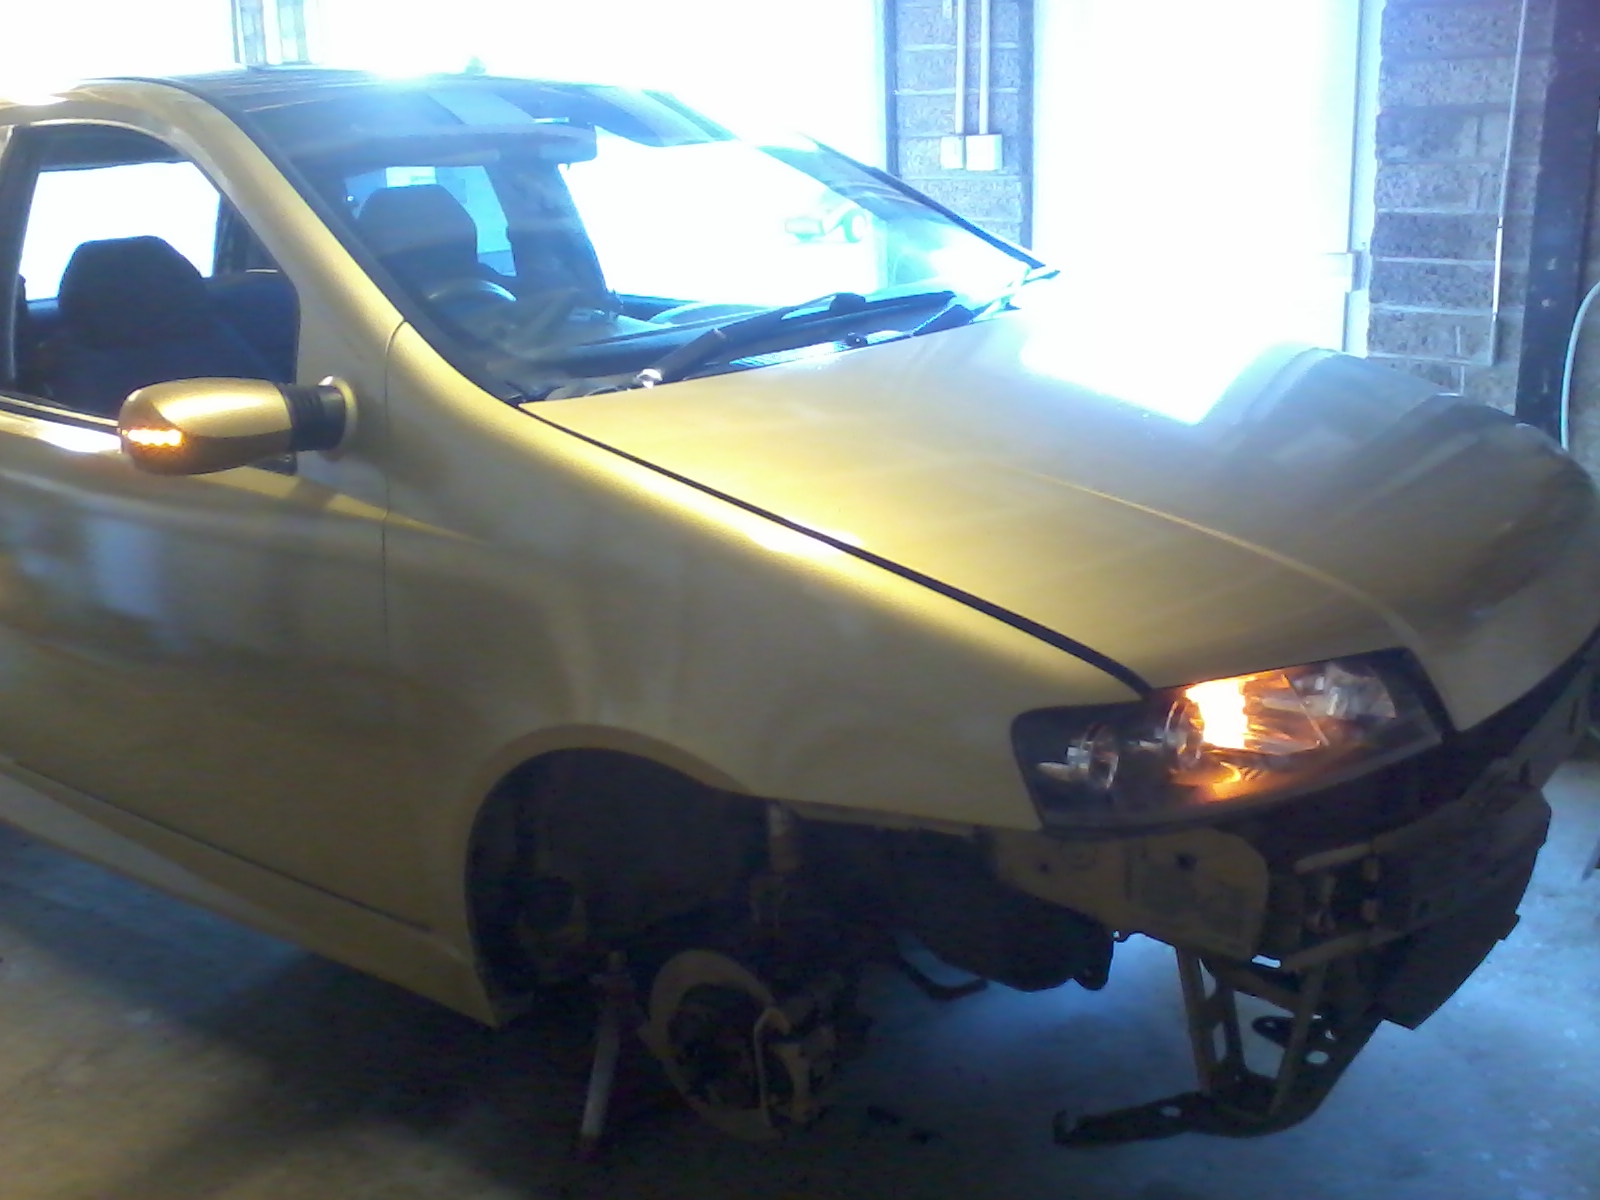
Heres my progree blog of my work in progress
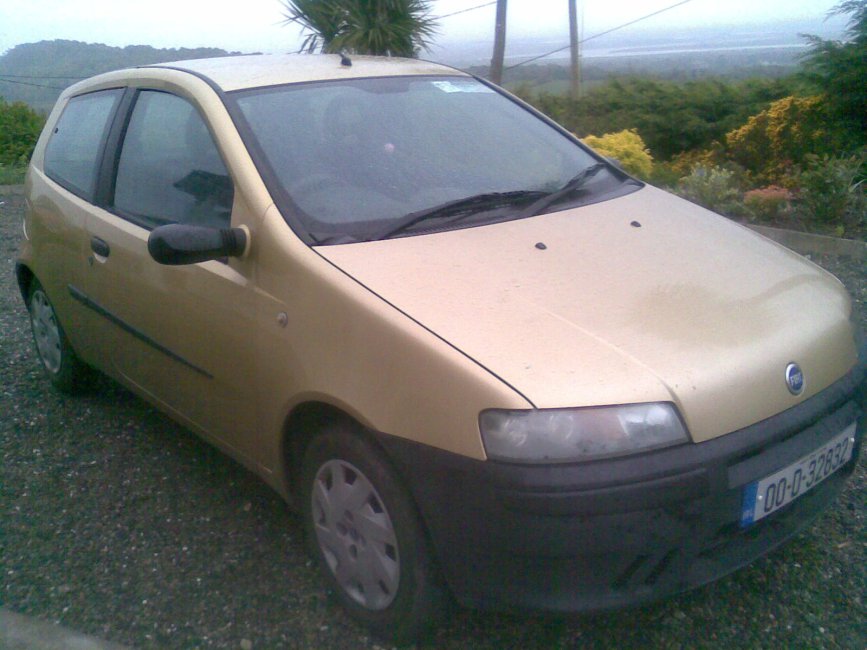
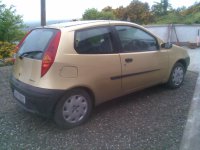
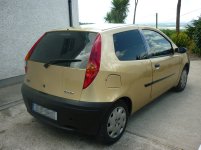
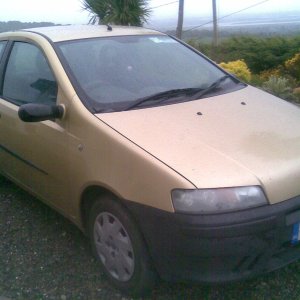
Bought it in May,
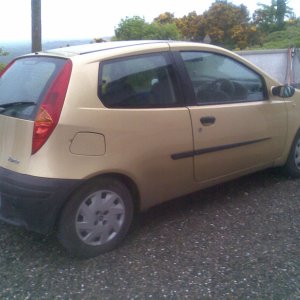
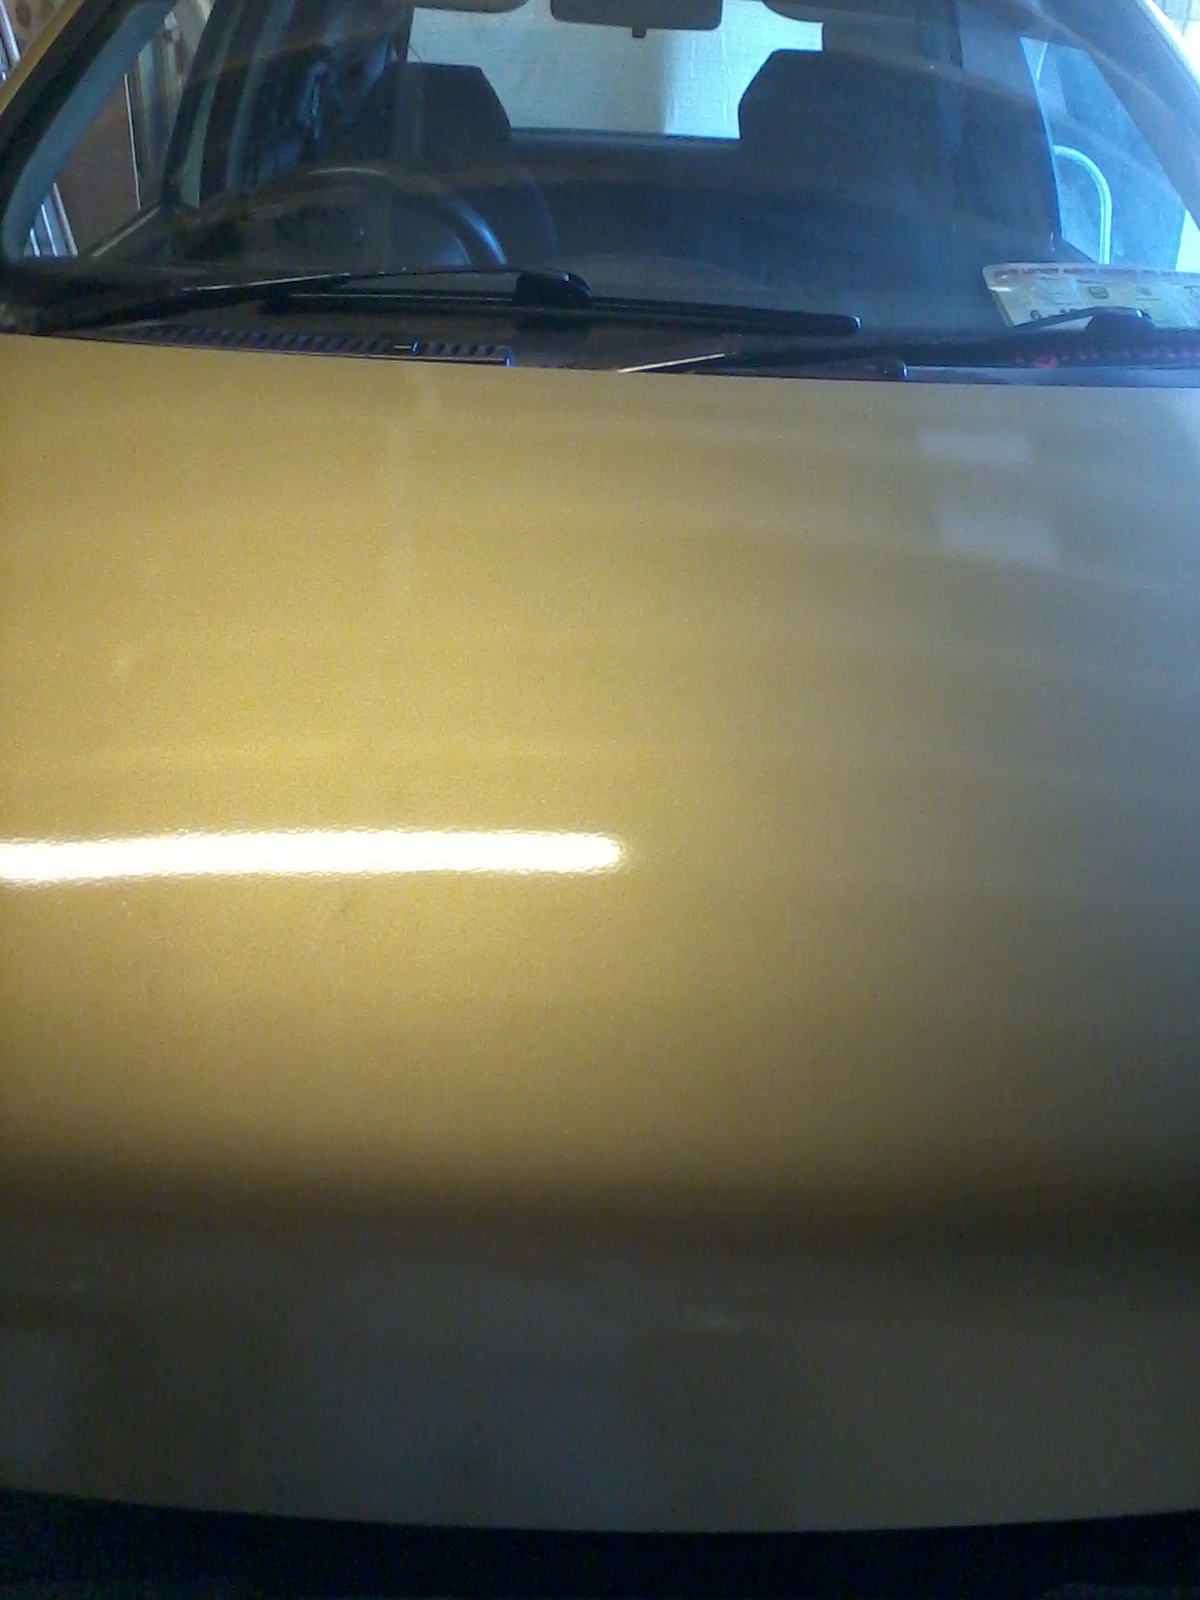
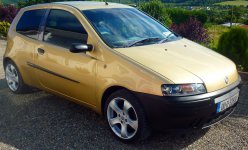
then after a good service and wash/polish
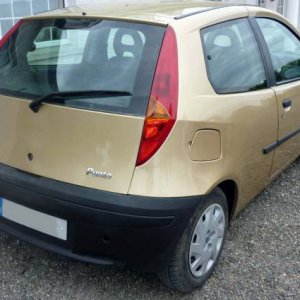
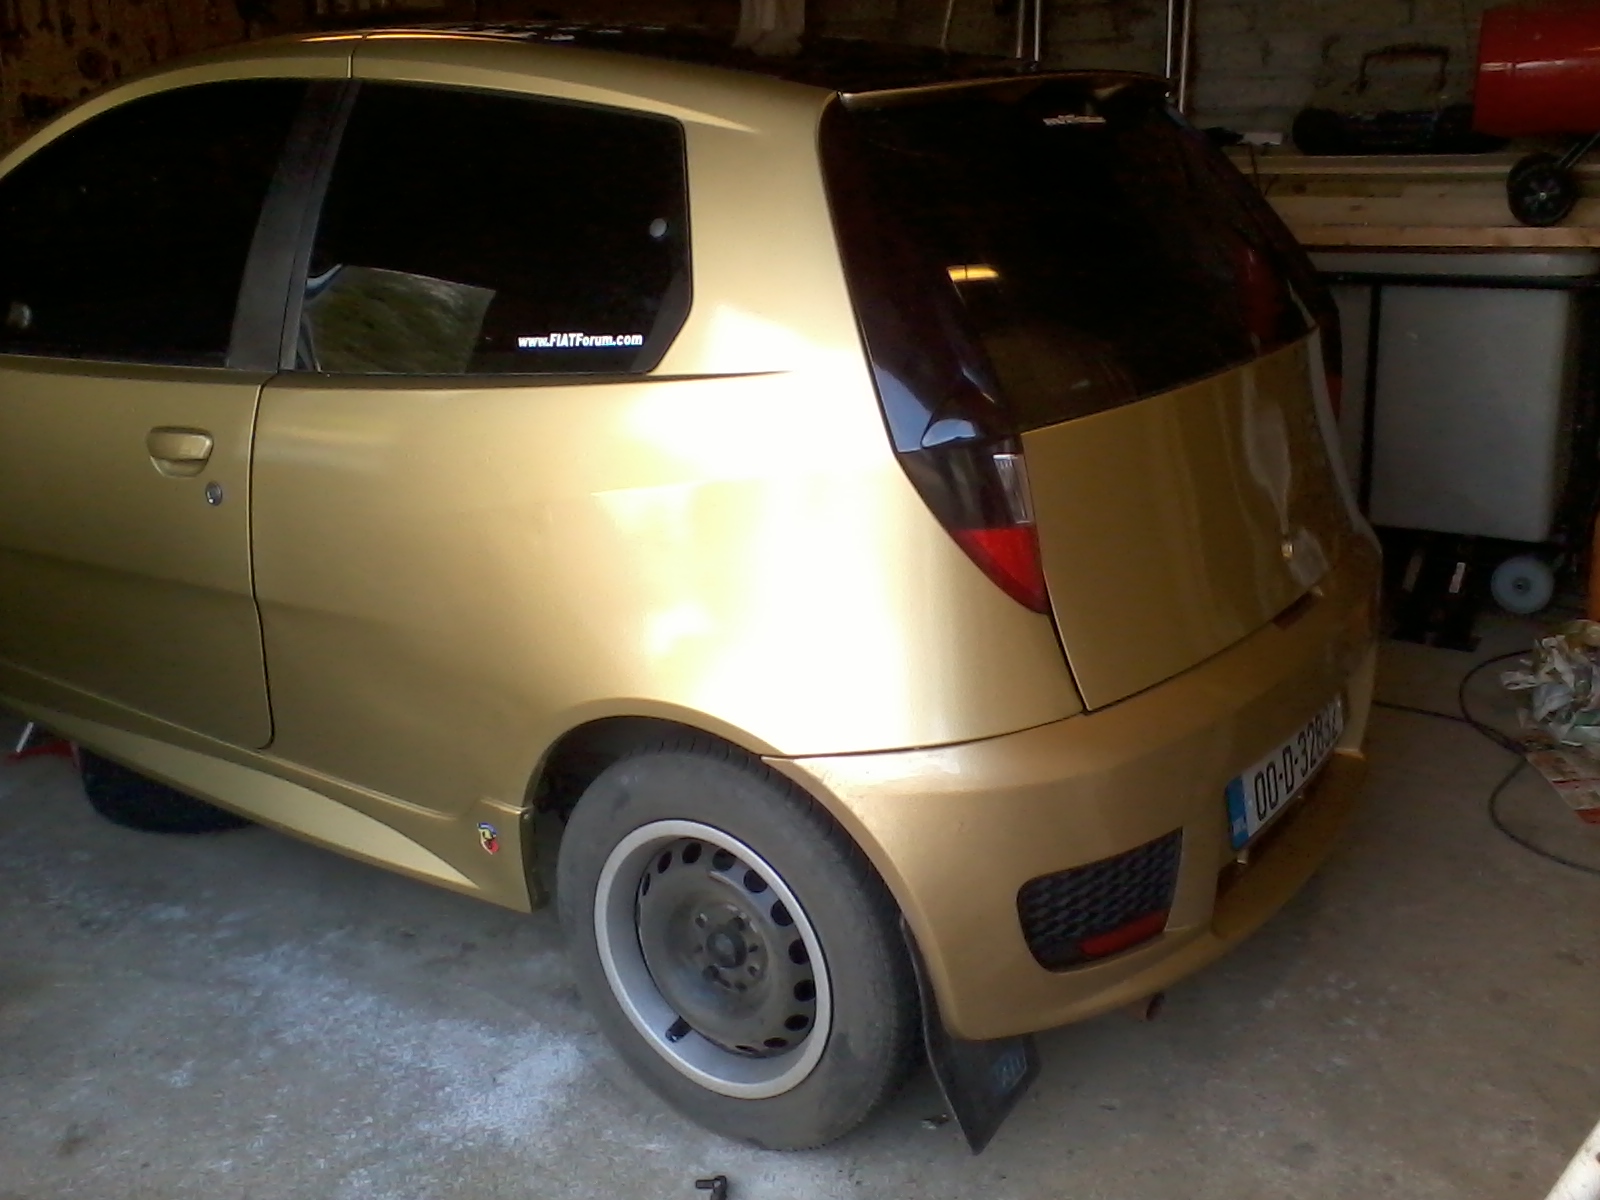
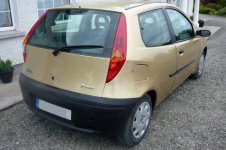
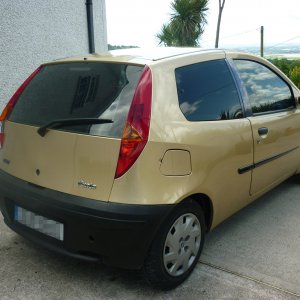
then after i done tints...
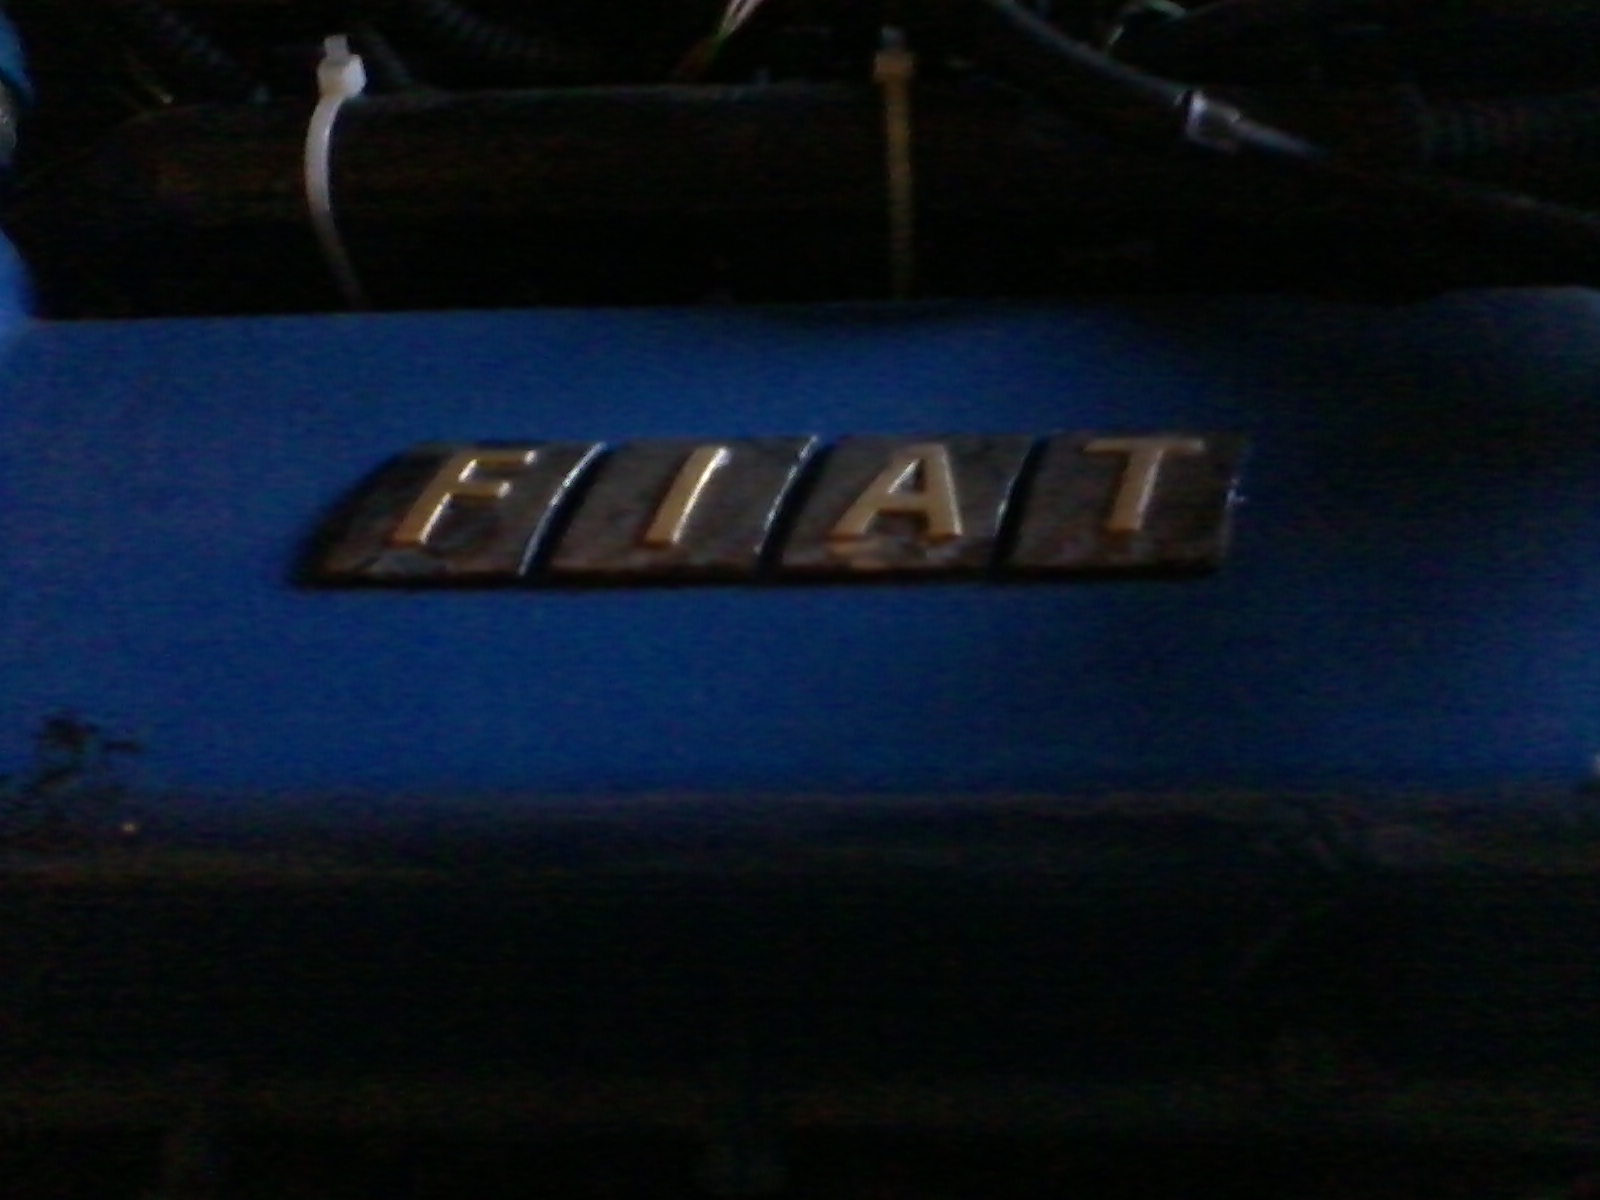
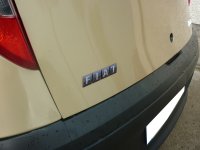
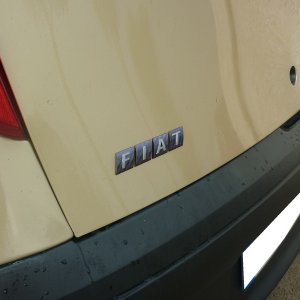
and carbon fibre effect badges
then alloys
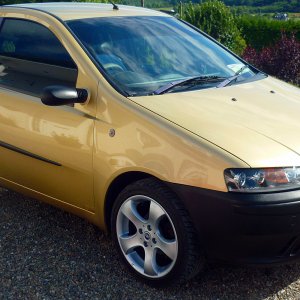
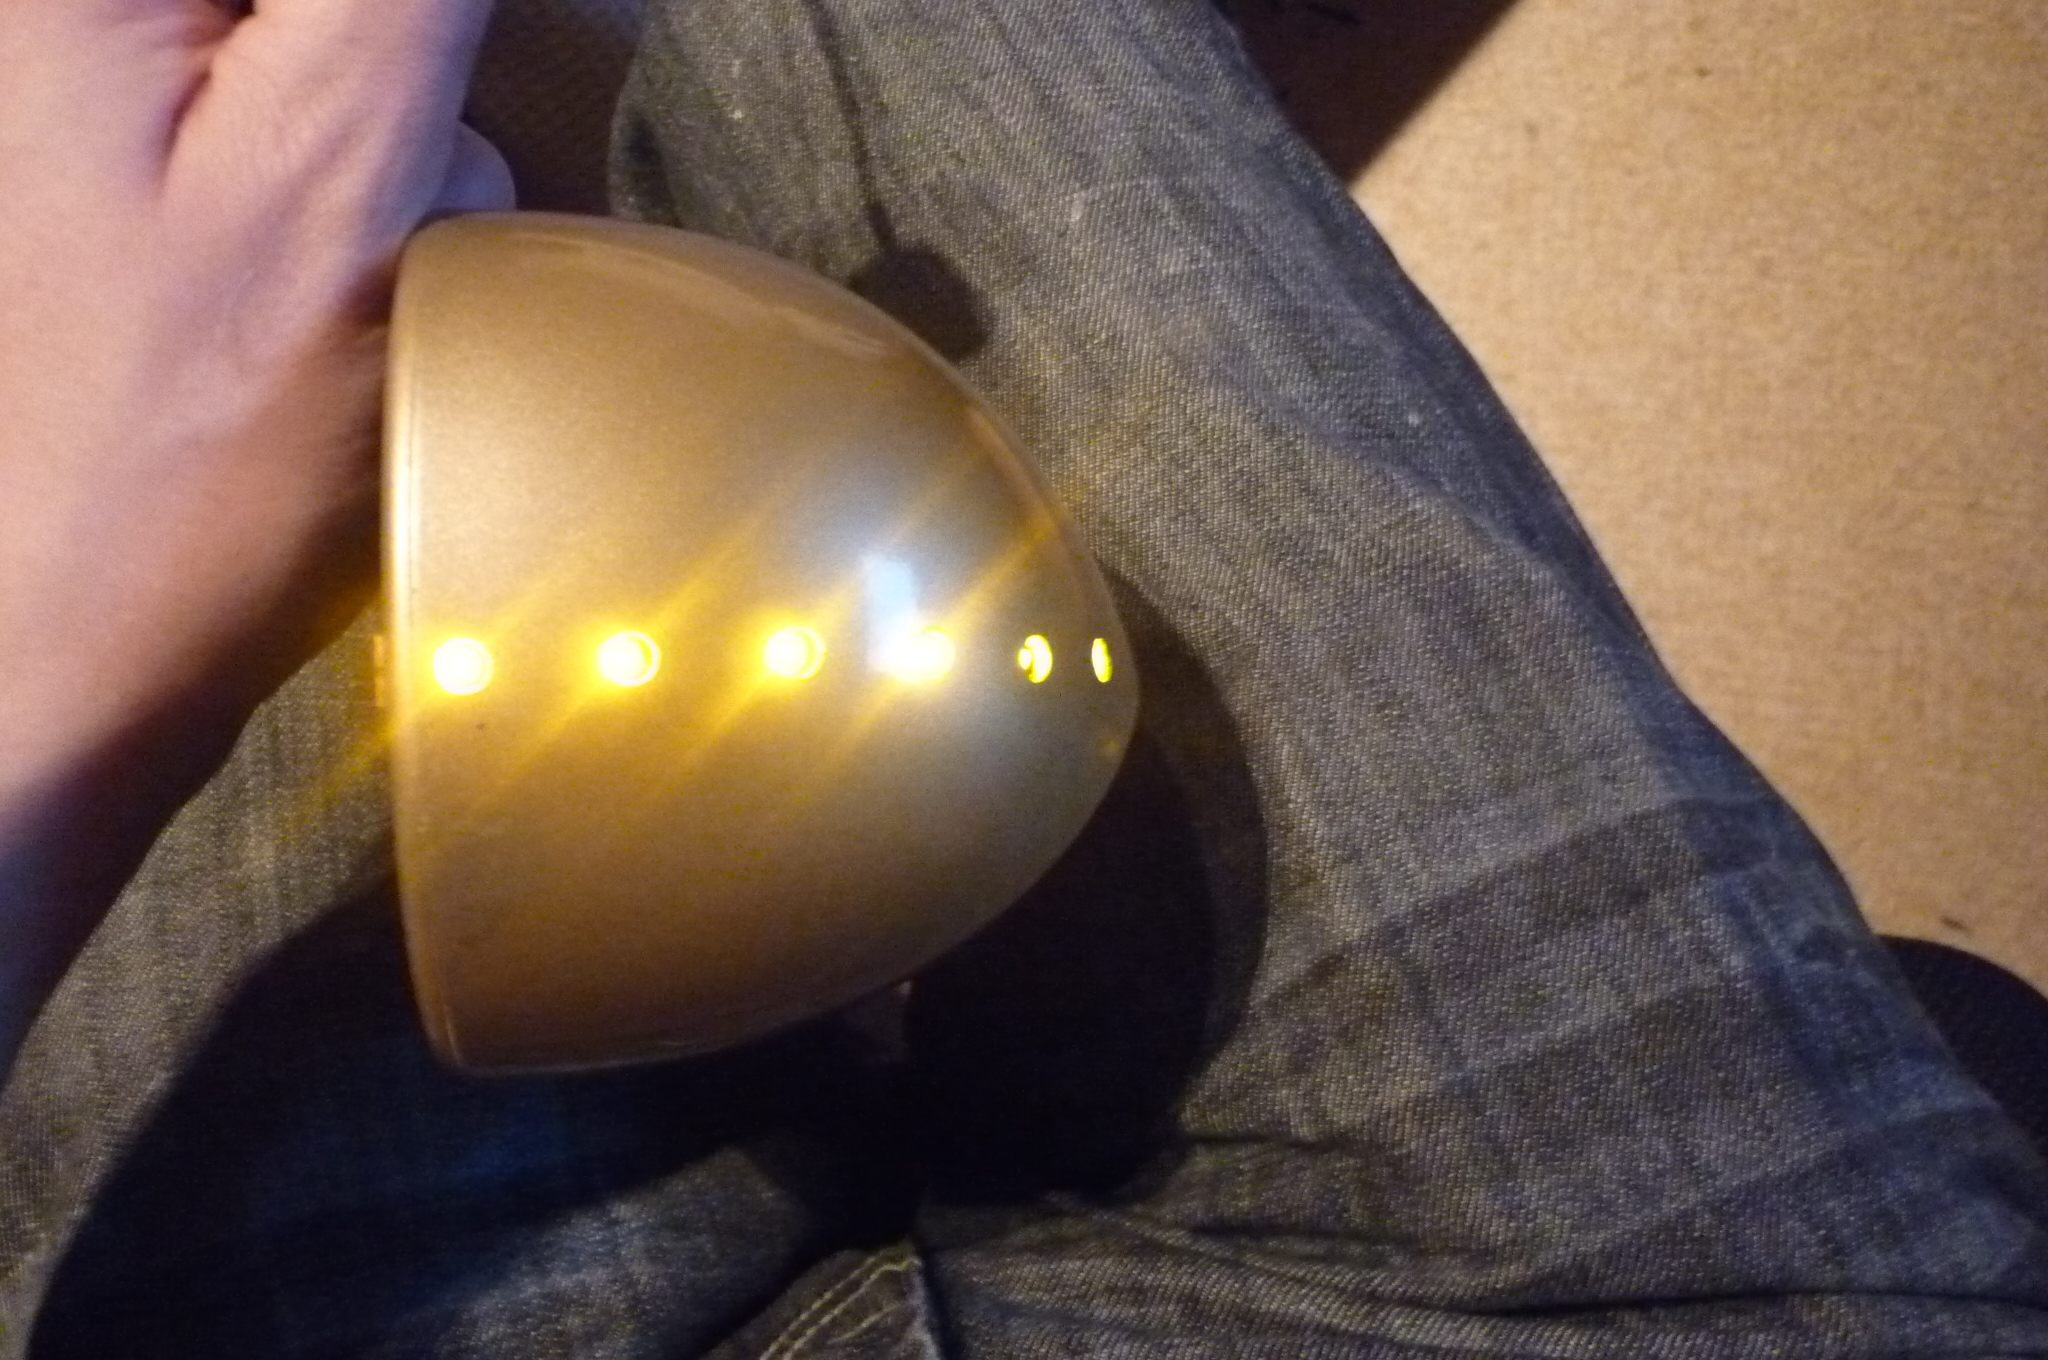
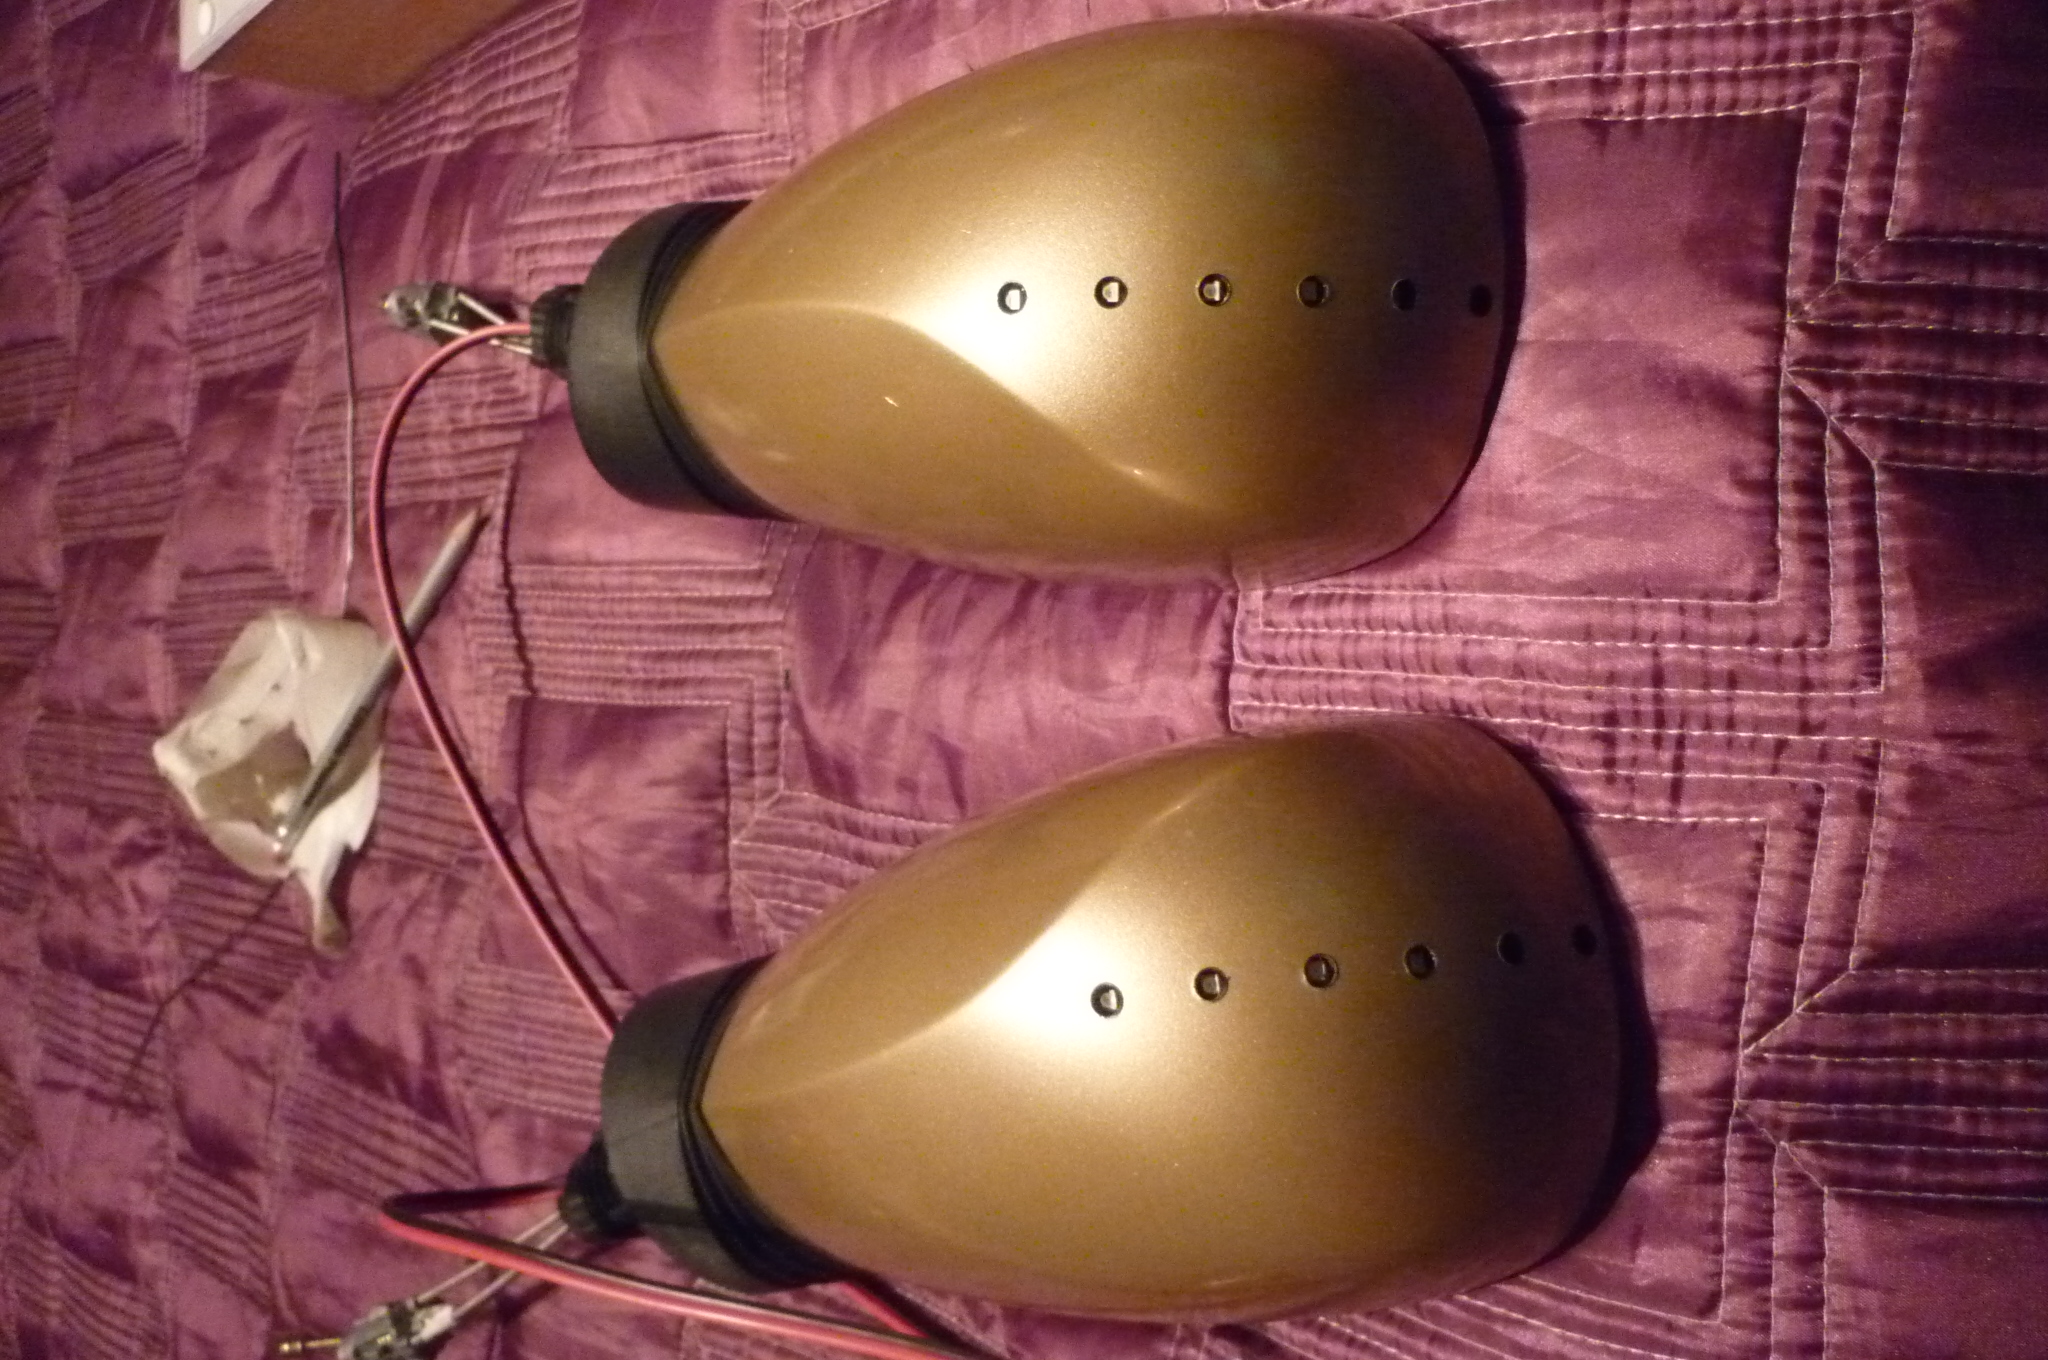
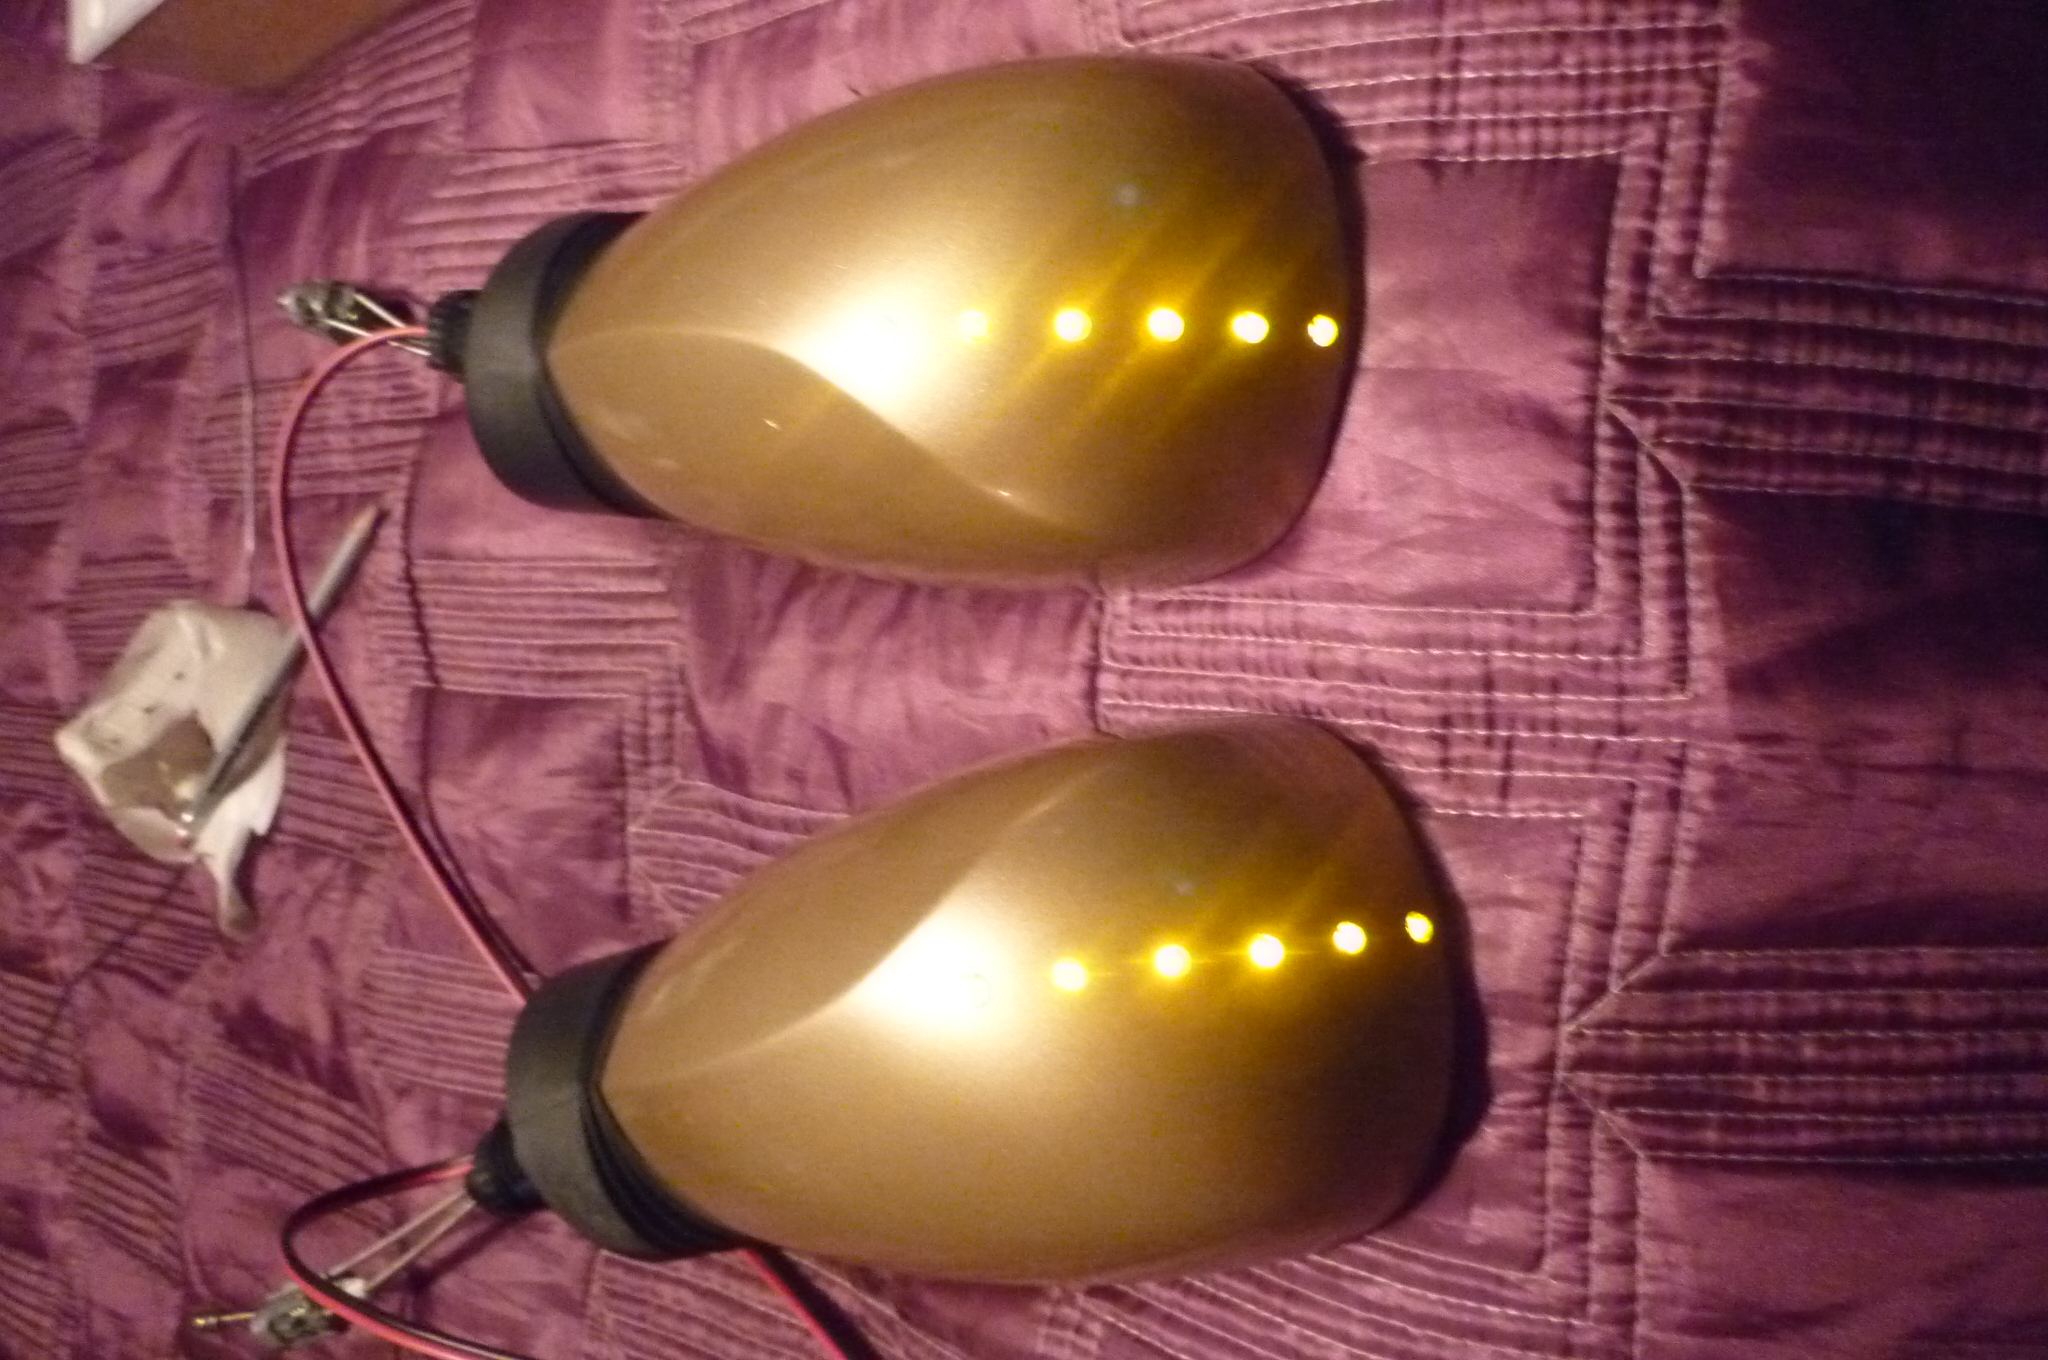
cc'd wing mirrors
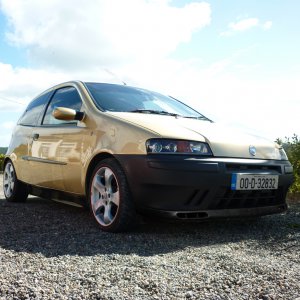
hopefully be getting a few bits n piece to make it look like this soon
Heres my progree blog of my work in progress
Bought it in May,
then after a good service and wash/polish
then after i done tints...
and carbon fibre effect badges
then alloys
cc'd wing mirrors
hopefully be getting a few bits n piece to make it look like this soon