You are using an out of date browser. It may not display this or other websites correctly.
You should upgrade or use an alternative browser.
You should upgrade or use an alternative browser.
Technical Fiat abarth 600 ( Replica )
- Thread starter diluppo
- Start date
Currently reading:
Technical Fiat abarth 600 ( Replica )
PhilippeJ130
New member
- Joined
- Jan 27, 2014
- Messages
- 7
- Points
- 1
thx for the info  , i'm loving this project and your progress is really good
, i'm loving this project and your progress is really good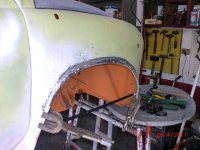

Very well done, Sir and thanks for sharing this interesting project with us !
I restored the body on a standard Fiat 600 many years age but wasn't brave
or talented enough to modify the mechanicals as you have done!!
I hope it goes as well as it looks, brilliant job!
Regards,
Al.
I restored the body on a standard Fiat 600 many years age but wasn't brave
or talented enough to modify the mechanicals as you have done!!
I hope it goes as well as it looks, brilliant job!
Regards,
Al.
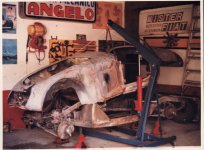
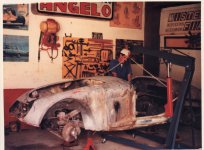
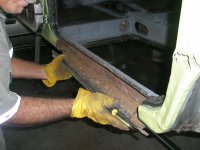
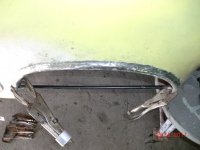
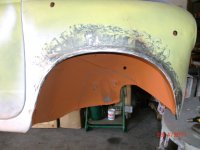
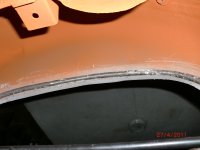
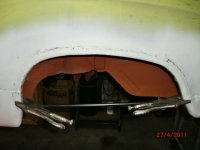
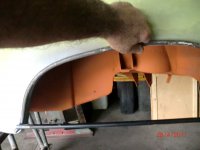
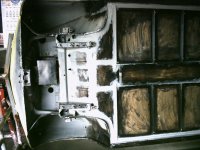
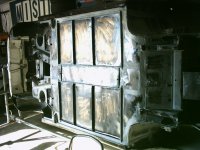
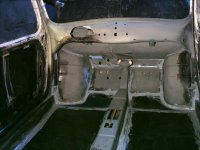
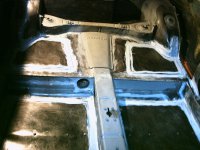
Greetings friends
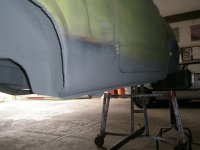
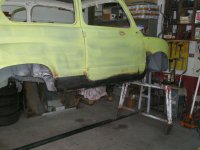
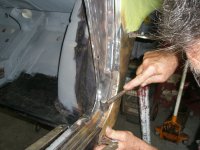
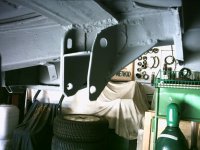
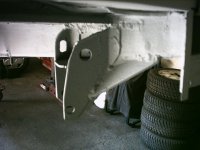
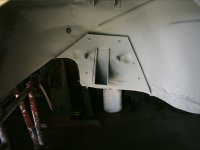
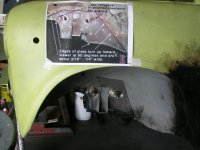
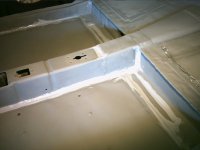
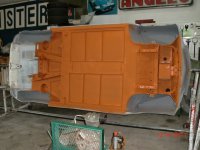
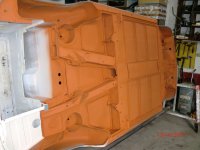
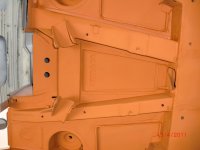
continuing the bodywork
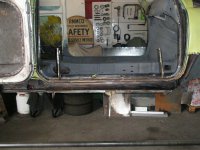
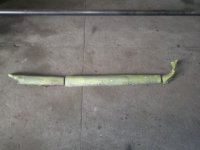
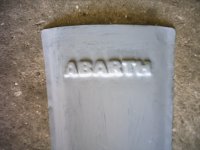
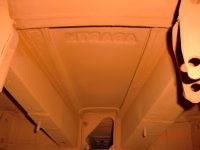
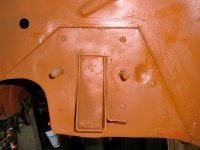
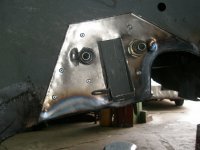
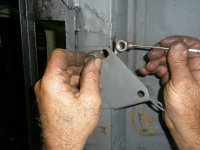
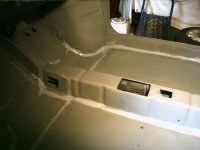
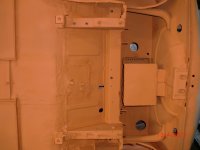
Re; the panel section stamped with the Abarth name.
What is the reason for using this panel in what appears to be the rear of the floor inside the car ? Was this done on the genuine Abarth cars? How did you manage to press ABARTH into this panel section? I'd love to know how to do this in my little home workshop!
Regards and thanks again,
Al.
OP
OP
diluppo
New member
- Joined
- Oct 27, 2013
- Messages
- 95
- Points
- 31
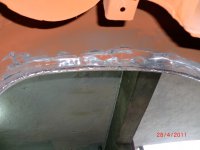
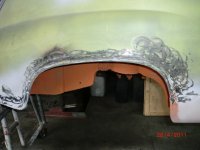
HELLO Friends
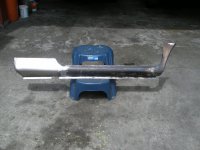
SR F123C
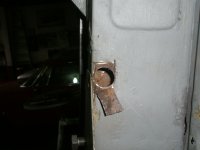
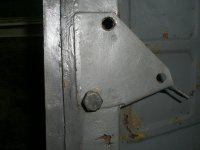
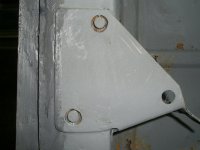
Section abarth stamped with the name, is used by the 1000 tcr is for acsesar to gearbox
to make it easy on a piece of wood with a hammer and embosses the word is traced on paper and adheres to the metal, is a work of patience
SR F123C
Section abarth stamped with the name, is used by the 1000 tcr is for acsesar to gearbox
to make it easy on a piece of wood with a hammer and embosses the word is traced on paper and adheres to the metal, is a work of patience
Last edited:

OP
OP
diluppo
New member
- Joined
- Oct 27, 2013
- Messages
- 95
- Points
- 31
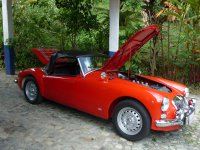
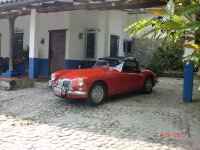
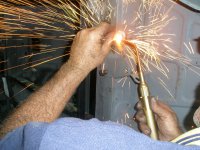
Many Thanks to all friends of the forum. my passion for the restorations are thanks to my father who taught me to work, I have seen many other restorations and also was amazed of the work, I do them by hand and very limited by the lack of great tools, but do hand as they made at a time, I've done other work for me such as restoring a 1959 MG-A Twin cam GTV2000 one Alfa Romeo Giulia 1972 and 1973 750SF1 Laverda motorcycle will attach some photos of my work ....